INSTALLATION
INSTRUCTIONS
REV.082026
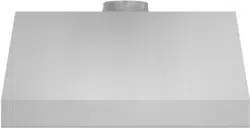
HOOD ACCESSORY DUCT COVER
COMPATIBLE WITH TRH30P/PB/PW,
TRH36P/PB/PW AND TRH48P/PB/PW
MODELS
RHDC08P | RHDC08PB | RHDC08PW
thorkitchen.com | #IgniteYourCulinaryCreativity
RHDC08P/ RHDC08PB /RHDC08PW DUCT COVER ASSEMBLY
RHDC08P
-
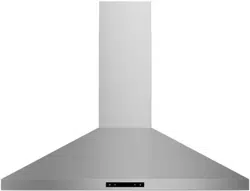
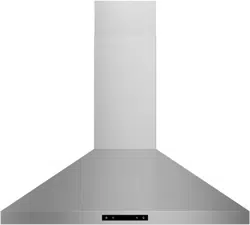
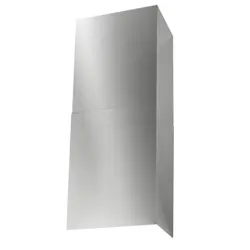
16" to 31" High Extension Duct Cover, Stainless Steel
Compatible with THOR Kitchen TRH-P Series Professional Wall Mount Pyramid Range Hoods
(Models: TRH30P, TRH36P, TRH48P)
RHDC08PB
- 16" to 31" High Extension Duct Cover, Matte Black
Co
mpatible with THOR Kitchen TRHPB Series Professional Wall Mount Pyramid Range Hoods
(Models: TRH30PB, TRH36PB, TRH48PB)
RHD
C08PW
- 16" to 31" High Extension Duct Cover, Matte White
Co
mpatible with THOR Kitchen TRHPB Series Professional Wall Mount Pyramid Range Hoods
(Models: TRH30PW, TRH36PW, TRH48PW)
The
se duct covers are designed to conceal venting and wiring above wallmounted professional
pyramid hoods. The twopiece telescoping design allows a finished height ranging from 16" to 31”,
suitable for 89 ft ceilings. (Mounting Plate not Included)
PREINSTALLATION MEASUREMENTS
Before selecting and installing a duct cover, accurate height calculations are required.
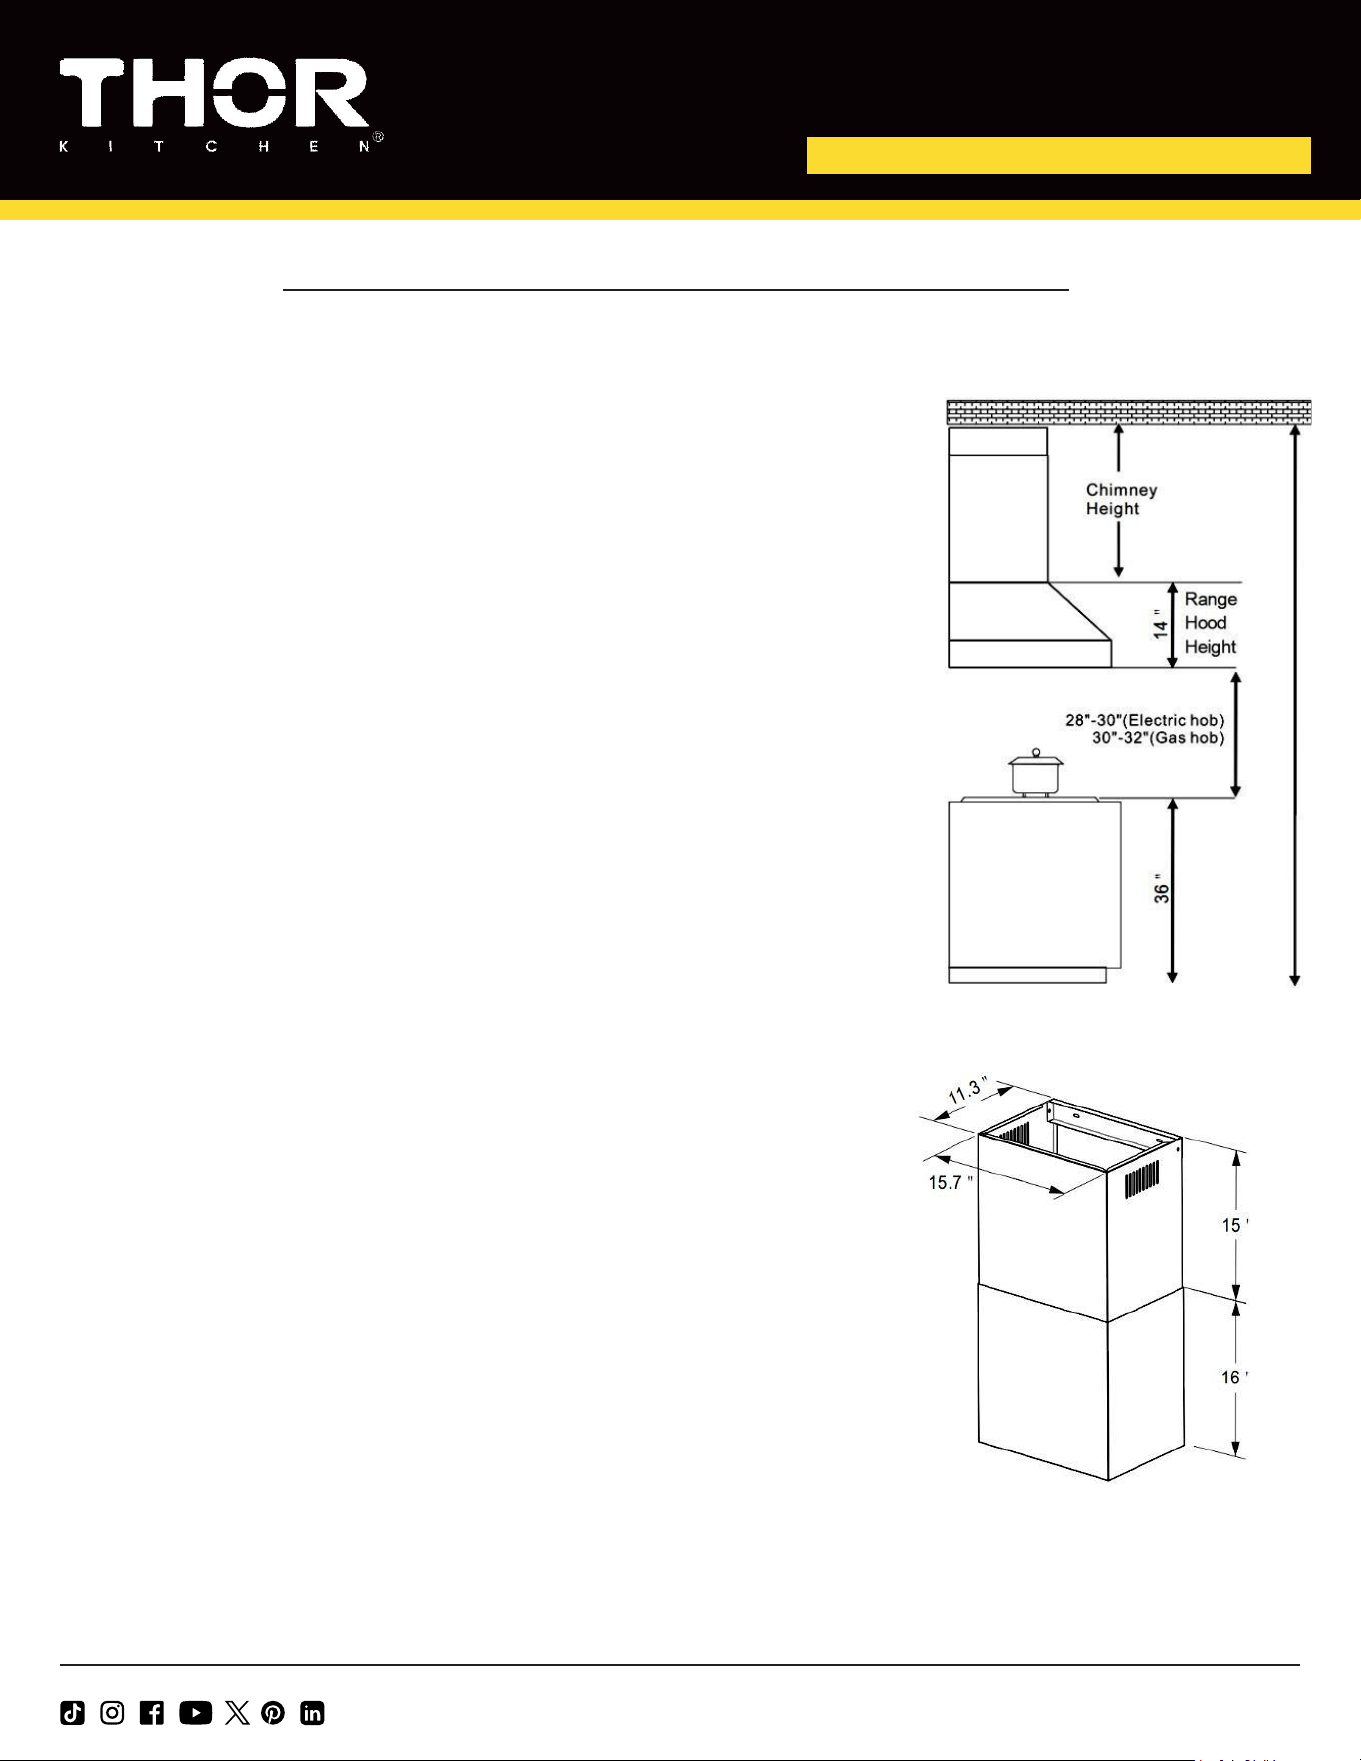
Step 1- Ceiling Height
Measure the vertical distance from the finished floor to the ceiling.
Step2- Measure the height of your range or cooktop surface
Step 3- Required Hood Installation Height
Choose the correct mounting height based on appliance type:
Electric / Induction: Minimum 28", Maximum 30" Gas: Minimum 30", Maximum 32" Measure vertically
from the cooktop surface to the bottom of the range hood.
St
ep 4- Measure Hood Body Height
This is the vertical height of the hood only (not the chimney).
Most THOR TRHXXP hoods have a body height of 14".
Step 5- Calculate Available Chimney Space
Use: Ceiling HeightRange Height- Hood Mounting Height (cooktop →hood)- Hood Body Height=
Space available for duct cover
EXAMPLE CALCULATION (8ft Ceiling)
Ceiling height: 8 ft x 12= 96"
Range height: 36"
Gas-cooktop minimum clearance: 30"
Hood body height: 14"
Calculation: 96363014=16"
Available chimney space:16"
Since RHDC08P/ PB/ PW adjusts from 16"31", this extension ts properly.
Duct Cover Set (RHDC08P / RHDC08PB/ RHDC08PW)
· Two sections, 16" each, telescoping
· Adjustable from 16" to 31"
·
Ideal for 8 ft to 9 ft ceilings
HOOD ACCESSORY DUCT COVER COMPATIBLE WITH
TRH30P/PB/PW, TRH36P/PB/PW AND TRH48P/PB/PW
MODELS
RHDC08P / RHDC08PB / RHDC08PW

thorkitchen.com | #IgniteYourCulinaryCreativity
INSTALLATION INSTRUCTIONS
Important:
Disconnect power to the hood before installation.
Use two people to prevent injury or damage.
Tools Needed
·
Phillips screwdriver
·
Drill & bits
·
Level
·
Pencil /tape measure
·
Ladder
·
ULlisted foil HVAC duct tape
STEP 1 - Seal the Hood Air Outlet
1. Locate the sponge sealing strip in the accessory pack.
2. Apply the sponge strip around the air outlet collar on top of the hood to prevent air leakage.
3. Install the joint cover and secure it with the four provided screws.
STEP 2 - Mount the Range Hood
1. Position the hood on the wall based on the required cooktoptohood clearance.
2. Use the provided wallmount brackets and hardware.
3. Confirm the hood is level before tightening all screws.
STEP 3 - Install the Vent Duct
1. Attach the ducting to the hood's outlet
2. Seal all joints with foil HVAC tape (not cloth tape).
3. Route the duct vertically into the chimney space toward the ceiling or exterior wall.
4. Ensure the duct terminates outdoors, never into an attic or crawlspace.
STEP 4 - Assemble and Position the Chimney
1. Slide the upper chimney piece inside the lower chimney piece.
2. Lower the assembled chimney over the hood until the lower section rests on the hood body.
STEP 5 - Secure the Lower Chimney from Inside the Hood
1. Remove the baffle filters from the hood.
2. Locate the five chimney mounting holes inside the hood's interior.
3. Insert and tighten the screws to lock the lower chimney in place.
STEP 6 - Install Upper Chimney Support Bracket
1. Hold the upper chimney at its final height.
2. Mark and install the upper support bracket on the wall following the hood's centerline.
3. Extend the upper chimney until it meets the bracket.
4. Secure the upper chimney to the bracket using the supplied screws.
STEP 7 Reinstall Filters and Test Operation
1. Return the baffle filters to their original positions.
2. Restore power.
3. Turn on the fan and lights to confirm proper operation.
4. Check that the chimney is stable and that no air leaks at the connection.
5. FINAL SAFETY CHECKLIST
√ Hood installed at correct height (2830 electric / 3032" gas)
√ Chimney sections securely fastened at both top and bottom / Duct sealed and routed to exterior (not attic)
√ No plastic ducting used
√ No air leakage around hood outlet
√ Hood is level and stable
√ Filters installed correctly
√ Electrical connection secure and code- compliant
HOOD ACCESSORY DUCT COVER COMPATIBLE WITH
TRH30P/PB/PW, TRH36P/PB/PW AND TRH48P/PB/PW
MODELS
RHDC08P / RHDC08PB / RHDC08PW

Warranty Registration
Made Easy.
We Stand Behind
the Quality of Our
Appliances.
Reliability and customer satisfaction are our top priorities. We offer a
solid two-year warranty on both parts and labor. Enjoy professional-grade
performance with the condence that we’ve got you covered.
01
02
03
Scan the QR Code or visit thorkitchen.
com/register-your-product.
Input your purchase and product
information and select register.
That’s it. You’re all set.
Enjoy!
WARRANTY
PARTS
Questions: [email protected]