Replacement Manual
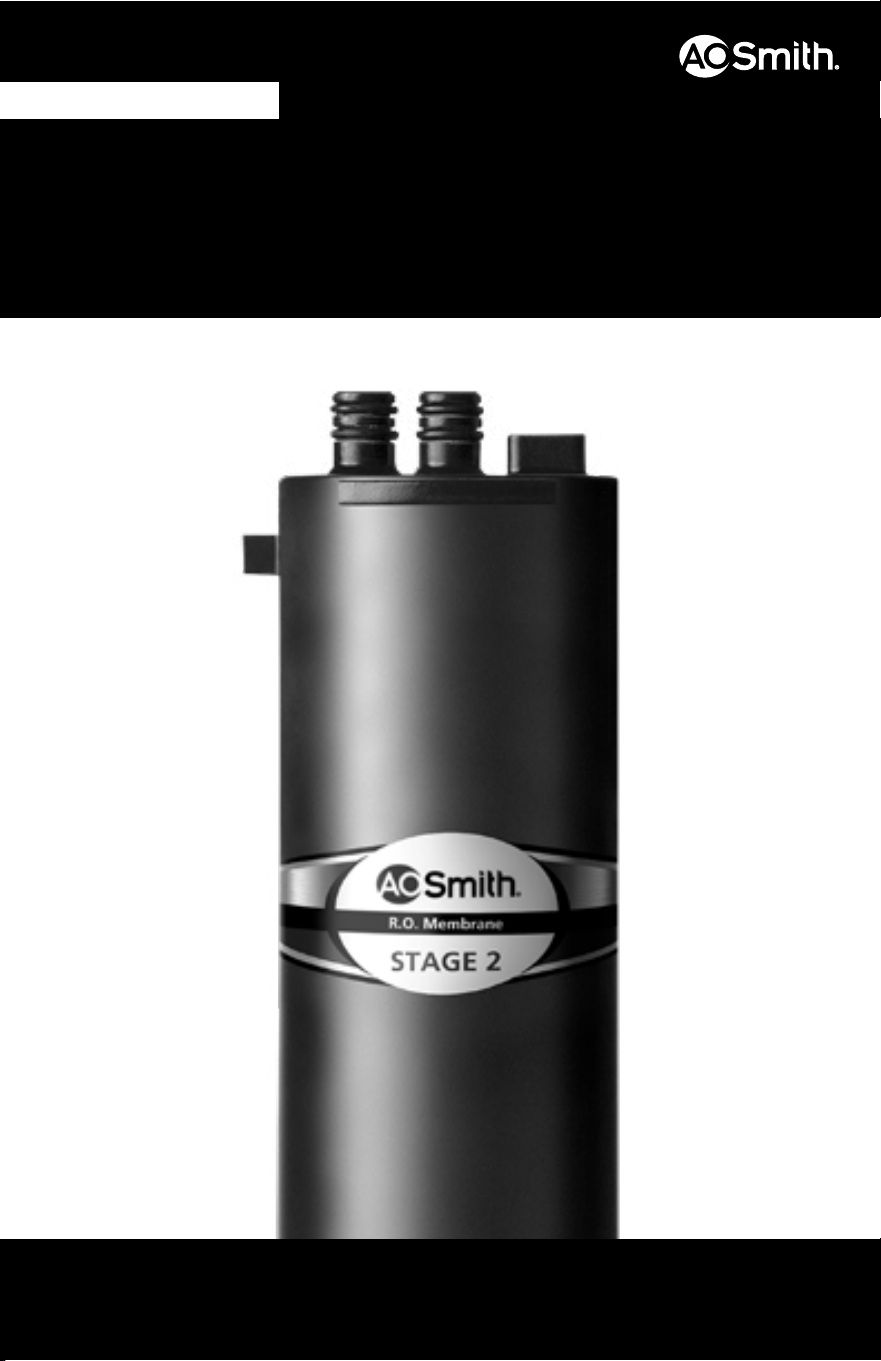
REVERSE OSMOSIS
MEMBRANE
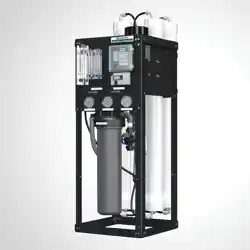
FOR USE WITH AO-US-RO-MB-4000
AO-US-RO-MEM
IF YOU NEED HELP OR HAVE A QUESTION, WE’VE GOT YOU COVERED. GIVE US A CALL AT 877.333.7108
PLEASE DO NOT RETURN TO THE STORE.

INSTALLATION GUIDE
2
1. Turn off COLD water valve. Release pressure from system by turning on dedicated faucet
until water stops owing.
2. Unbox membrane replacement and remove plastic.
STEP 1 Prepare for Installation
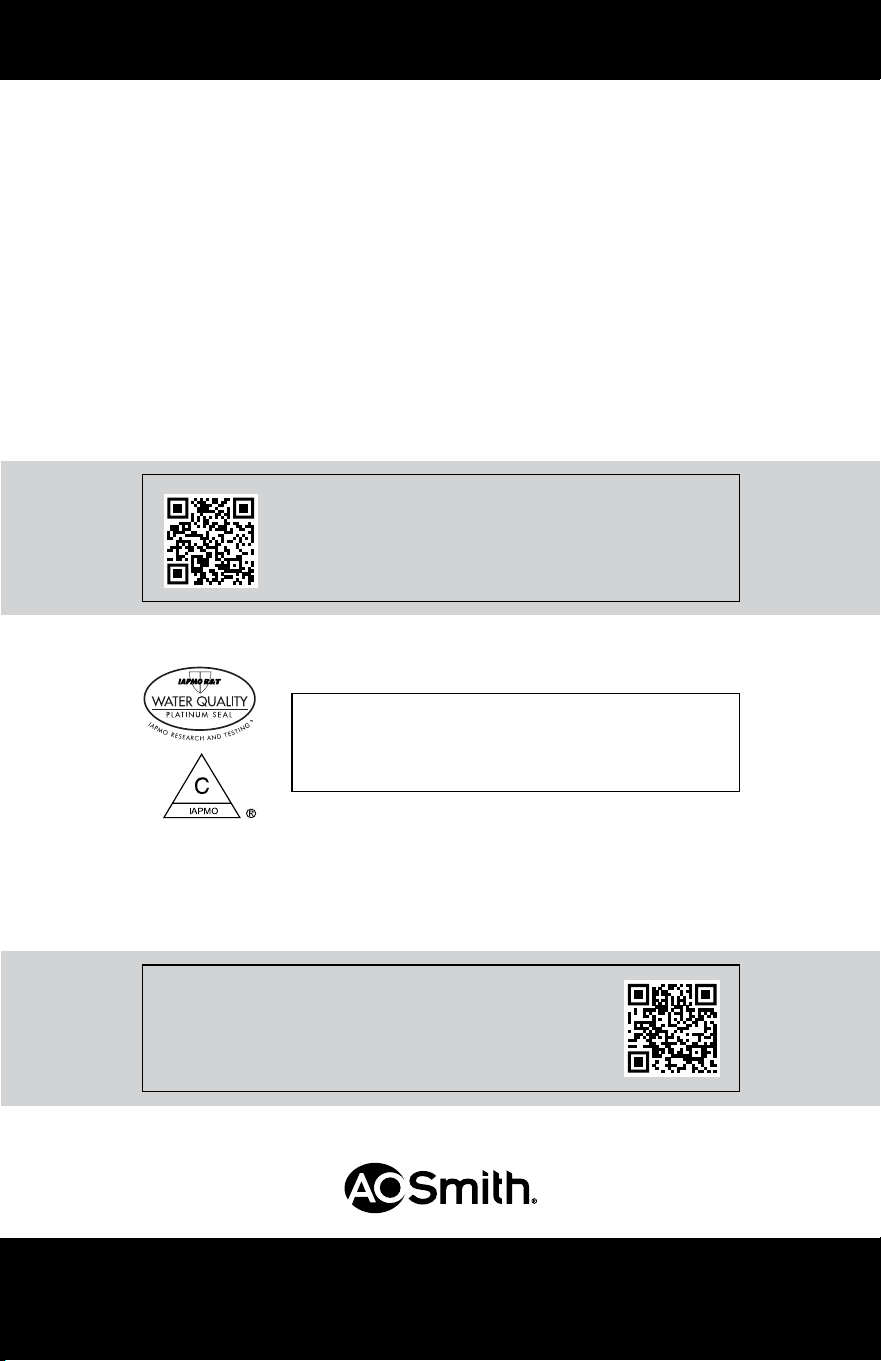
STEP 2 Disconnect and Remove Flow Restrictor
1. Disconnect the 1/4" red hose from the drain port on
membrane lter elbow by pushing down on the collar
while pulling plug with your other hand.
2. Remove and discard the ow restrictor.
1
2
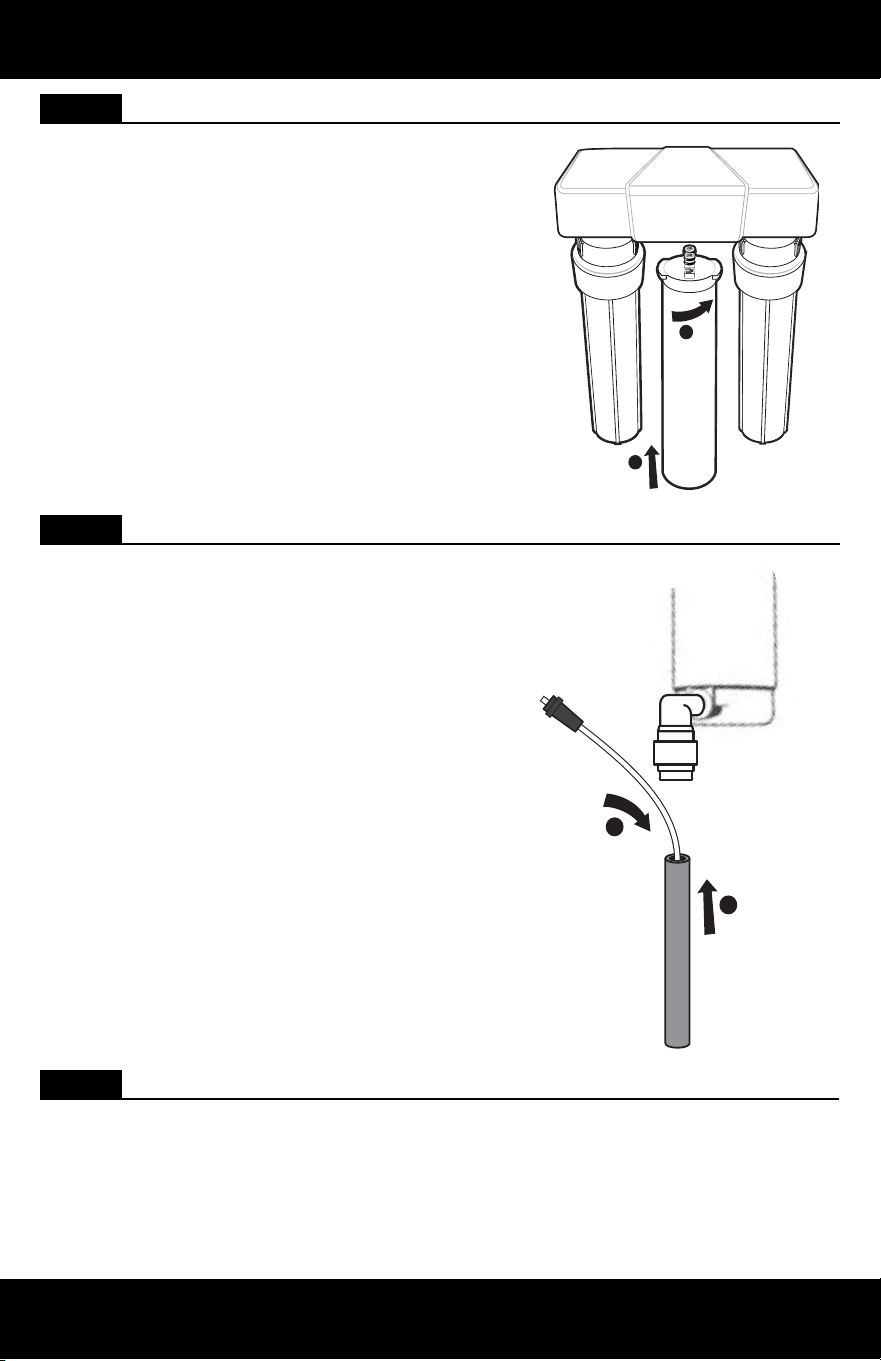
STEP 3 Remove Cartridges
1. Remove the membrate cartridge from the system
manifold by rotating the sump to the left and
pulling down.
2. Discard the old membrane cartridge.
1
2
NEED HELP? GIVE US A CALL 877.333.7108

INSTALLATION GUIDE
3
STEP 4 Attach Cartridges
1. Take the new membrane cartridge from the
packaging and remove the protective cap from
the head of the membrane.
2. Attach membrane cartridge to the bottom of
the system manifold, making sure all connection
points are aligned. Push the top of the sump up
and into the bottom of the manifold and turn
the sump towards the right. Ensure the sump is
fully attached and locked.
STEP 5 Insert Flow Restrictor
1. Insert the new ow restrictor into the red 1/4"
tubing. Push red tubing into the drain port
elbow on membrane lter.
Note:
Be sure red tube and elbow are inserted all
the way.
1
2
1
2
STEP 6 Flush and Check for Leaks
1. Turn on the cold water valve. Flush system by opening the dedicated faucet and
letting water ow through the system for 24 hours.
Note: Do not drink ushed water.
2. Once the system has been ushed, turn off the dedicated faucet. Allow 2 hours for
pressure to build up in the system. During this time, check for leaks. After the tank has
lled, system is ready to use.
NEED HELP? GIVE US A CALL 877.333.7108

System certied by IAPMO R&T against NSF/ANSI Standard 58
for the reduction of claims specied on Performance Data Sheet
and at www.IAPMO.com.
• Rated capacity: 12 months depending on contaminant levels & usage.
• Systems certied for cyst reduction may be used on disinfected water that may contain lterable cysts.
Care
To clean system manifold, wipe exterior with a damp cloth. Do not use any strong abrasive
cleaning agent or solvent cleaner.
NOTICE
Safeguards
• If you experience a hose connection leak, disconnect and re-set the hose.
• Must replace lter housings every 5 years or risk property damage from leaks. Call
800.821.2017 to order.
• Do not use with water that is microbiologically unsafe or of unknown water quality
without adequate disinfection before or after the system.
• Systems certied for cyst reduction may be used on disinfected waters that may contain
lterable cysts.
CARE & SAFEGUARDS
4
Scan to view the AO-US-RO-MEM replacement video.
A. O. Smith Corporation
11270 W Park Pl #170, Milwaukee, WI 53224
877.333.7108
For the full list of contaminants ltered, scan to view
the AO-US-RO-MB-4000 Performance Data Sheet.

PARA USAR CON AO-US-RO-MB-4000
AO-US-RO-MEM
MEMBRANA DE
OSMOSIS INVERSA
SI NECESITA AYUDA O TIENE ALGUNA CONSULTA, NOSOTROS NOS ENCARGAMOS. LLÁMENOS AL 877.333.7108.
NO ES NECESARIO QUE VUELVA A LA TIENDA.
Manual de reemplazo

¿NECESITAS AYUDA? LLÁMANOS AL 877.333.7108
6
GUÍA DE INSTALACIÓN
1. Cierre la válvula de agua FRÍA. Para liberar la presión del sistema, gire la llave dedicada
hasta que se detenga el ujo de agua.
2. Desempaque el repuesto de la membrana y retire el plástico.
PASO 1 Prepare para la instalación
PASO 2 Desconecte y retire el limitador de ujo
1. Empuje el collarín hacia abajo mientras tira del tapón
con la otra mano para desconectar la manguera roja
de 1/4" del puerto de drenaje del codo del ltro de
membrana.
2. Retire y deseche el limitador de ujo.
1
2
PASO 3 Retire los cartuchos
1. Gire el sumidero hacia la izquierda y tire de él
hacia abajo para retirar el cartucho de membrana
del colector del sistema.
2. Deseche el cartucho de membrana antiguo.
1
2
¿NECESITAS AYUDA? LLÁMANOS AL 877.333.7108
7
GUÍA DE INSTALACIÓN
PASO 4 Instale los cartuchos
1. Saque el nuevo cartucho de membrana del
envase y retire la tapa protectora del cabezal de
la membrana.
2. Instale el cartucho de membrana en el fondo del
colector del sistema y asegúrese de que todos los
puntos de conexión estén alineados. Empuje la
parte superior del sumidero hacia arriba y hacia
el fondo del colector y gire el sumidero hacia
la derecha. Asegúrese de que el sumidero esté
completamente instalado y bloqueado.
PASO 5 Inserte el limitador de ujo
1. Inserte el nuevo limitador de ujo en el tubo rojo
de 1/4". Introduzca el tubo rojo en el codo del
puerto de drenaje en el ltro de membrana.
Nota:
Asegúrese de que la tubería roja y el codo
estén insertados completamente.
1
2
1
2
PASO 6 Enjuague y revise si hay fugas
1. Abra la válvula de agua fría. Para enjuagar el sistema, abra la llave dedicada y deje
que el agua uya por el sistema durante 24 horas.
Nota: No beba el agua de enjuague.
2. Una vez enjuagado el sistema, cierre la llave dedicada. Deje que pasen 2 horas para
que se acumule la presión en el sistema. Durante este tiempo, revise si hay fugas.
Después de que se ha llenado el tanque, el sistema está listo para usar.
A. O. Smith Corporation
11270 W Park Pl #170, Milwaukee, WI 53224
877.333.7108
CUIDADO Y RESGUARDOS
8
Escanee para ver el video de reemplazo de
AO-US-RO-MEM.
Para conocer la lista completa de los contaminantes
ltrados, escanee para ver la hoja de datos de
rendimiento de AO-US-RO-MB-4000.
Cuidado
Para limpiar el colector del sistema, limpie el exterior con un paño húmedo. No use
agentes de limpieza abrasivos y fuertes ni limpiadores con solventes.
AVISO
Resguardos
• Si tiene una fuga en la conexión de la manguera, desconéctela y vuelva a jar la
manguera.
• Se deben cambiar las carcasas del ltro cada 5 años o cuando haya riesgo de daños a
la propiedad por fugas. Llame al 800.821.2017 para realizar el pedido.
• No usar con agua que no sea microbiológicamente segura o cuya calidad sea
desconocida sin la desinfección adecuada antes o después de usarla en el sistema.
• Es posible usar sistemas certicados para la reducción de quistes en aguas
desinfectadas que puedan tener quistes ltrables.
Sistema probado y certicado por IAPMO R&T según la norma
NSF/ANSI 58 para la reducción de las declaraciones especicadas
en la Hoja de datos de rendimiento y en www.IAPMO.com.
• Capacidad nominal: 12 meses, según el nivel de contaminantes y el uso.
• Es posible usar sistemas certicados para la reducción de quistes en aguas desinfectadas que puedan tener
quistes ltrables.