English
Item No. 23463-1 en Rev 08/11
English
Operator’s Manual
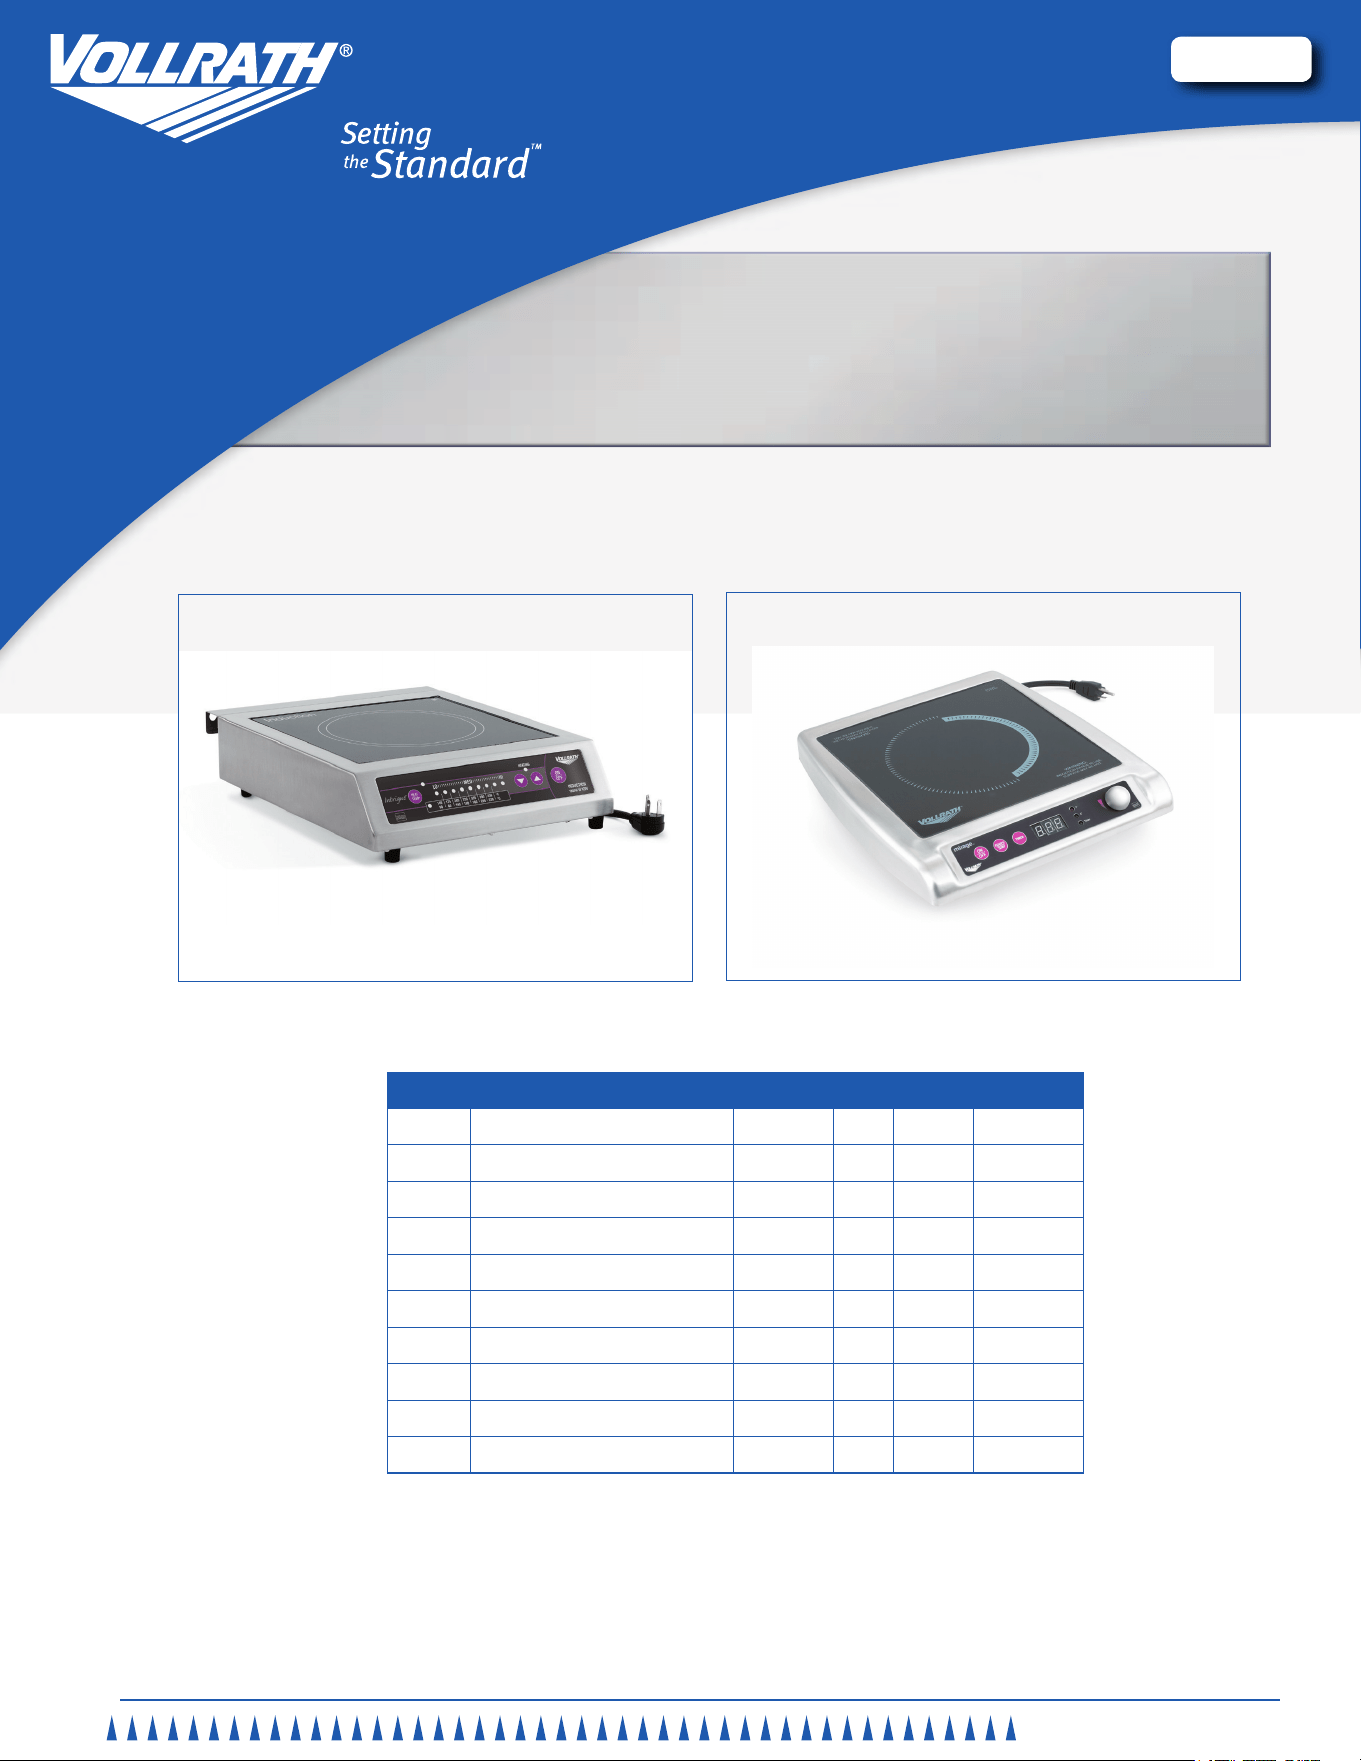
Foodservice induction ranges
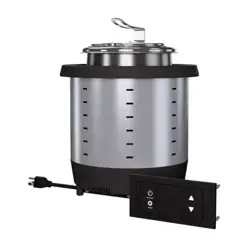
Thank you for purchasing this Vollrath Induction Range. Before operating the equipment, read and familiarize yourself with the following
operating and safety instructions. SAVE THESE INSTRUCTIONS FOR FUTURE REFERENCE. Save the original box and packaging. Use
this packaging to ship the equipment if repairs are needed.
Model description voltage HZ kW Plug
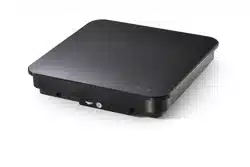
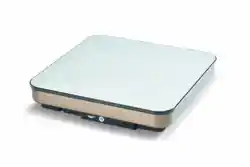
59500 Countertop (US Only) 120 50/60 1.8 5-15P
59510 Countertop (Canada Only) 120 50/60 1.4 5-15P
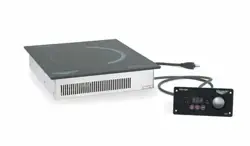
59501 Drop-in 120 50/60 1.4 5-15P
5950170 Drop-in 120 50/60 .7 5-15P
59650 Countertop (Europe) 230 50/60 1.8 Schuko
59651 Countertop (UK) 230 50/60 1.8 UK
59652 Countertop (China) 230 50/60 1.8 China GND
6950020 Countertop (US Only) 120 50/60 1.8 5-15P
5950145 Commercial Drop-in Warmer 120 50/60 .45 5-15P
6951020 Countertop (Canada Only) 120 50/60 1.4 5-15P

Foodservice induction ranges
OperatOr’s Manual
2
Safety PrecautionS
To ensure safe operation, read the following statements and
understand their meaning. This manual contains safety precautions
which are explained below. Please read carefully.
Warning
Warning is used to indicate the presence of a hazard that can cause
severe personal injury, death, or substantial property damage if the
warning is ignored.
caution
Caution is used to indicate the presence of a hazard that will or can
cause minor personal injury or property damage if the caution is
ignored.
nOTE
Note is used to notify people of installation, operation, or
maintenance information that is important but not hazard-related.
For Your safety!
These precautions should be followed at all times. Failure to follow
these precautions could result in injury to yourself and others.
To reduce risk of injury or damage to the unit:
Plug only into grounded electrical outlets matching the nameplate rated
voltage.
As a precaution, persons using a pacemaker should stand back 12”
(30 cm) from an operating unit. Studies have shown that the induction
element will not disrupt a pacemaker.
Keep all credit cards, driver liscences and other items with a magnetic
strip away from an operating unit. The unit’s magnetic eld will damage
the information on these strips.
The heating surface is made of a strong, non-porous material.
However, should it crack or break, stop using and immediately unplug
the unit.
Do not leave an empty pan on an operating unit.
Unit should only be used in a at, level position.
Unplug unit and let it cool before cleaning or moving.
Do not touch the cooking surface. It remains hot after the unit is turned
off.
Do not spray controls or outside of unit with liquids or cleaning agents.
Unplug when not in use.
Keep unit and power cord away from open ames, electric burners or
excessive heat.
Do not heat sealed cans or containers as they may explode.
Do not operate unattended.
Closely supervise units operating in public areas and/or around
children.
Do not operate if unit has been damaged or is malfunctioning in any
way.
Do not place any objects inside the air intake or exhaust panels.
Do not place weight on the control knob.
function and PurPoSe
This unit is intended to be used with induction-ready cookware (see below)
with a at, ferrous base measuring 4-1/2” (11.4 cm) to 10-1/4” (26 cm) wide.
This unit is intended for use in commercial foodservice operations only. It is
not intended for household, industrial or laboratory use.
induction ready cookware
Ferrous stainless steel
Iron
Cast iron
unsuitable cookware
Cookware with a base less than 4-1/2” (11.4 cm)
Pottery, glass, aluminum, bronze or copper cookware
Cookware with any type of footed base
nOTE:
Theremustbeaminimumof4”(10cm)betweentheinduction
rangeandanysurroundingsurfacetoallowsufcientairow
aroundtheunit.Blockingtheairowcouldoverheattheunit.
inStallation
This unit is to be used on a at, level surface.
nOTE:
Thisunitisnotdesignedtobeinclosedorbuiltintoanyarea.
Theremustbeaminimumof4”(10cm)ofspacebetweentherear
oftheinductionwarmerandanysurroundingsurface.
Theremustbe3/4”(2cm)betweenthebottomoftheinduction
warmerandanysurroundingsurface.
sufcientairowmustbeallowedaroundtheunit.Blockingthe
airowcouldcausetheunittooverheat.
coutertop
1. Place the induction range/warmer on a at stable surface.
2. Plug the power cord into a grounded electrical outlet with the matching
nameplate rated voltage.
nOTE:
Usingavoltageotherthanthenameplateratedvoltagewillcause
damagetotheunit.incorrectvoltage,modicationtothepower
cordorelectricalcomponentscandamageunitandwillvoidthe
warranty.inductionunitsaretouseaseparatededicatedcircuit.
drop-in
1. Choose a at, level countertop for the mounting surface.
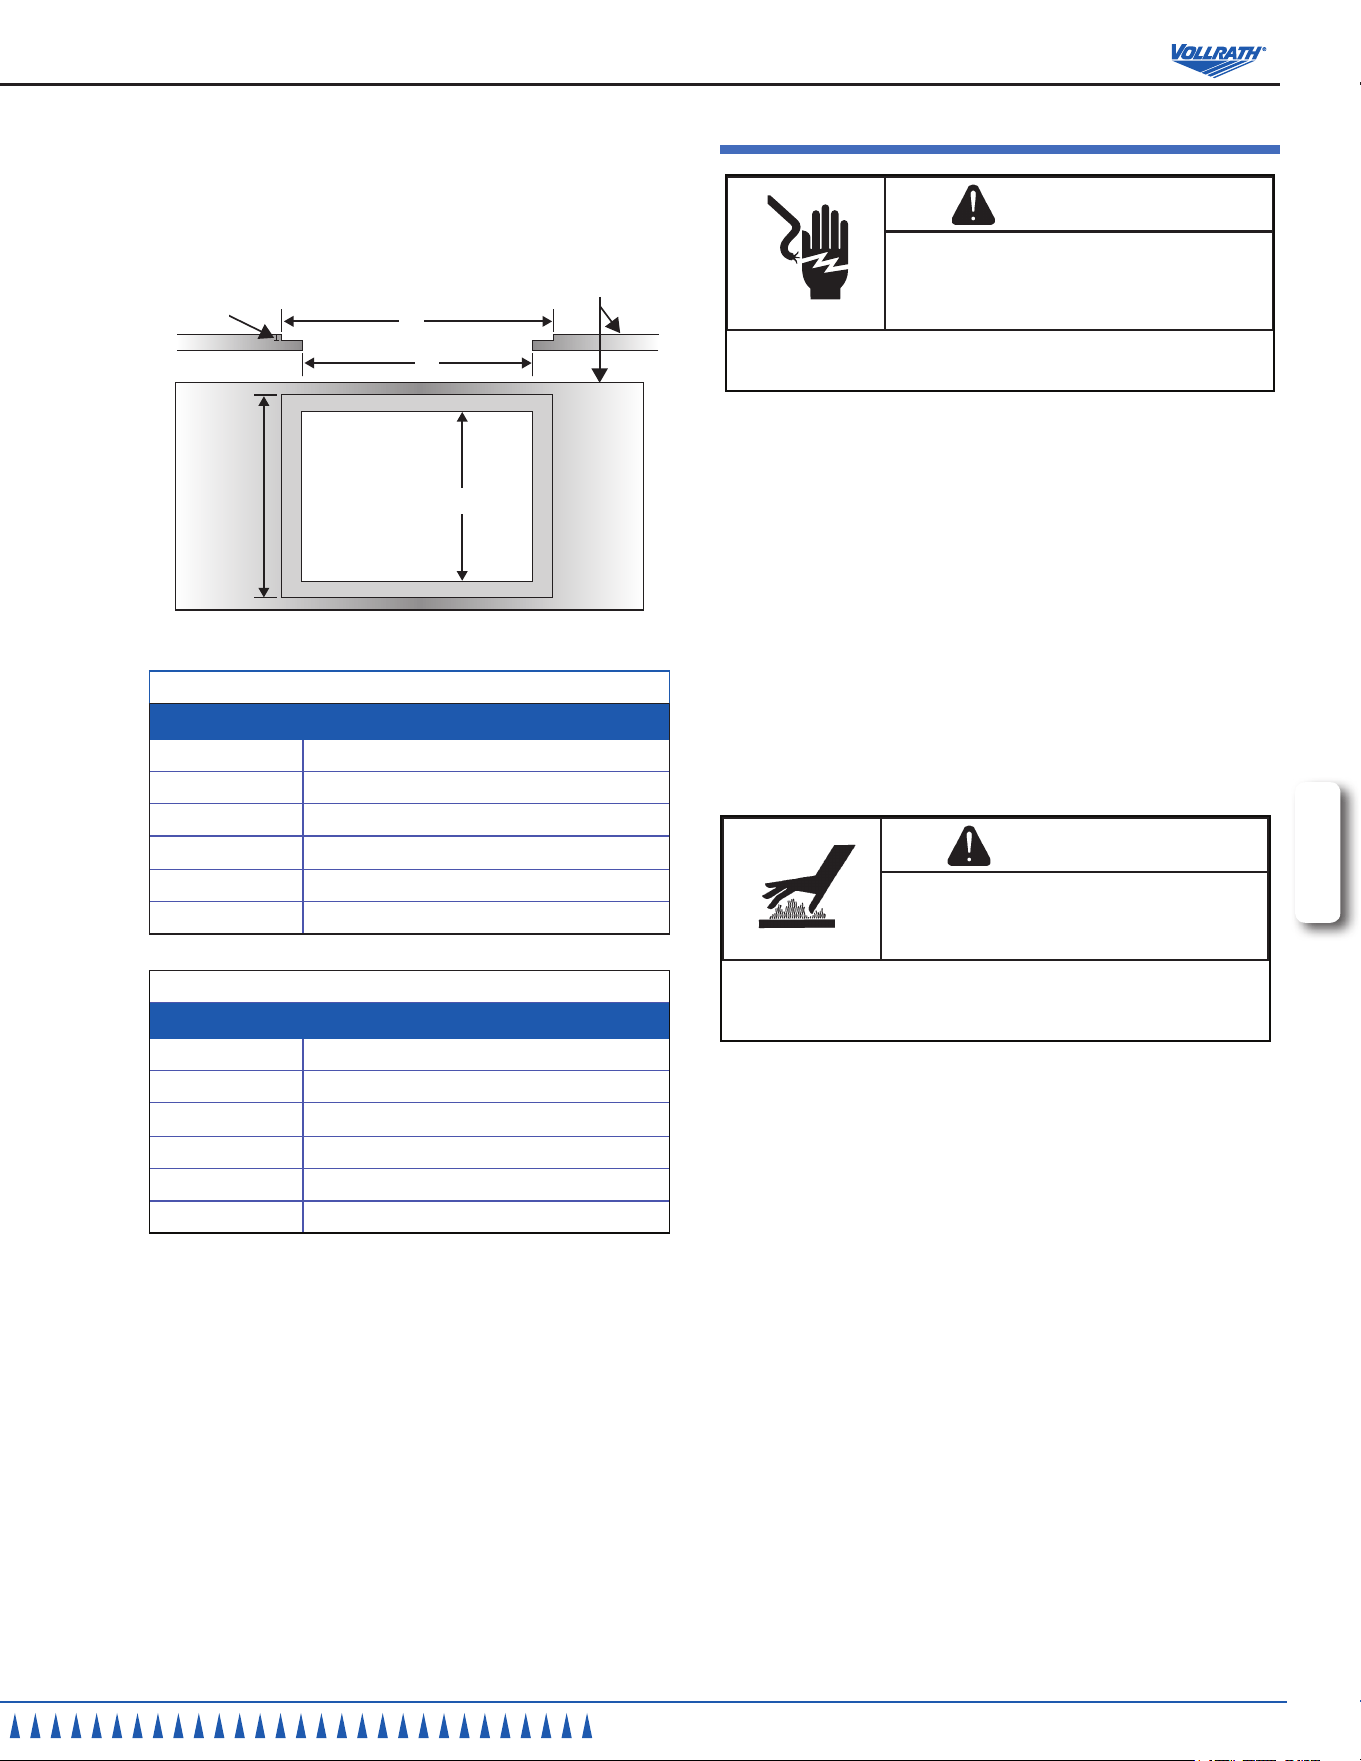
2. Measure the area for the cutout, including the countersink area. The
unit is designed to be countersunk. The depth of the surface around the
cutout must be reduced to allow for the countersink. See the illustration
below.
Foodservice induction ranges
3
English
OperatOr’s Manual
nOTE:
Exposedwoodorparticleboardedgesmustbesealedwithan
appropriatewaterproongmaterial.sealtheedgebetweenthe
glassandthecountertopwithsiliconeorsimilarmaterial.Failureto
dosomayresultindamagetothecountertop.
Top View Front View
C
A
B
E
F
D
Unit Cutout Dimensions for Drop-in Models
dimension size
A
14-11/16” (37.0 cm)
B
13-3/8” (34.0 cm)
C
11-3/4” (30.0 cm)
D
12-11/16” (32.0 cm)
E
1/4 (.63 cm)
F
Countertop
Control Cutout Dimensions for Drop-in Models
dimension size
A
N/A
B
5” (12.7 cm)
C
2
11
\16
” (6.9 cm)
D
N/A
E
N/A
F
Countertop
3. Seal the joint between the induction warmer and countertop.
4. Plug the power cord into a grounded electrical outlet with the matching
nameplate rated voltage.
nOTE:
Usingavoltageotherthanthenameplateratedvoltagewillcause
damagetotheunit.incorrectvoltage,modicationtothepower
cordorelectricalcomponentscandamageunitandwillvoidthe
warranty.inductionunitsaretouseaseparatededicatedcircuit.
oPeration
Warning
Electricalshockhazard.
Keep water and other liquids from entering the
inside of the unit. Liquid inside the unit could cause
an electrical shock.
If liquid spills or boils over onto the unit, immediately unplug the unit
and remove cookware. Wipe up any liquid with a padded cloth.
1. Place the induction-ready cookware containing food in the center position
of a heating surface.
nOTE:
Donotpre-heatemptycookware.Becauseofthespeedand
efciencyoftheinductionrange,cookwarecanveryquickly
overheatandbedamaged.
nOTE:
Donotdropcookingutensilsorotherobjectsontothecooking
surface.Thestrong,non-poroussurfacewillbreak.Thewarranty
doesnotcoverthistypeofabuse.
2. Press the ON/OFF button. The DISPLAY panel will show a power level
or the HEAT DISPLAY LED will light. When an induction ready cookware
pan is placed on the heating surface, the DISPLAY panel will remain on,
or the HEATING LED will illuminate. This indicates the unit is heating.
Warning
Burnhazard.
Do not touch cookware, heating surface, food, or
liquid while heating.
Hot food and liquids can burn skin. Induction heating surfaces heat
very rapidly. Use caution when adding pre-heated oil, liquid or other
food already in the cookware.
Units with DISPLAY panels are equipped with an “over-heating protection”
feature. If the temperature of the cooking surface becomes too hot, the unit
will turn off. The display will ash “F2” to indicate the unit is in “over-heating
protection” mode. After the unit has cooled, turn the cooking surface on and if
“F2” is not displayed, then cooking can resume.
The display window should remain constant during operation. If the display is
ashing, see the TROUBlEshOOTing section in this manual.
Removing cookware from the cooking surface for more than ve minutes will
cause the unit to automatically turn off. Removing cookware for less than ve
minutes will not interrupt operation of the unit.
All units will start in Power Mode when turned on rst time.
Foodservice induction ranges
OperatOr’s Manual
4
POWER
TEMP
TIMER
Timer
°F
°C
K
a
e
i
J
H
F
L
Control Panel Example
POWER
TEMP
TIMER
Timer
°F
°C
H
F
a
e
K
J
i
L
Control Panel Example
o
a
d
c
g
M
B
n
Control Panel Example
a
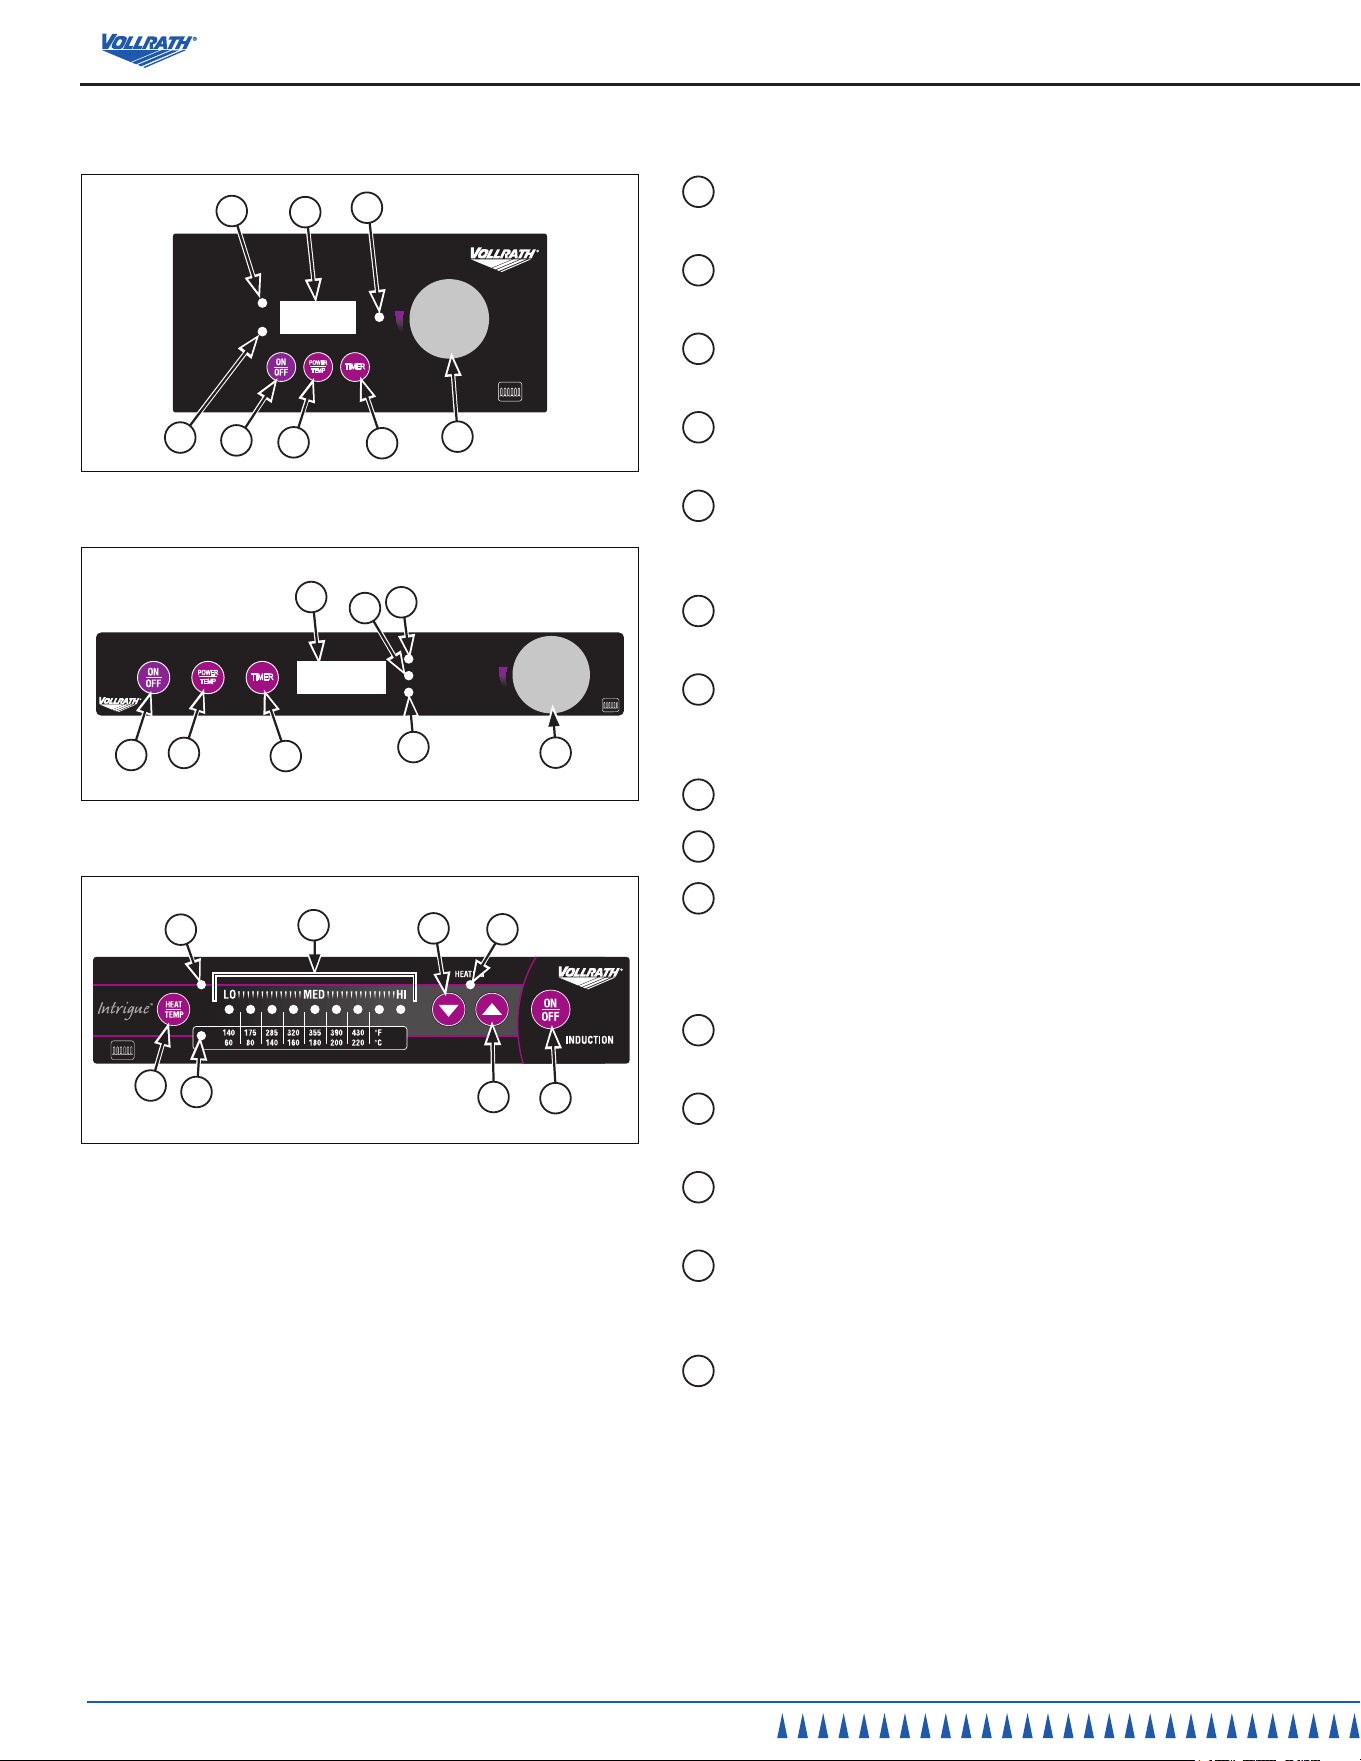
ON/OFF button. Press to turn unit on. An LED above the control
will illuminate when switched on.
B
HEATING LED light. Illuminates when induction read-cookware
in detected and the unit is heating.
c
UP button. Used to increase the power level or time depending
upon the mode selected and model.
d
DOWN button. Used to decrease the power level or time
depending upon the mode selected and model.
e
DISPLAY panel. This displays the power level, temperature,
timer time or an error code, depending upon the mode selected
and the model.
F
POWER/TEMP button. Used to change the display panel read
out from power to temperature.
g
TEMPERATURE LED light. Illuminates when the unit is in the
temperature mode. This light is constant or blinks depending on
the model.
H
TIMER button. Used to switch on and start the timer function.
i
TIMER LED light. Illuminates when timer function is operating.
J
CONTROL knob. Used to control the temperature, power level
or time, depending on the mode selected or model. Rotating
the knob clockwise increases the number(s). Rotating the knob
counterclockwise decreases the number(s).
K
ºF LED light. Illuminates when the temperature in being
displayed in degrees Fahrenheit.
L
ºC LED light. Illuminates when the temperature in being
displayed in degrees Centigrade.
M
HEAT/TEMP button. Used to switch between temperature
display and heat display modes.
n
HEAT RANGEandTEMPERATURELED lights. Shows a
heat range between low and high (nine settings). Or, shows a
temperature value using temperature (seven settings).
o
HEAT RANGE LED light. Illuminates when the heat range
display mode has been selected. This light ashes when
activated.
Foodservice induction ranges
5
English
OperatOr’s Manual
troubleShooting
Problem it might be caused by course of action
The unit turned off after 1, 5, or 10
minute(s) depending upon the unit.
There is not a pot/pan on the induction range or
the pot/pan is not induction-ready cookware. The
induction range turned off. This is normal.
Make sure the pot/pan is induction ready. See the
FUnCTiOnandPURPOsE Section of this manual.
The unit is on, but not heating. The cookware may be too small or may not be
induction-ready.
Make sure the pot/pan is induction ready. See the
FUnCTiOnandPURPOsE of this manual.
The digital display lights are ashing. The overheat-protection feature may have activated. Remove cookware. Let cooking surface cool.
The unit suddenly stopped working. The unit may be too close to an external heat source
or the air intake may be restricted.
Relocate the unit away from any external heat
source. Clear any obstructions to the air intake.
AdjustingthePowerandTemperature
1. Press the ON/OFF button to turn on the unit.
2. Place induction-ready cookware on the range/warmer. A number will
remain “steady on” units with a DISPLAY panel. The HEATING LED will
illuminate on units with HEAT RANGE and TEMPERATURE LED lights.
3. Press the POWER/TEMP button (some models) to choose a cooking
power level (1 – 100) or an approximate temperature (100° – 400° F
or 60° – 210° C). Or, press the HEAT/TEMP button (some models)
to choose a heat leve (low - med - hi) approximate temperature
(100° – 400° F or 60° – 210° C).
4. Press the UP button or DOWN button (some models) to increase or
decrease the power/heat level or temperature. Press the UP button
or DOWN button to increase or decrease the power/heat level or
temperature. Or, rotate the CONTROL knob to control the temperature,
power level or time, depending on the mode selected or model.
Rotating the knob clockwise increases the number(s). Rotating the knob
counterclockwise decreases the number(s).
5. Press the ON/OFF button to turn off the unit.
ActivatingtheTimer
1. Press the TIMER button. The DISPLAY will show “1” with a ashing dot
in the lower right corner.
2. Press the UP or DOWN button (some models) to set the timer from 1
to 180 minutes. Or, rotate the CONTROL knob to (some models) to set
the timer from 1 to 180 minutes. The timer can be can only be set in full
minute increments.
3. When the timer cycle is complete, the unit will turn off.
4. To cancel the timer, press the ON/OFF button. The timer will turn off and
the unit will return to the power or temperature mode.
cleaning
To maintain the appearance and increase the service life, clean your
induction range daily.
Warning
Burnhazard.
Do not touch cookware, heating surface, food, or
liquid while heating.
Hot food and liquids can burn skin. Induction heating surfaces heat
very rapidly. Allow the heating surface to cool before handling.
Warning
Electricalshockhazard.
Keep water and other liquids from entering the
inside of the unit. Liquid inside the unit could cause
an electrical shock.
Do not spray water or cleaning products. Liquid could contact the
electrical components and cause a short circuit or an electrical
shock.
1. Unplug the unit and let it completely cool.
2. Wipe the unit exterior with a clean damp cloth.
3. Do not use abrasive materials, scratching cleansers or souring pad to
clean the unit. These can damage the nish.
4. Thoroughly wipe off any mild soap or chemical cleaners. Residue could
corrode the surface of the unit.
Service and rePair
There are no user serviceable parts within this appliance. To avoid serious injury or damage, never attempt to repair the induction range or replace a damaged
power cord yourself. Do not send units directly to the Vollrath Company. Please contact the qualied professional repair service listed below.
VOllRAThinductionRepairservice•1-800-825-6036(UsA)orwww.vollrathco.com
When contacting the Authorized Professional Service Center, please be ready with the model number, serial number, and proof of purchase showing the date
the unit was purchased.

Foodservice induction ranges
OperatOr’s Manual
6
Warranty Statement for the vollrath co. l.l.c.
The Vollrath Company LLC warrants the products it manufactures and distributes against defects in materials and workmanship for a period of one year, except as specically
provided below. The warranty runs 12 months from the date of original installation. (End user receipt)
1. Refrigeration compressors – The warranty period is 5 years.
2. Replacement parts – The warranty period is 90 days.
3. Fry pans and coated cookware – The warranty period is 90
days
4. EverTite™ Riveting System – The warranty covers loose
rivets only, forever.
5. Cayenne® Heat Strips – The warranty period is 1 year plus
an additional 1 year period on heating element parts only.
6. Ultra®, Mirage Pro and Professional Induction Ranges – The
warranty period is 2 years.
7. Mirage®, Mirage® Cadet and Commercial Induction Ranges -
The warranty period is 1 year.
8. ServeWell® Induction Workstations – The warranty period is
one year on the workstation table and 2 years on induction
hobs.
9. Slicers – The warranty period is 10 years on gears and 5
years on belts.
10. Mixers – The warranty period is 2 years.
11. Extended warranties are available at the time of sale.
12. Vollrath – Redco products – The warranty period is 2 years.
13. Optio / Arkadia product lines – The warranty period is 90
days.
14. All non-stick products (i.e. fry pans and surfaces) are 90
days for the non stick surfaces.
All products in the Jacob’s Pride
®
collection, including
the following, have a lifetime warranty:
• NSF Certied One-Piece Dishers
• NSF Certied Spoodle
®
Utensils
• NSF Certied Heavy-Duty Spoons with Ergonomic
Handle
• NSF Certied Heavy-Duty Basting Spoons
• Heavy duty Turners with Ergonomic handle
• One-Piece Tongs*
• Heavy-Duty One-Piece Ladles*
• Nylon Handle Whips
• One-Piece Skimmers
• Tribute
®
, Intrigue
®
, and Classic Select
®
Cookware*
*Jacob’s Pride® warranty does not cover Kool-
Touch®, non stick coatings and silicone handles.
itemssoldhavingnowarranty:
• Meat Grinder Knives
• Light Bulbs in Convection Ovens and Hot Food
Merchandiser
• Oven Door Seals
• Oven Door Glass
• Hot Food Merchandisers / Display Case Glass
• Calibration and set up of gas equipment
• Slicer / Dicer blades (table top food prep) – Redco
and Vollrath
ThisWARRAnTYisinliEUOFAnYOThERWARRAnTiEs,EXPREssORiMPliED,inClUDingAnYiMPliEDWARRAnTYOF
MERChAnTABiliTYORFiTnEssFORAPARTiCUlARPURPOsE
As The Vollrath Company LLC’s only responsibility and the purchaser’s only remedy, for any breach of warranty, The Vollrath Company LLC will repair or, at its option, replace the
defective product or part without charge, except as otherwise provided below:
• For refrigeration compressors and the second year of the warranty on Cayenne® Heat Strips and mixers, The Vollrath Company LLC will provide the repaired
or replacement part only; and the buyer will be responsible for all labor charges incurred in performing the repair or replacement.
• To obtain warranty service, the buyer will be responsible to return to The Vollrath Company LLC any product (other than gas equipment that is permanently
installed) weighing less than 110 lbs. or located outside of a 50-mile radius of a certied technician designated by The Vollrath Company LLC to perform
warranty repairs. If a Vollrath Technician cannot be contacted check the website for service contact points. (Please refer to the Product Catalogue for weights
and sizes of product)
• No remedy will be available for products that have been damaged by accident, carelessness, improper installation, lack of proper setup or supervision when
required, neglect, improper use, installation or operation contrary to installation and operating instructions or other causes not arising out of defects in materi-
als or workmanship. At the buyer’s request, The Vollrath Company LLC will repair and or replace such products at a reasonable cost.
• No remedy will be available for slicers where blade has not been sharpened (Refer to owner’s manual for sharpening instructions)
• No remedy will be available for mixers damaged by changing gears while unit is running or overloading, in either case as determined by a Vollrath Certied
Technician
• Warranty work must be authorized in advance by The Vollrath Company LLC. See the operating and safety instructions for each product for detailed war-
ranty claim procedures.
• No remedy will be available for product returned and found to be acceptable to the product specication.
• No remedy will be available under any warranty not registered as required below.
liMiTATiOnOFliABiliTY:
ThEVOllRAThCOMPAnYllCshAllhAVEnOliABiliTYFORinCiDEnTAlORCOnsEQUEnTiAlDAMAgEsOFAnYKinD,
WhEThERBAsEDUPOnnEgligEnCEOROThERTORT,BREAChOFWARRAnTY,ORAnYOThERThEORY.
induction range Warranty information
The Vollrath Company will warranty the induction ranges covered in this manual for a period of one (1) year in accordance with the policy stated above. Any
damages from improper use, abuse, modication or damage resulting from improper packaging during return shipment for warranty repair will not be covered
under warranty.
Foodservice induction ranges
7
English
OperatOr’s Manual
warranty procedure
On all warranty calls, the following process and information is required:
• All warranty claims will start with a call to Vollrath Technical Service support line.(800-628-0832).
• A technical support professional will work to diagnose the issues, and provide the details for the service solution.
• Name and phone number of person calling
• Business name, street address, city, state/providence and zip
• Model and serial number
• Date of purchase and proof of purchase (Receipt)
• Name of dealer where unit was purchased
NOTE: Vollrath will not accept products sent without the proper procedure being followed.
important:
TO MAKE A CLAIM FOR ANY REMEDY UNDER THIS WARRANTY, YOU MUST REGISTER YOUR WARRANTY.
register today
ONLINE: Register your warranty on-line now at www.Vollrathco.com
NO WEB ACCESS: If you do not have access to the web, kindly register by completing the warranty registration form and faxing it to The Vollrath Co. LLC ofce in the country of
purchase.
Warranty regiStration
business name
key contact name email
street address
city state/providence Zip code
country phone Fax
model item number
serial number - -
operation type
R Limited Service Restaurant R Full Service Restaurant R Bars and Taverns R Supermarket
R Convenience Store R Recreation R Hotel/Lodging R Airlines
R Business/Industry R Primary/Secondary School R Colleges/University R Hospitals
R Long-Term Care R Senior Living R Military R Corrections
reason For selecting our product
R Appearance R Full Service Restaurant R Availability R Sellers Recommendation
R Ease of Operation R Versatility of Use R Price R Brand
would you like to receive our Full-line catalog and remain on our mailing list? R Yes R No

worldwide induction ranges
www.vollrathco.com
The Vollrath Company, L.L.C.
1236 North 18th Street
Sheboygan, WI 53081-3201
U.S.A.
Main Tel: 800.628.0830
Fax: 800.752.5620
Technical Services: 800.628.0832
Service Fax: 920.459.5462
Canada Service: 800.695.8560
© 2011 The Vollrath Company, L.L.C.