Operator’s Manual
www.mechmaxx.com
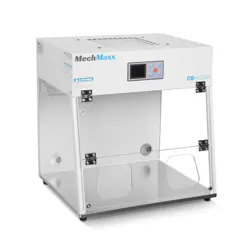
CLEAN BENCH
CB-65SLIM
CB-80SLIM
WARRANTY

1
www.mechmaxx.com
The clean bench is a purification device designed to create a clean and controlled local working environment. With the
advancement of science and technology, it is now widely used in various fields, including:
•Electronics and precision machinery – for dust control and product quality assurance.
•Agriculture and forestry – for preventing contamination in experiments and production.
•Colleges and research institutions – for teaching, research, and laboratory applications.
•Medical and healthcare – for controlling dust, bacteria, and viruses to ensure a sterile working environment.
APPLICATION SCOPE
(The stand is an optional accessory and must be purchased separately.)
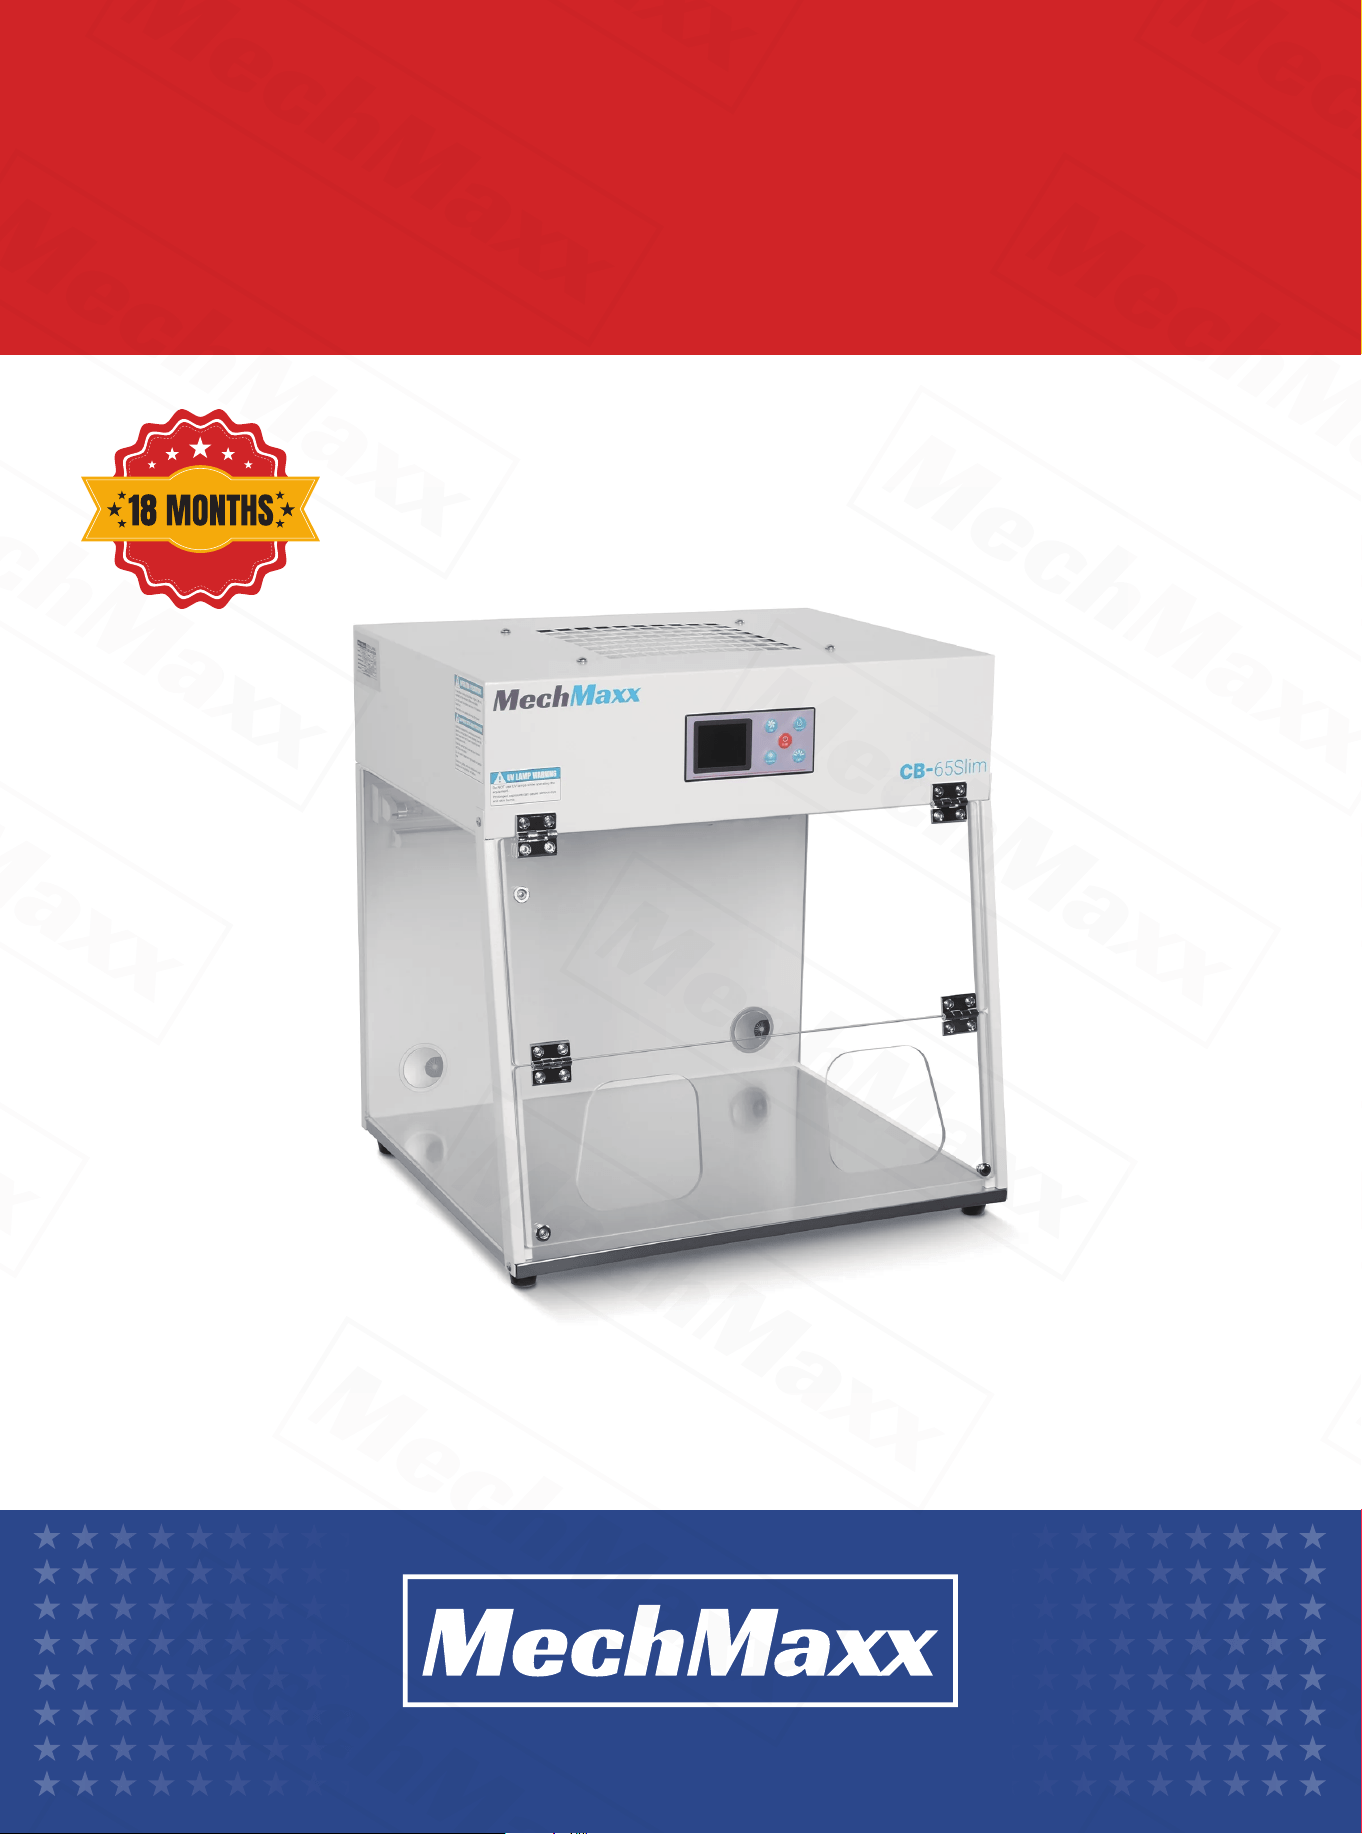
STRUCTURE AND FEATURE
Adopts a dual-filtration system with a pre-filter and a high-efficiency filter, ensuring the cleanliness of the working area
meets user requirements.
The unit features a robust and refined structure, constructed from cold-rolled steel plates and specially shaped tubes
with a high-quality spray-coated finish. Its ergonomic design combines durability with aesthetics.
The work surface is made of stainless steel, offering excellent resistance to corrosion, long service life, and easy cleaning
and maintenance.

2
www.mechmaxx.com
•Cleanliness: ISO Class 5 (Class 100, ≤5 particles ≥0.5 µm per liter of air)
•Noise: ≤62 dB
•Vibration: ≤2 µm (0.00008 in)
•Average Airflow Velocity: 49–89 ft/min(0.25–0.45 m/s )
Connect the equipment to power and turn on the main switch. Press the “Increase” button on the controller to set the
airflow to maximum. Then switch on the UV lamp.
After 20–30 minutes, when sterilization and purification are achieved, turn on the lighting and begin normal operation.
After use, turn off all switches and clean the work surface to prepare the unit for future operation.
【Switch】
Press to power on the LCD controller and enter normal operation.
【Fan】
Press to start the fan. Wind speed can be adjusted to three levels. Repeatedly pressing cycles through the speed
settings. The fan will remain running even when the controller is powered off. The controller has a memory function and
automatically restores the last wind speed upon restart.
【Disinfection】
Press to activate the UV lamp. Each press adds 20 minutes to the timer. After a few seconds, the UV light will flash
briefly, then operate normally. When the set time expires, the lamp will automatically turn off.
•Press and hold for 3 seconds to switch to “continuous on” mode.
•Press briefly again to turn off the lamp.
•Note: The UV lamp cannot operate simultaneously with the fan or the lighting.
【Lighting】
Press to turn the lighting on. Press again to turn it off.
【Reservation】
Press to set a delayed start for the fan. Each press adds 1 hour. The timer can be set from 0 to 99 hours. When the set
time is reached, the fan will start automatically.
TECHNICAL SPECIFICATION
OPERATING INSTRUCTIONS
INSTRUCTION OF CONTROLLER KEYS
KEY FUNCTIONS
ON/OFF
Light
Fan
Disinfection
Disinfection
UV
Wind speed
0
1
2
3
4
5
6
Pressure
difference
0 50 100 150 200 250 300 350 400 450 500
Pa
Temperature
°C
Scheduled
startup
Cumulatve
working hours
Reservation
0
20
40
60
80
100
120
3
www.mechmaxx.com
The operation for clearing the setting of cumulative working time is as follows:
1.In the screen-off state, long press the [Reservation] key for 3 seconds to enter the "LC 0000" interface.
2.Use the [Fan] key to increase, the [Disinfection] key to decrease, and the [Lighting] key to shift and adjust the parame-
ters. When "LC 0008" is displayed, briefly press the [Reservation] key, and "Pt 0000" will appear.
3.Press the [Fan] key to increase, and "Pt 0001" will be displayed. Then long press the [Reservation] key until a beep is
heard, which indicates that the cumulative working time has been reset to zero successfully. (Note: You must press and
hold the [Reservation] key until the beep sounds, otherwise the reset will not take effect.)
4.Press the [Switch] key and wait for the beep, then the setting mode will be exited.
Setting the Upper Limit of Cumulative Working Hours
1.In the screen-off state, long press the [Reservation] key for 3 seconds to enter the "LC 0000" interface.
2.Use the [Fan] key to increase, the [Disinfection] key to decrease, and the [Lighting] key to shift and adjust the parame-
ters. When "LC 0018" is displayed, briefly press the [Reservation] key, and "St XXXX" will appear.
3.Use the [Fan] key to increase, the [Disinfection] key to decrease, and the [Lighting] key to shift, then set the number
after “St” to the desired hour limit. Long press the [Reservation] key until a beep is heard — the beep indicates that the
setting has been saved successfully. Then press the [Switch] key to return to the menu.
Note: If you exit the setting directly without hearing the confirmation beep, the new value will not be saved. When the
cumulative working time exceeds the set limit, the buzzer will sound an alarm each time the device is turned on.
1.Filter Replacement
If the airflow speed in the working area drops below 0.08 m/s (16 ft/min), the high-efficiency filter must be replaced.
Replacement filters can be purchased from our company. When installing a new filter, ensure the arrow mark on the filter
points in the direction of the airflow.
2.Inspection After Cleaning
After cleaning, remove any dirt and dust. Run the fan to verify proper airflow and check for leakage. Resume operation only
after confirming that the unit is functioning correctly.
3.Prohibited Modifications
Do not alter or modify the internal structure. For quality-related issues, please contact our after-sales service depart-
ment.
4.Handling
Handle and move the equipment with care to prevent damage.
5.Long-Term Storage
If the equipment will not be used for an extended period, unplug the power cord and turn off the main power switch.
【Pressure Calibration】
When the fan is off, press and hold Fan + Reservation + Disinfection + Lighting simultaneously for 3 seconds to complete
calibration.
REPAIR AND MAINTENANCE
PACKING LIST
Serial Name Quantity Remarks
1
2
3
Clean bench
Power cord
Manual
1
1
1