Quick Start Guide
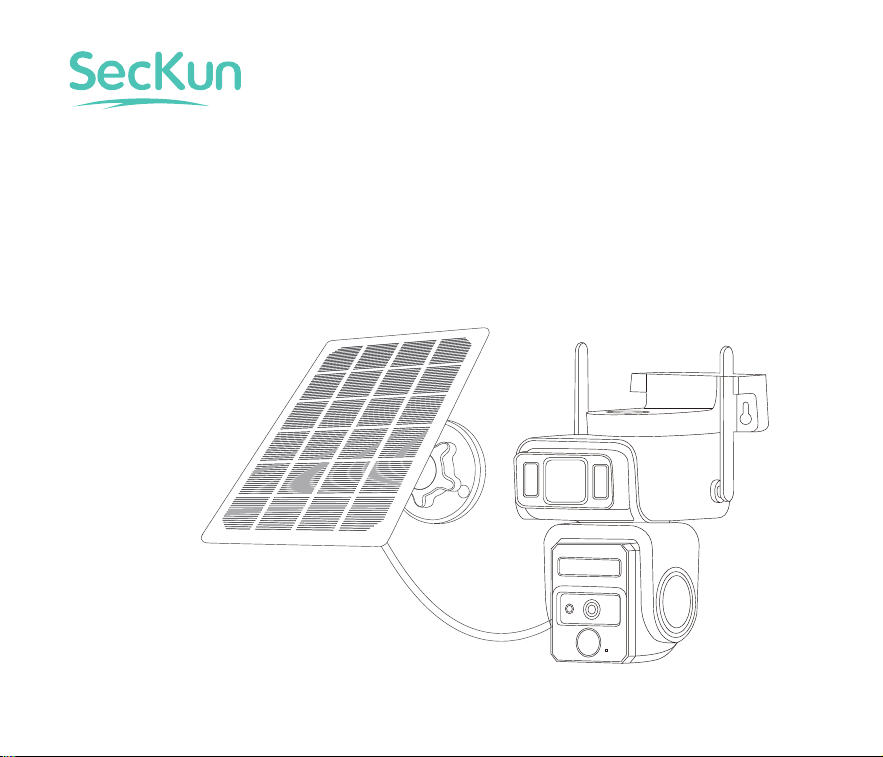
AJ19 Solar Security Camera
WiFi Camera
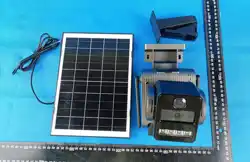
What's in the Box
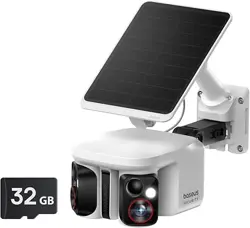
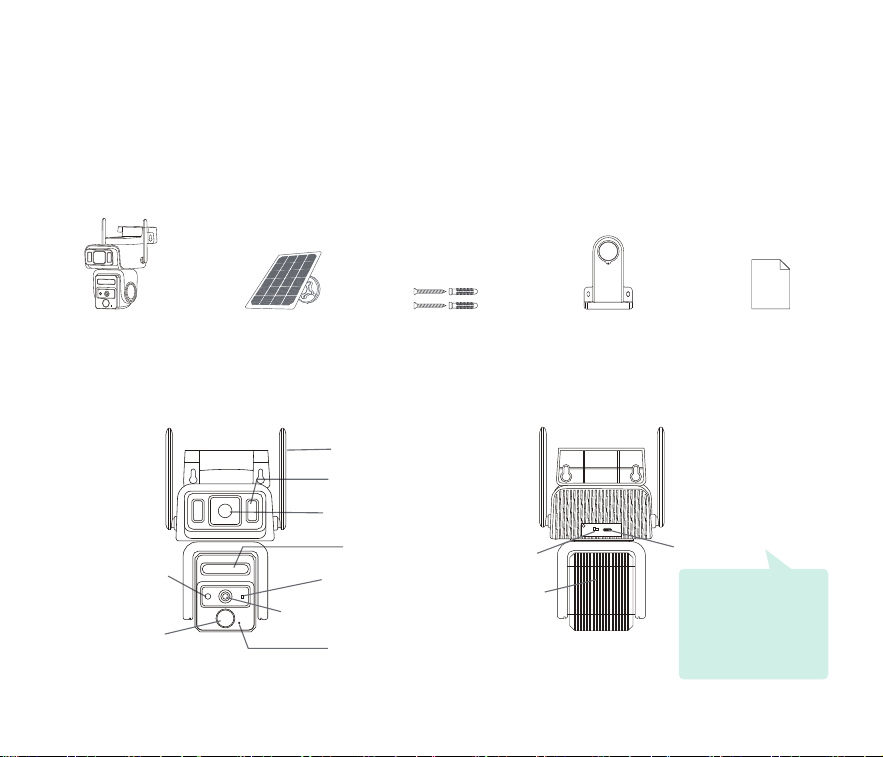
Product overview
Camera Solar Panel Screws Support Frame User Guide
Power Switch
Speaker
Charging Port
Antenna
LED Light
LED Light
Photosensor
Indicator Light
Light Sensor
PIR
Motion
Sensor
Microphone
Light Sensor
Welcome to SecKun.
Thank you for choosing the AJ19 Solar Security Camera.
This camera is built to protect your home with reliable outdoor performance.
Please read this manual before installation.
Important:
Use a standard 5V
adapter only.
Fast chargers (QC/PD)
are not supported.
01

Set up the Camera
Slot
Reset Button
SD Card Slot
SD Card Slot
Align the mounting bracket with the clips
on the camera, then press down firmly
until it clicks into place.
NOTE: Insert the microSD card in the correct orientation. Improper insertion may damage the card or device
SD Card Interface: Supports micro SD cards for local storage (up to 128GB).
Reset Button: Used to restore the camera to factory settings (press and hold for 5-8s).
Card Capacity Requirements: 8-128GB.
Requires Class 10 or higher microSD card.
Supported Format: FAT32
Step 1. Scan to download the App from the App Store or Google Play store.
02

Step 2. Turn on the power switch to power on the camera. Launch the App, click the "+" button to
add the camera.(Follow the illustration reference below).
1.Turn on Bluetooth
on your phone and
tap the Add button.
2.Scan the QR code on the
device
3.Select the device
with the same ID as
the one on the
camera label and tap
Add to establish a
Bluetooth
connection. This
device is identified
after "AICAM_" (e.g.,
AICAM_xxxx).
4.Select a 2.4GHz
Wi-Fi network
(5GHz not
supported) and
enter the
password.
5.Wait for the Wi-Fi
setup process to
complete.
03
Install the Camera
1.Restart the camera to ensure it is powered on;
2.Check whether the Wi-Fi connected to the device can access the Internet normally;
3.Check if the Wi-Fi password is entered correctly;
4.If you still cannot connect, please reset the device and try again.
If adding fails, try the following steps:
If the issue persists, please contact customer support through your platform order page.
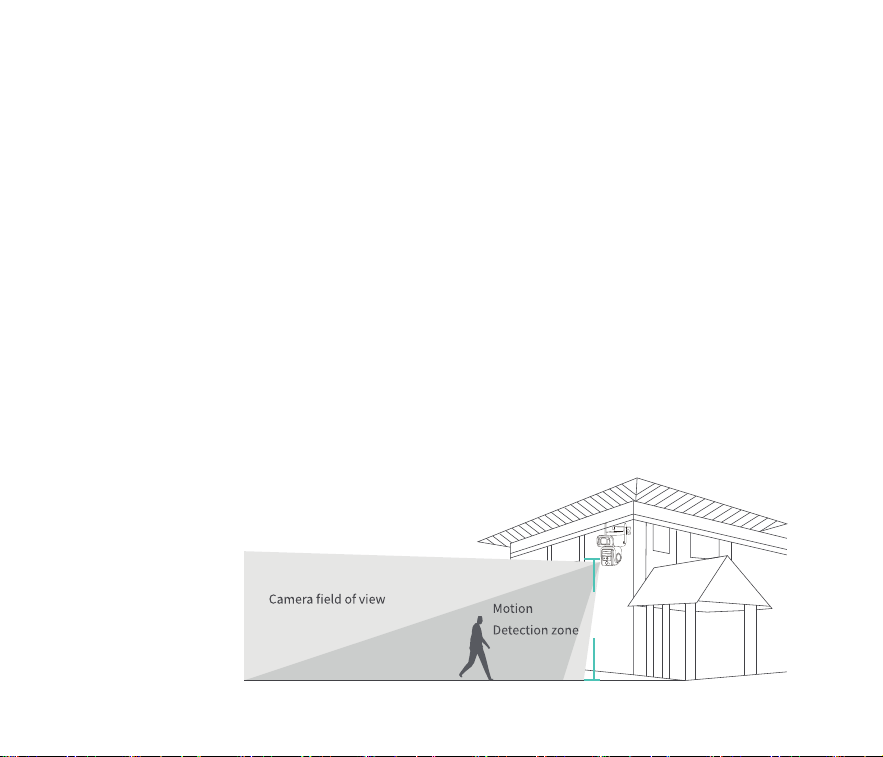
Select height and position
Install the camera 7–10 ft (2–3 m) above ground level. This height maximizes the range of the camera's motion sensor.
Avoid placing the camera in direct sunlight.
2–3 m
04
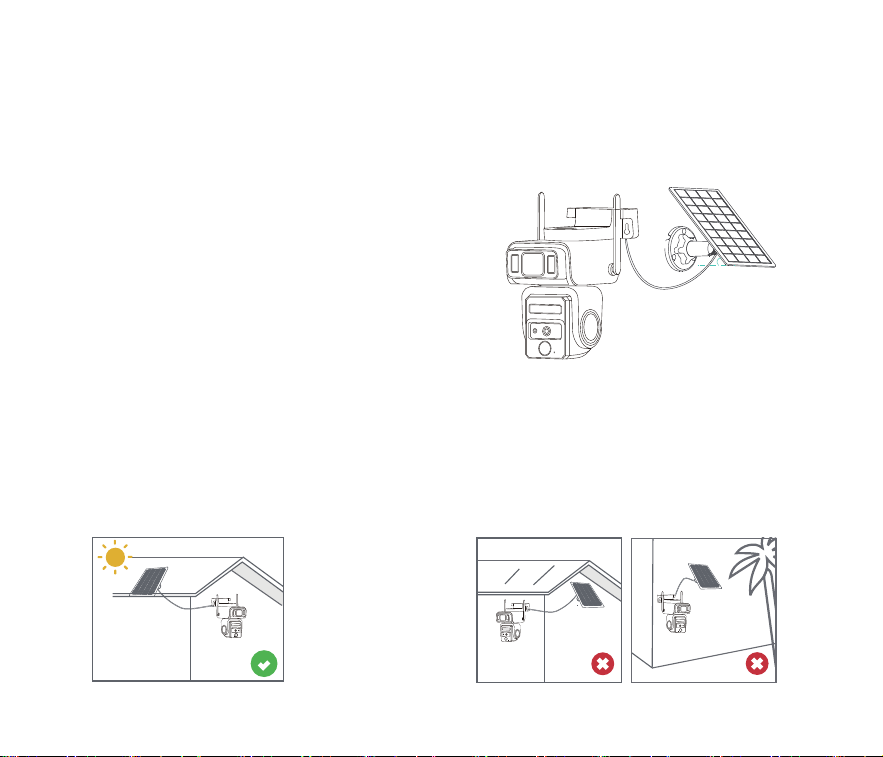
Installation Instructions for the Solar Panel
1.Install the solar panel at a 30°–45° angle for optimal sunlight exposure., as shown in the picture below.
2.The installation between the solar panel and the camera is shown in the
following figure.
Tips for Installing Solar Panels
1.Northern Hemisphere: Face the panel south,Southern Hemisphere: Face the panel north.
2.Make sure the solar panel is installed in a location where sunlight is not blocked by any objects such as eaves, tree branches,
etc.
30–45 degree
05
Safety Instructions of Battery Usage
Common Problem
1.The battery is built-in, so do not remove it from the camera.
4.Do not charge, use, or store the battery near any ignition sources, such as fire or heaters.
6.Always follow local waste and recycling laws when disposing of the used battery.
If the following methods still do not solve your problem, please contact the customer service of the camera you
purchased, or contact the online customer service in the app, and we will resolve it for you as soon as possible.
2.Charge the built-in battery using a standard 5V power adapter or the included solar panel. Quick Charge (QC) and Power
Delivery (PD) fast chargers are not supported.
3.Charge the battery when temperatures are between 0°C and 45°C, and always use the battery when temperatures are
between –20°C and 60°C.
5.Stop using the device immediately if you notice unusual odor, heat, or deformation.generates heat, becomes discolored
or deformed, or appears abnormal in any way. If the battery is being used or charged, remove the battery from the device
or charger immediately and stop using it.
06
SolutionProblems
Check whether the Wi-Fi password is correct and the network is working properly.
The camera supports 2.4GHz Wi-Fi only , does not support 5GHz networks.
Please make sure you are connecting to a 2.4GHz Wi-Fi network.
Then RESET the camera and try again.
What should I do if setup fails?
How to share the device with
others?
What if the display device is
offline?
Click the "Record Screen" button during playback, and click the red button after
recording. The video file will be saved to the phone.
How do I download recorded
videos?
Click share and send the link to the sharer. The sharer can complete the operation
step by step according to the content of the link. You can share access with up to 10
users per device.
First, confirm whether the power supply and network are normal. If there is no
problem, power off the camera and restart it. If the connection is still disconnected
after restarting, please remove the camera from the app and add it again.
The memory card is full, what
should I do?
No manual processing is required. When the remaining memory card capacity is
less than or equal to 500MB, the camera will automatically overwrite the oldest
video file.
What should I do if I cannot
receive the warning?
1. Confirm that the message in the app device settings is on.
2. Apple phone: In the phone settings, find the " ICAM365" application and enable
the "Message Notification" permission. Log out of "ICAM365" and log in again.
Android phone: In the message notification settings, find " ICAM365" and enable
the "Allow Notification" permission.
Alarm messages are stored for up to 7 days.
07
Specification Notification of Compliance
Indicator Light Status FCC Compliance Statements
Product Specification
Work mode
Blue
Camera lens
SpecificationItem
Field of view: 90°
AJ19
Model Number
Image resolution
Max. 2304 × 1296
Storage media
Micro SD card (Up to 128GB)
Rotation angle
355° pan, 90° tilt
Battery capacity
8000mAh
Adapter requirement
5V/1.5A
Wi-Fi Frequency
2.4GHz (IEEE 802.11 b/g/n)
Sleep mode
Red
Charging mode
Red
Fully charged mode
Off
This device complies with Part 15 of the FCC Rules. Operation is
subject to the following two conditions: (1) this device may not
cause harmful interference, and (2) this device must accept any
interference received, including interference that may cause
undesired operation.
· Reorient or relocate the receiving antenna.
· Increase the separation between the equipment and receiver.
· Connect the equipment into an outlet on a circuit different
from that to which the receiver is connected.
· Consult the dealer or an experienced radio/TV technician for
help.
· Caution: Changes or modifications not expressly approved by
the party responsible for compliance could void the user's
authority to operate the equipment.
Note: This equipment has been tested and found to comply
with the limits for a Class B digital device, pursuant to Part 15 of
the FCC Rules. These limits are designed to provide reasonable
protection against harmful interference in a residential
installation. This equipment generates, uses, and can radiate
radio frequency energy and, if not installed and used in
accordance with the instructions, may cause harmful
interference to radio communications. However, there is no
guarantee that interference will not occur in a particular
installation. If this equipment does cause harmful interference
to radio or television reception, which can be determined by
turning the equipment off and on, the user is encouraged to try
to correct the interference by one or more of the following
measures:
08

FCC Radiation Exposure Statement
This equipment complies with FCC radiation exposure limits set forth for an uncontrolled environment. This equipment should be
installed and operated with a minimum distance of 20 cm between the radiator and your body.
Legal Disclaimer
This product is for residential security use only.
Please follow all local laws regarding video and audio recording.
This device is not a substitute for professional security or law enforcement.
Correct Disposal of This Product
This marking indicates that this product should not be disposed of with other household waste throughout the EU. To prevent possible
harm to the environment or human health from uncontrolled waste disposal, recycle it responsibly to promote the sustainable reuse of
material resources. To return your used device, please use the return and collection systems or contact the retailer where the product
was purchased. They can take this product for environmentally safe recycling.
Technical Support
If you need any technical help, please visit our official support site : https://seckun.net/
09