1 08/11/08
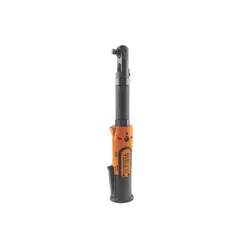
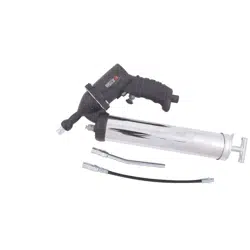
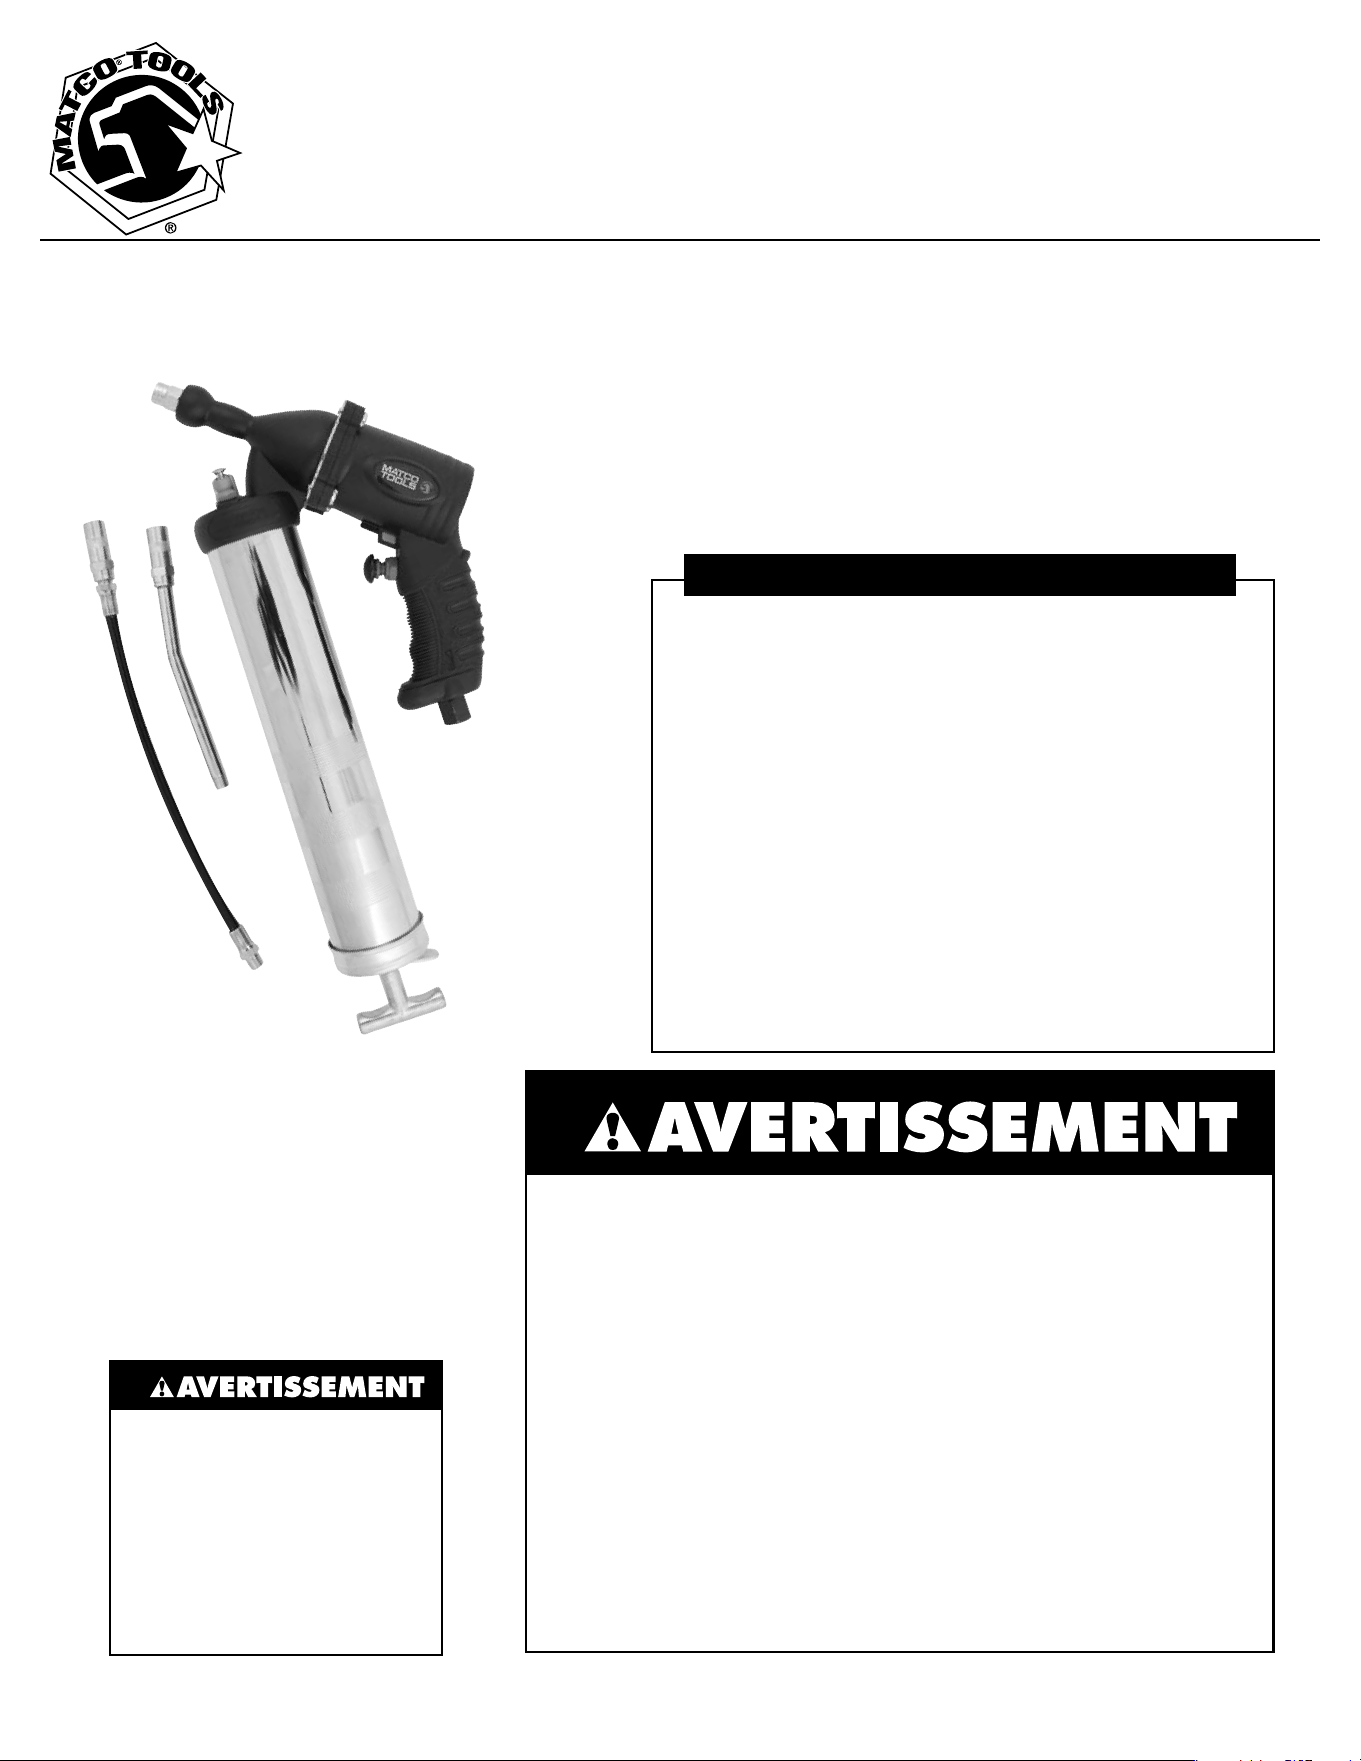
Model GG50B
Air Operated Single Shot Grease Gun
Operating Instructions • Warning Information • Parts Breakdown
FOR YOUR SAFETY AND TO PREVENT INJURY:
EXTREME PRESSURE MAY CAUSE WHIP HOSE TO BURST. USE ONLY
APPROVED HOSES AND FOLLOW THE HOSE INSTRUCTIONS AND
WARNINGS.
THIS AIR OPERATED GREASE GUN CAN DEVELOP HIGH PRESSURES - UP
TO 3,600 PSIG.
USE SAFETY GLASSES AND GLOVES WHILE OPERATING THE GUN. KEEP
HANDS CLEAR OF THE EXPOSED RUBBER PORTION OF THE HOSE WHILE
OPERATING THE GUN WITH HOSE.
IF FLUID APPEARS TO PENETRATE THE SKIN, SEEK IMMEDIATE MEDICAL
ATTENTION.
DO NOT TREAT AS A SIMPLE CUT.
BE SURE THE TRIGGER IS NOT DEPRESSED WHEN ATTACHING THE GUN TO
AN AIR INLET HOSE.
AVOID ACCIDENTAL STARTING.
HOLD THE HOSE ONLY BY THE METAL SPRING GUARDS ON THE END.
DO NOT ALLOW THE HOSE TO KINK. DO NOT BEND THE HOSE IN A TIGHT
RADIUS.
REPLACE THE HOSE AT FIRST SIGN OF WEAR, KINK OR DAMAGE TO THE
OUTSIDE JACKET.
USE ONLY HIGH PRESSURE GREASE GUN HOSE AS A REPLACEMENT.
Pump Ratio (max): ........................40:1
Output per Stroke: ........................2 ml
Pneumatic Inlet Pressure (min): ..........40 PSIG
Pneumatic Inlet Pressure (max):..........90 PSIG
Grease Output Pressure: ............. 3,600 PSIG
Grease Reservoir Capacity: ...............14 oz
Operating Temperature Range: ..........14˚-104˚
Weight (empty): ........................2.2 lbs
Lubricant up to NLGI:.................#2 Grease
Pneumatic Port Inlet: .................1/4" NPT
Grease Port Outlet: ...................1/8" NPT
SPECIFICATIONS
FOR YOUR SAFETY
AND TO PREVENT INJURY:
High pressure hazard.
Wear safety goggles.
Do not exceed 60 psi with
hose or 90 psi with solid
extension. To do so may
cause personal injury.
The pistol-style, Single
Shot Grease Gun is a
specially designed, high
quality, professional air tool
for automotive, truck and
industrial applications.
2 08/11/08
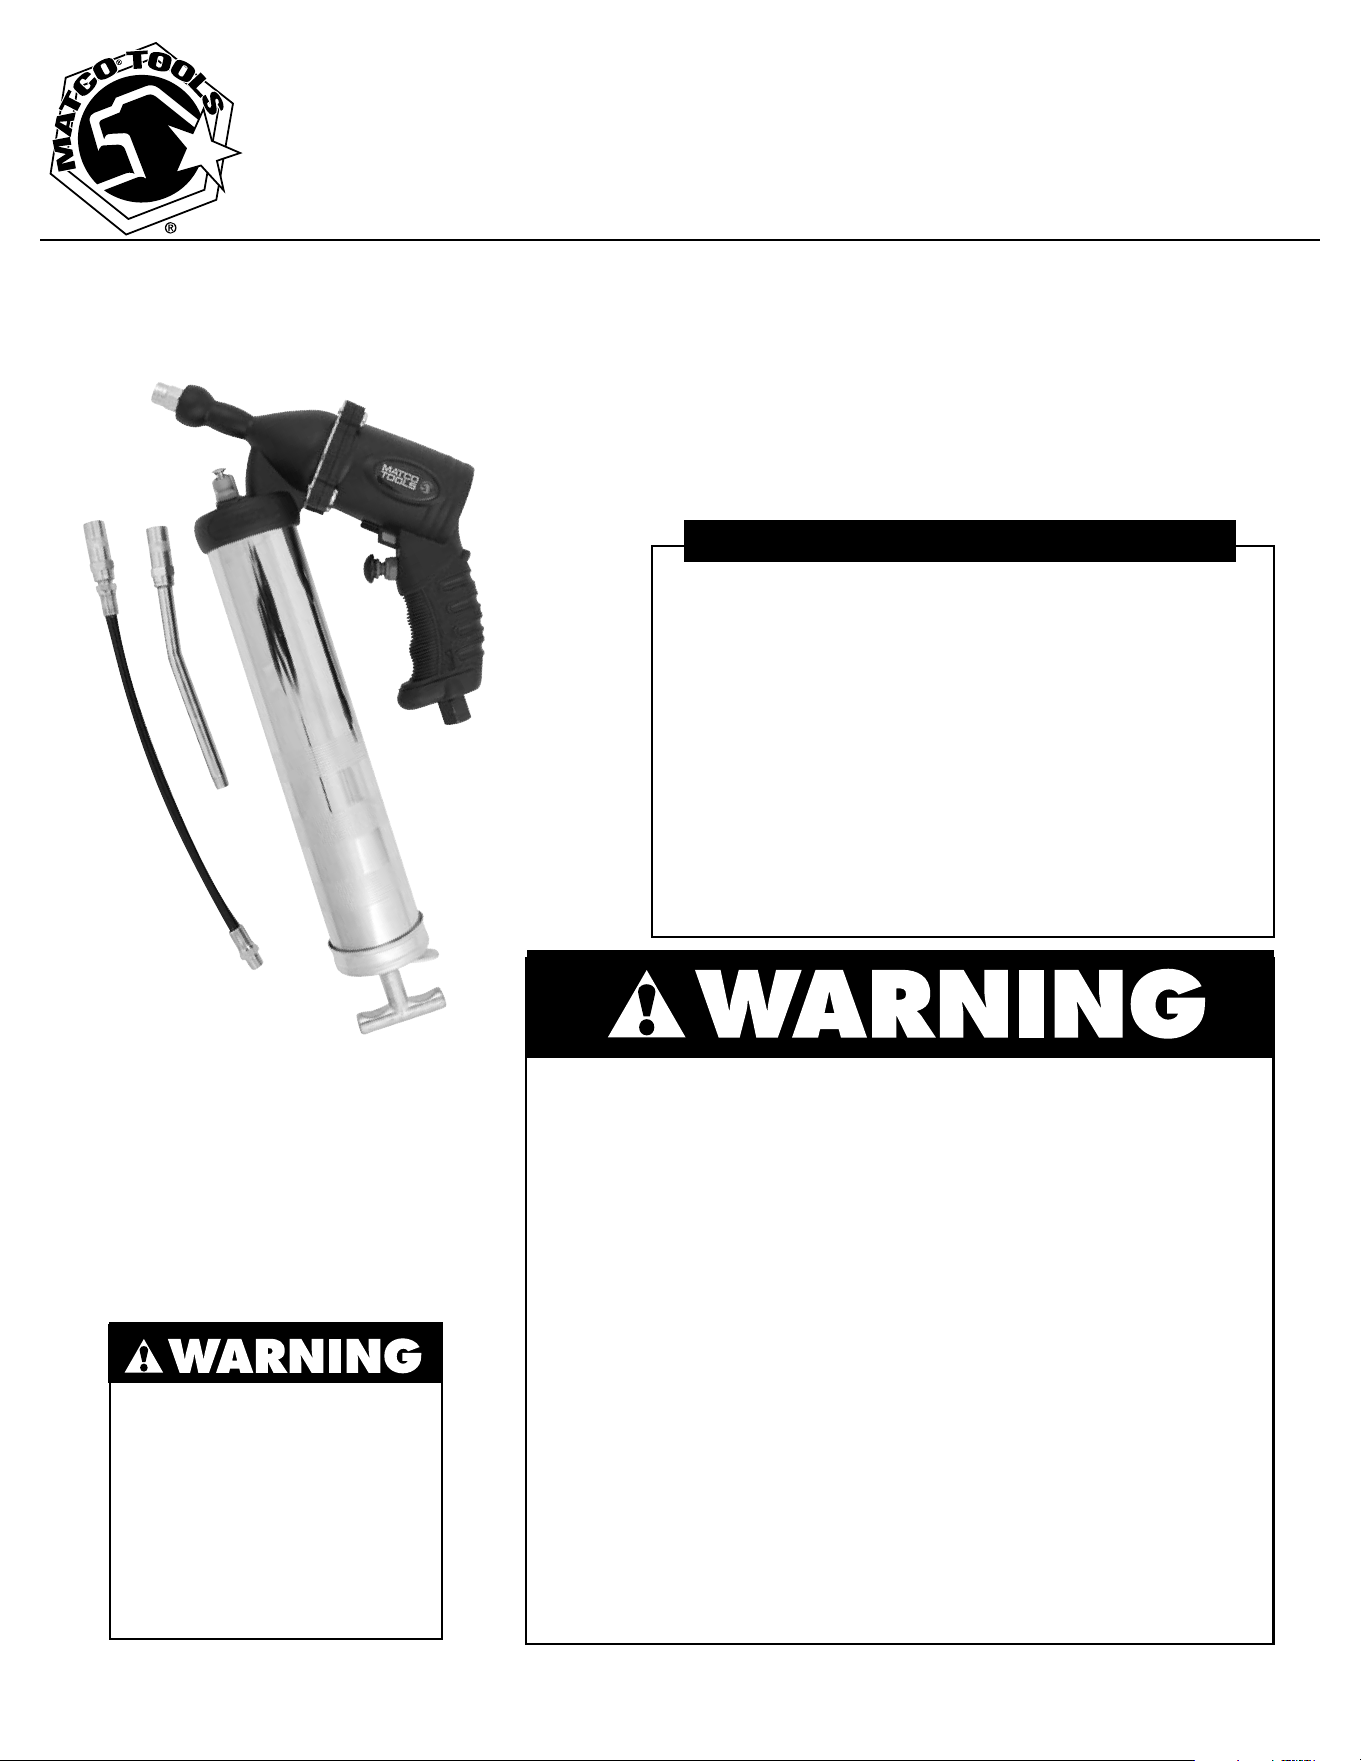
PARTS BREAKDOWN
Model GG50B Air Operated Single Shot Grease Gun
Ref. # Item # DESCRIPTION QTY
1 RS901601 Screw 4
2 RSGG50B02 Finger Grip 1
3 RS901105 Piston 1
4 RS901106 Spring 1
5 RS901605 Gasket 1
6 RS901111 Filler Plug 1
7 RS901607 Air Vent Valve 1
8 RS901108 Adapter 1
9 RSGG50B09 Housing Cap 1
10 RS901614 Gasket 1
11 RS901615 Nut 2
12 RS901115 Plunger 1
Ref # Item# DESCRIPTION QTY
13 RS901116 Backlash Gasket 1
14 RS901117 Long Spring 1
15 RS901611 Air Inlet 1
16 RS901612 Switch 1
17 RS901613 Trigger 1
18 RSSSAGG18 Piston Rod 1
19 RSGG50B19 Container Tube 1
20 RSGG60B27 Handle 1
21 RSSSAGG21 End Cap 1
22 RS901121 Locking Plate 1
23 RS901608 Hex Spout 1
24 RSSSAGG24 12" Nylon Hose 1
1
2
3
4
5
6
7
8
9
10
11
14
12
13
18
17
16
15
22
21
20
19
23
24
3 08/11/08
Operating Instructions • Warning Information • Parts Breakdown
FEATURES AND FUNCTIONS
• Heavydutycompositebodyforlighterweightand
easier use
• 3wayloading-bulk,14oz.cartridge,fillerpump
• Bleedervalveforpurgingunwantedair
• Weighsonly2.2lbs
• Includes6"bentmetalspoutand12"highpressure
grease hose
PROPER GREASE GUN USE
ThisAirPoweredSingleShotGreaseGunwas
developed for the specific purpose of dispensing
greasebyusingpneumaticpower.
The maximum rating listed in the specifications, should
not
beexceeded.
Thistoolshouldonlybeusedforitsdesignedpurpose
and according to the instructions in this manual.
GENERAL CAUTIONARY NOTES
Donotallowbystanders,childrenorotheron-lookers
intheworkareaastheycancausedistractions,which
may lead to mistakes and accidents.
Carefully inspect the equipment for damaged, loose
ormissingparts.Iftheunitiswornordamaged,do
notuseitandcontactanauthorizedservicecenterfor
evaluation or repair.
TheSingleShotGreaseGunmustbeprimedaftereach
refill or grease cartridge change. You should also check
theprimingofthegunbeforeeachuse.
Forbestperformanceandtoextendproductlife,add
afewdropsofairtooloilthroughtheairfittingatthe
bottomofthehandleifgunbeginstocycleslowlyor
erratically.
CAUTION!
Airpocketsinthecartridgewillcausetheguntolose
prime.
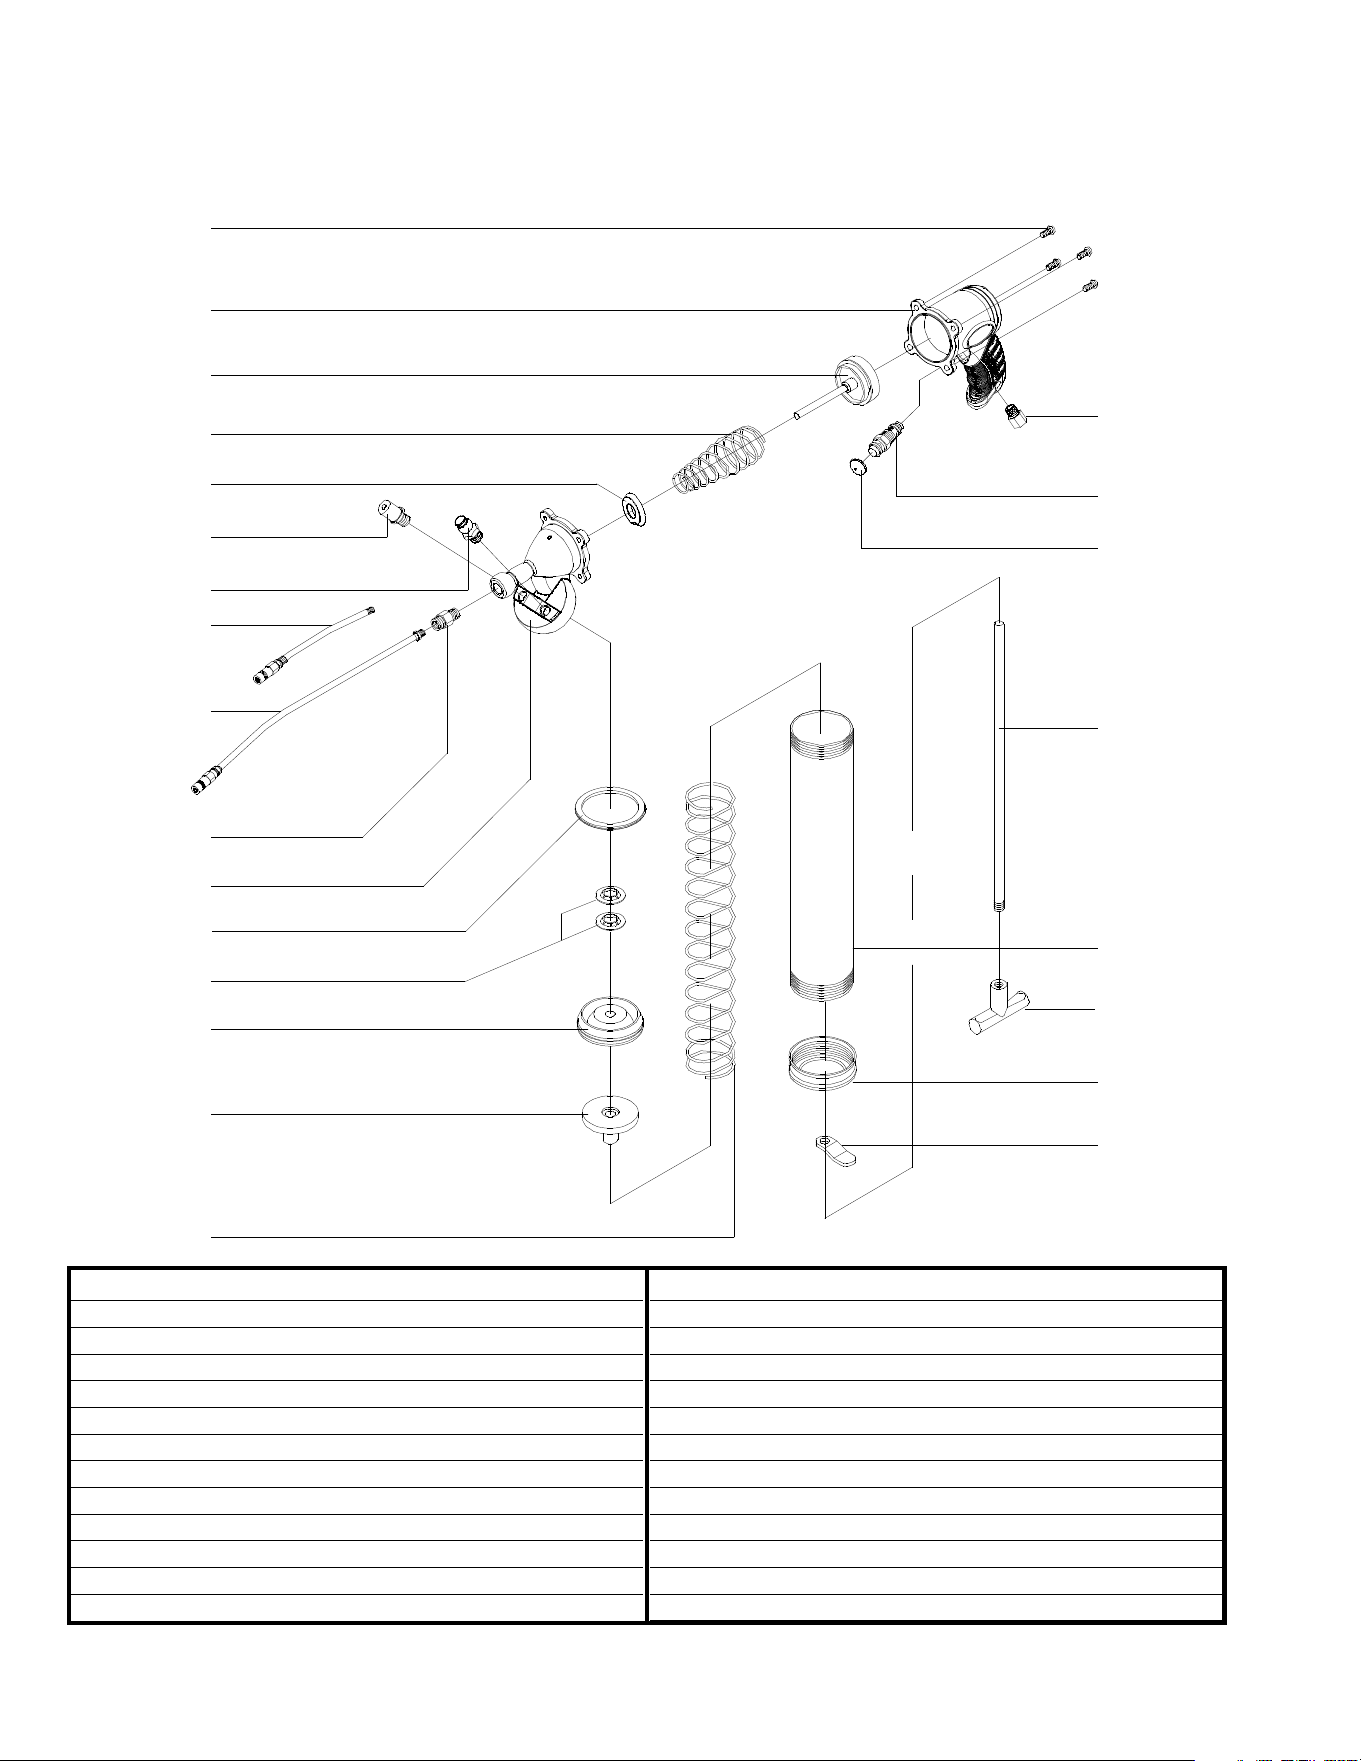
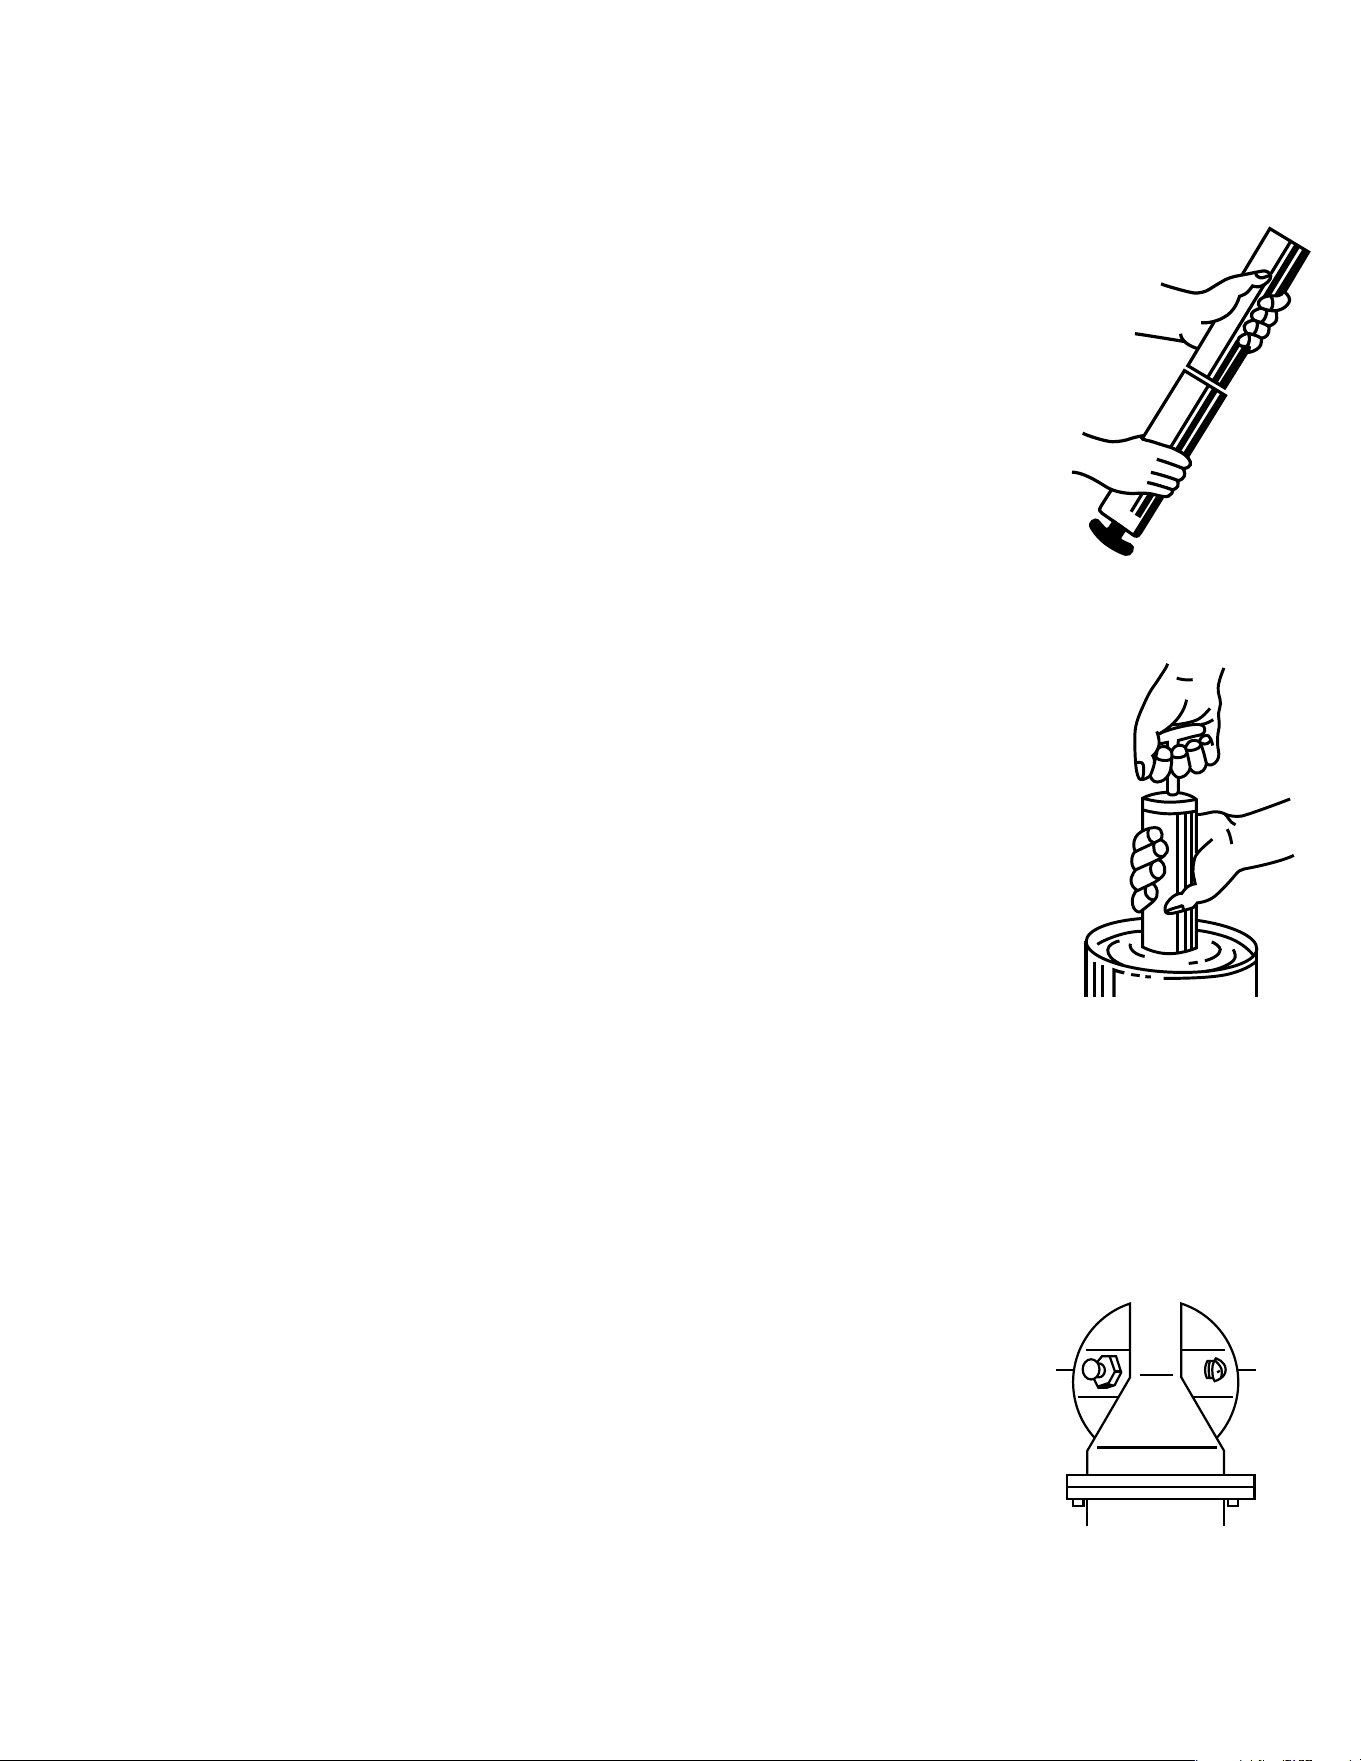
INSTRUCTIONS FOR
CARTRIDGE LOADING
1. Remove the gun head from
thecontainertube.
2.Completelydrawbackthe
plunger handle.
3.Insertopenendofcartridge
intocontainertubeandpush
allthewayin.Removethe
sealorpulltabendfrom
the cartridge.
4.Reassemblethegunheadto
thecontainertube.Pressthe
catch plate and release the
pistonrod.Pulldownthe
plunger handle.
SUCTION FILLING
1. Remove the gun head from
thecontainertube.
2.Submergeopenendofthe
containertubeintogrease
bucketabout2"deepand
pull the plunger handle out
slowlyandengagerodinto
key slot.
3.Reassemblethegunheadto
thecontainertube.Pressthe
catch plate and release the
pistonrod.Pulldownthe
plunger handle.
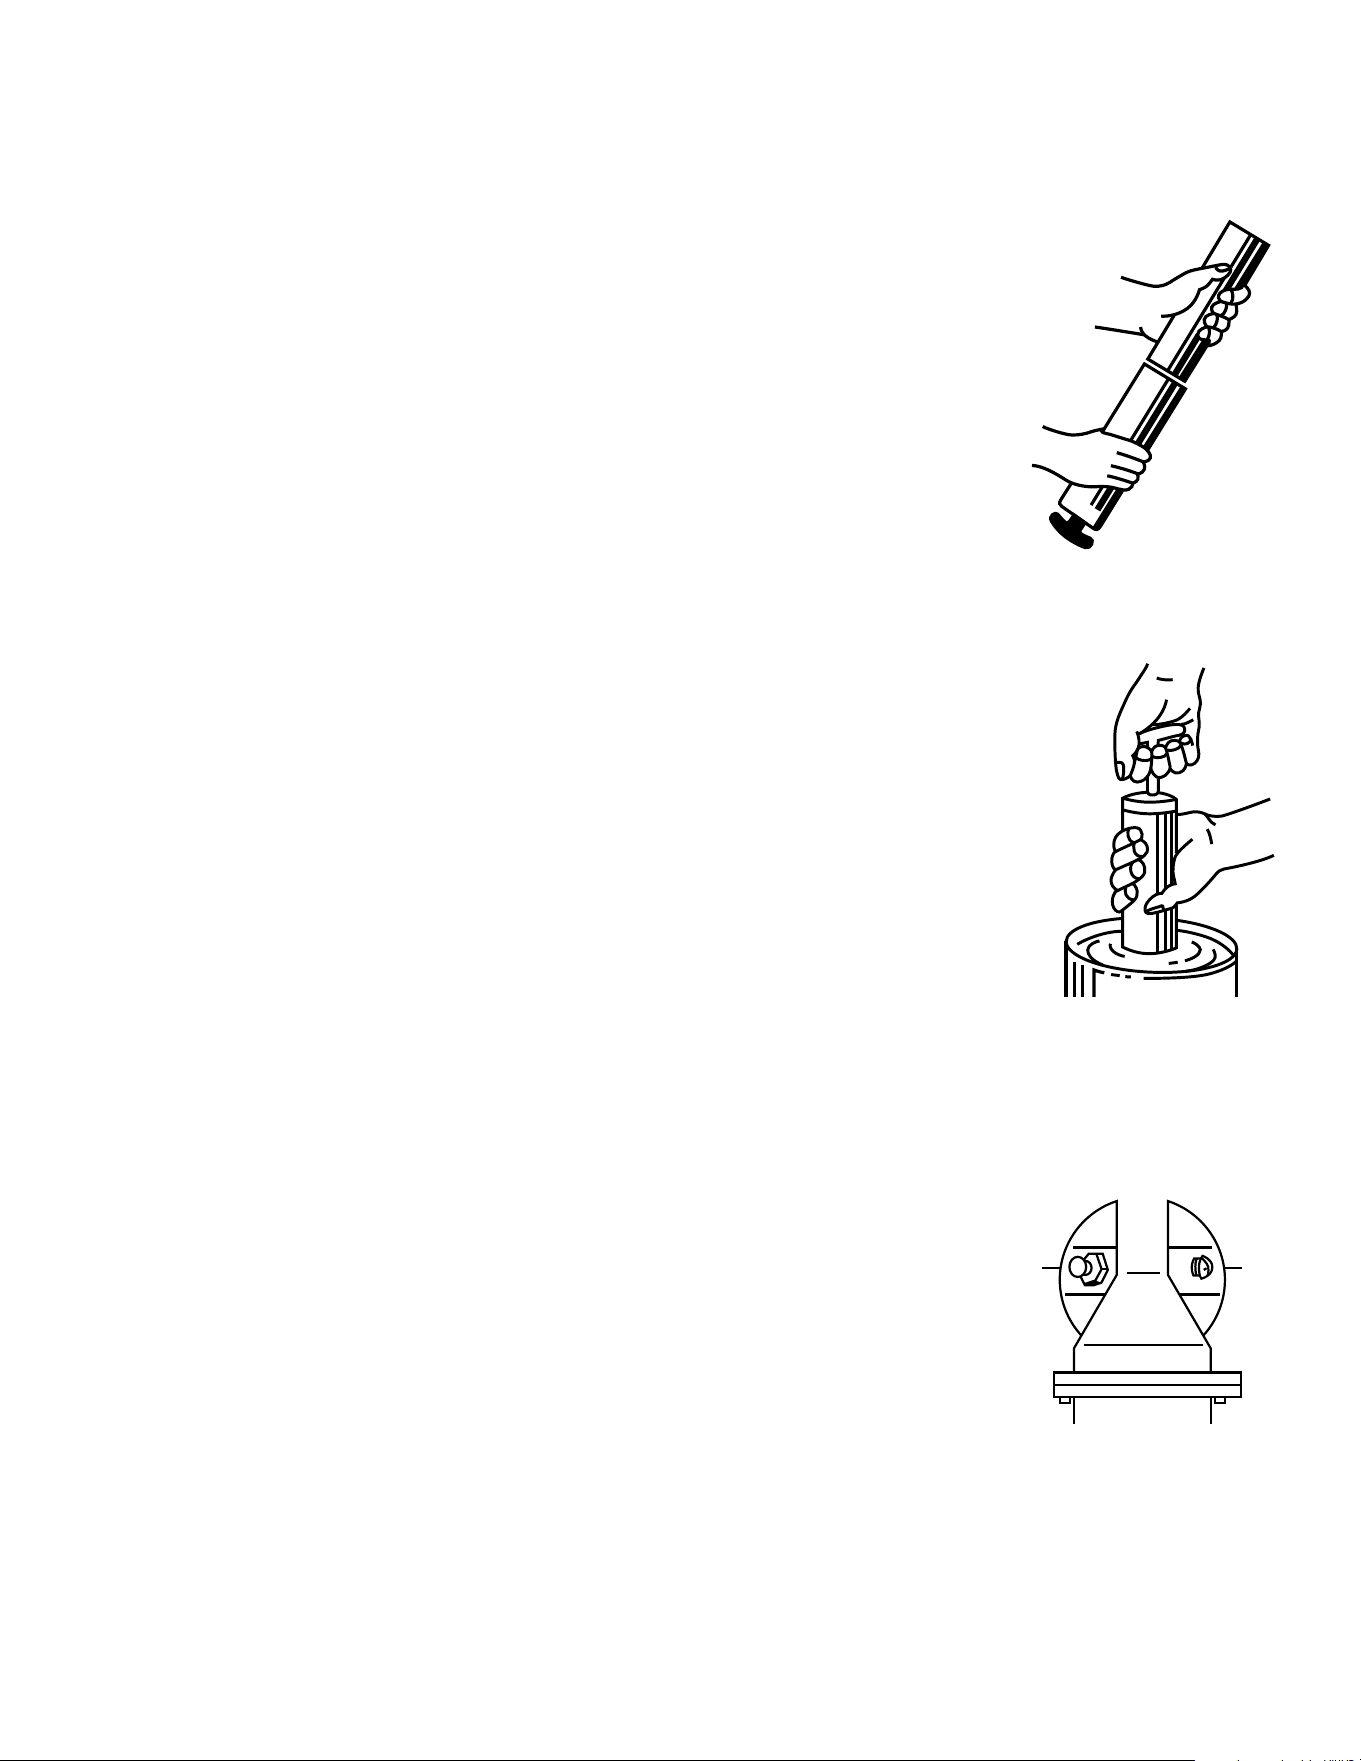
TROUBLESHOOTING
Ifyourgunsfailstowork,firstcheckforairpocketsin
the gun.
Toremovetrappedair,unscrewthegunhead1to1-1/2
turnsanddoasfollows:
1. Drawbackplungerrod
fully and release quickly.
Repeat several times.
2. Push plunger rod all the
wayin.
3. Tighten the head to the
barrel.
4. Pressairventvalveseveral
times to expel the air.
Air
Vent
Valve
Plug

GG50B LIMITED WARRANTY
Matcowarrantsthistoolforaperiodof1yearfromoriginalpurchase.Wewillreplaceany
GG50Bcoveredunderthiswarrantywhichprovestobedefectiveinmaterialorworkmanship
duringthewarrantyperiod.Inordertohaveyourtoolreplaced,returnthetooltoyourlocal
Matco Tools Representative. Please include your name and address, evidence of the purchase
date,anddescriptionofthesuspecteddefect.Thetoolwillbeinspectedandifanypartor
partsarefoundtobedefectiveinmaterialorworkmanship,thetoolwillbereplaced.The
foregoingobligationisMatco’ssoleliabilityunderthisoranyimpliedwarrantyandunderno
circumstancesshallwebeliableforanyincidentalorconsequentialdamages.
Note:Somestatesdonotallowtheexclusionorlimitationofincidentalorconsequential
damages,sotheabovelimitationorexclusionmaynotapplytoyou.
Thiswarrantygivesyouspeciclegalrightsandyoumayalsohaveotherrightswhichvary
from state to state.
MatcoNashvilleDistributionCenterReturnDepartment
4191MufreesboroRoad
Antioch, TN 37013
5 08/11/08
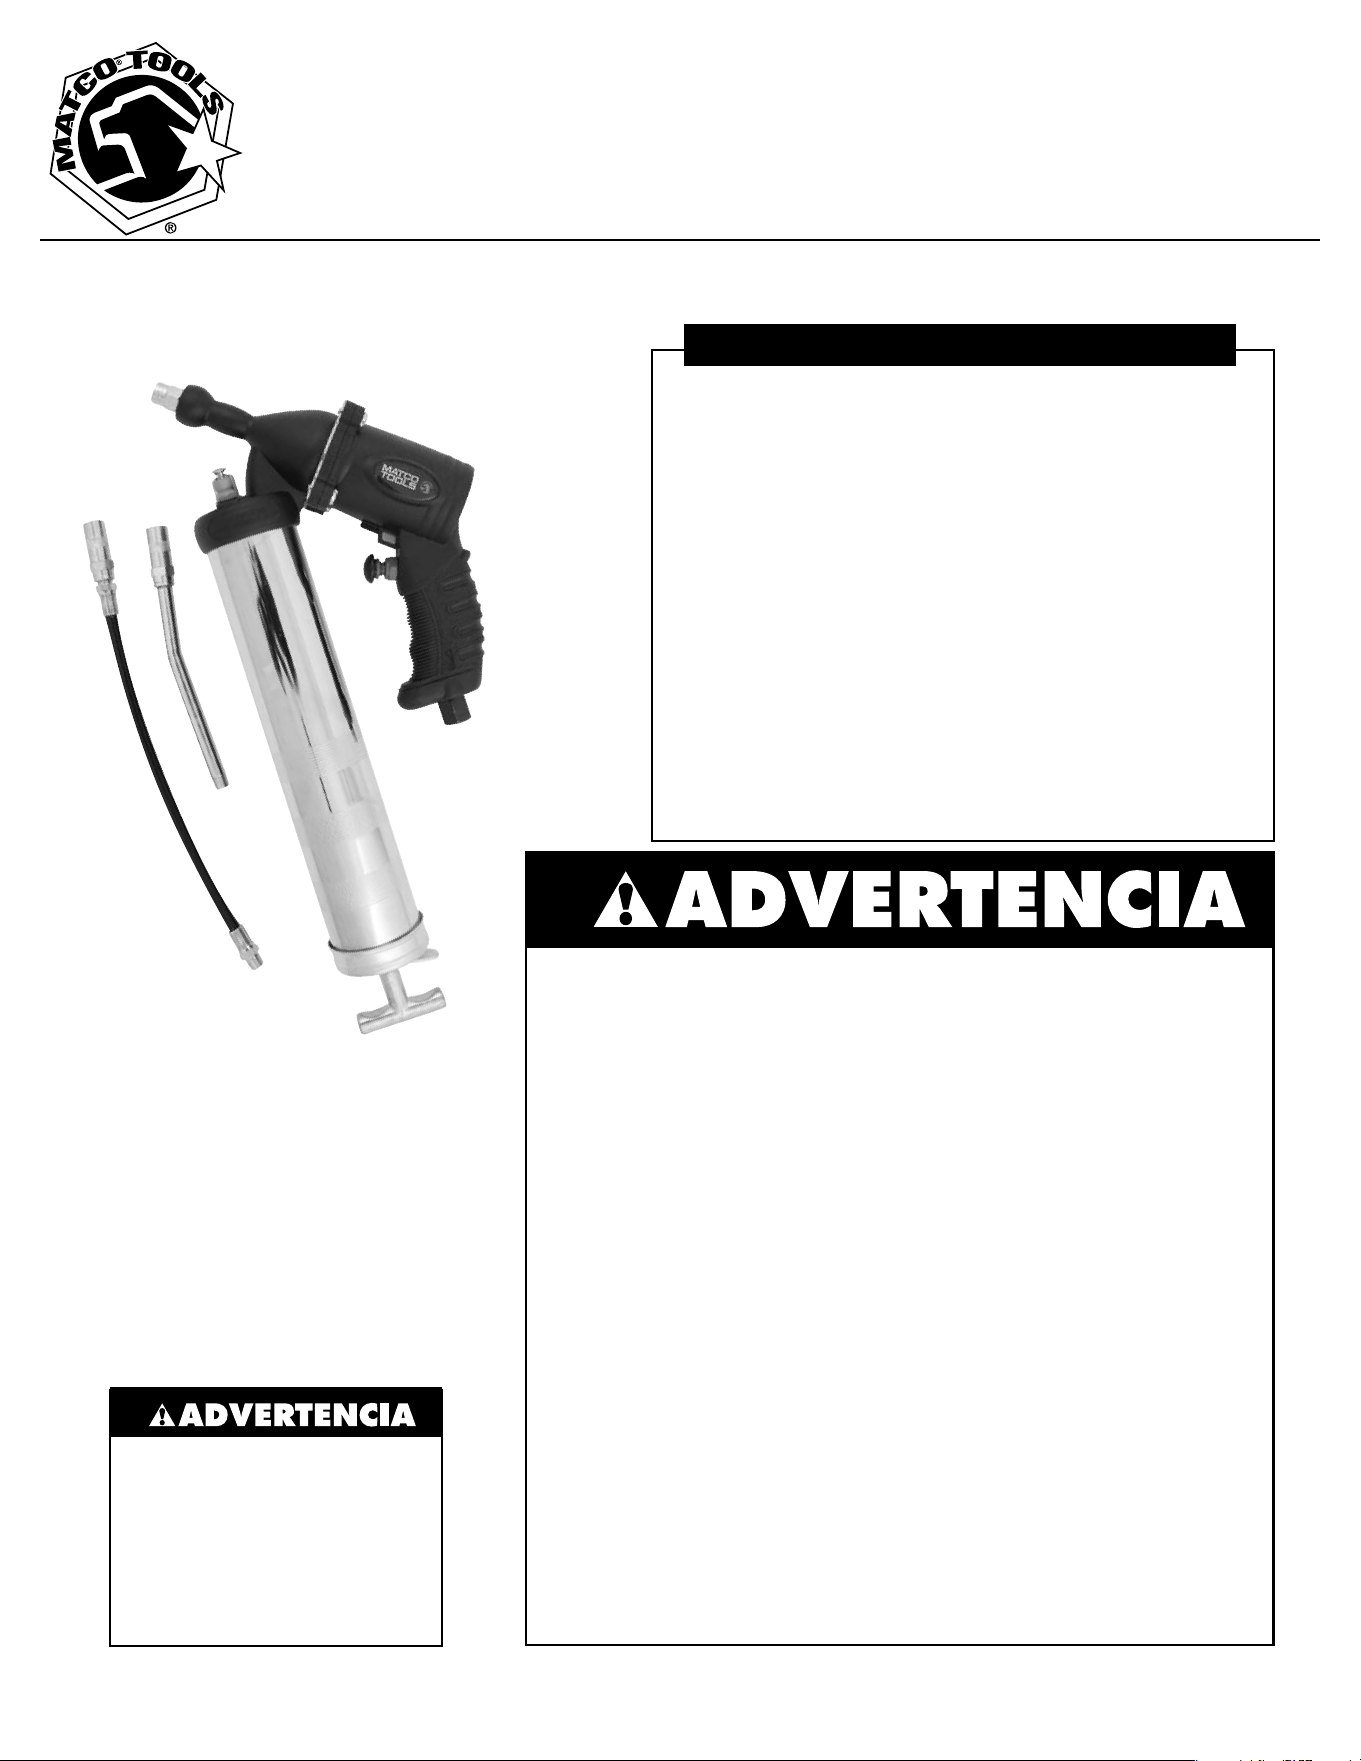
Model GG50B
Pistolet graisseur pneumatique à un coup unique
• Instructions de fonctionnement • Avertissement • Pièces
POUR VOTRE SÉCURITÉ ET POUR ÉVITER TOUTE BLESSURE :
TOUTE PRESSION EXTRÊME PEUT ENTRAÎNER L’ÉCLATEMENT DU TUYAU
SOUPLE. N’UTILISER QUE LES TUYAUX HOMOLOGUÉS ET SE CONFORMER
À LEUR MODE D’EMPLOI ET LEURS MISES EN GARDE.
CE GRAISSEUR PNEUMATIQUE PEUT CAUSER DE FORTES PRESSIONS
ALLANT JUSQU’À 414 BARS (6 000 PSI.) PORTER DES LUNETTES DE
PROTECTION ET DES GANTS LORS DE L’UTILISATION DU GRAISSEUR.
GARDER LES MAINS À L’ÉCART DE LA PARTIE EXPOSÉE DU TUYAU EN
CAOUTCHOUC LORSQUE LE GRAISSEUR EST UTILISÉ AVEC LE TUYAU.
SI DU LIQUIDE SEMBLE PÉNÉTRER VOTRE PEAU, CONSULTER
IMMÉDIATEMENT UN MÉDECIN. NE PAS TRAITER COMME UNE SIMPLE
ENTAILLE. S’ASSURER QUE LA DÉTENTE N’EST PAS ABAISSÉE EN FIXANT
LE GRAISSEUR À UN TUYAU D’ENTRÉE D’AIR.
ÉVITER TOUT DÉMARRAGE INTEMPESTIF. NE TENIR LE TUYAU QUE PAR
LES PROTECTIONS À RESSORT EN MÉTAL, À SON EXTRÉMITÉ.
NE PAS LAISSER LE TUYAU SE PLIER. NE PAS TROP PLIER LE TUYAU SI LE
RAYON EST TRÈS ARRONDI.
REMPLACER LE TUYAU DÈS LES PREMIERS SIGNES D’USURE, DE PLIAGE
OU D’ENDOMMAGEMENT DE LA GAINE EXTÉRIEURE.
NE REMPLACER QUE PAR UN TUYAU DE GRAISSEUR À HAUTE PRESSION.
Coefficient de la pompe (max.) .............40:1
Débit par course....................288 ml/min
Pression minimale
à l’entrée d’air ......................... 40 psi
Pression maximale
à l’entrée d’air.......................... 90 psi
Pression de sortie de la graisse ........ 3 800 psi
Capacité du réservoir à graisse ........... 14 oz
Plage de température
de fonctionnement ...... -10 à 40 ºC (14 à 104 °F)
Poids (vide) .................... 1.58 kg (3,5 lb)
Lubrifiants, y compris la graisse NLGI no 2
Entrée d’air ...................... 1/4 - 18 NPT
Sortie de graisse ................ 1/8 - 27 UNPT
S P É C I F I C A T I O N S
POUR VOTRE SÉCURITÉ
ET POUR PRÉVENIR LES
BLESSURES :
Danger : haute pression.
Porter des lunettes de
sécurité. Ne pas dépasser 60
psi avec un boyau ou 90 psi
avec une rallonge solide.
Ceci pourrait entraîner des
blessures.
Le pistolet graisseur à
coupuniqued’unequalité
supérieure,estunoutil
pneumatiquespécialement
conçupourdesvéhicules
moteurs, des camions et des
applications industrielles.
6 08/11/08
• Instructions de fonctionnement • Avertissement • Pièces
CARACTÉRISTIQUES
• Corpsencompositerésistantoffreunpoidsplus
légeretunusageplusfacile
• Poids2,2lbseulement
• Inclutunbeccourbéenmétalde6"etboyauhaute
pressionde12"
• Lecorpsencompositeréduitlepoidstotaldel’outil
etdemandemoinsd’effort.
• Àchaquerelâchementdelagâchette,uncoup
uniquedegraisseestlibéré.
• Boyau11”etbeccourbéenmétal7"inclus
BON USAGE DU GRAISSEUR
Ce graisseur professionnel à injection continue a
étémisaupointexpressémentpourl’alimentation
engraisseàpartird’undispositifpneumatique.Ne
pasdépasserlacaractéristiquenominalemaximale
indiquéesci-dessous.Utilisercetoutiluniquementdans
lebutpourlequelilaétéconçuetconformémentaux
directives de ce manuel.
REMARQUES GÉNÉRALES
Nepaslaisserdesenfantsoud’autrespersonnes
entrer dans votre espace de travail car ils peuvent vous
distraire et entraîner ainsi des erreurs et des accidents.
Examinerminutieusementlematérielpourydéceler
toutepièceendommagée,desserréeoumanquante.
Sil’appareilestuséouendommagé,nepasl’utiliser
etcontacterlecentredeserviceàlaclientèleagrééen
vued’uneévaluationoud’uneréparation.
Ilconvientd’amorcerlegraisseuràinjection
continue après chaque recharge ou changement de
cartouchedegraissage.Vérifierégalementl’amorçage
du graisseur avant chaque utilisation.
Pourobtenirdemeilleursrésultatsetprolongerlaviedu
produit,introduirequelquesgouttesd’huile/degraisse
pouroutilpneumatiqueparleraccordd’airenbasdela
poignéesilegraisseurcommenceàtirer-réenclencher
lentementouirrégulièrement.
MISE EN GARDE!
Toutepoched’airdanslacartouchepeutamenerle
graisseuràsedésamorcer.
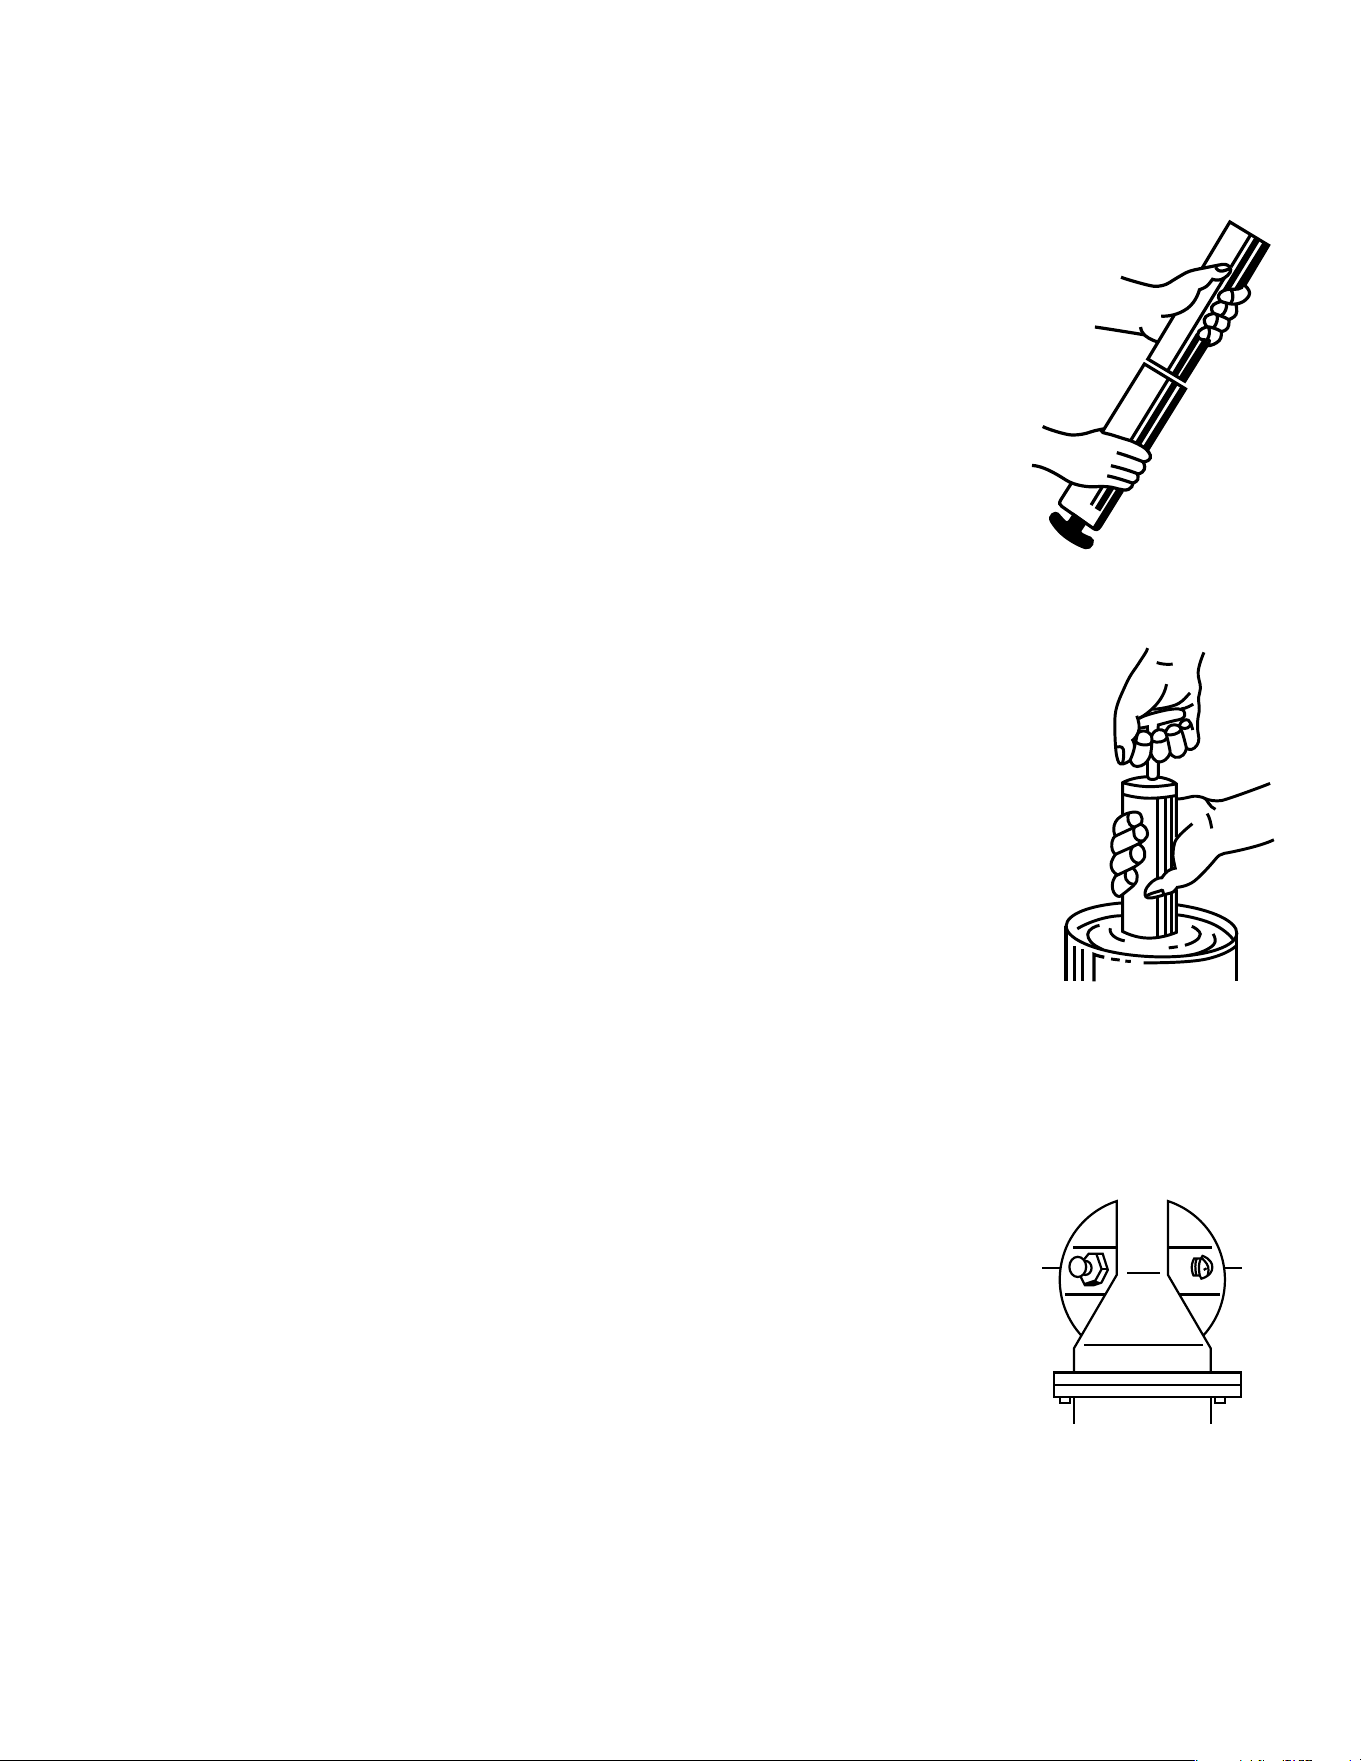
DIRECTIVE POUR LE
REMPLISSAGE PAR
CARTOUCHE
1.Retirerlatêtedupistoletduréservoircylindrique.
2. Retirer complètement le fouloir.
3.Insérerl’extrémitéouvertedela
cartouchedansleréservoiret
la pousser complètement au fond.
Retirer le sceau ou la languette de
la cartouche.
4.Réinstallerlatêtedupistoletsur
leréservoircylindrique.Appuyer
surlaplaquedebutéeetrelâcher
le fouloir. Pousser le fouloir à
l’intérieurtoutenappuyantsur
lasoupapedepurgepourevacuerl’air.
REMPLISSAGE
PAR SUCCION
1.Retirerlatêtedupistoletduréservoir
cylindrique.
2.Immergerl’extrémitéouvertedu
réservoircylindriqueàenviron
5 cm (2 po) dans un contenant de
graisse et tirer doucement sur le
fouloir et enclencher la tige dans
la fente.
3.Réinstallerlatêtedupistoletsur
leréservoircylindrique.Appuyer
surlaplaquedebutéeetrelâcherle
fouloir.Pousserlefouloiràl’intérieur
tout en appuyant sur la soupape de
purgepourévacuerl’air.
DÉPANNAGE
Silepistoletnefonctionnepas,vérifierpremièrementla
présencedepochesd’airdanslepistolet.Pourenlever
l’airemprisonné,dévisserlatêtedupistoletde1à
1-1/2toursetprocéderdelafaçonsuivante:
1. Retirer complètement le fouloir
etlerelâcherrapidement.
Répéterplusieursfois.
2. Pousser le fouloir
complètementàl’intérieur.
3.Bienserrerlatêteducylindre.
4.Appuyerplusieursfoissurla
soupape de purge pour
évacuerl’air.
Air
Vent
Valve
Plug

GG50B GARANTIE LIMITEÉ
MatcoGG50Bestgarantipendantunepérioded’un(1)anàpartirdeladated’achatd’origine.
NousremplaceronstoutGG60Bcouvertsouscettegarantie,dontlematérieloulamain
d’œuvres'avèrentdéfectueuxaucoursdelapériodedegarantie.
Pourfaireremplacervotreoutil,retournez-lechezvotrereprésentantMatcoToolslocal.
Please include your name and address, evidence of the purchase date, and description of the
suspected defect.L'outilserainspectéetsiunepièceoudespiècess'avèrentdéfectueuses
danslematérieloulamain-d’oeuvre,l'outilseraremplacé. L'engagementprécédentestla
responsabilitéuniquedeMatcoToolssouscettegarantieoun'importequellegarantieimplicite
etsousaucunecirconstance,nousneseronsresponsablesdetouslesdommagesfortuitsou
consécutifs.
REMARQUE:CertainsÉtatsnepermettentpasl'exclusionoulalimitationdesdommages
fortuitsouconsécutifs,ainsilalimitationoul'exclusionci-dessuspeutnepass'appliquerà
vous.
Cettegarantievousdonnedesdroitslégauxspéciquesetvouspouvezégalementavoir
d'autresdroitsquichangentd'unÉtatàl’autre.
MatcoNashvilleDistributionCenterReturnDepartment
4191MufreesboroRoad
Antioch, TN 37013
8 08/11/08
Model GG50B
Pistola engrasadora neumática de un solo disparo
• Instrucciones de Operación • Información de Advertencia • Revisión de Refacciones
PARA SU SEGURIDAD Y PARA EVITAR LESIONES:
LA ALTA PRESIÓN PUEDE HACER ESTALLAR LA MANGUERA DE GRASA.
USE SÓLO MANGUERAS APROBADAS, SIGA LAS INSTRUCCIONES Y
OBSERVE LAS ADVERTENCIAS. ESTA PISTOLA OPERADA POR AIRE
COMPRIMIDO PUEDE
DESARROLLAR MUY ALTAS PRESIONES – HASTA 6,000 PSI (414 BAR). USE
GAFAS DE SEGURIDAD Y GUANTES MIENTAS OPERA ESTA PISTOLA.
MANTENGA LAS MANOS ALEJADAS DE LA SECCIÓN EXPUESTA DE GOMA
DE LA MANGUERA MIENTRAS OPERA LA PISTOLA CON LA MANGUERA.
SI ALGÚN FLUIDO APARENTA HABER PENETRADO LA PIEL, BUSQUE
ASISTENCIA MÉDICA DE
INMEDIATO. NO TRATE ESTO COMO UNA SIMPLE CORTADA.
ASEGÚRESE DE QUE EL GATILLO NO ESTÉ OPRIMIDO AL CONECTAR LA
PISTOLA A UNA TOMA DE AIRE COMPRIMIDO.
EVITE ACCIONAR LA PISTOLA ACCIDENTALMENTE.
SUJETE LA MANGUERA SÓLO POR LOS
RESGUARDOS METÁLICOS DE RESORTE EN SU EXTREMO.
NO DEJE QUE LA MANGUERA SE ENREDE. NO DOBLE LA MANGUERA EN
UN RADIO CORTO.
REEMPLACE LA MANGUERA AL PRIMER INDICIO
DE DESGASTE, DOBLADURA O DAÑO EN LA
CUBIERTA EXTERNA.
USE COMO REEMPLAZO SÓLO UNA MANGUERA DE ALTA PRESIÓN
DISEÑADA PARA USO CON PISTOLA PARA ENGRASAR.
Relación de bombeo (máxima) .............. 40:1
Salida por carrera............... .038 in (cúbica)
Entrada de presión
de aire (mínima) ........................ 40 PSI
Entrada de presión
de aire (máxima) ....................... 150 Psi
Presión de salida
de la grasa ......................... 6,000 PSI
Capacidad del depósito
de grasa............................. 14.5 oz.
Rango de temperatura
de operación........................ 0 a 120° F
Peso (vacía).......................... 4.74 lbs
Peso (llena) .......................... 4.84 lbs
Lubricante recomendado ............. Grasa #2
Conexión de entrada de aire......... 1/4-18 NPT
Conexión de salida de grasa........ 1/8-27 UNPT
ESPECIFICACIONES
PARA SU SEGURIDAD
Y PARA PREVENIR LESIONES:
Riesgo de alta presión.
Use gafas de protección.
No exceda 60 psi con la
manguera o 90 psi con una
extensión enteriza. Hacerlo
podría ser causa de lesiones
personales.
La engrasadora de estilo
pistola y un solo disparo es
una herramienta neumática
profesional de diseño especial
y alta calidad para las
aplicaciones industriales, de
camioneta y automotrices.
9 08/11/08
• Instrucciones de Operación • Información de Advertencia • Revisión de Refacciones
CARACTERÍSTICAS
• Elcuerpocompuestodeserviciopesadobrindaun
peso ligero y facilita el uso
• Pesosólo2.2lbs
• Chorrodobladodemetal6"ymanguera
engrasadoradealtapresión12"incluidos
• Elcuerpocompuestoreduceelpesoglobaldela
herramienta y disminuye la fatiga general del
usuario.
• Cuandosepresionaeldisparador,seliberaunsólo
disparo de grasa.
• Mangueradelátigo11”ychorrodobladodemetal
7”incluidos.
BON USAGE DU GRAISSEUR
Ce graisseur professionnel à injection continue a
étémisaupointexpressémentpourl’alimentation
engraisseàpartird’undispositifpneumatique.Ne
pasdépasserlacaractéristiquenominalemaximale
indiquéesci-dessous.Utilisercetoutiluniquementdans
lebutpourlequelilaétéconçuetconformémentaux
directives de ce manuel.
REMARQUES GÉNÉRALES
Nepaslaisserdesenfantsoud’autrespersonnes
entrer dans votre espace de travail car ils peuvent vous
distraire et entraîner ainsi des erreurs et des accidents.
Examinerminutieusementlematérielpourydéceler
toutepièceendommagée,desserréeoumanquante.
Sil’appareilestuséouendommagé,nepasl’utiliseret
contacter le
centredeserviceàlaclientèleagrééenvued’une
évaluationoud’uneréparation.
Ilconvientd’amorcerlegraisseuràinjection
continue après chaque recharge ou changement de
cartouchedegraissage.Vérifierégalementl’amorçage
du graisseur avant chaque utilisation.
Pourobtenirdemeilleursrésultatsetprolongerlaviedu
produit,introduirequelquesgouttesd’huile/degraisse
pouroutilpneumatiqueparleraccordd’airenbasdela
poignéesilegraisseurcommenceàtirer-réenclencher
lentementouirrégulièrement.
MISE EN GARDE!
Toutepoched’airdanslacartouchepeutamenerle
graisseuràsedésamorcer.
INSTRUCCIONES PARA
CARGAR EL CARTUCHO
1.Quiteelcabezaldelapistoladeltubocontenedor.
2. Tire completamente hacia atrás la manija del
émbolo.
3.Inserteelextremoabiertodelcartucho
eneltubocontenedoryempújelo
completamente hacia adentro.
Quite el sello y tire del extremo
de la tira del cartucho.
4.Vuelvaamontarelcabezal
delapistolaaltubo
contenedor. Presione la placa
colectora y suelte la varilla del
pistón.Empujelavarilladel
émbolohaciaadentromientras
presionalaválvuladeventilación
de aire para hacer salir el aire.
CARGA POR SUCCIÓN
1.Saqueelcabezaldelapistoladel
tubocontenedor.
2.Sumerjaelextremoabiertodel
tubocontenedorenunrecipiente
de grasa a una profundidad de
aproximadamente 2 pulg. y tire
lentamente de la manija del
émboloyhagaentrarlavarilla
en la ranura de la llave.
3.Vuelvaamontarelcabezalde
lapistolaaltubodelcontenedor.Presionelaplaca
colectoraysueltelavarilladelpistón.
Empujelamanijadelémbolo
mientras presiona el orificio de
ventilaciónparahacersalirelaire.
LOCALIZACIÓN Y CORRECCIÓN
DE FALLAS
Si su pistola no funciona,
verifique primero si hay
aire atrapado en
la pistola. Para quitar el
aire atrapado, desatornille
elcabezaldelapistola1a
1-1/2vueltasyhagalosiguiente:
1. Tire completamente hacia atrás la varilla
delémboloysuéltelarápidamente.
Repita esto varias veces.
2. Empujelavarilladelémbolocompletamente
hacia adentro.
3. Ajustebienelcabezalalcilindro.
4. Presionevariasveceslaválvuladeventilaciónde
aire para hacer salir el aire.
Air
Vent
Valve
Plug

GG50B GARANTÍ LIMITADA
LasherramientasMatcoestángarantizadasduranteunperiododeun(1)añoapartirdela
fecha de la compra original.NosotrosrepondremoscualquierpistolaGG50Bcubiertabajo
estagarantía,lacualdemuestraserdefectuosaencuantoamaterialomanodeobradurante
el periodo de garantía. Para que su herramienta pueda ser repuesta, devuelva la herramienta
a su agente local de Matco Tools. Please include your name and address, evidence of the
purchase date, and description of the suspected defect. La herramienta será inspeccionada
y si cualquier parte o partes se encuentren ser defectuosas en cuanto a material o mano
deobra,laherramientaserárepuesta. Laobligaciónanterioreslaúnicaresponsabilidadde
MatcoToolsbajoéstaocualquiergarantíaimplicada,ybajoningunacircunstanciaseremos
nosotrosresponsablesporningúndañoincidentalniconsecuencial.
NOTA:Algunosestadosnopermitenlaexclusiónnilalimitacióndedañosincidentalesni
consecuenciales,porendelalimitaciónoexclusiónpuedenoseraplicableparausted.
Estagarantíalebrindaaustedderechoslegalesespecícosyustedpuedecontartambién
con derechos adicionales los cuales varían de estado a estado.
MatcoNashvilleDistributionCenterReturnDepartment
4191MufreesboroRoad
Antioch, TN 37013