MODEL:V311B
USER’S MANUAL
Battery
Wave Print
Start Charge
Setting

Contents
Safety measures and warning
1
Product description
2
Specification description
3
Battery test
3
Start test
7
Charging test
8
Setup
10
Buzzer switch
11
Screen capture settings
11
Tool self test
11
About
12
Print
12
Disclaimer Conditions
14

Safety measures and warning
Safety precautions and warnings to prevent
personal injury or damage to the vehicle and /
or battery tester.
When working on the vehicle, first observe this
instruction manual and at least observe the
following safety precautions. Failure to follow
the instructions in this manual may damage the
instrument. This product is designed and
manufactured in strict accordance with IEC /
EN61010-1 safety standard.
Detection shall be carried out in safe
environment.
Keep clothing, hair, hands, tools and test
equipment away from all motor heating parts.
Lead compounds and chemical substances are
contained in the terminals, terminals and related
accessories of the battery. Before measuring the
data, the insulation layer of the clamp shall be
checked and shall not be exposed or
disconnected.
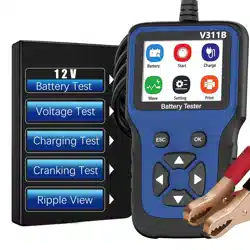
V311B Suitable for 12V automobile starting
battery, working voltage is DC9 ~ 18V, please do
not check the series battery. The voltage value
will be higher than that when the battery is fully
charged under normal conditions. Turn on the
headlamp for 2-3 minutes, and then check the
1
Battery
Wave Print
Start Charge
Setting
Product description
battery after the voltage drops to the normal
value. Do not use or store products in high
temperature, high humidity, inflammable,
explosive and explosive environment.
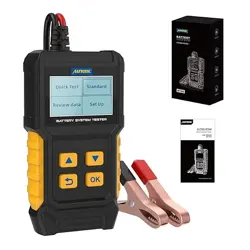
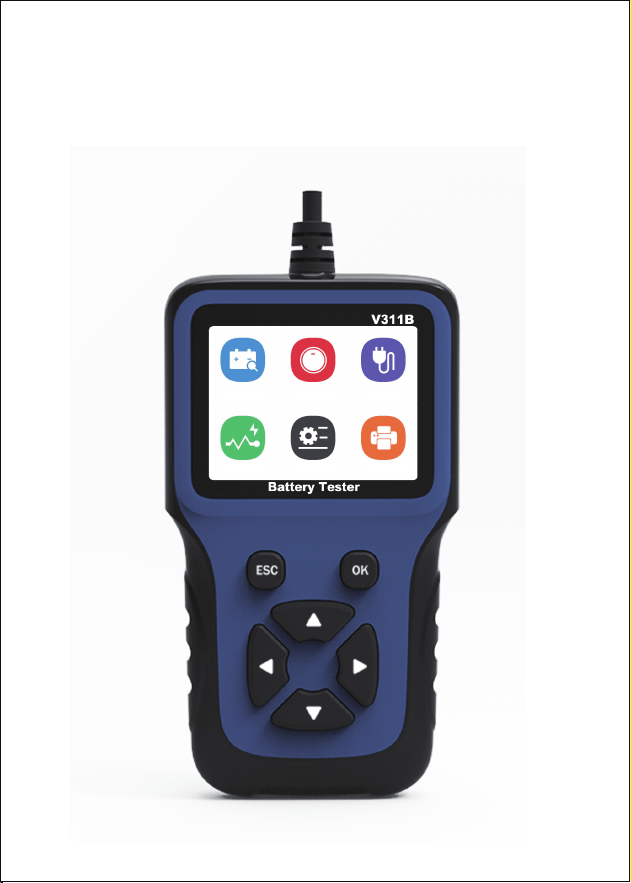
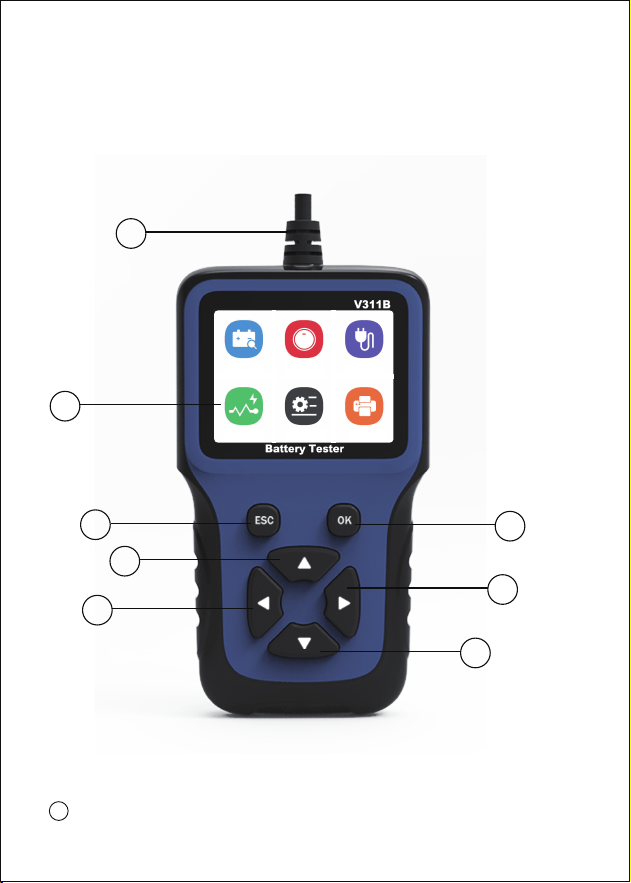
Tool description
LCD display - Display the detection result.
8
1
1
2
2
4
5
6
3
7

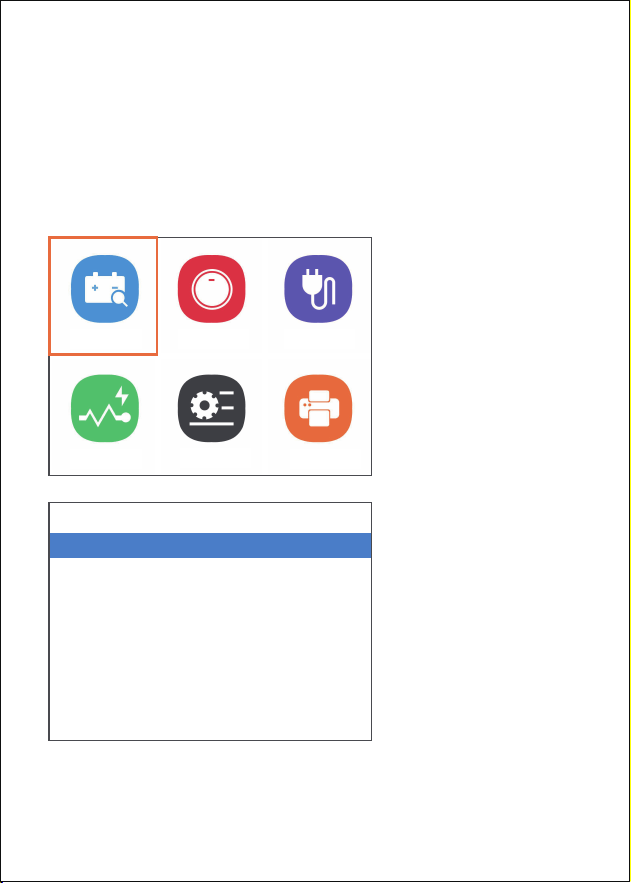
Battery test
Specification description
There are two test modes for battery capacity
test, standard test and fast test
Display:240*320pixel display
Operating Temperature:-20 to 60℃
Storage Temperature:-20 to 70℃
External Power:12V
Size:156*88*24mm
Support Language:English, Chinese,
Portuguese, Italian, French, German, Spanish,
polish, Russian
Back button, OK button, scroll up button, scroll
left button, scroll right button, scroll down
button
Battery test connector - connect the product
to the battery end of the vehicle
For battery test, connect the red clip to the
positive pole of the battery and the black clip to
the negative pole of the battery. The equipment
will automatically supply power and prepare for
the test.
2
8
3 4 5 6 7
3
If you test the battery in the vehicle, do not
insert the key or keep it in the o position.
Ensure all electrical equipment and door closing
equipment are working.
Enter the battery test interface and select test
mode
4
Battery
Wave
Battery
Quick Test
Standard
1/2
Print
Start Charge
Setting

Select the standard test mode, enter the
interface, select the battery type, and press the
OK button to continue:
Press the OK button to select the mode and
select the correct battery model:
Press the "OK" button to continue to input the
rated current CCA:500 CCA Use the up and
down key to enter the correct CCA value.
5
Battery Type
Regular battery
AGM Tablet battery
AGM Winding battery
GEL
EFB
1/5
Mode Select
CCA
JIS
GB
SAE
MCA
CA
DIN
1/10
1/2>
Press the "OK" button to continue to display the
test result information.
6
Volt
Rated
Measured
Resistance
Life(SOH)
State of charge
12.25V
370CCA
492CCA
6.30mΩ
100.0%
64%
Battery
Great
Imformation
CCA 370 A
CCA
Please input the value of cold
start electric current
↑:+5 ↓:-5
→:+20 ←:-20
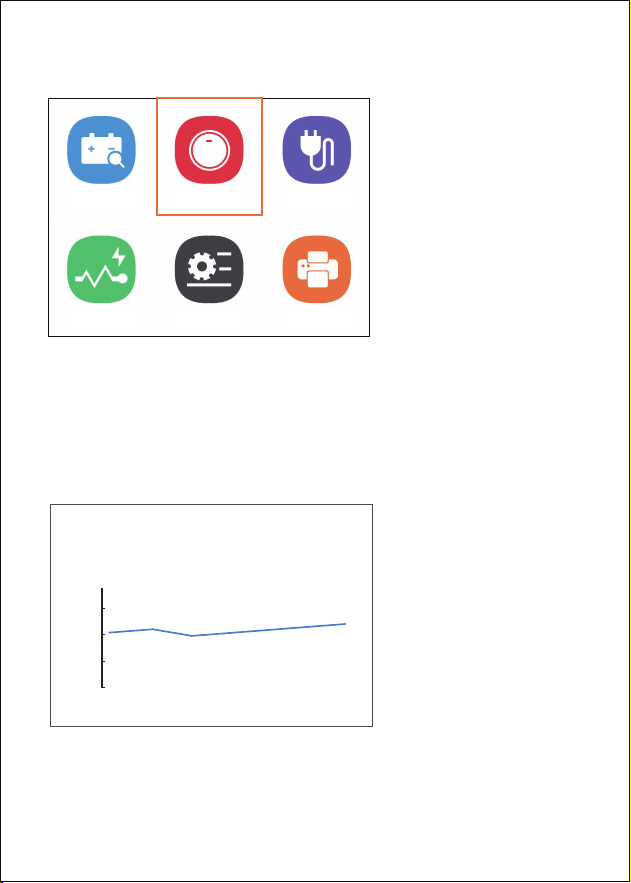
Start test
Select the start test interface, press the Enter
key to enter the test interface, and turn on the
key to start the engine at the same time, and
display the waveform diagram of the minimum
and maximum voltage values of the test results
7
Current Min:12.2V
12.2V
max:12.2V
9.0
10.5
12.0
13.5
15.0 V
Battery
Wave Setting Print
Start Charge
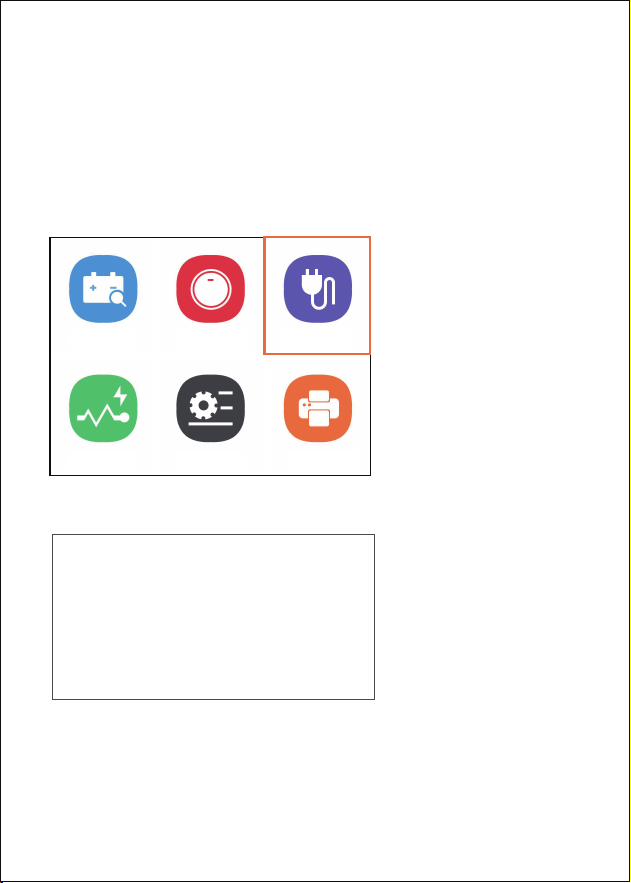
Charging test
Select the recharge test interface and press the
enter button to enter the test interface.
According to the requirements, turn on the
headlamp for about 3 seconds, then turn it o,
and keep the engine speed above 2500
Press the OK button to enter the test interface.
After starting the test, wait about 2 seconds to
display the test result information
8
Charge
1.Please turn the headlights on for 3 seconds
and the o
2.Keep engine speed above 2500 rpm for 3
seconds,then press“OK”to rest
Battery
Wave Setting Print
Start Charge
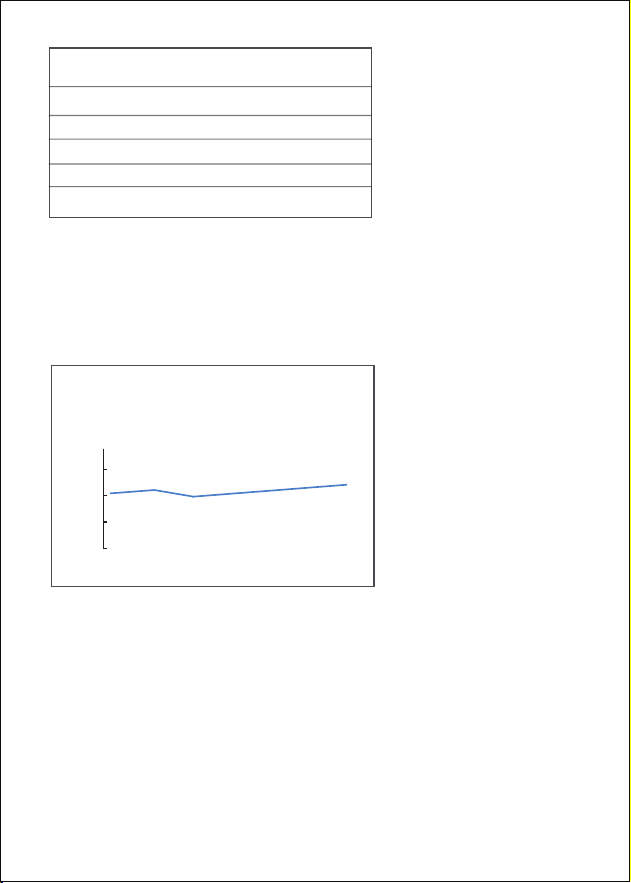
Battery waveform display, display the minimum
and maximum voltage value, can be
synchronized monitoring and battery waveform
analysis.
9
Load Voltage
No-load voltage
Ripple
Charge voltage
12.22V
12.29V
0.08V
Low
Charge
Current Min:12.2V
12.2V
max:12.2V
9.0
10.5
12.0
13.5
15.0 V
Setup
Enter the settings, select the information to be
set and enter the interface information
Enter the language setting interface and select
the required language according to the up and
down buttons
Enter the buzzer selection interface and press
the enter button to select whether to "on" or
"o"
10
1/5
language
Buzzer switch
Screen capture
Self test
About
Setting
1/9
1/2>
English
简体中文
Français
español
Deutsch
Italiano
Русский
Language

Screen capture settings
Tool self test
Buzzer switch
To enter the screen capture interface, it must be
a combination of up and down buttons. Press
the key to add or cancel, and press the confirm
key to save the picture information;
Press the OK button to enter the tool self-test
interface, screen display and key test.
Press the button to add or cancel,and press
“OK”to save
It has to be a combiation of two keys
↑
↓
11
1/2
ON
OFF
Buzzer switch
Screen capture

About
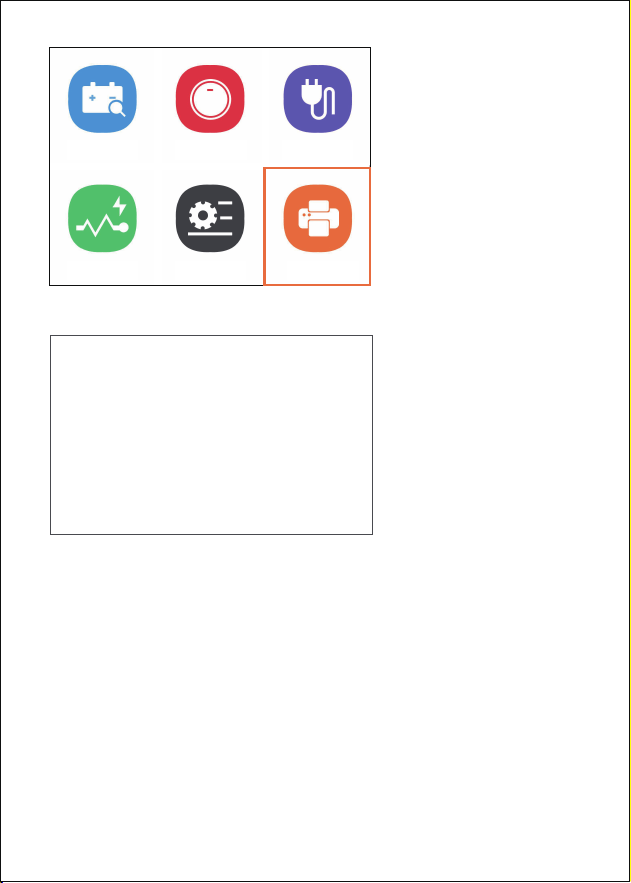
Print
Display product software and hardware version
information
Note: the printing function must be under the
condition that the product has saved the screen
capture picture
Connect the product type-C interface with the
computer, the computer will automatically install
the driver, enter the printing interface, select the
picture, press the OK button to enter the
printing, select the picture information on the
computer to complete the printing.
12
1/2
Self test
LCD test
Key test
About
SW:V20.0
HW:V10.0
13
Imformation
1.Keep printing this interface
2.A removable disk will appear
when connected to the computer
via a USB cable
3.Copy pictures from the picture
folder to your computer for
printing
Battery
Wave Setting Print
Start Charge

14
Disclaimer Conditions
We are committed to providing unparalleled
customer support to our customers before and
after sales. Below we oer our exemption for
this product:
If any of the following conditions are met, the
customer shall not enjoy the benefits covered
by this limited warranty:
a)Products due to abnormal use, abnormal
conditions and inappropriate storage (such as
exposure to front and back or overlap, should
be authorized to modify, misuse, negligence,
repetition, accident, modification, incorrect
installation or other non-faulty behavior)
Damage, including damage caused by
transportation.
b)Our company is not responsible for damage
to products caused by external causes (such as
collision with objects) or fire, flood, sand, dust,
storm, lightning, earthquake or weather
conditions, irresistible acts of natural disasters
or leakage of batteries, theft, fuse breaking,
incorrect use of any power source.