CARE AND MAINTENANCE
TROUBLESHOOTING
Before cleaning:
1. Ensure the power is off.
2. Use a damp cloth to clean the fixture.
3. Do not use detergent or abrasives for cleaning.
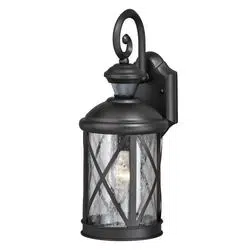
SKU Number: 356-1296
Model Number: OWL2233
1-Light Outdoor Wall Light
PACKAGE CONTENTS
HARDWARE CONTENTS Note: Hardware not shown actual size.
Lock nut x 4
(2pcs pre-attached, 2pcs spare)
Mounting bracket with
ground screw (pre-attached)
x 1
AA
Wire connector
x 3
Outlet box screw
x 2
BB
CC
DD
R
R
R
R
FIVE-YEAR LIMITED WARRANTY: If, during normal use, this PATRIOT LIGHTING lighting fixture breaks or fails due to a defect in material
workmanship within five (5) years from the date of original purchase, simply bring this lighting fixture with the original sales receipt back to
your nearest MENARDS retail store. At its discretion, PARTIOT LIGHTING agrees to have the product or any defective part(s) repaired or
replaced with the same or similar PATRIOT LIGHTING product or part free of charge, within the stated warranty period, when returned by
the original purchaser with original sales receipt. This warranty; (1) excludes expendable parts including but not limited to light bulbs; (2) does
not cover damage that has resulted from abuse or misuse; and (3) does not cover any losses, labor, injuries to persons/property or costs.
This warranty does give you specific legal rights and you may have other rights, which vary from state to state.
Rubber washer x 4
(2pcs pre-attached, 2pcs spare)
EE
SAFETY INFORMATION
Please read and understand this entire manual before attempting to assemble, operate or install the product.
WARNING
Turn off electricity at main fuse box (or circuit breaker box) before beginning installation by removing fuse (or
switching off circuit breaker).
Be careful not to damage or cut the wire insulation (covering) during fixture installation. Do not permit wires to
contact any surface having a sharp edge. To do so may damage or cut the wire insulation, which could cause
serious injury or death from electric shock.
This product must be installed in accordance with the applicable installation code by a person familier with the
construction and operation of the product and hazards involved.
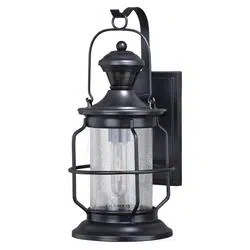
2min
5s
Adjust the TIME and LUX by turning the knobs.
LUX: From 1 to 1000
TIME: From 5 seconds to 2 minutes
2min
5s
FUNCTION AND OPERATION (continued)
Issues
1. Turn light switch on.
2. Check bulb and replace if burned out.
3. Replace fuse or turn circuit breaker on.
4. Recheck after dark.
5. Re-aim the sensor to cover desired area.
6. Verify wiring is correct.
1. Light switch is turned off.
2. Light bulb is loose or burned out.
3. Fuse is blown or circuit breaker is turned off.
4. Daylight turn-off is in effect.
5. Sensor is not detecting movement.
6. Incorrect circuit wiring, if a new installation.
Lights will not
come on
Lights stay on
continuously
The sensor may be picking up a heat source
like an air vent, dryer vent, etc.
Reinstall the unit away from heat source.
Possible cause Solution
The LUX control determines the level of darkness required for the unit to start operating.
Set the LUX control knob fully clockwise, the unit will now start operating at dusk. If you
require the light to activate earlier, wait until the ambient light level reaches the level of
darkness at which you wish the lamp to become operative, slowly rotate the control
counterclockwise until a point is reached where the lamp illuminates, leave the control
set at this point.
The TIME setting controls how long the unit remains illuminated following activation &
after all motion ceases. The minimum time is 5 seconds, while the maximum time is
2 minutes. Set the control to the desired setting between these limits.
14
Questions, problems, missing parts?
Please email us at [email protected],
or call us at 1-888-722-5089.
PREPARATIONS
Before beginning operation of product, please make sure all parts are present. If any part is missing or damaged,
do not attempt to install or operate the product. Contact customer service for replacement parts.
CAUTION
All electrical connections must be in agreement with local codes, ordinances or the National Electric Code (NEC).
Contact your municipal building department to learn about your local codes, permits and/or inspections.
Do not connect this fixture to an electrical system that does not provide a means for equipment grounding. Never
use a fixture in a two-wire system that is not grounded. If you are not sure your lighting system has a grounding
means, do not attempt to install this fixture. Contact a qualified, licensed electrician for information with regards to
proper grounding methods as required by the local electrical code in your area.
Turn off the power at fuse or circuit box.
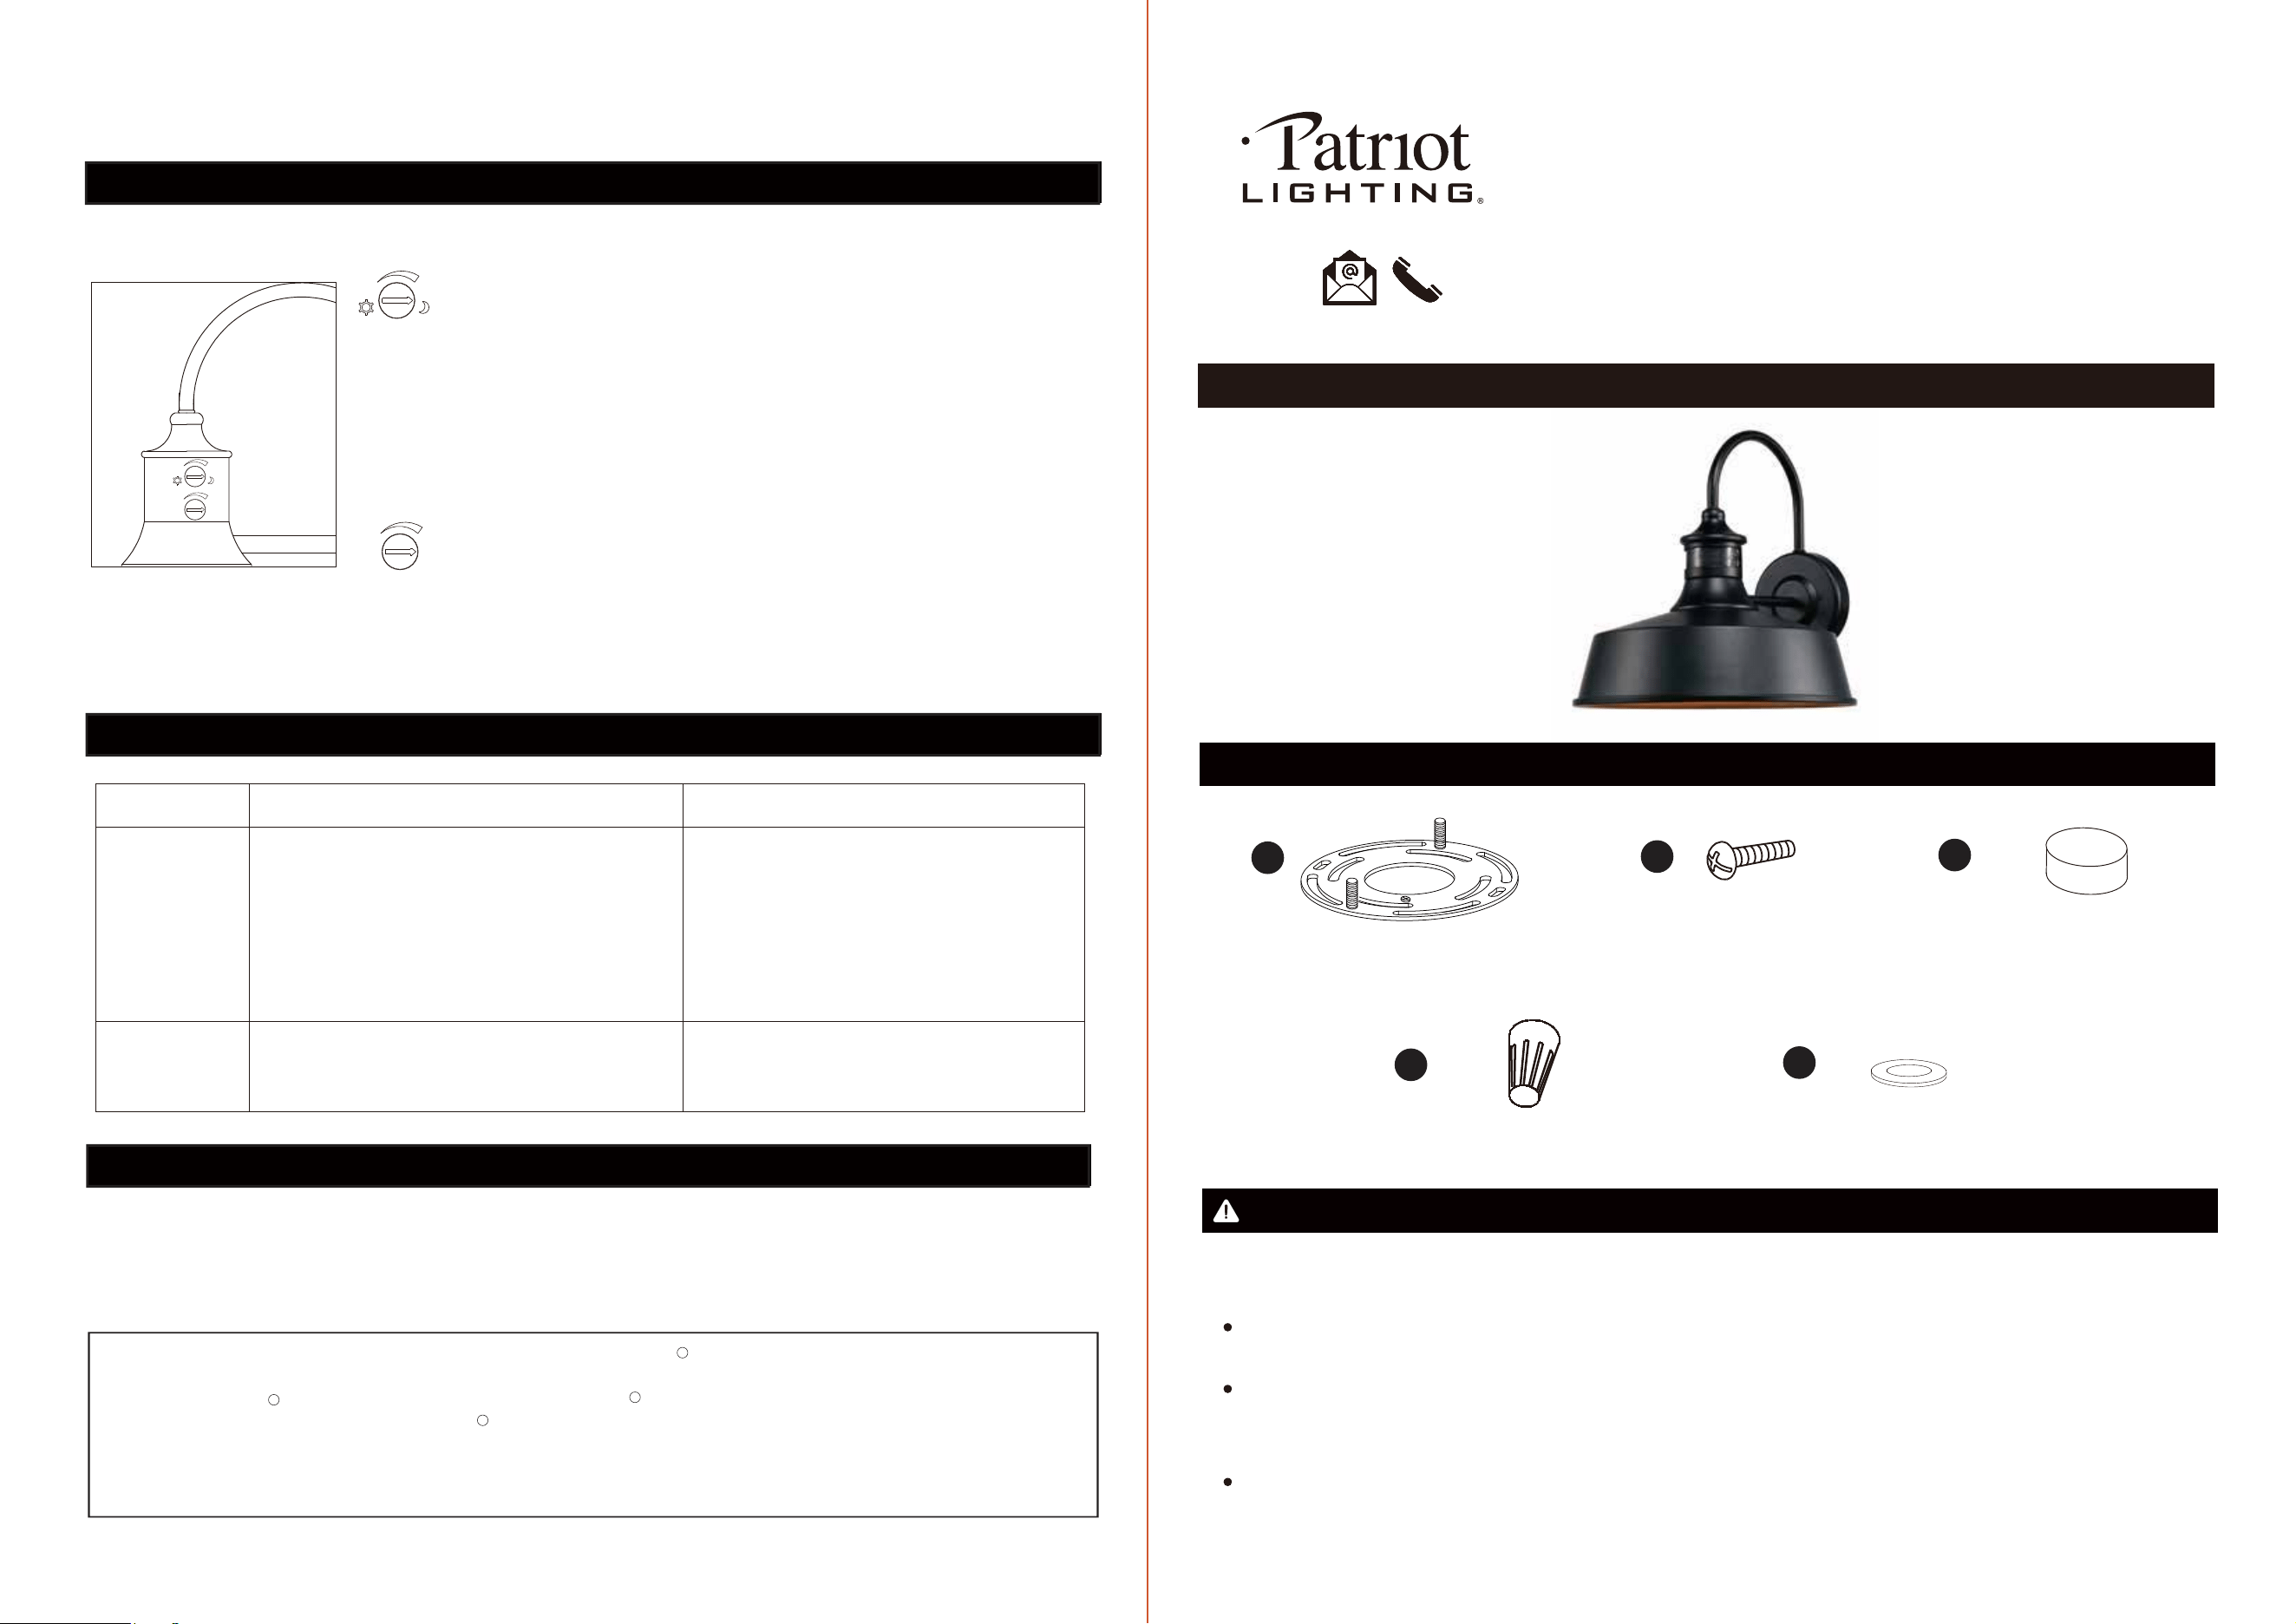
ASSEMBLY INSTRUCTIONS
1. Unscrew the (2) lock nuts (CC) and rubber washers (EE) from the mounting plate (B) and take the mounting
bracket (AA) off.
SAFETY INFORMATION (continued)
ASSEMBLY INSTRUCTIONS (continued)
DO NOT use bulb having a wattage greater than the maximum value stated on the fixture. The use of a bulb with
a wattage higher than the specified will increase temperatures and risk of fire.
EE
CC
B
7.
Working temperature: -13°F ~ 113°F ( -25℃~ 45℃)
2. Secure the mounting bracket (AA) to outlet box with outlet box screws (BB).
Make sure the screws on the mounting bracket (AA) are facing out from the outlet box.
3. Connect the black wire from the fixture to the black wire from the outlet box with a wire connector (DD).
Connect the white wire from the fixture to the white wire from the outlet box with a wire connector (DD).
Wrap the ground wire from the fixture around the ground screw on the mounting bracket (AA), then connect
to the ground wire from the outlet box with a wire connector (DD).
Note: Wrap the wire connectors (DD) with electrical tape for a more secure connection.
Carefully tuck wires and wire connectors into the outlet box.
4. Attach the fixture mounting plate (B) to the screws on the mounting bracket (AA), and secure the fixture in place
with the rubber washers (EE) and lock nuts (CC).
5. Attach the lamp shade (C) to the socket, and secure with shade ring (D).
7. After installation, seal around the top and side perimeter between the fixture and the wall surface with weather
resistant caulking (not included).
FUNCTION AND OPERATION
1. When power is first applied, the light will come on for about 30 seconds to allow the sensor to warm up.
2. The sensitivity of the motion sensor will increase as the environmental temperature gets cooler. For best performance,
gently clean the lens with a soft cloth every 1 or 2 months to maintain maximum sensitivity.
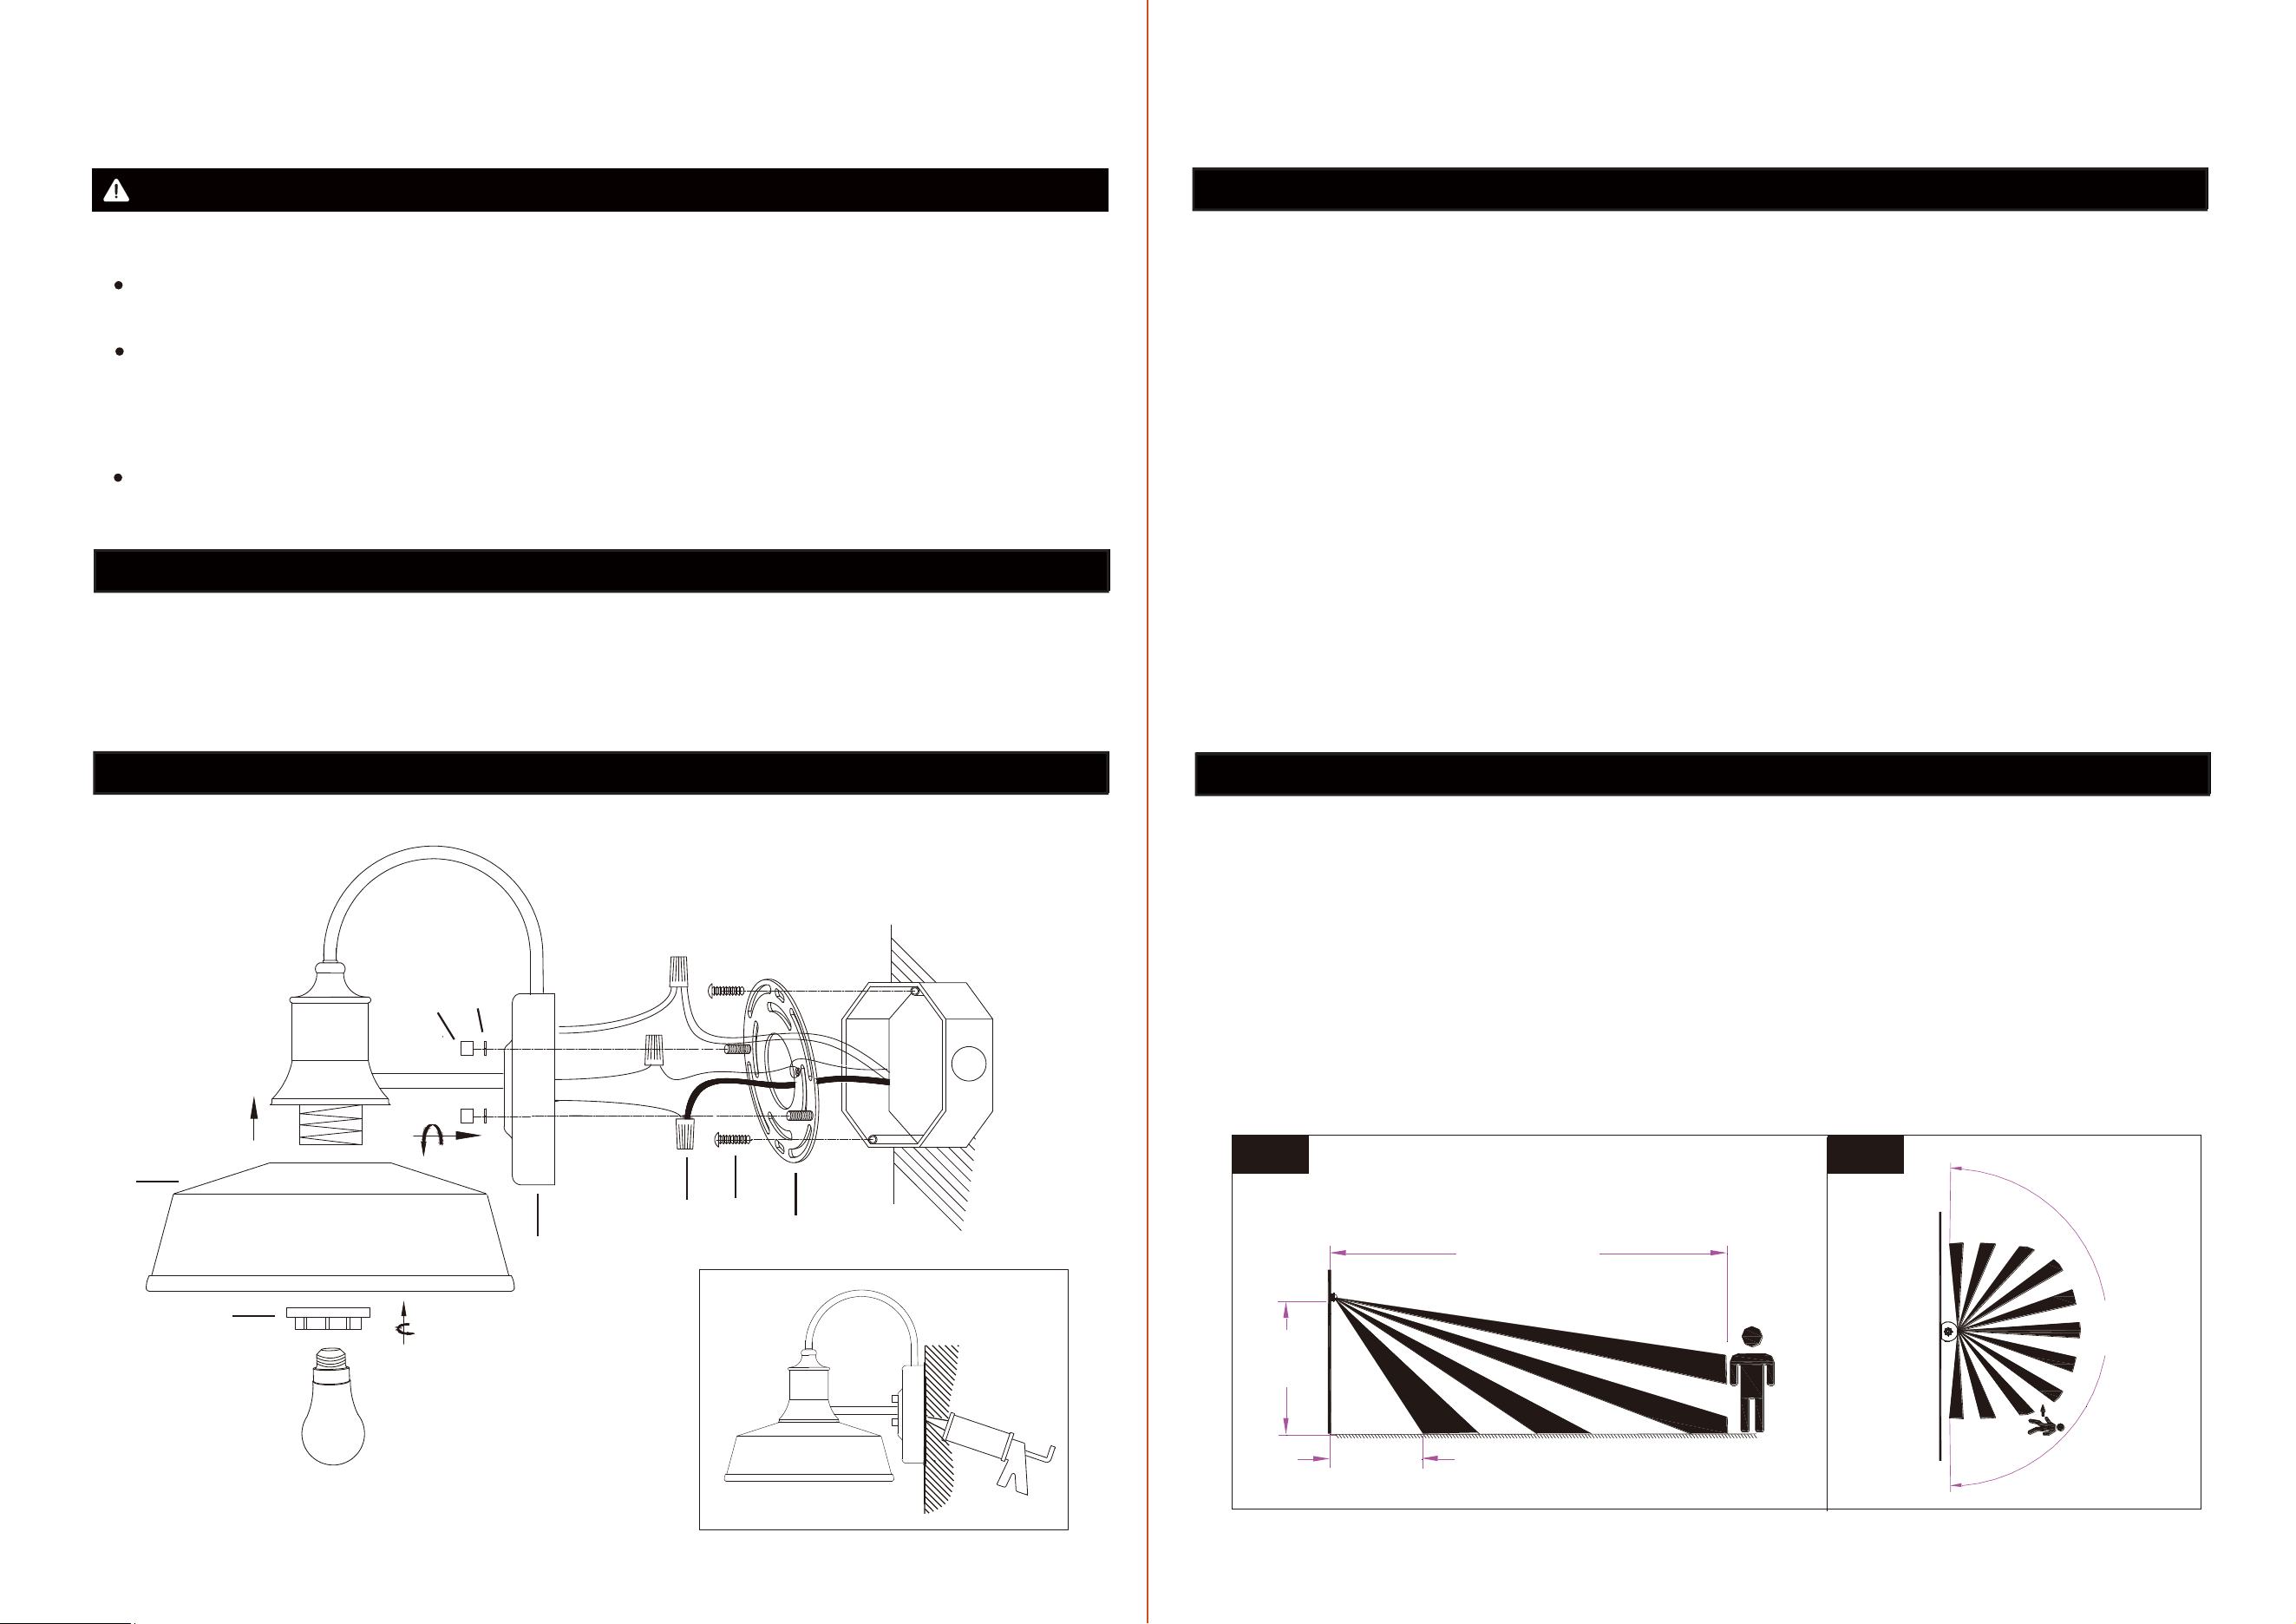
3. For best performance, install fixture 6 feet to 8 feet above the ground. At such a height, the fixture will provide a
detection distance up to 30 feet (See Fig.1).
4. The sensor detects a range of 220 degrees.(See Fig.2)
5. To reduce possible nuisances, do not mount the fixture near a heat source like an air conditioner, vent or furnace
exhaust, or in a direction facing any reflecting object or other light source.
BB
DD
AA
D
C
6. Install the light bulb (not included), do not exceed maximum 60 watts bulb.
6 ft.
Max. 30 ft.
5 ft.
220°
Fig.1
Fig.2
Tools required for assembly (not included): Slotted screwdriver, Pliers, Electrical tape, Wire cutters/stripper,
Safety glasses, Weather resistant caulking, Ladder.
32
6. Manual Override mode: Turn off/on/off/on the wall switch to activate the light on for 8 hours.