
To reduce the risk of injury, the user must read and understand the Operator’s
Manual before using this product. Save these instructions for future reference.
ELECTRIC AUTOMATIC
FLOOR SCRUBBER
Operations Manual
W
A
R
R
A
N
T
Y
MODEL NUMBER: TAS850e

2
Table of Contents
1. SAFETY INFORMATION
1.1 Fire Safety
2. OPERATING SAFETY
2.1 Service Safety
2.2 Usage Safety
3. EQUIPMENT PERFORMANCE
3.1 Electric Floor Scrubber Parts
3.2 Specifications
3.3 Modifications
3. ASSEMBLY
4.1 Installation of Squeegee Components
4.2 Squeegee Adjustment
5. OPERATION
5.1 Before You Start
5.2 Start Up
5.3 Control Panel
6. BATTERY CHARGING
6.1 Charging Precautions
7. TROUBLESHOOTING
7.1 Maintenance Record
8. REPLACEMENT PARTS
9. WARRANTY
9.1 Warranty Claims
10. SERVICE CENTERS
11. PARTS MANUAL
4
5
6
7
8
8
8
9
10
10
10
10
10
10
10
11
12
12
12
14
14
15
15
15
19

3
Register Your Equipment
Thank you for purchasing TOMAHAWK® equipment! Your product is covered by the
TOMAHAWK® Warranty policy, but in order to activate your warranty, we need you to register
your product. In addition to activating your equipment warranty, product registration will
grant you access to important product updates, streamlined customer service and more.
INCLUDED WITH YOUR REGISTRATION
☑ Equipment Warranty Activation
☑ Product Updates
☑ Streamlined Customer Service
☑ Exclusive Discounts and Sales
STEPS TO REGISTER YOUR EQUIPMENT
1. Visit www.tomahawk-power.com
2. Choose “Product Registration” at the bottom of the page
3. Enter your equipment’s serial number to get started
4. Provide all required information
5. Submit Registration
Equipment Resources
TOMAHAWK® Customer Service doesn’t stop at checkout. We understand to keep a job-site
running smoothly - the proper equipment, spare parts, instruction manuals, and more are
needed at the drop of a hat. Visit www.tomahawk-power.com to gain access to the incredible
resources below.
How To Video Library
More of a visual person? Visit our Video Library for equipment
assembly instructions, troubleshooting tips, and more!
Found at the TOMAHAWK® Resource Center
Manual and Assembly Guide Library
Visit our Manual Library if you are looking for a lost
operations manual or a particular spare part?
Found on the TOMAHAWK® Manuals Page
Service Requests
In need of a quick fix or a service center referral? Submit a
Service Request and a TOMAHAWK® Technician will respond
shortly to get you the help you need.
Choose “Service Request” at the bottom of www.tomahawk-power.com
This manual provides information and procedures to safely operate and maintain this
model. For your own safety and protection from injury, carefully read, understand and
observe the safety instructions described in this manual.
Keep this manual or a copy of it with the machine. If you lose this manual or need an
additional copy, please contact TOMAHAWK® or visit www.tomahawk-power.com This
machine is built with user safety in mind; however, it can present hazards if improperly
operated and serviced. Follow operating instructions carefully. If you have questions about
operating or servicing this equipment, please contact TOMAHAWK®.
The information contained in this manual is based on machines in production at the time of
publication. TOMAHAWK® reserves the right to change any portion of this information
without notice.
No part of this publication may be reproduced in any form or by any means, electronic or
mechanical, including photocopying, without express written permission from
TOMAHAWK®.
Any type of reproduction or distribution not authorized by TOMAHAWK® represents an
infringement of valid copyrights and will be prosecuted. We expressly reserve the right to
make technical modifications, even without due notice, which aim at improving our
machines or their safety standards.
1. SAFETY INFORMATION
This manual contains DANGER, WARNING, CAUTION, and NOTE callouts which must be
followed to reduce the possibility of personal injury, damage to the equipment, or improper
service.
This is the safety alert symbol. It is used to alert you to potential personal injury
hazards. Obey all safety messages that follow this symbol to avoid possible injury
or death.
DANGER indicates an imminently hazardous situation which, if not avoided, will
result in death or serious injury.
WARNING indicates a potentially hazardous situation which, if not avoided, could
result in death or serious injury.
CAUTION indicates a potentially hazardous situation which, if not avoided, may
result in minor or moderate injury.
DANGER
WARNING
CAUTION
4

5
1.1 Fire Safety
If your machine catches fire, turn o the electric supply. Using a dry powder or C02 fire
extinguisher, put out the fire. If the fire cannot be put out, keep away and call the fire
department. If you are in any doubt about the safety condition of your machine, please
consult TOMAHAWK®.
2. OPERATING SAFETY
Familiarity and proper training are required for the safe operation of equipment!
Equipment operated improperly or by untrained personnel can be dangerous! Read
the operating instructions contained in both this manual and the engine manual and
familiarize yourself with the location and proper use of all controls. Inexperienced operators
should receive instruction from someone familiar with the equipment before being allowed
to operate the machine.
2.1 General Notes
2.1.1 NEVER allow anyone to operate this equipment without proper training. People
operating this equipment must be familiar with the risks and hazards associated with it.
2.1.2 NEVER use accessories or attachments for this equipment, which are not
recommended by TOMAHAWK®. Damage to the equipment and/or injury to user may occur.
2.1.3 NEVER leave machine running unattended.
2.1.4 ALWAYS be sure operator is familiar with proper safety precautions and operation
techniques before using machine.
2.1.5 ALWAYS wear hearing protection when operating equipment.
2.1.6 ALWAYS wear protective clothing appropriate to the job site when operating
equipment.
2.1.7 ALWAYS wear hearing protection when operating equipment.
2.1.8 ALWAYS store equipment properly when it is not being used. Equipment should be
stored in a clean, dry location out of the reach of children.
2.1.9 ALWAYS operate machine with all safety devices and guards in place and in working
order. DO NOT modify or remove safety devices. DO NOT operate machine if any safety
devices or guards are missing or inoperative.
2.1.10 ALWAYS read, understand, and follow procedures in Operator's Manual before
attempting to operate equipment.
WARNING

6
2.2 Service Safety
For your own personal protection and for the safety of those around you, please read
and ensure you fully understand the following safety information. It is the
responsibility of the operator to ensure that he/she fully understands how to operate
this equipment safely. If you are unsure about the safe and correct use of this equipment
consult your supervisor.
2.2.1 DO NOT attempt to clean or service machine while it is running. Rotating parts can
cause severe injury.
2.2.2 ALWAYS replace worn or damaged components with spare parts designed and
recommended by TOMAHAWK®.
2.2.3 ALWAYS keep machine clean and labels legible. Replace all missing and hard-to-read
labels. Labels provide important operating instructions and warn of dangers and hazards.
2.2.4 Cordon off the work area and keep members of the public and unauthorized
personnel at a safe distance.
2.2.5 Personal Protective Equipment (PPE) must be worn by the operator whenever this
equipment is being used.
2.2.6 Make sure you know how to safely switch this machine OFF before you switch it ON in
case you get into difficulty.
2.2.7 Always switch OFF before transporting, moving it around the site, or servicing it.
2.2.8 During use, the battery may become very hot, allow the battery to cool before
touching it.
2.2.9 NEVER pull or guide the machine using the cable and never pull on the cable to
disconnect the plug.
2.2.10 DO NOT operate the machine when you are ill, feeling tired, or when under the
influence of alcohol or drugs.
2.2.11 Ensure that any trailing cable is protected against damage and not liable to be
tripped over or trapped underneath the machine.
2.2.12 DO NOT use this machine in dangerous conditions.
2.3 Usage Safety
2.3.1 The voltage indicator must not be charged below 21V. Charging it below this level can
severely damage the battery, reducing its capacity, shortening the machine's operating
time, and potentially preventing the battery from charging altogether.
2.3.2 Before using the machine, discharge the sewage and fill the clean water tank with
fresh water. If sewage is not discharged before adding clean water and using the machine,
its performance will decline. This may cause slower operation, reduced suction power, and,
in the worst case, overheating of the motor, which can damage the machine's main unit.
WARNING

7
2.3.3 NEVER operate the machine without water. Using the machine without water can
cause dry dust to enter the sewage tank and reach the suction motor through the suction
port, leading to reduced motor performance.
2.3.4 DO NOT drive the machine on surfaces similar to isolation belts. Prolonged use on
such surfaces can damage the machine's sheet metal parts and drive axle.
2.3.5 When the machine approaches a steep road, turn off the suction motor switch. This
prevents sewage from splashing into the suction port, which could damage or burn the
suction motor.
2.3.6 Aer using the machine, discharge the sewage immediately. Sewage can be acidic or
even highly corrosive. Leaving it in the machine for a long time can corrode the sewage pipe
and shorten its service life.
2.3.7 If the machine will not be used for a long time, fully charge it and store it in a storage
room. Avoid exposing the machine to air drying and direct sunlight.
2.3.8 If the machine will not be used for more than 15 days, fully charge the battery,
disconnect the battery power cord, and store the machine in a dry, shaded storage room.
This prevents the battery from discharging completely. Before disconnecting the battery
power cord, turn off the machine switch and remove the key to avoid electric shock.
2.3.9 ONLY use manufacturer supplied parts for maintenance.
2.3.10 ONLY trained adults that have read and understand the operation manual should
operate the machine.
2.3.11 Before cleaning the machine, turn off the key switch. Do not use a water hose to
flush the battery, motor, wiring harness, controller, computer board, or other sensitive
components.
2.3.12 Aer using the machine, allow the battery to cool down before charging. Do not
charge the battery for more than 10 hours. If the machine will be le unattended during
charging, consider using a smart timer socket for added safety.
2.3.13 The machine's battery must be charged using the original charger provided by our
company. Do not use fast charging, as high-voltage or low-voltage charging can cause the
battery to bulge.
2.3.14 The machine's battery must be charged with the original charger provided by our
company. Do not use fast charging, as high-voltage or low-voltage charging can cause the
battery to swell.
2.3.15 When the machine approaches a steep road, turn off the suction motor switch. This
prevents sewage from splashing into the suction port, which could damage or burn the
suction motor.
2.3.16 Then the machine is operating with a cleaning agent, a defoamer must be added to
the sewage tank to prevent foam buildup. This will stop bubbles from being sucked into the
suction motor, which could damage or burn the motor.
2.3.17 The correct sequence for starting the machine is as follows: main power switch →
swipe switch → suction switch. Reversing this order can cause a sudden surge in current,
which may damage or burn out the voltage display meter

8
2.3.18 The correct sequence for starting the machine is as follows: main power switch →
swipe switch → suction switch. Reversing this order can cause a sudden surge in current,
which may damage or burn out the voltage display meter
2.3.19 If the machine will not be used for more than 15 days, fully charge the battery,
disconnect the battery power cord, and store the machine in a dry, shaded storage room.
This prevents the battery from discharging completely. Before disconnecting the battery
power cord, turn off the machine switch and remove the key to avoid electric shock.
2.3.20 DO NOT frequently turn the operating switch on and off while the machine is in
continuous use. This can cause excessive starting currents, which will accelerate the aging
of the motor insulation and reduce the motor's service life.
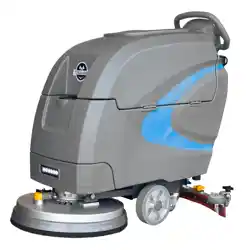
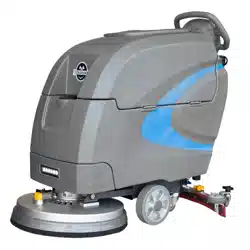
3. EQUIPMENT PERFORMANCE
3.1 Electric Floor Scrubber Design
The TOMAHAWK® TAS850e is designed with the intention of revolutionizing the way we
clean our floors. The intended use of the TOMAHAWK® TAS850e is to provide a efficient
cleaning solution for various surfaces, including hardwood floors, tiles, and laminate.
With its motorized spinning brushes, the TOMAHAWK® TAS850e effortlessly removes dirt,
grime, and stubborn stains, leaving floors sparkling clean.
3.2 SPECIFICATIONS
MODEL TAS850e
Maximum Work Efficiency 2000 m
2
/h
Voltage/Power 24V/100Ah
Brush Width 20 in (510mm)
Scrubbing Width 32.67 (830mm)
Brush Motor 550W
Sucon Motor 500W
Soluon Tank 14 gal (55L)
Sewage Tank 16 gal (60L)
Forward Speed 0-3.7 mph (0-6km/h
Dimensions 55.11*32.6*41.33 (1400*830*1050mm)
Net/Gross Weight
Working Time
397/441 lb (180/200kg )
3hr

9
3.3 Electric Floor Scrubber Parts
1. Drain Pipe
2. Charging Port
3. Water Valve Adjustment Switch
4. Control Panel
5. Water Line
6. Squeegee Handle
7. Sewage Vacuum Pipe
8. Brush Plate Pedal
9. Water Intake

10
3.4 Modifications
Any modifications made to the TOMAHAWK® TAS850e will void the manufacturer warranty.
Contact TOMAHAWK® customer service prior to any attempt at modification of machine.
4. ASSEMBLY
The machine is packaged in five parts when it leaves the factory: the body (including the
water tank, rack, and brush plate fixing components), squeegee components, brush plate,
and charger.
4.1 Installation of Squeegee Components:
• Unpack the package and remove the squeegee assembly, as shown in the figure below.
• Attach the squeegee head to the rear of the machine and tighten the cross handle to
secure it.
4.2 Squeegee Adjustment:
• If the pressure of the squeegee strip is too low and there is too much resistance:
• Unscrew the fixing screw of the head wheel.
• Lower the small wheel and visually check the position of the water-absorbent tape,
adjusting it to the ideal position.
• Tighten the screw to secure the adjustment.
• Repeat the steps for the other head wheel to adjust its height to the suitable position.
5. OPERATION
5.1 Before You Start
Before using the machine for the first time, adjust the equipment for optimal cleaning
performance. A routine inspection is required before each use:
• Check if the sealing strip of the recovery tank cover is intact.
• Ensure that the sewage tank is cleaned out.
5.2 Start Up
5.2.1 Inserting the Suction Pipe:
• Insert one end of the sewage vacuum pipe into the inlet of the recovery tank and the
other end into the outlet of squeegee strip.
5.2.2 Filling with Water:
• Li the lid of the solution tank.
• Pour clean water into the clean water tank by first placing the water pipe into the tank,
then opening the water valve. The water temperature should not exceed 50°C. The water
level can be checked through the water level pipe.
• Add detergent as needed based on the cleaning requirements.
• Close the water tank cover.
NOTE: Once filled lower squeegee then walk forward to used desired setting.
11
5.2.3 Water Volume Adjustment:
• Open the cover of the clean water tank.
• Pour clean water into the clean water tank (first place the water pipe into the tank, then
open the water valve. The water temperature should not exceed 50°C, and the water
level can be checked through the water level pipe).
• Add detergent according to the cleaning needs of the ground.
• Close the water tank cover.
• Open the drain valve and adjust the water volume as necessary based on the actual
needs.
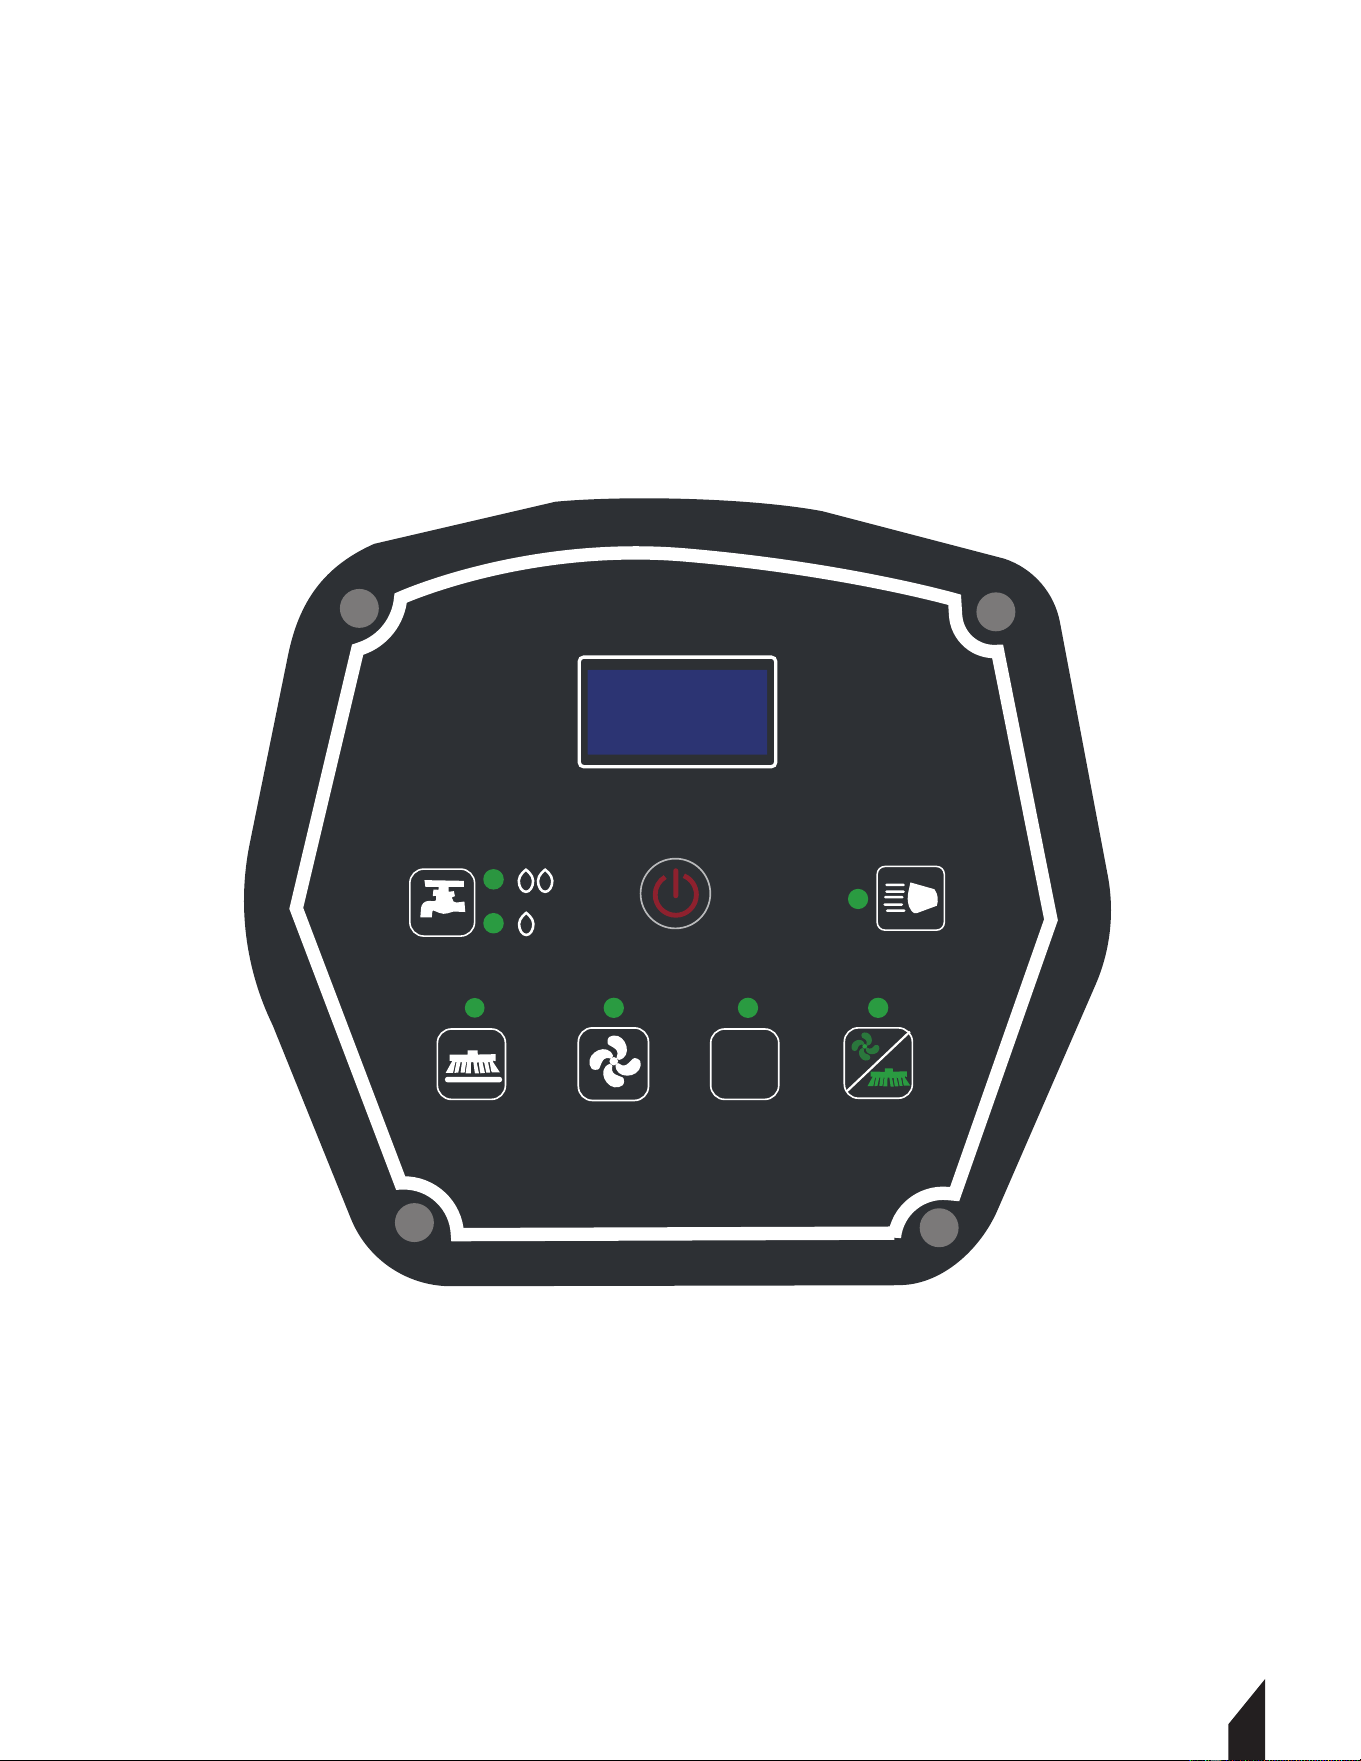
5.3 Control Panel
Vacuum switch: Turn on this switch, the suction motor starts to work.
Main Power Switch: Start this switch, the device is in the power-on state.
Broom Switch: Press this switch to start the brush.
Battery Indicator: Displays the power of the device, and the power will increase during
the charging process.
Lamp Switch: Turn on the front light when clean the dark area.
Eco Modes: Enable a reduction in the amount of water, detergent and pressure delivered.
Broom
Water
Pump
Lamp
ECO MODE ECO
Broom/ Vac
ECO
Power
Vacuum
12
6. BATTERY CHARGING
NOTE: To extend the battery's lifespan and ensure optimal performance, charge the battery
aer the machine has been used for at least 30 minutes. Avoid leaving the battery
uncharged for long periods. The following charging instructions apply to the charger that
comes with this machine. Be sure to use the specified charger to prevent battery damage.
6.1 Charging Precautions:
• If the digital meter shows a reading below 21, charge the battery immediately.
• To charge, insert the charger into the machine's charging port and connect it to a 220V power
supply.
• Ensure the machine is in a well-ventilated area during charging. Open the side of the recovery
tank for better ventilation.
• When the digital meter shows a reading of 26, charging is complete.
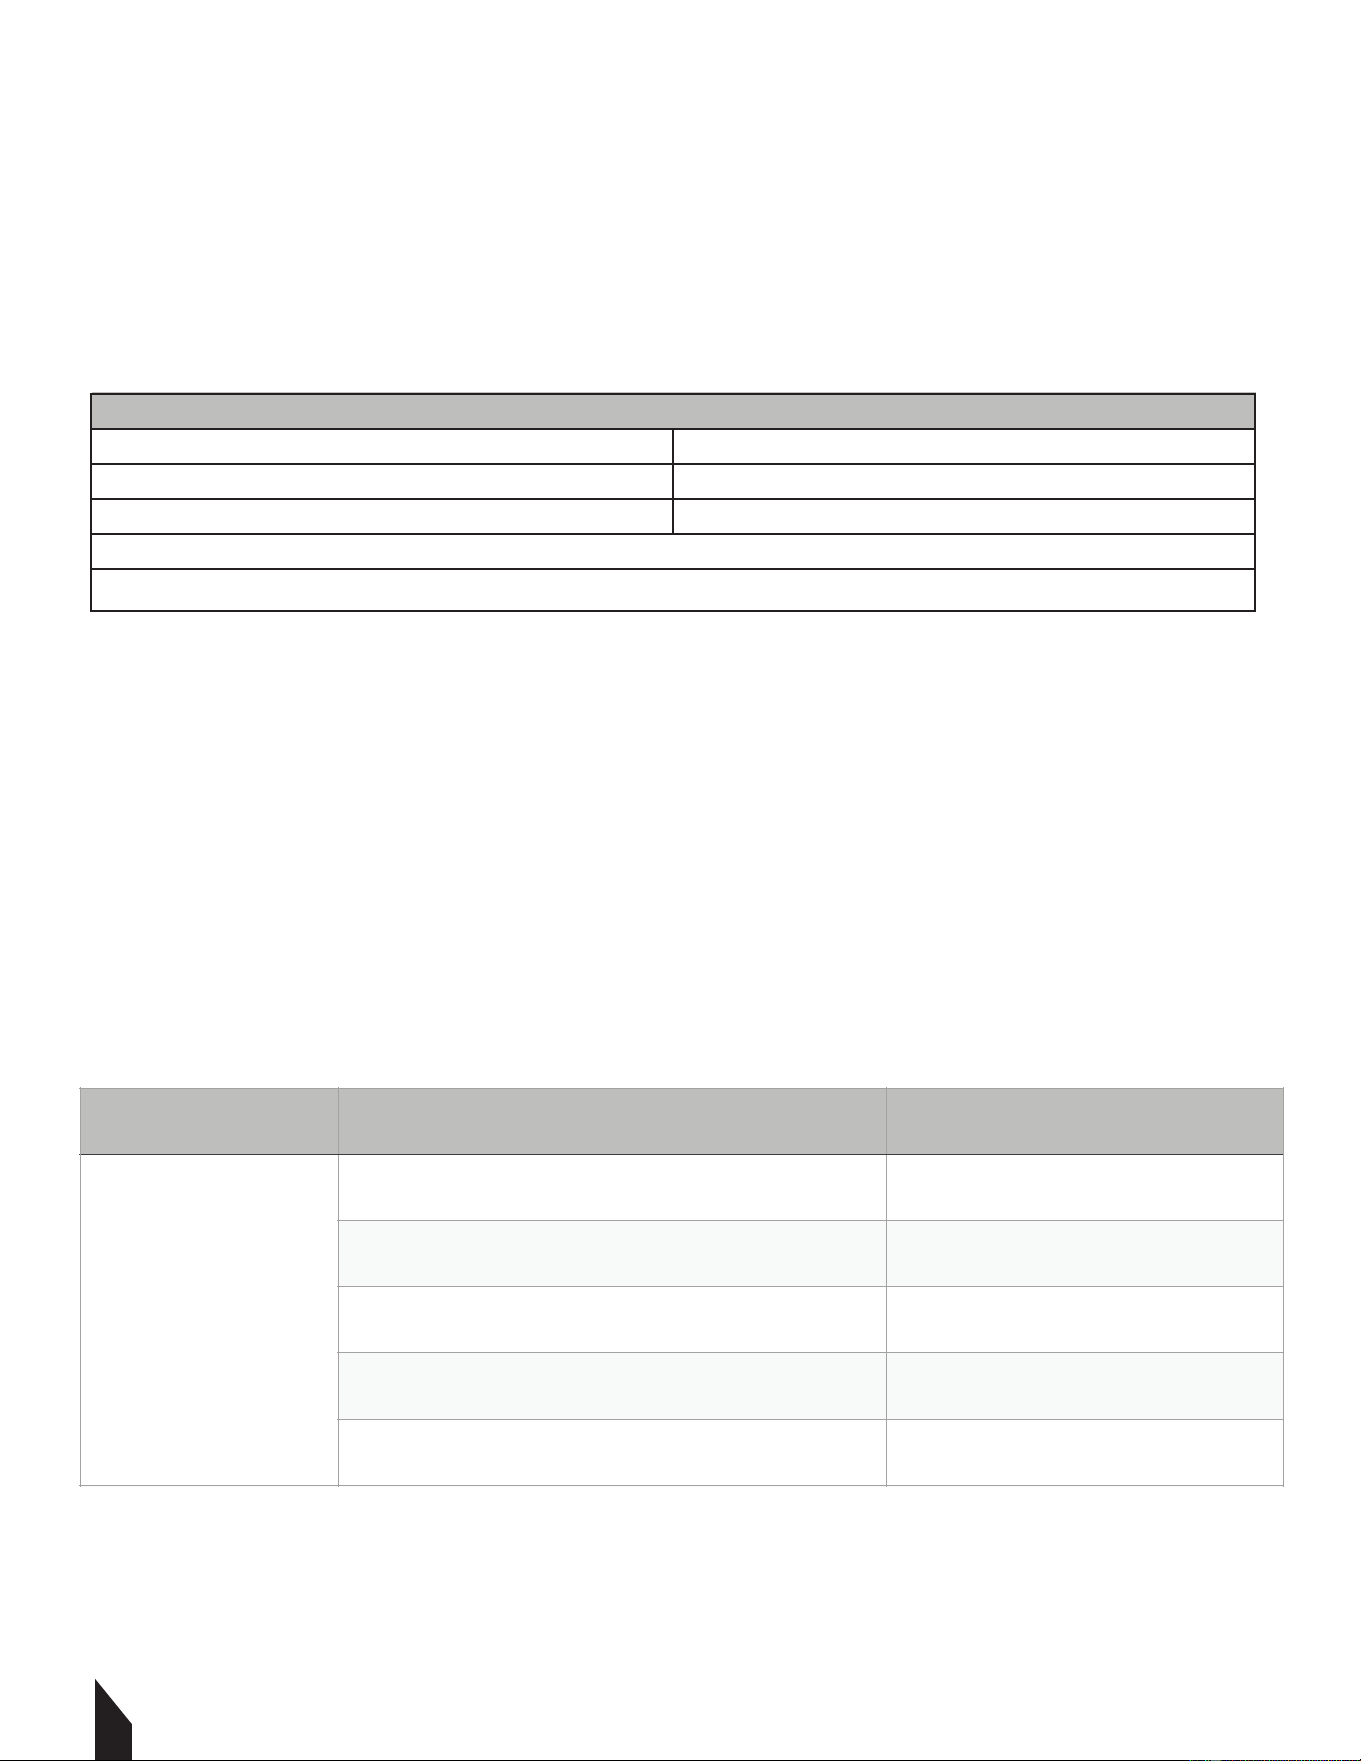
7. TROUBLESHOOTING
Charger Type
Output Voltage
Output Current
Lead-Acid Battery Charger
24v
15a
Automatic Power-Off Circuit
Suitable for Deep Cycle Battery Charging
Battery Specifications
Problem Reason Solution
Low sewage recycling
efficiency
Recovery tank is full Drain the sewage tank
Absorbent tape wear Replace absorbent tape
Blocked suction pipe Clear the clogged debris
Suction motor failure Please contact the service center
Damaged recovery tank seal Replace the sealing strip
Operating time
reduced
The battery is defective Replace the battery
Battery charging failure Repair or replace the charger
Little or no water
outflow
The clean water tank filter or solution pipe is
clogged
Clean the clear water tank filter
The flow rate setting of the water flow control
knob is too low
Adjust the water flow control knob
13
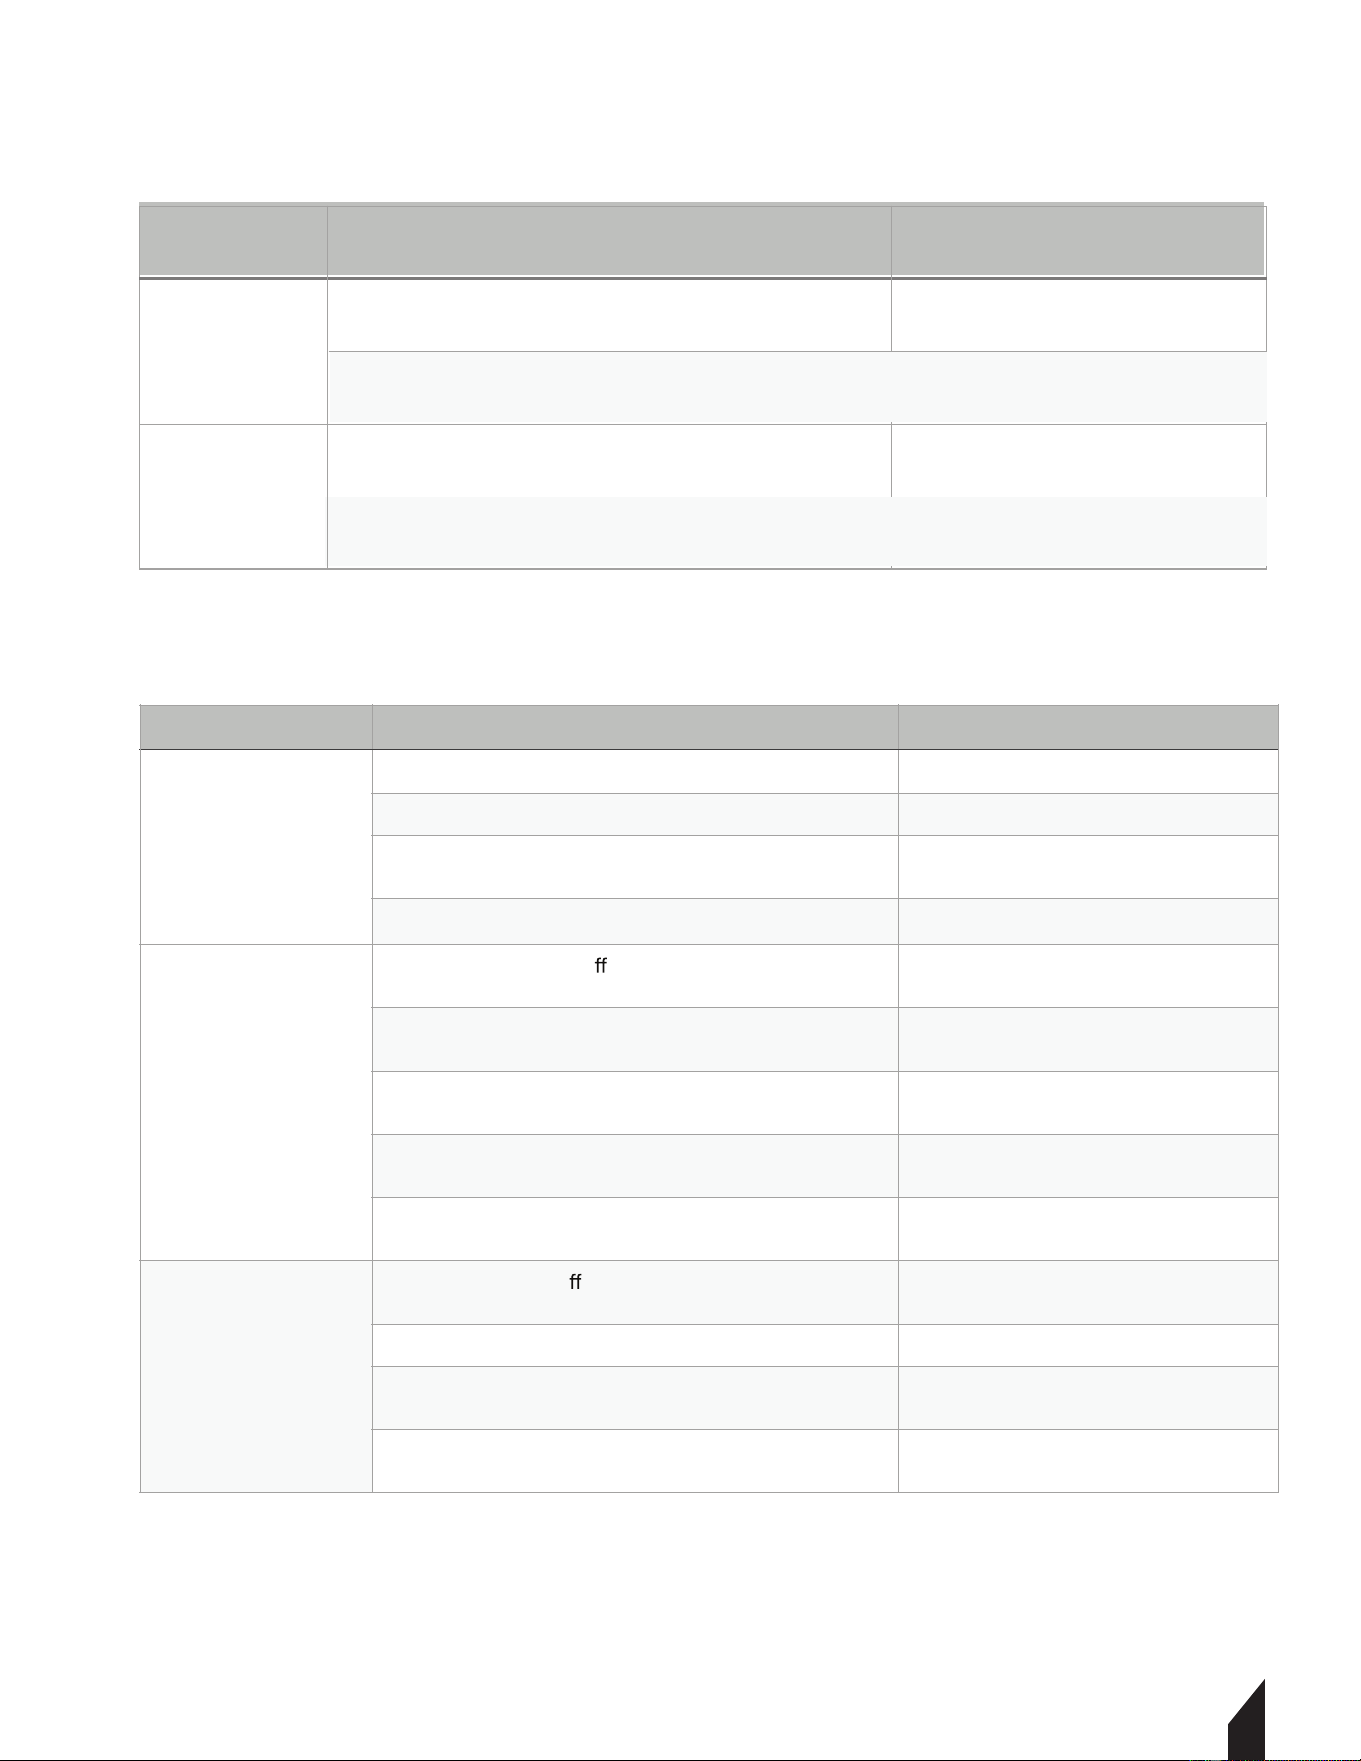
Problem Reason Solution
The machine cannot
be operated
The battery is out of power Battery charging
Battery failure Replace the battery
Loose battery wiring Tighten the battery wiring
Main fuse blown Replace the fuse
Disk brush motor does
not work
Lower the brush headThe brush head rises o
the ground
The battery fuel gauge is locked and does not start Battery charging
Disk brush motor circuit breaker triggers a trip Reset brush circuit breaker button
Brush (up/down) switch failure Please contact the service center
Motor of carbon brush wear Please contact the service center
The suction motor
does not work
Lower the squeegeeThe squeegee lifts o
the ground
Suction motor fuse blown Replace the fuse
Water suction motor or wiring failure Please contact the service center
The carbon brush of the suction motor is damaged Please contact the service center
Problem Reason Solution
Operating time
reduced
The battery is defective
Replace the battery
Battery charging failure
Repair or replace the charger
Little or no water
outflow
The clean water tank filter or solution pipe is
clogged
Clean the clear water tank filter
The flow rate setting of the water flow control
knob is too low
Adjust the water flow control knob
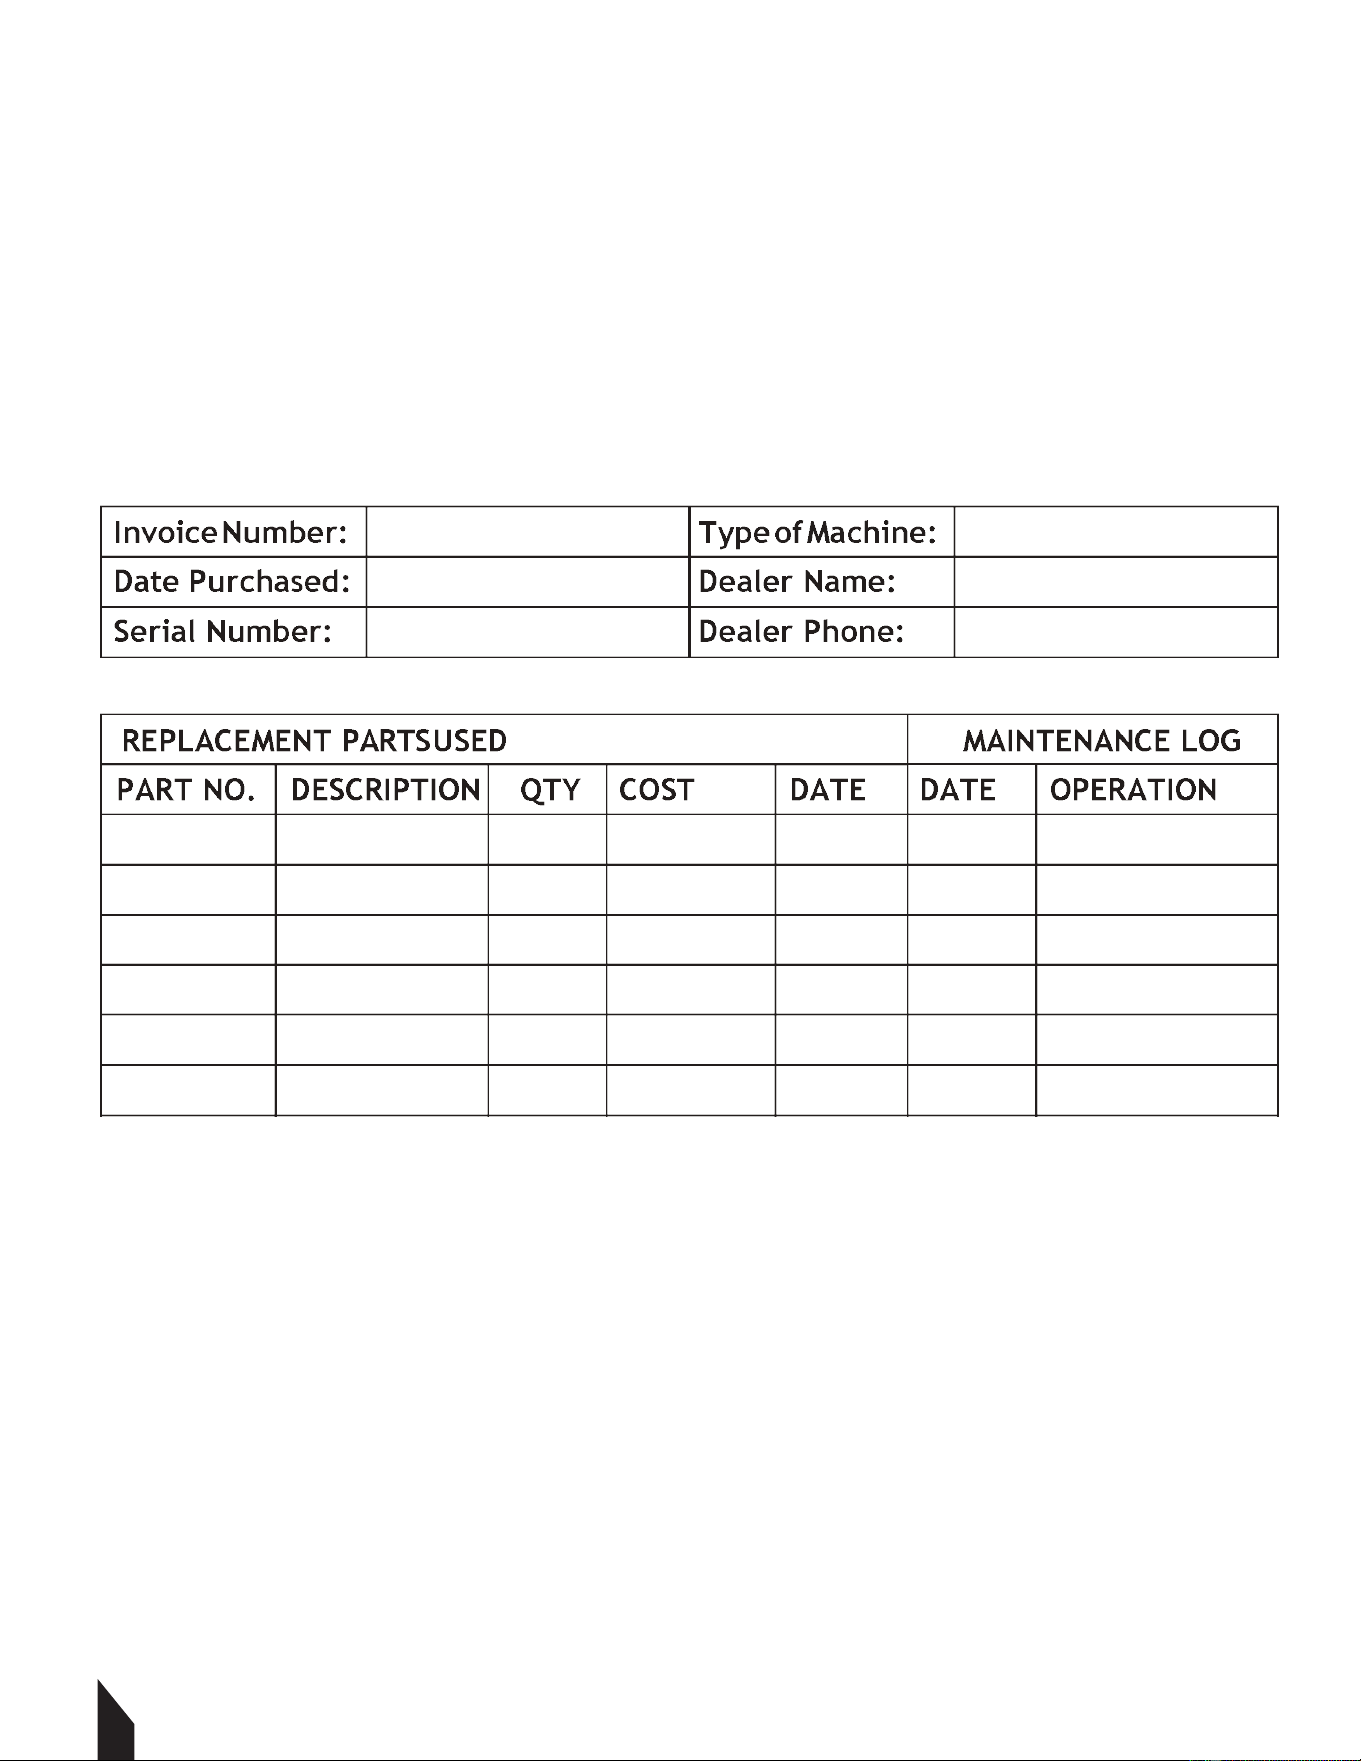
7.1 Maintenance Record
TOMAHAWK® tools are assembled with care and will provide years of service when properly
maintained. Preventative maintenance and routine service are essential to the long life of
your equipment. Adhere to reading through this manual thoroughly. You will find that you
can do some of the regular maintenance yourself. However, when in need of parts or major
service, be sure to contact a TOMAHAWK® Technician. For your convenience we have
provided this space to record relevant data about your TOMAHAWK® equipment.
8. REPLACEMENT PARTS
8.1
8.2
8.3
14
14

15
9. EQUIPMENT WARRANTY
Your new TOMAHAWK® equipment is warranted to the original purchaser for a period of
one-year (12 months) from the original date of purchase. The TOMAHAWK® warranty is
against defects in design, materials and workmanship.
The following are not covered under the warranty:
9.1.1 Damage caused by abuse, misuse, dropping or other similar damage caused by or as a
result of failure to follow assembly, operation or user maintenance instructions.
9.1.2 Alterations, additions or repairs carried out by persons other than TOMAHAWK® or
their recognized agents.
9.1.3 Transportation or shipment costs to and from TOMAHAWK® or their recognized
agents, for repair or assessment against a warranty claim, on any machine.
9.1.4 Materials and/or labor costs to renew, repair or replace components due to fair
wear and tear.
9.1.5 TOMAHAWK® and/or their recognized agents, directors, employees or insurers will not
be held liable for consequential or other damages, losses or expenses in connection with or
by reason of or the inability to use the machine for any purpose.
9.2 Warranty Claims
Before submitting any warranty claim, you will need to register your
new TOMAHAWK® equipment through www.tomahawk-power.com
or email support@tomahawk-power.com.
Follow the steps on page 3 or scan this QR codes to complete
the equipment registration. Aer registration is complete,
all warranty claims should firstly be directed to TOMAHAWK® through
the online Service Request form found
at www.tomahawk-power.com/pages/service-request.
10. SERVICES CENTERS
Our service centers are equipped to handle your equipment maintenance and repair needs
efficiently. With a network of authorized local service locations , you can find expert
support and genuine parts needed to keep your equipment running smoothly. All locations
are listed on the webpage https://tomahawk-power.com/pages/find-a-service-center.
For Service Call (866) 577- 4476

16
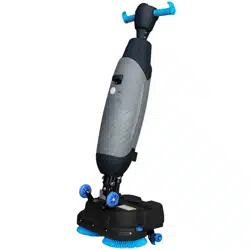
CLEAN MORE
IN LESS TIME
For big areas and busy schedules,
Tomahawk Floor Scrubbers cover a wider
path to reach more surface area so you can
finish cleaning faster around indoor and
outdoor spaces and on wet or dry surfaces!
Item #: TMOP18e
ELECTRIC FLOOR
SCRUBBER CLEANER
www.tomahawk-power.com

17
WORK SMARTER
NOT HARDER
For big areas and busy schedules, Tomahawk Push
Sweepers cover a wider path to reach more surface
area so you can finish sweeping faster around indoor
and outdoor spaces and on wet or dry surfaces!
Item #: TOS38
38" COMMERCIAL
PUSH SWEEPER
www.tomahawk-power.com


To reduce the risk of injury, the user must read and understand the Operator’s
Manual before using this product. Save these instructions for future reference.
ELECTRIC AUTOMATIC
FLOOR SCRUBBER
Parts Manual
MODEL NUMBER: TAS850e

.)
1

IN LESS TIME
For big areas and busy schedules, Tomahawk 38” push sweepers cover a
wider path to reach more surface area so you can finish sweeping faster
around indoor and outdoor spaces and on wet or dry surfaces!
CLEAN MORE
Rammers
8 ft Hydraulic Steer, 35 HP Vanguard,
CVT Clutch, 180 RPM
10 ft Full Hydrostatic, 74 HP Hatz
Diesel
Part#:
TPT24H
TPT36H
TPT46H
Part#: JXPT30T
Part#:
TRT46V
TRT60V
2 ft Edger, Honda GX160, 0-28
o
Blade Pitch
3 ft, Honda GX160/GX270, 0-28
o
Blade Pitch
4 ft, Honda GX270/GX390, 0-28
o
Blade Pitch
HAVE QUESTIONS?
Contact us. We’re here to help!
Email us at [email protected]
Forward Plate Compactors
Reverse Plate Compactors
Part#:
TR68H
JX60H
eJX60H
TVSA-H
eTVSA
Part#:
Part#:
TPC80H
COMPACTION
Power Screeds
Porta-Trowels
Concrete Sprayers
Walk Behind Trowels
Ride on Trowels
Early Entry Saws
Part#:
6-16 ft Magnesium Blades
Honda GX35, Adjustable Handles
6-16 ft Magnesium Blades
36V/5 Ah Battery, Adjustable Handles
Part#:
TFS6H
TFS10H
Part#: TCS6.5
6" Blade Diameter, Blade Compatibility,
Honda GX120
10" Blade Diameter, Self Propelled,
Blade Compatibility, Honda GX270/GX390
CONCRETETROWELS
(866) 577-4476
TPC85H
TPC90H
TPC170H
TPC100H
TPC400H
Equipment Guide
3,000 lbs/sq ft, Honda, 21”x17” Plate
3,200 lbs/sq ft, Honda, 23”x17” Plate
3,400 lbs/sq ft, Honda, 22”x20” Plate
3,500 lbs/sq ft, Honda, 19”×14” Plate
7,000 lbs/sq ft, Honda, 28”x20” Plate
11,690 lbs/sq ft, Honda, 32”x22” Plate
Lightweight at 40 lbs
Adjustable 18 ft Extension Bull Float Poles
30" Diameter, 4-Blade Assembly
Adjustable Blade Pitch from 0-28
o
Adjustable from 0-450 PSI
Handles 30% + Solids,1.8 HP 2 Stroke Motor,
24" Brass Wand 0.5 GPM, Fan Nozzle Included,
Spray 15,000 ft
2
in10 Minutes
3,550 lbs/sq ft, Honda GX120
3,350 lbs/sq ft, Honda GX100
3,350 lbs/sq ft, Honda GXE2.0S
Items Listed Includes Combo Blades

QUIET INVERTER SERIES
QUIET INVERTER SERIES
Welder GeneratorsPower Buggy
48V-20Ah Battery
Handles up to 8 cu ft or 660 lbs. Bucket Capacity
Hydraulic Bucket with 92
o
Tilt, 8 Hour Run Time
Snow Plow Attachment & Bucket Extender Available
Part#:
TGDR10
TSCP8
4,500 - 5,500 Watt Series
10,500 Watt Series
Concrete Scarifier
Floor Sweepers
Grinders and Scrapers
Part#: TSCAR-8H
Trash Water Pumps
Part#:
TW3H
TW4H
3" Pump, Honda GX270, 375 GPM,
Elevation: 89ft, Suction: 25ft
4" Pump, Honda GX390, 581 GPM,
Elevation: 92ft, Suction: 26ft
QUIET INVERTER SERIES
OUTDOOR POWER GENERATORSFLOORING
www.tomahawk-power.com
(866) 577-4476
ASSEMBLED IN THE
PARTS SOURCED GLOBALLY
USA
TG2000i
TG3000i
2,000 - 3,300 Watt Series
Equipment Guide
10" Disc, 120V, 1/32" Per Pass,
11 AMP, 1.5 HP, 1,725 RPM
8" Blade, 120V, 11 AMP, 3/4 HP,
1,725 RPM, Carpet & Tile Remover
Honda GX160 Engine, Scarifies 350 - 500ft
2
/hr
OSHA Compliant Vacuum Port
8" Carbide Tungsten Drum Kit, 1/8" Per Pass
38" Working Width, Triple Broom
System, 14.5 Gallon
30" Working Width, Battery Powered
Triple Broom System, 13.5 Gallon
120 Amp Welder, 60% Duty Cycle,
2000w, Includes Wheel Kit
210 Amp Welder, 60% Duty Cycle,
2000w, Includes Wheel Ki
t
4,500w Max / 3,800w Rated
5,500w Max / 5,000w Rated, 120/220V
Run Time 8 Hrs @ 50% Load
CARB Compliant, GFCI
TG4500i
TG5500i
10,500w Max / 8,500w Rated
Voltage Selector, 120/220V
Run Time 14.5hrs @ 25% Load
CARB Compliant,
GFCI, CO Detector
TG9000i
2,200w Max / 2,000w Rated
3,300w Max
/ 3,000w Rated,
120/220V, 30 AMP Twist Lock
Run Time 8 Hrs @ 50% Load
CARB Compliant, GFCI 120v
6010-7024 Rods Compatible
Part#: TBUGGY300e
Part#:
TWG120A
TWG210A
Part#:
TOS38
eTOS30
Assorted Blade Choices Assorted Blade Choices
Assorted Brush Choices

TOMAHAWK®, LLC
San Diego, CA
Sales Support
(866) 577-4476
Equipment Support
(866) 577-4476
www.tomahawk-power.com
Tomahawk understands to keep a job-site running smoothly the proper equipment and
spare parts are needed at the drop of a hat. With same day shipping and faster
delivery times, count on Tomahawk to keep you powered throughout the day! With
long lasting parts and engines, Tomahawk equipment will be the star of your fleet for
years to come. Visit www.tomahawk-power.com to get started today!
Power Your World
FACEBOOK
facebook.com/TomahawkPowerUSA
YOUTUBE
youtube.com/TomahawkPower
INSTAGRAM
@tomahawkpower