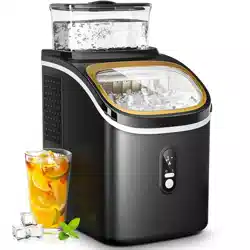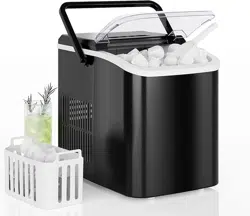
Ice Maker
Instruction Manual
HJ-Customer[email protected]
(909)637-7665 | (909)637-7593
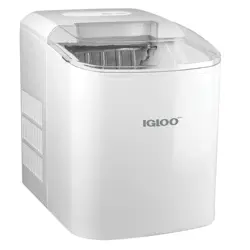
EAM-IM001-PP-GN
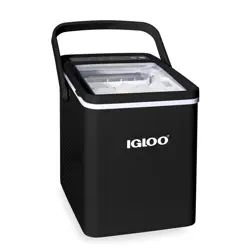
EAM-IM001-PP-BK
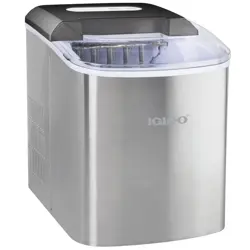
EAM-IM001-SS-SR
EST 9:00AM--17:00PM

Thank you for choosing our ice maker
PAGE CONTENT
Please make sure your items have arrived in good condition
and confirmation of goods receipt.
If you have any questions or problems, please feel free to
contact us for assistance.
Please take a few minutes to read this manual carefully.
Proper maintenance and operation of this machine can
provide better service.
Important Safety Information 1
3
4
5
6
8
Product Introduction
Before Using You Should Know
How to Use Your Ice Maker
Troubleshooting
Technical Parameter
Model No(S): WBJ-10A

Before using check that the voltage power corresponds to the one
shown on the appliance nameplate.
Do not operate if any component, including the cord or plug, is damaged.
Unplug the unit before cleaning by hand and when not in use.
Children or mentally/physically unable personnel are not allowed to
operate the ice maker.
Do not place the power cord in such a way it could be pulled on by
children or cause a tripping hazard.
Closely watch children who are near the unit when making ice
Do not use water that is micro-biologically unsafe or of unknown quality.
Do not touch the evaporator with your hands while the ice maker is
operating. Do not plug or unplug the unit with wet hands.
The unit must be properly installed and located following the installation
instructions before it is used. The unit is for indoor household use only.
This appliance must be grounded.
Avoid the use of an extension cord because it may over heat and cause
a risk of fire. However, if it is necessary to use an ex-tension cord:
(1) Use only extension cord with grounding plug.
(2) The marked rating of an extension cord must be equal to or greater
than the rating of this appliance.
IMPORTANT SAFETY INFORMATION
1
2
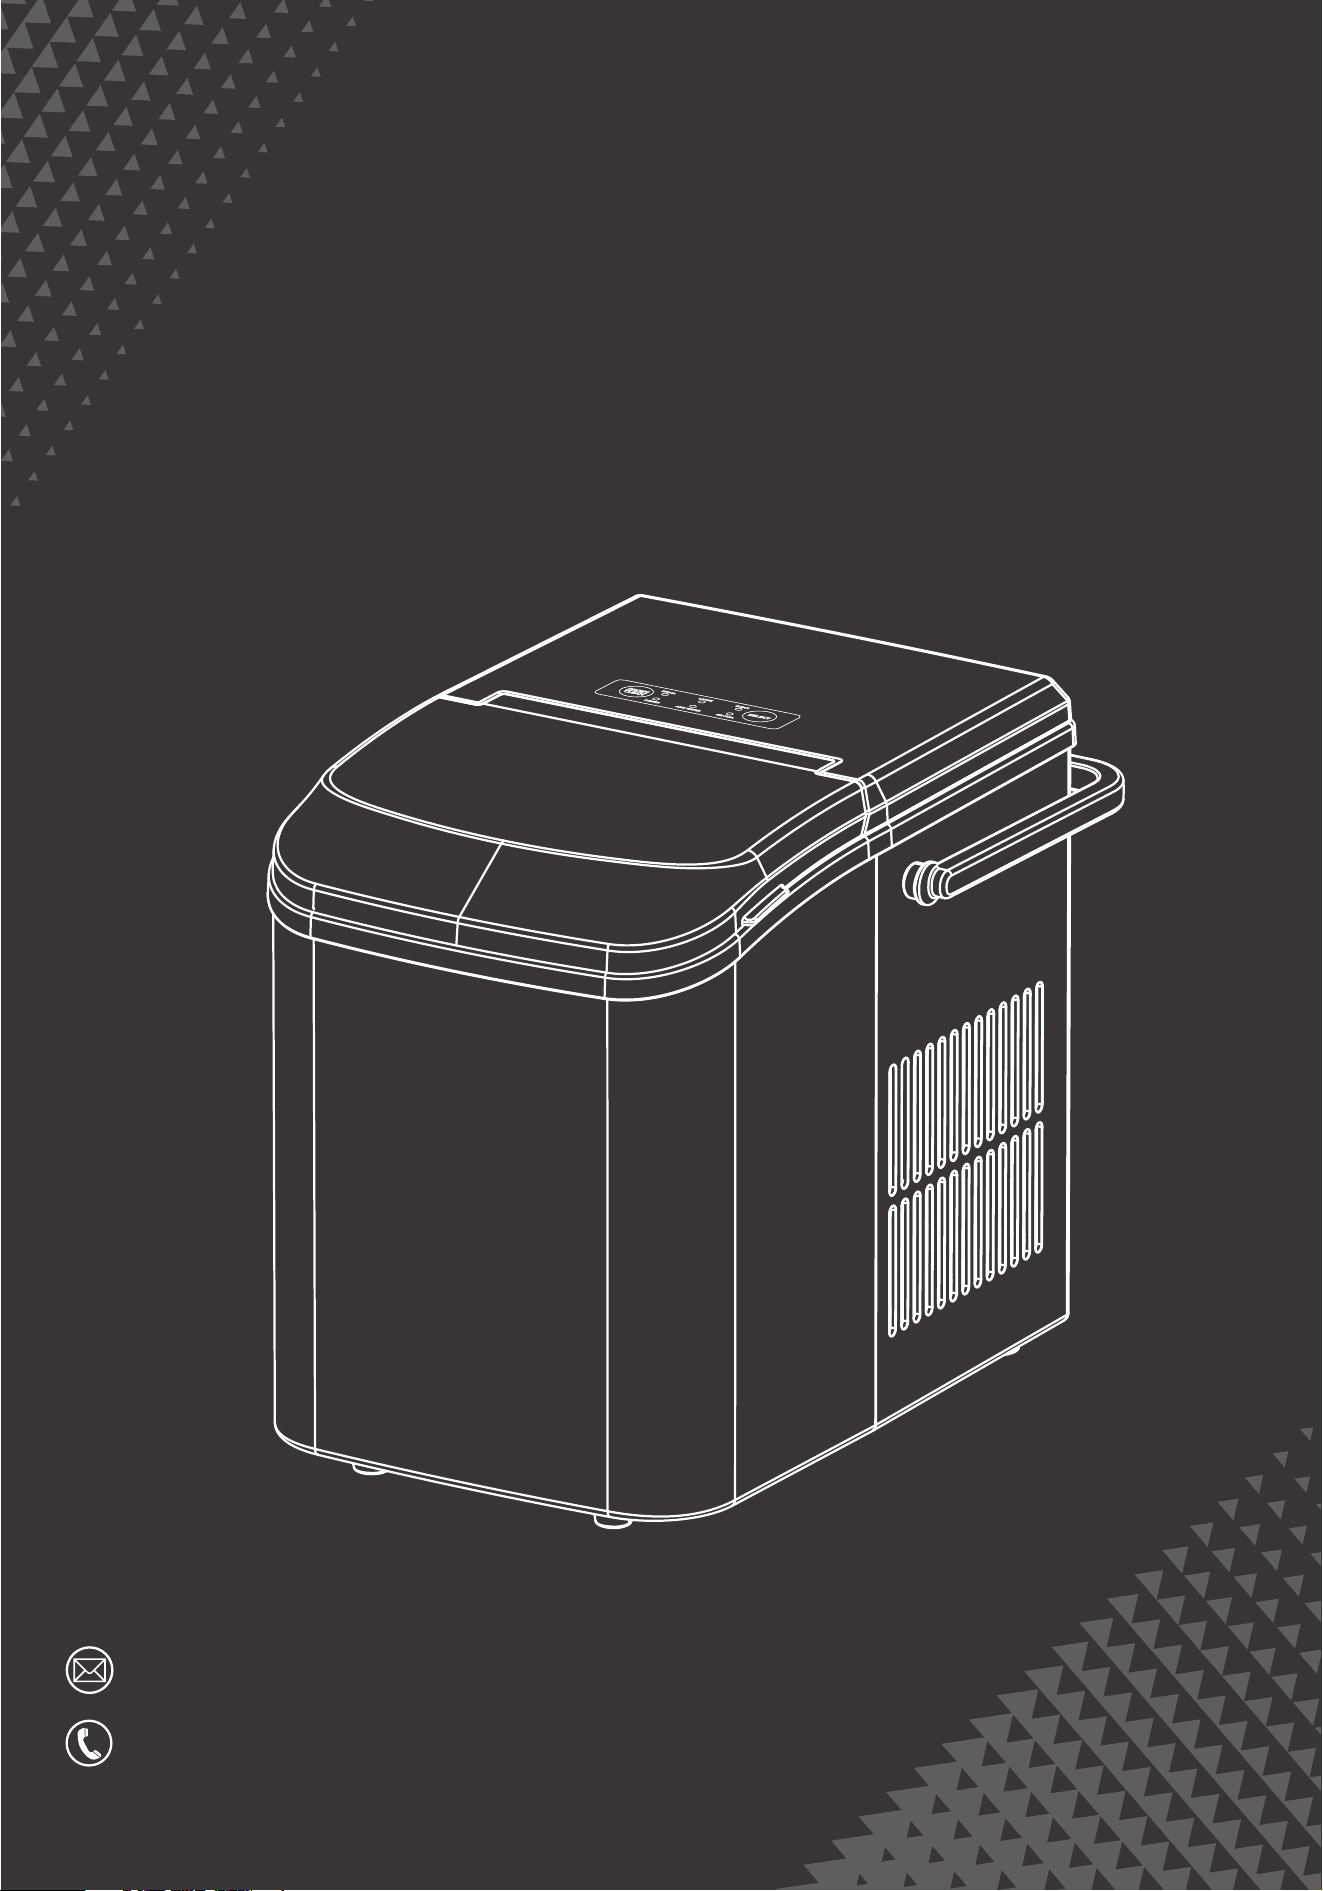
Do not store or use flammable vapors or liquids near the unit.
Do not immerse any part of the unit in water.
Do not attempt to disassemble, repair, modify or replace any part of
the ice maker without permission.
Risk of fire / flammable materials
WARNING
Do not locate multiple portable socket-outlets or portable power
supplies at the rear of the appliance
When handling, installing and operating the unit, care should be taken
to avoid damage to the refrigerant tubing.
Keep ventilation openings in the unit enclosures or the built-in
structure clear of obstruction.
Do not place the uni near heat sources such as an oven.
Ensure a minimum of three inches of clearance around the side and
back walls of the unit for proper air circulation.
Do not place the unit in direct sunlight.6.
5.
4.
3.
2.
1.
3
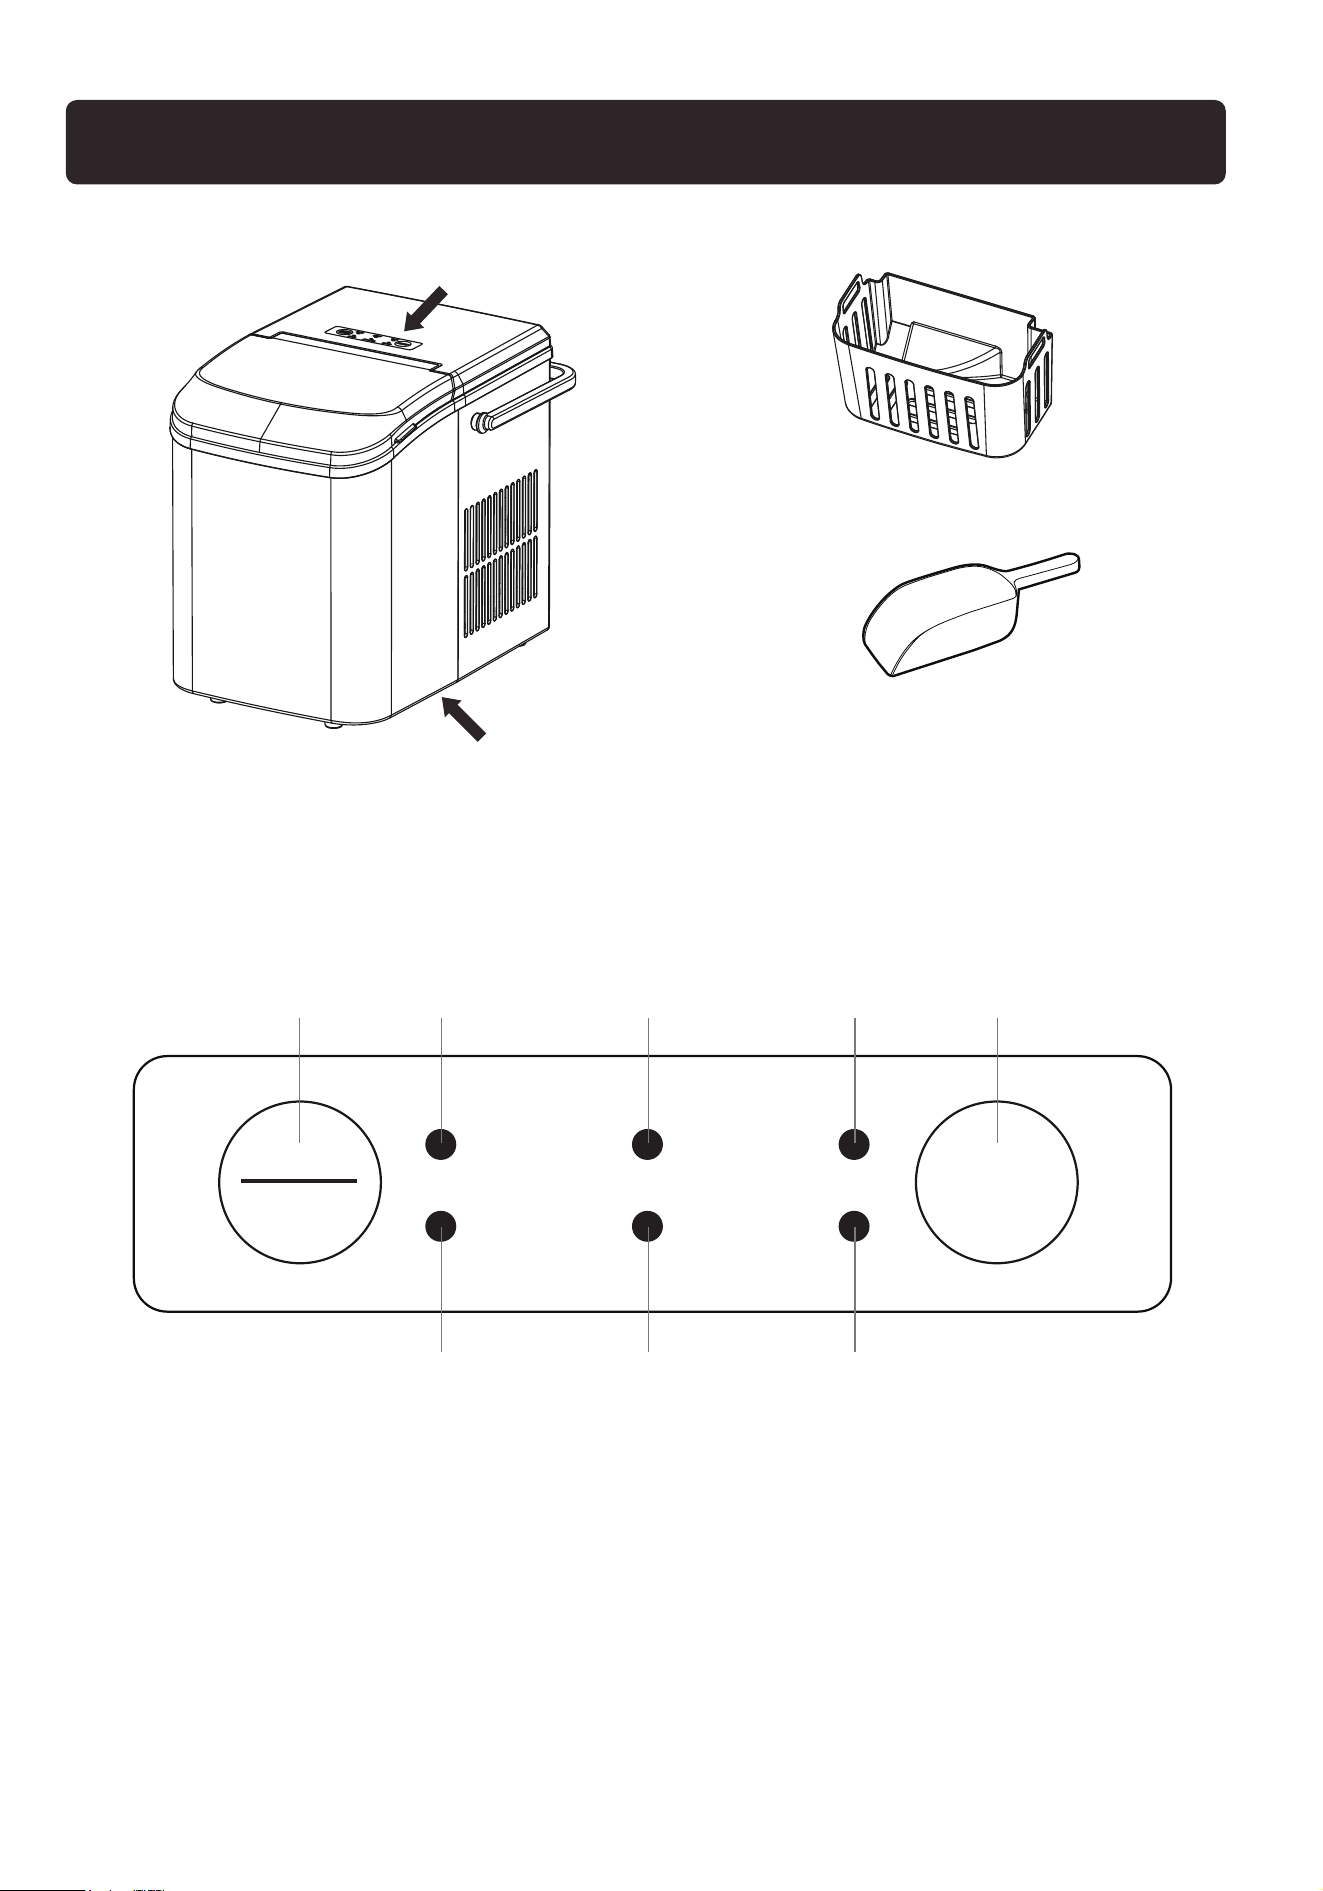
Control panel
Ice scoop
Ice storage basket
D A B C
F G H
E
Contral Panel
Drain Plug
A---Small ice indicator E---Select botton
B---Large ice indicator F---Power indicator
C---Clean indicator G--- Add water indicator
D--- ON/OFF button H--- Ice full indicator
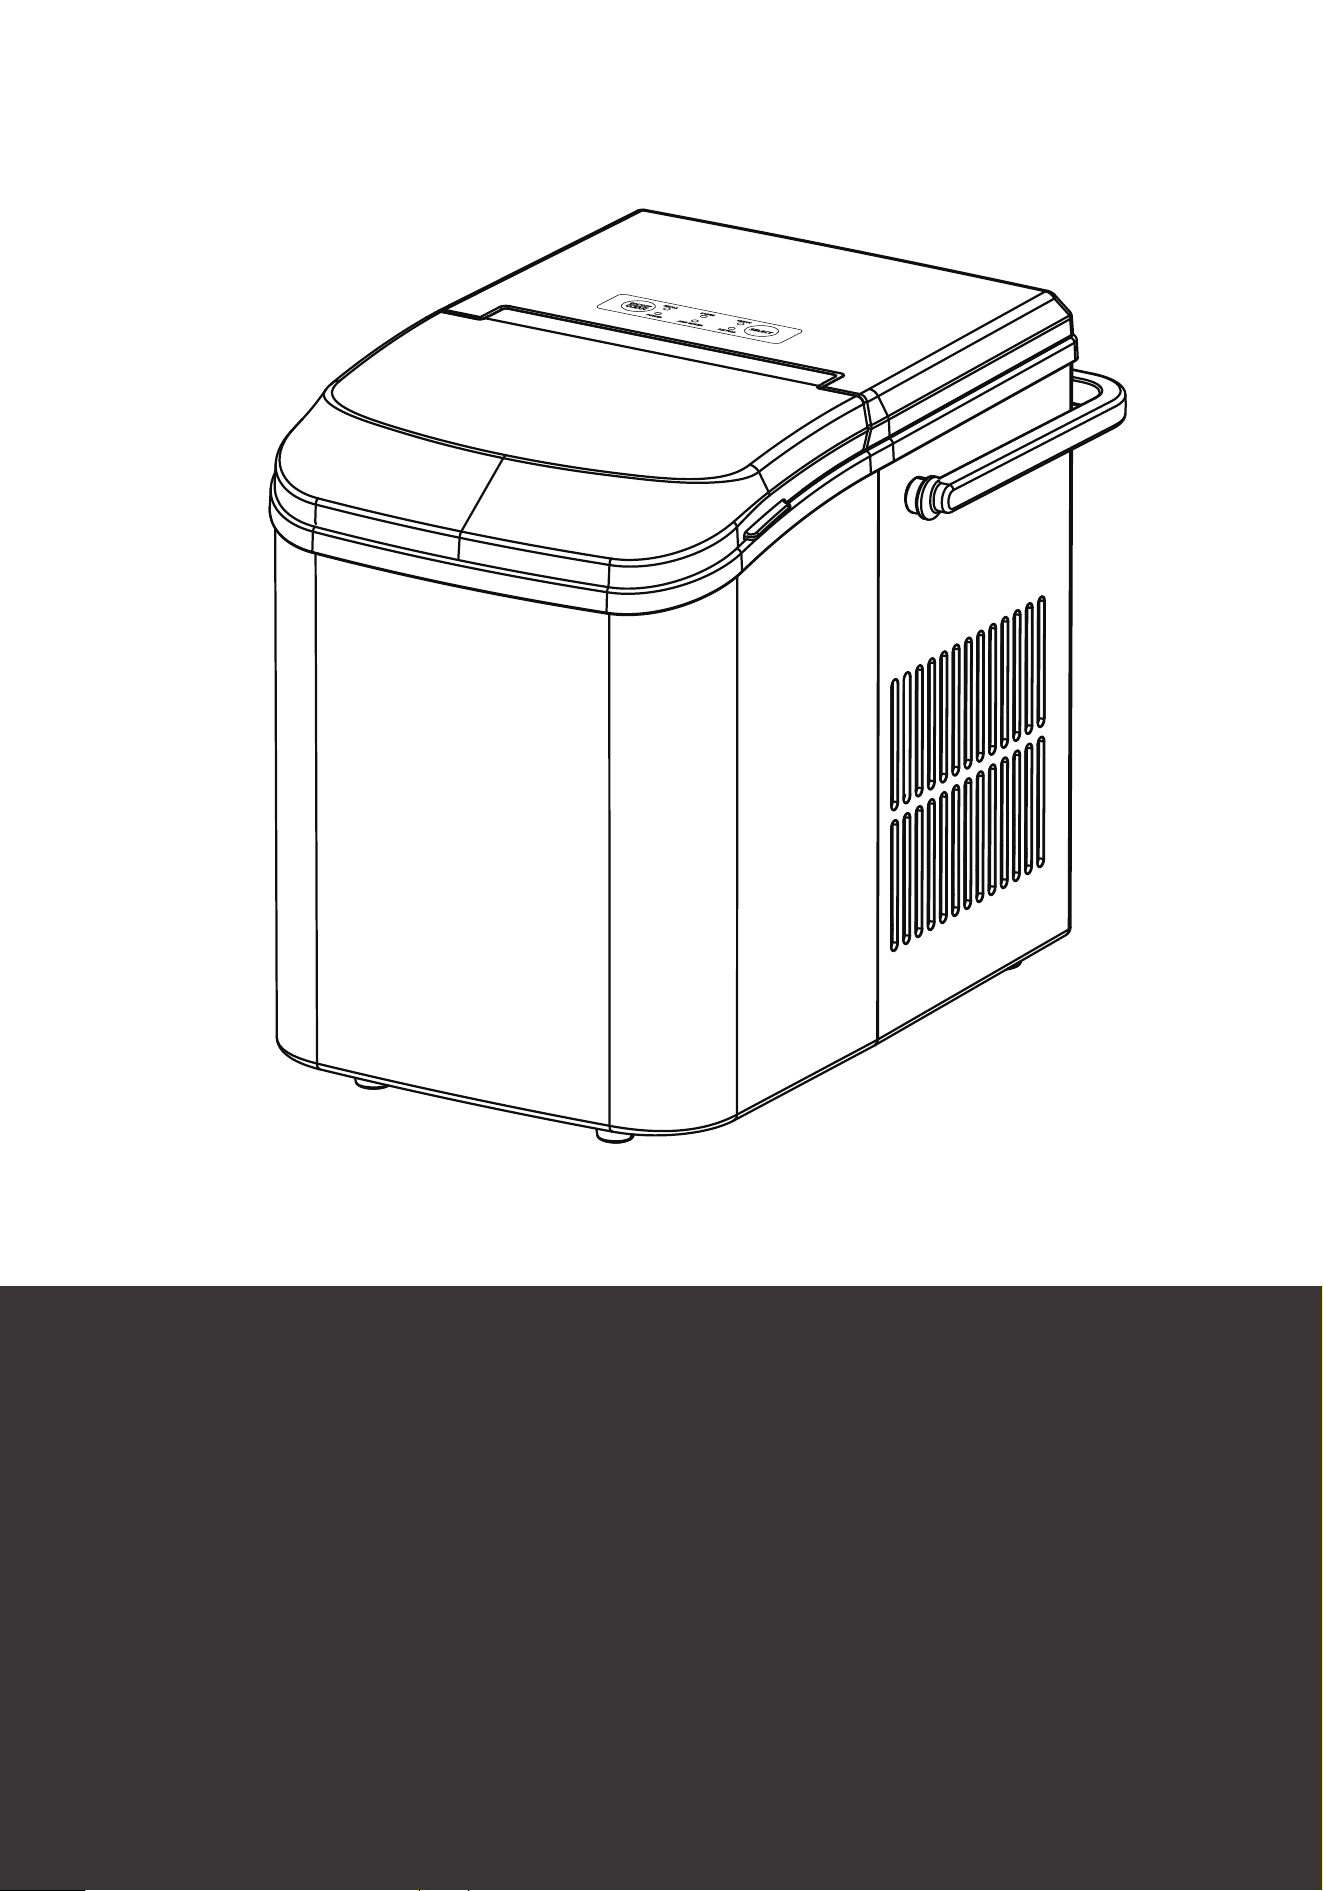
PRODUCT INTRODUCTION
ON/OFF
SMALL
POWER
LARGE
ADD WATER
CLEAN
ICE FULL
CLEAN
SELECT

4
BEFORE USING YOU SHOULD KNOW
Before connecting the power cord, please put the machine upright for
24 hours to allow the refrigerant to settle. Unpack all packaging materials:
foam, bags, tape, etc.
The machine should be placed on a stable level to support the ice
machine's weight of water or ice.
This machine can be installed without any support and can be installed
in any place that meets the conditions of use and power supply.
Use a machine in place that is well ventilated and has a temperature
between 50 ℉ and 100℉. Do not install or operate the machine in a
sealed space, such as a closed room.
Install the machine away from the following factors, such as wind, rain,
water mist or the electromagnetic environment.
Do not place it next to high-temperature sources such as ovens and grills.
To ensure long-term use of the machine, use filtered or purified water;
or use citric acid every other week to clean the outside of the machine
and the dust deposits on the bottom of the tank.
5
ON/OFF
SMALL
POWER
LARGE
ADD WATER
CLEAN
ICE FULL
CLEAN
SELECT
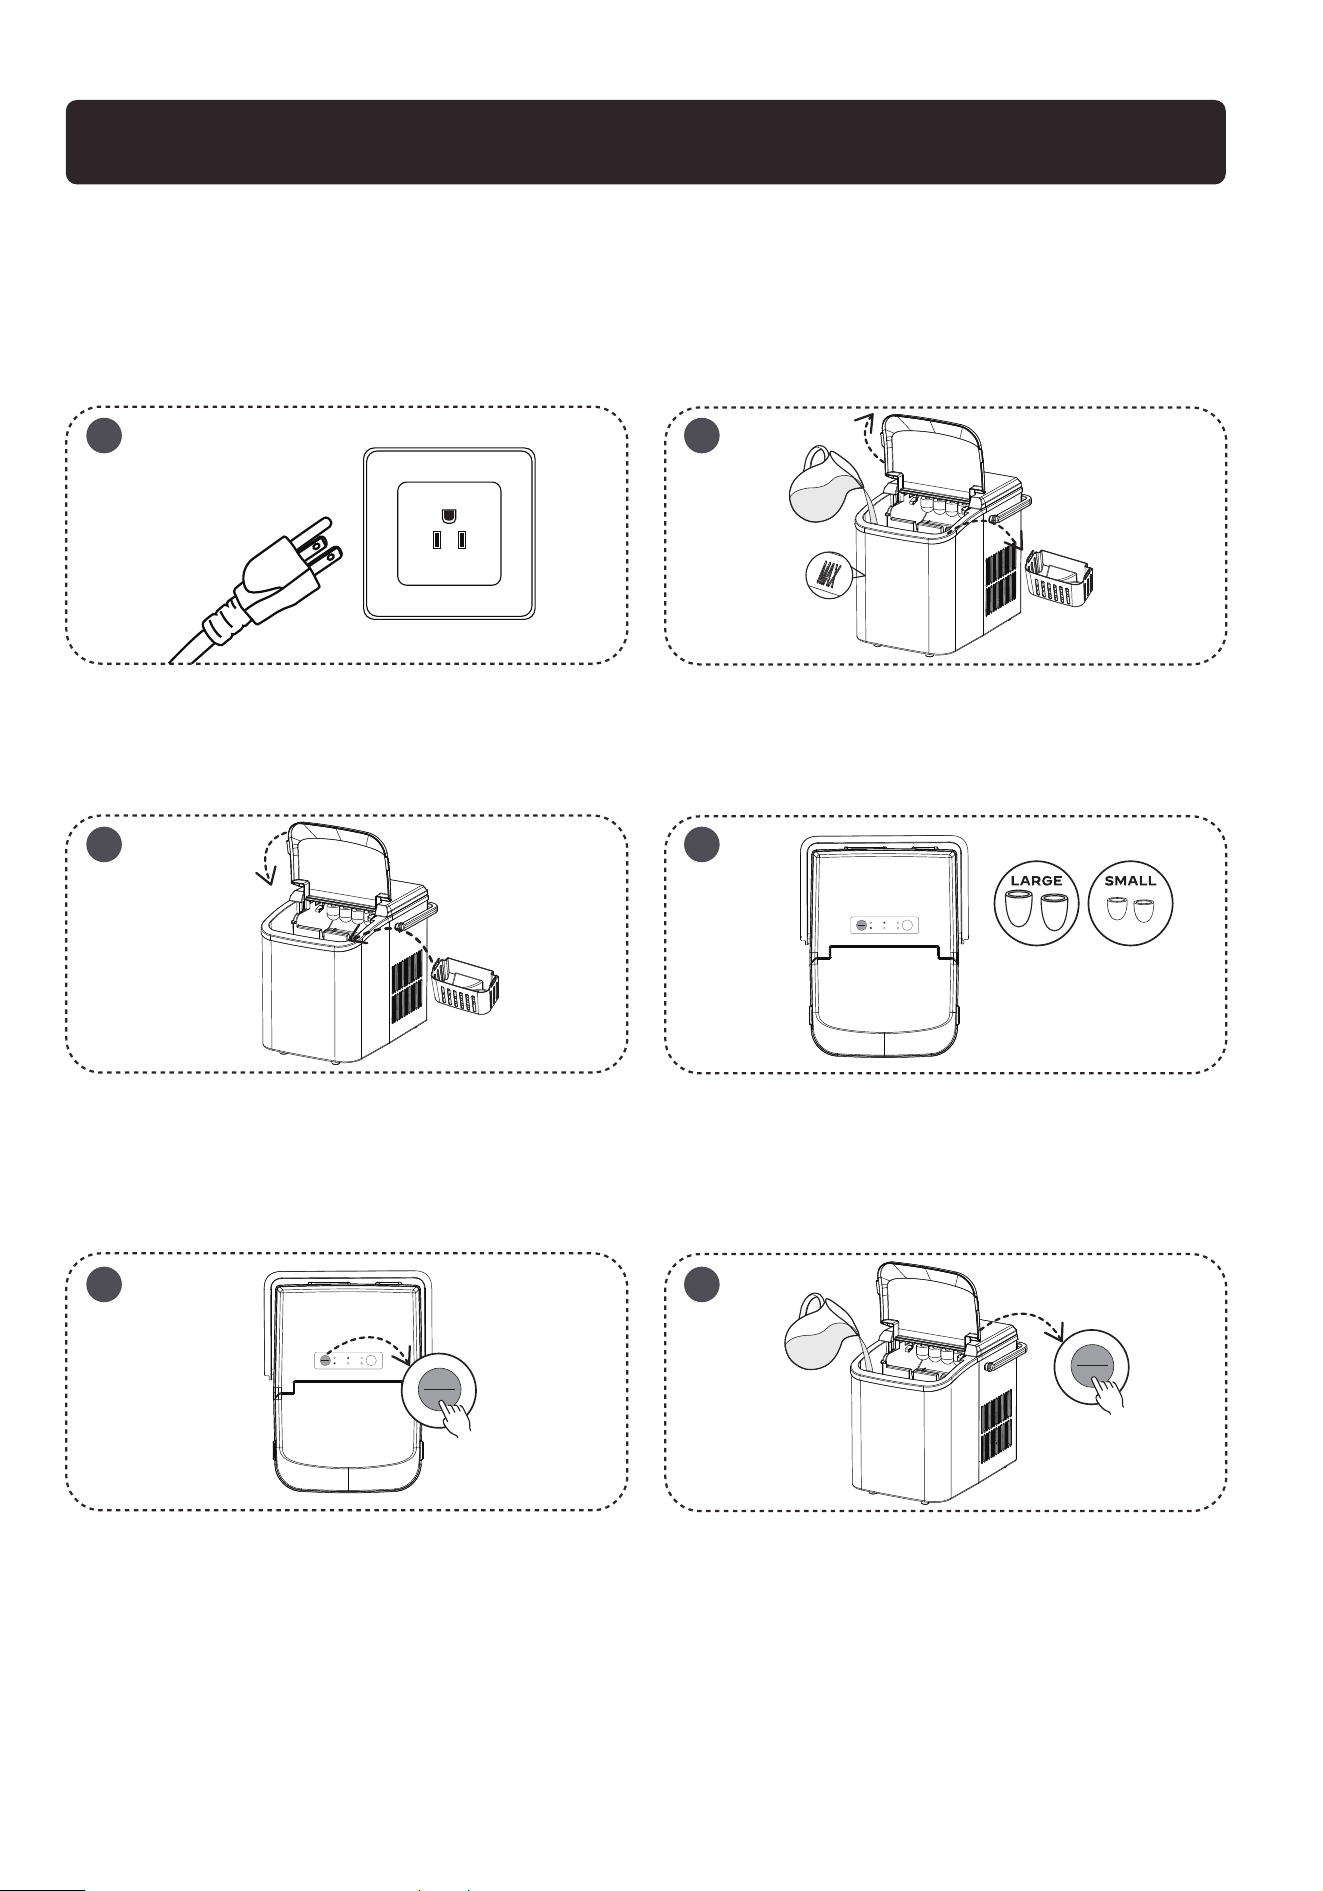
HOW TO USE YOUR ICE MAKER
When using for the first time (or not used for a long time), it is recommended
to discard the ice cubes made in the first 4 cycles to ensure that the machine
is thoroughly cleaned.
Open the front cover, take out the ice basket,
and pour potable water into the water tank (Do
not exceed the MAX mark of the water level).
Put back the ice basket. Make sure the water
level is below the bottom of the ice basket, and
then close the front cover.
After plugging in, the appliance is in standby
mode with the power indicator flashes green
and small ice indicator stable in green.
Press the ON/OFF button once, the appliance
will start working in small ice cube mode by
default, and the small ice indicator will be stable
in green color.
During the ice making cycle, press the Select
button to switch to large ice cube mode; the
large ice cube indicator will turn on. The
appliance has power-o memory function.
The previously running large/small ice cube
mode before power-o will be automatically
resumed after power-on.
In the standby mode, press and hold the ON/OFF
button for 5 seconds, the appliance will enter
self-cleaning mode, and the clean indicator turns
red .After 15 minutes, self-cleaning mode ends,
the appliance switches to standby mode, and the
power indicator flashes.
1 2
3 4
5 6
ON/OFF
SMALL
POWER
LARGE
ADD WATER
CLEAN
ICE FULL
CLEAN
SELECT
ON/OFF
CLEAN
ON/OFF
CLEAN

6
When the ice box is full, the “ICE FULL” indicator on the display panel will
light up (red), and the machine will stop automatically. When the ice is
removed, the machine will restart working.
When you do not use the ice maker, please turn o the ice maker and
unplug the power cord.
If water is insucient, the “ADD WATER” indicator lights up (red) and the
ice maker will stop working. After refilling, press the ON/OFF button to
restart.
If the machine breaks down, please wait for the machine to stop
automatically. You can solve the problem by using the method in the table
below. But don't disassemble, inspect or repair the machine without
professional guidance.
This machine has a self-checking function. If an error occurs, the ice-full
and add-water indicator will flicker alternately, and the ice maker will
stop working.
TIPS:
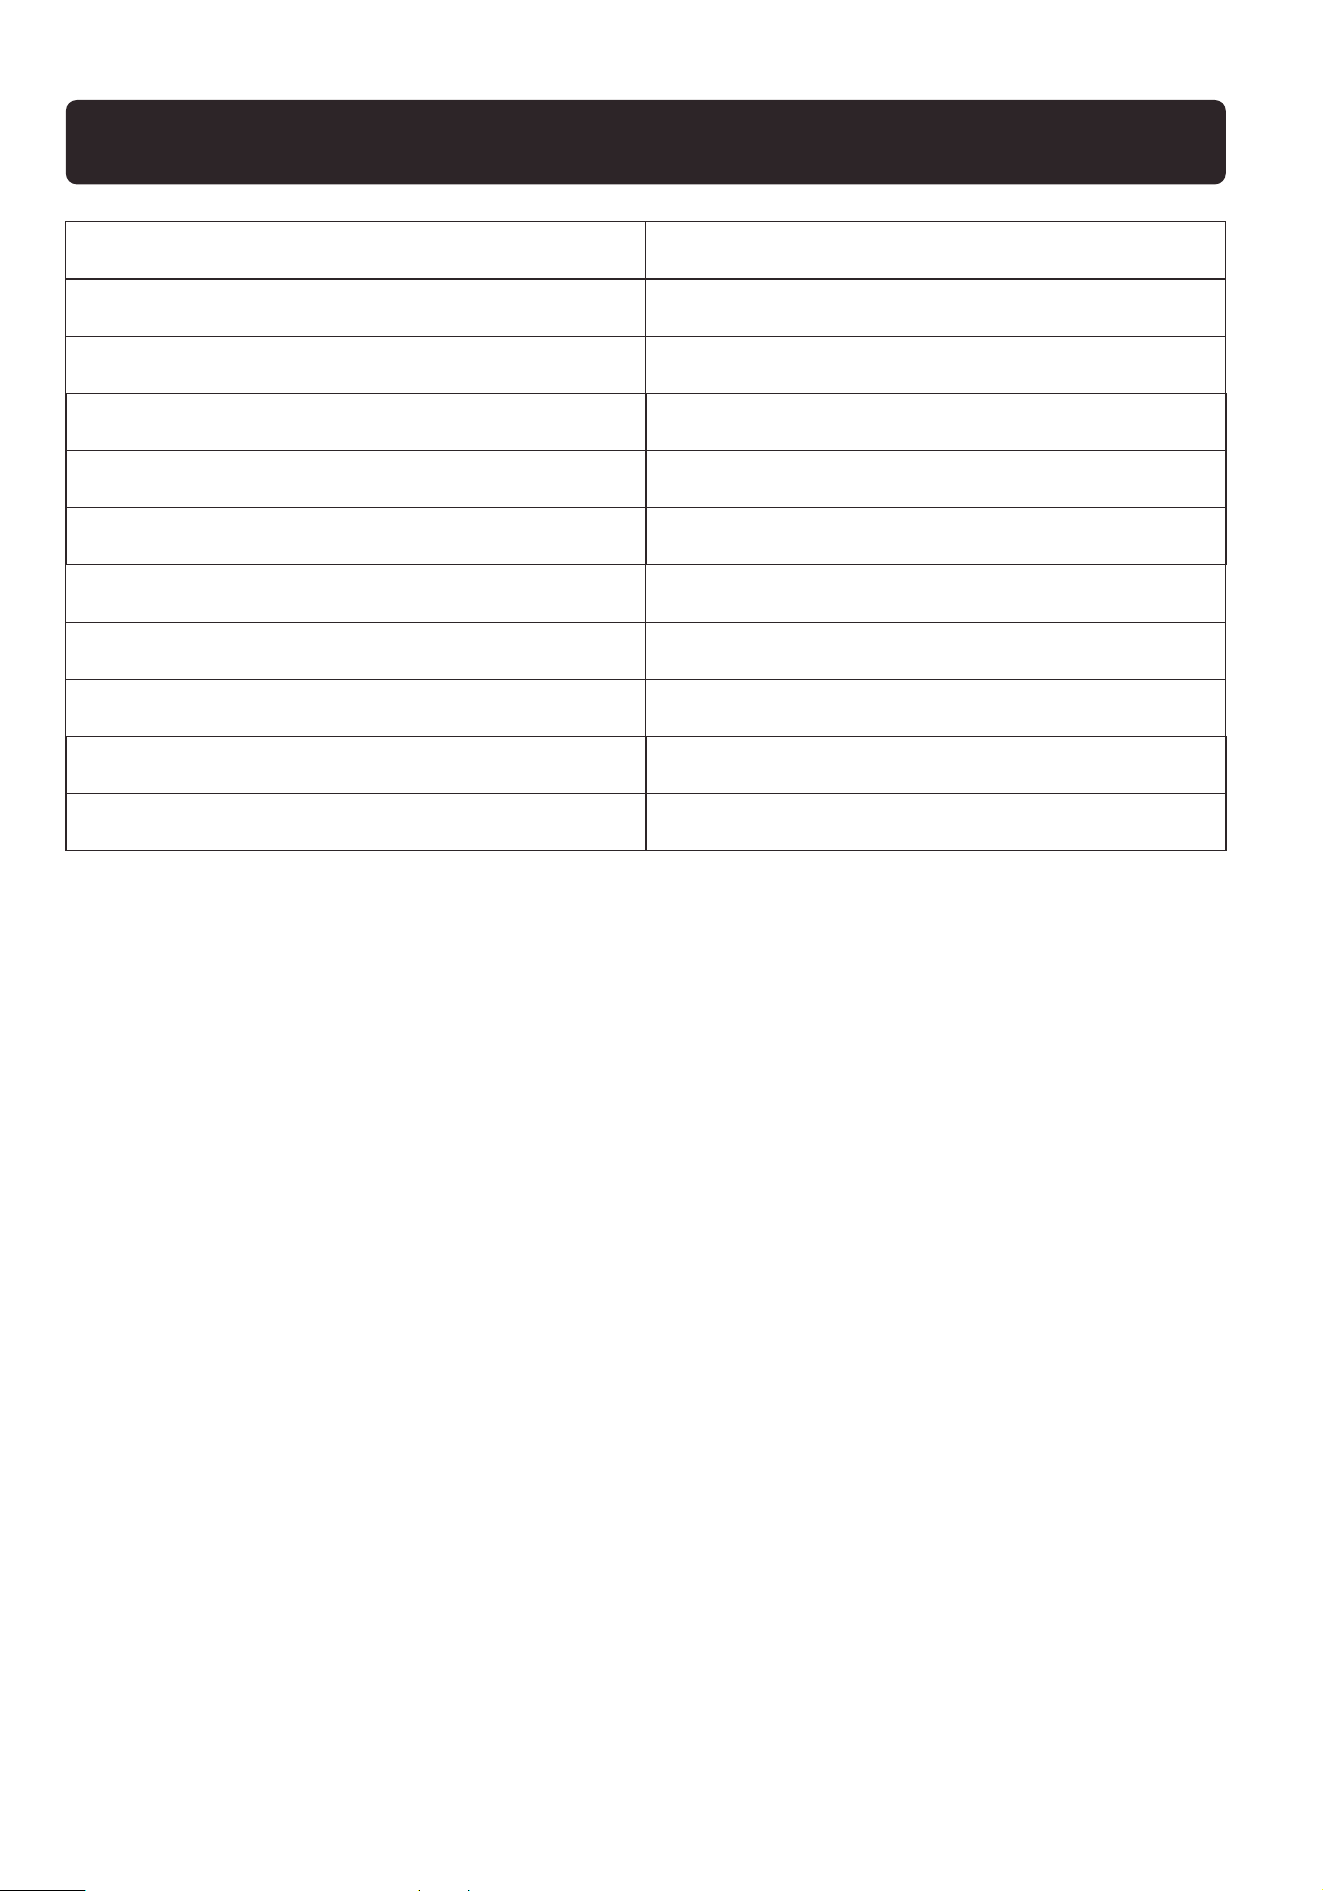
TROUBLESHOOTING

7
phenomenon
Add water
indicator light on
Ice full indicator
light on
Ice cubes stick
together
Ice cubes smaller
than usual size
The machine is
working properly but
does not make ice
cause solution
Call authorized technician repair
Please add water and restart the
machine
Power o for 2 minutes and restart
the machine
Please take out the ice cubes from
the ice basket
Clean the induction probe
Replace the water. Temperature of
water recommended at 45℉-90℉
Replace the water. Temperature of
water recommended at 45℉-90℉
Call authorized technician repair
Call authorized technician repair
The machine
does not
respond
Not powered
There is no power in the
power jack
The power cord is not
plugged in firmly
Power cord is damaged
Lack of water
Poor induction of the water
shortage sensor
Ice basket is full
Poor induction of ice full sensor
Ice making environment
temperature or water
temperature is too low
Ice making environment
temperature or water
temperature is too high
Refrigeration pipe blockage
Refrigerant leak
Check the power supply
Check the power cord connection
Check the power cord for damage
8
Model
Applicable Climate Types
Grade of protection against electric shock
Ice storage capacity
Thank You
For choosing our ice maker!
TECHNICAL PARAMETER
Water tank volume
Rated voltage/frequency
Rated current
Refrigerant/Weight
Type of thermal insulation
Net weight
Product size
WBJ-10A
SN/N/ST
Ⅰ
500g
1.5L
115V/60Hz
1.8A
R600a/26g
EPS
7KG
225mm*320mm*295mm
Technical Support
Thank you for choosing this product. We strive to provide you with the
best quality products and services in the industry. Should you have
any issues, please don't hesitate to contact us.
(909)637-7665 | (909)637-7593
HJ-Customer[email protected]