
READ & UNDERSTAND
INSTRUCTION MANUAL
Save all warnings and instructions for future reference.
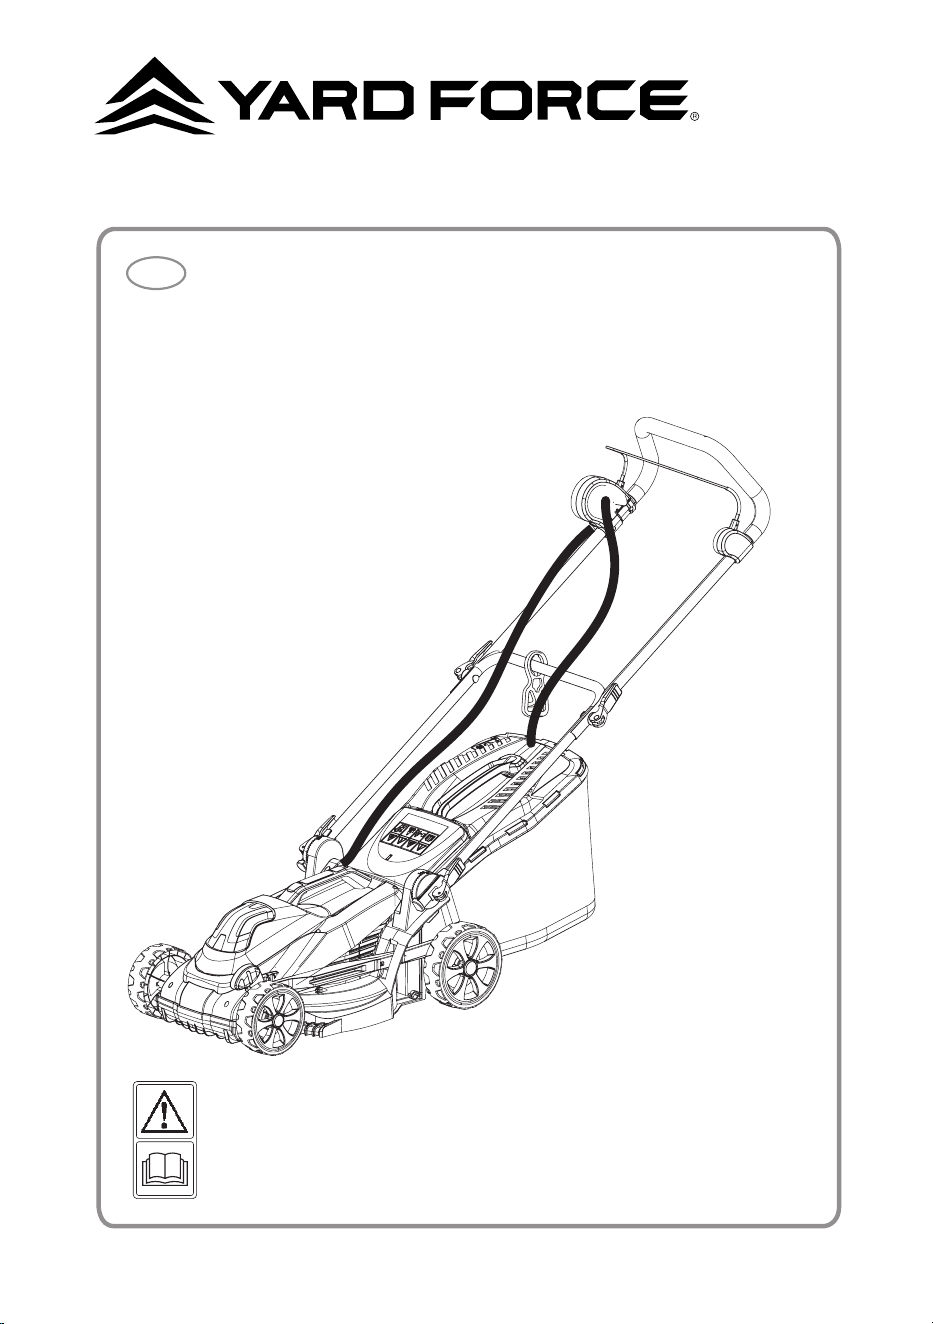
ELECTRIC LAWN MOWER
Original Instructions
GB
EM N34A
SLM34L

2 3
Read this manual carefully prior to assembling and
operating the lawnmower. It is dangerous to operate this
product without being familiar with these instructions.
Keep this manual in a safe place and have it ready for
future reference.
A
B
1
2
3
4
5
6
7
8
9
10
11
12
13
14
15
16
a
b
c
d
e
f g
h
i
4 5
C K
D
G
H
I
J
E
F
1
2
3
2
1
1
2
3
ON
OFF
6 7
EM N34A Original Instruction
CONTENT
Intended use 07
General safety warnings 07
Symbols 11
Technical data 14
Description of product 15
Installation 16
Operation 17
Maintenance and storage 20
Troubleshooting 22
Declaration of conformity 23
INTENDED USE
The device is exclusively designed for mowing private lawns. The lawn must be dry and level.
Wildower meadows, uncultivated meadows and strongly overgrown lawns with high weeds
(such as thistles) are not considered lawns.
This device is intended for private use only and is not suitable for commercial use. Use the
device only as described in this operating manual. Any other use is improper and may lead to
product damage or even personal injury. This device is not a toy.
The manufacturer or retailer assume no liability for damage caused by improper or incorrect
use.
GENERAL SAFETY WARNINGS
This operating manual is part of the electric lawn mower
(hereinafter also called "device"). It contains important
information on how to set up and use the product.
Before using the device, read the operating manual
carefully, in particular the safety instructions. Failure to
follow this operating manual may lead to severe injuries
or product damage.
This user manual is based on the standards and
regulations that are valid within the European Union.
Outside the EU, please also note the country-specic
directives and laws.
Keep this operating manual for future reference. If you
pass this device on to a third party, you must also supply
this operating manual.
IMPORTANT
READ CAREFULLY BEFORE USE
KEEP FOR FUTURE REFERENCE

8 9
GENERAL SAFETY WARNINGS
Safety notes
Risk of electric shock!
Improper handling of the device, faulty electric installation
or excessively high mains voltage may result in an electric
shock.
- Only connect the device to a properly installed socket.
The mains voltage must match the value indicated on
the rating plate.
- In the case of a fault, immediately disconnect the
device from the power cable and/or mains.
- Do not connect the device if the device, power cable
or a mains plug shows visible signs of damage.
- Damaged power cords and devices must only be
repaired by the manufacturer, their customer service
or a qualied professional.
- Do not open the housing under any circumstances
and never insert any object in the housing.
- Always disconnect the device from the mains before
cleaning or servicing it.
- Never touch the mains plug with damp hands.
- Do not immerse the device, power cable or mains plug
in water or other liquids.
- Do not bend the power cable and do not pass it over
sharp edges.
- Never move the device over the power cable.
Notes on the power cable
- Use only authorised power cables of type H05VV-F or
H05RNF.
- They must be approved for outdoor use.
- The length shall not exceed 50 m.
- The power cable wire cross section must be at least 1.5
mm .
- Always completely unroll cable drums before use.
- Check the cable for damage.
WARNING!
Danger for children and persons with impaired
physical, sensory or mental capacities (e.g. partially
disabled persons, older persons with reduced
physical and mental capacities) or lack of experience
and knowledge.
Improper handling of the device can lead to severe
injuries or damage to the device.
- This lawn mower may be used by persons with
impaired physical, sensory or mental capacities or
those lacking experience and knowledge if they are
supervised or have been instructed in how to safely
use the lawn mower and have understood the risks
associated with operating it. Children must not play
with the lawn mower. Cleaning and user maintenance
must not be performed by children.
- Never allow children or other persons, who are not
familiar with the user manual, to use the lawn mower.
Local provisions can dene the minimum age of the
user.
- Do not leave the lawn mower unattended while in
operation.
PRODUCT SAFETY WARNINGS
10 11
CAUTION!
Risk of injury!
Improper handling of the device can cause injuries.
1. The blade is sharp; take care when touching the
blade.
2. Do not reach underneath the device or into the
discharge chute.
3. Do not operate the device when other persons or
animals are around.
4. Do not operate the device if you are impaired (e.g.
under the inuence of drugs, alcohol, medication or if
you are tired).
5. Wear solid shoes, long trousers and hearing
protection.
6. Watch out for the power cable as you might trip over
it and lose control of the device.
7. Avoid working on wet grass as you might slip and
lose control of the device.
8. Do not work on areas with an inclination above 20 %
as you might slip and lose control of the device.
9. Always keep the discharge ap closed and keep
away from the discharge chute when working without
a collecting bag.
10. Wait until the blade stands still before removing any
blockage or clogging and carrying out any other work
on the device.
PRODUCT SAFETY WARNINGS PRODUCT SAFETY WARNINGS
Safety symbols
The purpose of safety symbols is to attract your
attention to any possible dangers. The safety symbols
and their explanations deserve your careful attention
and full understanding. The symbol warnings do not, by
themselves, eliminate any danger. The instructions and
warnings they give are no substitute for proper accident
prevention measures.
WARNING:
Be sure to read and understand
all safety instructions within this operator’s
manual, including all safety alert symbols such as
“DANGER”
,
“WARNING”
, and
“CAUTION”
before
using this tool. Failure to follow all instructions
listed below may result in electric shock, re and/or
serious personal injury.
SAFETY ALERT SYMBOLS:
Indicate
DANGER,
WARNING,
or
CAUTION.
May be used in conjunction
with other symbols or pictographs.
Symbol meanings
This page depicts and describes safety symbols that
may appear on this product. Read, fully understand and
follow all instructions on the machine before attempting
to assemble and operate.
12 13
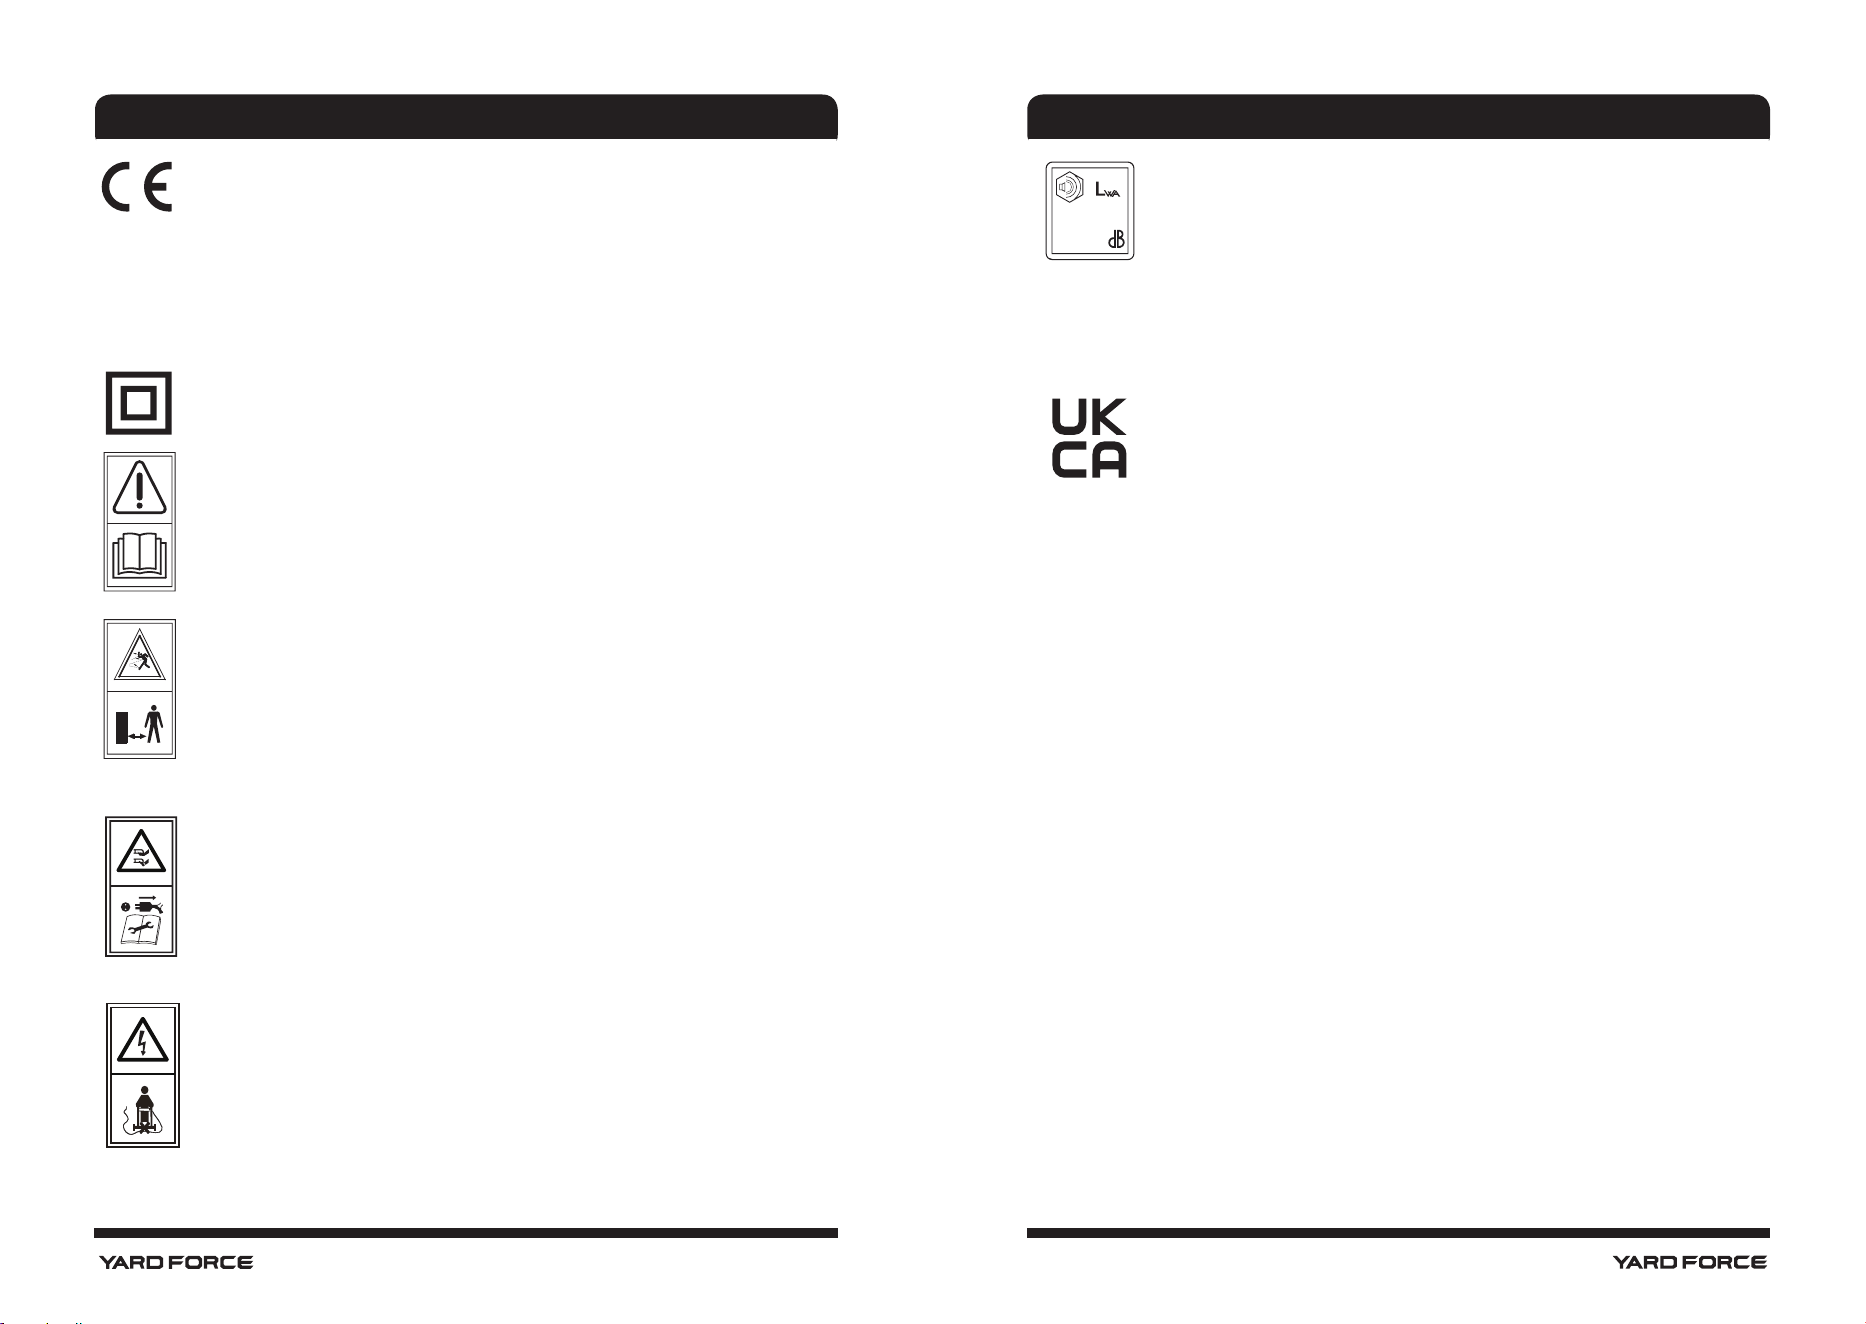
PRODUCT SAFETY WARNINGS
Declaration of conformity (see chapter
“Declaration of conformity”): Products marked
with this symbol meet all the applicable
Community regulations of the European
Economic Area.
This symbol indicates that the device complies
with the protection class II.
General warning sign.
Read the operating manual.
Caution! Discharge of cuttings or stones.
Always keep the discharge ap closed.
Keep other persons and animals out of the
working range!
Warning! Rotating blade! Do not reach or step
underneath the device.
Disconnect the device from the mains before
carrying out maintenance and cleaning work.
Warning! Electric voltage.
Keep the power cable away from the rotating
blade! Do not move the device over the power
cable.
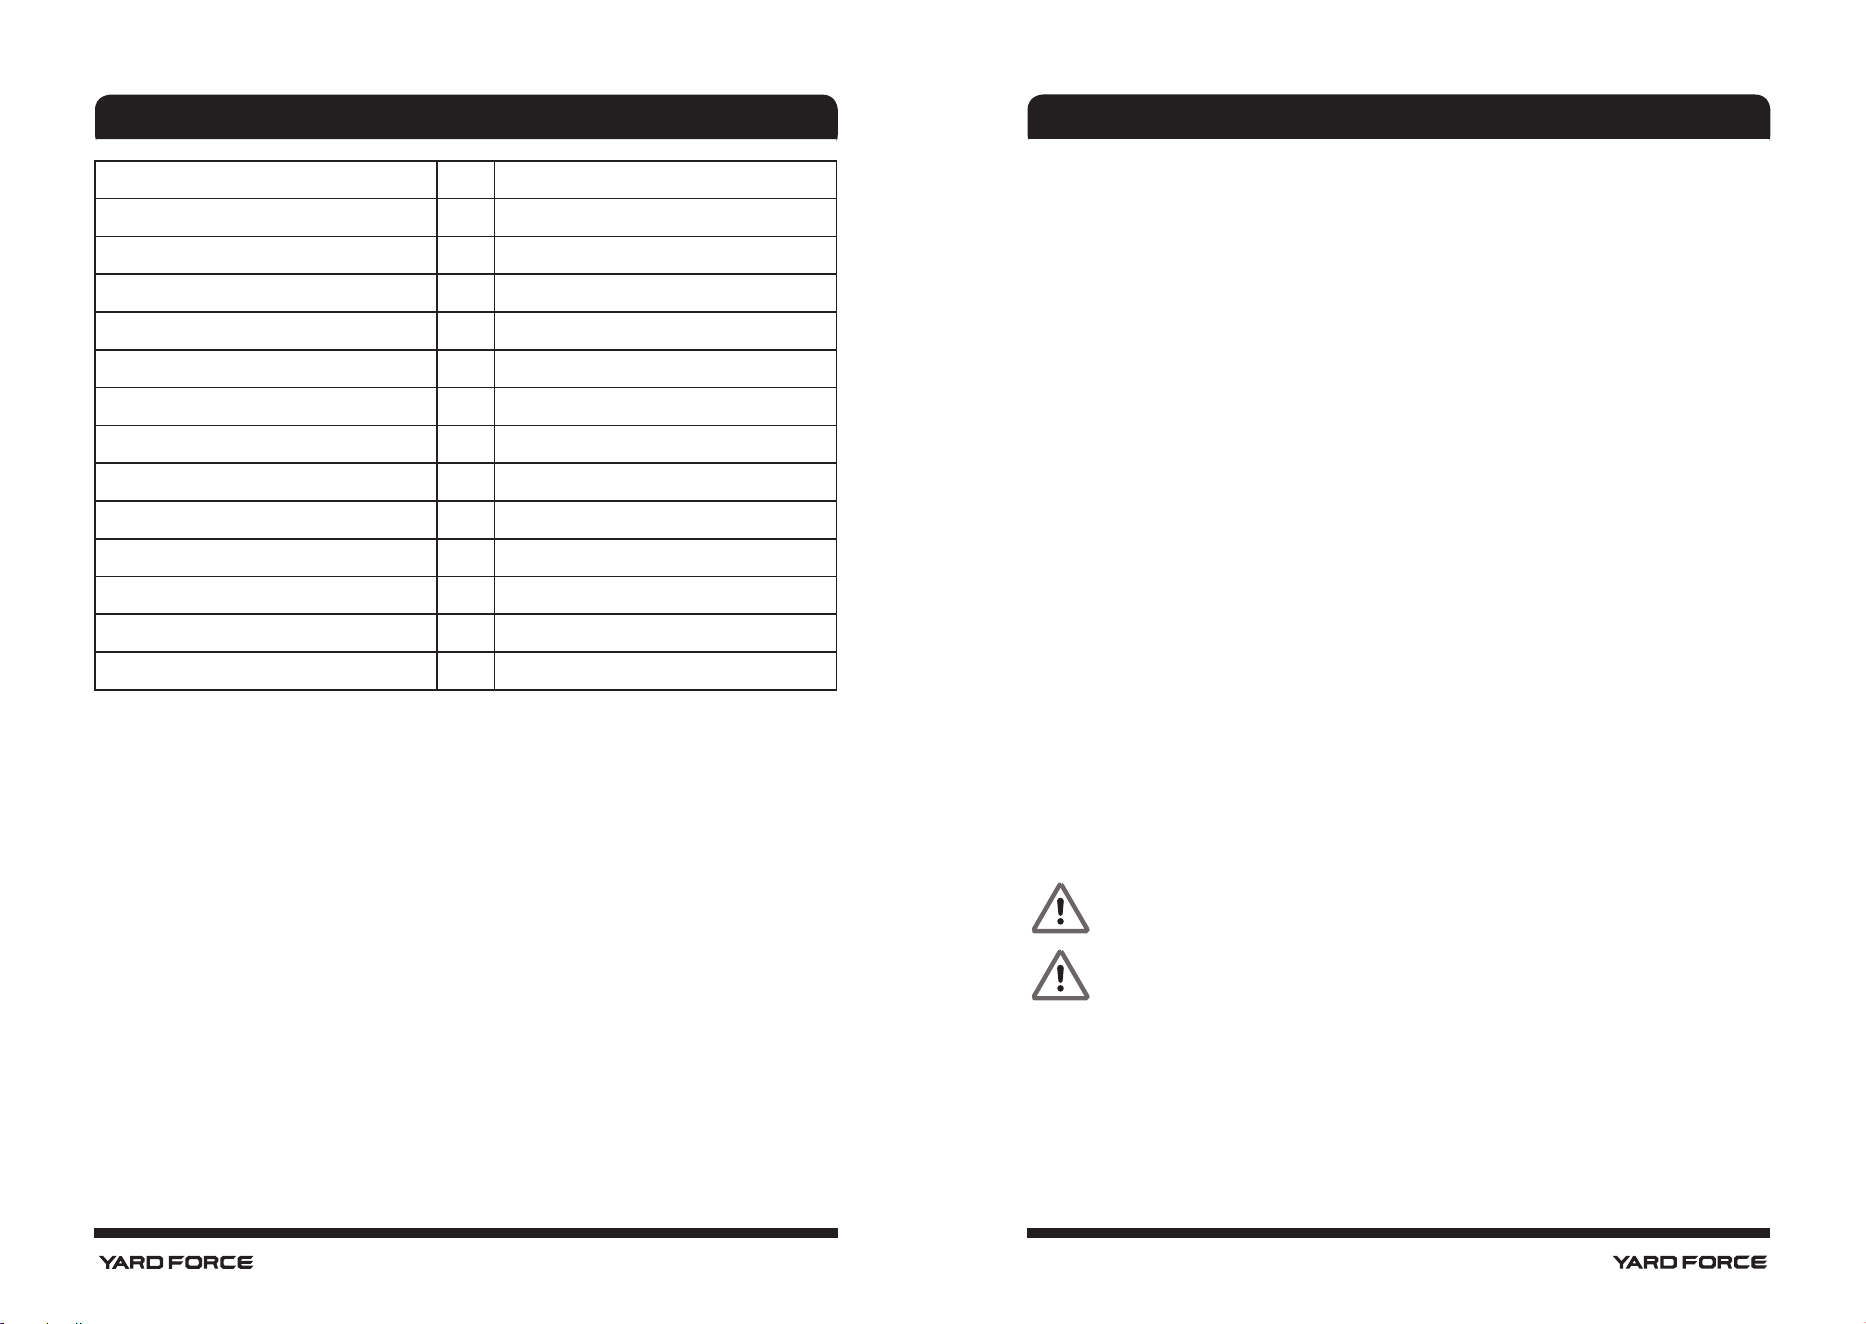
The symbol shows the maximum sound power
level L
wA
.
The device is protected from all sides against water
splashes.
Conforms to relevant UK regulatory requirements
PRODUCT SAFETY WARNINGS
IPX4
96
14 15
Model EM N34A
Rated voltage/frequency 230–240 V~/50 Hz
Rated power 1400 W
Protection class II
IP rating IPX4
Max. rpm 3500 min
-1
Cutting width 340 mm
Cutting height 20-70mm, 6 positions
Capacity of grass bag 35 l
Weight 10.6 kg
Measured sound pressure level (L
pA
) 81.8 dB(A) K=3 dB(A)
Measured sound power level (L
wA
) 94.58 dB(A), K=1.72 dB(A)
Guaranteed sound power level 96 dB(A)
Vibrations 0.78 m/s (K = 1.5 m/s
2
)
The noise and vibration values were determined in accordance with EN 60335-2-77:2010.
The vibration emission values during actual use of the device may deviate from the declared
values. This is independent of the way the device is used.
Users must take all safety precautions to protect themselves. They must consider all
inuences of the actual application conditions (especially all parts of the work cycle such as
running times, idling times and times at which the machine is shut off). The vibration values
may deviate from the stated total output depending on the actual use of the device.
Suitable measures include regular maintenance and servicing of the device, keeping
your hands warm, taking regular breaks and properly planning the work sequences!
TECHNICAL DATA
DESCRIPTION OF PRODUCT
Parts description (Fig. A)
1. Handle grip (top)
2. Pull relief (for the power cable)
3. Quick-release lever (handle joint)
4. Bottom part of handle
5. Collecting bag
6. Connecting piece (2x)
7. Carry handle
8. Cutting height lever
9. Motor unit
10. Handle mount
11. Quick-release lever (handle mount)
12. Discharge ap
13. Fill level indicator
14. Cable clamps (2x)
15. Safety switch with power cable
16. Safety bar
Check the delivery parts (Fig. B)
Remove the machine from its packaging carefully and make sure that all of the following parts
are present:
a. Lawnmower with upper handle
b. Lower handle
c. Grass bag
d. Quick-release lever (handle joint)
e. Connecting piece (2x)
f. Quick release clamp (xed in screw) x2
g. Cable clamps (2x)
h. Pull relief (for the power cable)
i. Manual
WARNING:
If any parts are damaged or missing, do not operate this tool until
these parts have been replaced. Failure to heed this warning could result in serious
personal injury.
NOTE:
Always recycle the packaging in accordance with local recycling guidelines.

16 17
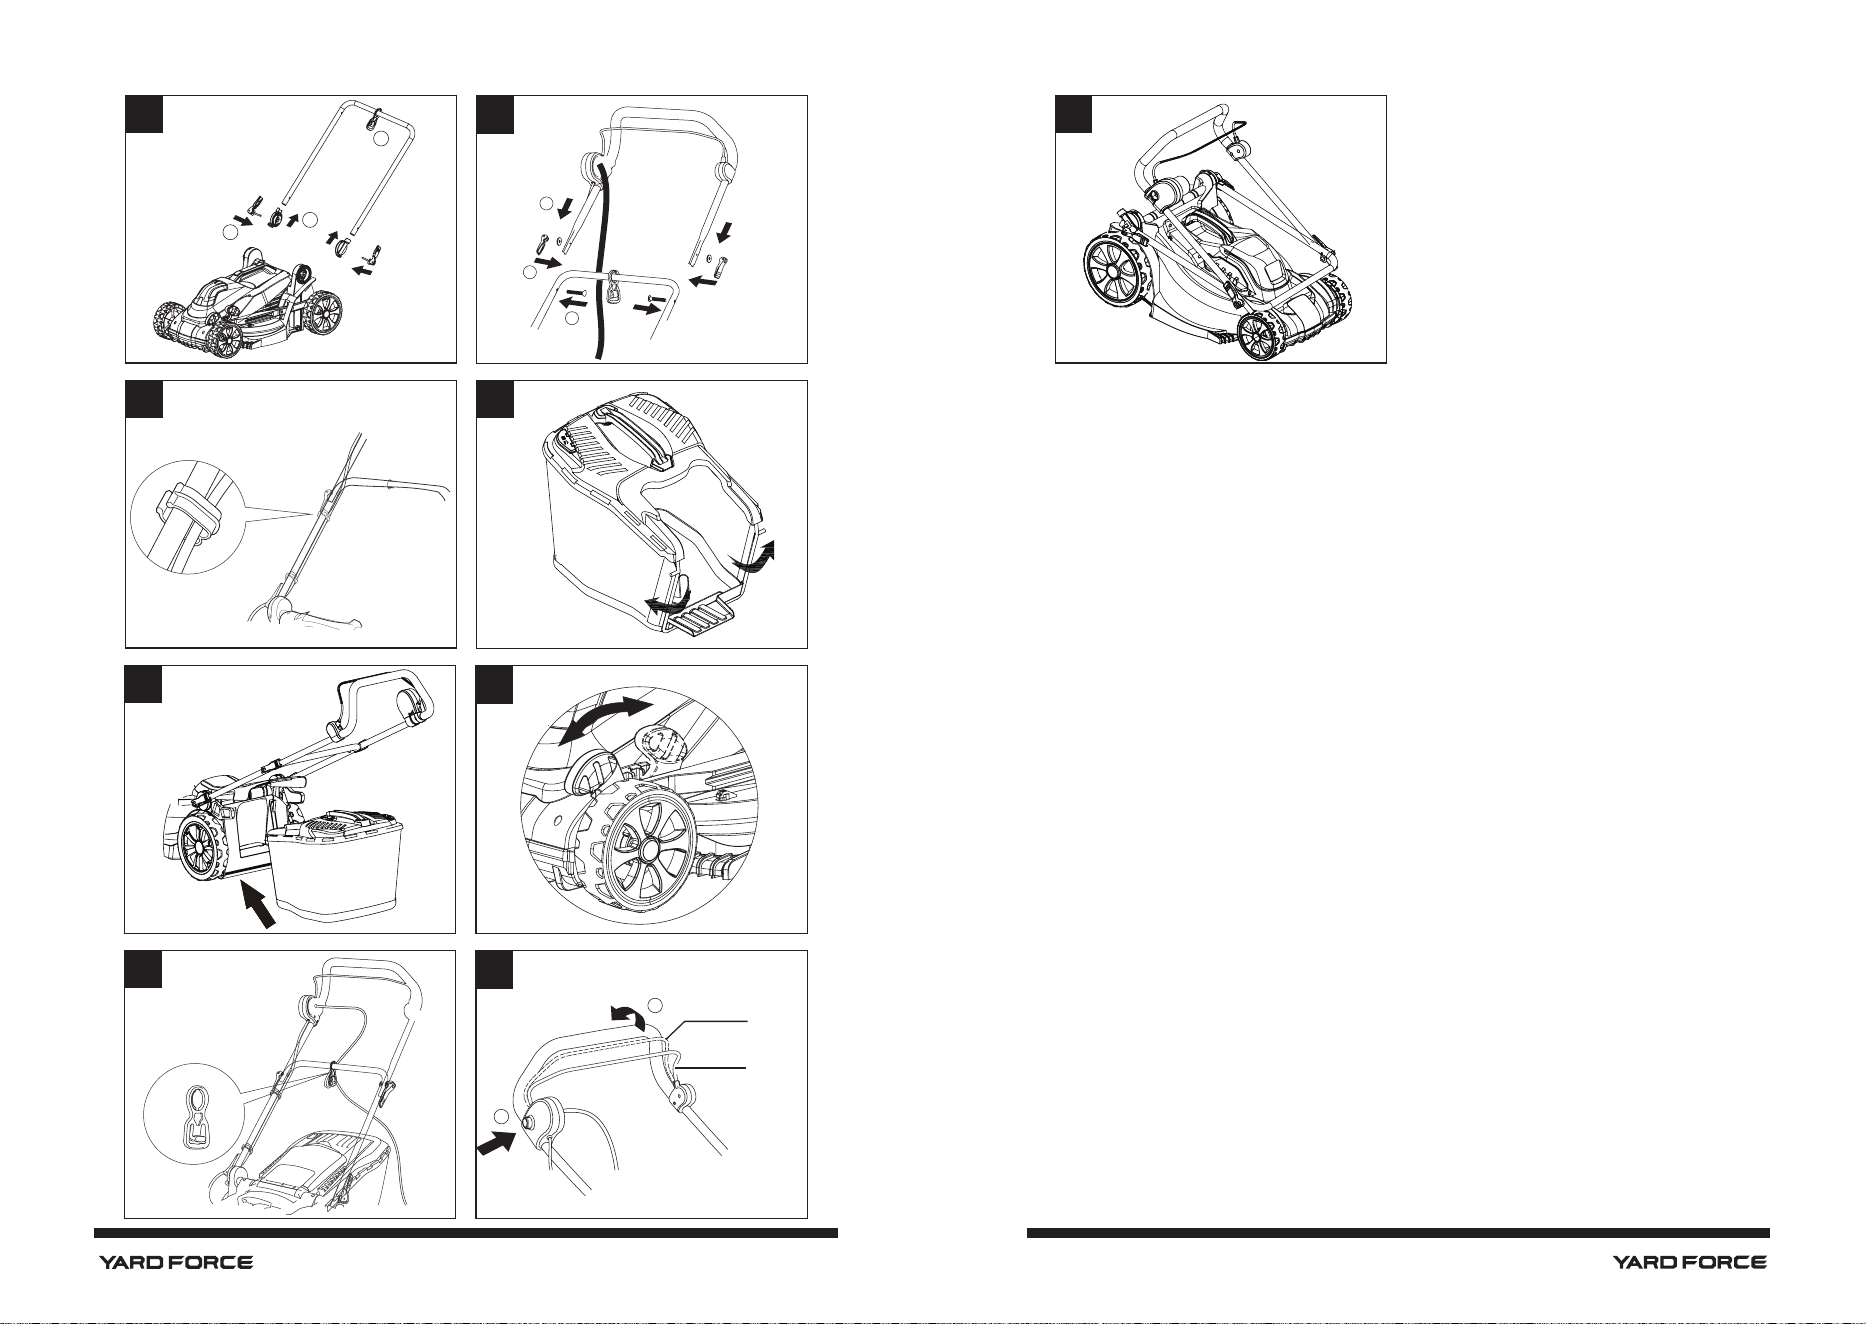
INSTALLATION
Mounting the bottom part of the handle on the lawn mower (Fig. C)
1. Slide the pull relief onto the bottom part of the handle.
2. Slide the connecting pieces onto the bottom part of the handle. The locking washers of
the connecting pieces must point inwards.
3. Place the bottom part of the handle on the handle mount. Check whether the serrations
of the locking washer engage correctly in the handle mount. The holes of the handle
mount, the connecting pieces and the bottom part of the handle must point towards
each other.
4. Twist the quick-release levers all the way into the handle mount. Do not use excessive
force; it is sufcient to twist in the quick-release lever until you feel a resistance.
5. Flick the quick-release lever. If it is too tight, turn the quick-release lever one turn
backwards.
The bottom part of the handle is connected to the lawn mower and does not wobble.
Mounting the handle grip on the bottom part of the handle (Fig. D)
1. Position the pull relief on the crossbar of the handle bottom part.
2. Place the handle grip onto the bottom part of the handle. The connection cable must not
lay between the handle parts and should run beneath the handle instead.
3. Align the holes of the handle parts with each other and push the screws from the inside
through the handle.
4. Put the washers onto the screw and turn the quick-release levers approximately 5 to 7
turns.
5. Align the handle grip straight on the bottom part of the handle and keep it in position.
6. Align the screw heads. The screw heads are bent and latch into the handle bar.
7. Flick the quick-release levers. If it is too tight, turn the quick-release lever one turn
backwards.
8. Check whether the handle grip is aligned and connected to the bottom part of the handle
without wobbling.
9. Attach the connection cable with two cable clamps onto the handle frame. (Fig. E)
The connection cable must run beneath the crossbar of the bottom part of the handle.
Attach the grass bag
1. Attach the grass bag to the frame by xing the plastic hooks onto the side
.
(Fig. F)
2. Lift the safety ap with one hand and hook in the grass bag. Release the ejector ap to
secure the grass bag in position. (Fig. G)
OPERATION
Rules of operation
The following rules must be observed at all times when working on and with the lawn mower.
- Do not adjust the device or rectify faults when it stands still. Make sure that the device
cannot start up.
- Only lift the device on the grip and handle. Never reach underneath the device to lift it.
- Let the blade run to a stop before touching the device or the collecting bag again.
- Never reach beneath the discharge ap or into the discharge chute.
- Stop the motor immediately if you notice unusual mowing sounds or vibrations. Check
and rectify cause of the fault before resuming mowing.
- Never put a damaged device into operation. Any damage to the blade and the device
must be repaired by the manufacturer's customer service or qualied personnel.
- Mow diagonally to inclinations.
Note the following when mowing and mulching
The following instructions help you use the device effectively and safely. Improper handling of
the device can cause damage to it.
- The device can be operated with or without collecting bag. You should only operate the
device without the collecting bag (mulching) when trimming the lawn just a little shorter
(max. 2 cm). Always keep the discharge ap closed when mulching.
- Mow slowly and try not to use the entire cutting width to cut the grass evenly at high
rotation speed. A high cutting load reduces the blade’s rotation speed.
- Remove any branches, pegs, stones, strings and mounds (molehills) before mowing to
safeguard the device.
- Always mow in the direction facing away from the power supply and the power cable.
- Always push the device forward; pulling the device might damage the power cable.
Adjusting the handle position
The handle can be adjusted to a comfortable working height. Adjust the handle to your
individual working height before working with the device.
1. Undo the two quick-release levers on the handle mount.
2. Set the handle to the desired height.
3. Check whether the serrations of the locking washer engage correctly in the handle
mount.
4. Flick the quick-release levers.

18 19
OPERATION OPERATION
Adjusting the cutting height (Fig. H)
You can set the cutting height between approximately 20 and 70 mm. The cutting height lever
can be engaged in 6 positions.
1. Hold the device by the carry handle.
2. Pull the cutting height lever out of its arrester.
3. Slide the cutting height lever to the desired level. The device lifts or lowers.
4. Engage the cutting height lever properly again.
Preparing for operation
Only use an extension cable if the included cable is insufcient for mowing the entire lawn.
Avoid using more than one extension cable.
1. Check the device, the collecting bag and the blade before connecting the power supply.
2. Set the desired cutting height before connecting the power supply.
3. Check the handle position and correct it if necessary to work comfortably.
4. Lay out the power cable all along the perimeter of your lawn.
1. Secure the power cable on the pull relief. (Fig. I)
2. Plug the power cable plug into a properly installed socket.
Turning the motor on and off (Fig. J)
Caution! Blade keeps moving
The motor is activated by means of a safety switch. When you let go of the safety bar, the
motor stops. Only turn on the motor on the grass.
1. Place the device on the grass.
2. Press and hold the button of the safety switch.
3. Pull the safety bar towards the handle.
The motor starts.
4. Let go of the safety switch button and keep the safety bar pressed to the handle as long
as you operate the motor.
Letting go of the safety bar stops the motor. The blade keeps running. Wait until the blade
has stopped before handling the device.
Emptying the collecting bag
The collecting bag has a ll level indicator. The ll level indicator rises when the motor is
running and the collecting bag is empty. Once the collecting bag is full, the ll level indicator
rests again on the collecting bag. Empty the collecting bag.
NOTE: If cuttings remain on the ground, empty the collecting bag as well.
1. Stop the motor and wait until the blade stands still.
2. Lift the discharge ap until the collecting bag is exposed.
3. Lift the collecting bag off the lawn mower.
Slightly lift the collecting bag to release it.
4. Move the discharge ap properly until the discharge chute is covered again.
Do not
simply let go; the discharge ap may get damaged due to the spring action.
5. Empty the collecting bag completely. Clear cuttings of the fabric as best as possible so
that the expelled air can escape properly.
6. Completely lift the discharge ap.
7. Hang the collecting bag onto the hooks above the discharge chute again.
8. Check whether the collecting bag is properly tted.
9. Move the discharge ap carefully until the collecting bag is covered again.

20 21
MAINTENANCE AND STORAGE
Cleaning
Risk of electric shock!
Moisture in the device may cause a short circuit or electric shock.
- Before cleaning, disconnect the power cable from the socket.
- Make sure that no water or other liquid gets inside the housing.
- Never clean the device with running water (e.g. a garden hose).
NOTE:
Improper cleaning can damage the device.
- Do not use any harsh cleaning products, brushes with metal or nylon bristles, or sharp or
metallic cleaning materials such as knives, hard scrapers or similar. They may damage
the surfaces.
- Remove wet cuttings immediately. Residues of wet cuttings on and in the device may
harden and cause mould.
Cleaning and inspection after each use
NOTE:
Regular cleaning and inspection is necessary to keep the device in perfect state.
1. Stop the motor and wait until the blade stands still.
2. Disconnect the device by unplugging the power cable and remove the power cable from
the pull relief.
3. Thoroughly empty the collecting bag (see "Emptying the collecting bag") without
reattaching it to the device.
4. Remove cuttings from the device and the collecting bag with a hand brush.
5. Tip the device on its side and remove cuttings from the discharge chute and blade
compartment with a hand brush or a brush.
6. Check the blade for damaged spots and wear. Do not operate the device with a
damaged or worn blade! If necessary, have the blade sharpened or exchanged in a
specialist workshop (for the blade type, see "Technical specications").
7. Set the device upright again.
8. Check all connections (handle, collecting bag) for tight t.
The device is ready for storage.
Maintenance
Apart from the measures described in the section "Cleaning and inspection after each use",
the device is principally maintenance-free. You do not have to lubricate or readjust any parts.
In addition, check the following once a year:
- Free wheel movement.
- Function and free movement of the cutting height adjuster.
- Function and free movement of the discharge ap.
- Damage to the device, such as broken housing parts or worn collecting bag.
If you detect any defects, contact customer service or a specialist workshop. Do not operate
the device with a detected defect.
MAINTENANCE AND STORAGE
Storage
NOTE:
Improper storage of the device can result in damage.
- Let the device dry before storing it. Residual moisture and cuttings remaining in the
device can lead to mould formation.
Optionally, the handle can be folded in to save space during storage or transport.
Folding in the handle (Fig. K)
1. Release the quick-release levers on the handle mount.
2. Take the serrations of the locking washer out of the handle mount by lifting it slightly and
then set down the handle on the device.
3. Release the quick-release levers in the centre of the handle.
4. Carefully fold the handle. Watch out for the connection cable. It must not be pinched
between the handle parts
.
Storage conditions
- Thoroughly clean the device (see “Cleaning”).
- Store the device in a clean, dry, frost-protected place out of the reach of children.
- Store the device in a location away from sunlight and other heat sources.
- Always store device parts and accessories together with the device.
- Store the device and accessories at a temperature between +5°C and +20°C.
Transport instructions
- Always transport the device with the handle folded in (see "Folding in the handle")
- Only lift the device by the carry handle.
- Exclusively transport the device in normal position; prevent tilting while transporting.
- When transporting the device in vehicles, the device must be secured in accordance with
the applicable regulations (load securing).
22 23
TROUBLESHOOTING
Fault/malfunction Cause Remedy
Motor does not start
up
The mains plug is not correctly
plugged in.
Check that the mains plug is tted
properly.
The socket does not supply
any power/the fuse has blown
or the RCCB has tripped.
Check the power cable for damage.
The button on the safety
switch was not pushed.
Let go of the safety bar and push the
button on the safety switch before
pulling the safety bar again.
The motor overload protection
has triggered, the motor is
overheated.
Allow the device to cool down for
15-20 minutes.
Unsteady run
The device emits
unusual
noises Insufcient
power
The selected cutting height is
too low.
Set the cutting height 2 levels
higher.
Collecting bag is full to the
rim or the discharge chute is
clogged.
Empty the collecting bag and
remove cuttings from the
discharge chute.
Blade is blocked by foreign
object.
Check the blade
compartment for foreign
objects and remove these if
present.
Blade is dull or damaged.
Check the blade and have it
sharpened or replaced at a
specialist workshop, if
necessary.
Cuttings left on
ground
Collecting bag is full to the
rim or the discharge chute is
clogged.
Empty the collecting bag and
remove cuttings from the
discharge chute.
Grass is too wet.
Wait for the grass to dry.
DECLARATION OF CONFORMITY
To the provisions of Council Directives
We
MEROTEC GmbH
Otto-Brenner-Str. 8
47877 Willich
Germany
Declare that the product:
Machine Description: Electric lawnmower
EM N34A/ SLM 34L
Function: Cutting grass
Complies with the essential health and safety requirements of the following directives:
Machinery Directive 2006/42/EC
Electromagnetic Compatibility Directive 2014/30/EU
EC Directive 2011/65/EU and its amendment Directive (EU) 2015/863 (RoHS)
Noise Emission in the Environment by Equipment for Use Outdoors Directive
2000/14/EC amended by 2005/88/EC
We additionally conrm the following in accordance with the 2000/14/EC amended by 2005/88/EC emis-
sions guideline,
Conformity Assessment Procedure as Per Annex III,
TÜV Rheinland LGA Products GmbH - Tillystraße 2 -90431 Nürnberg
Notied under No. 0197
Measured Sound Power Level: L
wA
= 94.58 dB(A), K=1.72 dB(A)
Declared Guaranteed Sound Power Level: 96 dB (A)
Standards and technical specification referred to :
EN 60335-2-77:2010
EN 60335-1: 2012+A11+A13+A1+A14+A2+A15
EN 62233:2008
EN IEC 55014-1:2021
EN IEC 55014-2:2021
EN IEC 61000-3-2:2019+A1
EN 61000-3-3:2013+A1+A2
EN 50581:2012
Authorized Signatory
Date:
21.01.2023
Signature:________________________
Place:
Willich
Name:
Roland Menken
General Manager
MEROTEC GmbH
Otto-Brenner-Str. 8, 47877 Willich, Germany

24
To the provisions of Council Directives
We
SUMEC UK
Unit A&B Escrick Business Park Escrick, York YO19 6 FD
United Kingdom
Declare that the product:
Machine Description: Electric lawnmower
EM N34A/ SLM 34L
Function: Cutting grass
Complies with the essential health and safety requirements of the following directives:
Supply of Machinery (Safety) Regulations 2008
Electromagnetic Compatibility Regulations 2016
The Restriction of the Use of Certain Hazardous Substances in Electrical and Electronic Equipment Regu-
lations 2012
Noise Emission in the Environment by Equipment for use Outdoors Regulations 2001 Measured Sound
Measured Sound Power Level: L
wA
= 94.58 dB(A), K=1.72 dB(A)
Declared Guaranteed Sound Power Level: 96 dB (A)
Standards and technical specification referred to :
EN 60335-2-77:2010
EN 60335-1: 2012+A11+A13+A1+A14+A2+A15
EN 62233:2008
EN IEC 55014-1:2021
EN IEC 55014-2:2021
EN IEC 61000-3-2:2019+A1
EN 61000-3-3:2013+A1+A2
EN 50581:2012
Authorized Signatory
Date:
21.01.2023
Signature:________________________
Place: York
Name: Mariana Hall
General Manager
SUMEC UK
Unit A&B Escrick Business Park Escrick York YO19 6 FD
United Kingdom
DECLARATION OF CONFORMITY