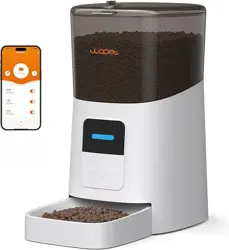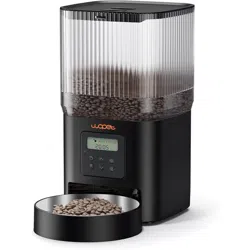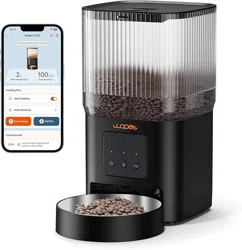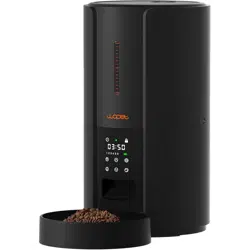
QUICK OPERATION GUIDE
Automatic Pet Feeder
Model: FT70 Plus
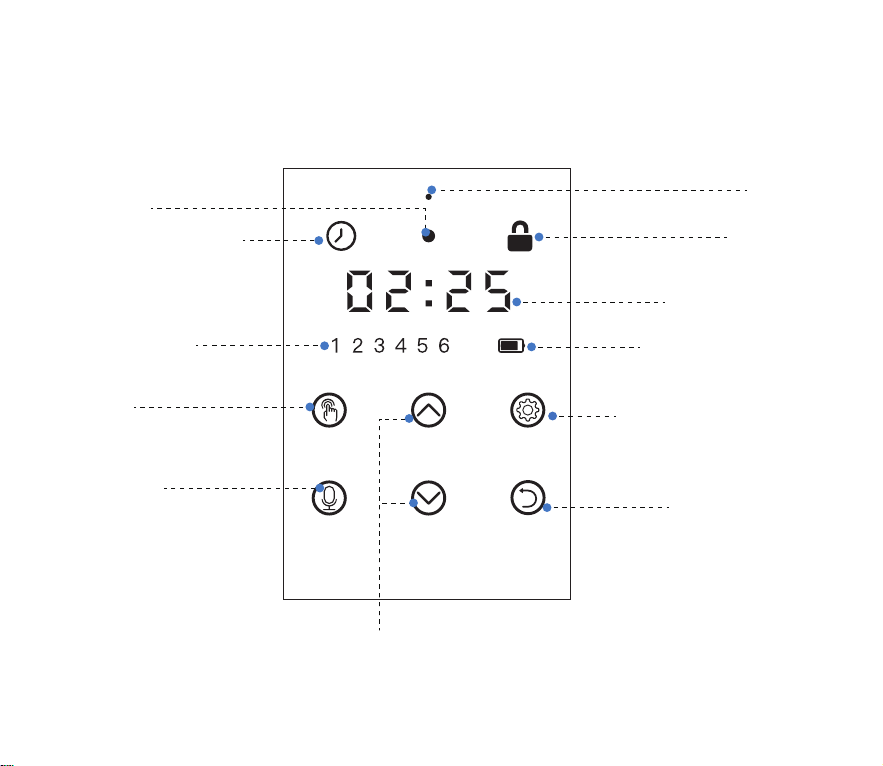
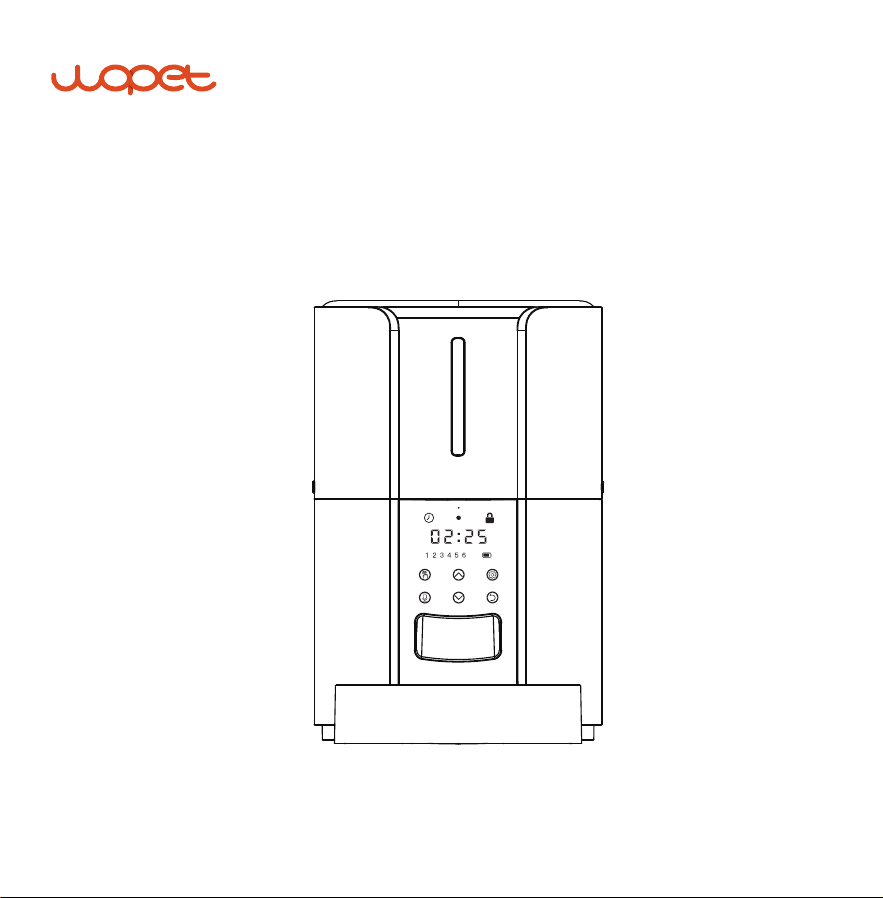
DISPLAY OVERVIEW:
Buzzer
Time Setting Icon
Indicator
Number
Increase/
Decrease
Meal Number
Manual
Recording
Child lock
Timing/Portions
Battery Level Icon
Setting/Save/Unlock
Return/Cancel
1
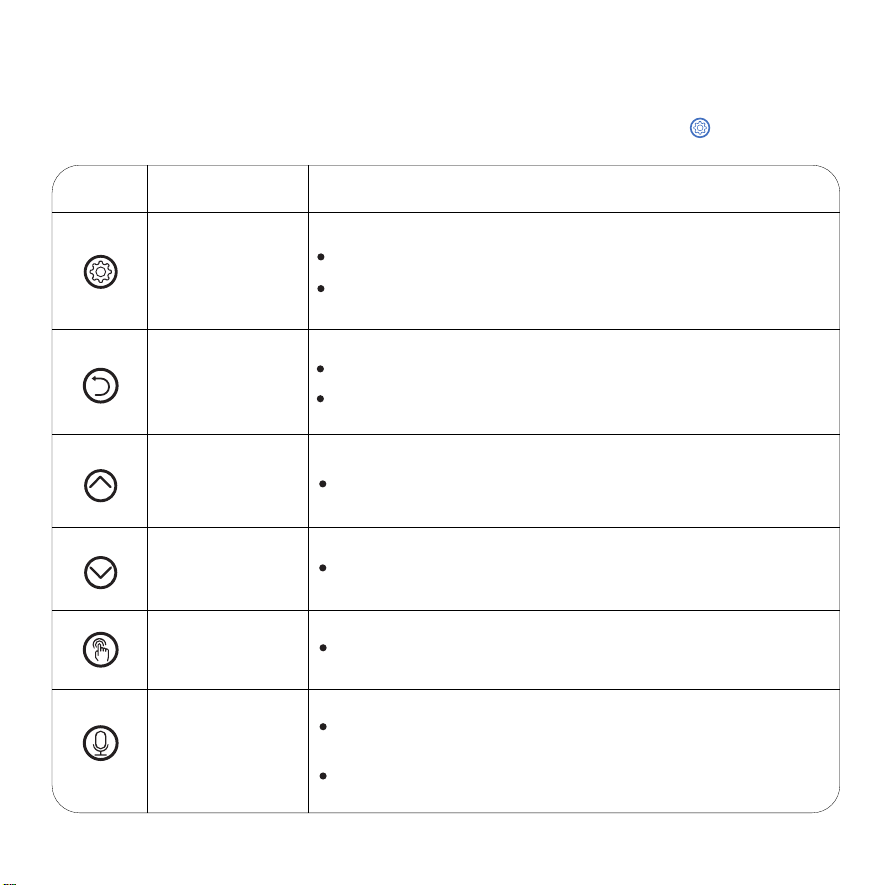
BUTTONS OVERVIEW:
NOTE:
Child lock mode automatically after 2 mins without operation.Hold for 2s to unlock
Button Description
Set /Save
Unlock button
Return /
Cancel button
Number
Increase button
Number
Decrease button
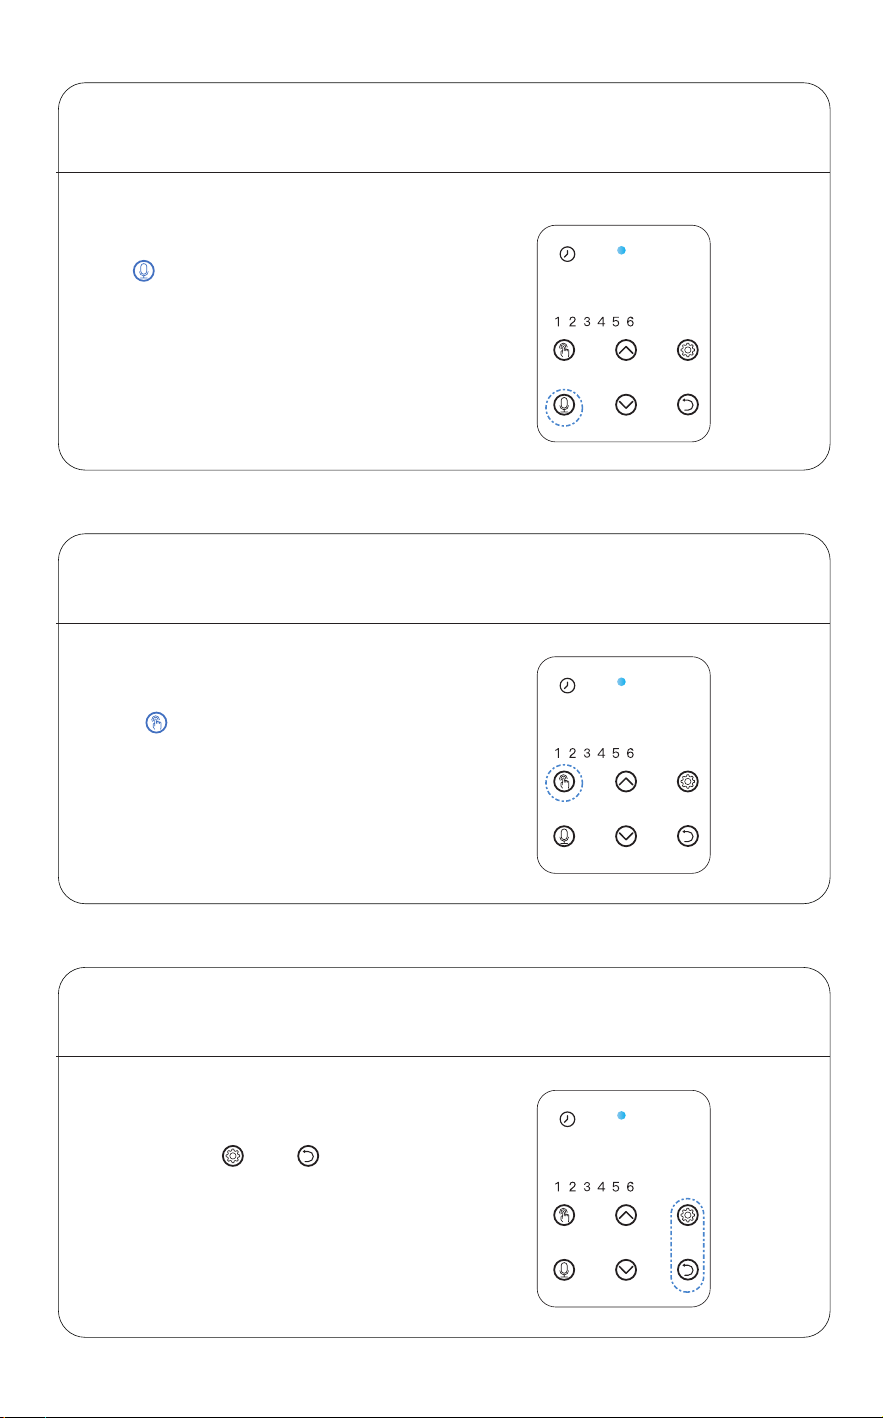
Manual button
Recording button
Press to save and move to the next
Operable Mode Function
Press and hold for 2s to lock/unlock other buttons and screen
Return to the previous step
Return to interface after seting up
Press to increase the value
Press to decrease the value
[Unlocking Status] Press to feed 1 portion
[Unlocking Status] Hold for 3s and start recording after
a beep is heard {max 10s}
Recoding saved after a double beep is heard
2
SCREEN PANEL INTRODUCTION:
3
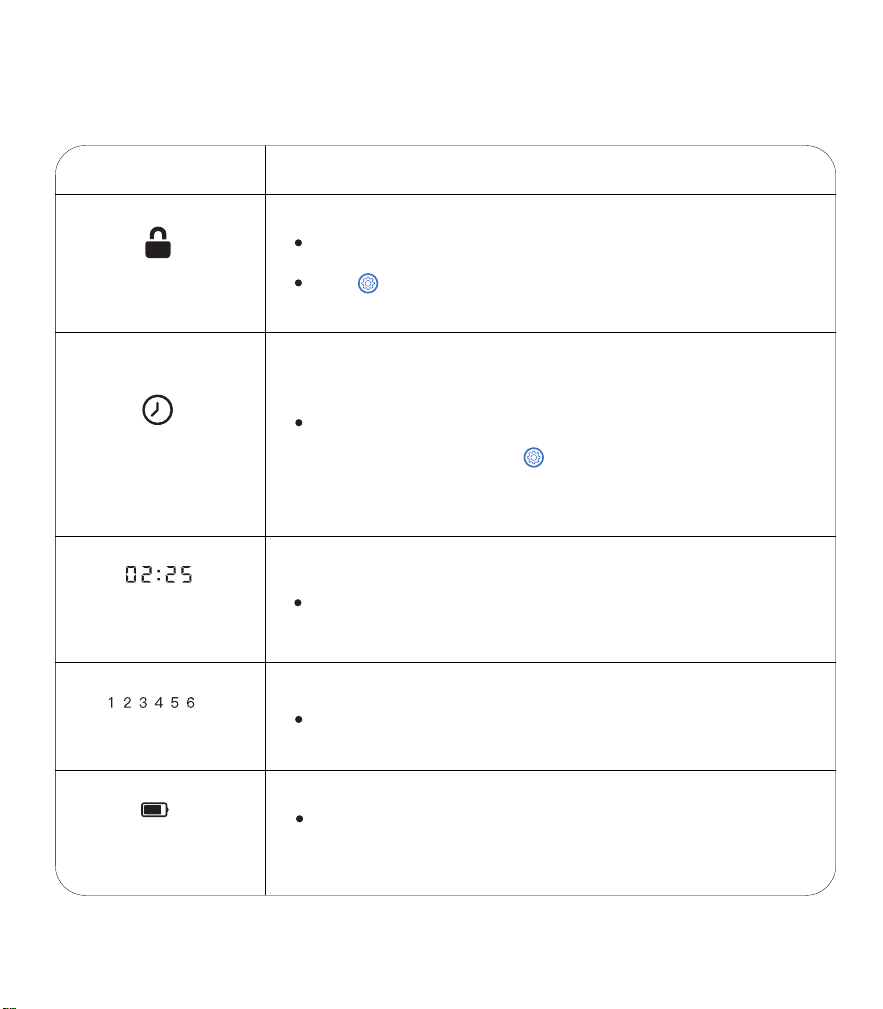
ICON
Function of ICON
Child lock
Hold button for 2 seconds to unlock
Locked automatically after 2 min without operating
Clock indicator
Battery Level
Meal
Note: when flashing, press button to set up/modify the
current time.
Flash Indicates:
Powered by adapter or battery
Local time
Timing
【24-hours format】
Number of meals
Light up when powered only by batteries.
Turn red when low battery
Example: 9:00AM = 9:00; 10:00PM = 22:00 More as below:
12-hour clock 24 hours clock comparison chart
00:00
(Midnight)
(Midnight)
(noon)
(End of the day)
00:00
(Beginning of the day)
01:00AM
02:00AM
03:00AM
04:00AM
05:00AM
06:00AM
07:00AM
08:00AM
09:00AM
10:00AM
11:00AM
12:00AM
01:00
01:00PM
02:00PM
03:00PM
04:00PM
05:00PM
06:00PM
07:00PM
08:00PM
09:00PM
10:00PM
11:00PM
12:00PM
13:00
02:00
14:00
03:00
15:00
04:00
16:00
05:00
17:00
06:00
18:00
07:00
19:00
08:00
20:00
09:00
21:00
10:00
22:00
11:00
23:00
12:00
24:00
INSTRUCTION MANUAL:
4
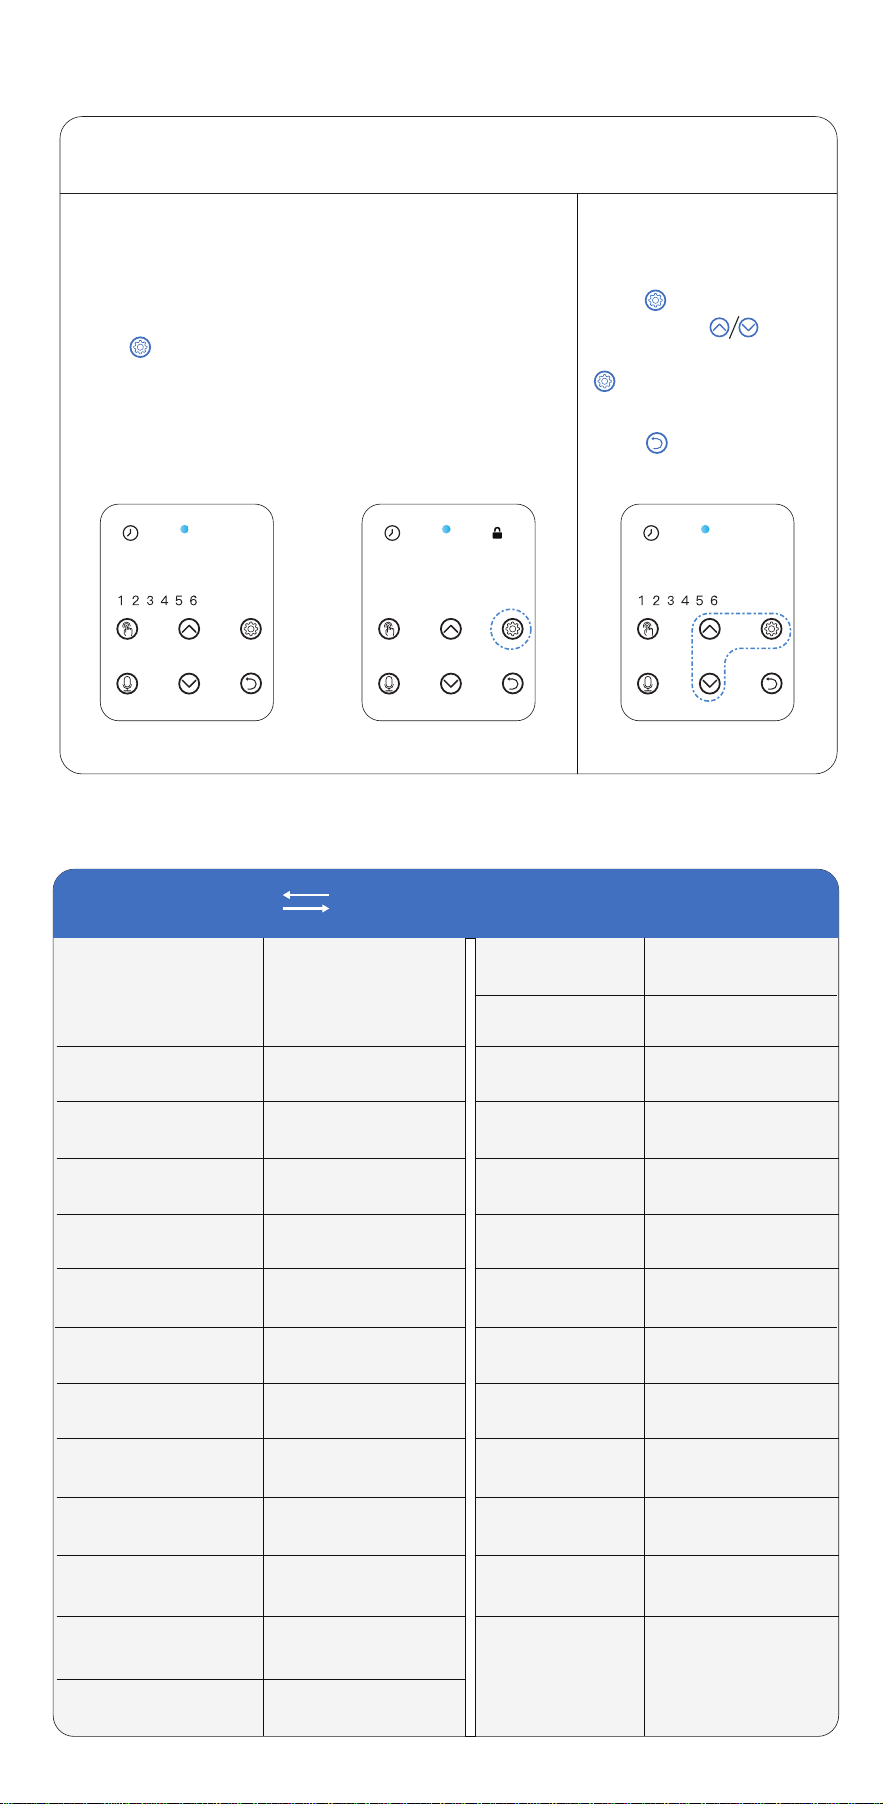
Clock Icon flashes when powered as shown in fig.(01)
[Locking Status]
Press and hold for 2s to unlock screen
as shown in fig.(02)
STEP 1
—Ready to Setup
STEP 1.1
[ Unlocking Status ]
Press to set up current
time. Use the to set
the current time, then press
to save
STEP 1.2
Press to modify if needed
Note:
00:00 00:03 08:30
fig.(01)
fig.(02)
TIP: Please note the conversion between 24-hour format and 12-hour format
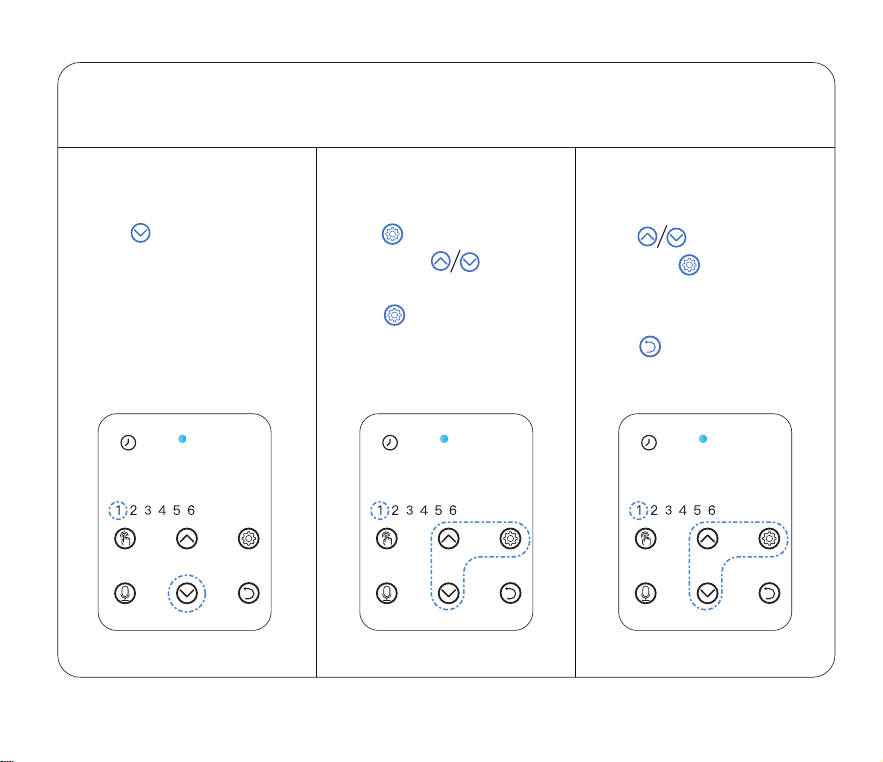
5
Press then "1" flashes
to set up the first meal
Press to modify if needed
Note:
Press to set up feeding
time, press to set
every single digit then
press button to save
and move to set up portion
Press to set up portion
then press button to save
STEP 2
—First Meal Setting
STEP 2.1 STEP 2.2 STEP 2.3
00:00 10:00 P-:02
Press to set up
portion,press to save.
Press to set up feeding
time, press to set
every single digit then
press button to save
and move to set up portion.
Repeat the step above to
set up the other meals if
needed.
Press then "2" flashes
to set up the second meal
Press move to flashing
meal number digit then
press to modify if needed
Note:
STEP 3
—Other Meals Setting
STEP 3.1 STEP 3.2 STEP 3.3
00:00 P-:0311:00
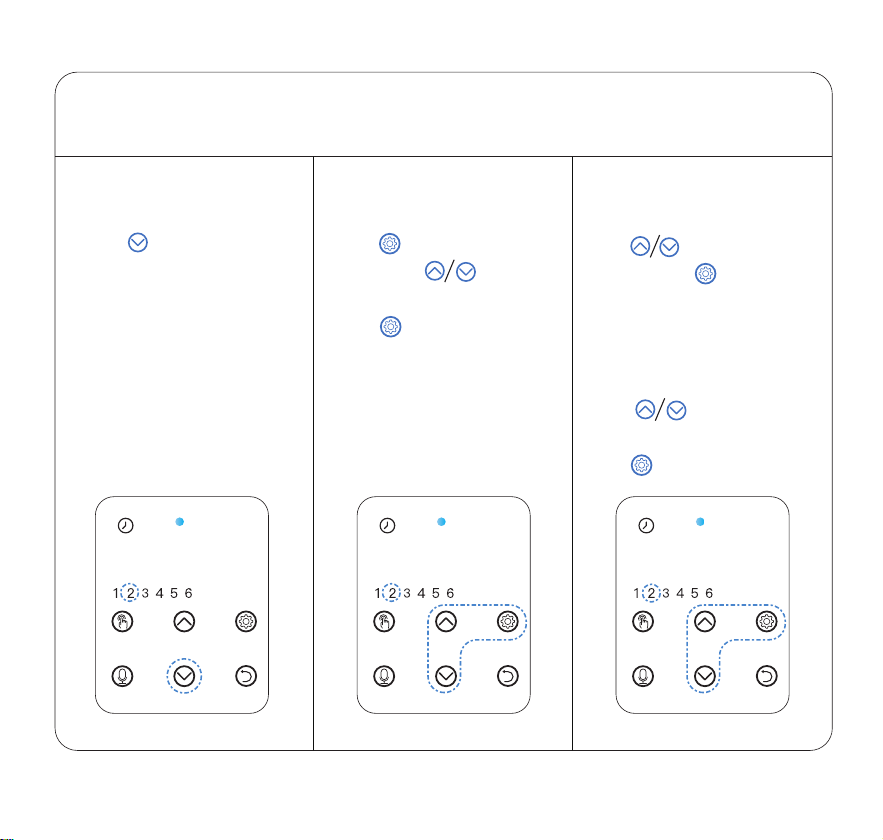
6
7
Press to modify, local time,
feeding time and portion if needed
Press to return to interface when setting
up as shown in fig.(01)
(Numbers NOT displayed when portion set to 0
as shown in fig.(02))
Press to return to interface when
setting up,press for 2s to lock the
screen,lock icon display
(Note: Locking automatically in
2mins without operation )
Lock:
STEP 4
—Return to Interface
STEP 5
— Lock & Unlock
STEP 4.1 STEP 4.2
08:45 08:45 09:00
Press and hold for 2s to unlock the
screen, lock icon disappear
Unlock:
09:05
fig.(01) fig.(02)
09:05
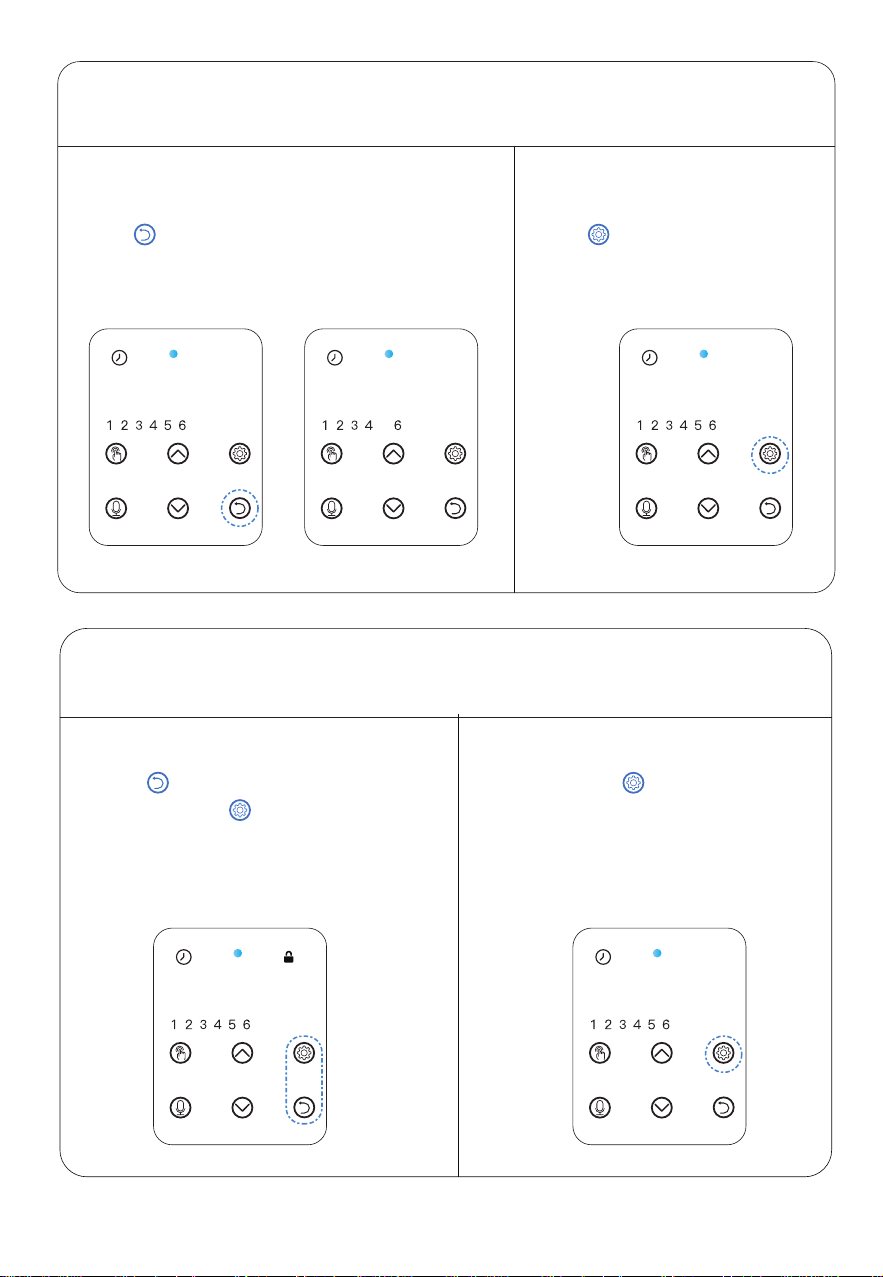
Hold for 3s and start recording after
a beep is heard (max 10s)
8
Press to feed 1 portion
[ Unlocking Status ]
STEP 6
—Record
[ Unlocking Status ]
Recoding saved after a double beep is heard
STEP 7
—Manual Feed
09:25
09:30
Press and hold and at the
same time for 3s until a beep is heard
[ Unlocking Status ]
STEP 8
—Reset to Factory Default
09:30