Visit our website at: http://www.harborfreight.com
Email our technical support at: [email protected]
To ensure security of your safe, Union Safe Company does NOT provide replacement keys.
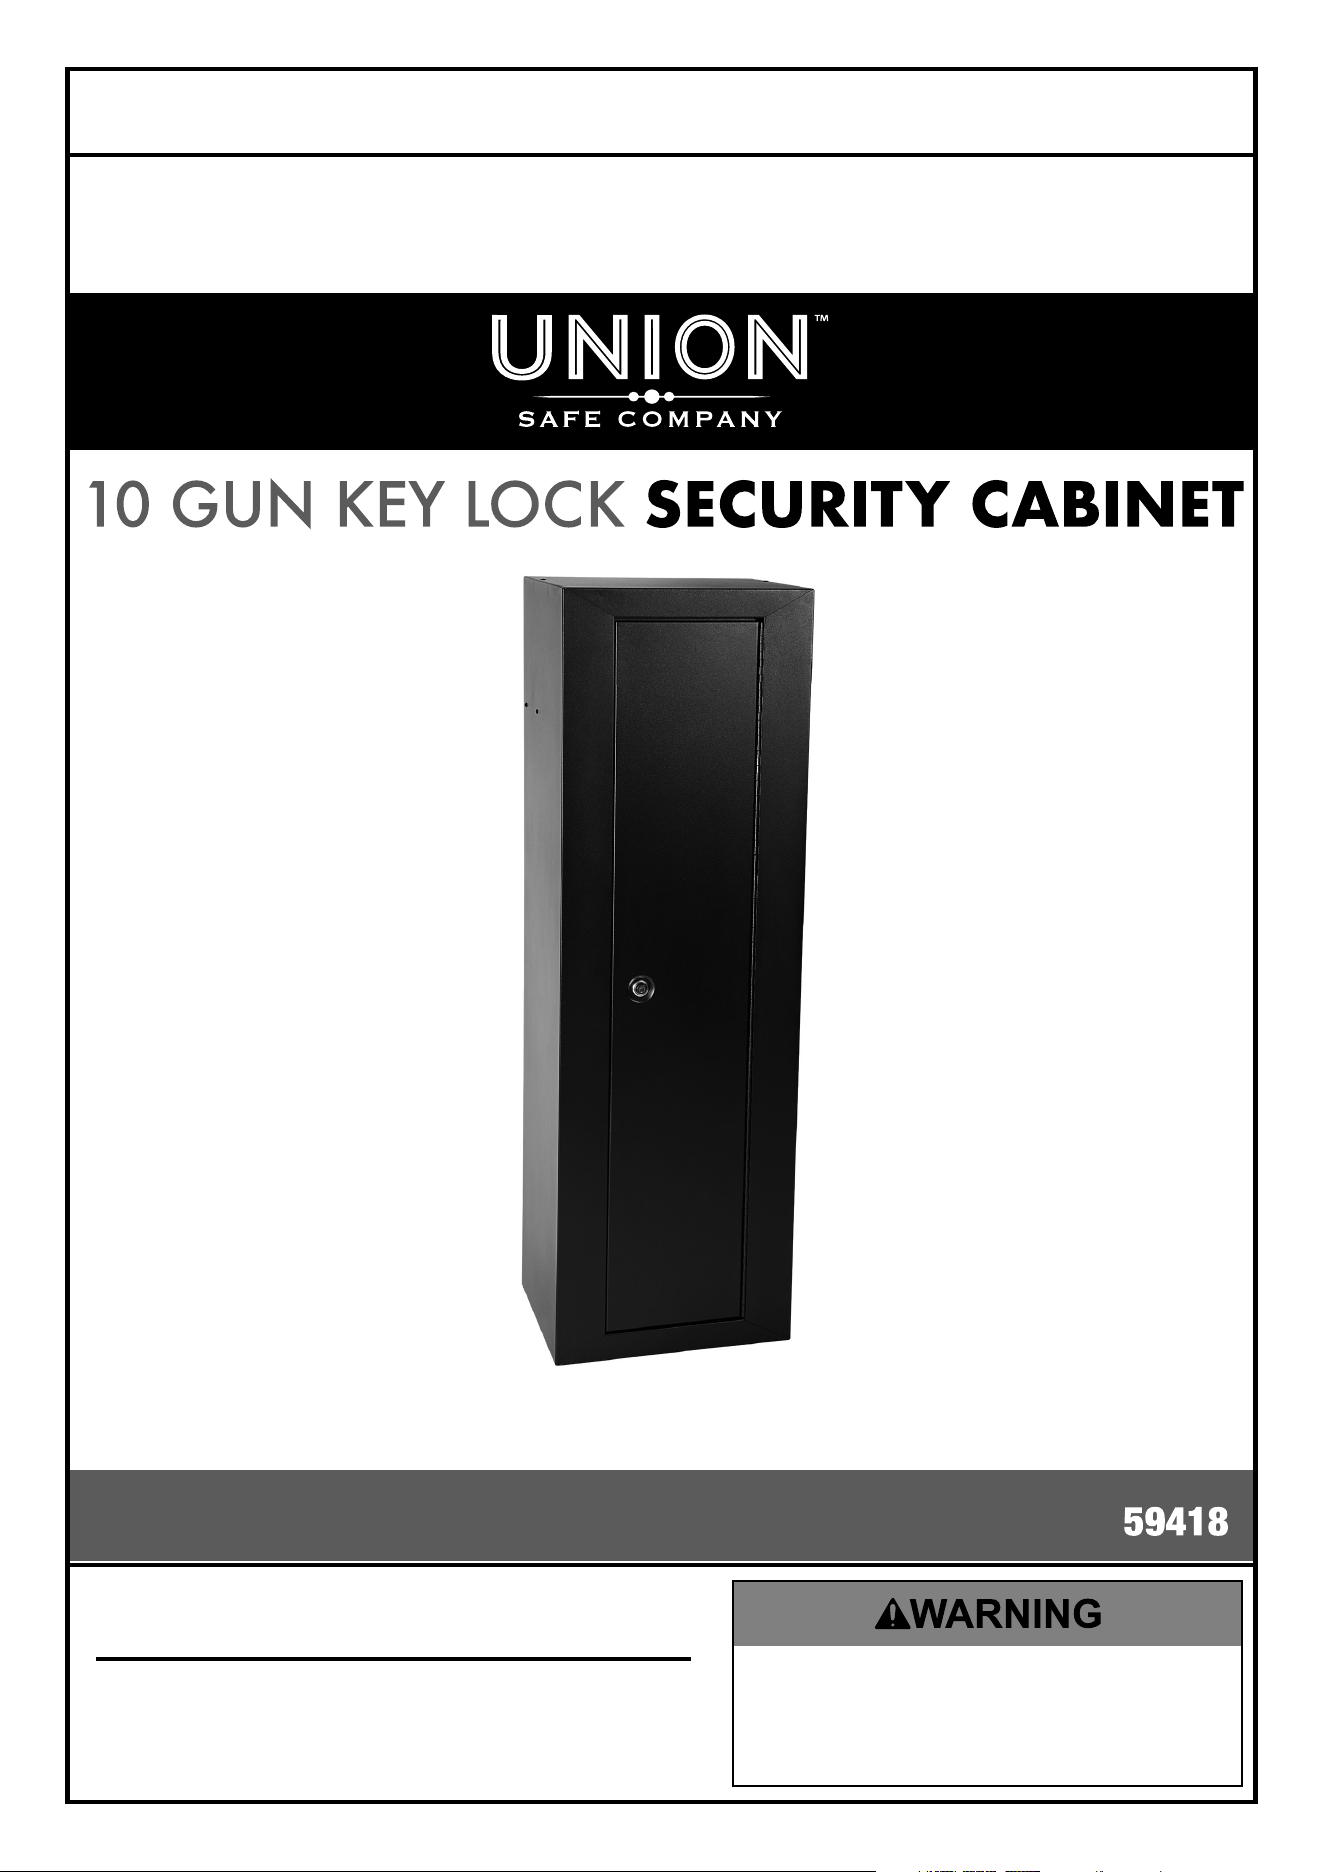
Owner’s Manual & Safety Instructions
Save This Manual Keep this manual for the safety warnings and precautions, assembly,
operating, inspection, maintenance and cleaning procedures. Write the product’s serial number in the
back of the manual near the assembly diagram (or month and year of purchase if product has no number).
Keep this manual and the receipt in a safe and dry place for future reference. 21i
When unpacking, make sure that the product is intact
and undamaged. If any parts are missing or broken,
please call 1-888-866-5797 as soon as possible.
Copyright
©
2021 by Harbor Freight Tools
®
. All rights reserved.
No portion of this manual or any artwork contained herein may be reproduced in
any shape or form without the express written consent of Harbor Freight Tools.
Diagrams within this manual may not be drawn proportionally. Due to continuing
improvements, actual product may differ slightly from the product described herein.
Tools required for assembly an d se rv ic e may n ot b e in cl uded.
Read this material before using this product.
Failure to do so can result in serious injury.
SAVE THIS MANUAL.
Page 2 For technical questions, please call 1-888-866-5797. Item 59418
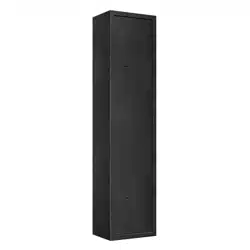
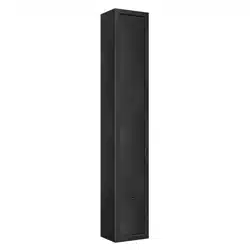
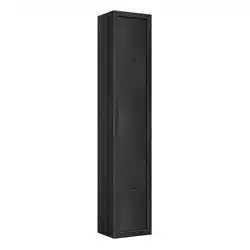
Specifications
External Dimensions 17″ L x 13.5″ W x 53.25″ H
Weight 53 lbs

Page 3For technical questions, please call 1-888-866-5797.Item 59418
IMPORTANT SAFETY INFORMATION
Installation Precautions
1. Verify that installation surface has no hidden
utility lines before drilling or driving screws.
2. Wear ANSI-approved safety
goggles during installation.
3. Mount securely before use.
4. Install only according to these instructions.
Improper installation can create hazards.
5. Keep installation area clean and well lit.
6. Keep bystanders out of the area during installation.
7. Do not install when tired or when under the
influence of alcohol, drugs or medication.
8. Use an assistant when moving safe.
9. Only install Safe on a stable, level, clean and dry
vertical or horizontal surface that is capable of
supporting the weight of Safe and its contents.
Use Precautions
1. Keep closed and locked whenever unattended.
RISK OF CHILD ENTRAPMENT AND
SUFFOCATION.
Check inside before closing.
Do not allow children to play with or near safe.
Keep keys and codes away from children.
2. Keep clear of door when closing.
3. Use as intended only.
4. Inspect before every use; do not use
if parts are loose or damaged.
5. Maintain product labels and nameplates.
These carry important safety information.
If unreadable or missing, contact
Harbor Freight Tools for a replacement.
6. Do not store Keys inside of the Safe.
Place the keys in a secure location
outside of the safe.
7. The warnings, cautions, and instructions discussed
in this instruction manual cannot cover all possible
conditions and situations that may occur. It must
be understood by the operator that common sense
and caution are factors which cannot be built into
this product, but must be supplied by the operator.
8. The Safe is not fireproof.
NOTE: Harbor Freight Tools is not responsible
for the loss of any property stored within this safe
due to theft, fire, or any other circumstance.
Record Serial Number Here:
Note: If product has no serial number, record month and year of purchase instead.
Note: Replacement parts are not available for this item.
Page 4 For technical questions, please call 1-888-866-5797. Item 59418
Set-up and Operation
Read the entire Important Safety Information section at the beginning of this document including all
text under subheadings therein before set up or use of this product.
Note: Set up and test Safe before Installation.
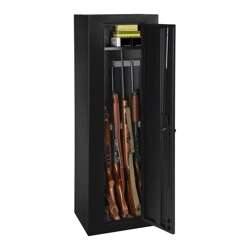
Open Safe
Note: Do not store Keys inside Safe.
Store Keys in secure place outside of Safe.
1. Insert Key and turn clockwise.
2. Pull door open.
Lock Safe
Keep closed and locked whenever unattended.
Check inside before closing.
Do not allow children to play with or near safe.
Keep keys and codes away from children.
Close Door and turn Key counterclockwise.
Assembly Instructions
1. Open Safe.
2. Mark desired area where Long Sponge Rack (7)
and Short Sponge Rack (8) will be located.
3. Place Long Sponge Rack and Short
Sponge Rack onto Safe inner walls.
4. Install Bolts (4) through Safe and Partition Board (6).
5. Install Nuts (5).
6. Install bottom pad.
7. Close Safe.

Installation
Read the entire Important Safety Information section at the beginning of this document including all
text under subheadings therein before set up or use of this product.
Safe can be mounted to floor or against wall.
Installing to Floor or Against Wall
WARNING! TO PREVENT SERIOUS INJURY:
Verify that installation surface has no hidden
utility lines before drilling or driving screws.
1. Only install Safe on a stable, level, clean
and dry surface capable of supporting
the weight of Safe and its contents.
2. Locate two mounting holes on bottom
of Safe for floor installation.
3. Locate four mounting holes on back of
Safe for installation against wall.
4. Using the Safe as a template, mark locations
of mounting holes on mounting surface.
5. Safe mount holes are 16″ apart. Fasteners
must line up with stud centers.
6. Install Bolts (1) through Washers (2)
and Safe into wall studs.
7. Or Install Bolts through Washers
and Safe into floor studs.
Maintenance
1. Protect Safe from moist or wet conditions.
2. Occasionally wipe the safe and lock
clean with a soft dry cloth or brush.
3. If key lock sticks, use graphite lubricant,
such as pencil lead. Rub pencil lead over
Key, then insert Key and turn back and
forth. Repeat until lock moves freely.

Page 6 For technical questions, please call 1-888-866-5797. Item 59418
Parts List and Diagram
Parts List
Part Description Qty
1 Bolt 4
2 Washer 4
3 Plastic Plug 2
4 Bolt 4
5 Nut 4
Part Description Qty
6 Partition Board 1
7 Long Sponge Rack 1
8 Short Sponge Rack 2
9 Sponge Mat 1
10 Key 2

Page 7For technical questions, please call 1-888-866-5797.Item 59418
Diagram
1
2
3
4
5
6
7
8
9
10

26677 Agoura Road • Calabasas, CA 91302 • 1-888-866-5797
Limited 90 Day Warranty
Harbor Freight Tools Co. makes every effort to assure that its products meet high quality and durability standards,
and warrants to the original purchaser that this product is free from defects in materials and workmanship for the
period of 90 days from the date of purchase. This warranty does not apply to damage due directly or indirectly,
to misuse, abuse, negligence or accidents, repairs or alterations outside our facilities, criminal activity, improper
installation, normal wear and tear, or to lack of maintenance. We shall in no event be liable for death, injuries
to persons or property, or for incidental, contingent, special or consequential damages arising from the use of
our product. Some states do not allow the exclusion or limitation of incidental or consequential damages, so the
above limitation of exclusion may not apply to you. THIS WARRANTY IS EXPRESSLY IN LIEU OF ALL OTHER
WARRANTIES, EXPRESS OR IMPLIED, INCLUDING THE WARRANTIES OF MERCHANTABILITY AND FITNESS.
To take advantage of this warranty, the product or part must be returned to us with transportation charges
prepaid. Proof of purchase date and an explanation of the complaint must accompany the merchandise.
If our inspection verifies the defect, we will either repair or replace the product at our election or we may
elect to refund the purchase price if we cannot readily and quickly provide you with a replacement. We will
return repaired products at our expense, but if we determine there is no defect, or that the defect resulted
from causes not within the scope of our warranty, then you must bear the cost of returning the product.
This warranty gives you specific legal rights and you may also have other rights which vary from state to state.