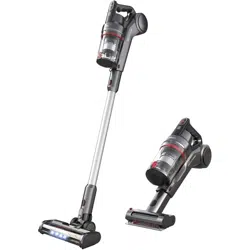
Instruction Manual
Read this manual carefully before first use.
Keep this manual for further guidance in case.
DW300 Pro
CORDLESS VACUUM CLEANER
Providing one-stop household cleaning solution
Suzhou Dibea Electrical Technology Co.,Ltd.
Official website: www.dibea.com

1
………………………………………………………………………………………………………………
1
…………………………………………………………………………………
2
…………………………………………………………………………………
3
…………………………………………………………………………………………… 4
……………………………………………………………………………………………………………
4
……………………………………………………………………………………………………………
4
………………………………………………………………………………………………………
4
………………………………………………………………………………………………………
5
………………………………………………………………………………………………………………
5
……………………………………………………………………………………………………………………
6
………………………………………………………………………………………………………
6
……………………………………………………………………………………………………………… 7
…………………………………………………………………………………………………………… 7
……………………………………………………………………………………………………………
7
……………………………………………………………………………………………………
8
……………………………………………………………………………………………………………………
8
…………………………………………………………………………………………………
9
………………………………………………………………………………………………………
9
………………………………………………………………………………………………………………
10
………………………………………………………………………………………………………………
10
………………………………………………………………………………………………………………
11
ContentsContents
Safety instructions
Main body
Product installment
Install cleaning head
Install extensive tube
Remove and install dirt cup
Declaration
Product operation
Start the vacuum cleaner
Adjust the suction
Charging and indicator lights
Notes
During using
Before using
Product maintaining
Clean the machine
Replace and wash filters
Replace and wash cleaning head
Troubleshooting
Product specifications
Accessories
Declaration
(Unauthorized reselling of Dibea products is prohibited.)
Our returns and exchange service is limited to all purchases made from Dibea.
If you purchased through a different retailer, please contact them directly.
Warranty-related shipping costs can only be covered in the country of purchase.
If the product is taken outside the country of purchase, any shipping costs will
be the buyer's responsibility.

2 3
*
Safety InstructionsSafety Instructions
all these regular safety precautions
Battery
This appliance includes 22.2V rechargeable lithium battery, do not use other types of battery.
*
Anything wrong about the battery, stop using it and contact the after-service.
*
Gently pull out the plug after charging.
During using
1, Store indoors in a dry place out of the reach of children;
2, Always use responsibly. This appliance can be used by children aged from 10 years
and above and persons with reduced physical, sensory or mental capabilities or lack of
experience and knowledge if they have been given supervision or instruction concerning
use of the appliance in a safe way and understand the hazards involved;
3, Don’t let children play with the appliance; supervise children using or maintaining
the appliance;
4, Use only manufacturer’s recommended attachments as described in this manual;
misuse or use of any accessory or attachment other than those recommended, may
present a risk of personal injury;
5, Take extra care when cleaning stairs;
6, Keep the appliance and accessories away from hot surface;
7, Do not block the appliances openings or hinder air flow, keep openings free of any
objects including dust, lint, clothing, fingers (and all parts of the body);
8, Particularly keep hair away from openings and moving parts;
Warning:
Main BodyMain Body
handle
ON/OFF button
suction adjust button
dirt cup
air outlet
dirt cup lock button
tube lock
aluminum tube
dirt cup empty button
filter
dirt cup
motor cleaning head
4 5
Product InstallmentProduct Installment
Product InstallmentProduct Installment
1. Install cleaning head
To install the cleaning head, slot the head to the handheld part until it clicks.(pic 1)
1
2
press the lock button
Press the unlock button (pic 2) to remove the cleaning head.
2. Install extensive tube
Connect one side of the tube to the handheld part until it clicks, the other side to the
cleaning head until it clicks. (pic 3)
3
* Can clean on hardwood floor and carpets after installing the cleaning head.
* Can clean curtains or ceilings after installing the crevice tube
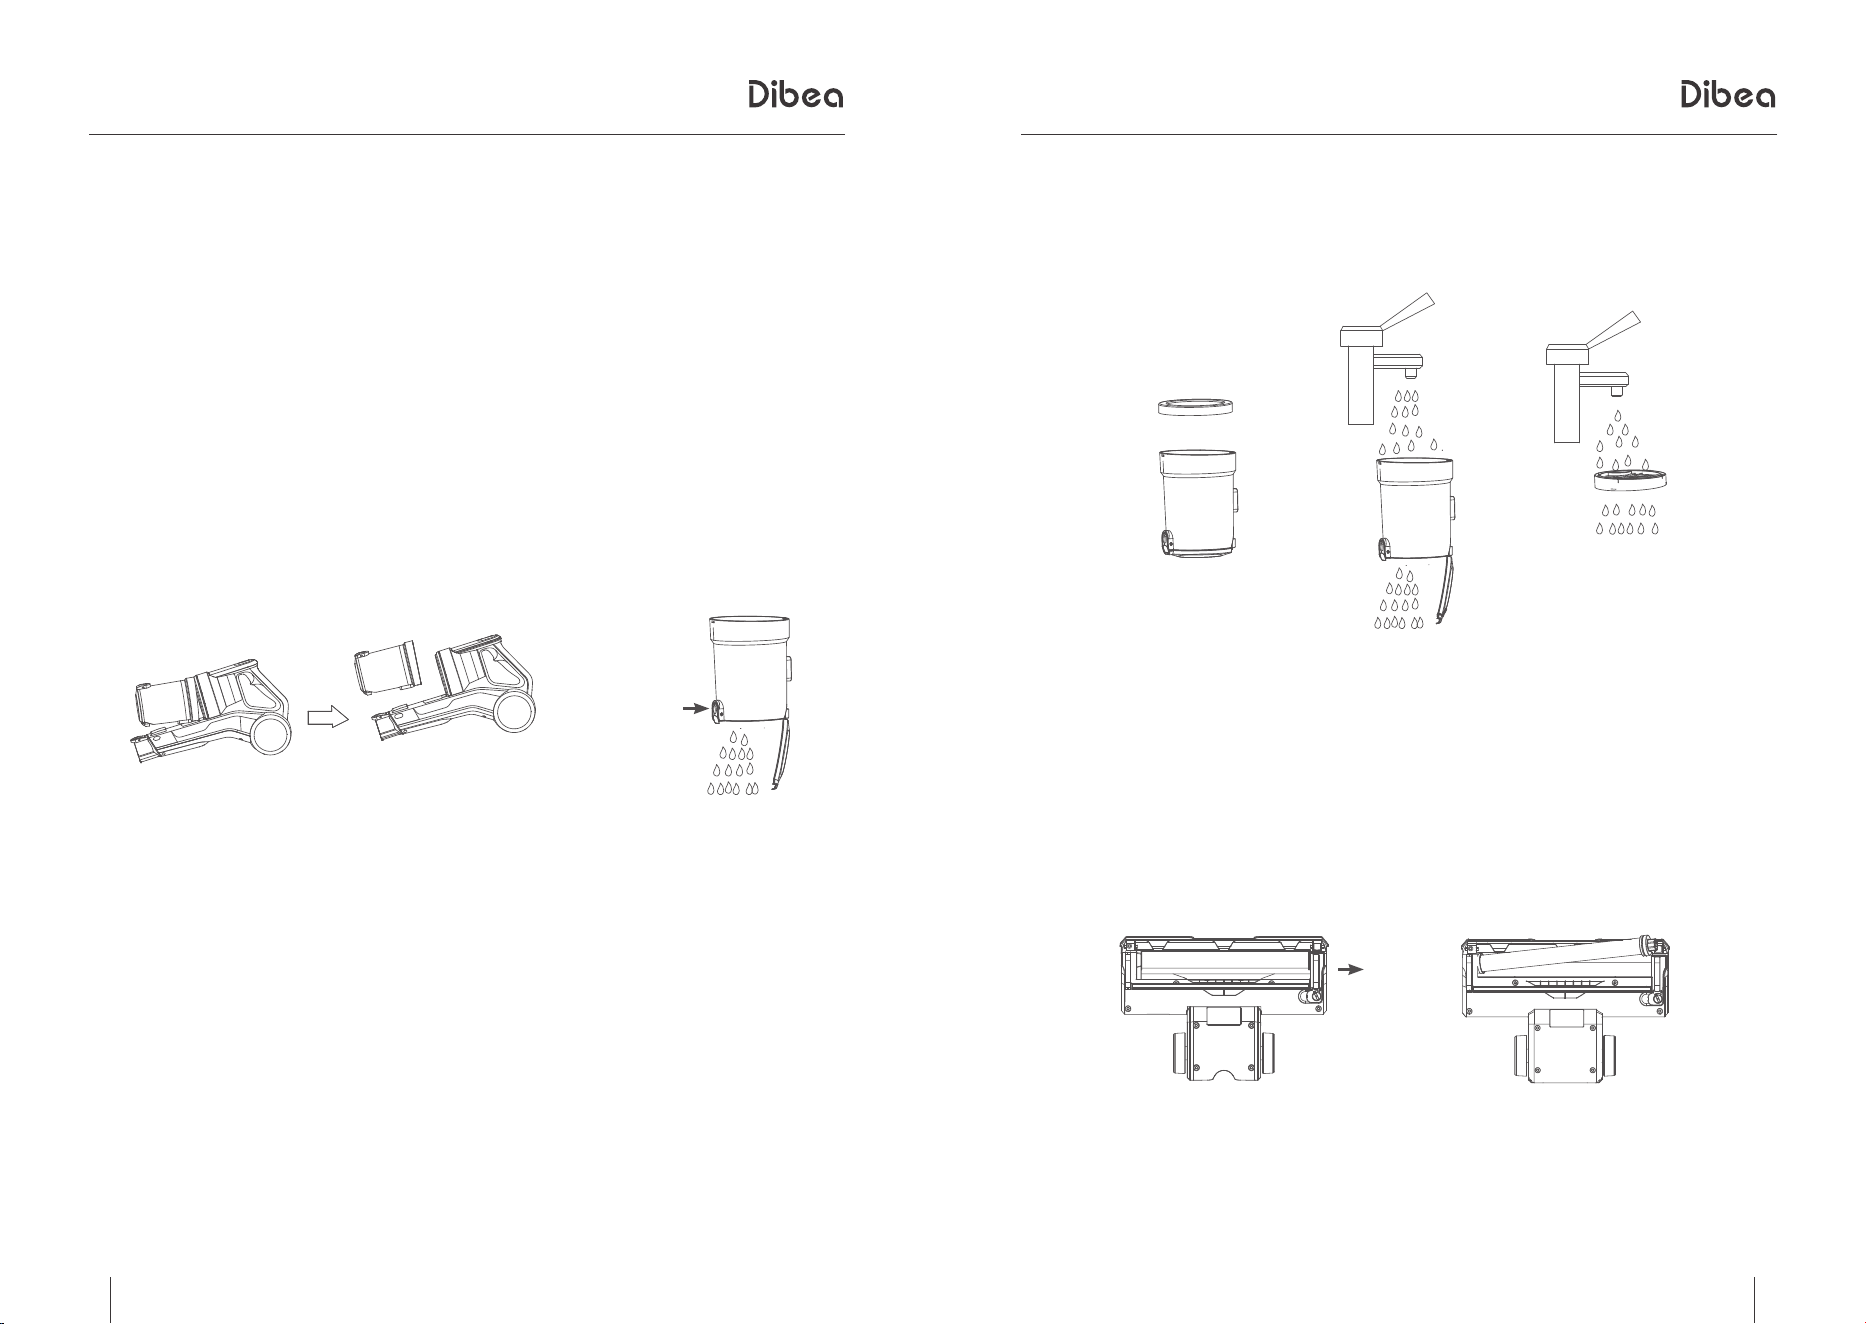
3. Remove and install dirt cup
a. To remove the dirt cup, press the two unlock buttons on the side of the handheld part
at the same time. (pic A)
b. To install the dirt cup, connect the bottom of the dirt cup with the main body, push it
to the top of the handheld part until it clicks.(pic B)
unlock button
A
B
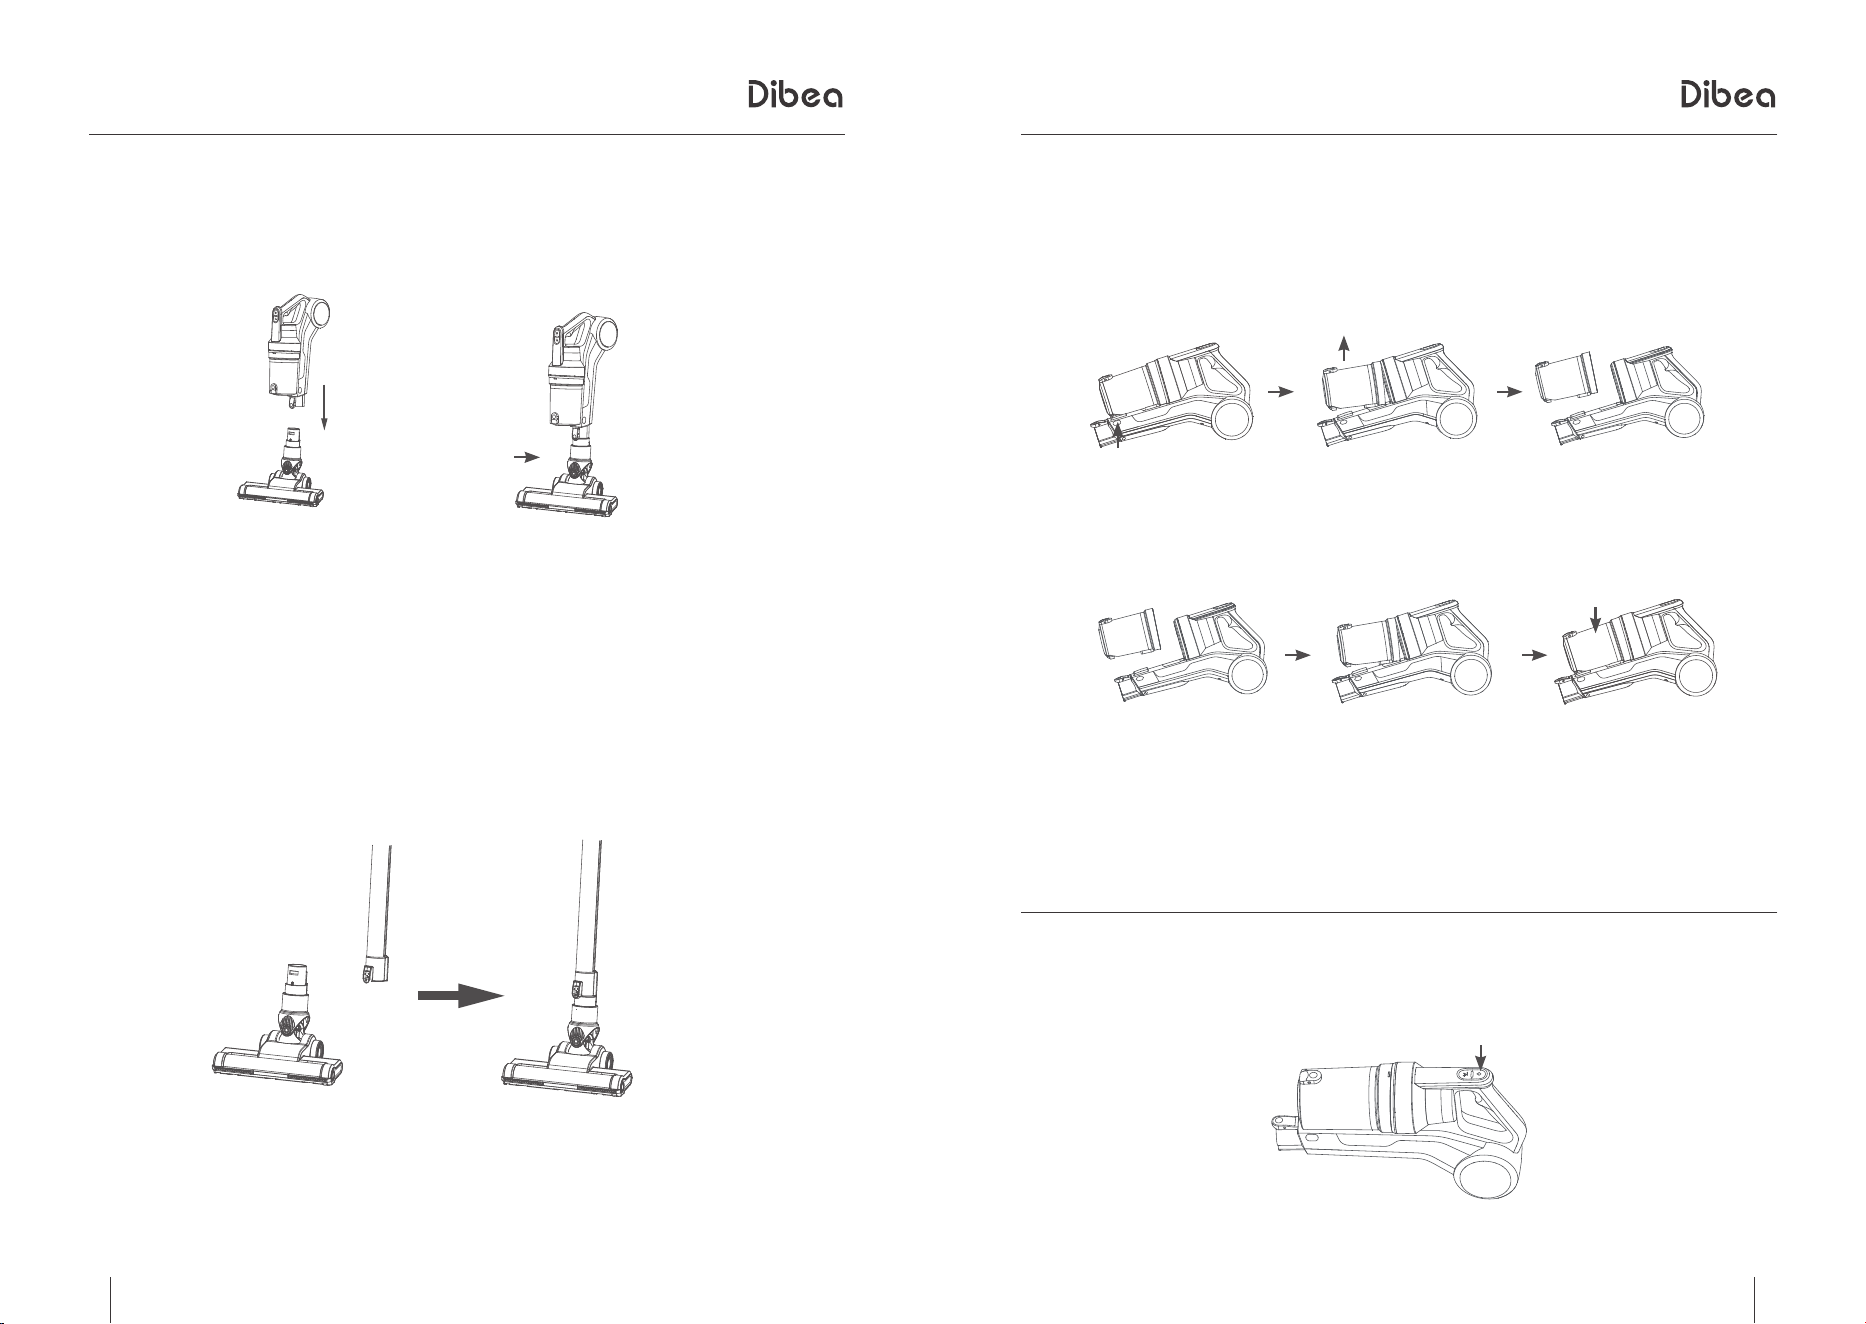
Product OperationProduct Operation
1. Start the vacuum cleaner
Press the ON/OFF button on the handle to start the vacuum cleaner. (pic A)
A
6 7
Product OperationProduct Operation
2. Adjust suction
Press the speed control button (pic A) to adjust the suction.
A
3. Charging and indicator lights
Charging without home base: plug one side of the cable to the handheld part and the other to the
socket.
Charging with home base: plug one side to the base and the other to the socket.
Charging; 0~50% red light, 50%~90% orange light, 90%-100% green light
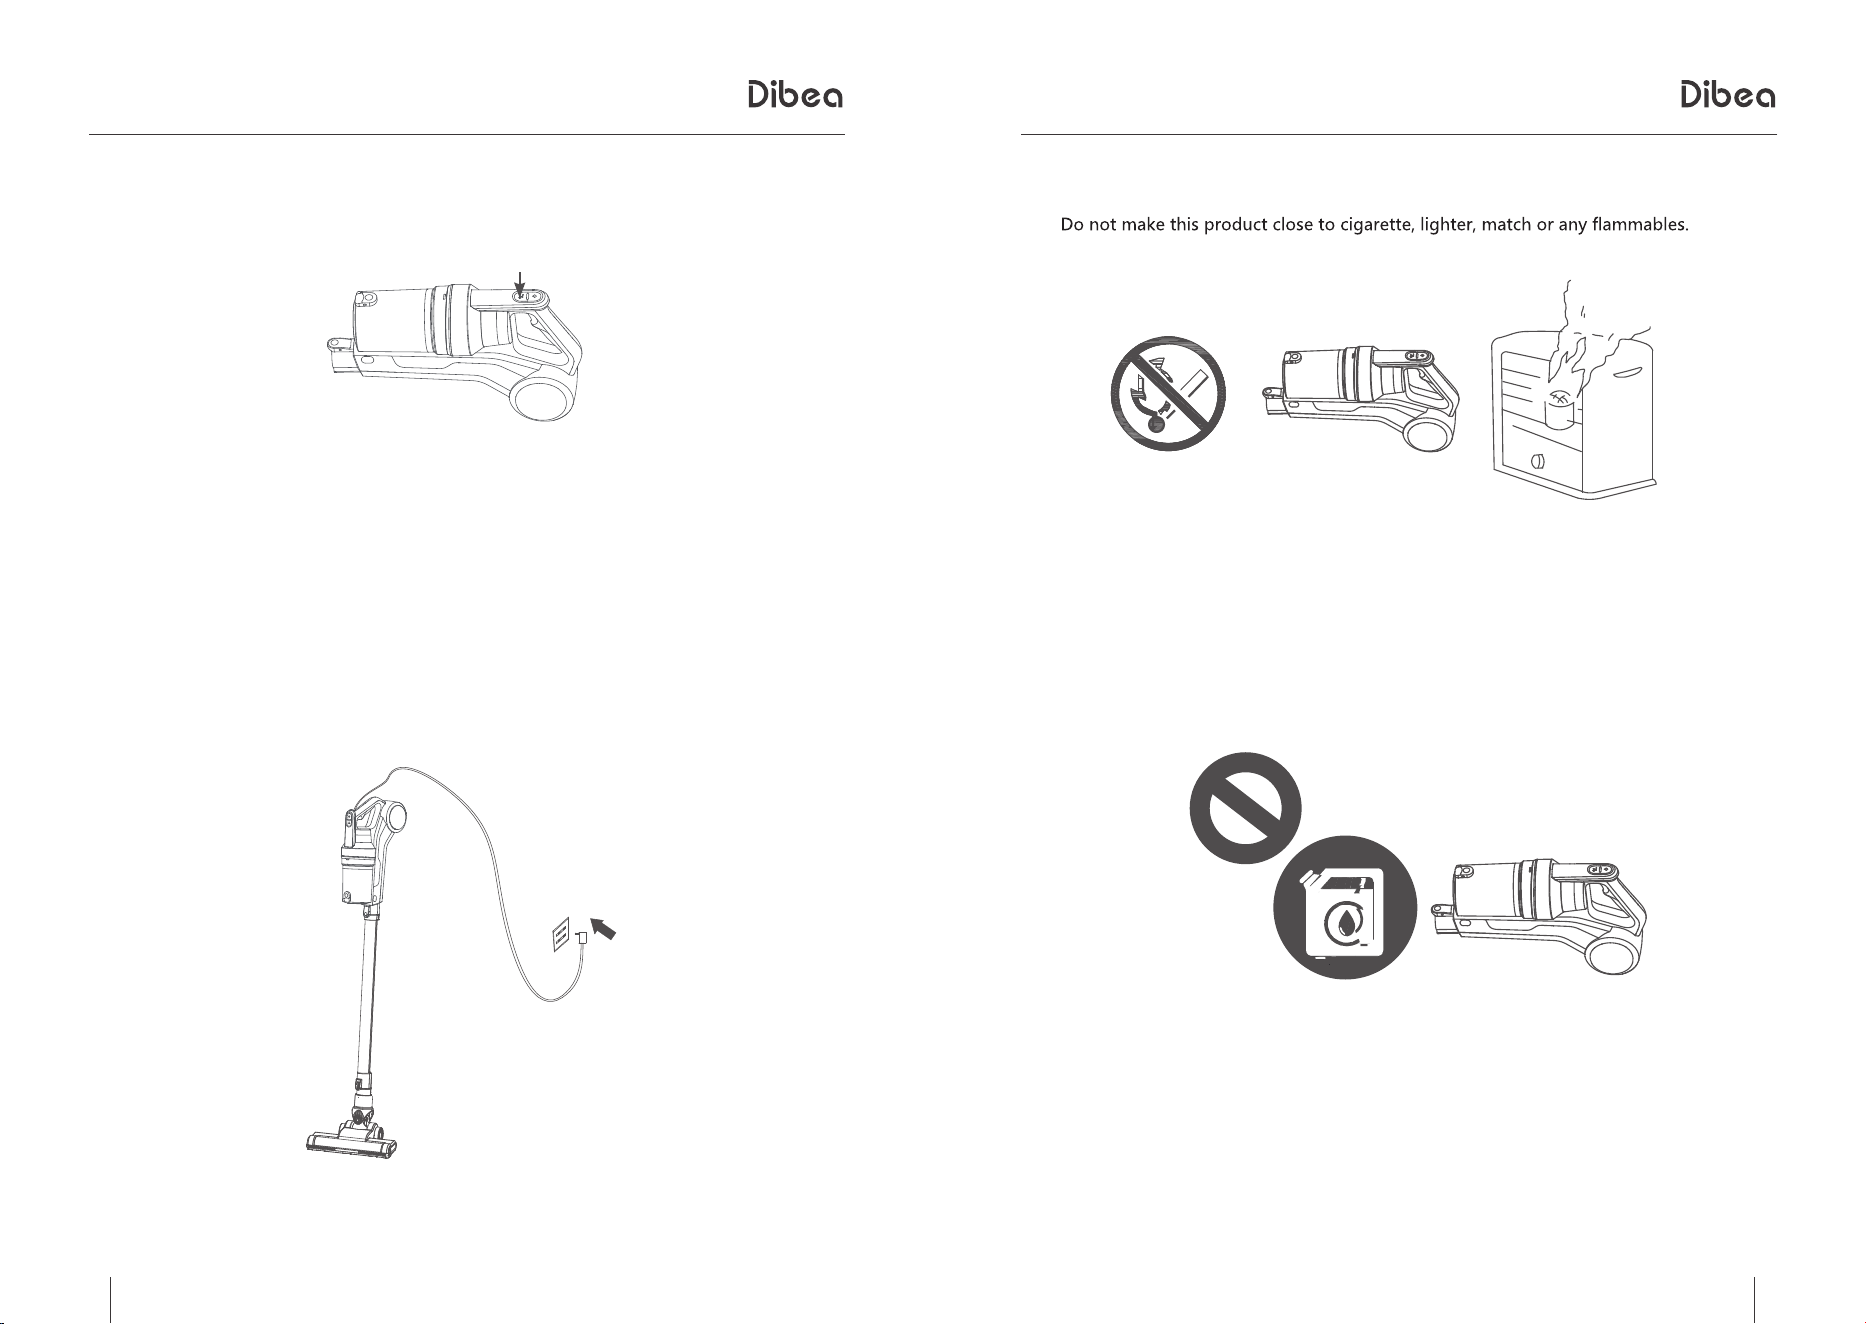
NotesNotes
1. During using
2. Before using
Keep the product away from sharp objects or dangerous items like oil.
When the vacuum cleaner gets stuck, turn off the power and clean away the tangled objects
before starting again.
8 9
Product MaintainingProduct Maintaining
Product MaintainingProduct Maintaining
Daily storage
When not using the vacuum cleaner for a long time, place it in a safe and dry place.
Do not exposure it to direct sunlight.
Clean the vacuum cleaner
A. Empty and clean the dirt cup
1. Remove the dirt cup first. (pic A)
2. Press the empty button (pic B) to empty the dirt cup.
A
B
empty button
B. Replace and wash filter
Take out the filter and wash it in warm water with soft brush.(Pic A)
Reinstall the filter after it is dry. We suggest washing it when the suction gets weak
A
Note: Make sure you have installed all the accessories before using the vacuum cleaner.
C. Replace and clean the cleaning head
The cleaning head needs to be cleaned after using for a long time.
Pull the lock button and take out the roller brush like pic B
B

10 11
1
2
3
4
250W
Li-ion 2000mAh 22.2V
4~5H
68dB
1140*260*230mm
2.2kg/3.5kg
350ml
TroubleshootingTroubleshooting
Error
Cause
Solution
the machine doesn't work
low power
replace the battery
or recharging
weak suction
1.dirt cup is full
2.low power
1. empty the dirt cup
2. recharging
dust leakage
1.dirt cup is full
2.not install the dirt cup
right
1. empty the dirt cup
2. reinstall the dirt cup
doesn't vacuum
dirt cup is full
empty the dirt cup and wash it
Product SpecificationsProduct Specifications
item
specifications
power voltage
battery
charging time
noise
measurements
net/gross weight
dirt cup
Accessories
charging home base
Place the handheld part into the home base when charging.
charging
Plug one side of the cable to the home base and the other to the wall sockest