P
Ninja is a registered trademark in the United Kingdom of SharkNinja Operating LLC.
© 2024 SharkNinja Operating LLC.
OG901UK_FSC_IG_MP_240119_Mv1
Please make sure to read the enclosed Ninja Instructions prior to using your unit.
For questions or to register your product,
visit us online at ninjakitchen.co.uk
@ninjakitchenuk
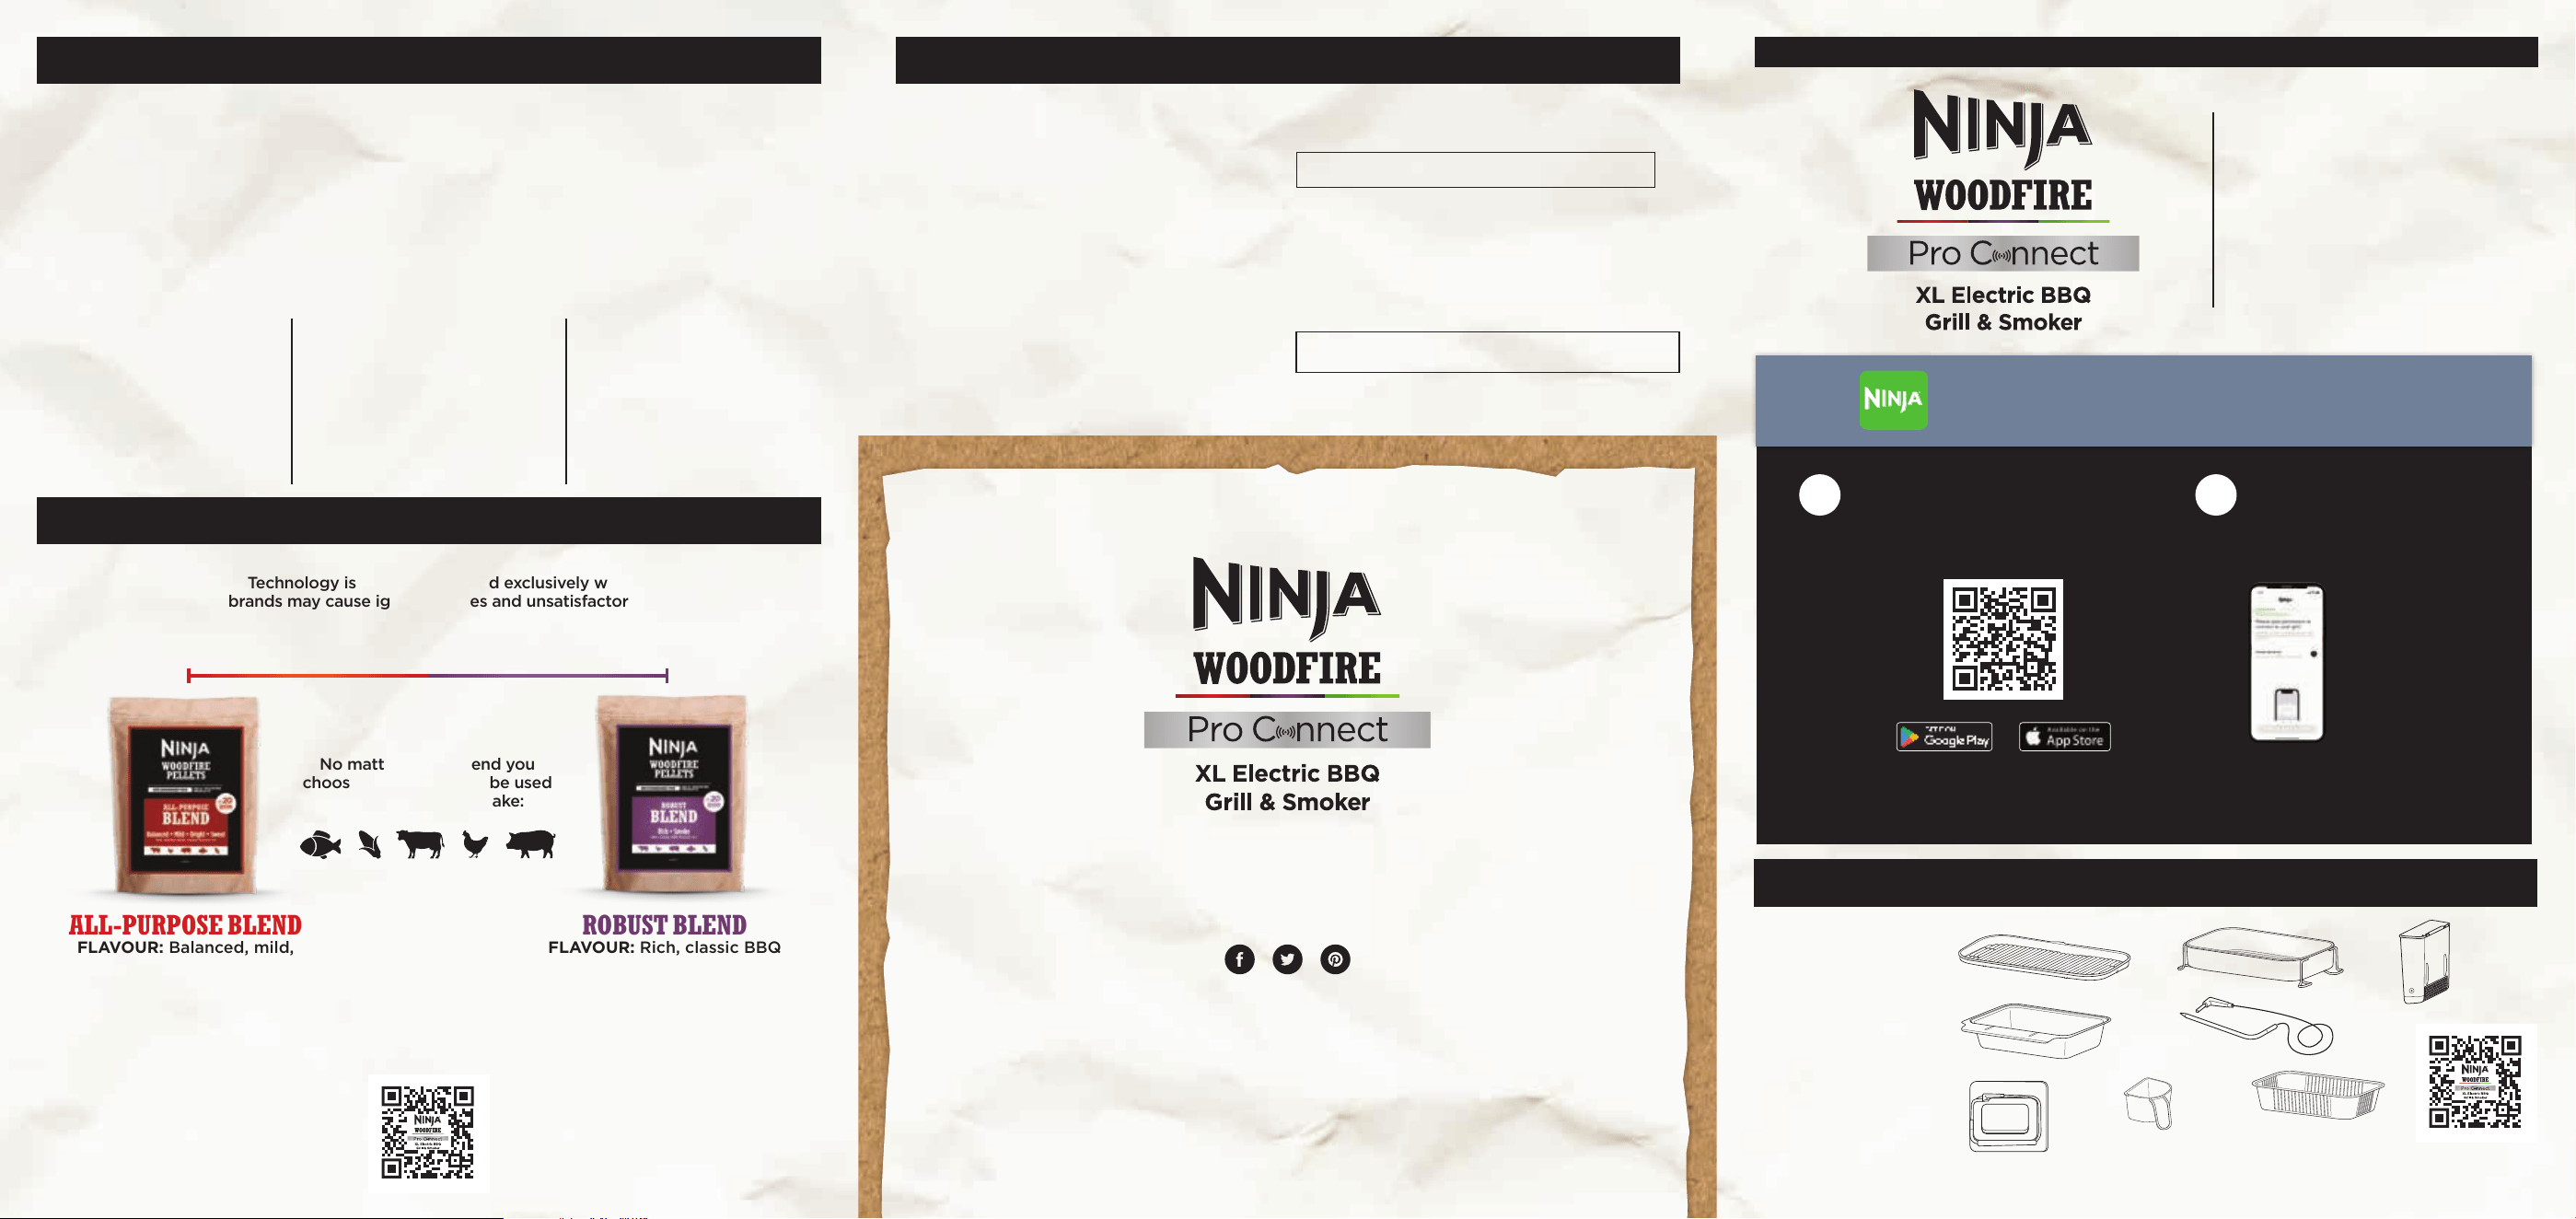
USE ONLY WITH NINJA WOODFIRE PELLETS
NINJA WOODFIRE FLAVOUR SCALE
For best results, performance and flavour, we suggest to use Ninja Woodfire Pellets.
Ninja Woodfire Technology is meant to be used exclusively with Ninja pellets,
as other brands may cause ignition issues and unsatisfactory results.
100% AUTHENTIC SMOKY FLAVOURS
Our integrated smoker box and specially designed Ninja Woodfire Pellets
work together to create rich, fully developed smoky flavours.
Use for FLAVOUR not FUEL so you only need 1 scoop per cooking session.
ONLY NINJA WOODFIRE PELLETS ARE COMPATIBLE WITH THE
NINJA WOODFIRE PRO CONNECT XL ELECTRIC BBQ GRILL & SMOKER
100% REAL WOOD—
NO FILLERS
Each pellet is a
combination of premium
hardwoods at the perfect
ratio for optimal flavour.
PREMIUM QUALITY
FOR BEST SMOKE
Our wood pellets are high
density and low moisture—
the perfect combo to create
professional-grade smoke.
CONSISTENT
FLAVOUR
The size and shape of
our pellets provide optimal
airflow and consistent
smoky flavour.
No matter which blend you
choose, our pellets can be used
with anything you make:
MILD
ROBUST
ALL-PURPOSE BLEND
FLAVOUR: Balanced, mild,
bright, sweet
ROBUST BLEND
FLAVOUR: Rich, classic BBQ
A Grill Plate
B Crisper Basket
C Smoker Box
D Grease Tray
E Built-in Probe
F Onboard Probe
Storage
G Pellet Scoop
H Grease Tray
Liner
A
D
G
I_OG700Series_Parts_PelletScoop.eps
DOWNLOAD THE NINJA PRO CONNECT APP AND TAKE
THE GUESSWORK OUT OF OUTDOOR COOKING
Download the Ninja Pro Connect
app by scanning the QR codes
below, then download the Ninja
Pro Connect app.
Open the app and follow
the directions to pair your
phone with your grill.
1 2
Ensure phone has Bluetooth turned on and is connected to a 2.4-GHz
Wi-Fi network, not a 5-GHz network. See “Can’t Pair with Your Grill?”
for more info on network bands.
IMPORTANT
BEFORE PAIRING:
C
B
H
E
CLEANING
The grill should be cleaned thoroughly
after each use. ALWAYS let the grill and
accessories cool before cleaning.
• Allow unit and accessories to cool before
moving unit and removing any accessories.
• Remove grill plate and crisper basket (if
used) after each use, and hand-wash in
warm, soapy water. Remove built-in probe
(if used) and wipe down with a damp
cloth. Note the built-in probes and holder
are hand-wash only and should never be
immersed in water or any other liquid.
• Remove smoker box and safely discard
contents after each use.
• Cleaning the smoker box after every use
|is not required. Use a wire brush to remove
build-up after every 10 uses.
• Carefully remove cooled grease tray from
back of unit and safely discard cooled
grease contents. Wash the grease tray in
warm, soapy water.
•
Wipe down the inner lid with a damp
towel or cloth after each use to deodorise
the unit.
NOTE: For further cleaning instructions, refer to
the Instruction Booklet.
NOTE: DO NOT use liquid cleaning solution on
the smoker box.
GET YOURS AT
ninjakitchen.co.uk
For accessories and replacement parts
please visit ninjakitchen.co.uk or scan the QR
QUICK
START
GUIDE
F
USING THE CONTROL PANEL
A
POWER
Flip ON/OFF switch at back of grill. Then press
to turn power on or o.
B
MODE
Press to cycle through the cook functions.
C
WOODFIRE TECHNOLOGY
Automatically enabled when using the Smoker
function. Press to add authentic smoky flavour
when using any other cook function (except
REHEAT).
D
TEMP
Press to adjust cook temperature with the dial.
E
TIME
Press to adjust cook time with the dial.
F
DIAL
Turn to manually set cook temperature/time (or
to select preset protein/cook level for the probe).
G
START/STOP
Press to start or stop the selected cook function.
Press and hold for 4 seconds to skip preheating.
NOTE: For best results, let the grill fully preheat.
H
PROBE
Press to program the probe(s) to a preset
protein/cook level setting or to manually select
a temperature with the dial. For further probe
instructions, refer to the Instructions or Ninja Pro
Connect app.
A
B C D E
F
G
H
GET TO KNOW EACH FUNCTION
GRILL
BAKE ROAST REHEAT DEHYDRATE
SMOKER AIR FRY
Grill with the lid closed for large
or frozen proteins, and leave it
open for more delicate or lean
cuts.
Bake cakes, treats,
desserts and more with
lower fan speeds.
Tenderise meats, roast
vegetables and more.
Perfect for warming
up leftovers.
Dehydrate meats, fruits,
and vegetables for
healthy snacks.
Create deep, smoky
flavours while cooking low
and slow to tenderise large cuts
of meat.
Achieve crispiness and
crunch with little to no oil
and higher fan speeds.
ASSEMBLE YOUR GRILL
IF USING AN EXTENSION CORD:
Use only outdoor-rated extension cords.
Cords longer than 15M are not
recommended.
1 Place grill on a stable, flat and level surface outside.
2 Plug into electrical socket. Switch socket on. Test and reset
the RCD plug. Flip ON/OFF switch at back of unit.
3 Install grill plate and grease tray. If using AIR FRY or
DEHYDRATE function, install crisper basket on top of grill plate.
CAN’T PAIR WITH YOUR GRILL?
1 Make sure your phone is connected to a 2.4-GHz
Wi-Fi network within range of the grill.
• Any 5-GHz network or out-of-range network will
not be recognised by the grill. Like most Wi-Fi
enabled home devices, Ninja Connected grills
only pair over 2.4-GHz networks, which cover
greater distances than 5-GHz networks.
• If you have both 2.4-GHz and 5-GHz network
options, make sure they don’t have the same
name, as this can cause pairing issues. If you
are unable to separate your 2.4-GHz and 5-GHz
networks, consider purchasing an inexpensive,
dedicated 2.4-GHz router for your grill.
• If you’re not sure which bands your network uses
or how to identify them, contact your internet
service provider.
ERROR MESSAGES & ICONS
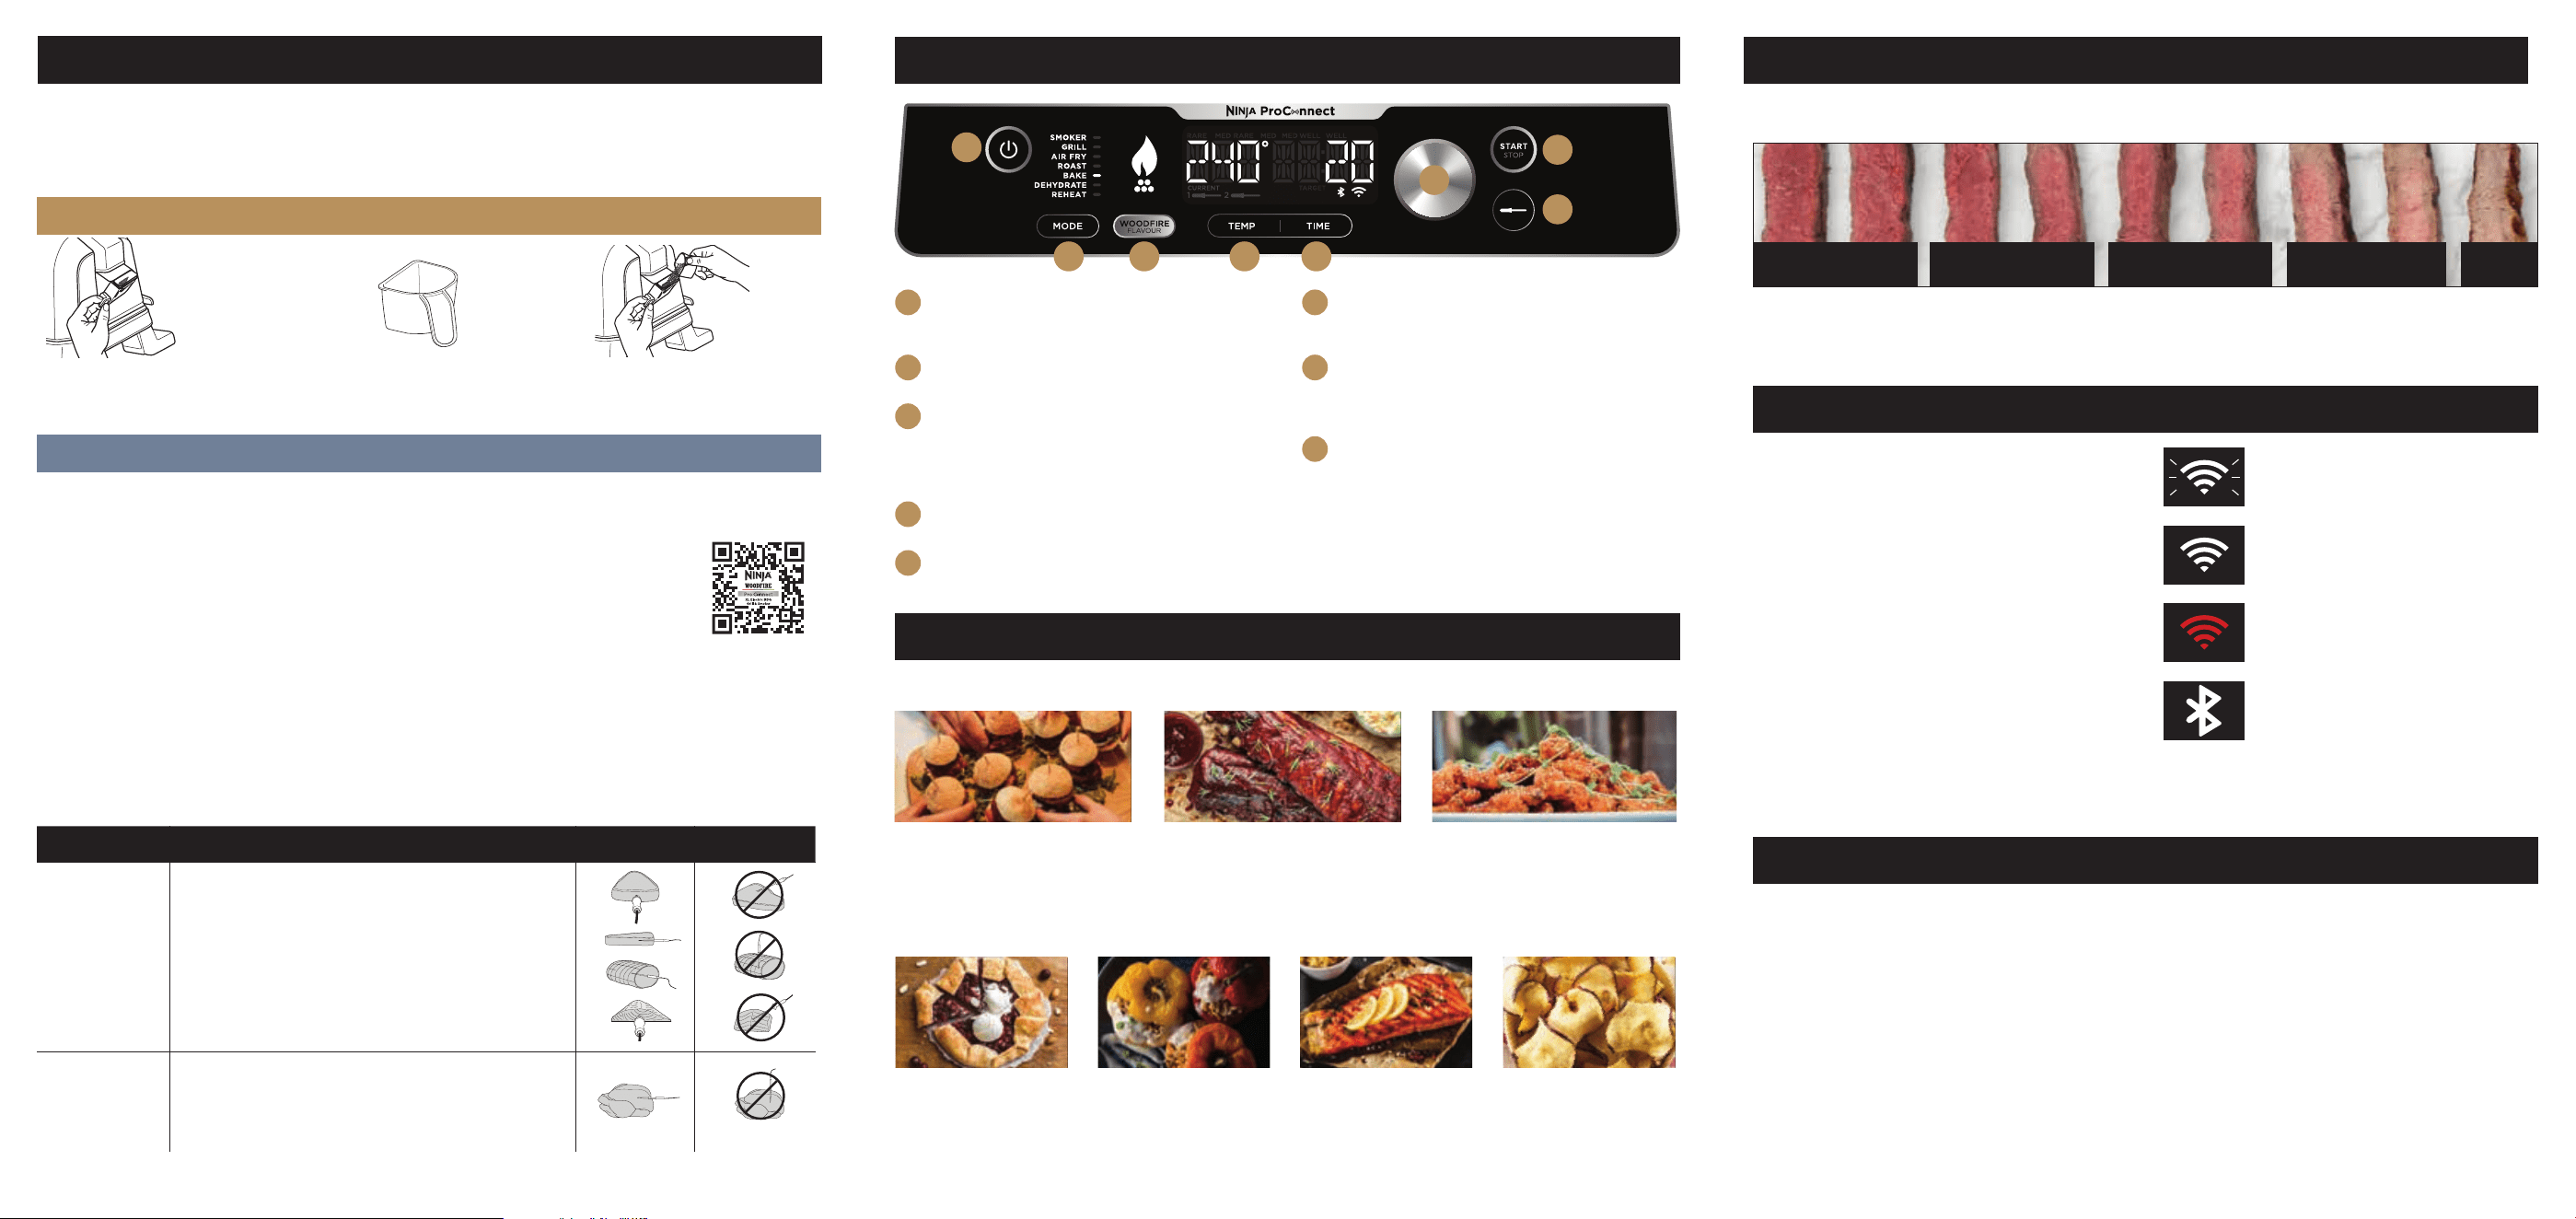
NINJA BEEF COOKING GUIDE
“Add Food”
• The unit has finished preheating. Add ingredients.
“Shut Lid”
• Close the lid to allow the selected function to
start.
“Add Grill”
• Install the grill plate, then close the lid and press
the Start/Stop button to begin.
“CLD”
• Cold smoking is used to provide smoke flavour
only—it is not for cooking. See page 13 of the
instructions for more information.
What does OTA mean?
• An update is being sent to your grill. Do not
unplug during this process. Wait for OTA to
complete before use.
“E”
• The unit is not functioning properly. Contact
Customer Service at 0800 862 0453.
FLASHING OR SOLID RED WI-FI ICON
Pairing has failed. Try pairing phone
and grill again.
SOLID WHITE BLUETOOTH ICON
Phone and grill are successfully paired
via Bluetooth at initial connection. This
icon will then disappear on the grill,
and the app will display your Bluetooth
connection status.
SOLID WHITE WI-FI ICON
Your phone and grill are successfully
paired.
FLASHING WHITE WI-FI ICON
Pairing is in progress.
2 Restart your phone.
• Turn o your phone. Wait a few minutes, then
turn it back on and reconnect to Wi-Fi.
3 Reboot your grill.
• Make sure the grill is powered ON. Press the
power button to turn the grill OFF. Unplug the
grill from the socket, then plug it back in and
reset the RCD, flip switch on the back of the unit
and then turn it ON using power button on the
control panel.
4 Reboot your router.
• Unplug the router cable for 30 seconds, then
plug it back in. Allow several minutes for your
router to reboot completely.
1 Pull smoker box open and
make sure removable pellet
box is installed.
2 Fill pellet scoop to the top with
Ninja Woodfire Pellets.
3 Pour pellets into the smoker
box until filled to the top. The
self-igniting smoker box needs
only 1scoop of pellets.
IF USING NINJA WOODFIRE TECHNOLOGY:
IF USING THE SMART PROBE:
FOOD TYPE: PLACEMENT CORRECT INCORRECT
Steaks
Pork chops
Lamb chops
Chicken breasts
Burgers
Tenderloins
Fish fillets
• Insert probe horizontally into the centre of the thickest
part of the meat.
• Make sure the probe is close to (but not touching) the
bone and away from any fat or gristle.
• Make sure the tip of the probe is inserted straight into
the centre of the meat, not angled toward the bottom
or top.
NOTE: The thickest part of the fillet may not be the
centre. For best results, the tip of the probe must be in
the thickest part of the meat.
Whole chicken • Insert probe horizontally into the thickest part of the
breast, parallel to (but not touching) the bone.
• Make sure the tip reaches the centre of the thickest
part of the breast and doesn’t go all the way through
the breast into the cavity.
FOR FURTHER PROBE INSTRUCTIONS, REFER TO THE INSTRUCTIONS OR NINJA WOODFIRE PRO CONNECT APP.
DO NOT use the probe with frozen protein or cuts of meat thinner than 1.5cm.
I_OG700Series_Parts_PelletScoop.eps
For complete probe instructions, see your Ninja Instruction Booklet.
Everyone's idea of cook level diers. This guide shows you
what you can expect from each of our preset beef settings.
RARE
WELLMEDIUM WELL
MEDIUM
MEDIUM RARE
1
2 3 5 74 6 8 9
NOTE: Beef Cooking Guide is based on a sirloin steak.
Using dierent cuts of steak and dierent sizes can alter the outcome.
STEP 1
• Select cooking function, and press the WOODFIRE FLAVOUR button, if desired.
• Plug probe into the top socket labeled “1” on the left side of the control panel.
• If using second probe, plug it into the bottom socket labeled “2”. To enhance your cooking
experience, you can buy a second probe by scanning the QR code or visiting ninjakitchen.co.uk
STEP 2
•
Press Probe button. Probe
1 icon will flash, indicating that the probe is ready to program.
• Turn dial clockwise to select a preset protein, or select manual to set the temperature yourself.
Press the dial to confirm your selection.
• Turn the dial clockwise to select a cook level, or to set the temperature manually. Press to confirm.
• If using a second probe, press Probe button again. Probe 2 icon will flash. Repeat the previous
steps to program the second probe.
STEP 3
• Press the START/STOP button to begin preheating.
DID YOU KNOW? PROTEIN KEEPS COOKING WHEN YOU REMOVE IT FROM THE GRILL.
• Carry-over cooking is when food retains heat and continues to cook after being removed from the
source of heat.
• After removing your protein from the grill, allow it to carry-over cook and rest until it reaches the
final internal temperature (about 3–5 minutes).
SCAN BELOW
to purchase additional
SMART PROBE