Fensterabdichtung
Window Seal
Calfeutrage fenêtre
Guarnizione per finestra
Cubierta de ventana
www.klarstein.com
10047165


Sehr geehrter Kunde,
wir gratulieren Ihnen zum Erwerb Ihres Gerätes. Lesen Sie
die folgenden Hinweise sorgfältig durch und befolgen Sie
diese, um möglichen Schäden vorzubeugen. Für Schäden,
die durch Missachtung der Hinweise und unsachgemäßen
Gebrauch entstehen, übernehmen wir keine Haftung.
Scannen Sie den folgenden QR-Code, um Zugriff auf die
aktuellste Bedienungsanleitung und weitere Informationen
rund um das Produkt zu erhalten:
Dear Customer,
Congratulations on purchasing this device. Please read the
following instructions carefully and follow them to prevent
possible damages. We assume no liability for damage
caused by disregard of the instructions and improper use.
Scan the QR code to get access to the latest user manual and
more product information.
Estimado cliente,
Le felicitamos por la adquisición de este producto. Lea
atentamente las siguientes instrucciones y sígalas para evitar
posibles daños. No asumimos ninguna responsabilidad
por los daños causados por el incumplimiento de las
instrucciones y el uso inadecuado. Escanee el siguiente
código QR para obtener acceso a la última guía del usuario
y más información sobre el producto.
Chère cliente, cher client,
Toutes nos félicitations pour l’acquisition de ce nouvel
appareil. Veuillez lire attentivement et respecter les
instructions de ce mode d’emploi an d’éviter d’éventuels
dommages. Nous ne saurions être tenus pour responsables
des dommages dus au non-respect des consignes et à
la mauvaise utilisation de l’appareil. Scannez le QR-Code
pour obtenir la dernière version du mode d‘emploi et des
informations supplémentaires concernant le produit.
Gentile cliente,
La ringraziamo per aver acquistato il dispositivo. La
preghiamo di leggere attentamente le seguenti istruzioni
per l’uso e di seguirle per evitare possibili danni. Non ci
assumiamo alcuna responsabilità per danni scaturiti da una
mancata osservazione delle avvertenze di sicurezza e da
un uso improprio del dispositivo. Scansionare il codice QR
seguente, per accedere al manuale d’uso più attuale e per
ricevere informazioni sul prodotto.
4
DE
BEFESTIGUNG DER FENSTERDICHTUNG
Befestigung der Dichtung für seitlich zu öffnende Fenster und Dachfenster
Die Montage der Fensterdichtung ist einfach. Sie können die Dichtung an ein
gekipptes Fenster, ein seitlich geöffnetes Fenster oder ein Dachfenster anbringen.
Wir haben hier zur Demonstration ein seitlich geöffnetes Fenster gewählt. Es
eignet sich besonders gut, weil sich der Abluftschlauch seitlich weit nach unten
anbringen lässt.
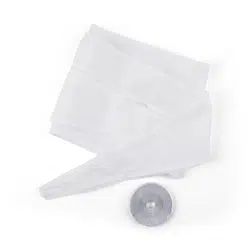
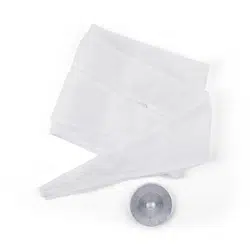
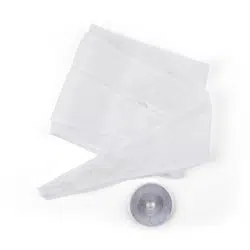
Das Klettband wird an den drei offenen Seiten angebracht. Die Seite, an der
das Fenster am Rahmen anliegt, wird ausgelassen. Den Fensterrahmen vorher
reinigen und trocknen, damit das Band haftet.
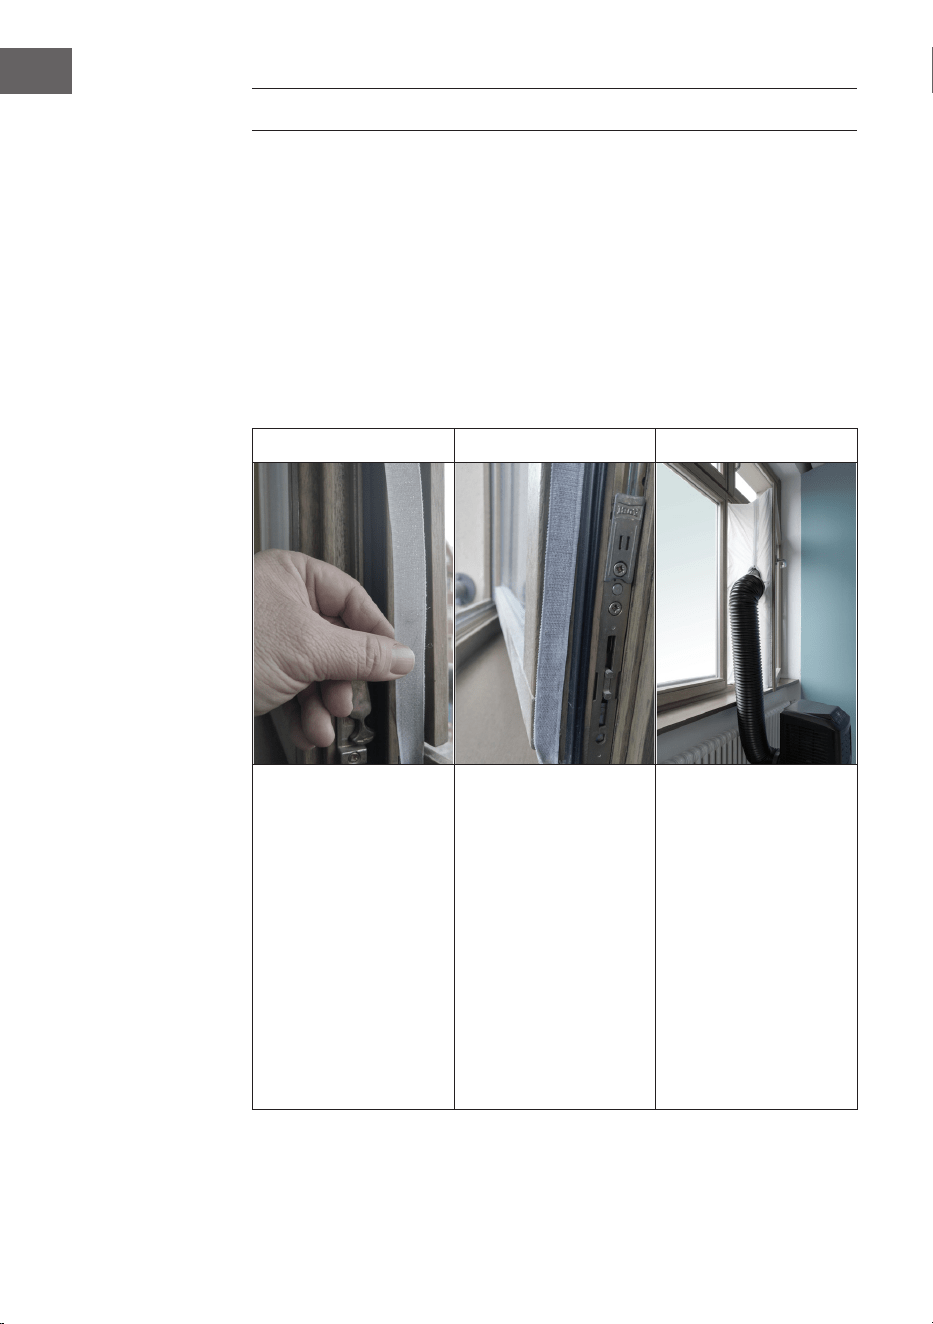
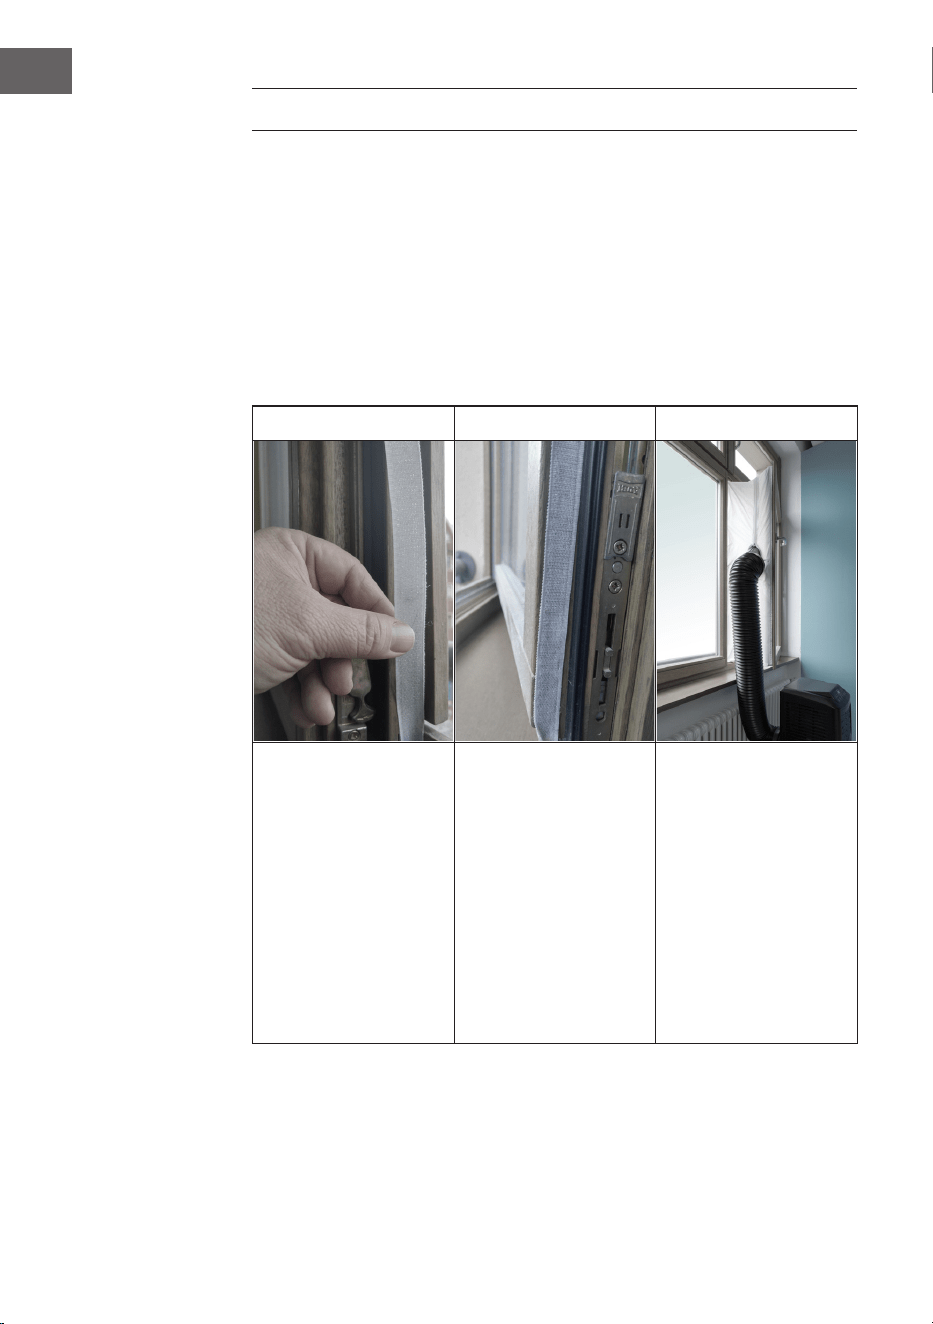
1 2 3
Kleben Sie das Klettband
links, oben und unten
am Fensterrahmen an.
Am besten schneiden
Sie für jede Seite einen
Streifen zu.
Kleben Sie das Klettband
nun auch an die
Innenseite des Fensters.
Kletten Sie die
Fensterdichtung
an das Klettband
im Fensterrahmen
(oben beginnen) und
anschließend an das
Klettband im Fenster.
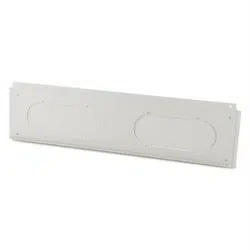
Führen Sie den
Abluftschlauch des
Klimagerätes durch das
Loch, welches Sie durch
die Reißverschlüsse in
der Höhe und Größe
anpassen können.

5
EN
FIXING THE WINDOW SEAL
Fixing the seal for side-opening windows and roof windows
The installation of the window seal is simple. You can attach the seal to a tilted
window, a side-opened window or a roof window. We have chosen a side-opened
window for demonstration purposes. It is particularly suitable because the exhaust
hose can be attached to the side far down.
The Velcro tape is attached to the three open sides. The side where the window is
against the frame is left out. Clean and dry the window frame beforehand so that
the tape adheres.
1 2 3
Attach the Velcro tape on
the left, on the top and
on the bottom of the
window frame.
We recommend that you
cut the tape into strips
for each window side
rst.
Now attach the Velcro
tape to the inner window
sides.
Stick the window sealing
to the Velcro strips on
the window frame rst
(starting with the top),
then on the Velcro strips
on the window.
Push the exhaust
air tube of the air
conditioner through
the hole, which can be
adjusted in height and
size.
6
ES
FIJACIÓN DE LA JUNTA DE LA VENTANA
Fijación de la junta para ventanas de apertura lateral o de techo
El montaje de la junta para ventana es sencillo. Puede montarla en una ventana
de corredera o en una ventana abatible o una ventana de techo. Para la
demostración, hemos seleccionado una ventana de corredera. Es especialmente
apropiada para instalar el conducto de evacuación en una posición inferior.
El velcro se monta en tres de los lados abiertos. Se deja libre el lado que da al
marco de la ventana. Limpiar y secar previamente el marco de la ventana para que
el velcro se adhiera.
1 2 3
Pegue el velcro a la
izquierda, en la parte
superior e inferior del
marco de la ventana.
Se recomienda cortar el
velcro en tiras para cada
lado.
Pegue el velcro también
en el lado interior de la
ventana.
Pegue la junta para la
ventana en el velcro del
marco de la ventana
(comenzar por arriba) y
nalmente al velcro de la
ventana.
Introduzca el conducto
de evacuación del
climatizador en el
oricio, cuyo ancho y
alto puede ajustar con el
cierre de cremallera.

7
FR
INSTALLATION DU JOINT DE FENÊTRE
Fixation du joint pour fenêtres à ouverture latérale et puits de lumière
L‘installation du joint de fenêtre est simple. Vous pouvez xer le joint à une fenêtre
inclinée, à une fenêtre coulissante ou à une lucarne. Nous avons choisi une fenêtre
coulissante à des ns de démonstration. Ce type de fenêtre convient spécialement
car le tuyau d‘échappement peut être xé latéralement très bas.
La bande adhésive se xe aux trois côtés ouverts. Le côté de la fenêtre qui repose
contre le cadre est omis. Nettoyez et séchez d‘abord le cadre de la fenêtre pour
permettre à la bande d‘adhérer.
1 2 3
Collez la bande adhésive
à gauche, en haut et
en bas du cadre de la
fenêtre.
Il est préférable de
couper une bande pour
chaque côté.
Collez maintenant
la bande adhésive à
l‘intérieur de la fenêtre
également.
Fixez le joint de fenêtre à
la bande adhésive dans
le cadre de la fenêtre
(commencez en haut),
puis à la bande adhésive
dans la fenêtre.
Faites passer le
tuyau d’air venant du
climatiseur par le trou
que vous pouvez régler
en hauteur et en taille à
l’aide des fermetures à
glissière.

8
IT
INSTALLARE LA GUARNIZIONE
Fissaggio della guarnizione per nestre ad apertura laterale o da sotto
Installare la guarnizione per la nestra è semplice. E´ possibile installare la
guarnizione ad una nestra, ad apertura inclinata, ad una nestra ad apertura
laterale oppure ad un lucernario. La dimostrazione in basso è eseguita con una
nestra ad apertura laterale. Questo tipo di nestra è particolarmente adatto
poiché si può installare il tubo di scarico in basso.
Il nastro di velcro adesivo deve essere installato su tre lati. Lasciare libero il lato
nel quale la nestra è connessa al telaio. Il telaio della nestra deve essere prima
pulito ed asciugato anché il nastro possa incollarsi.
1 2 3
Incollare il nastro di
velcro adesivo a sinistra,
a destra e nella parte
superiore del telaio della
nestra.
Si consiglia di tagliare a
strisce il nastro di velcro
adesivo per ogni lato
della nestra.
Incollare il nastro di
velcro adesivo anche
nella parte interna della
nestra.
Fissare la guarnizione
alle strisce in velcro
poste sul telaio (iniziare
in alto al centro) e poi
alle strisce in velcro
poste sulla nestra.
Inserire il tubo di scarico
del climatizzatore
nell´apertura, la quale è
regolabile in altezza e in
grandezza attraverso la
cerniera.

HERSTELLER
Manufacturer | Fabricante | Fabricant | Produttore
Chal-Tec GmbH, Mühlenstraße 25, 10243 Berlin, Deutschland (Germany).
IMPORTEUR FÜR GROSSBRITANNIEN
Importer for Great Britain | Importador para Gran Bretaña | Importateur
pour la Grande Bretagne | Importatore per la Gran Bretagna
Berlin Brands Group UK Limited
35 Ballards Lane
London, N3 1XW
United KingdomUnited Kingdom
Contact: [email protected]