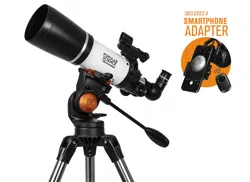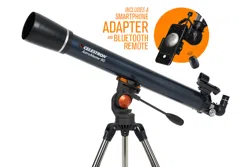
ENGLISH | 1
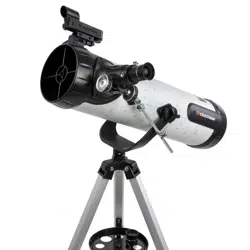
Unpack your telescope and verify that all parts
are present. Your 114AZ-SR Telescope includes:
a telescope tube, a tripod and mount head,
an accessory tray, two eyepieces, a red-dot
fi nderscope, and a smartphone adapter.
Attach the accessory tray by placing the threaded
post on the bottom of the tray into the threaded
hole in the center of the leg brace. Turn the entire
accessory tray clockwise until it is fully seated. If
necessary, you may rotate the tray counterclockwise
slightly so that the eyepiece holders in the tray are
not blocked by the leg brace arms.
While holding the telescope tube above the
altazimuth mount, insert the end of the long silver
altitude slow motion rod on the left side of the
optical tube into the rod guide on the left fork arm of
the mount.
Tighten the silver locking knob on the rod guide,
then thread the two telescope mounting hand bolts
through the fork arms and into the two altitude hubs
on the telescope tube. They need to be snug, but do
not overtighten.
To set up the tripod, spread the legs outward until
they are fully extended and push down center leg
brace.
ITEM #22411
To extend the legs of the tripod, turn the locking
knob on each leg section counterclockwise to
loosen. Then, pull the lower leg section all the
way out and retighten the locking knob to secure
the leg in place.
Lower the telescope tube until the two altitude hubs
on either side of the tube slide into the notches at
the top of the fork arms.
ENGLISH
Remove the cap from the focuser and make sure the
two thumbscrews do not protrude into the opening.
Insert the barrel of the 26mm eyepiece into the
focuser and tighten the thumbscrews to secure it
in place.
Locate the fi nderscope and loosen the two Phillips
head screws on the right side of the fi nderscope.
Slide the fi nderscope over the bracket on the
telescope tube and tighten the Phillips head screws
to secure the fi nderscope to the rail.
Remove the large lens cap from the front of the
telescope. To observe, look through the eyepiece
as shown above. Focus the image by turning the
focusing knobs below the focuser.
For additional magnifi cation, you can swap out the
26mm eyepiece for the 9.7mm eyepiece. This will
increase your magnifi cation from 23x to 62x.
To move the scope right and left, hold a tripod
leg with one hand while the other hand uses the
panning handle to move the scope as required. The
azimuth locking screw can be loosened or tightened
to adjust the tension to your preference.
To move the scope up and down over large
distances, loosen the silver locking knob on the
rod guide. Use one hand to manually move the
scope to the desired angle and secure it in place
by tightening the silver locking screw.
To move the scope up and down in fine
increments, keep the locking knob on the rod
guide tightened and simply rotate the silver
knurled knob on the altitude slow motion rod.
This allows for fine adjustment when centering
a target or when tracking a celestial target as it
appears to drift across the night sky.
NOTE: The slow motion rod has a limited range of motion. If you hit one of the
stops, you can reset the rod by loosening the locking knob on the rod
guide and then turning the slow motion knob until it is in the center of its
travel. Tighten the locking knob and resume normal use.
Quick Setup Guide
For additional magnifi cation, you can swap out the
26mm eyepiece for the 9.7mm eyepiece. This will
SOLAR WARNING: Never attempt to view the Sun
through any telescope without a proper solar fi lter.
NEED ASSISTANCE? Contact Celestron Technical Support
celestron.com/pages/technical-support
EDITION
114AZ-SR114AZ-SR
telescopetelescope
114MM SMARTPHONE READY REFLECTOR
Accessing the
fi nderscope battery
The StarPointer fi nderscope uses a long-life 3V
lithium battery (#CR2032), which is located on
the StarPointer’s top surface. If you plan on not
using your telescope for an extended period, we
recommend removing the battery for storage.
If you need to remove or replace the battery,
follow these instructions:
1. Using a Phillips-head screwdriver, loosen the
battery cover screw and fl ip the cover open.
11
2. If you are replacing the battery, install the new
one with the (+) terminal facing outward.
22
3. Place the cover back onto the fi nderscope
and retighten the screw with the Phillips-
head screwdriver.
33
1
6
12
11
2
7
13
4
9
15
3
8
14
5
10
ENGLISH | 2
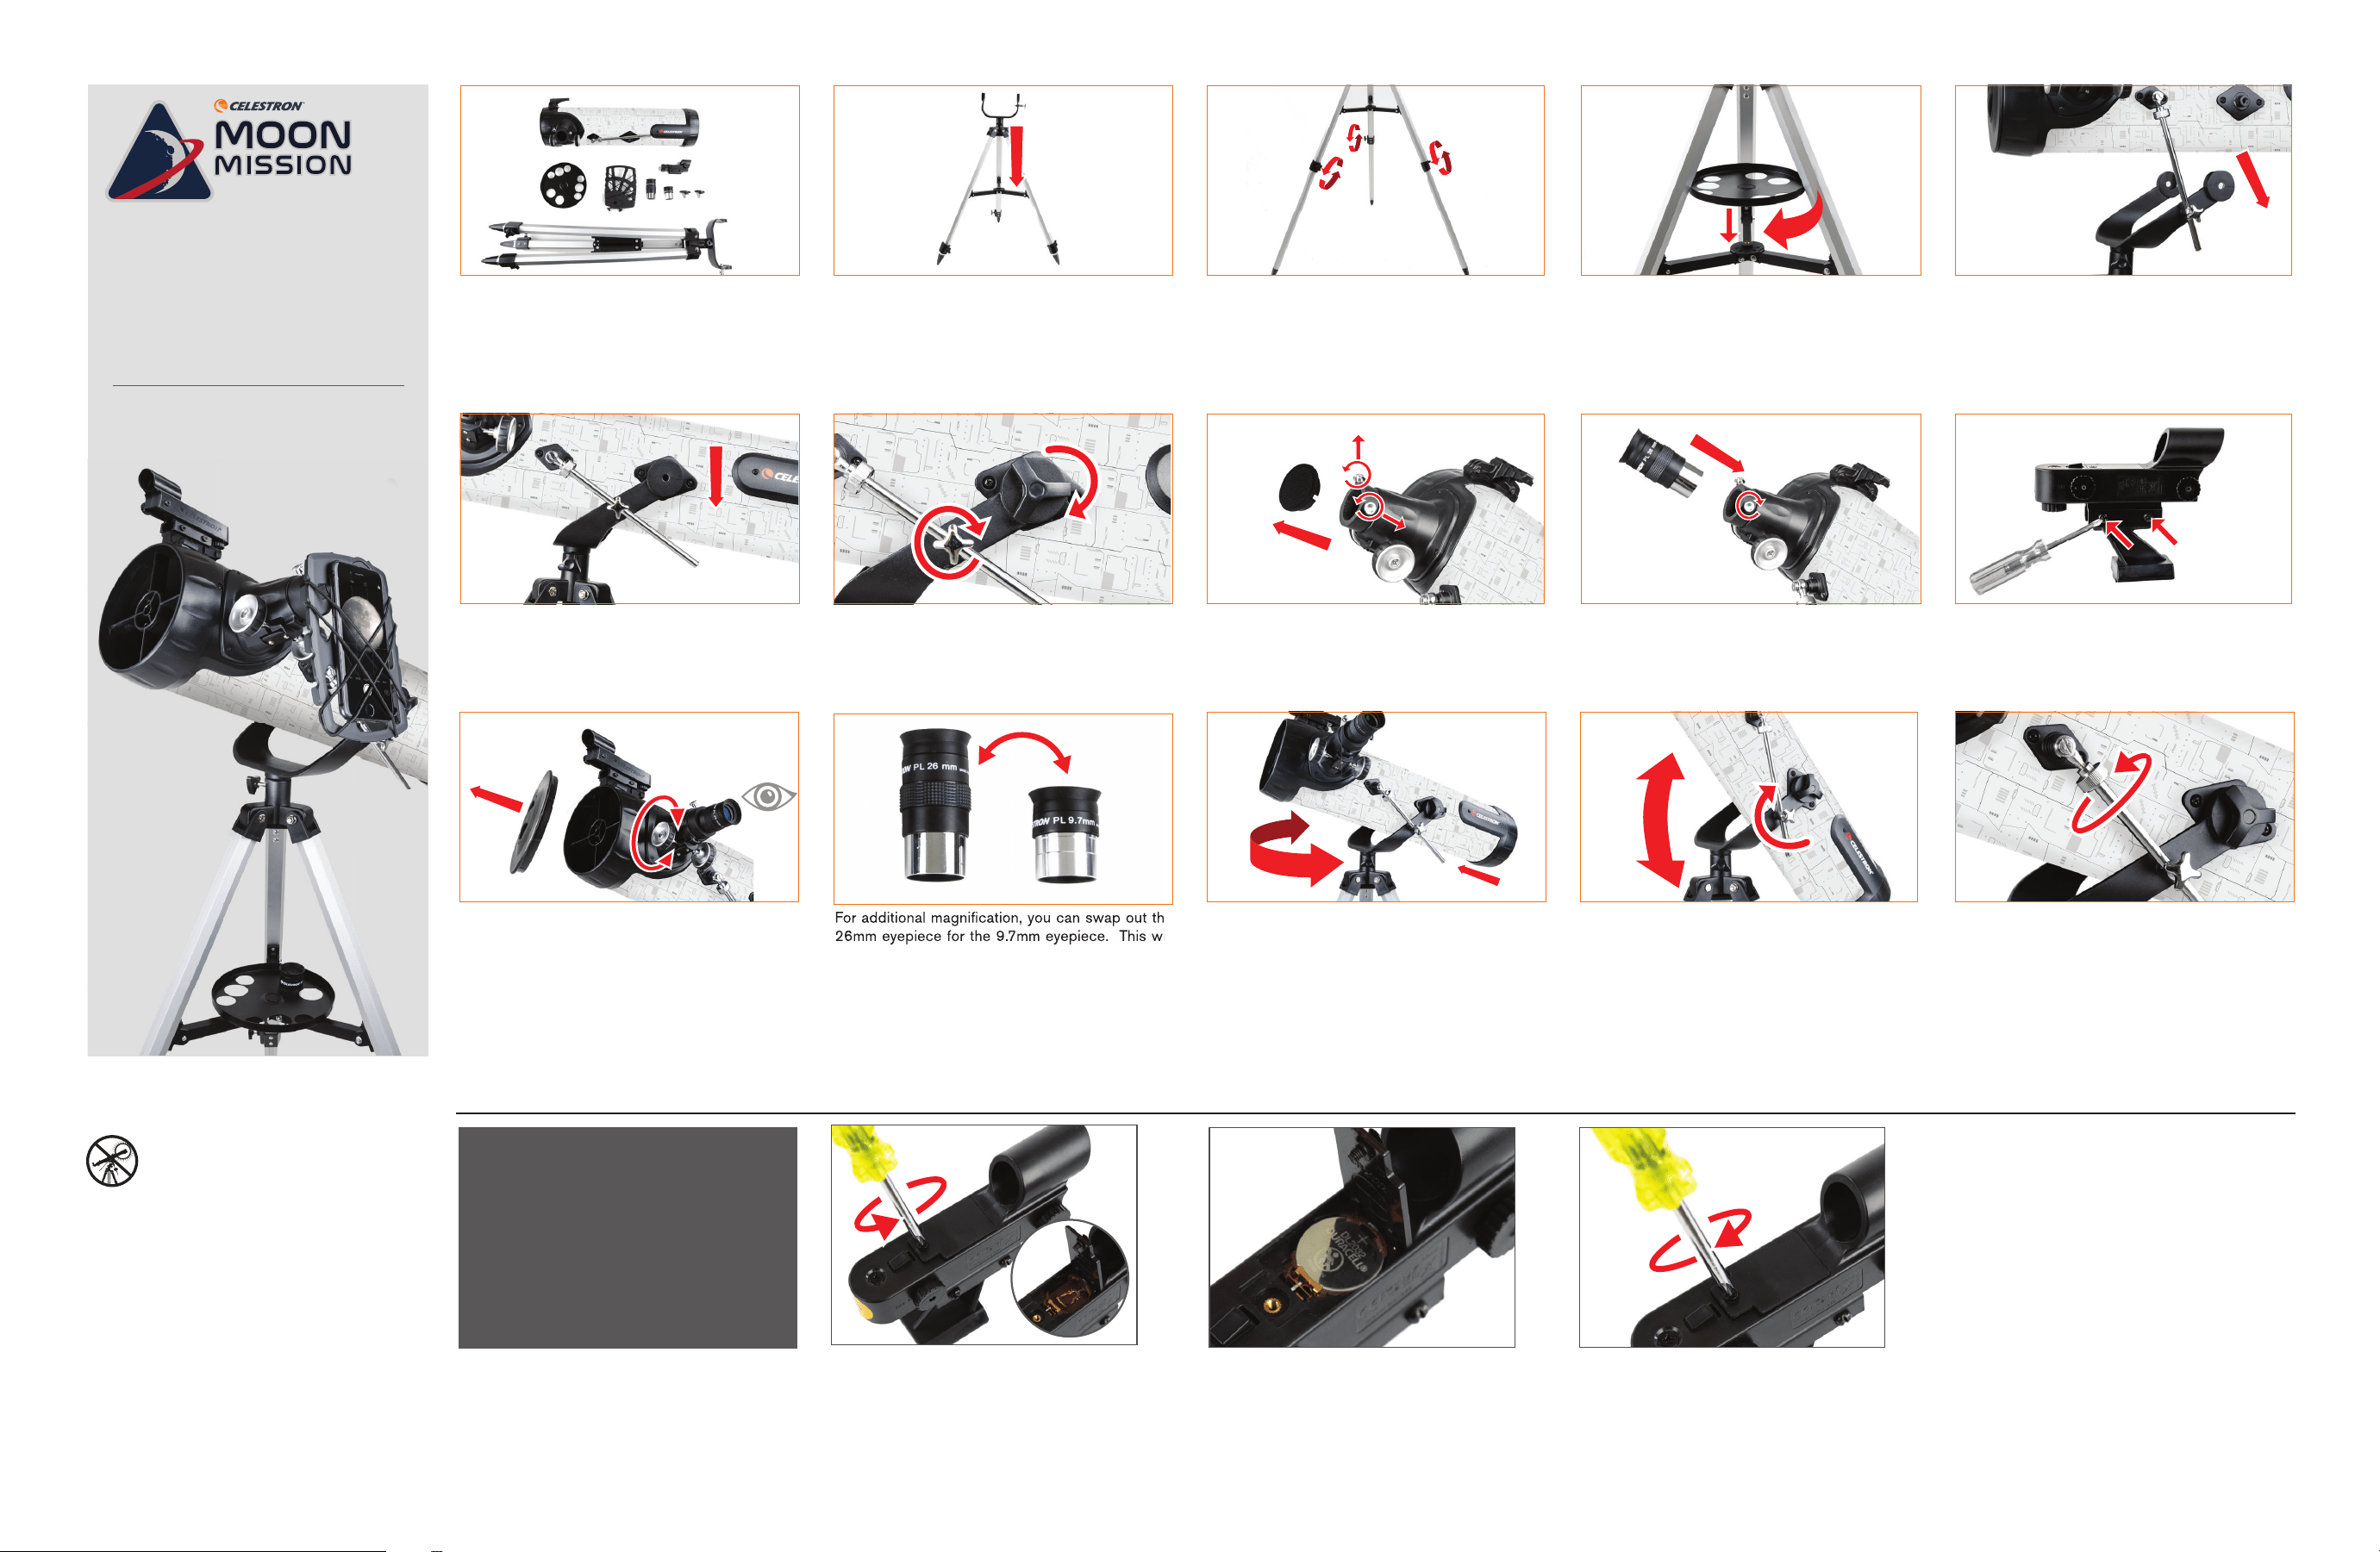
Lift the bungee straps and slide your smartphone
between the straps and the adapter body so that the
camera is looking through the camera opening. The
straps should provide plenty of tension to hold the
device securely against the adapter.
Now take the adapter with the phone and eyepiece
attached and insert the chrome barrel of the eyepiece
into the focuser of the telescope. Secure it in place
by tightening the thumbscrews on the focuser.
Loosen the thumbscrews on the eyepiece holder
on the bottom side of the adapter. Place the black
portion of the eyepiece into the eyepiece holder and
tighten the screws to secure the eyepiece in place.
NOTE: You may have to remove the rubber eyecup
from the eyepiece.
Activate the camera app on your smartphone and
adjust the focus, just as you would with an eyepiece,
using the image that appears on your phone’s screen.
NOTE: Make sure you turn the phone’s fl ash is
turned off.
Your First
Night Out
Using the
Smartphone
Adapter
The best and easiest target for you to view fi rst is
the Moon. Try observing the Moon at different points
in its phase cycle. The best time to view the Moon
is from two days after a New Moon up to a few days
before a Full Moon. During this period, you will be
able to see the most detail in the craters and lunar
mountain ranges.
With the Moon visible in the sky, set up your
telescope as described above with the 26mm
eyepiece installed.
Move the telescope so that it is roughly pointing
toward the Moon.
Look through the fi nderscope and locate the red
dot. Continue moving the telescope until the red dot
appears over the Moon.
Look through the telescope’s 26mm eyepiece.
Gently turn the focus knobs to adjust the sharpness
of the image.
CONGRATULATIONS! YOU HAVE NOW
OBSERVED YOUR FIRST CELESTIAL OBJECT!
To get a closer view of the Moon, loosen the
thumbscrews on the focuser and remove the 26mm
eyepiece. Replace it with your 9.7mm eyepiece and
tighten the thumbscrews to secure it in place. The
9.7mm eyepiece will give you signifi cantly more
magnifi cation, making the Moon appear much larger.
NOTE: You may need to adjust the focus knobs when
you change eyepieces, so make sure you are
getting the sharpest image possible.
You can view many other celestial objects, such as
planets, star clusters and nebulae using this same
technique if you know where to fi nd them in the night
sky. Celestron SkyPortal Powered by SkySafari™
(available for iOS and Android) can help you locate
and identify a wide array of celestial objects quickly
and easily.
©2024 Celestron. • Celestron and Symbol are trademarks of
Celestron, LLC. • All rights reserved. • Celestron.com
2835 Columbia Street, Torrance, CA 90503 USA
This product is designed and intended for use by those 14 years of
age and older.
(Products or instructions may change without notice or obligation.)
Made in China • 05-24
celestron.com/pages/warranty
FCC NOTICE: This device complies with Part 15 of the FCC Rules. Operation is subject to
the following two conditions: (1) This device may not cause harmful interference, and (2)
this device must accept any interference received, including interference that may cause
undesired operation.
LOOK THROUGH FINDERSCOPE
Once the object is centered in your 26mm eyepiece,
look through the fi nderscope and locate the red dot.
CHOOSE A TARGET
Take the telescope outside during the day and fi nd an
easily recognizable object like a streetlight, license
plate or sign. The object should be as far away as
possible, but at least a quarter mile away.
YOUR FINDERSCOPE IS NOW ALIGNED!
It should not require realignment unless it is bumped
or dropped.
CENTER THE TARGET IN THE EYEPIECE
Look through the telescope using your lower power
26mm eyepiece. Move the telescope until the object
you chose lies in the center of the view. If the image
is blurry, gently turn the focus knobs on either side of
the telescope until it comes into sharp focus.
2 4
3 5
Aligning the
Finderscope
The fi nder is one of the most important parts of your
telescope. It helps you locate objects and center
them in the eyepiece. The fi rst time you assemble
your telescope, you need to align the fi nder to the
telescope’s main optics. It’s best to do this during
the day*.
*SOLAR WARNING! Never attempt to view the
Sun through any telescope without a proper solar
fi lter!
FINDERSCOPE BATTERY ACTIVATION
Remove the small plastic tab under the battery cover
by pulling it straight out. For longer battery life, be
sure to turn off the fi nderscope when it is not in use.
Low Power Eyepiece
Focus Knobs
ADJUST THE FINDERSCOPE
Without moving the telescope, use the two
adjustment knobs on the fi nderscope to move the red
dot until it appears over the object you are observing
in the telescope’s 26mm eyepiece.
TIP: Try adjusting one screw at a time. Loosen one
screw by half a turn and tighten another by
the same amount to ensure the fi nderscope is
securely held in place.
Power knob
Azimuth
adjustment knob
(side-to-side)
Altitude adjustment
knob (up-and-down)
1 3
1 2 3 4 5
2 4
1