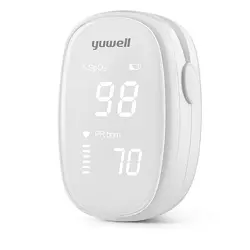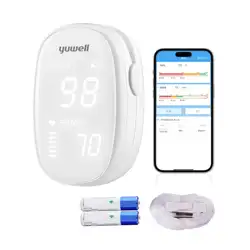
Pulse Oximeter JPD-500D
Precautions
l Do not attempt to maintain the Oximeter unless you are
professional engineers. Only professionals with maintenance
qualification are allowed to perform interior maintenance as
necessary.
l Periodically change the contact position between the Oximeter
probe and the finger for a measurement that lasts a long time.
Adjust the position of the probe before the measurement lasts
two hours, and check the integrity of skin, the blood circulation
condition of the finger as well as the position of the finger.
l This product is not applicable to the examination of newborn
babies.
l Seek for medical care in time if the measured value goes
beyond the normal range while you are sure that the instrument
does not malfunction.
l Do not directly expose your eyes to light-emitting components
of the Oximeter, as that could cause harm to your eyes.
l For details about clinical limitations and contraindications,
please carefully consult relevant medical literatures.
The following factors may cause disturbance to or affect the
accuracy of examination:
◆ This product is used in an environment involving
high-frequency devices, such as high-frequency electric knives
and CT apparatuses.
◆ The probe of the Oximeter is placed on the same body part or
limb as with blood pressure cuff arterial duct or intravenous
injection.
◆ The user suffers from hypotension, severe vascular atrophy,
severe anemia, or low oxygen.
◆ The user is in sudden cardiac arrest or shock state.
◆ The finger with nail polish or a fake fingernail may cause wrong
readings of pulse oxygen saturation.
Warnings
Warning: Do not use the Oximeter in an environment with any
inflammable gases, inflammable anesthetic, or other inflammable
substances.
Warning: Do not attempt to charge any common dry battery, as that
could cause leakage, fire disaster, or even explosion. Dispose of
exhausted batteries in accordance with environment protection
regulations.
Warning: Do not use the Oximeter in an MRI or CT environment.
Warning:Do not operate the Oximeter when it is damp with overflow or
water vapor condensation. Avoid moving the Oximeter from an
excessively-cold environment to a high-temperature moist environment.
Symbol Conventions
Symbol
Description
Type BF applied part
Caution: Please see this manual.
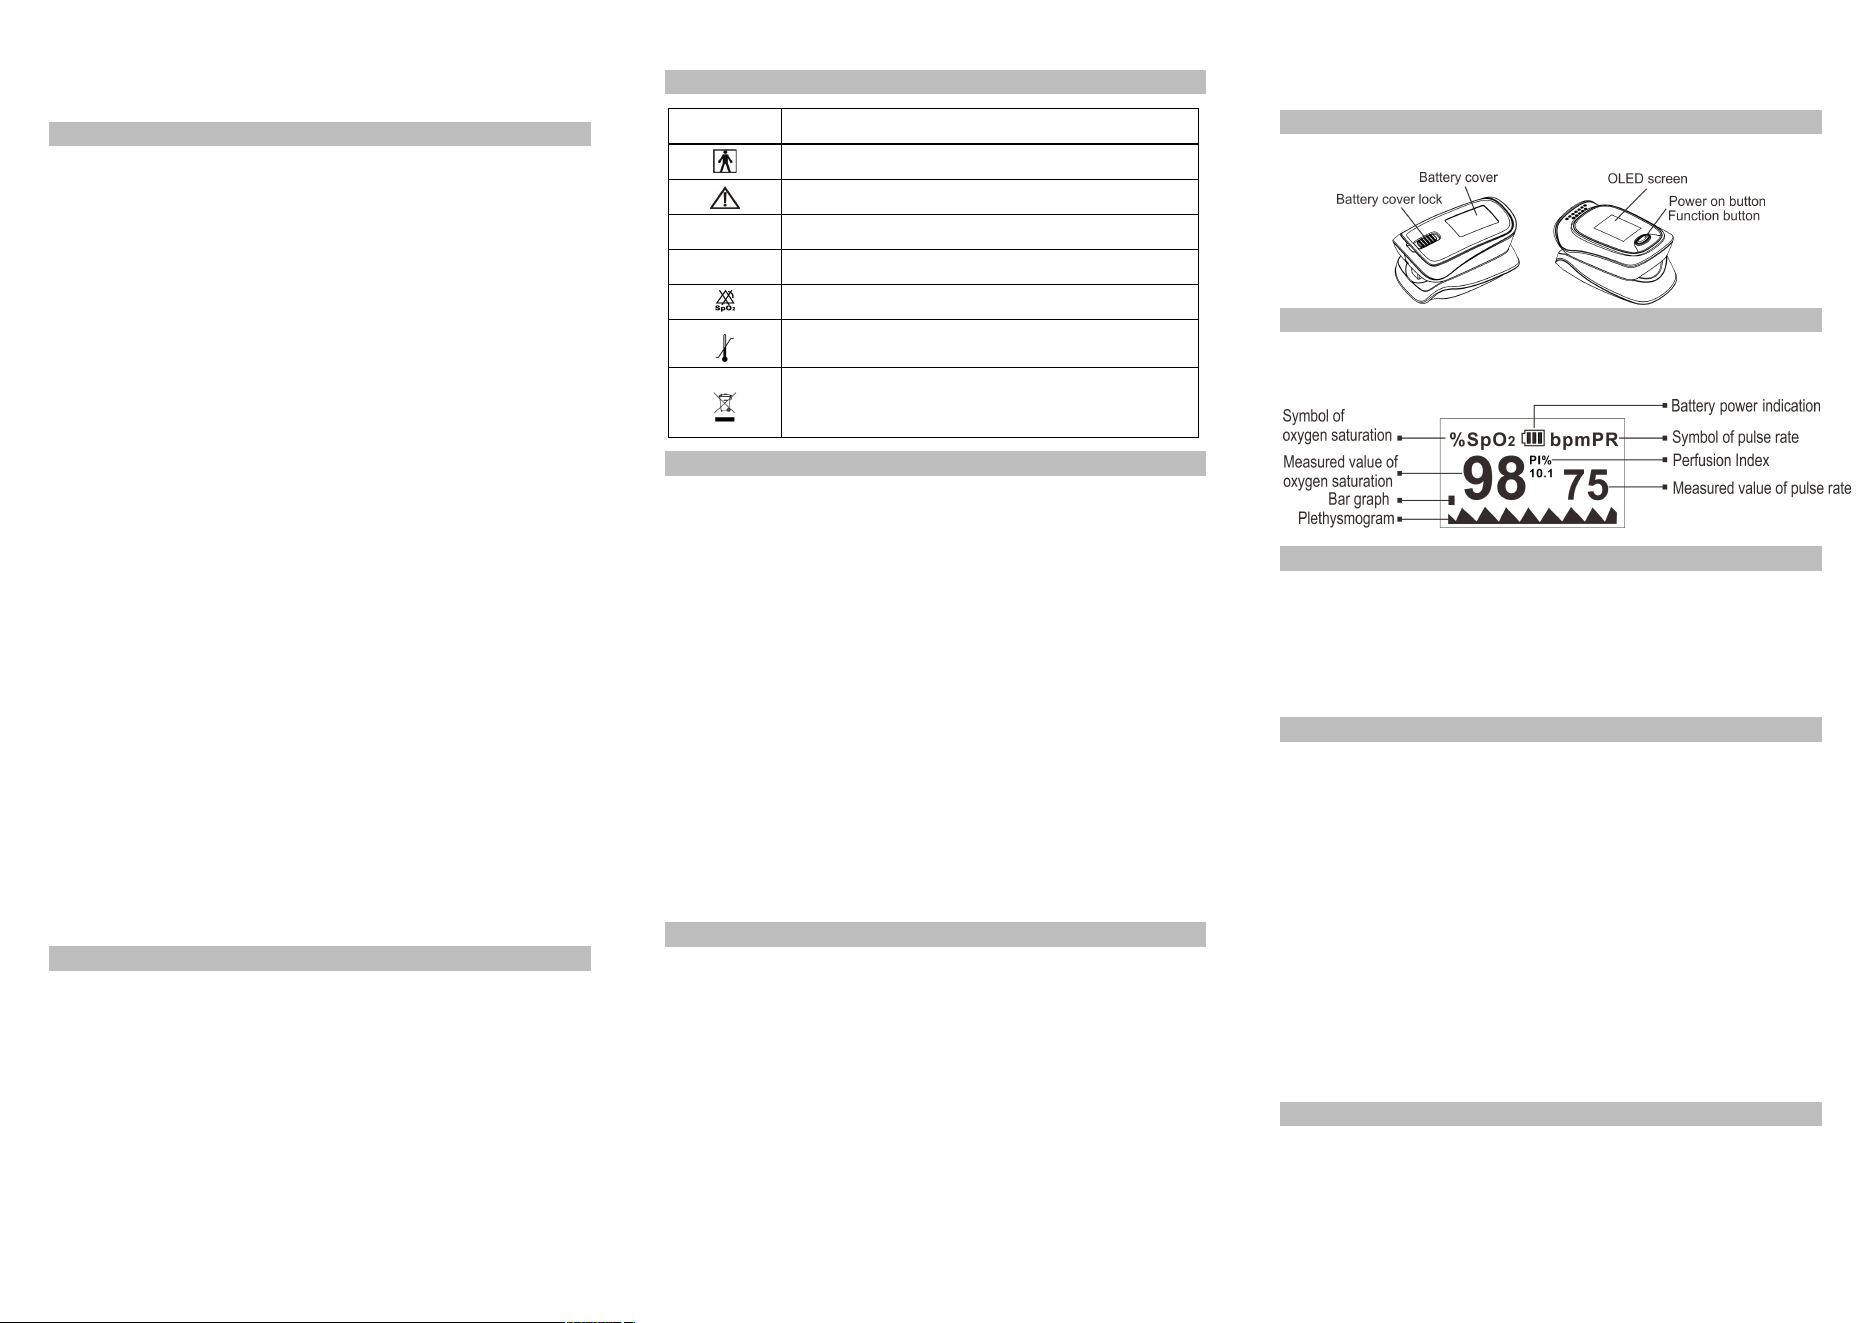
%SpO2
Symbol of oxygen saturation
bpmPR
Symbol of pulse rate
No SpO
2
alarms.
Temperature limitation
When end users abandon this product, they must
send the product to the collection place for recycling.
Overview
Oxygen saturation is the percentage of oxyhemoglobin (HbO2) that is
combined with oxygen against all combinable hemoglobin (Hb). It is an
important physiological parameter involved in respiration and circulation.
The oxygen saturation of arterial blood in a normal human body is 98%.
Oxygen saturation is an important indicator of the oxygen condition in the
human body. In general, the normal values of oxygen saturation shall not
be lower than 94%. If the measured value of oxygen saturation is lower
than 94%, an insufficient supply of oxygen is considered.
The pulse rate is the number of pulse beats per minute. Normally, the
pulse rate is consistent with the heart rate. In general, the pulse rate of
every people is 60 to 90 beats per minute.
The Perfusion Index (PI) usually reflects the limb perfusion status of an
examined patient, and shows the detection precision of the instrument as
well; that is, examination can still be performed even in the low or weak
perfusion condition.The PI of a normal human body is 3% or greater.
Working Principles, Expected Usage, and Applicable Scope
Based on full digital technology, the Finger Pulse Oximeter
non-invasively measures the actual content (oxygen saturation) of
oxyhemoglobin (HbO2) in arterial blood using the optical transmittance
method.
The Finger Pulse Oximeter measures the blood oxygen saturation and
pulse rate of a human body via finger artery. It is applicable to a wide
range of fields, such as families, hospitals (including operation rooms of
the departments of internal medicine and surgery, the department of
anesthesiology, the department of paediatrics, and intensive care rooms),
oxygen bars, social medical care institutions, and sports & health. Use
this instrument for measurement before or after sports. You are not
advised to use this instrument during sports activities. Do not use it for
continuous care for patients.
Appearance of the structure
Screen Display
The following figure shows the information display on the OLED screen
of the Oximeter in normal detection state:
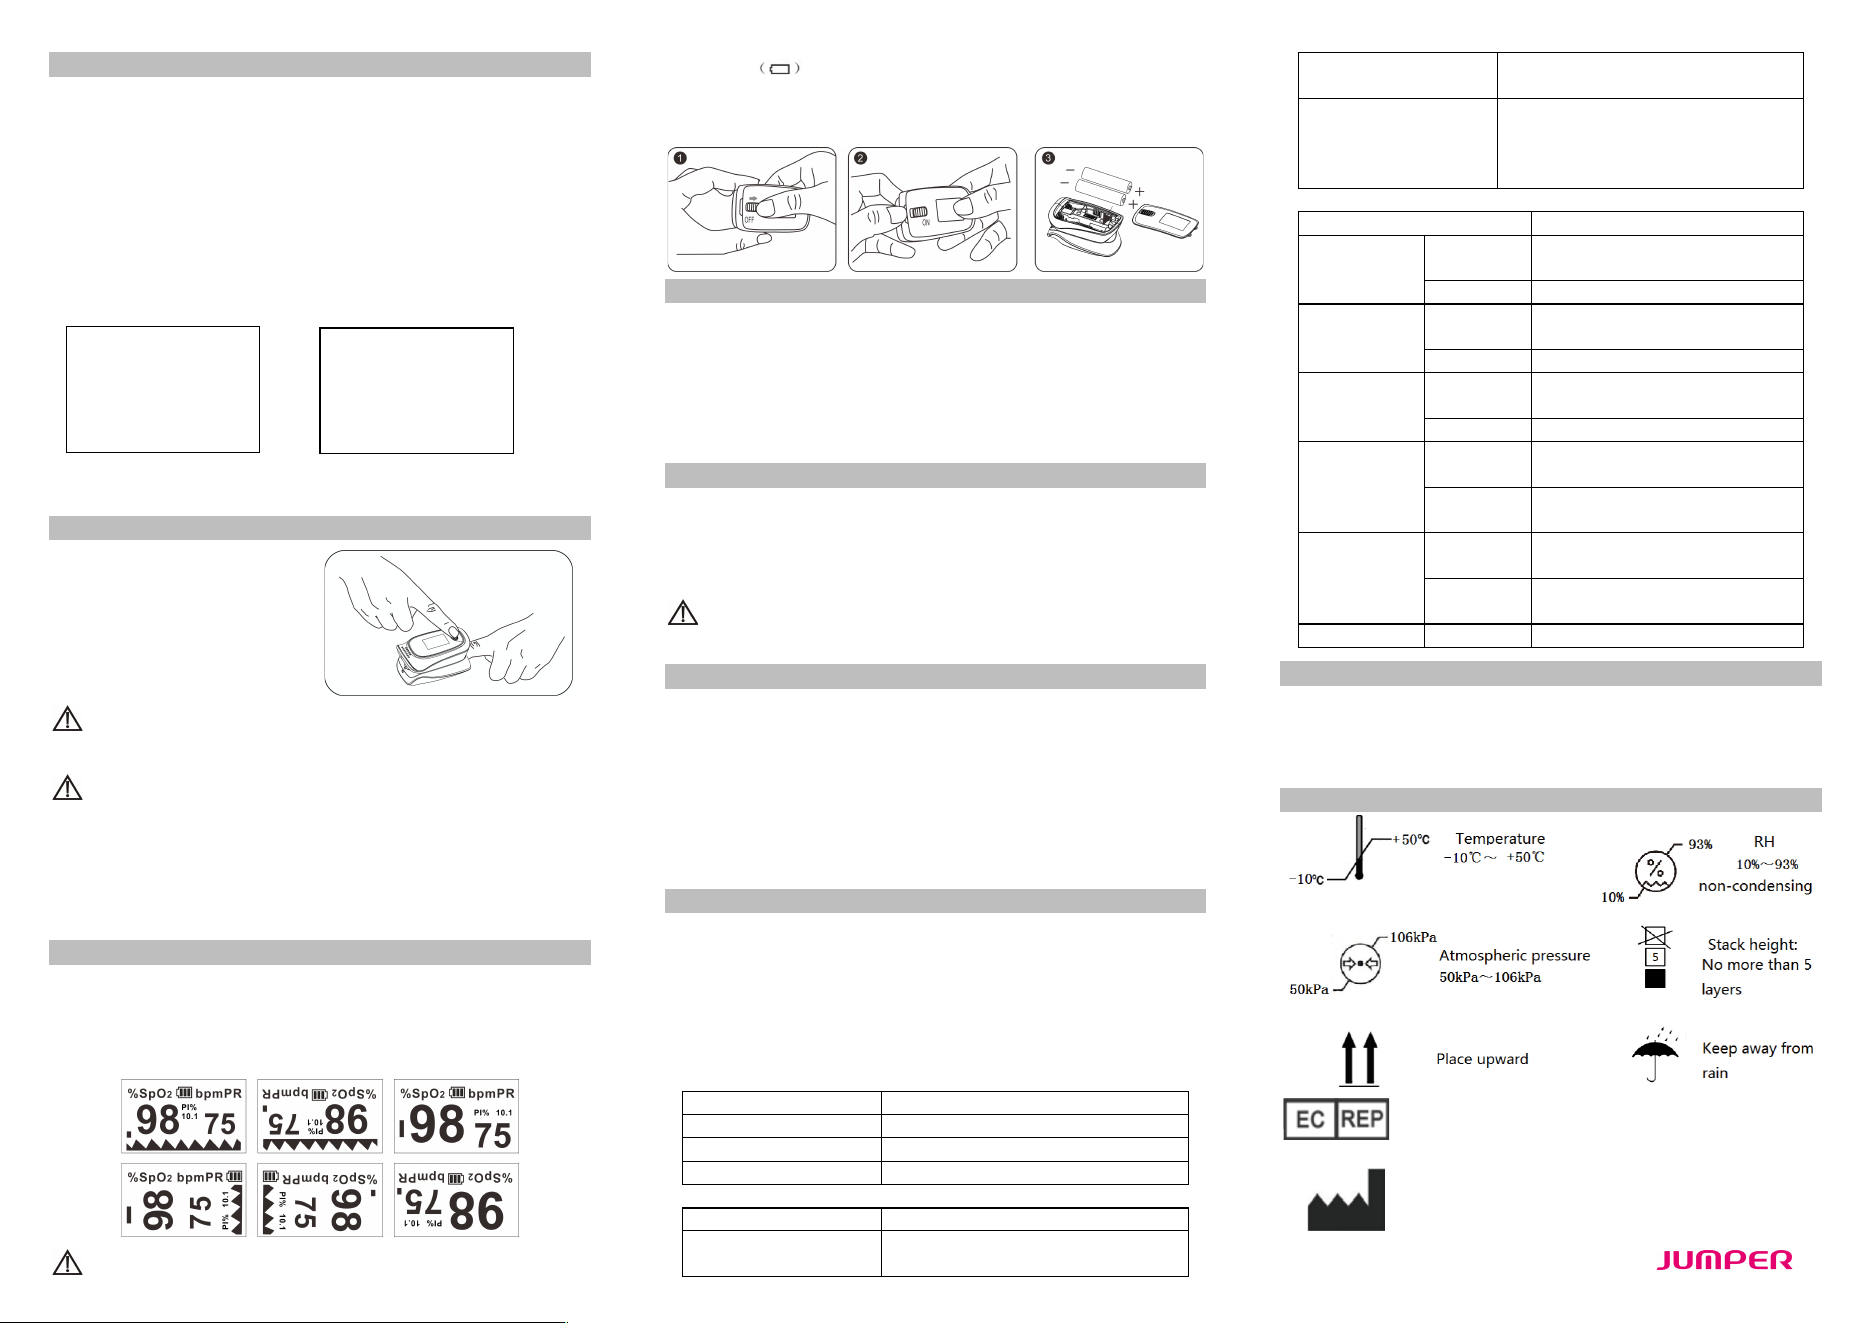
Power-On button/Functional button Operations
Press and release the button to turn on, hold the button for about one
second. The Oximeter shows a parameter setting interface. Press or hold
the button to perform corresponding operations. Hold it to set an item, or
press it to switch an option or switch the display mode. Press means no
more than 0.5 seconds, while Hold means more than 0.5 seconds.
Alert Sound Setting
Hold the functional button while the Oximeter is in powered-on state.
Parameter setting interface 1 is displayed, as shown in the following
figure. Move "*" to the corresponding option, and hold the functional
button to set Alm to on and set Beep to off. When Alm is set to on and
the measured values of the blood oxygen saturation and pulse rate go
beyond the upper limit or lower limit, the Oximeter gives off an alert
sound. When Alm is set to off and the measured values go beyond the
limit, the Oximeter will not give any alert sound. When Beep is set to on,
a tick will be heard along with pulse beats during pulse rate
measurement. When Beep is set to off, no sound will be output along
with pulse beats during pulse rate measurement. While the "*" symbol
stays on the Restore option, hold the functional button to restore factory
settings.
Brightness Setting
On parameter interface 1, press the functional button to select the
Brightness option and then hold the functional button to set the
brightness to a value ranging from 1 to 5. The greater the value, the
greater the brightness of the screen.
Alert Range Setting
On parameter interface 2, press the functional button to switch between
options. On this interface, you can set the upper limit and lower limit of
SpO2 Alm and PR Alm. While the "*" symbol stays on the +/- option,
hold the functional button to set the option to + or -. In + mode, select the
corresponding option and hold the functional button to increment the
upper or lower limit; in - mode, hold the functional button to decrement
the upper or lower limit. Move "*" to the Exit option, and hold the
functional button to return to the monitoring interface.
Interface 1 Interface 2
Operation Guide
Stick one finger completely into
the measuring parts of the
Oximeter, keep the fingernail
surface upward, and release the
clip. Then press the power button
to power on the Oximeter.
If you do not yet completely insert your finger into the cavity, the
measurement result may be inaccurate.
Do not vibrate your finger during measurement. ensure that your
body does not move. After the readings become stable, read the
measured values of oxygen saturation and the pulse rate on the screen.
NOTE:The Oximeter will automatically shut down 10 seconds later after
your finger leaves away.
About the Display
Continuously press the functional button in the monitoring process. The
monitored data and the display mode will be cyclically displayed on the
OLED screen in two different ways (large fonts and plethysmogram) and
four directions, as shown in the following figure.
Replace the batteries when the battery capacity is insufficient and
the symbol flickers on the screen.
Open the battery cover with your fingers, you can replace the batteries
according to the correct battery polarity.
Cleaning
Power off the instrument and remove the batteries before cleaning.
Ensure that the appearance of the instrument is neat, dust-free, and
dirt-free. Clean the outer surface of the instrument (including the OLED
screen) using 75% medical alcohol and a piece of dry soft cloth.
Caution: Avoid liquid flowing into the instrument during cleaning.
Caution: Do not immerse any part of the instrument into any liquid.
Disinfection
Before measurement with the instrument, wipe the rubber finger pad
using a piece of dry soft cloth dipped with 75% medical alcohol. Clean
the finger to be measured using the medical alcohol for disinfection
purposes before and after use.
Do not disinfect the instrument by means of high-temperature,
high-pressure or gas disinfection.
Maintenance
l Remove the batteries from the battery slot and properly store them
if you do not plan to use the Oximeter for a long period of time.
l Avoid using the Oximeter in an environment with inflammable
gases or using it in an environment where the temperature or
humidity is excessively high or low.
l Check the accuracy of the oxygen saturation and pulse rate
readings by using an appropriate calibration apparatus.
Technical Specifications
1. Dimensions: 62.2 mm (Width) × 37.0 mm (Depth) × 33.1 mm
(Height)
Weight: 42.5 g (including two AAA dry batteries)
2. Peak wavelength range of the light emitted from the probe: red light
660 nm ± 3; infrared light 905 nm ± 5.
3. Maximum optical output power of the probe: 1.2 mW for infrared light
(905 nm).
4. Normal working condition
Working Temperature
5°C to 40°C (41°F to 104°F)
Relative Humidity
15% to 80%, non-condensing
Atmospheric Pressure
70 kPa to 106 kPa
Rated Voltage
DC 3.0 V
5. Default values and conditions of alert
Parameter
Value
Oxygen saturation
Upper limit: 100
Lower limit: 94
Pulse rate
Upper limit: 130
Lower limit: 50
Alert condition
When the alert switch is on and the
actual measured value goes beyond
the preset alert parameter range, the
Oximeter gives an alert sound.
6. Te ch n i cal parameters
Parameter
Value
Display range
Oxygen
saturation
35% to 100%
Pulse rate
25 bpm to 250 bpm
Resolution
Oxygen
saturation
1%
Pulse rate
1 bpm
Measurement
precision
Oxygen
saturation
±2% (70% to 100%)
No requirement (≤ 69%)
Pulse rate
±2 bpm
Alert range
Oxygen
saturation
Upper limit: 50% to 100%
Lower limit: 50% to 100%
Pulse rate
Upper limit: 25 bpm to 250 bpm
Lower limit: 25 bpm to 250 bpm
Alert error
Oxygen
saturation
± 1% of the preset value
Pulse rate
The greater of ±10% of the preset
value and ±5 bpm
PI
Weak PI
Min. 0.2%
Safety Type
Anti-electric-shock type: internal power supply device
Anti-electric-shock degree: Type BF applied part
Running mode: continuous working
Waterproof grade: IP22
Storage and Transportation
Wellkang Ltd
Suite B, 29Harley Street, LONDON, W1G9QR,U.K.
Shenzhen Jumper Medical Equipment Co., Ltd
Address: D Building, No. 71, Xintian Road, Fuyong Street,
Baoan,Shenzhen, Guangdong,China
E-mail: info@jumper-medical.com
Tel: +86-755-26692192,26696279
Web:www.jumper-medical.com
V2.01.D
Alm setup *
Alm on
Beep off
Demo off
Restore ok
Brightness 4
Exit
V2.01.D
Sounds Setup *
SpO2 Alm Hi 100
SpO2 Alm Lo 94
PR Alm Hi 130
PR Alm Lo 50
+/- +
Exit