
Technical Support and E-Warranty Certificate www.vevor.com/support
6 SIDED CANOPY SHELTER USER MANUAL
We continue to be committed to provide you tools with competitive price.
"Save Half", "Half Price" or any other similar expressions used by us only represents an
estimate of savings you might benefit from buying certain tools with us compared to the major
top brands and does not necessarily mean to cover all categories of tools offered by us. You
are kindly reminded to verify carefully when you are placing an order with us if you are
actually saving half in comparison with the top major brands.

1
Model: 3m/3.6m
Have product questions? Need technical support? Please feel free to
contact us:
Technical Support and E-Warranty Certificate
www.vevor.com/support
NEED HELP? CONTACT US!
This is the original instruction, please read all manual instructions
carefully before operating. VEVOR reserves a clear interpretation of our
user manual. The appearance of the product shall be subject to the
product you received. Please forgive us that we won't inform you again if
there are any technology or software updates on our product.
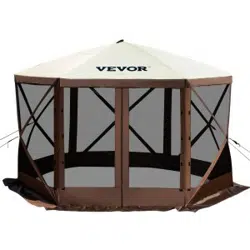
6 SIDED CANOPY
SHELTER

2
Warning-To reduce the risk of injury, user must read
instructions manual carefully.
NOTICE Please retain instructions for future needs.
1. Look out for apparent hazards. When you get to a potential camping location,
you should give a quick glance around to see if you spot anything dangerous.
2. Avoid setting up in low areas if there's a chance of rain.it's not recommended
that you camp on a day where there's a likelihood of rain in the first place, but just
in case, it's a good idea not to set your campsite in a depression in the ground.
3. Find a flat space.Tents need a flat space to be set up properly. This is the
ground you'll be sleeping on, so it's necessary you find the flattest possible piece
of ground within reason.
4. Clear the chosen area of debris.Once you've found a relatively flat area that's
free of apparent hazards, you should prep the campsite by clearing out debris that
could hurt the tent or make the surface uneven.
5. Keep ventilation.Tents and prone to internal condensation when the air inside is
warmer than outside, avoid this by keeping the tent wall ventilated.
6. Follow packaging method.Take note of the order you unpack the contents of the
tent bag and the way the tent is folded. This will help in the repacking.
SAVE THESE INSTRUCTIONS
SPECIFICATIONS
Model
3m
Product Size
3*3*2.3m
Color
Coffee-colored/Beige
Model
3.6m
Product Size
3.6*3.6*2.3m
Color
Coffee-colored/Beige
3
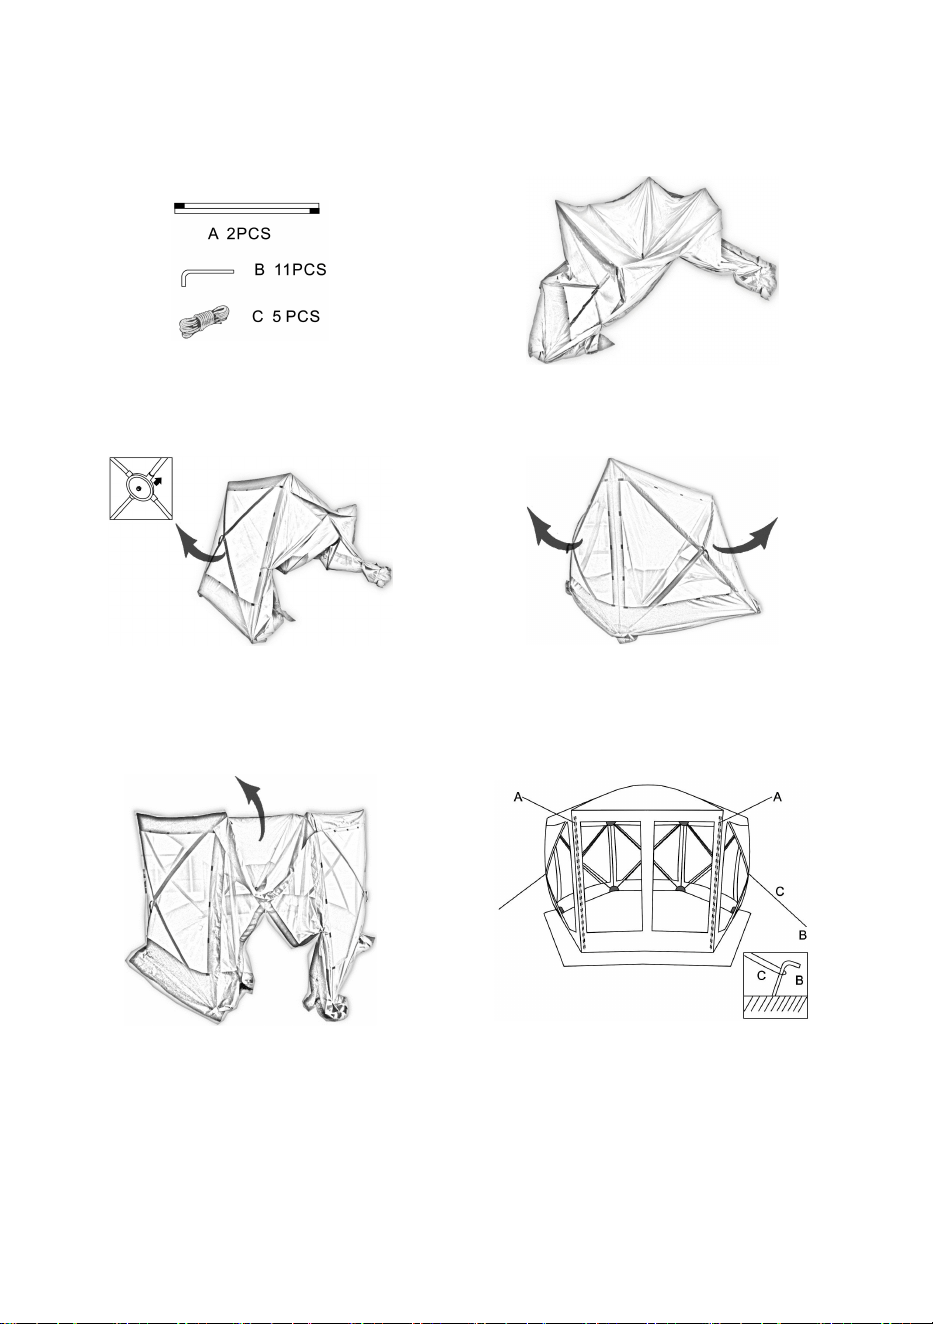
Assembly Instructions
STEP1
Spread the screen house on the ground.
STEP2
STEP3
Pull the side panel by the metal ring until it is
fully open and locked into position.
Repeat this for each of the side panels.
STEP4
STEP5
Once all side panels are fully open, walk inside
the Screen house and push upwards from the
centre hub of the roof until it is fully open and
locked into position.
Pre assemble the fibreglass door poles.On both
sides of the door insert a fibreglass pole into the
bottom and top pockets. Attach with ties to
hold in place.
Ensure the Screen house is taut when pegging
so it forms the correct shape.

4
Manufacturer: Shanghaimuxinmuyeyouxiangongsi
Address: Shuangchenglu 803nong11hao1602A-1609shi, baoshanqu,
shanghai 200000 CN.
EC REP: E-CrossStu GmbH.
Mainzer Landstr.69, 60329 Frankfurt am Main.
UK REP: YH CONSULTING LIMITED.
C/O YH Consulting Limited Office 147, Centurion House, London Road,
Staines-upon-Thames, Surrey, TW18 4AX
Imported to AUS: SIHAO PTY LTD.
1 ROKEVA STREETEASTWOOD NSW 2122 Australia
Imported to USA: Sanven Technology Ltd.
Suite 250, 9166 Anaheim Place, Rancho Cucamonga, CA 91730