
INSTALLATION GUIDE
for the
SBA-J-JLU-UAR
SKU# 99837
2018-Up Jeep Wrangler (JL) Unlimited
Thank you for choosing a JL Audio Stealthbox® for your automotive sound system.
With proper installation, your new vehicle-specific enclosed subwoofer system
will deliver years of listening pleasure.
We strongly recommend that you have your new Stealthbox® installed by your
authorized JL Audio dealer. The installation professionals employed by your
dealer have the necessary tools and experience to disassemble and reassemble
your vehicle properly. If you prefer to perform your own installation, please read
this installation guide completely before beginning the process.
If you choose to perform the installation yourself, it is absolutely
vital that the Stealthbox
®
be properly mounted to the vehicle
according to these instructions. Failure to mount the enclosure
properly presents two problems:
1) The sub-bass performance will suffer due to the movement of the
enclosure caused by the force exerted by the woofer(s).
2) A loose enclosure presents a serious safety hazard in the event of a
collision or sudden deceleration.
INSTALLATION
DIFFICU LT Y:
ESTIMATED TIME:
1 HOUR
Universal Amplifier Rack
Continued on Next Page
1
5
OUT
OF
SBA-J-JLU-UAR INSTR_SKU# 011516
INCLUDED HARDWARE
2
3
1
Continued on Next Page
Page 2 • JL Audio, Inc., 2020
SBA-J-JLU-UAR INSTR_SKU# 011516
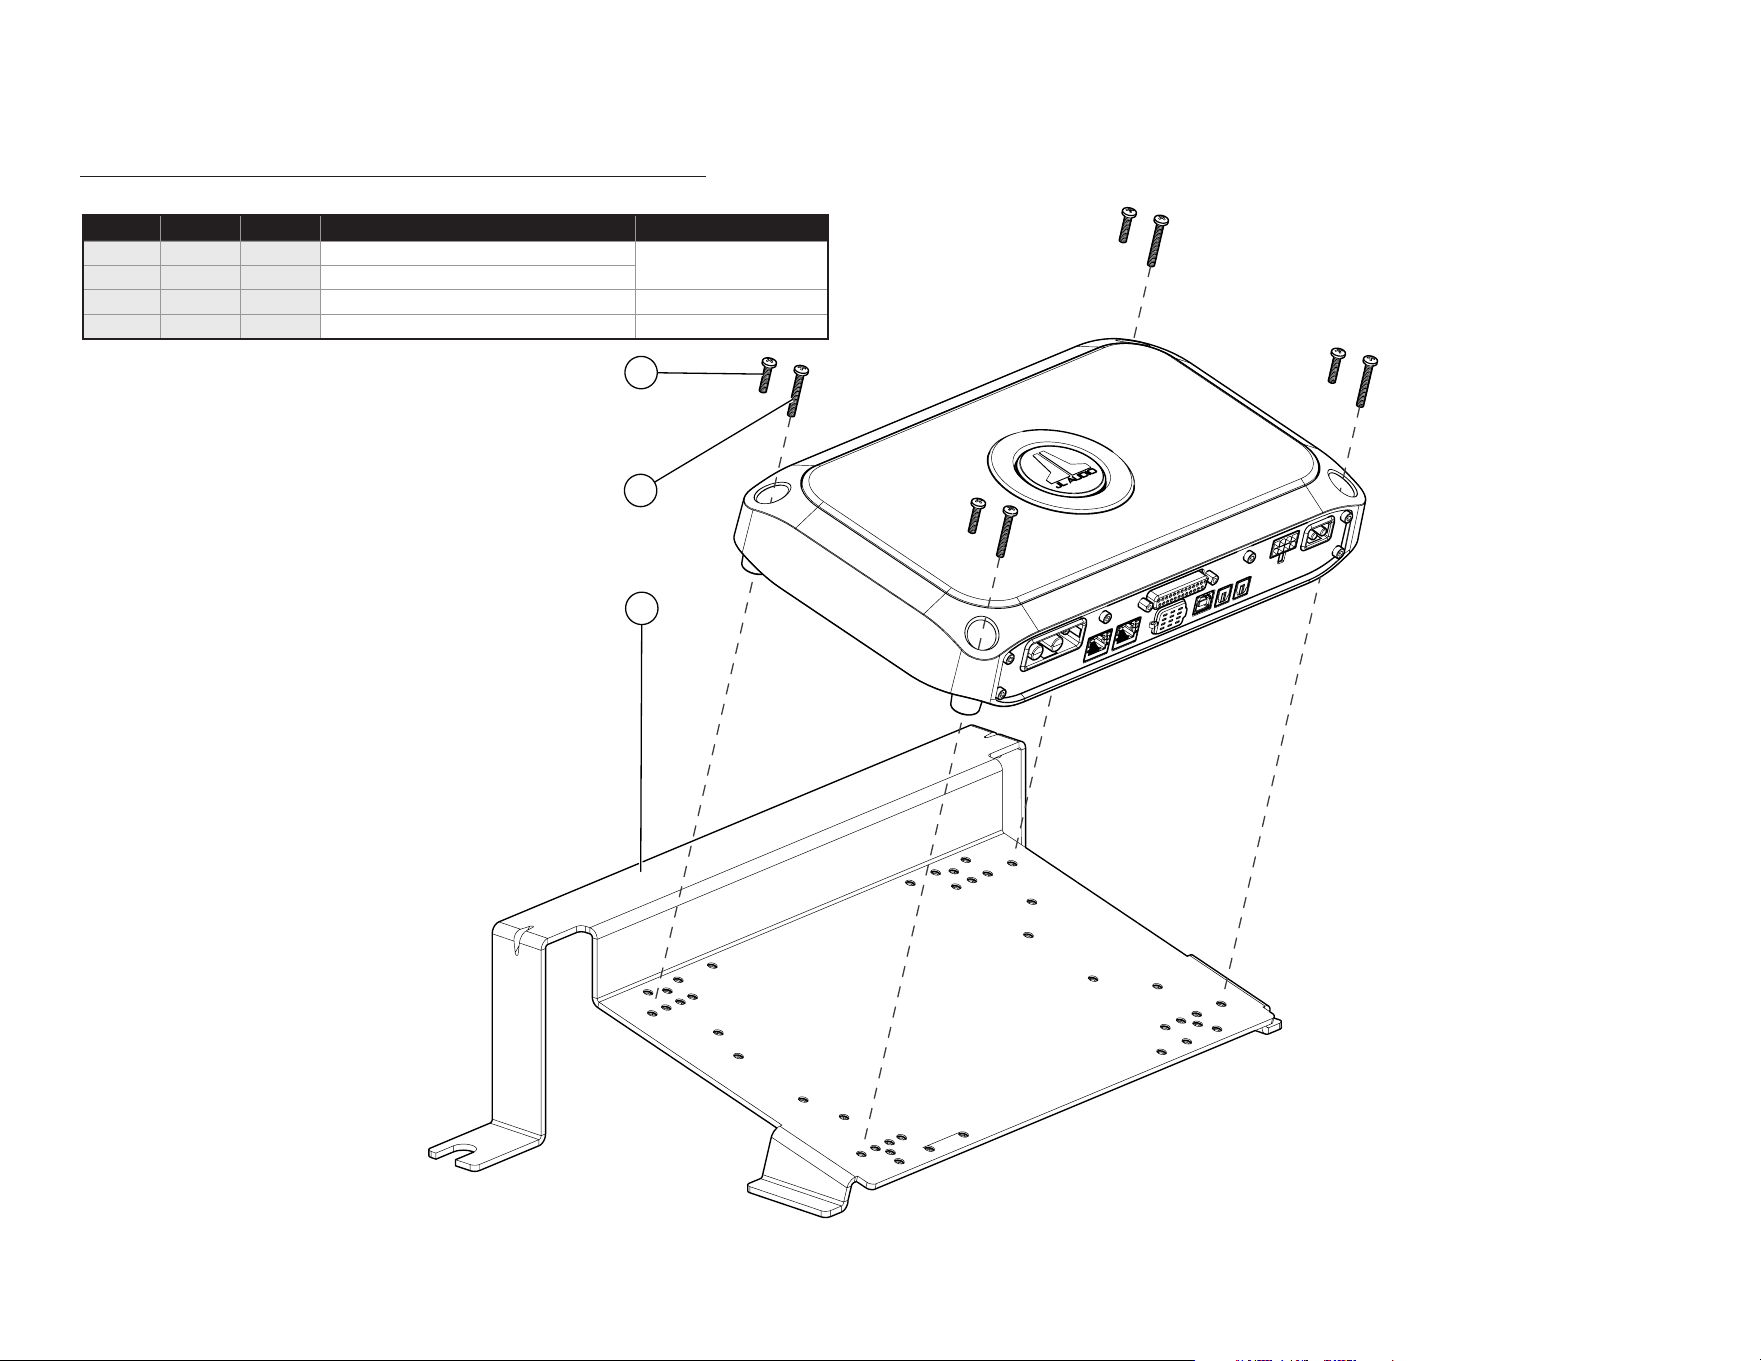
BOM ID Qty SKU Description Notes
1 4 151631 #6 - 32 x 5/8” Pan Head Machine Screw
See Step 2 on Page 4 for
screw application info
2 4 154004
#6 - 32 x 1” Pan Head Machine Screw
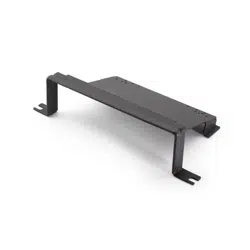
3 1 153974 Amplier Rack
- 1 154005 Trim Lock Rubber Seal (not shown)
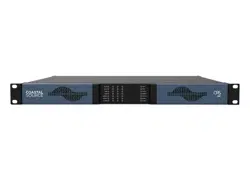
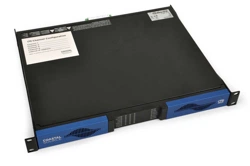
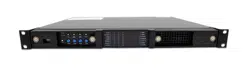
NOTE: The VXi amplifier shown in this document is for illustrative purposes only. The installation procedure will be the same for all compatible amplifier models.
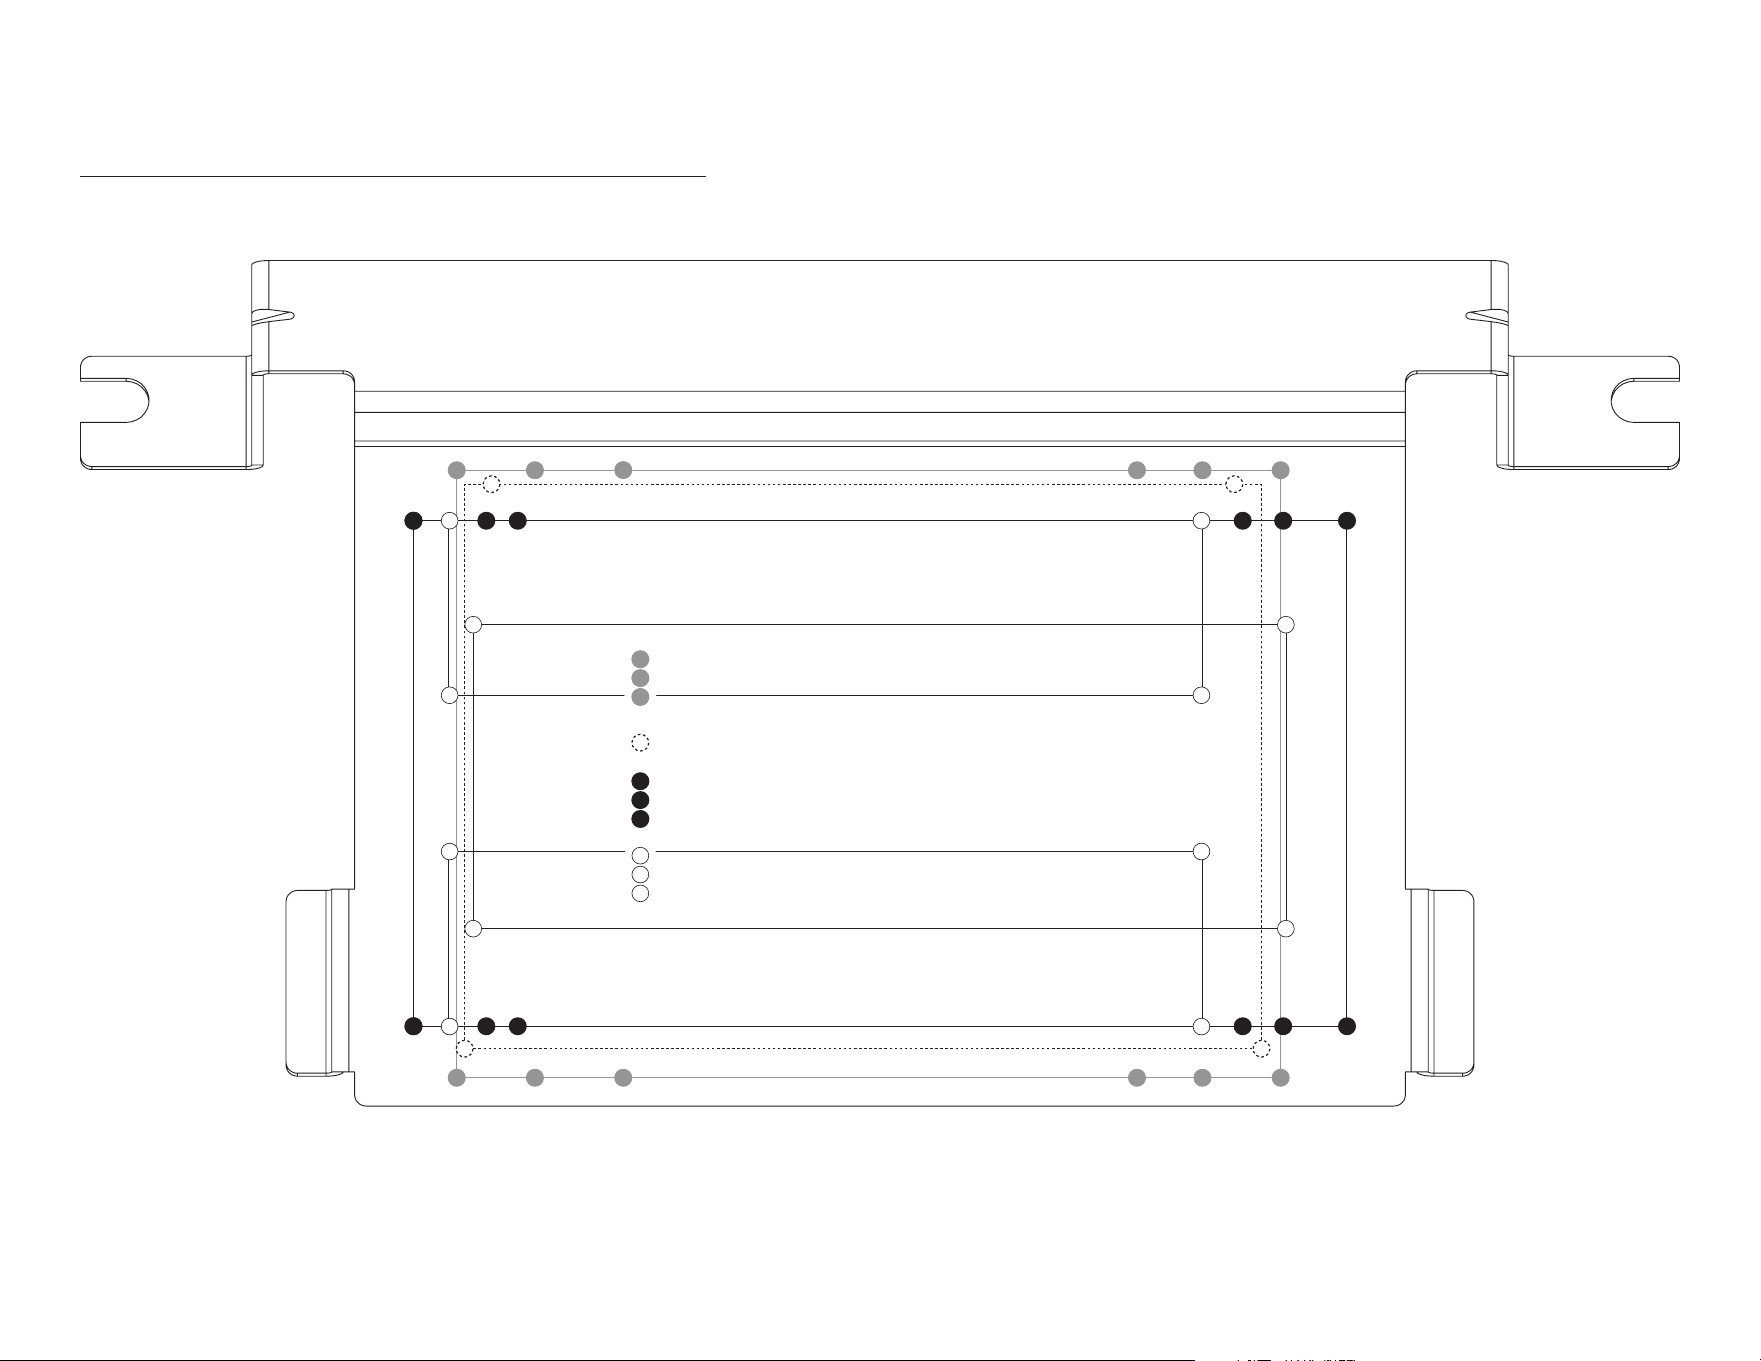
AMPLIFIER MOUNTING TEMPLATE
The SBA-J-JLU-UAR Amplier Rack is designed to accommodate several dierent JL Audio amplier models (sold separately). Use the illustration and table below to determine which mounting holes
to use:
1
112
2
2
2
3
3
3
3
1 1
11
1
1
1
3
3
2
2
3
312
12
1a
1a
1a 1a
1b 1b
1b 1b
2
2
2
2
XD200/2, XD200/2v2, XD300/1, XD300/1v2
XD200/2, XD200/2v2, XD300/1, XD300/1v2
XD400/4, XD400/4v2, XD500/3, XD500/3v2, XD600/1, XD600/1v2
XD400/4, XD400/4v2, XD500/3, XD500/3v2, XD600/1, XD600/1v2
XD600/6, XD600/6v2, XD700/5, XD700/5v2
XD600/6, XD600/6v2, XD700/5, XD700/5v2
XD200/2, XD200/2v2, XD300/1, XD300/1v2
XD200/2, XD200/2v2, XD300/1, XD300/1v2
XD400/4, XD400/4v2, XD500/3, XD500/3v2, XD600/1, XD600/1v2
XD400/4, XD400/4v2, XD500/3, XD500/3v2, XD600/1, XD600/1v2
XD600/6, XD600/6v2, XD700/5, XD700/5v2
XD600/6, XD600/6v2, XD700/5, XD700/5v2
1
1
1
1
2
2
3
3
MX280/4, MX300/1 (mount up to two)
MX280/4, MX300/1 (mount up to two)
MX280/4, MX300/1 (mount up to two)
MX280/4, MX300/1 (mount up to two)
MX500/1, MX500/4, MX600/3
MX500/1, MX500/4, MX600/3
1
1
2
2
3
3
RD400/4, RD500/1
RD400/4, RD500/1
1a
1a
1b
1b
XD200/2v2, XD300/1v2, M200/2
XD400/4v2, XD500/3v2, XD600/1v2, M400/4, M500/3, M600/1
XD600/6v2, XD700/5v2, M600/6, M700/5
(includes XD versions)
VX400/4i, VX600/1i
VX600/6i, VX600/2i, VX700/5i
VX800/8i, VX1000/1i, VX1000/5i
1
1
2
3
MX280/4, MX300/1 (mount up to two)
MX280/4, MX300/1 (mount up to two)
MX500/1, MX500/4, MX600/3
(includes HX and MHX versions)
1
2
3
RD400/4, RD500/1
1a
1b
2
Continued on Next Page
Page 3 • JL Audio, Inc., 2020
SBA-J-JLU-UAR INSTR_SKU# 011516
Page 4 • JL Audio, Inc., 2020
All specifications are subject to change without notice. “JL Audio®” and “How we play®” are registered trademarks of JL Audio, Inc. “Ahead of the Curve” and its respective logo are trademarks
of JL Audio, Inc.
Printed in USA • ©2020 JL Audio, Inc. • For more detailed information please visit us online at www.jlaudio.com.
(954) 443-1100
www.jlaudio.com
JLA-SKU# 011516 • ver. 05.19.2020 • 10369 NORTH COMMERCE PARKWAY • MIRAMAR, FLORIDA • 33025 • USA
®
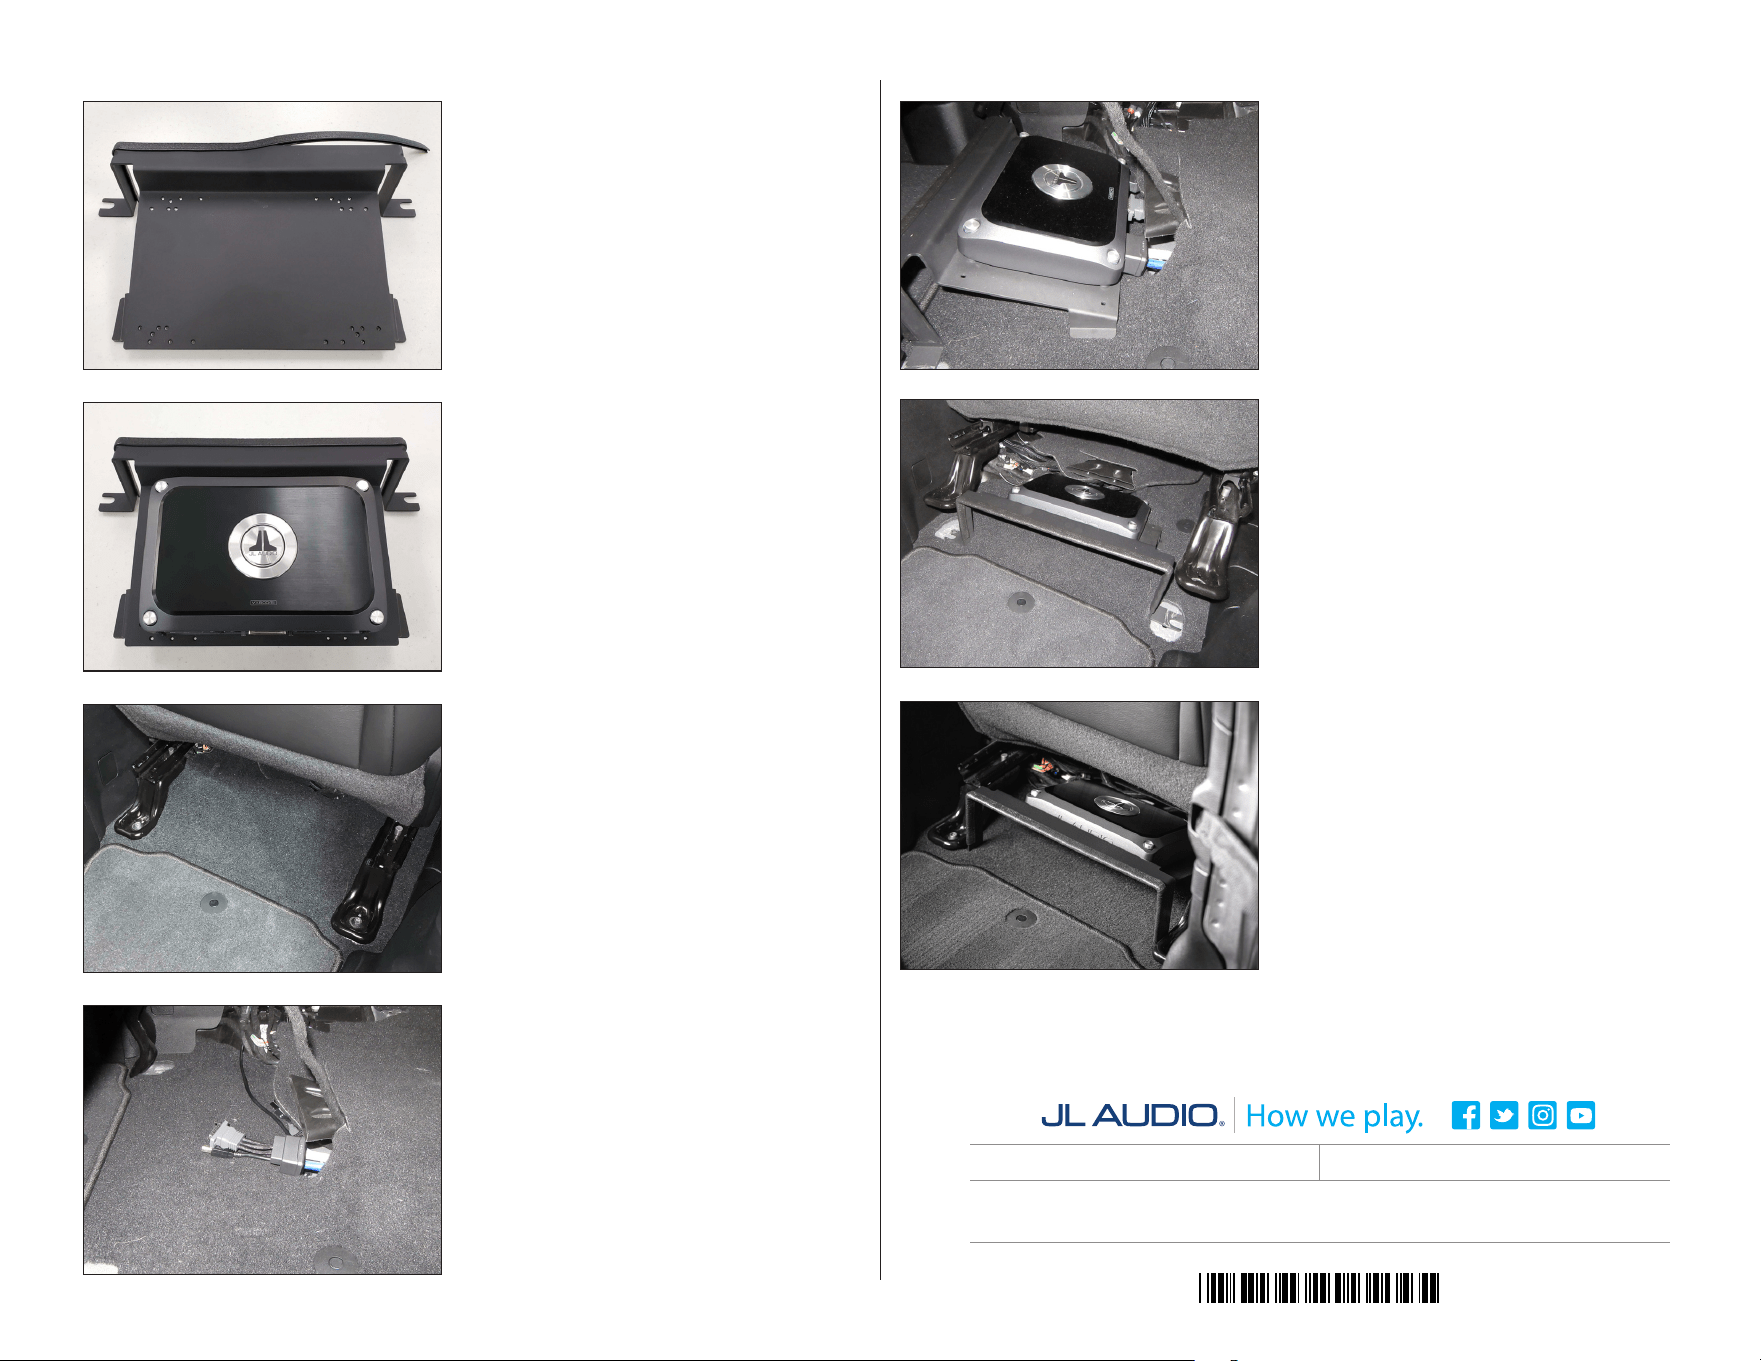
STEP 4
Tilt the seat backward, and route the amplifier
cables to the underseat location.
STEP 3
NOTE: The following steps illustrate the
Amplifier Rack installation for the
passenger side. The installation procedure
for the driver side will be the same.
Remove the four seat bolts.
STEP 2
Reference the illustration on Page 3 to
determine the required mounting holes for the
amplifier being installed. Align the amplifier to
the Amplifier Rack with the connections
oriented downward, and secure the amplifier
using four machine screws as indicated below:
• #6 - 32 x 1” : For VXi models
• #6 - 32 x 5/8” : For XDv2, RD, and MX models
STEP 1
A Trim Lock Rubber Seal is included to cover
the upper edge of the Amplifier Rack and
prevent unwanted contact with the metal
surface.
Install the Trim Lock Rubber Seal onto the
Amplifier Rack by starting at one mounting
flange and working it around the two corners,
as shown. Cut any excess, as needed.
SBA-J-JLU-UAR INSTR_SKU# 011516
*011512*
CONGRATULATIONS!
You have completed the installation for this
model! Enjoy your new Stealthbox® Accessory!
STEP 6
Tilt the seat forward, and align the slots in the
Amplifier Rack with the factory seat bolt holes.
Lower the seat back into position over the
Amplifier Rack, and reinstall the four seat bolts.
STEP 5
Position the Amplifier Rack under the seat, and
connect the amplifier cables to the amplifier.