Quick start guide
& get started recipes
Please make sure to read the enclosed safety instructions prior to using your unit.
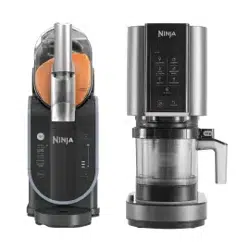
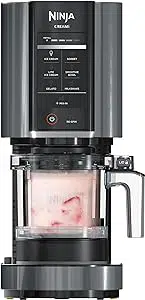
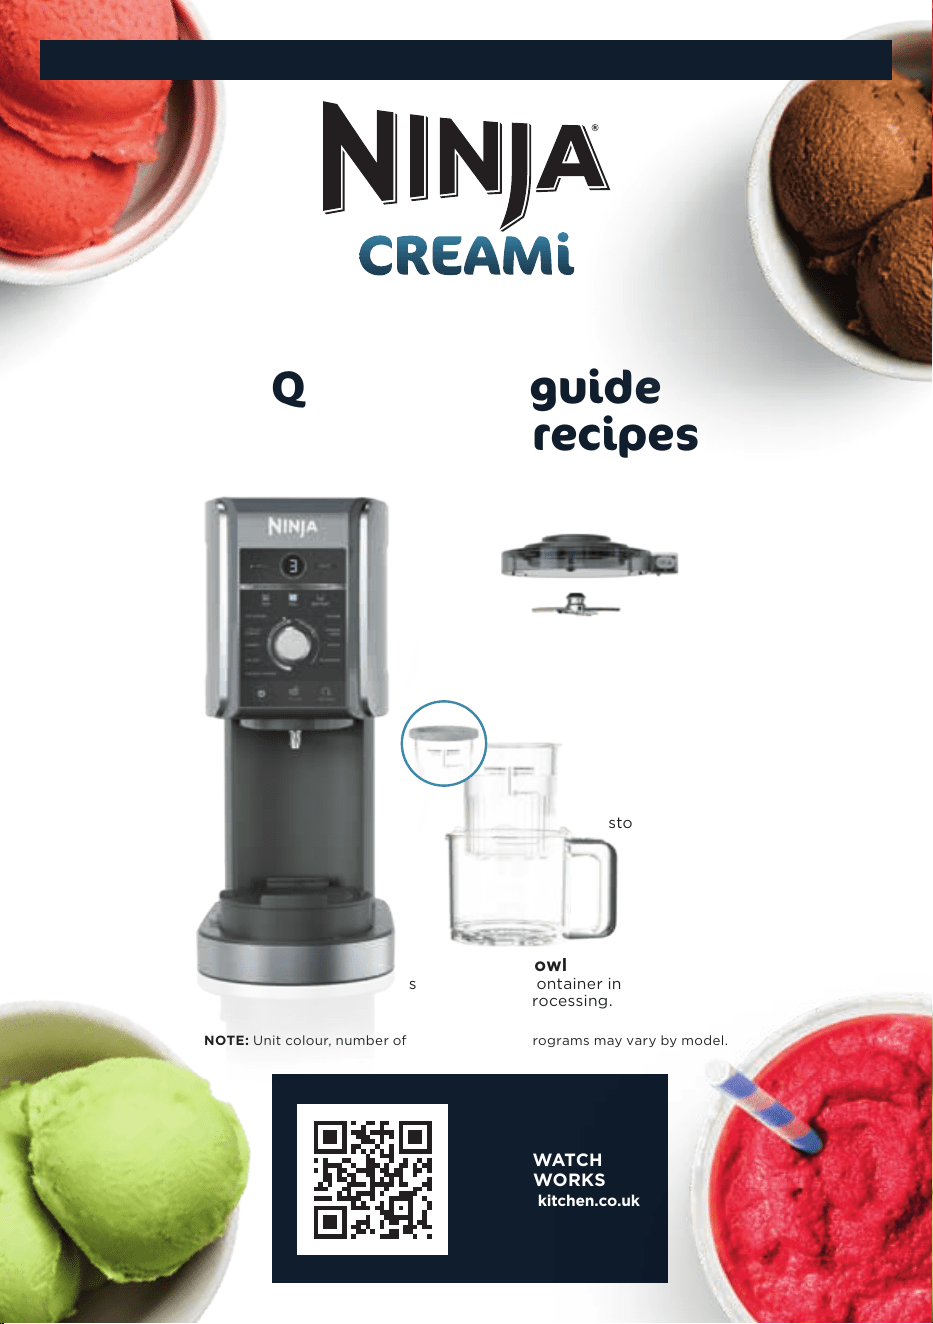
CREAMi Deluxe
Tubs & Lids
BPA-free Deluxe Tubs
and lids for making and
storing CREAMi treats.
Outer bowl lid
locks Creamerizer Paddle in place.
Deluxe Creamerizer Paddle
Dual functioning paddle finely
shaves and mixes frozen ingredients
into the creamiest treats.
Outer bowl
securely holds container in
place during processing.
NOTE: Unit colour, number of Deluxe Lids and programs may vary by model.
SCAN & WATCH
HOW IT WORKS
www.ninjakitchen.co.uk
DELUXE
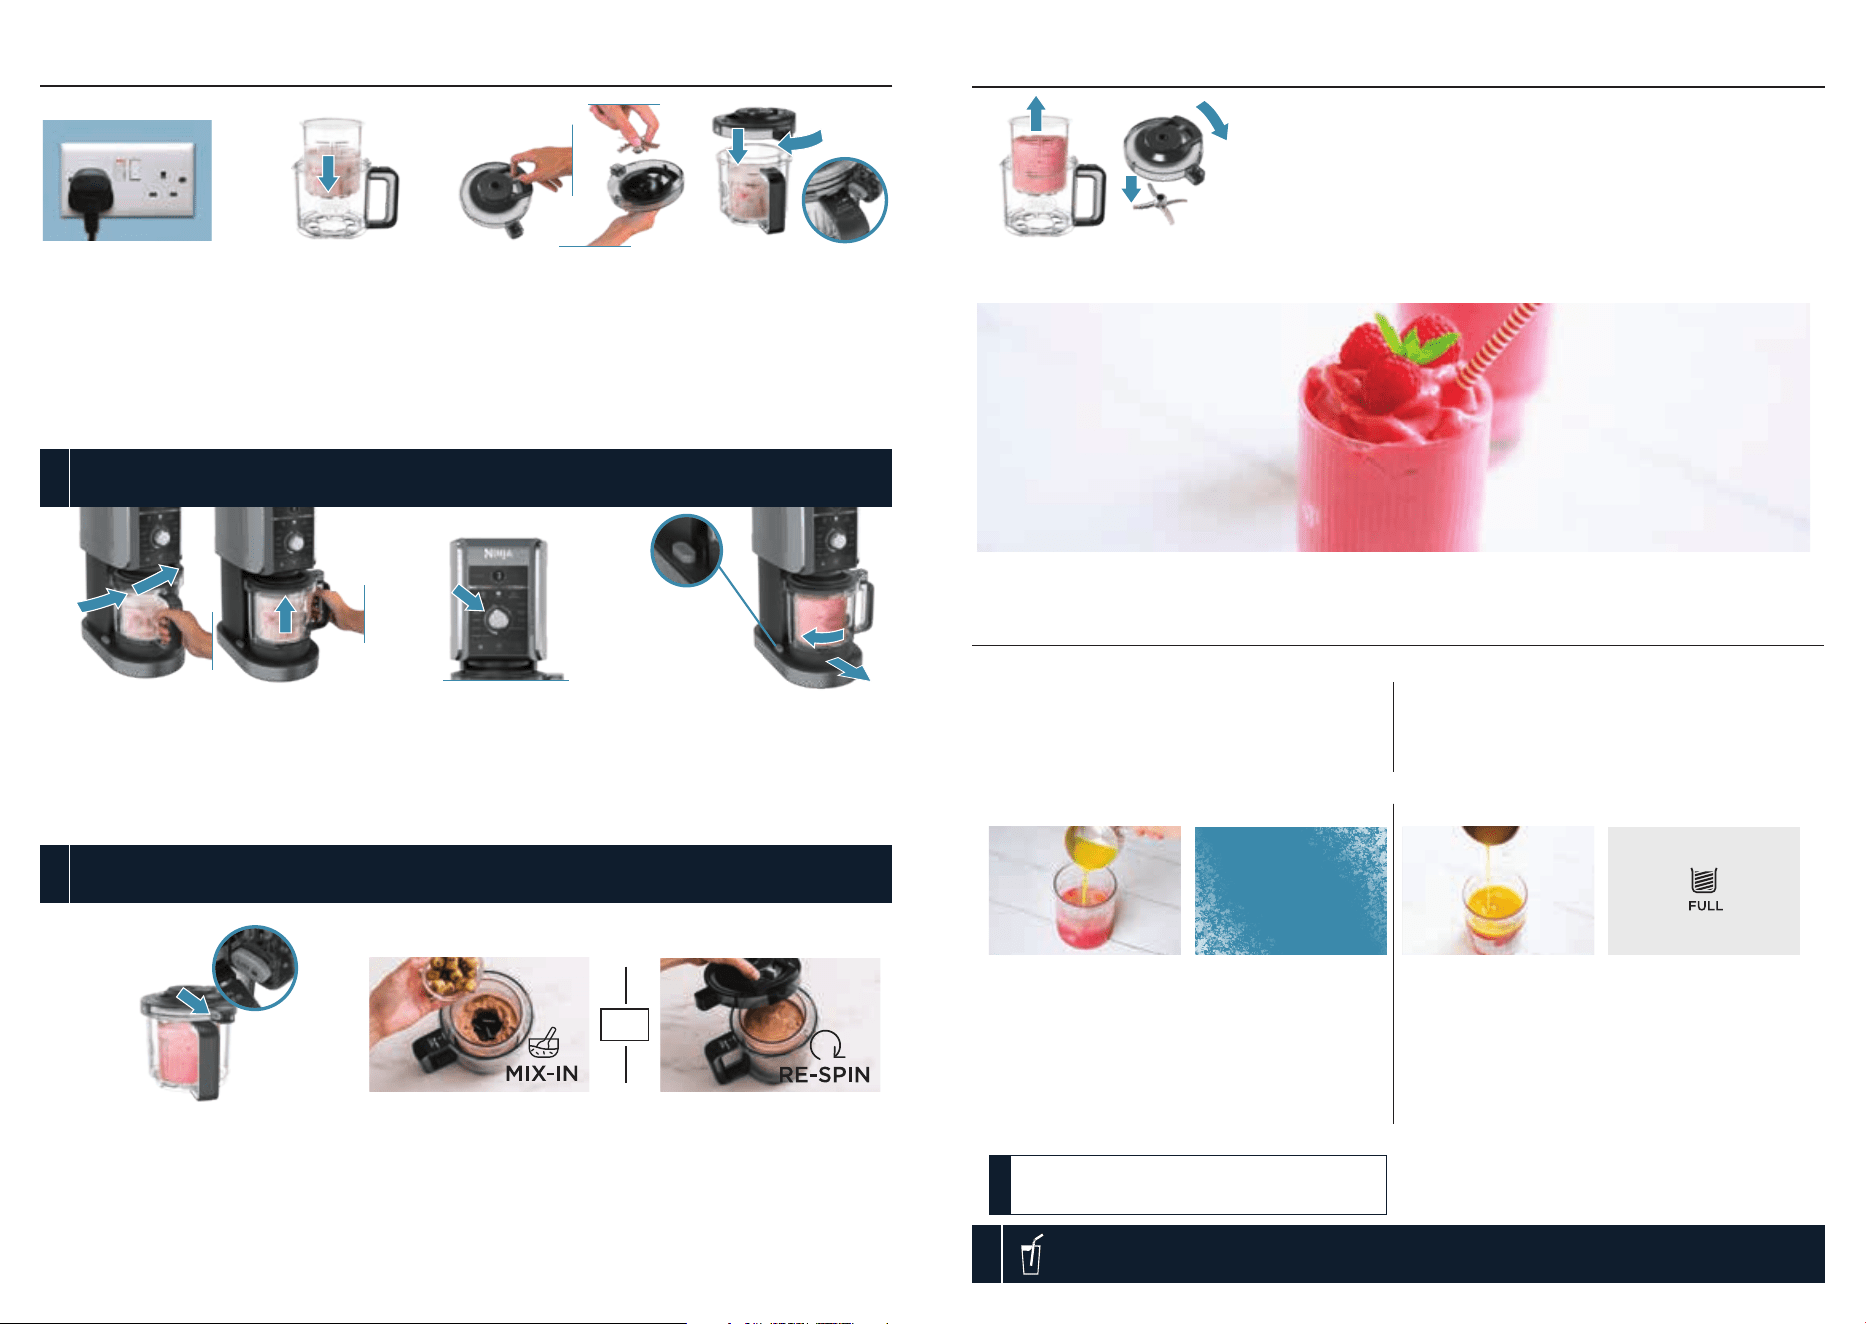
8.
Remove lid
Press the lid unlock
button and twist
to remove lid.
Use a spoon to create a
4cm wide hole that reaches
the bottom of the processed
ingredients.
Add chopped or broken
mix-ins to the hole. Select
the same processing mode,
then select MIX-IN.
If not adding mix-ins, RE-SPIN
can be used on a crumbly or
powdery output to make it
creamy. RE-SPIN is often
needed for very cold bases.
Do not RE-SPIN before
using MIX-IN program.
Select the mode prior
to selecting RE-SPIN.
OR
9.
2.
Install
Creami Deluxe Tub
Remove lid from tub and
check that ingredients have
not been frozen at an angle.
Place tub with frozen base in
outer bowl.
4.
Install lid
Position tab of lid just
slightly to right of outer
bowl handle so lines
on lid and handle align.
Rotate lid clockwise
to lock.
Assembly & Processing
5.
Install outer bowl
After plugging in unit, place outer
bowl on base with handle centred
on unit. Twist handle to the right to
raise platform and lock bowl in place
(signalled by a click).
1.
Plug in
unit first
Unit will not run
if outer bowl is
installed before unit
is plugged in.
6.
Select processing
mode & program
Press Power. Press a processing
mode (TOP, FULL, or BOTTOM),
then turn dial to select a program
and press dial to begin processing.
7.
Remove bowl
When program is complete, hold
release button on left of motor
base and twist bowl handle
clockwise, then pull away
from unit to remove.
If control panel will not illuminate, ensure unit is properly assembled.
See troubleshooting section of the safety instructions if install light is illuminated.
NOTE
3.
Install
Creamerizer Paddle
Press and hold paddle latch
on top of outer bowl lid, then
insert paddle in bottom
of lid. Release latch
to secure paddle.
Disassembly & Cleaning
Remove Deluxe Tub & paddle
Lift tub out of outer bowl.
Rinse outer bowl lid to remove any sticky residue
or pieces wedged in the paddle.
Remove paddle by pressing paddle latch on top of lid.
All parts are top-rack dishwasher safe and can also be hand-washed.
To process the whole tub, press FULL. To process just the top half, press TOP. To process the remaining half of
the tub, press BOTTOM. TOP and BOTTOM processing zones are only available with SCOOPABLE programs.
NOTE
OPTIONAL PROCESSING
INGREDIENTS
For Freezing
60g granulated sugar
250g fresh raspberries
230ml hot orange juice
Raspberry & Orange Slushi
PREP: 5 minutes | FREEZE: 24 hours | PROGRAM TIME: 5 minutes | MAKES: 3 servings
Place the sugar and
raspberries into an empty
CREAMi Deluxe Tub.
Combine mixture with a
fork until paste like.
Add hot orange juice to
the DRINKABLE FREEZE
FILL line and stir until
sugar has dissolved.
Once cooled, place
storage lid on tub and
freeze for 24 hours.
10 minutes before
processing remove tub
from freezer and remove
lid from tub.
Add pour-in to the
DRINKABLE POUR-IN
FILL line. Please use the
Quick Start Guide for
assembly and processing
information.
Press FULL, then use the
dial to select SLUSHI and
press dial to begin
processing. Add 4
additional tablespoons of
your desired pour-in, then
select RE-SPIN.
Once processing is
complete, transfer slushi
to a glass and serve
immediately.
DIRECTIONS
For Freezing
PREFER MORE SIPPABLE? If you prefer a thinner frozen drink after processing, simply add
2–4 additional tablespoons of your desired pour-in, then select RE-SPIN.
NOTE
If your pour-in contains alcohol, select
FROZEN DRINK.
TIP
Bowl Release
Button
To remove
outer bowl, hold
release button.
For Processing
Pour-in: water, alcohol, or juice
*Or, turn the page over to prep your
personalised ice cream recipe.
For Processing
SLUSHI
PROCESSING MODE
FREEZE
for 24 hours
Start Here! Prep Your Deluxe Raspberry & Orange Slushi Recipe*
©2023 SharkNinja Operating LLC. All rights reserved. Made in China.
NINJA is a registered trademark in the United Kingdom of SharkNinja Operating LLC.
NC501UK_QSG_MP_231012_Mv1
Scan the code for
online help, FAQs,
and How-To Videos.
ninjakitchen.co.uk
OR
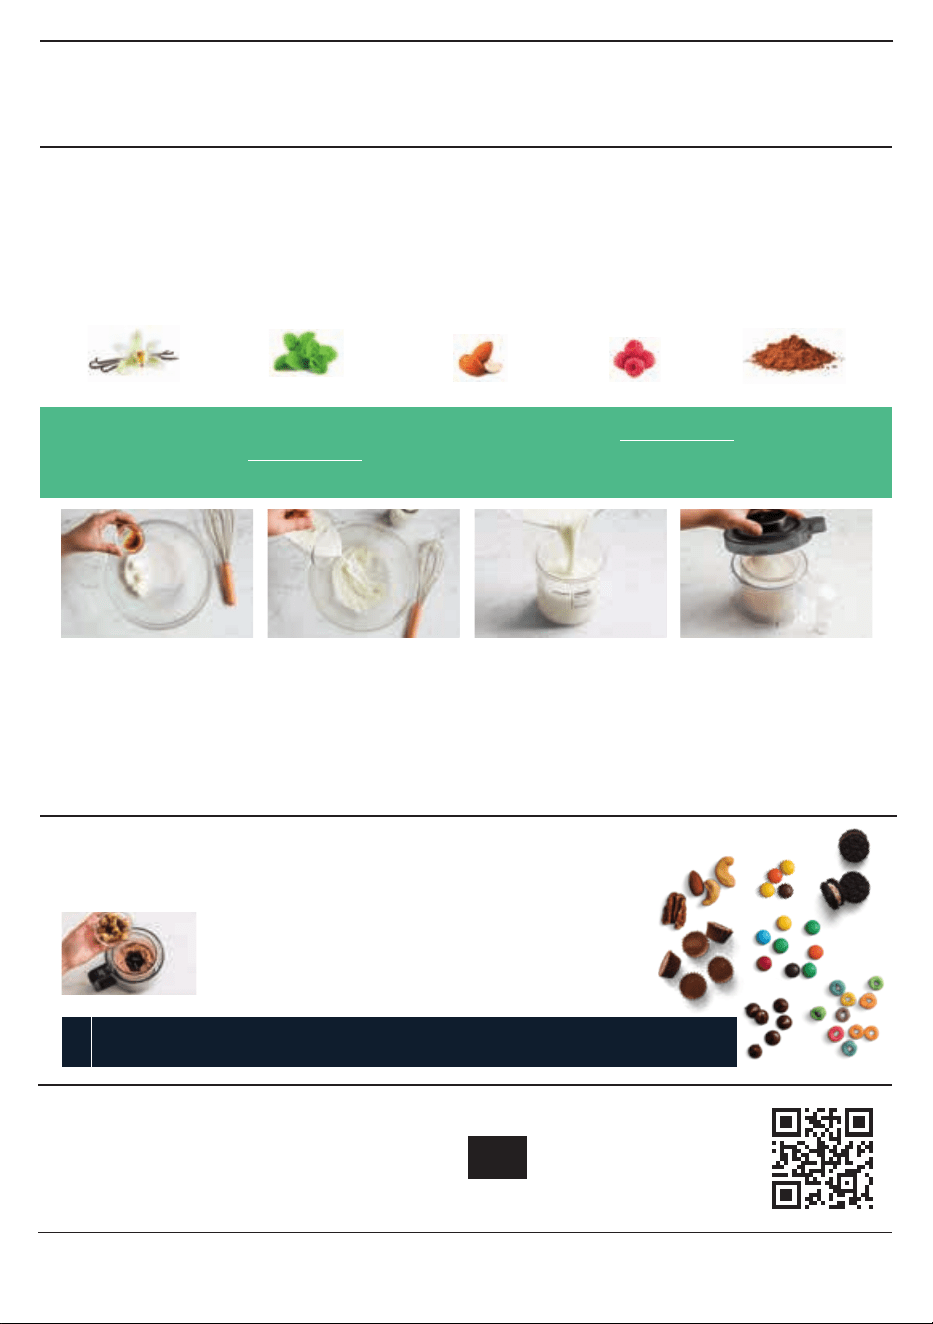
INGREDIENTS
27g cream cheese, softened
80g caster sugar
Flavouring, 1 ½ teaspoons extract of your
choice OR 3 tablespoons of cocoa powder
225ml double cream
345ml whole milk
45g mix-ins of your choice (optional)
PICK YOUR MIX-INS TO ADD A PERSONAL TOUCH
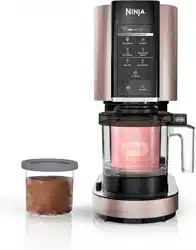
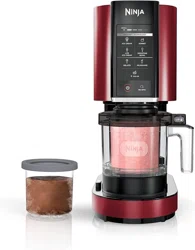
Perfectly Personalised Ice Cream
PREP: 5–10 minutes | FREEZE: 24 hours | PROGRAM TIME: 2 minutes | MAKES: 6 servings
Microwave cream
cheese for 10 seconds.
Add sugar and flavour,
then whisk the mixture
until it looks like frosting.
Slowly mix in the double
cream and milk until
fully combined and
sugar is dissolved.
Pour base into CREAMi
Deluxe Tub. Place storage
lid on Deluxe Tub and
freeze for 24 hours.
Remove tub from freezer
and remove lid from tub.
Refer to previous page
for Assembly &
Processing instructions.
Select processing mode
(FULL, TOP, or BOTTOM),
then select ICE CREAM.
Prepare 45g of mix-ins, which can include your favourite crushed sweets,
frozen fruits, chopped nuts, chocolate pieces, and more.
PICK YOUR FLAVOUR
Vanilla extract Cocoa powderMint extract Fruit extractAlmond extract
MAKE IT DAIRY-FREE Use vegan cream cheese for cream cheese, unsweetened coconut cream
for double cream and unsweetened oat milk for milk. Whisk the coconut cream until smooth,
then add the remaining ingredients.
REGISTER ONLINE!
Register your product at
ninjakitchen.co.uk
Or CALL US FREE ON: 0800 862 0453
Make two flavors from one base. See page 7 of Inspiration Guide to get started.
NOTE
With a spoon, create a 4cm wide hole that reaches
the bottom of the processed ingredients.
Add mix-ins to the hole. Select the mode previously
processed, then select the MIX-IN program.