
Small YAGI Antenna
User’s Guide
Step 1: Unpack
Remove the antenna and the hardware bag from package. Make sure the
following parts are in the package:
• Antenna rear section • Antenna front section
• VHF element • Mounting pipe and foot
• Hardware bag
U-Bolt (2) 10/32” Hex nuts
(2) Black plastic end-caps (5) 1/4” Hex nuts
Matching transformer (2) 5/8” Bolts
(4) 7/16” Washers 2 1/2” Screw
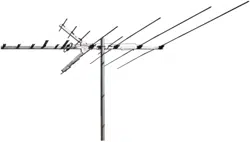
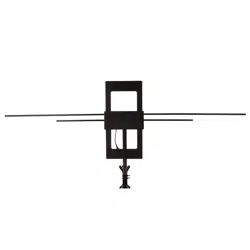
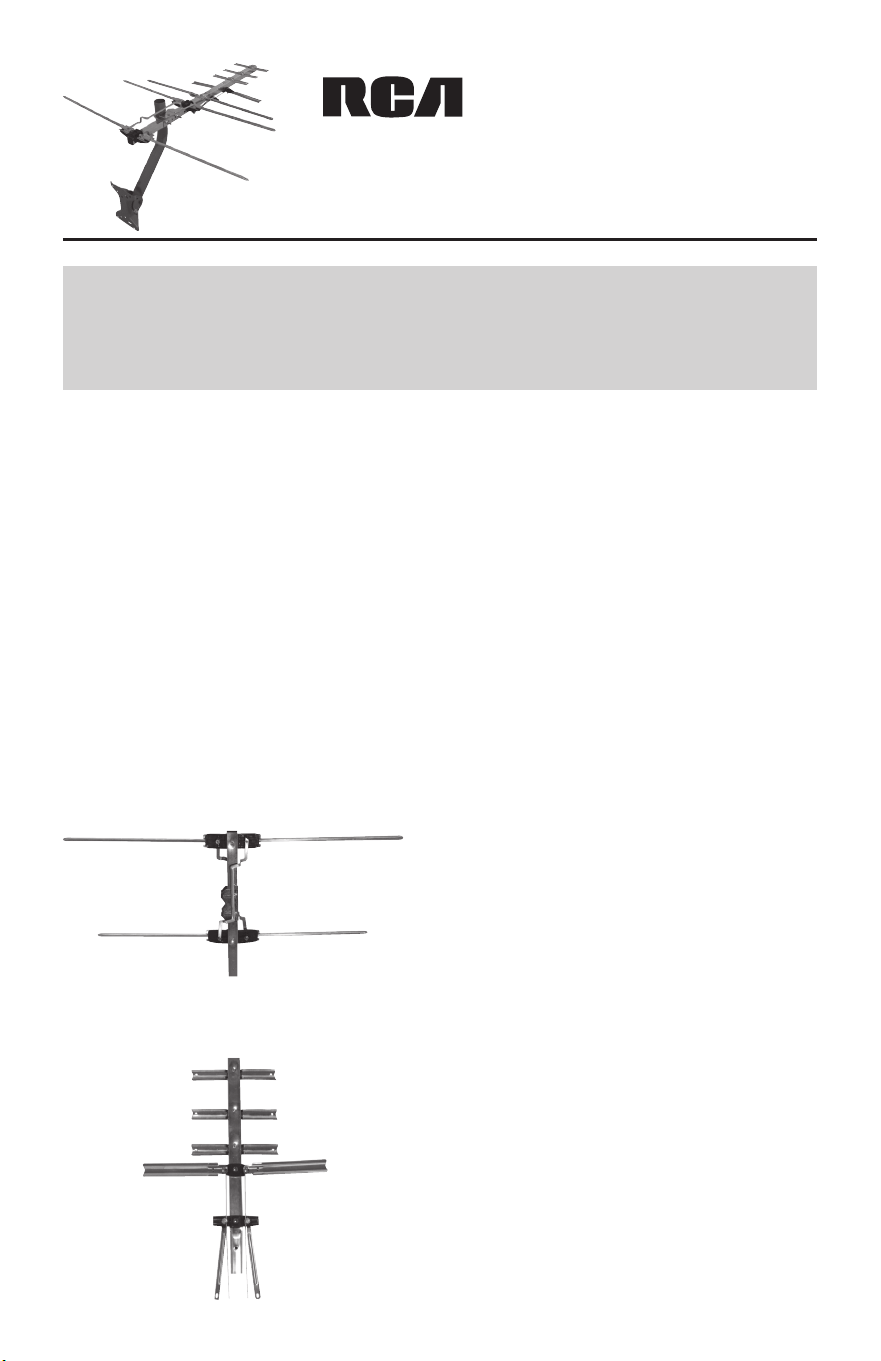
Unfold the elements on the rear
section of the antenna until they lock
into place as pictured here. Make sure
the elements are at and parallel to
each other when you’re nished.
BEFORE YOU START!!!
Please read the IMPORTANT SAFETY INFORMATION sheet included in
this package.
Step 2: Unfold the antenna’s rear section
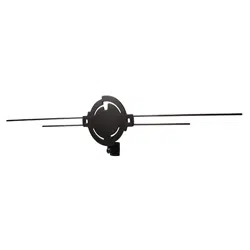
Step 3: Unfold the antenna’s front section
Unfold the UHF elements on the front
section until they lock into place as
pictured here. Make sure the elements
are at and parallel to each other
when you’re nished.
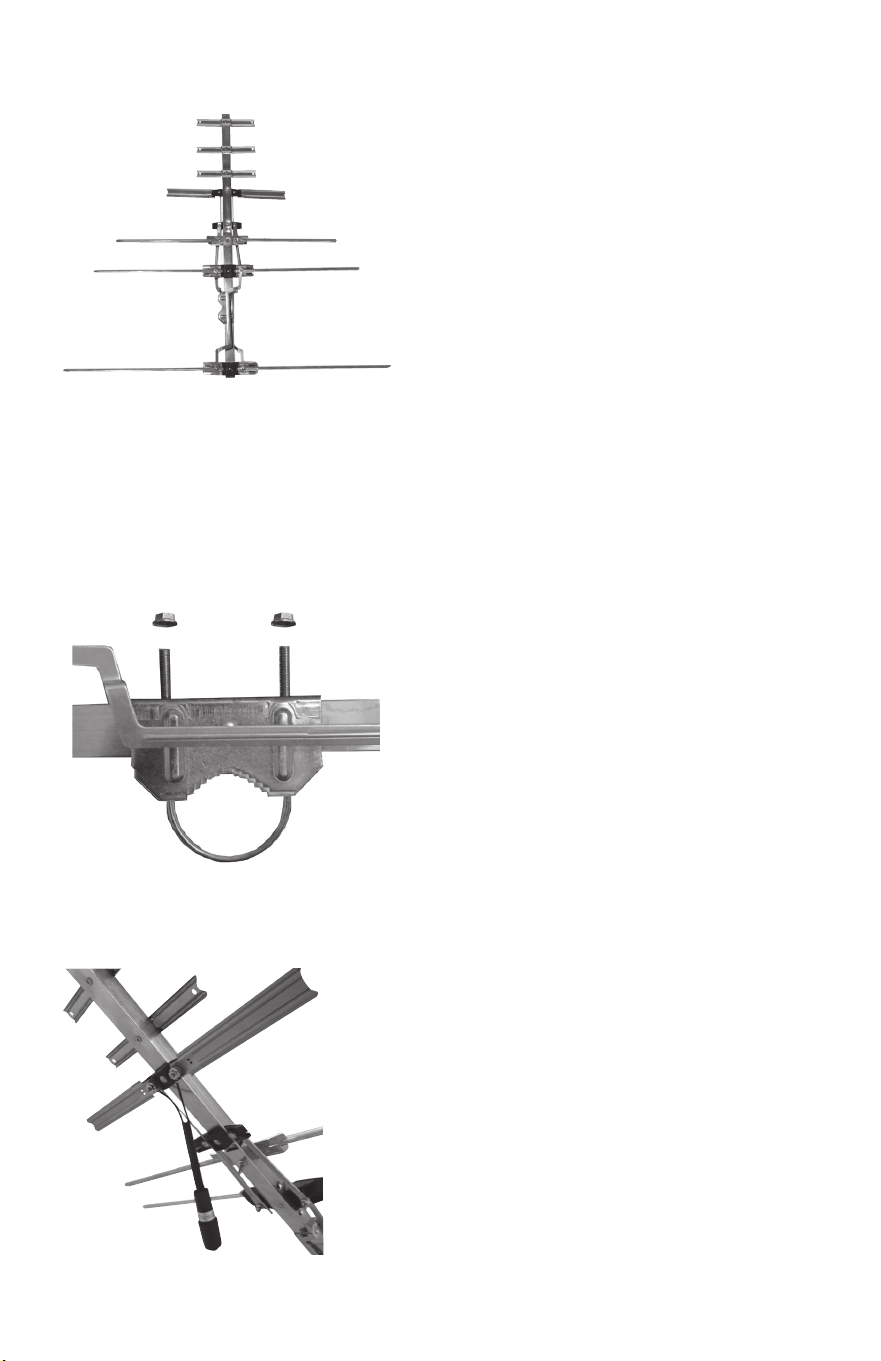
Step 6: Install the transformer and your coaxial cable
(not included)
Attach the transformer to your coaxial cable
(not included).
Find the 10/32” hex nuts and washers in
the hardware bag. Use them to attach the
transformer to the bottom of the antenna at the
UHF element studs on the front section.
Make sure to place the leads of the matching
transformer between the two washers on each
post as shown here.
Finally, tighten the hex nuts to secure the leads.
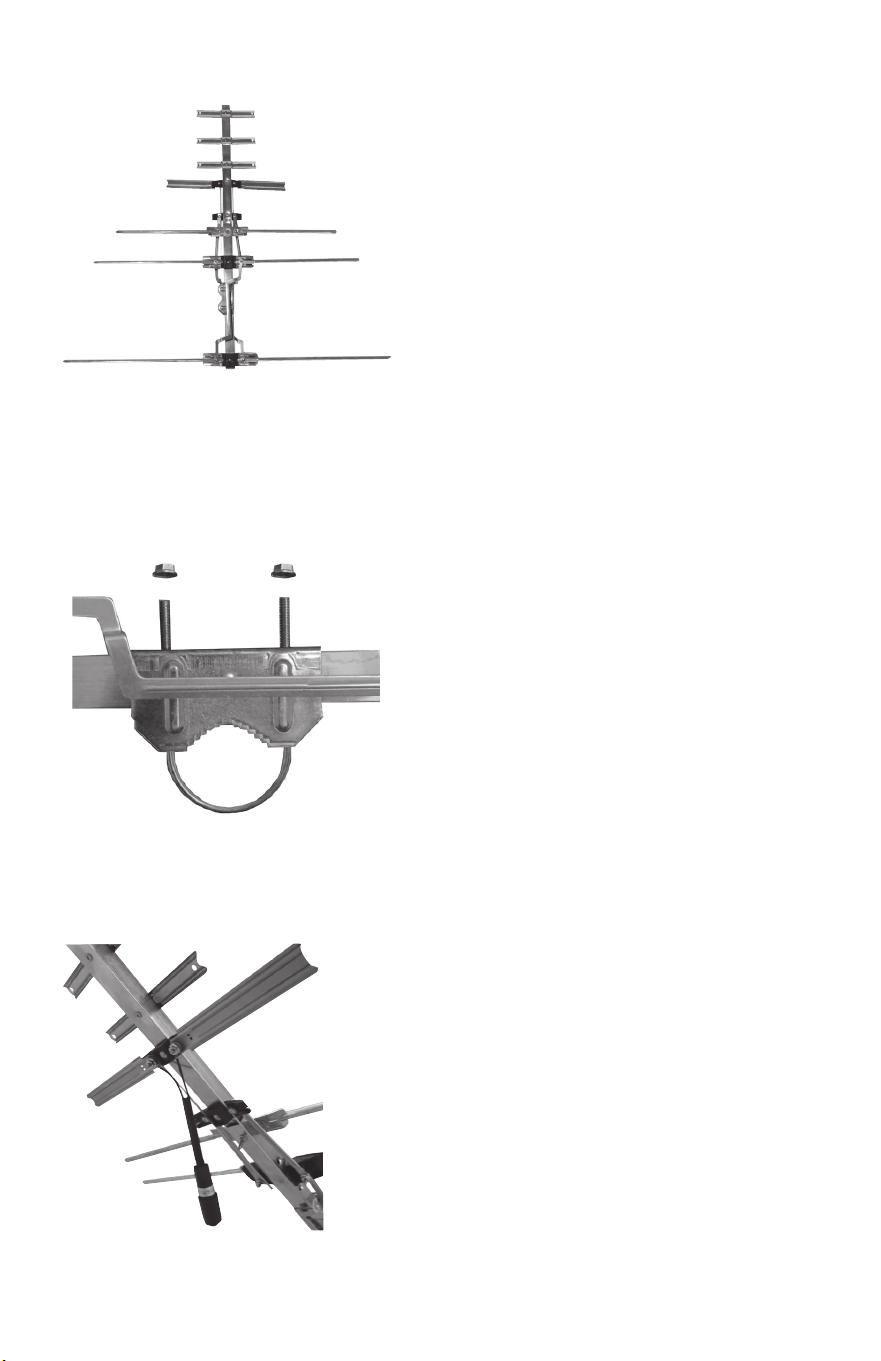
Step 4: Attach the front section to the rear section
Attach the antenna’s front section to
the rear section by sliding the tapered
end of the front section into the end of
the rear section. The threaded studs on
both sections of the antenna should be
facing down.
Align the holes and attach the included
VHF element to the top of the boom.
Then secure with provided bolt and nut.
Align the 2 phasing lines from the
front section of the antenna onto the
threaded studs on the rear section and
secure with 10/32” hex nuts.
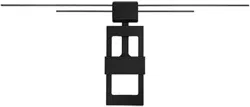
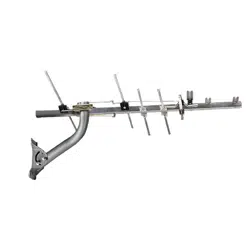
Step 5: Attach the mast clamp U-bolt
Insert the U-bolt into the mast clamp on
the antenna and loosely thread the 1/4”
hex nuts onto the U-bolt.
Do not tighten the hex nuts yet!
Step 7: Insert the end caps
Insert the plastic end caps in the ends of the booms. Use a rubber mallet
to gently tap them into the antenna booms to secure them.
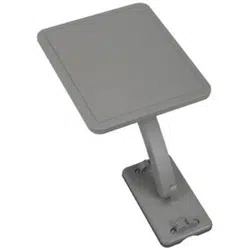
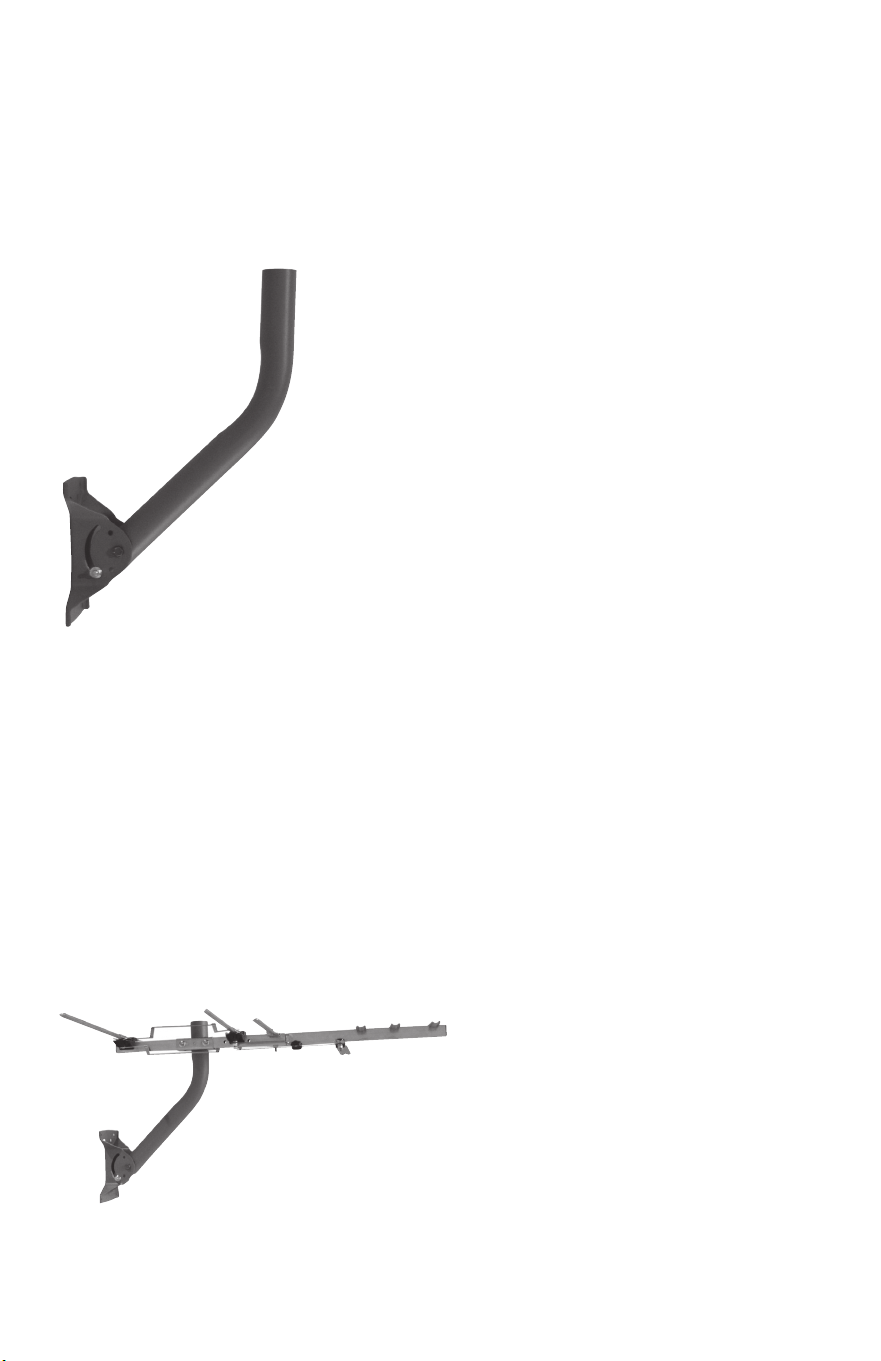
Step 8: Attach the mounting pipe to the foot
Find the end of the mounting pipe with
holes on the sides for screws. Insert this end
into the middle of the foot as shown here.
Then insert the 2 1/2” screw through the
foot and pipe as shown. Screw the 1/4” hex
nut onto the end of the screw to hold the
pipe and foot together. Don’t tighten the
nut completely yet!
Find the square holes on either side of the
bottom of the pipe. Raise the pipe slightly
and insert a 5/8” bolt through these holes
and out the side of the foot. Install the nuts
on the outside of the foot on the 5/8” bolts
to hold the pipe in place. Don’t tighten the
nuts completely yet!
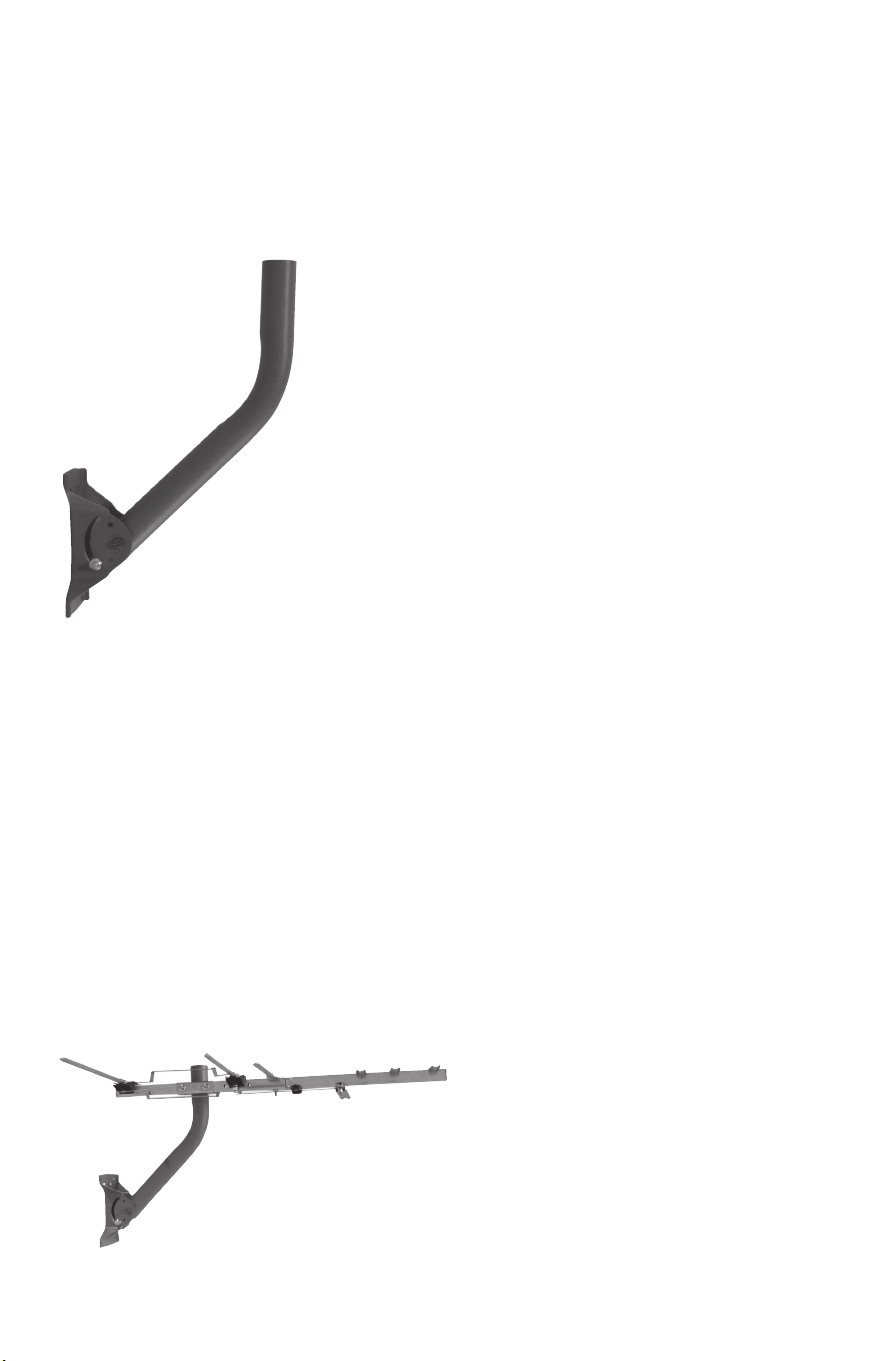
Step 9: Mount the foot and pipe
Secure the foot to its permanent location. Adjust the end of the pipe so
that it’s perpendicular to the ground. Tighten the hex nuts to hold the pipe
in place.
Step 10: Attach the antenna to the mast
IMPORTANT: Before you attach the antenna to your mast, visit
RCAAntennas.net to see the locations of your local broadcast towers. This
information is crucial in pointing your antenna correctly.
Loosen the nuts on the mounting
clamp U-bolt.
Slide the U-bolt over the mast.
Point the small end of the
antenna toward your local
broadcast towers. Tighten the
mast clamp and nuts securely.

12 Month Limited Warranty
Voxx Accessories Corporation (the “Company”) warrants to the original retail
purchaser of this product that should this product or any part thereof, under
normal use and conditions, be proven defective in material or workmanship
within 12 months from the date of original purchase, such defect(s) will be
repaired or replaced with new or reconditioned product (at the Company’s
option) without charge for parts and repair labor. To obtain repair or
replacement within the terms of the warranty, the product is to be delivered
with proof of warranty coverage (e.g. dated bill of sale), specication of
defect(s), transportation prepaid, to an approved warranty station. For the
location of the nearest warranty station to you, call toll-free to our control ofce:
1-800-645-4994.
This Warranty is not transferable and does not cover product purchased,
serviced or used outside the United States or Canada. The Warranty does not
extend to the elimination of externally generated static or noise. This Warranty
does not apply to costs incurred for installation, removal or reinstallation of
the product, or, if in the Company’s opinion, the product has been damaged
through acts of nature, alteration, improper installation, mishandling, misuse,
neglect, or accident. This Warranty does not cover damage caused by an AC
adapter not provided with the product.
THE EXTENT OF THE COMPANY’S LIABILITY UNDER THIS WARRANTY IS
LIMITED TO THE REPAIR OR REPLACEMENT PROVIDED ABOVE AND, IN NO
EVENT, SHALL THE COMPANY’S LIABILITY EXCEED THE PURCHASE PRICE
PAID BY PURCHASER FOR THE PRODUCT. This Warranty is in lieu of all other
express warranties or liabilities. ANY IMPLIED WARRANTIES, INCLUDING ANY
IMPLIED WARRANTY OF MERCHANTABILITY OR FITNESS FOR A PARTICULAR
PURPOSE, SHALL BE LIMITED TO DURATION OF THIS WARRANTY. ANY
ACTION FOR BREACH OF ANY WARRANTY HEREUNDER, INCLUDING
ANY IMPLIED WARRANTY, MUST BE BROUGHT WITHIN A PERIOD OF 24
MONTHS FROM THE DATE OF ORIGINAL PURCHASE. IN NO CASE SHALL THE
COMPANY BE LIABLE FOR ANY CONSEQUENTIAL OR INCIDENTAL DAMAGES
WHATSOEVER. No person or representative is authorized to assume for the
Company any liability other than expressed herein in connection with the sale
of this product.
Some states/provinces do not allow limitations on how long an implied
warranty lasts or the exclusion or limitation of incidental or consequential
damage so the above limitations or exclusions may not apply to you. This
Warranty gives you specic legal rights and you may also have other rights
which vary from state/province to state/province.
Antena YAGI Pequeña
Guía del Usuario
Paso 1: Desempaque
Extraiga la antena y la bolsa de herrajes del empaque. Asegúrese que
todas las piezas se encuentren incluidas en el empaque:
• Sección posterior de la antena • Elemento VHF
• Sección anterior de la antena • Tubo y pie de montaje
• Bolsa de herrajes
Perno en U (2) tuercas hexagonales de 10/32 pulg.
(2) tapas de extremo de plástico
negras
(5) tuercas hexagonales de 1/4 pulg.
Transformador de adaptación (2) pernos de 5/8 pulg.
(4) arandelas de 7/16 pulg. Tornillo de 2-1/2 pulg.
Despliegue los elementos en la
sección posterior de la antena hasta
que enganchen en posición como se
muestra aquí. Cuando haya nalizado,
asegúrese que los elementos queden
planos y paralelos entre sí.
¡¡¡ANTES DE COMENZAR!!!
Lea la hoja de INFORMACIÓN IMPORTANTE DE SEGURIDAD incluida
en este empaque.
Paso 2: Despliegue la sección posterior de la antena
Paso 3: Despliegue la sección anterior de la antena
Despliegue los elementos UHF en la
sección anterior hasta que enganchen
en posición como se muestra aquí.
Cuando haya nalizado, asegúrese
que los elementos queden planos y
paralelos entre sí.
Paso 6: Instale el transformador y el cable coaxial
(no suministrado)
Conecte el transformador al cable coaxial (no
suministrado).
Encuentre las arandelas y tuercas hexagonales
de 10/32 pulg. en la bolsa de herrajes. Utilícelas
para jar el transformador en la parte inferior de
la antena donde están los pernos del elemento
UHF en la sección anterior.
Asegúrese de colocar los conectores del
transformador de adaptación entre las dos
arandelas en cada poste según se muestra aquí.
Por último, apriete las tuercas hexagonales para
jar los conectores.
Paso 4: Instale la sección anterior en la sección posterior
Instale la sección anterior de la antena
en la sección posterior. Para hacer esto,
deslice e inserte el extremo ahusado de
la sección anterior en el extremo de la
sección posterior. Los pernos roscados
en ambas secciones de la antena
deberán estar orientados hacia abajo.
Alinee los agujeros e instale el elemento
VHF incluido en la parte superior del
brazo. Luego fíjelo en posición con el
perno y la tuerca suministrados.
Alinee las 2 líneas de ajuste de fase de la
sección anterior de la antena sobre los
pernos roscados en la sección posterior
y fíjelas con las tuercas hexagonales de
10/32 pulg.
Paso 5: Instale el perno en U de la abrazadera del mástil
Inserte el perno en U en la abrazadera
del mástil en la antena y enrosque sin
apretar las tuercas hexagonales de 1/4
pulg. en el perno en U.
¡No apriete todavía las tuercas
hexagonales!
Paso 7: Inserte las tapas de extremo
Inserte las tapas plásticas de los extremos en los extremos de los
brazos. Utilice un mazo de goma para golpearlos suavemente, e
introducirlos y jarlos en los brazos de la antena.
Paso 8: Instale el tubo de montaje en el pie
Encuentre el extremo del tubo de montaje
con oricios en los lados para tornillos.
Inserte este extremo en el centro del pie
como se muestra aquí.
Luego inserte el tornillo de 2 1/2 pulg. a
través del pie y del tubo según se ilustra.
Atornille la tuerca hexagonal de ¼ pulg.
en el extremo del tornillo para sujetar el
tubo y el pie entre sí. ¡No apriete la tuerca
completamente todavía!
Encuentre los oricios cuadrados en uno
de los lados de la parte inferior del tubo.
Eleve un poco el tubo e inserte el perno de
5/8 pulg. a través de estos oricios hasta
que salgan por el lado del pie. Instale las
tuercas en el lado exterior del pie en los
pernos de 5/8 pulg. para sujetar el tubo
en su posición. ¡No apriete las tuercas
completamente todavía!
Paso 9: Monte el pie y el tubo
Fije el pie en su ubicación permanente. Ajuste el extremo del tubo de
manera que quede perpendicular al suelo. Apriete las tuercas hexagonales
para sujetar el tubo en su posición.
Paso 10: Fije la antena en el mástil
IMPORTANTE: Antes de jar la antena en el mástil, visite RCAAntennas.
net para informarse sobre las ubicaciones de las torres de difusión locales.
Esta información es sumamente importante para la lograr la orientación
correcta de la antena.
Aoje las tuercas en el perno en
U de la abrazadera de montaje.
Deslice el perno en U sobre
el mástil. Oriente el extremo
pequeño de la antena hacia las
torres de difusión locales. Apriete
rmemente las tuercas y la
abrazadera del mástil.

Garantía Limitada de 12 Meses
Voxx Accessories Corporation (la “Compañía”) le garantiza a usted, el
comprador original de este producto que si, bajo condiciones y uso normales,
se encontrara que este producto o alguna pieza del mismo presenta defectos
materiales o de mano de obra dentro de los primeros 12 meses a partir de la
fecha de compra original, tales defectos serán reparados o reemplazados con
un producto nuevo o renovado (a opción de la Compañía) sin cargo alguno
por las piezas y labores de reparación. Para obtener los servicios de reparación
o reemplazo dentro de los términos de esta garantía, el producto se entregará
con prueba de cobertura de garantía (por ejemplo, factura con fecha de
venta), especicación de los defectos, transporte prepagado, a una estación
de garantía aprobada. Para ubicar la estación de garantía más cercana a su
domicilio, llame libre de cargo a nuestra ocina de control al: 1-800-645-4994.
Esta Garantía no es transferible y no cubre un producto adquirido, mantenido
o utilizado fuera de los Estados Unidos o Canadá. Esta Garantía no incluye la
eliminación de electricidad estática o ruido generados externamente. Esta
Garantía no incluye los costos incurridos en la instalación, desmontaje o
reinstalación de este producto, o, si es en la opinión de la Compañía, que este
producto ha sufrido daños debido a causas de fuerza mayor, alteraciones,
instalación inadecuada, abuso, uso indebido, negligencia o accidente. Esta
Garantía no incluye daños ocasionados por un adaptador de CA que no haya
sido suministrado con el producto.
EL ALCANCE DE LA RESPONSABILIDAD DE LA COMPAÑÍA BAJO ESTA
GARANTÍA ESTÁ LIMITADO A LA REPARACIÓN O EL REEMPLAZO
PROVISTO ARRIBA Y, EN NINGÚN CASO, DEBERÁ LA RESPONSABILIDAD
DE LA COMPAÑÍA EXCEDER EL PRECIO DE COMPRA PAGADO POR EL
COMPRADOR DE ESTE PRODUCTO. Esta Garantía reemplaza cualesquiera
otras responsabilidades o garantías expresas. CUALESQUIERA GARANTÍAS
IMPLÍCITAS, INCLUYENDO CUALQUIER GARANTÍA IMPLÍCITA DE
COMERCIABILIDAD O ADAPTABILIDAD PARA UN PROPÓSITO EN
PARTICULAR ESTARÁN LIMITADAS A LA DURACIÓN DE ESTA GARANTÍA.
CUALQUIER ACCIÓN PARA EL INCUMPLIMIENTO DE CUALQUIER GARANTÍA
EN EL PRESENTE, INCLUYENDO CUALQUIER GARANTÍA IMPLÍCITA, DEBERÁ
PRESENTARSE DENTRO DE UN PERÍODO DE 24 MESES A PARTIR DE LA
FECHA DE COMPRA ORIGINAL. EN NINGÚN CASO LA COMPAÑÍA SERÁ
RESPONSABLE POR DAÑOS EMERGENTES O INCIDENTALES. Ninguna
persona ni representante están autorizados a asumir, a nombre de la
Compañía, ninguna responsabilidad salvo la expresada aquí en conexión con
la venta de este producto.
Algunos estados/provincias no permiten limitaciones sobre la duración de
una garantía implícita o la exclusión o la limitación de daños incidentales
o emergentes, de modo que es posible que las limitaciones o exclusiones
anteriores no apliquen en su caso. Esta Garantía le conere derechos legales
especícos y es posible además que usted tenga otros derechos que pueden
variar según el estado/provincia.
ANT753-4 IB 00