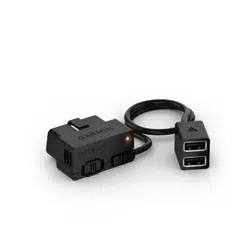
CONSTANT POWER CABLE
Installation Instructions
Getting Started
WARNING
When installing the device in a vehicle, you must install the device securely so it does not interfere with the
vehicle operating controls, such as the foot pedals, or the driver's feet. Interference with the vehicle operating
controls or feet can result in an accident, which could result in injury or death.
CAUTION
Defer to your vehicle's warranty provisions and owner's instructions for guidance on whether any OBD II
connector product might void or alter your vehicle's warranty. Garmin
®
is not responsible for any costs or
expenses associated with vehicle repairs or voided warranties.
If you notice any change in engine performance after connecting the device, disconnect the device immediately
and contact Garmin product support. Do not use the device if it affects engine performance or acceleration in
your particular make and model of vehicle.
Installing the Device
1 Set the time switch (Time Switch, page2).
2 Connect the device to the OBDII port in your vehicle.
The OBDII port is usually located under the dashboard on the driver's side of the vehicle. The OBDII port
location may vary depending on the make and model of your vehicle. See your vehicle owner's manual for
more information.
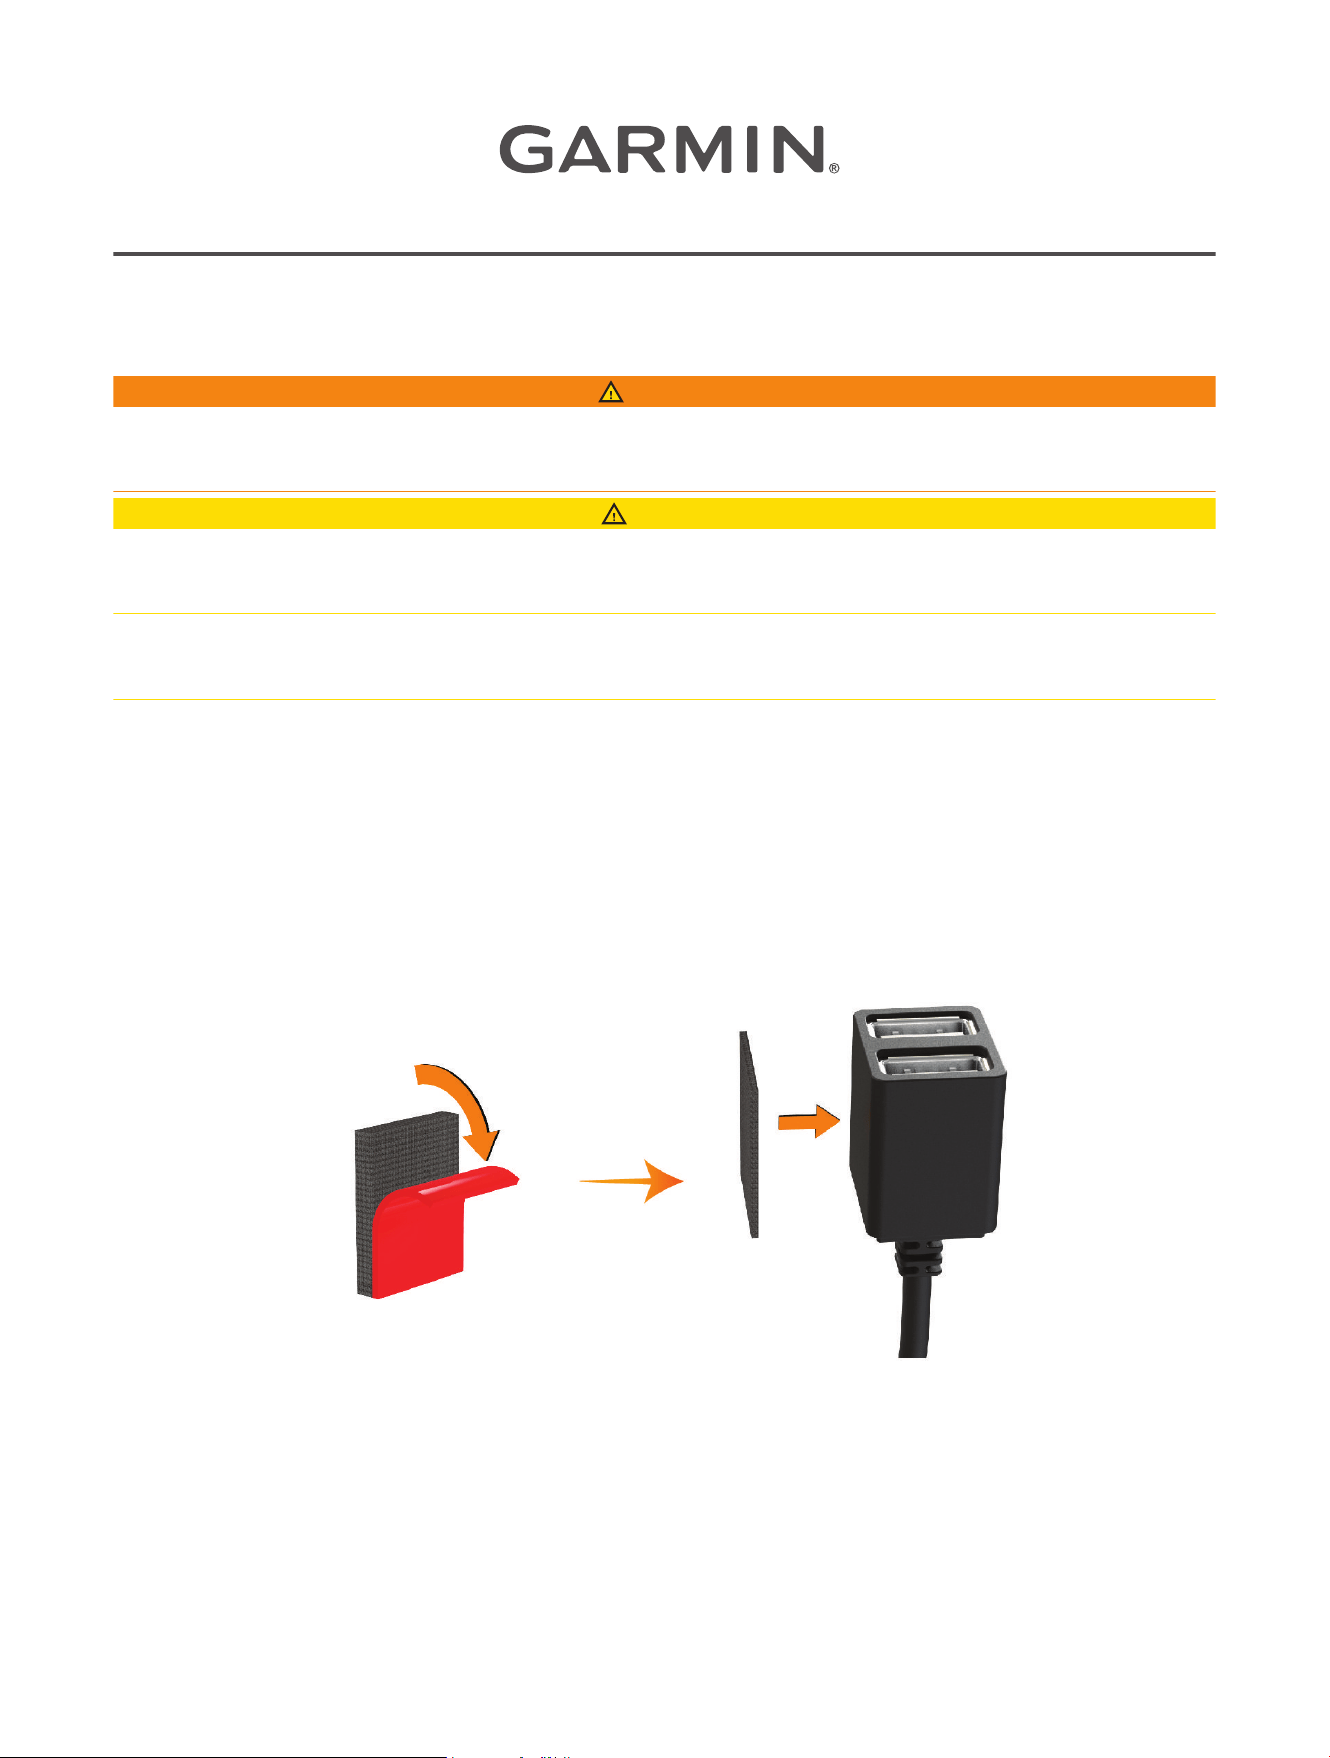
3 Remove the protective film from one reclosable fastener, and press the reclosable fastener firmly onto the
USB port end of the device for 10 seconds.
4 Clean the vehicle mounting surface using water or alcohol, and a lint-free cloth.
5 Allow the surface to dry completely.
6 Remove the protective film from a second reclosable fastener, and press it firmly onto the vehicle mounting
surface for 10 seconds.
7 Press the reclosable fastener on the device against the reclosable fastener on the mounting surface to
secure the device to the mounting location.
August 2025 GUID-85FFB50A-8464-4753-A4E2-813EEBF82A34 v2
8 Connect the USB power cable from your Garmin Dash Cam
™
device to a USB port on the Constant Power
Cable device.
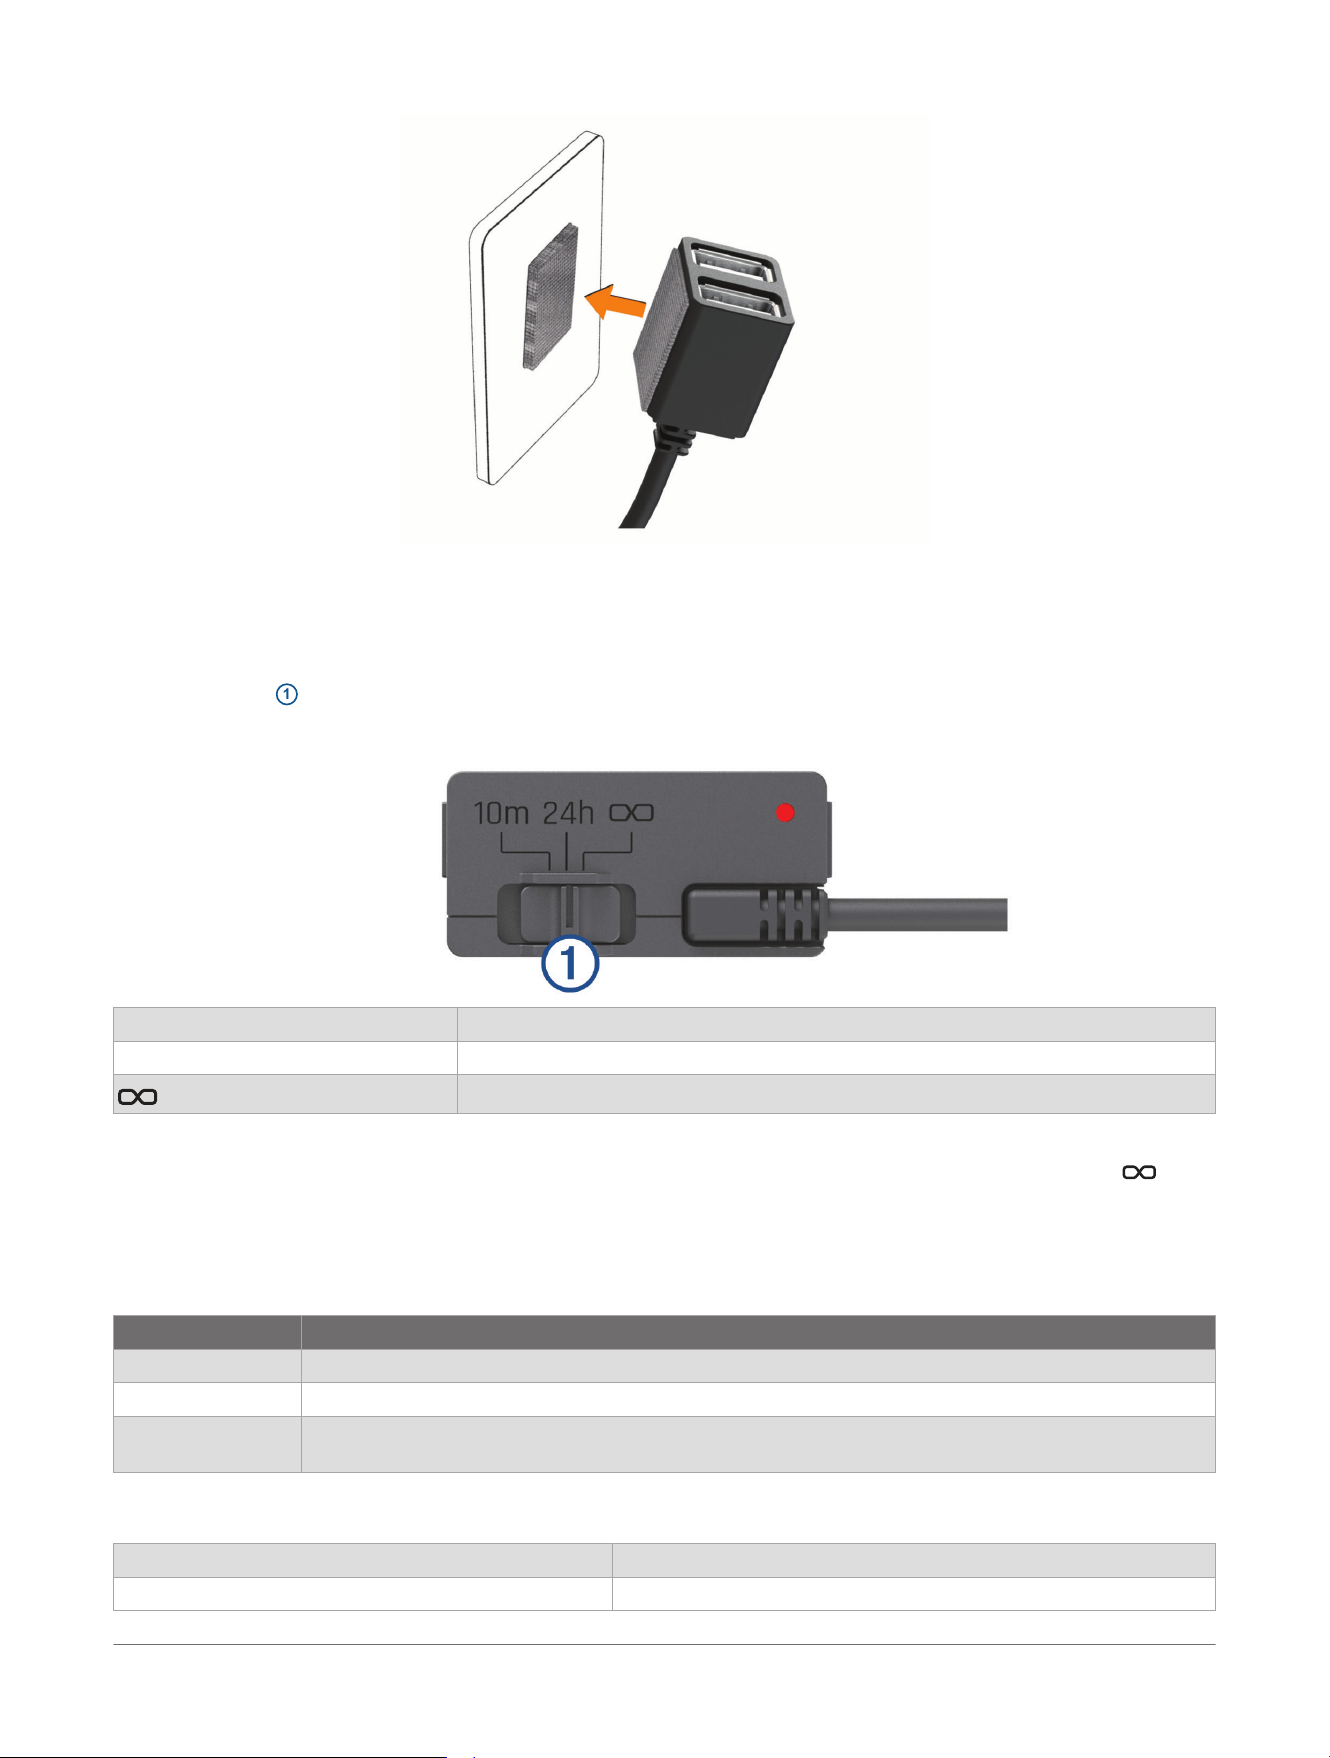
Time Switch
The time switch
1
sets the length of time the device continues to supply power after you exit the vehicle. The
device reenables power when it detects motion, or when you reenter the vehicle.
10m 10 minutes
24h 24 hours
Always on
If you want the device to remain off until you reenter the vehicle, you should select the 10m option.
If you want the device to operate continuously while the vehicle is parked, you should select the 24h or
option.
Status LED
The status LED shows the device status.
Status LED Activity Status
Red The device is supplying power to the connected devices.
Flashing red The timer has expired and the device is no longer supplying power to the connected devices.
Off The device is receiving less than 12V of power. The low battery protection feature turns off the
device to protect the vehicle battery.
Specifications
Operating temperature From -20° to 45°C (from -4° to 113°F)
Input From 12 to 16V, 1.6A Max.
2 Constant Power Cable
Installation Instructions

Output 5Vdc, 1.5A each (3.0A total)
Low battery protection voltage 12V
© 2025 Garmin Ltd. or its subsidiaries
Garmin
®
and the Garmin logo are trademarks of Garmin Ltd. or its subsidiaries, registered in the USA and other countries. Garmin Dash Cam
™
is a trademark
of Garmin Ltd. or its subsidiaries. These trademarks may not be used without the express permission of Garmin.
Constant Power Cable
Installation Instructions
3