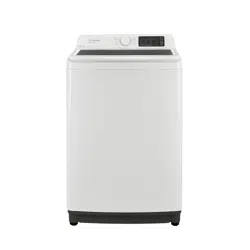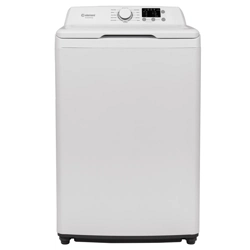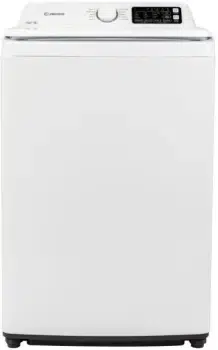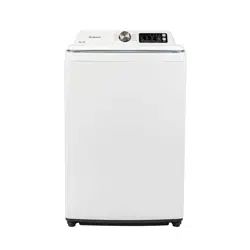
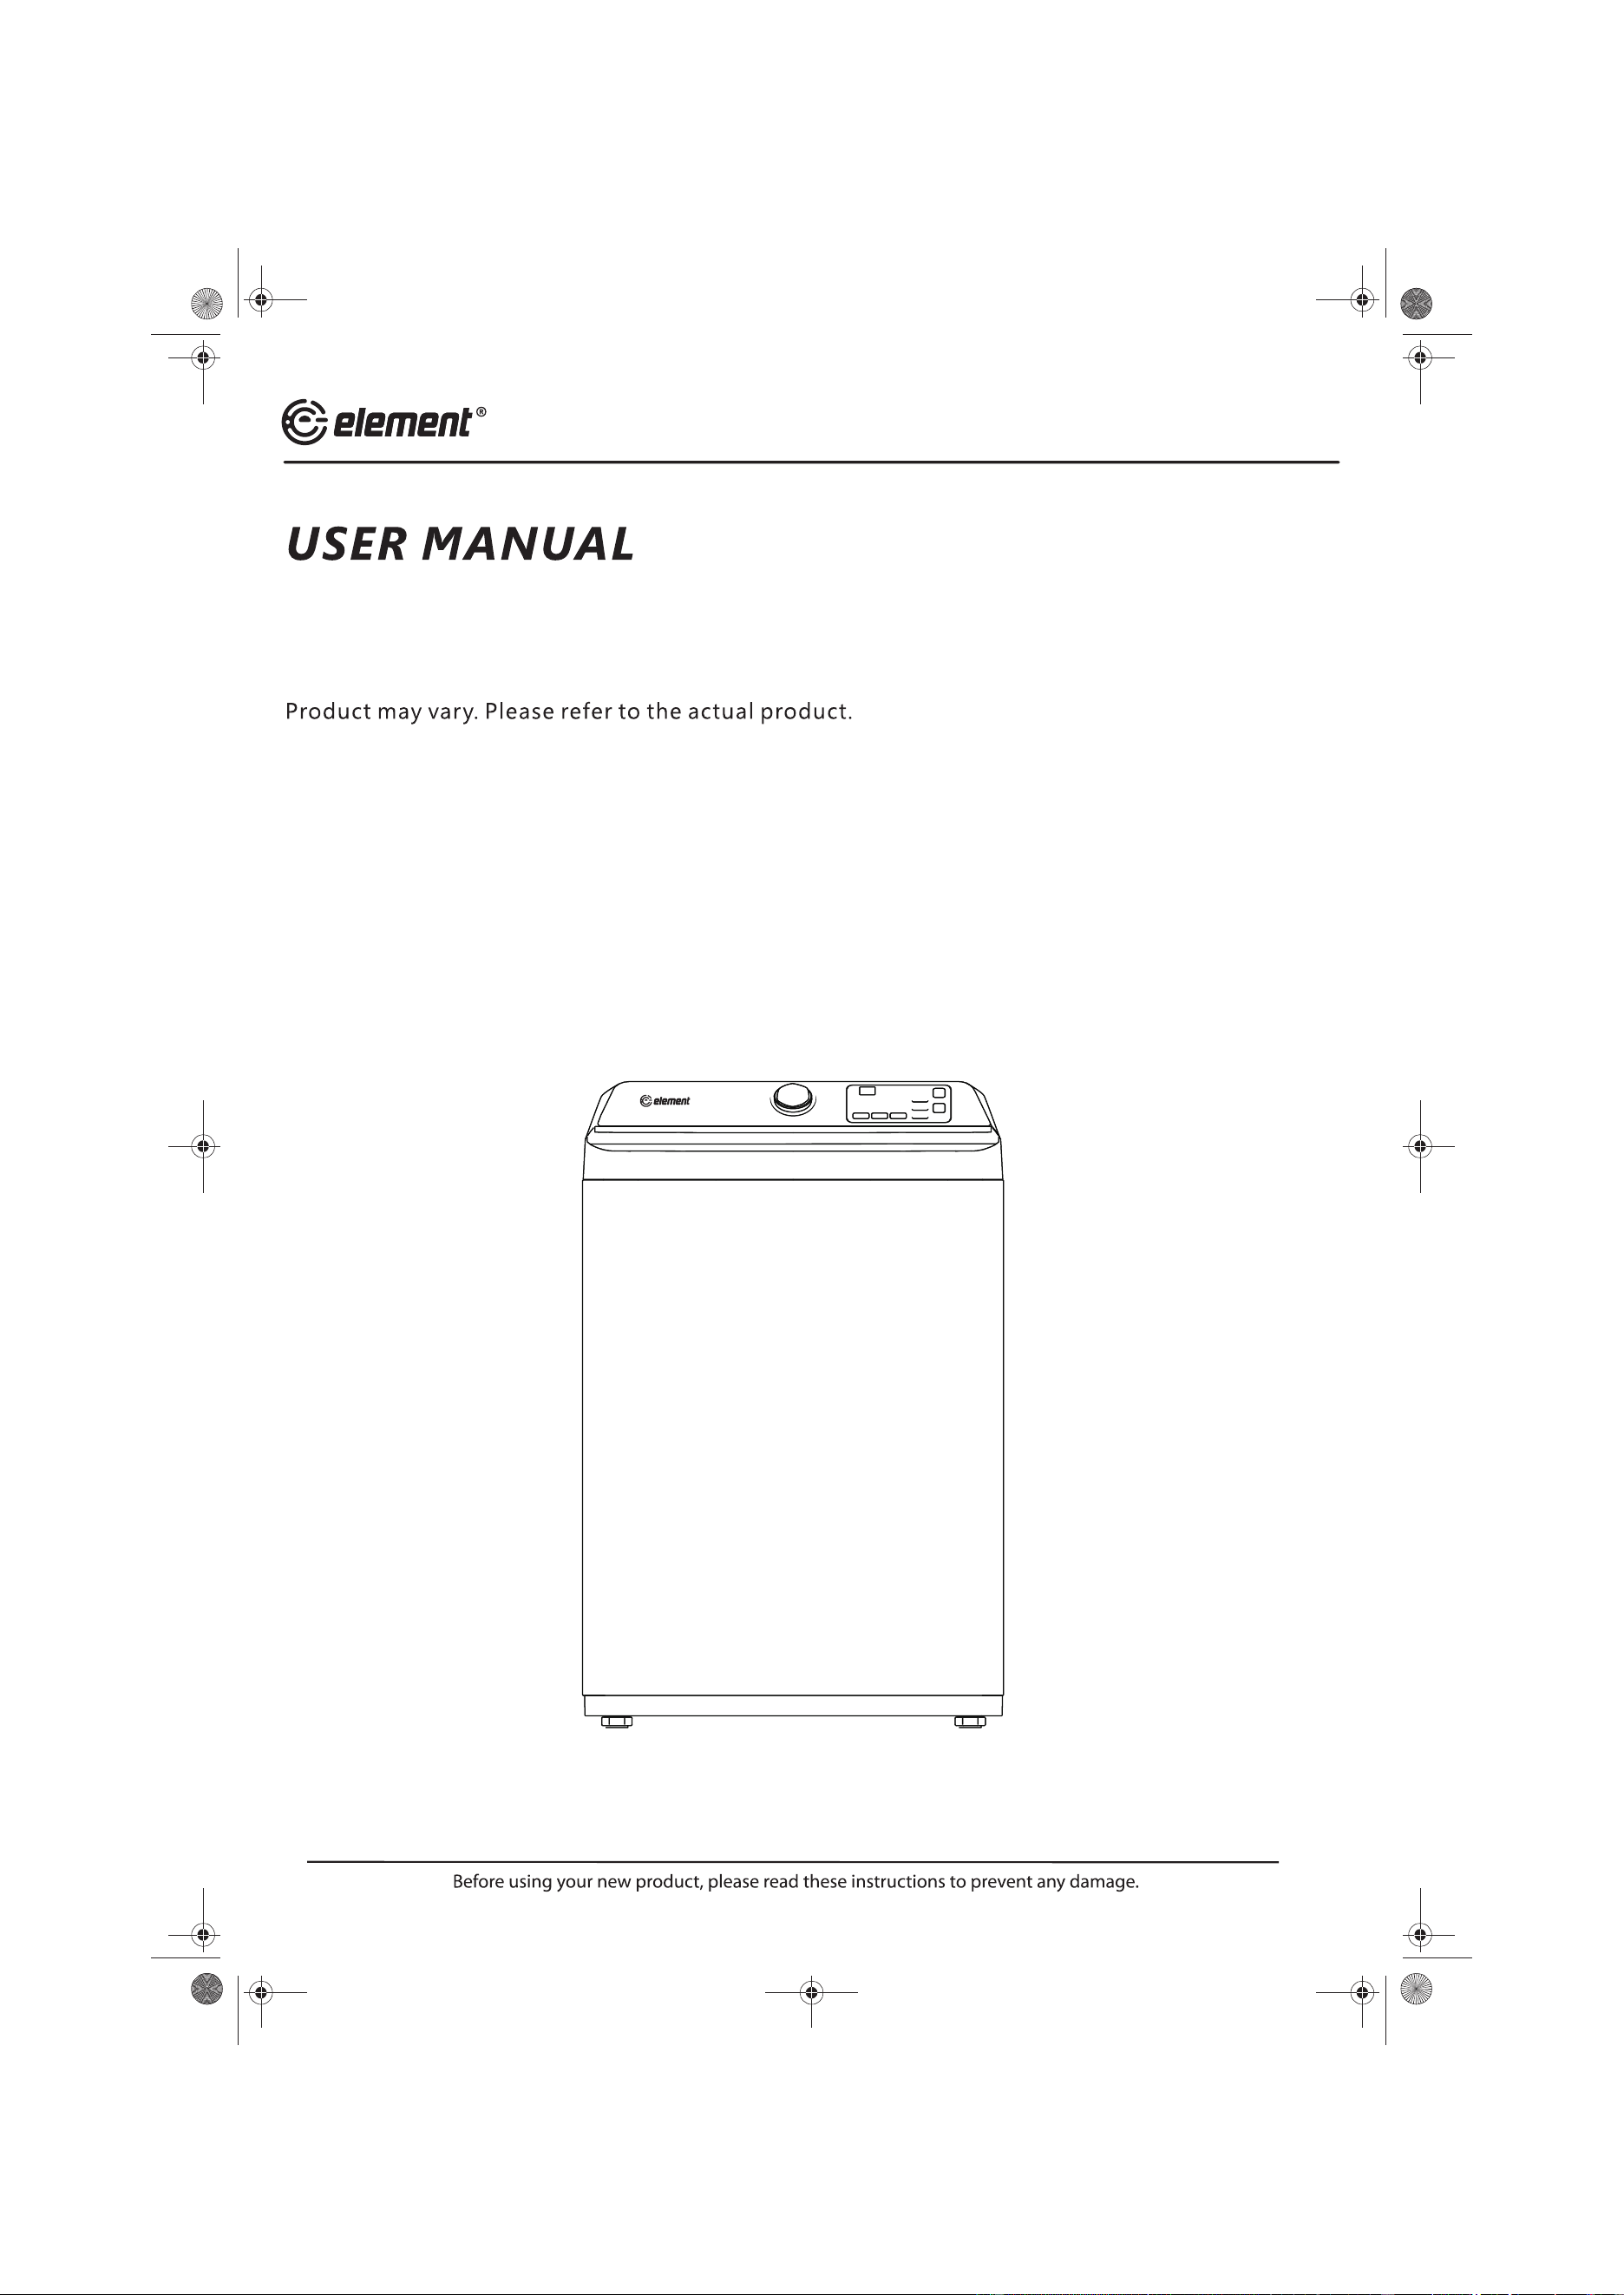
ETW4125CW
4.1 cu. ft. 25.8 Inch Top Load Washer
Thank you for purchasing the Element 4.1 cu. ft. 25.8 Inch Top Load Washer. If you
have questions about your washer,our customer support team is ready to help:
4.1 cu. ft. 25.8 Inch Top Load Washer-USER MANUAL
4.1 cu. ft. 25.8 Inch Top Load Washer
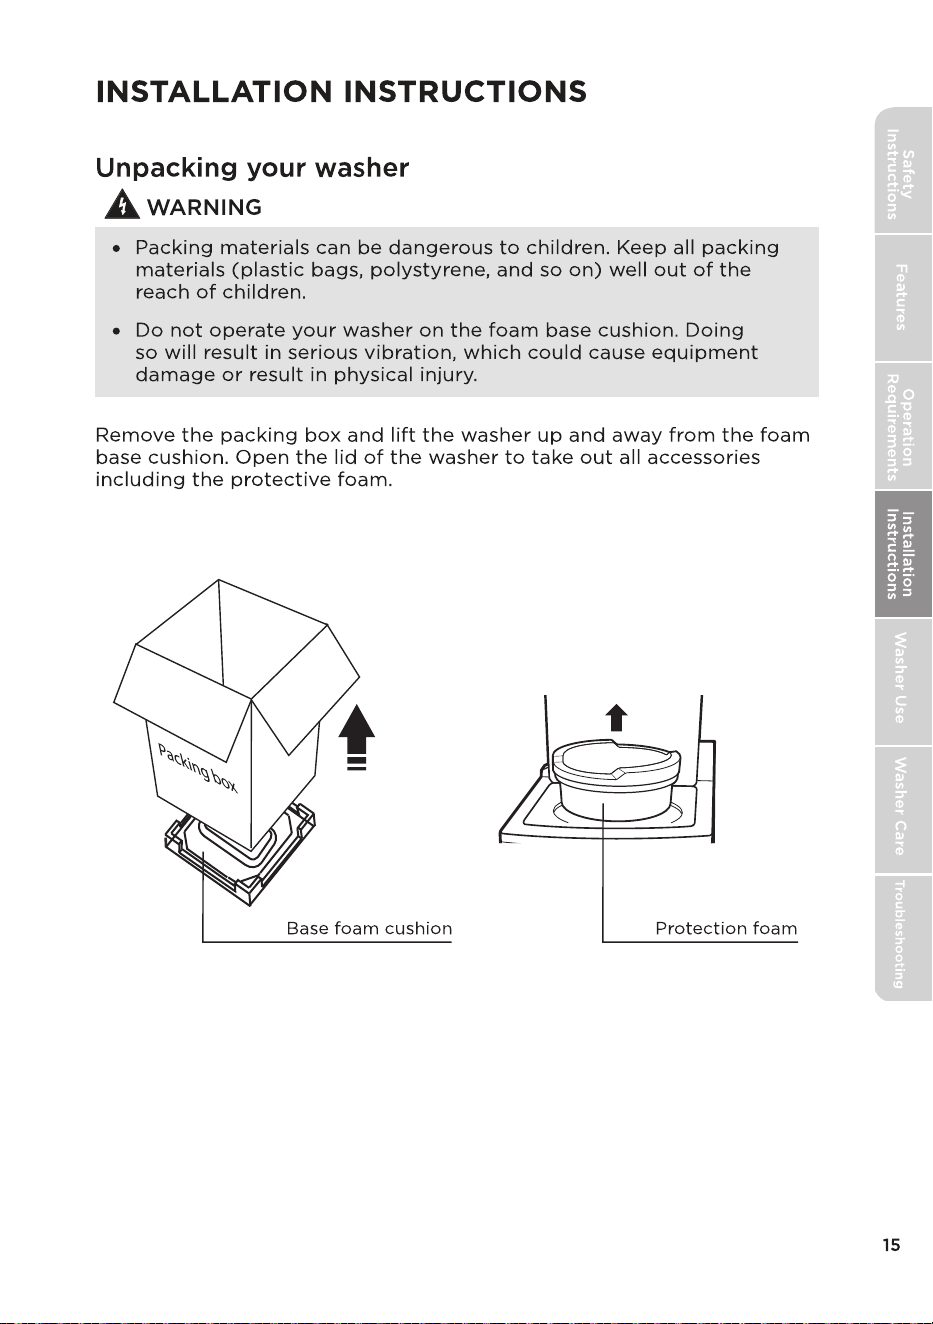
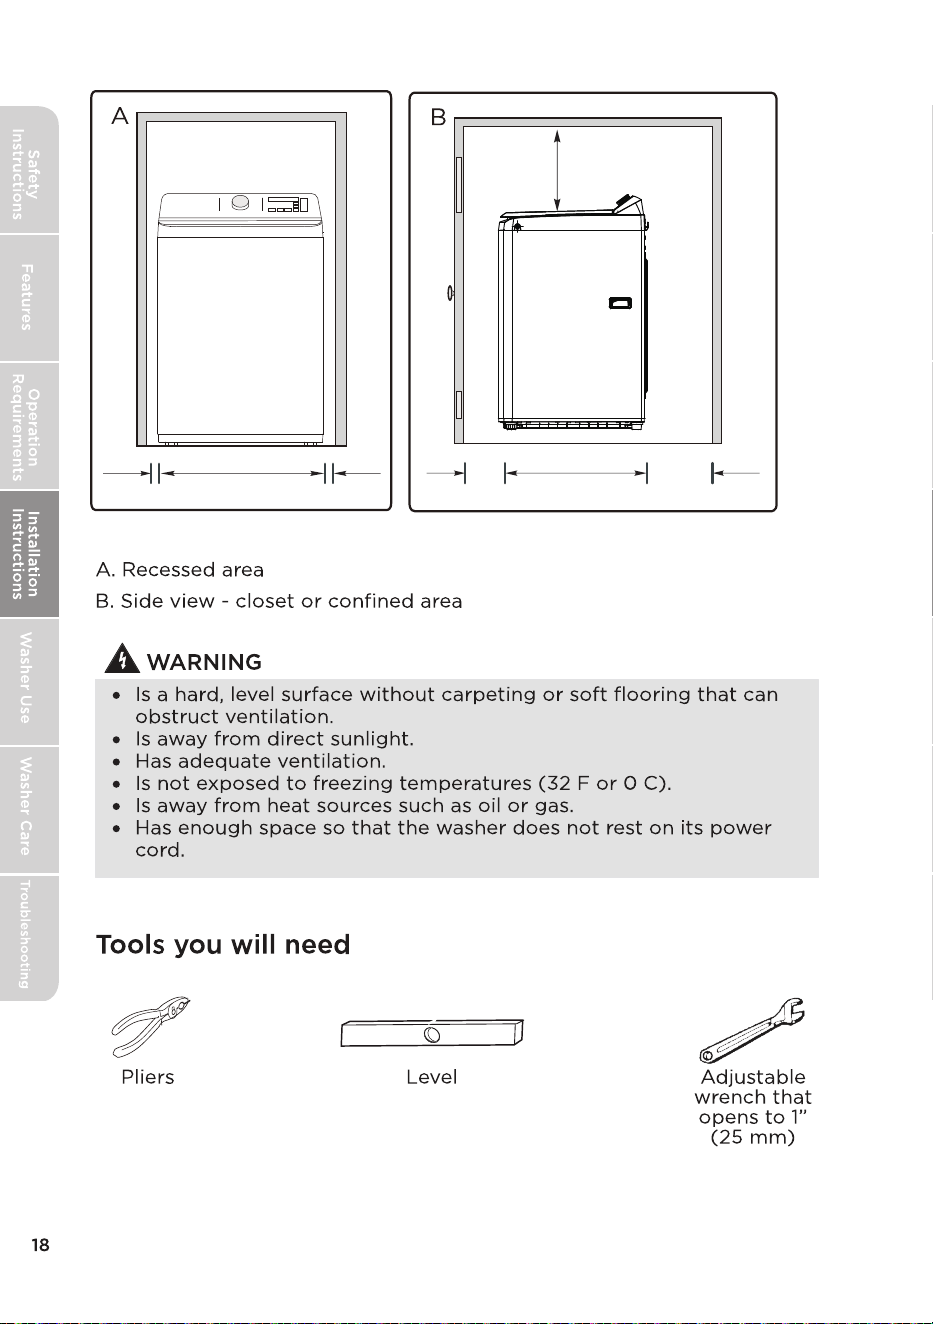
Use and maintenance warning and precaution
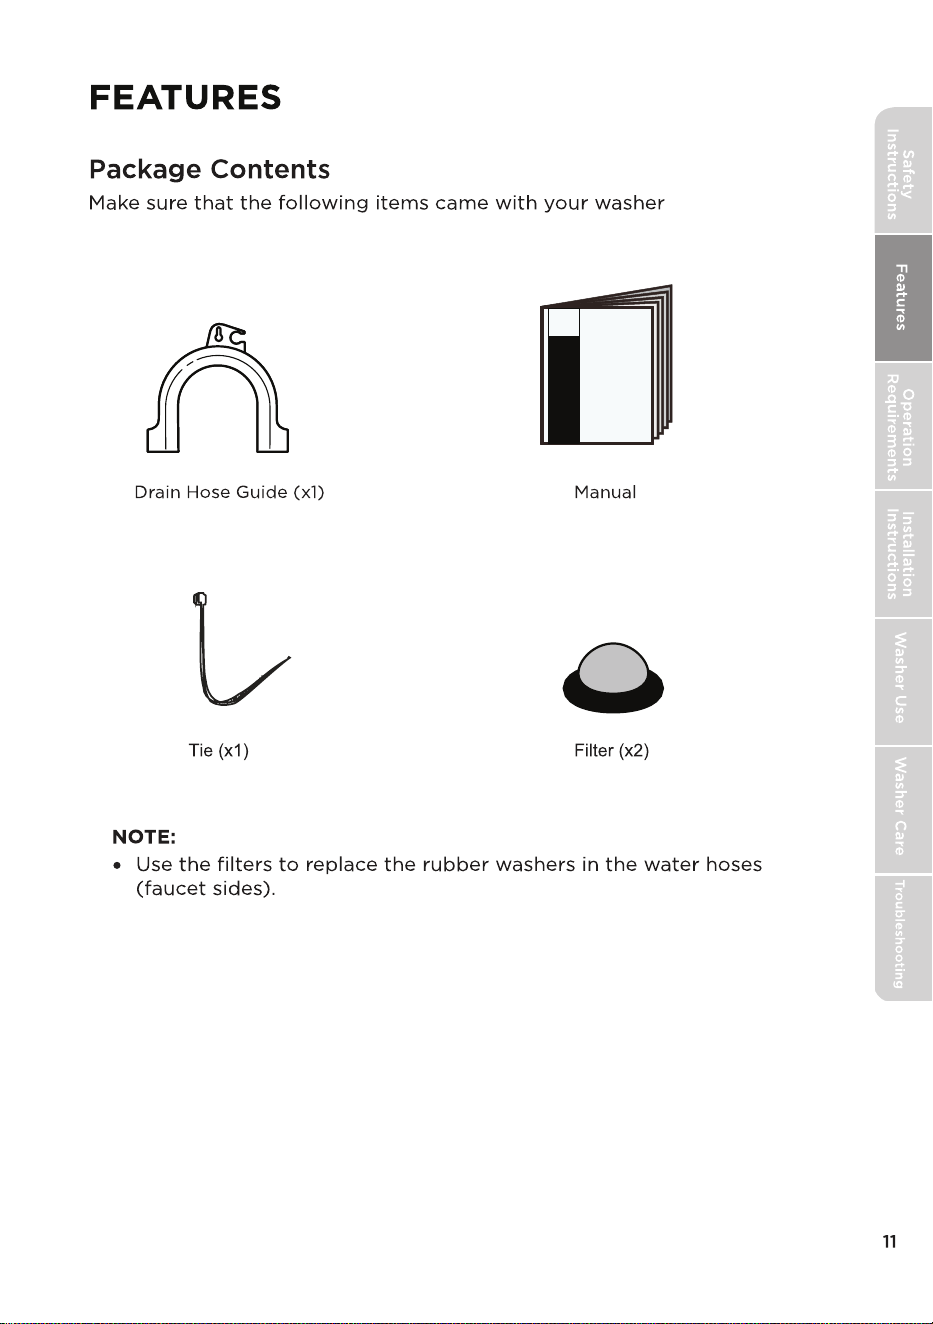
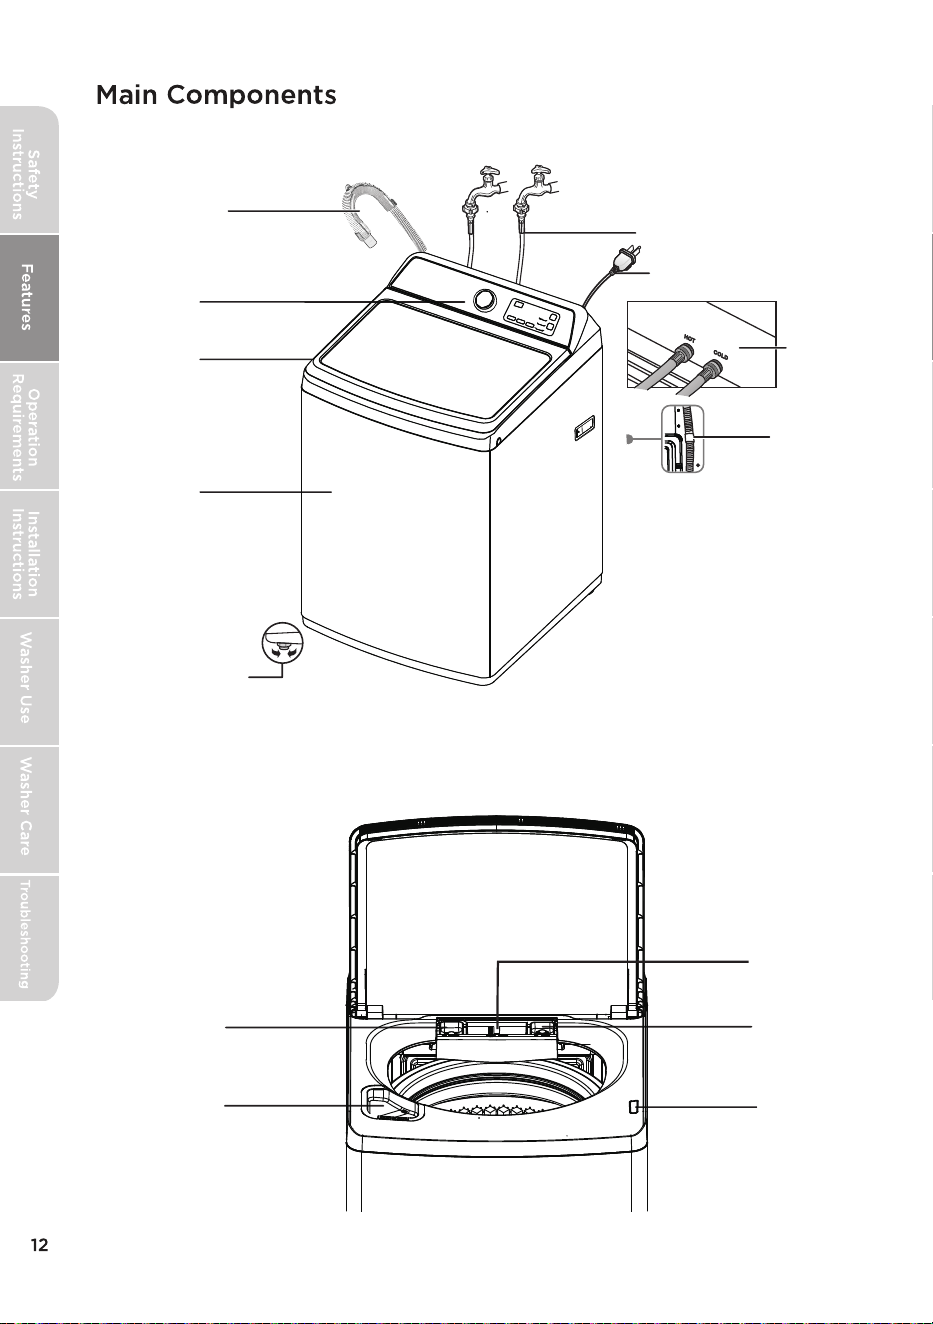
Drain hose and
holder
Top lid
Cabinet
Two adjustable legs
Control panel
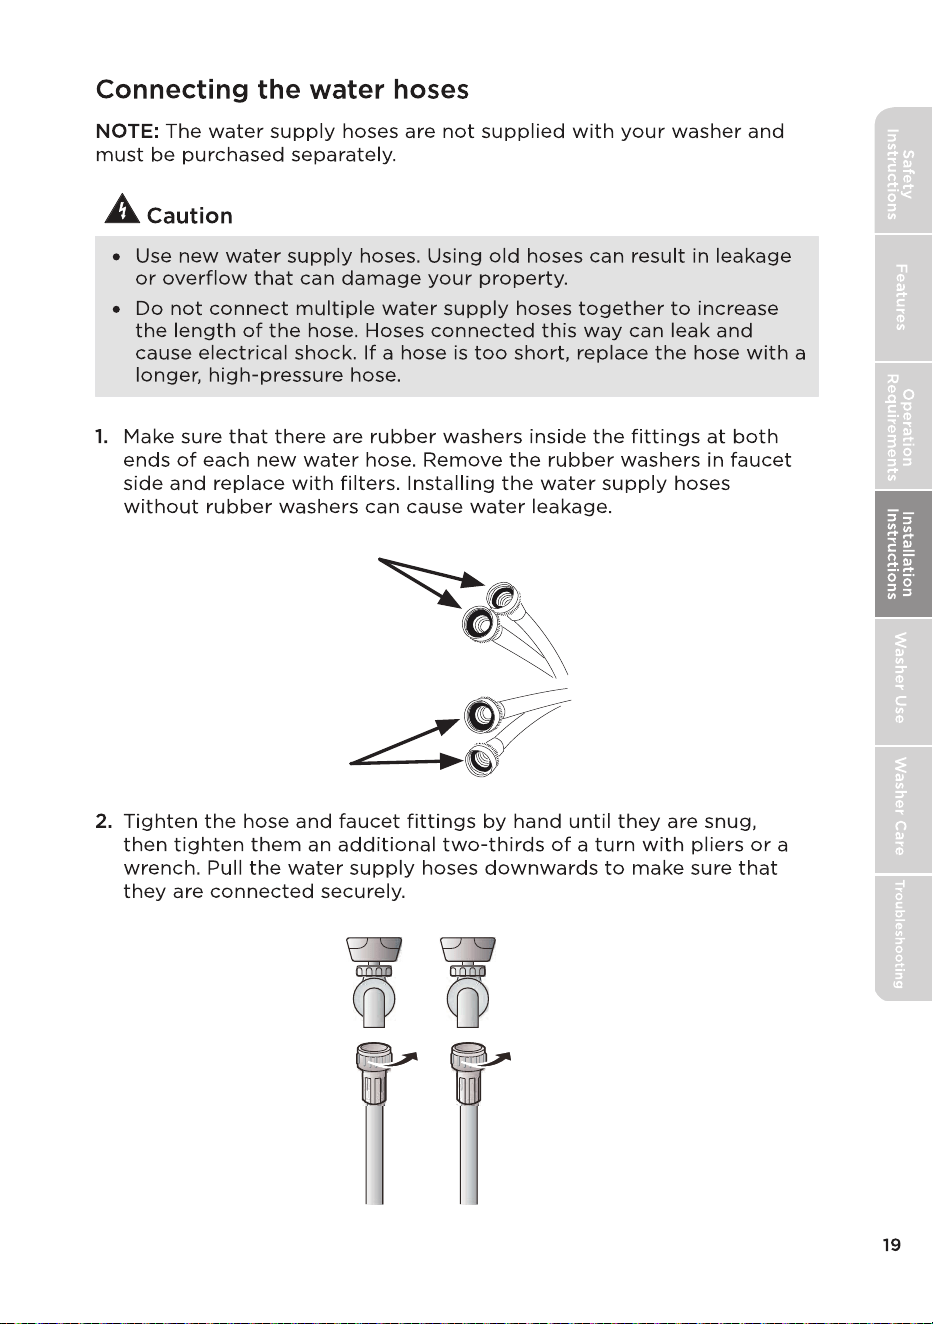
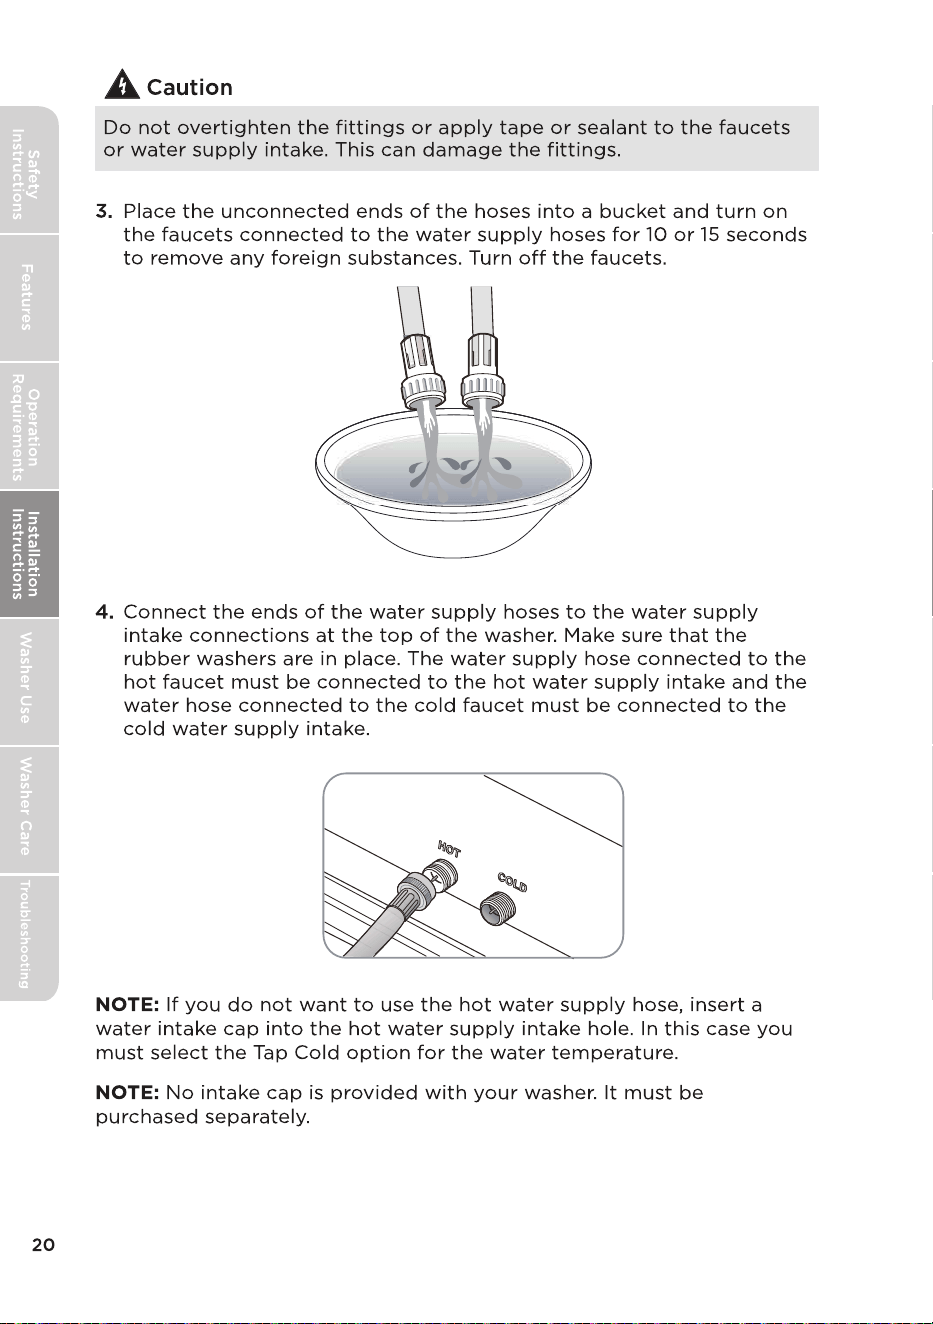
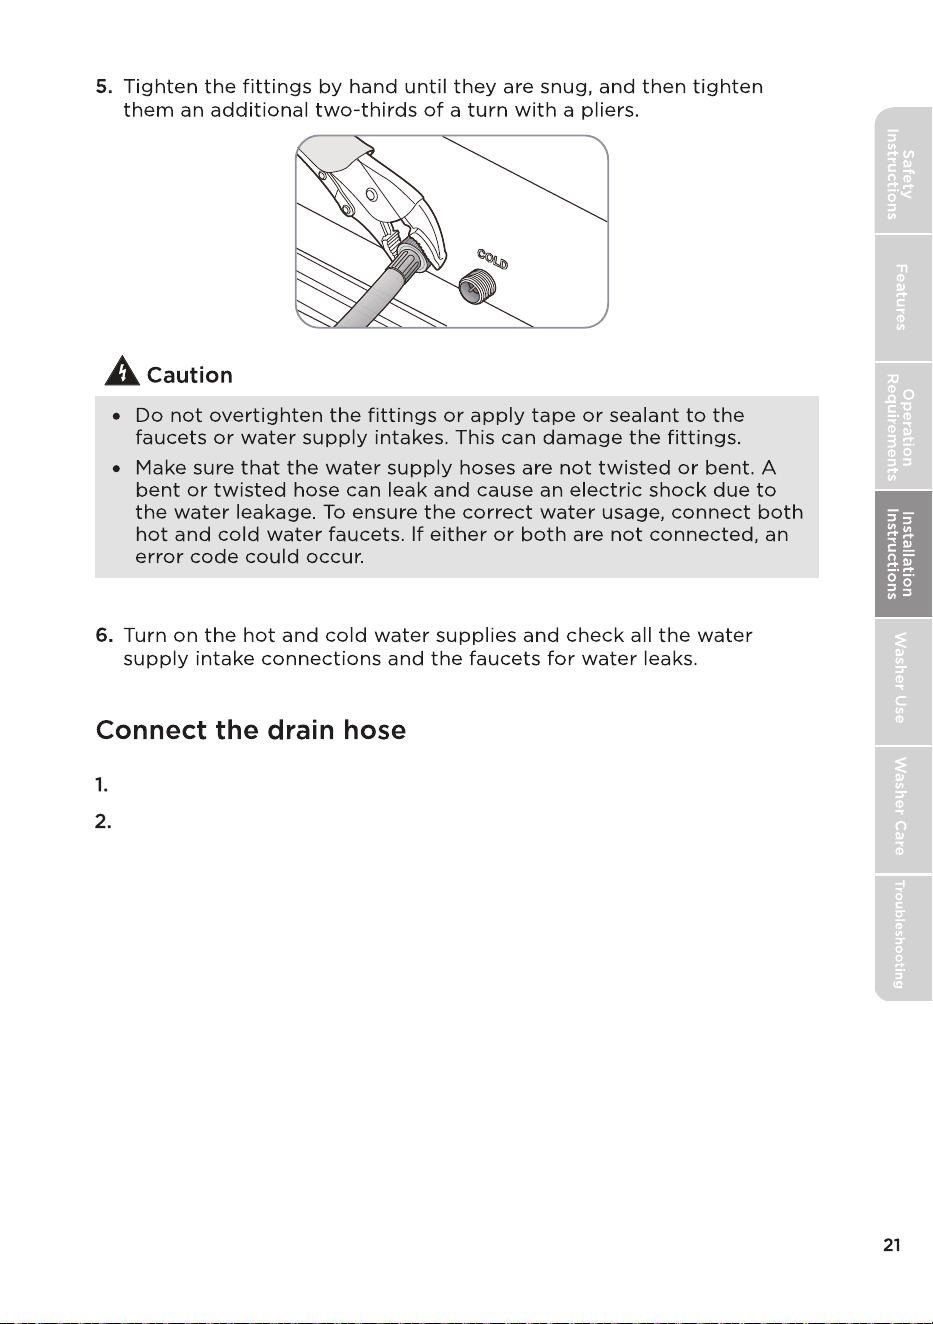
Faucets and water inlet
hoses (not included)
Water inlet
valves (on
the back)
Power cord
Attach hose
clamp to
predrilled holes
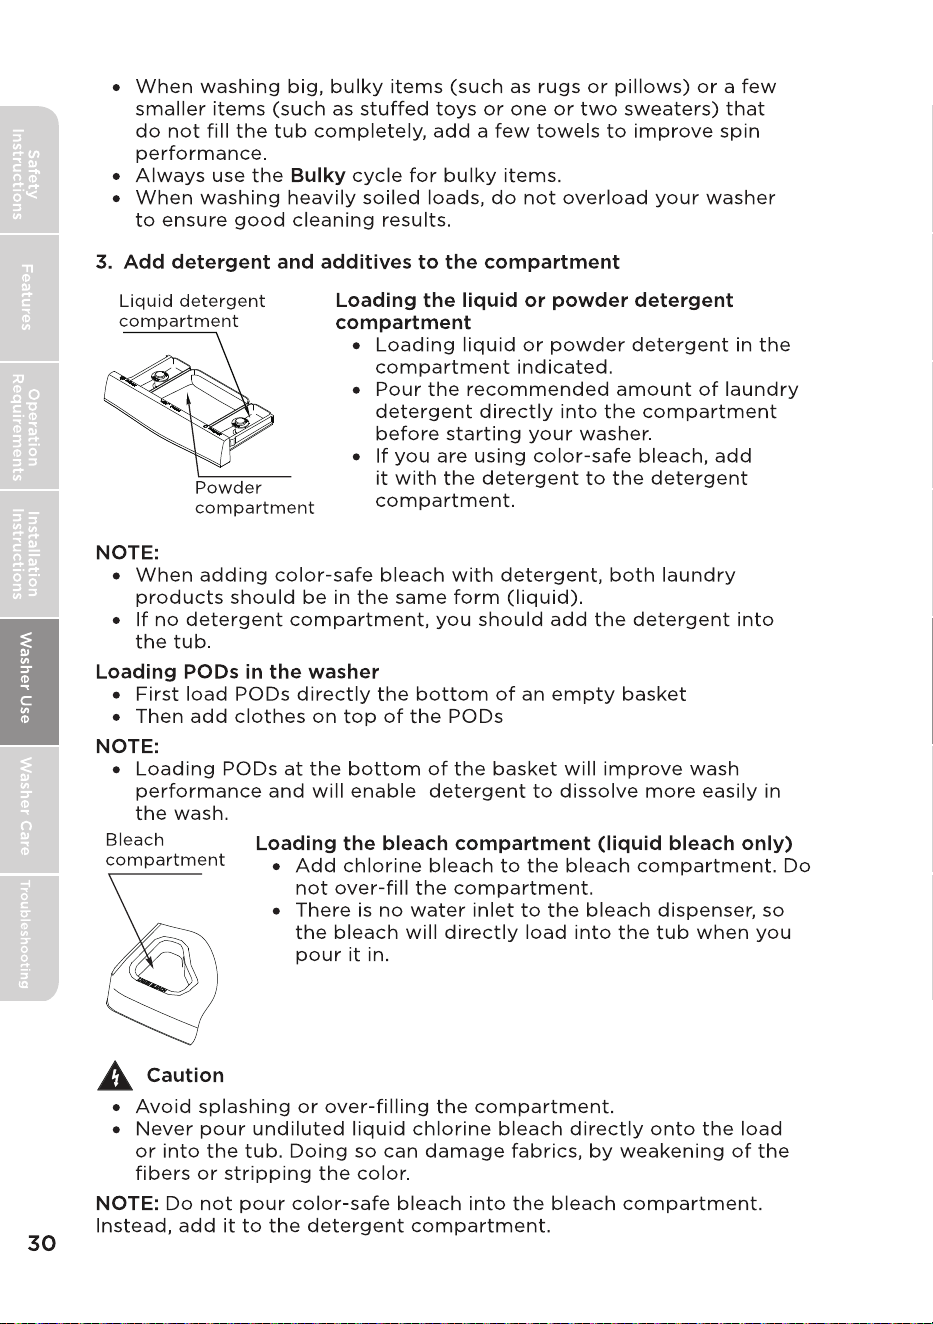
Fabric softener
compartment
Detergent
compartment
Bleach
compartment
Lid lock
Powder
compartment

107 cm
42.1 in.
25.75 in.
65.4 cm
27 in.
68.4 cm
58in.
147 cm

1 in.
25.75 in. (65.4 cm)
1 in.
2.5 cm
2.5 cm
2 in.
5.1 cm
27 in. (68.4 cm)
6 in.
24 in.
61 cm
(15.2 cm)
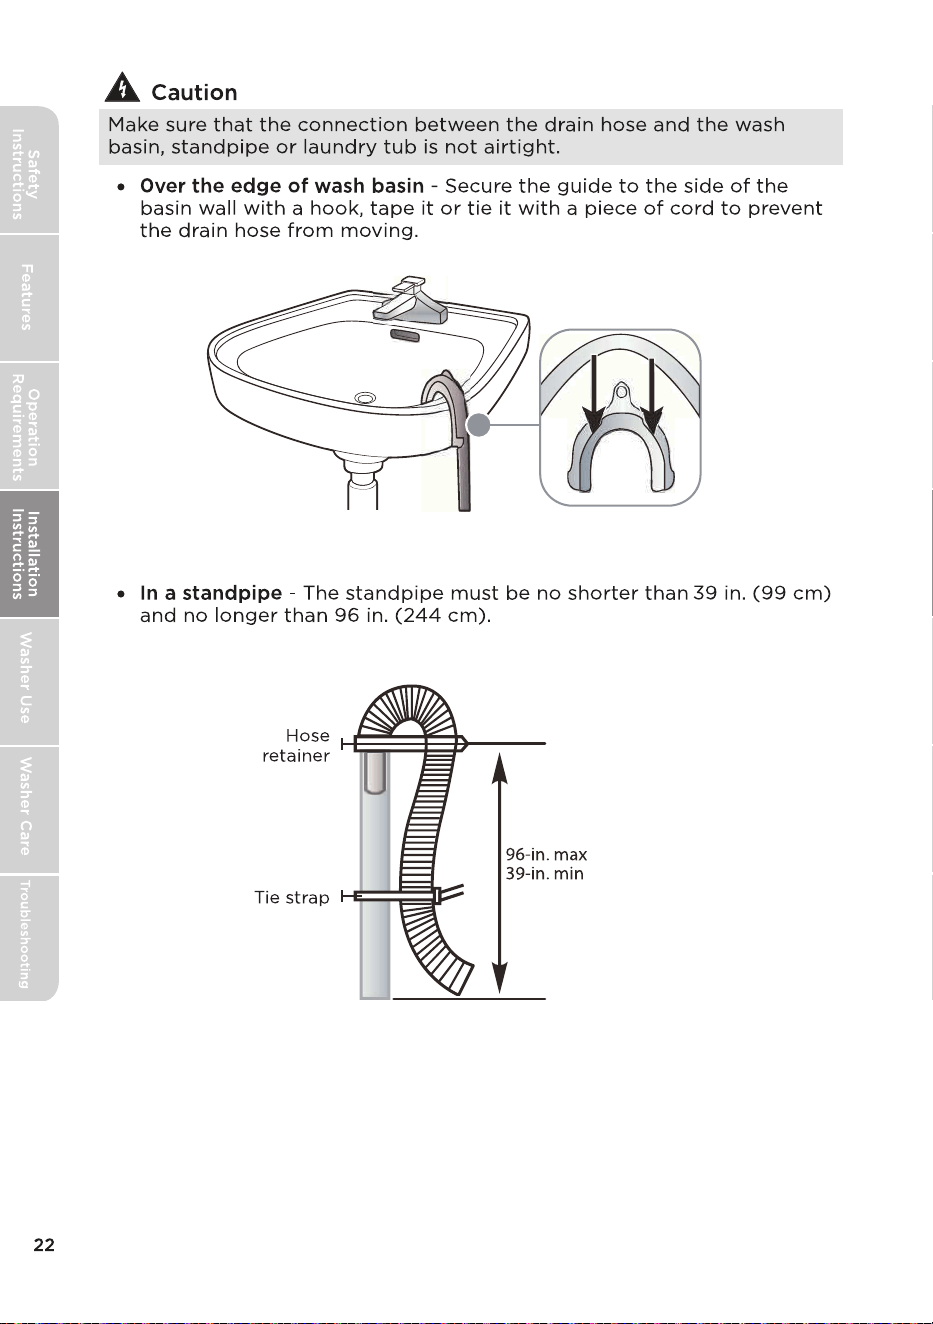
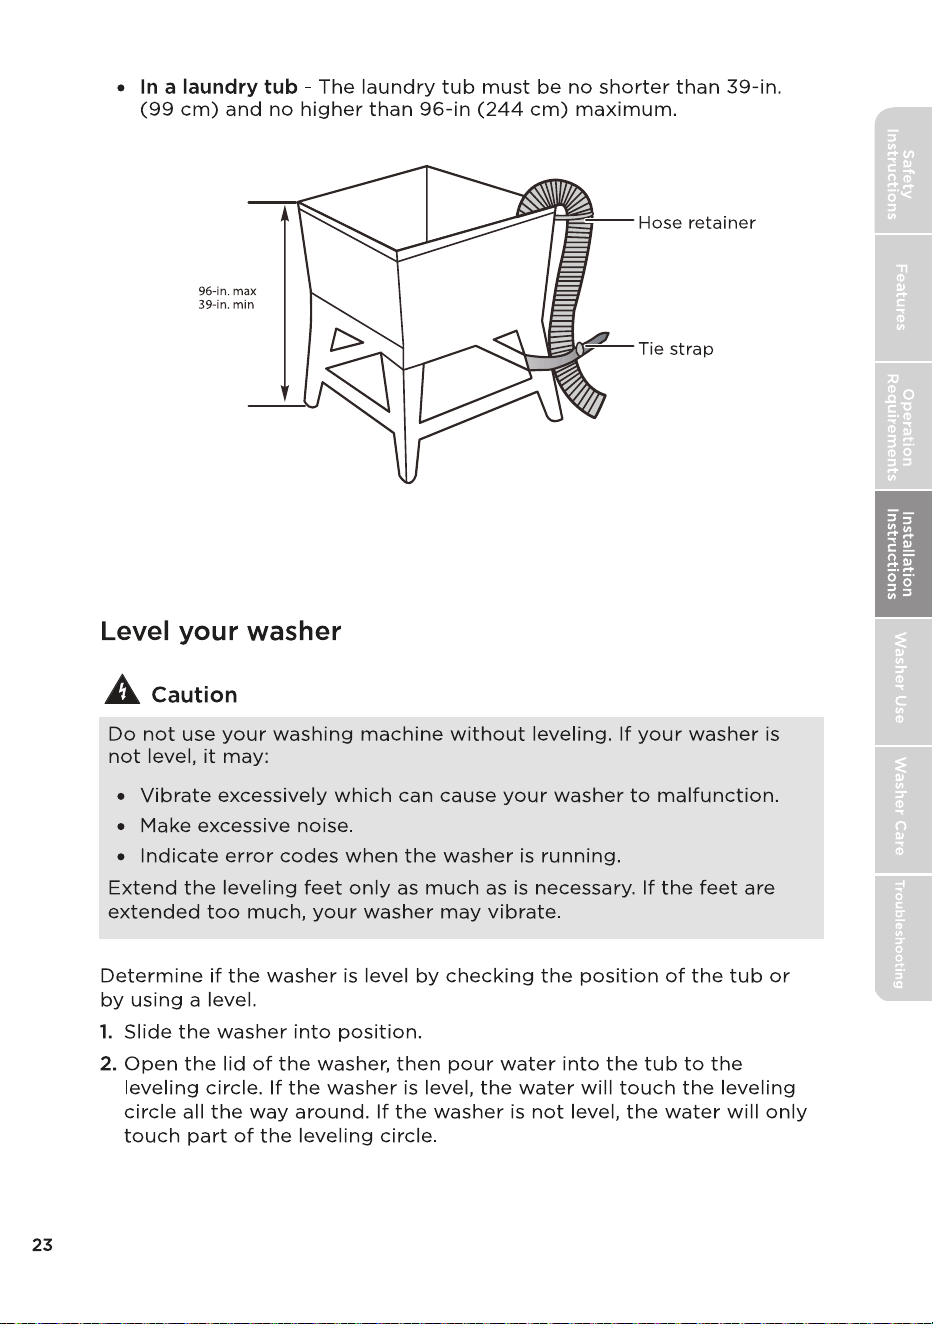
Put the Drain Hose out of the Clamp.
Position the other end of the drain hose.
It can be positioned in three ways.
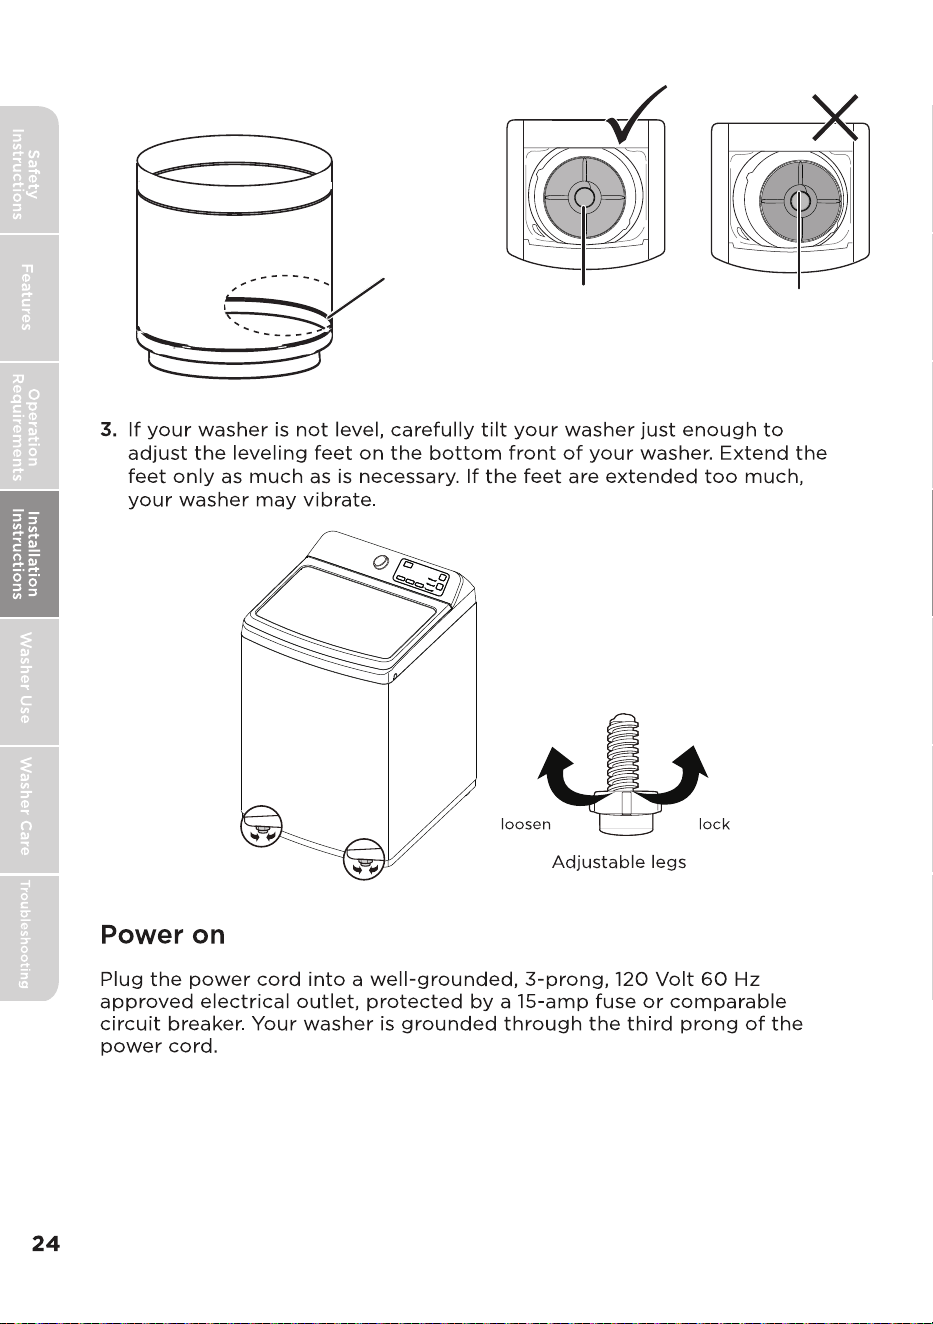
Leveling circle
Washer is level - the
water touches the
leveling circle all the
way around.
Washer not level - the
water does not touch
the leveling circle all
the way around.
8
9
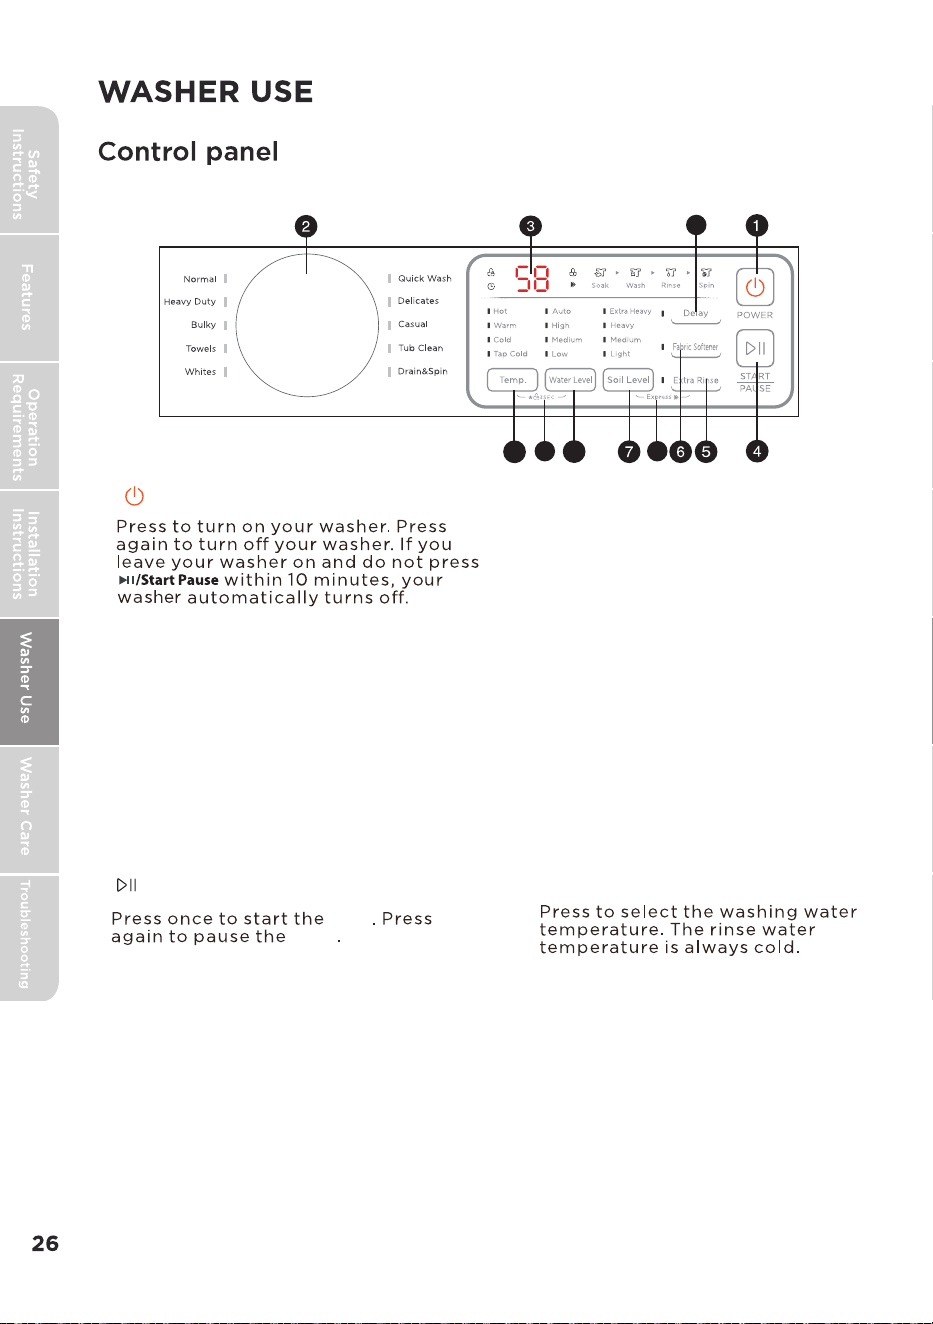
3 Digital Dispaly
The initial display is the total time for the
cycle you select. While your washer is
running, the display shows the cycle
process and time remaining in the cycle.
cycle
cycle
the cycle, you can add or remove items,
but you cannot change any settings.
Press again to restart the cycle.
If you pause
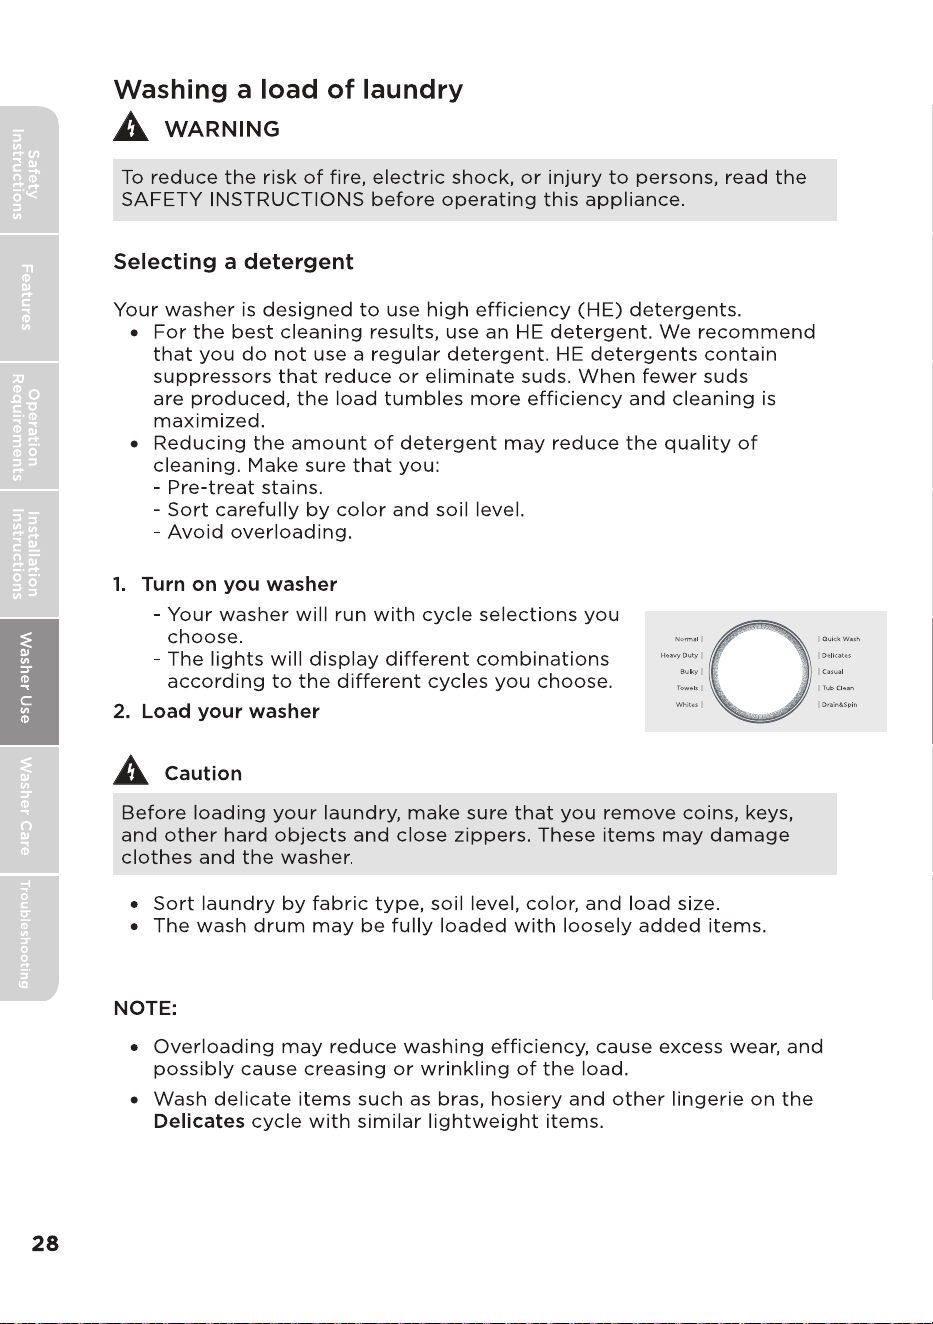
2 Cycle
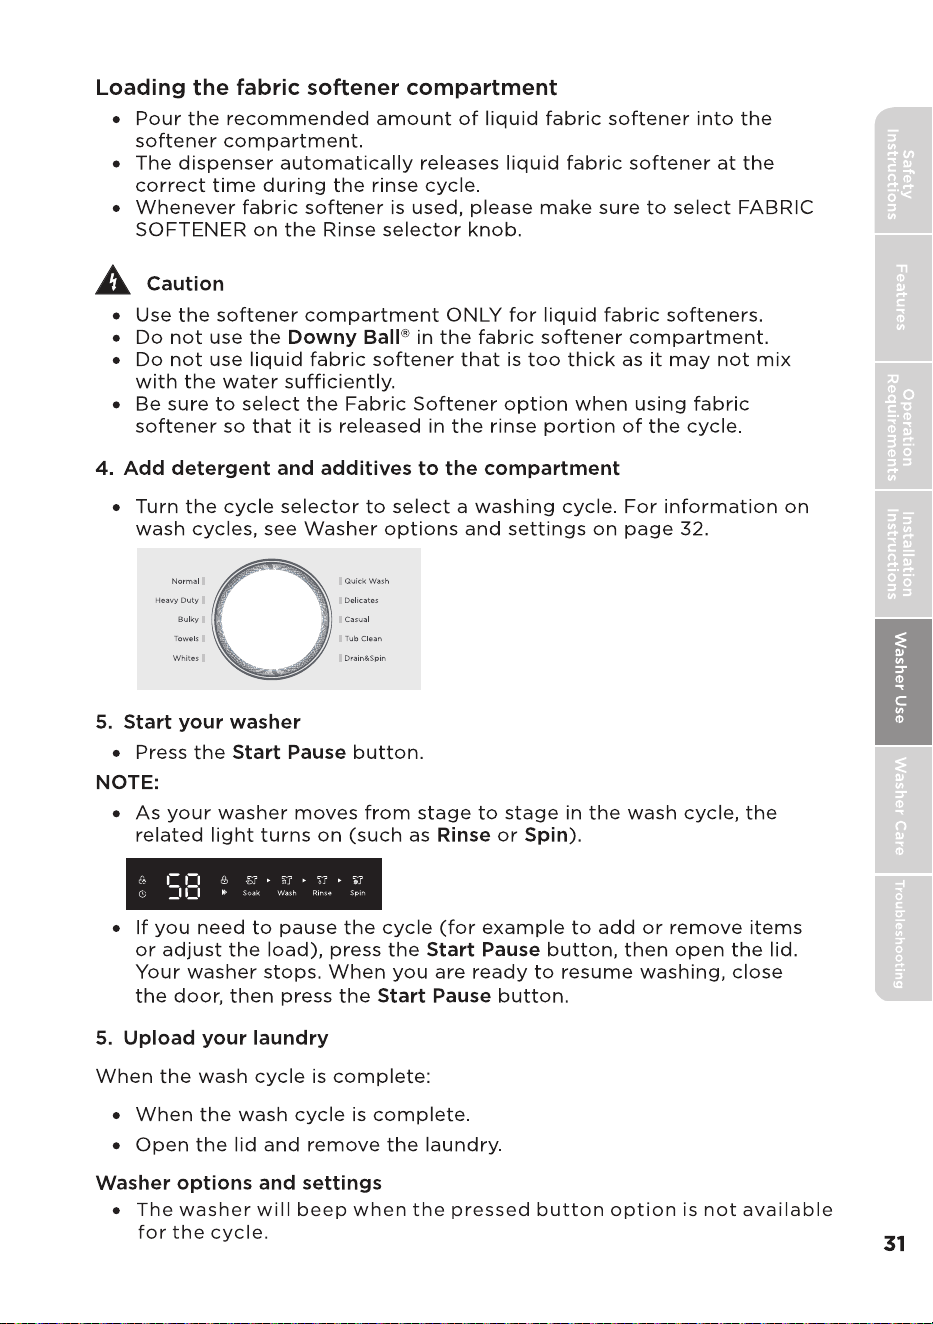
Turn to select a wash cycle. The cycle you
select determines the wash pattern for the
cycle.
Press once to extra rinse the wash cycle.
Select the washing water level.
The rinsing water level is the same
as the washing water level.
High - Select for the large loading
level.
Medium - Select for the medium.
Low - Select for the low loading
level.
Auto - Automatically selects the
water level according to the
loading weight.
11
12
Add liquid fabric softener to the fabric
softener compartment, then press this
button. The softer is added to the cycle at
the correct time.
6 Fabric Softener
10
1 POWER
4 START/PAUSE
5 Extra Rinse
7 Soil Level
8 Water Level
9 Temp.
10 Delay
Press to select a time when you want
the cycle to begin.
Press to select the soil level.
Different soil level settings.

11 Control Lock
Press and hold the Water Level and Temp.
buttons at the same time for three seconds
to turn on the control lock function. Press
and hold these buttons again for three
seconds to turn off the function. When the
control lock function is turned on, the only
button that works is the POWER button and
the Water Level and Temp. buttons you use to
turn off the control lock.
12 Express
After choosing a program, the user can
the Soil Level and Extra Rinse buttons at the
same time to reduce 5 mins , making the
program shorter.
press
5 Work Wear
6 Underwear
4 Pairs of Pants
2 Pairs of Casual
2 Camisoles
3 Work Wear
•
For best washing performance, we suggest the loading weight be less than 17.64 lbs.
(8.0 kg) (Dry clothes)
•
Bolded options are initial settings.
(Dots) indicate optional functions you can select.
Program Water Level Temp. Extra Rinse
Hot
Warm
Cold
Tap Cold
Y/N
Hot
Warm
Cold
Tap Cold
Hot
Cold
Tap Cold
Warm
Hot
Warm
Cold
Tap Cold
Y/N
Y/N
Y/N
Y/N
Y/N
Normal
High
Medium
Low
Auto
Warm
Cold
Tap Cold
Y/N
Hot
--
Drain & Spin
Heavy Duty
Whites
Casual
Tub Clean
Bulky
Towels
Delicates
Quick Wash
High
Medium
Low
Auto
High
Medium
Low
Auto
High
Medium
Low
Auto
High
Medium
Low
Auto
High
High
Medium
Low
Auto
Medium
Low
Medium
Low
Hot
Warm
Cold
Tap Cold
Hot
Warm
Cold
Tap Cold
Hot
Warm
Cold
Tap Cold
Soil level
Light
Medium
Heavy
Extra Heavy
Light
Medium
Heavy
Extra Heavy
Light
Medium
Heavy
Extra Heavy
Light
Medium
Heavy
Light
Medium
Heavy
Extra Heavy
-
Extra Heavy
Light
Medium
Heavy
Light
Medium
Heavy
Light
Medium
Delay
0 2~24,
0 2~24,
0 2~24,
0 2~24,
0 2~24,
0 2~24,
0 2~24,
0 2~24,
0 1~24,
0,1~24
Express
Fabric
Softener
N
Y/N
Y/N
Y/N
Y/N
Y/N
Y/N
N
Y/N
Y/N
Y/N
Y/N
Y/N
Y/N
Y/N
-
-
--
--
Y/N
Y/N
l
Start Pause

Water is not supplied.
The Water Level sensor is not
working properly.
•Make sure the water taps are open.
•Make sure the water hoses are not clogged.
•Make sure the water taps are not frozen.
•Make sure the washing machine is operating
with sufficient water pressure.
•Make sure that the cold water tap and the
hot water tap are properly connected.
•Clean the mesh filter as it may be clogged.
•Check the Water Level sensor wire harness.
•If the information code remains, call the
service center.
Water is not draining.
• Make sure the drain hose is not frozen or
clogged.
• Make sure the drain hose is positioned
correctly, depending on the connection
type.
• Clean the debris flter as it may be clogged.
• Make sure the drain hose is straightened all
the way to the drain system.
• If the information code remains, call the
service center.
The lid is open.
•Close the lid. See Installation instructions to,
"Level your washer".
•The door lock or PCB may have failed, try
steps again.
•If the information code remains, call the
service center.
E4
Spinning does not work.
• Make sure laundry is spread out evenly.
•Make sure the washing machine is on a flat,
stable surface.
•Redistribute the load. If only one item of
clothing needs washing, such as a bathrobe
or pair of jeans, the final spin result might
be unsatisfactory.
E5
The unit is out of balance in
spin operation.
•Adjust the washer level refer to installation
instructions.
•If situation continues, call the service center
Load sensing failed.
F5
•Call the service center.
Water Leveling sensing failed.
F8
•Call the service center.
Fd
Lid is not locked properly.
•Make sure that the lid is closed properly and
press the Start/Pause button. You can hear
the locking sound to lock the lid in the
beginning of the cycle. The washer will not
operate unless the lid is locked.
•Make sure that nothing is caught under the
lid, including shipping material or clothing.
•Make sure that the latch mechanism is fully
retracted.Make sure that the latch
mechanism is fully retracted.
•If the lid is closed and this error message is
still displayed, Call the service center.
CL
The lid has opened for over 20
seconds with the control lock
function activated.
•Press the Power button to turn off your
washer.
•Turn off the control lock function. See
Setting the control lock on page 20.
C9
The PCB is failed.
•Call the service center.