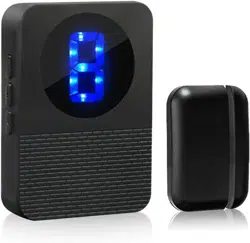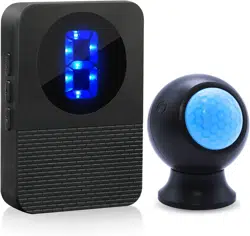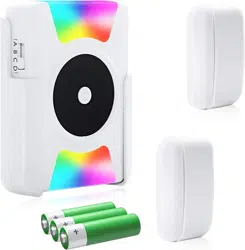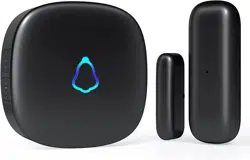
User Manual r Wireless
Door Chime
LED Light
Music Buon
Volume Buon
Rce,ver
Transmier Magnet
_
• 32 tones available
* 5 ad」ustable volume levels from D to 120 dB (Including Mute
Mode with light fiashing only
)
• Memory function allows to retain setngs when receiver is
unplugged a「 o.
• Dierent tones can be set for dierent transmitters
_
Button operation mode is divided into.
Press: P「ess the button for less than 3 seconds
Long Press: Press the button for more than 3 seconds
GETTING STARTED
Plug the doo「bell receiver into the AC outlet, the receiver will beep
once and LED light will ash in each color circularly to indicate「eady
to use
Select the Ringtone
* Short press to cycle FORWARD trough the tones
* Long press undl you hear a short beep, then sho press to cycle
REVERSE trough the tones
Seng the Volume
• Short press to cycle trough 5 volume
Note: the volume changes to the loudest automabcally every bme
the receive「 is power on)
_
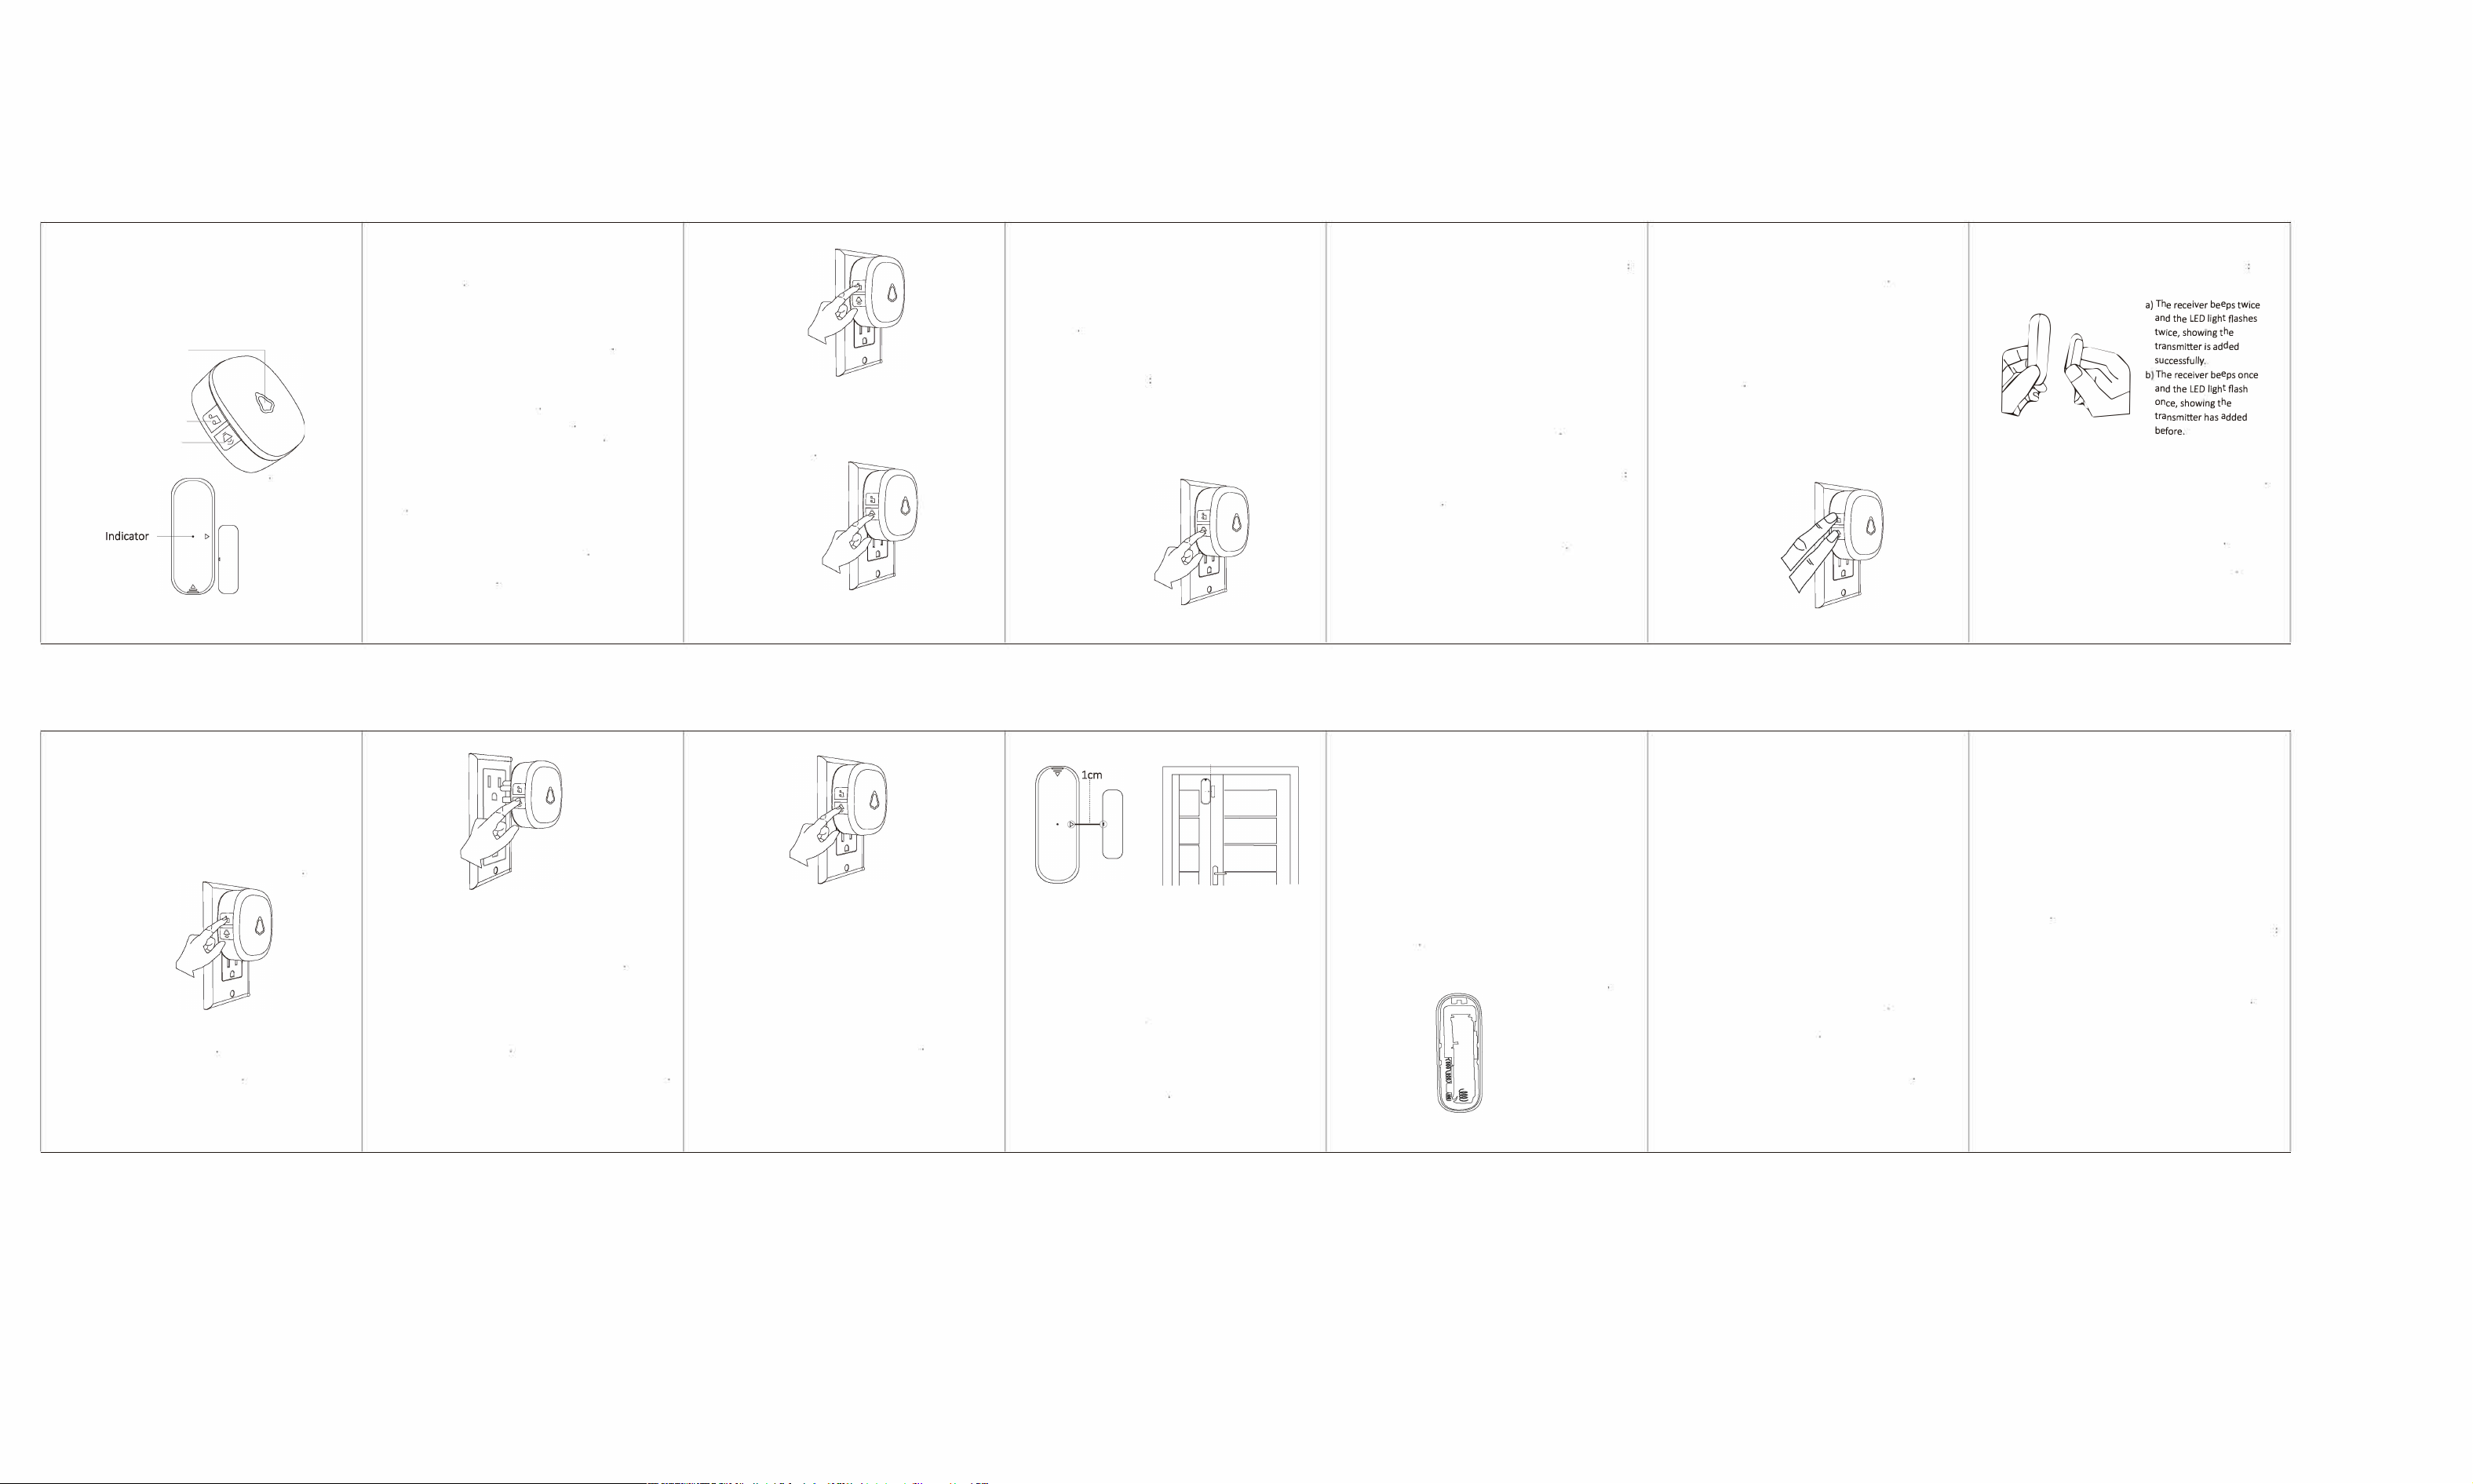
There are two options in pairing your receivers and transmitters/
accessories: VARIABLE mode and FIXED
mode. Note: doo「bells have been pai「ed and set to default chime
(Ding Dong)
1. VARIABLE MODE: Adding a transmitter/accessory with a
VARIABLE 「eceive「 ringtone
First, press and hold 【】 buon 5 seconds on the plugged
m「eceiver. The doo「bell receiver will beep once and the LED
light will be lit up- this indicates the 「eceiver is in pairing mode
and ready to pair with a transmier or accessor;.
Next, short press the button to pair and trigger a transmitter to
send a signal to the doorbell receiver. And you will hear and see
/
a) The receiver beeps twice
勹
and the LED light ashes
twice, showing the
t
r
ansmitter is added
successfully.
b) The receiver beeps once
and the LED light ashes
once, showing the
transmitter has been
added befo「e
c) The 「eceiver beep th「ee times and the LED light仆ashes three
times, indicating no transmitters can be added any more. (NOTE
There is a limit of up to 20 transmitters/accessories that can be
paired to a receiver)
@Next, press the button to exit out of pairing mode
(NOTE: The doo「bell receive「 will automatically exit the pairing
status of adding transmitters if no action is taken in 20s)
@Finally, choose a variable chime/rinone by following above
ope「abng instruction【Select the ring tone】Finally, t「igger
transmitte「/accessory to confirm the desired tone
2.FIXED MODE: Adding a transmitter/accessory with FIXED receiver
ringtone:
Select a tone by following above operating inst「U中on【Select
the ring tone】
@Press and hold 【身】 and 【)】 buons simultaneously on
the plugged in receiver. The doorbell receiver will beep once and
the LED light will light up- this indicates the receiver is in paring
mode and ready to pair with a transmie「/accessory
@short press the button to pair and trigger a transmitter to send
a signal to the doorbell receiver. And you will hear and see
e
s
e
e
c
hn
h
d
so
s
e
w
a
d
s
a
d
t
n
e
e
p
n
ed
s
p
et
hd
et
ha
s
e
h
td
e
h
t
b
g
g
a
b.
g
a
hns
r
_
nh
._
Lo
v
o
e
i
L
c
e
h
.
_
e
h
e
se
h
s
e
ces
·
_
s
e
r
t
e,
m
色
e
h
r
t
s
e
d.
n
e
dc
b
勹
丿
c) The receiver beeps three times and the LED light flash three
times, indicating no transmitters can be added anymore. (NOTE.
There is a limit of up to 20 transmiers/accessories that can be
paired to a receiver).
@Press the receiver button to exit out of pairing mode
(NOTE: The doorbell receiver will automatically exit the pairing
status of adding transmitters if no action is taken in 20s)
@The ringtone is now FIXED. Now even if you change the receiver
廿ng-tones, you will always have the desired ringtone with the
transmier.
_
Unplug the Receive「
Press and hold 【免】 button then plug in the outlet
®Keep on pressing and holding the 【庋】 button while the
receive「 is plugged in- you will start to hear continuous beeping
and the LED light will ash 5 times
The receiver is now reset to the rst "Ding Dong" ringtone and the
volume will be reset to the largest volume
Clear All Sengs - Unpair all transmiers/
accessories from receiver
unplug the receiv邸
Press and hold 【 ) 】 button then plug in the outlet
@Keep on pressing and holding the 【)】 button while the
receive「 is plugged in- you will start to hear continuous beeping
and the LED light will fiash 10 times.
Keep on pressing and holding the 【)】 button until the
doorbell receiver gives a series of fast beeps and the LED light
will give fast fiashes as well
When the飞is no more beep o「 fiash, the「eceive「 and t「ansmitters
are now all reset. All transmitters and accessories are now unpaired
_
1.Transmier and magnet alignment
The magnet has two small holes. When installing, make sure to
align the back cover of the transmitter.
2.Maximum distance between the transmitter and the magnet
When installing the two elements, the distance between the
transmitter and the magnet should not exceed 1cm
\
丿
<lcm
3. Fixing with double-side adhesive
The surface (door or window) where the detecto「 is to be installed
must be clean and dry in order to ensure that the double-sided
tape supplied adheres prope叩
4.Fixing with Screws
If the support allows it (e.g. wooden door),
you can use screws to
x the transmie「 and its magnet
丿
/
m
u
Baery Replacement
When the transmie「 light stays on continuously, it indicates that
you need to replace the battery.
Slide the back of the transmitter down to access the battery
compartment
Remove the used battery and replace it with an equipment
model (12Volt 23A Alkaline) obse「ving the polarity.
® Replace the back of the transmitter by sliding the cover up
_
Power: 100~24ov so-60Hz AC
Standby Current: <3 mA (220V AC)
Working Current: <11 mA (220V AC)
Radio Frequency: 433MHz
Operating Range: 500 feet (in open area)
Working Temperature:-20
°
C-+60
°
C
Working Hum汕ty云85%
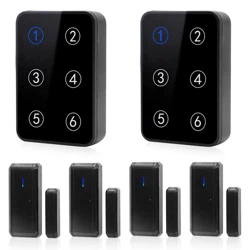
What's in the Box
Receiver(s), Transmitter(s), Screws, Anchors, Adhesive S廿ckers
_
l.Do not operate product with damaged core or plug
2.Do not ope「ate product if it has been damaged in any way
3.Do not th「ow or shake the product
4.Keep the product away from fire or explosion may occur
5.Before using the product, read all instructions and caution makings
on the product, accessories and device using our product
6.0perating range will become shorter and the indicator quick
flashes several勹me if baery in transmier is at low power.
Please try to change the transmier baery. Baery type
is CR2032 battery
—
1.0ur company provides 18 months of free warranty and lifetime
maintenance services for the products, and guarantees 24-hour
online service. Within 18 months from the date of purchase,
damages caused by poo「 material o「 design defects of the
product can be 「eplaced o「「epaired free of change. Repairs and
「eplacements performed aer 18 months will be charged the
product cost
2.lnformation to be provided when contacting the seller for
warranty (l)P「oduct name
(2)Drder number
(3)Fault description