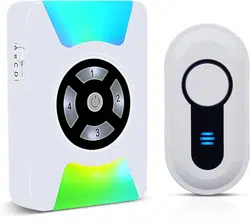
User Manual of Wireless
Door Chime
CC22-DS10
Product Instruction
It's a Wireless Door Open Chime kit. When the two
parts of the door sensor are separated more than
0.4 inches, the door sensor will be triggered, then
you will hear the ringtone from the receiver, which
can help deter break-ins, keep your children and
pet safe, and never miss a customer when they
come. It is an ideal door alarm for home, office,
store, warehouse, and
garages.
Features
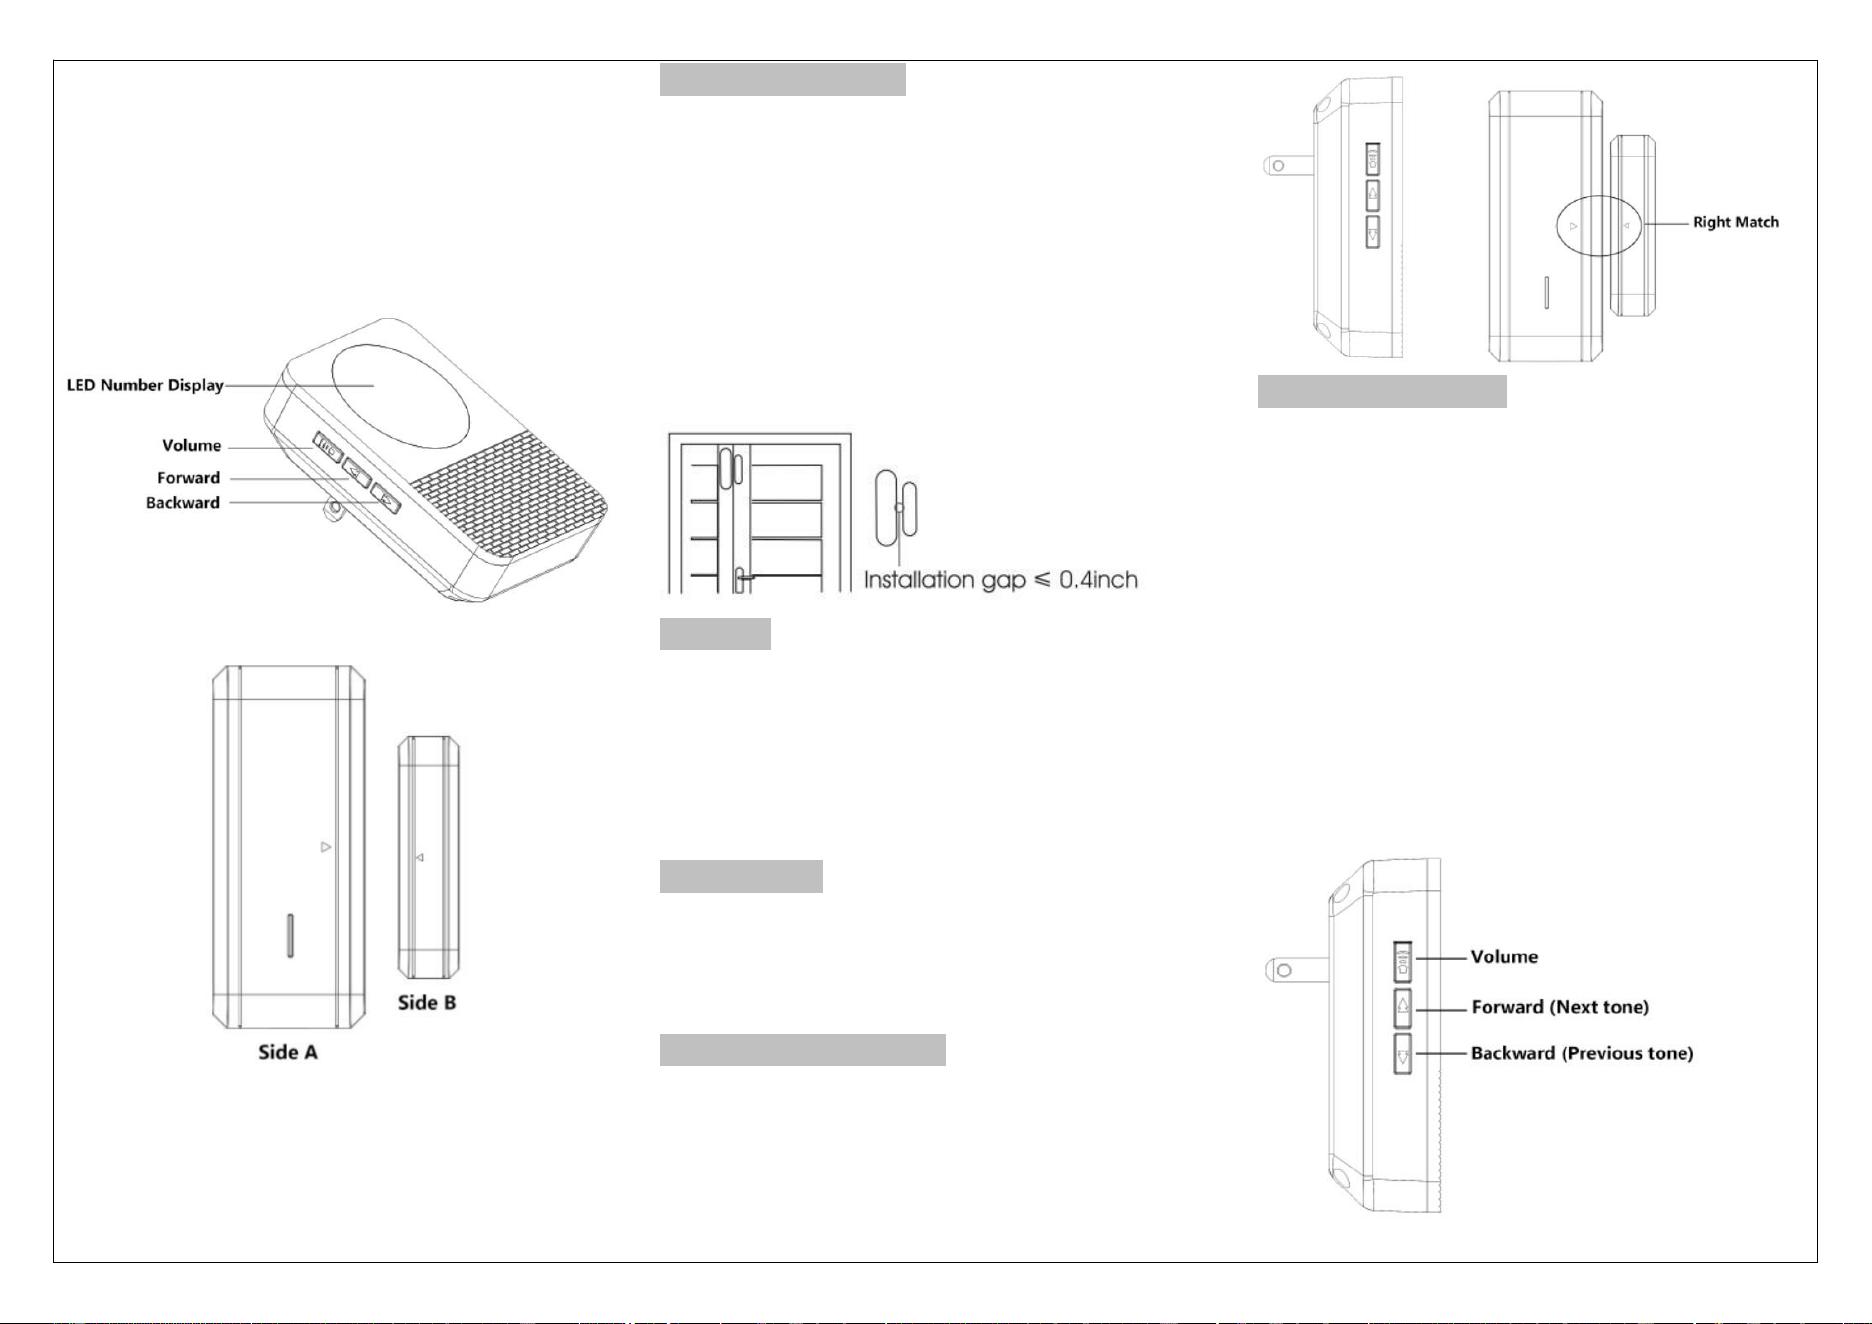
* LED 1-9 Number Display
* 55 Ringtones Optional
* 5 Volume Levels Adjustable (0-110 dB)
* Memory function: Keep the previous set tune
after re-plugging it.
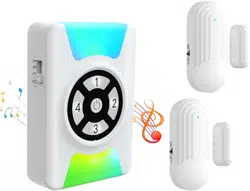
Package List
* Doorbell Receiver
* Door Sensor
* User Guide
Operating Instructions
Button operation mode is divided into:
Press: Press the button for once
Hold: Press the button for more than 5 seconds
* Receiver: Plug in the 100-220V AC outlet
* Door Sensor & Magnetic Strip Matching
GETTING STARTED
Plug the doorbell receiver into the AC outlet, the
receiver will "ding-dong ding-dong" once and the
LED number will flash in each color circularly to
indicate ready to use.
Select the Ringtone
Press the "Forward" to the next tone, press the
"Backward" keys to the previous tone;
Select the Volume
Hold the Volume key to cycle trough 5 volume
Note: The volume changes to the largest
automatically every time after the receiver is
power on.
INST-EN-CC22-DS10-20230215
Pairing
* Step 1: Select your favorite tones one the
plugged in receiver;
* Step 2: Hold the “Volume” key for 5 seconds on
the plugged-in receiver. The doorbell receiver will
“ding-ding” once and the LED number will be lit
up- this indicates the receiver is in pairing mode
and ready to pair with a transmitter or accessory;
(NOTE: The doorbell receiver will automatically
exit the pairing status of adding transmitters if no
action is taken in 8s)
* Step 3: Separate the door sensor as follows:
First: Move Side B, Receiver beeps twice then get
the two parts together
Second: Move Side B again, Receiver beeps once
then get the 1wo parts together
Third: Move Side B, Music is ringing, adding
successfully.
Clear All Settings - Unpair all
transmitters/accessories from receiver
Hold the “Backward” key till the receiver make a
“ding-ding” sound and the LED number flash once,
it finishes clear code and enters into pairing mode,
the configured code between sensor and receiver
will be cleared, now it will automatically pair with
the receiver when press button or add the sensor.
How to install the Sensor
Fixing with double-side adhesive
The surface (door or window) where the detector
is to be installed must be clean and dry in order to
ensure that the double-sided tape supplied
adheres properly.
1. Transmitter and magnet alignment
The magnet has two small holes. When installing,
make sure to
align the back cover of the transmitter.
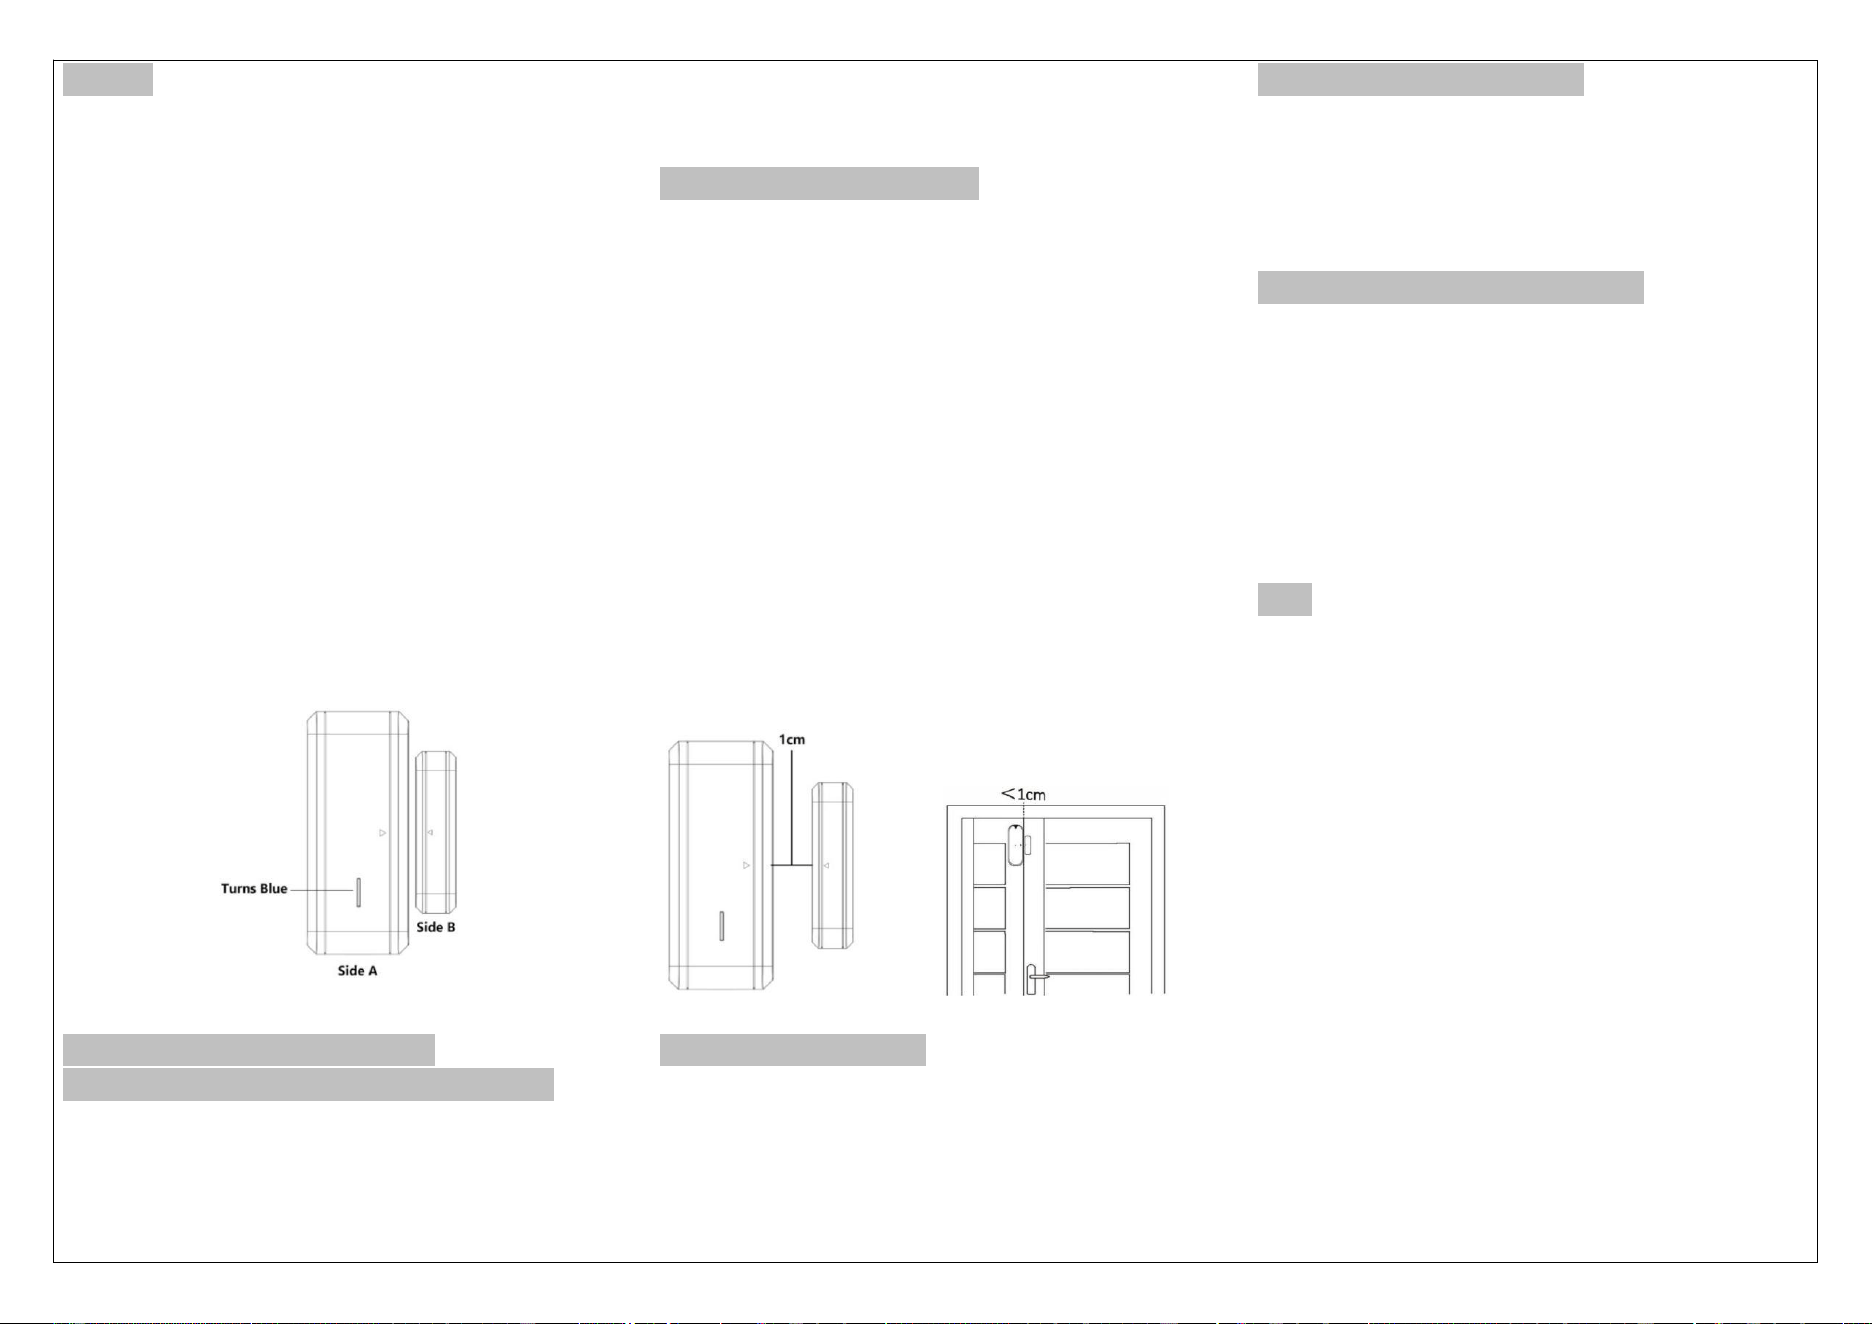
2. Maximum distance between the transmitter
and the magnet
When installing the two elements, the distance
between the
transmitter and the magnet should not exceed
1cm
Battery Replacement
Separate the back cover of the sensor down to
access the battery compartment.
Specification of Receiver:
Working Temperature: -30°C +70°C
Working Voltage: 100-220V AC
Working Frequency: 433 MHz
Operation Range: 400ft (in open area)
Specifications of Door sensor:
Non-waterproof
Working Range: 400 ft (In open area)
Working current: 3uA(standby),
15mA(Transmitting)
Installation gap: < 0.4 inches
Working Temperature: -4 °F ~ 122°F
Working Humidity: < 85%
Tips
l. Do not operate the product with a damaged core
or plug
2. Do not operate the product if it has been
damaged in any way
3. Do not throw or shake the product
4. Keep the product away from fire or explosion
may occur
5. Before using the product, read all instructions
and caution makings on the product, accessories,
and device using our product
6. Operating range will become shorter if the
battery in the transmitter is at low power.