User Manual
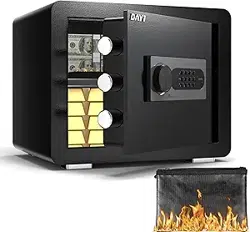
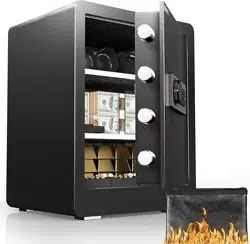
Biometric Fingerprint Safe
Model: DF-60 Plus
IMPORTANT
1. Please do not lock the backup keys and backup battery box inside the safe.
2. Test your fingerprint and passcode several times before storing valuables inside.
3. If you experience any problems or challenges with your safe, please contact us
Many issues can be resolved quickly without the product being returned.
UNLOCK
5
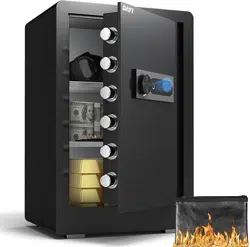
How To Install Foot Pads?
1. Remove the stickers
from the foot pads.
2. Attach the foot pads to
the bottom of the safe.
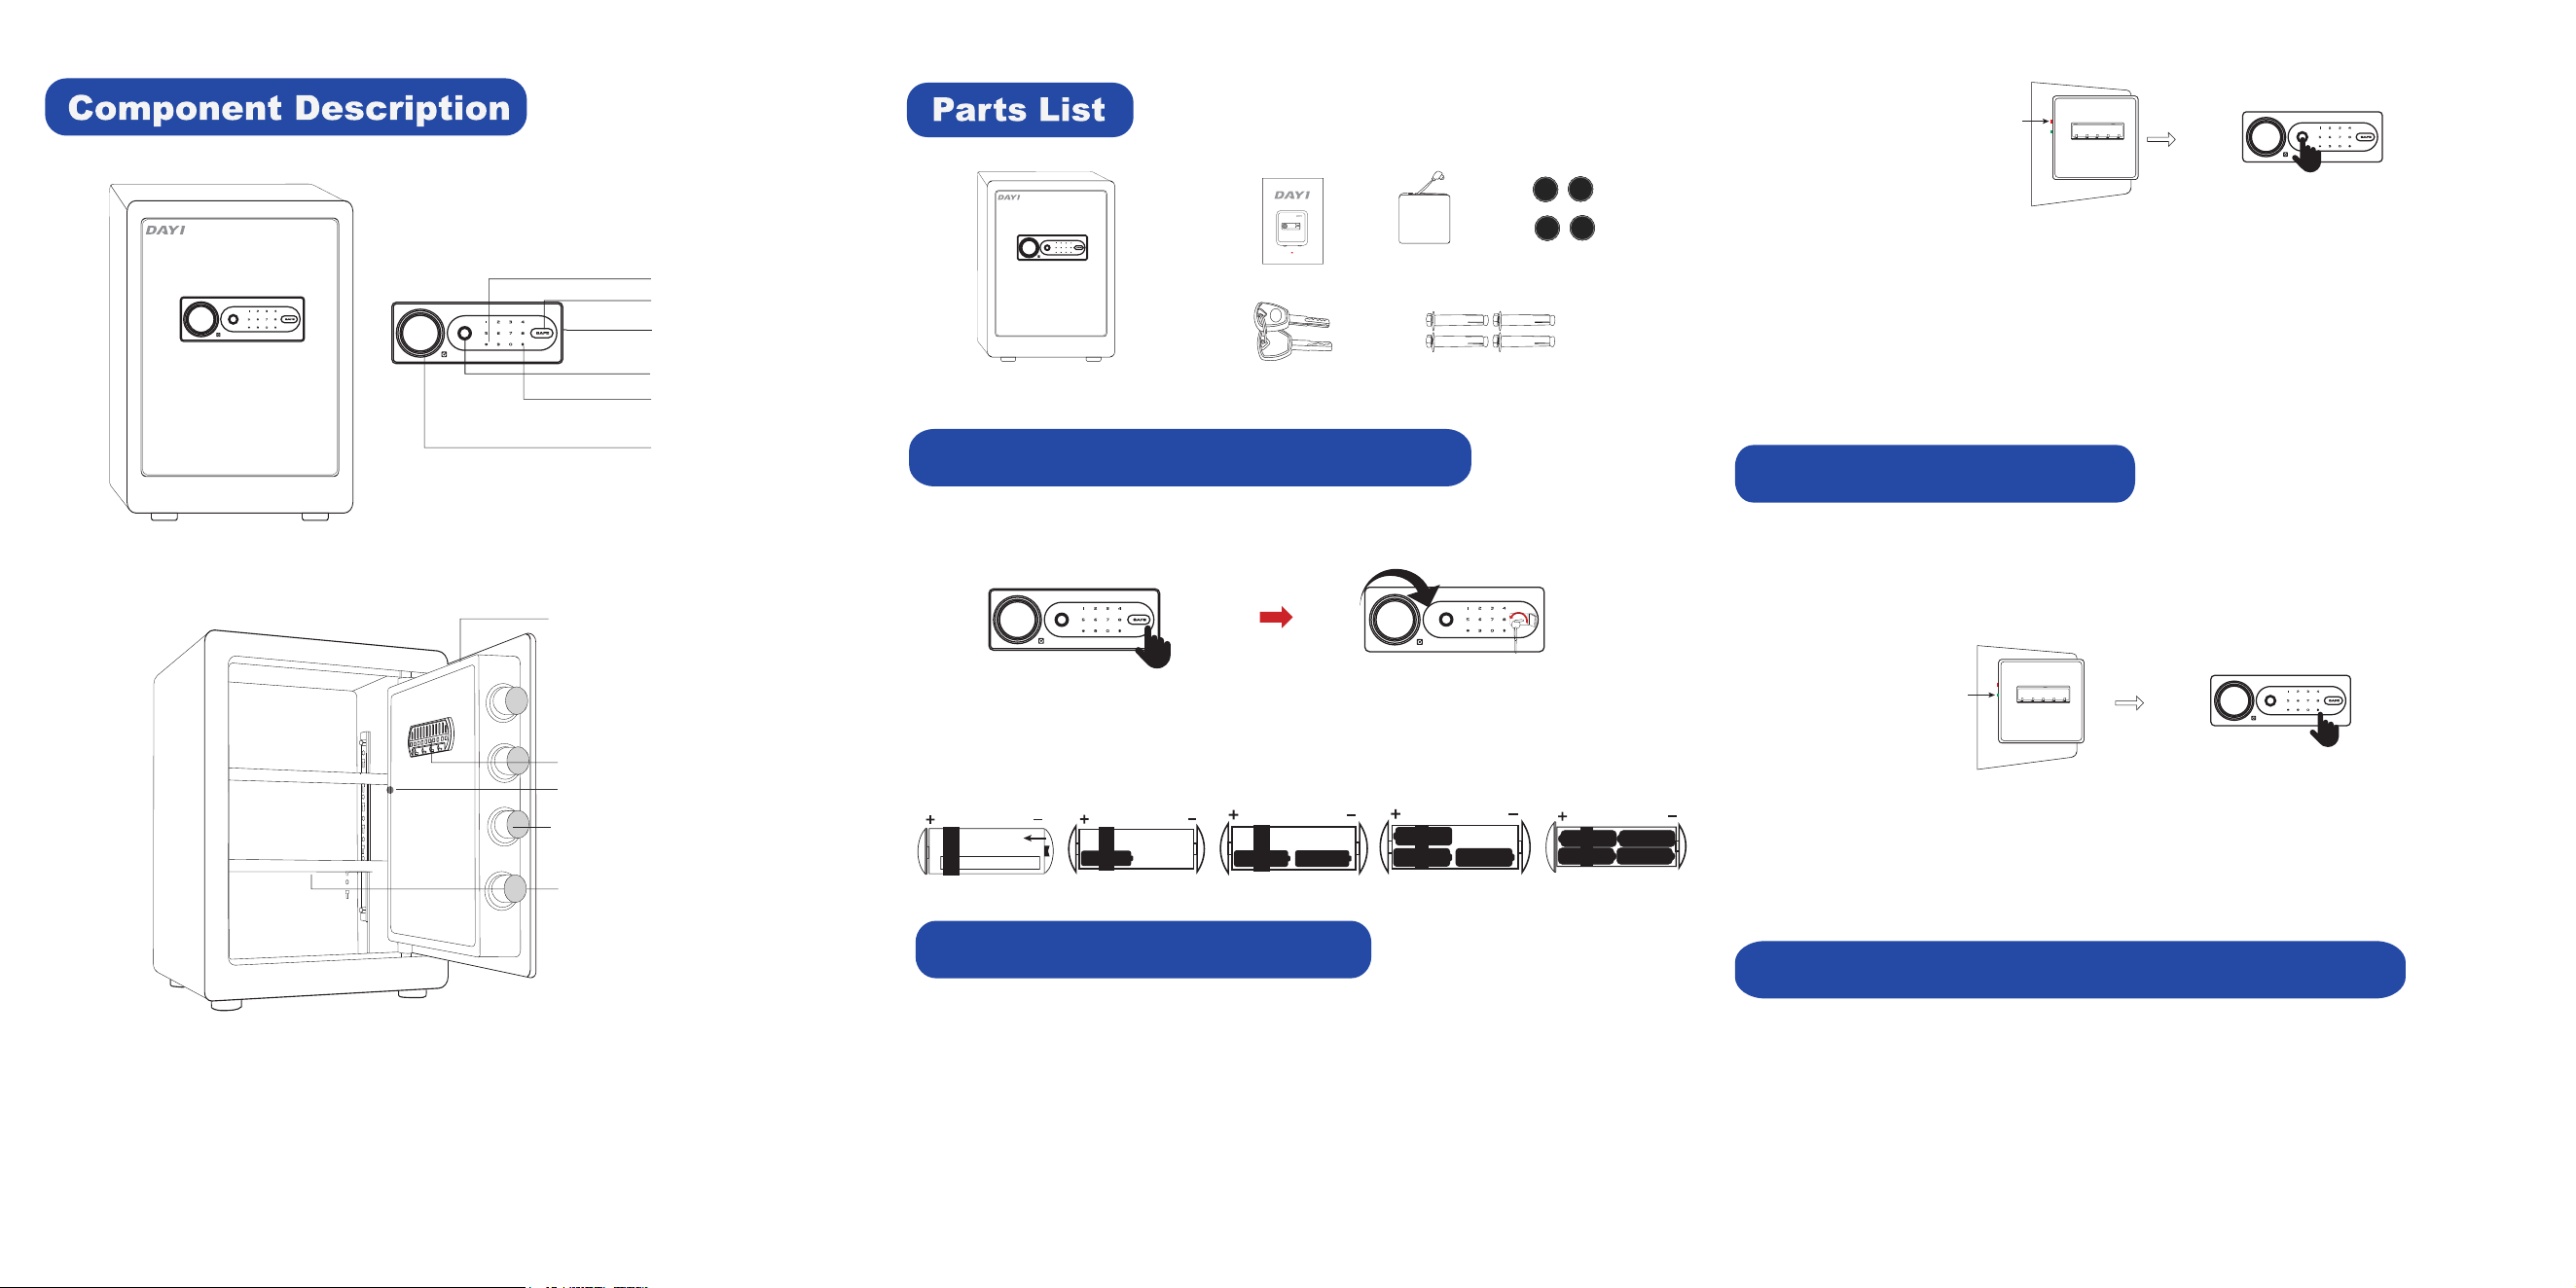
How To Bolt Your Safe To The Wall?
1. Place the safe in the desired location and open the door.
2. Use a screw or pencil to mark spots through the 4 holes of the safe.
3. Move the safe aside and drill into the wall at the marked spots.
4. Replace the safe in the desired position, then insert the expansion bolts
into each hole.
5. Secure the safe to the wall.
Pull out the metal piece to secure the
shelf board; push the metal piece back
to the vertical position to remove the
shelf board.
4
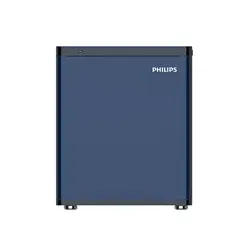
4 Ways to Unlock Your Safe
UNLOCK
UNLOCK
UNLOCK
OPEN
UNLOCK
1. Backup Key
Insert the backup key into the keyhole and turn it 90° counterclockwise. Then, rotate
the knob clockwise to open the door.
NOTE: This method is for first-time unlocking, forgotten passcodes, or when the
batteries are depleted.
2. Fingerprint
Place your programmed finger on the fingerprint sensor. The fingerprint sensor
will light up green, and the green indicator will light up with a short beep. Then,
rotate the knob clockwise to open the door.
3. Passcode
Touch the numeric keypad to light it up blue, then enter your programmed passcode
and end with the "#" key. The green indicator will light up with a short beep. Then,
rotate the knob clockwise to open the door.
4. Backup Power Supply
If the batteries are depleted, plug the backup power supply into the USB-C port on
the side of the lock panel. Then, repeat step 2 or 3 to open the safe.
NOTE: Supports both backup battery box and USB-C phone charging cable.
1. Unauthorized Entry Alarm
After 3 invalid passcode or fingerprint attempts, a loud alarm will be triggered for 20 seconds.
2. Vibration Alarm
Press the “*”key to activate the vibration alarm mode, all indicators will light up with a short beep
indicate activation. If the safe is shaken or hit violently, a loud alarm will be triggered.
NOTE: To stop the alarm, enter your programmed passcode or scan your programmed fingerprint.
NOTE: The vibration alarm mode is off by default. Press the "*" key each time to activate it.
Dual Alarm System
Mute Mode
1. ON: Press the "1" key on the numeric keypad for 3 seconds. The green indicator will light up,
indicating that mute mode is activated.
2. OFF: Press the "1" key on the numeric keypad for 3 seconds. The green indicator will light up,
indicating that mute mode is deactivated.
Low Battery Notification
If the buzzer sounds while opening the door, it indicates low battery power.
Please replace the batteries as soon as possible.
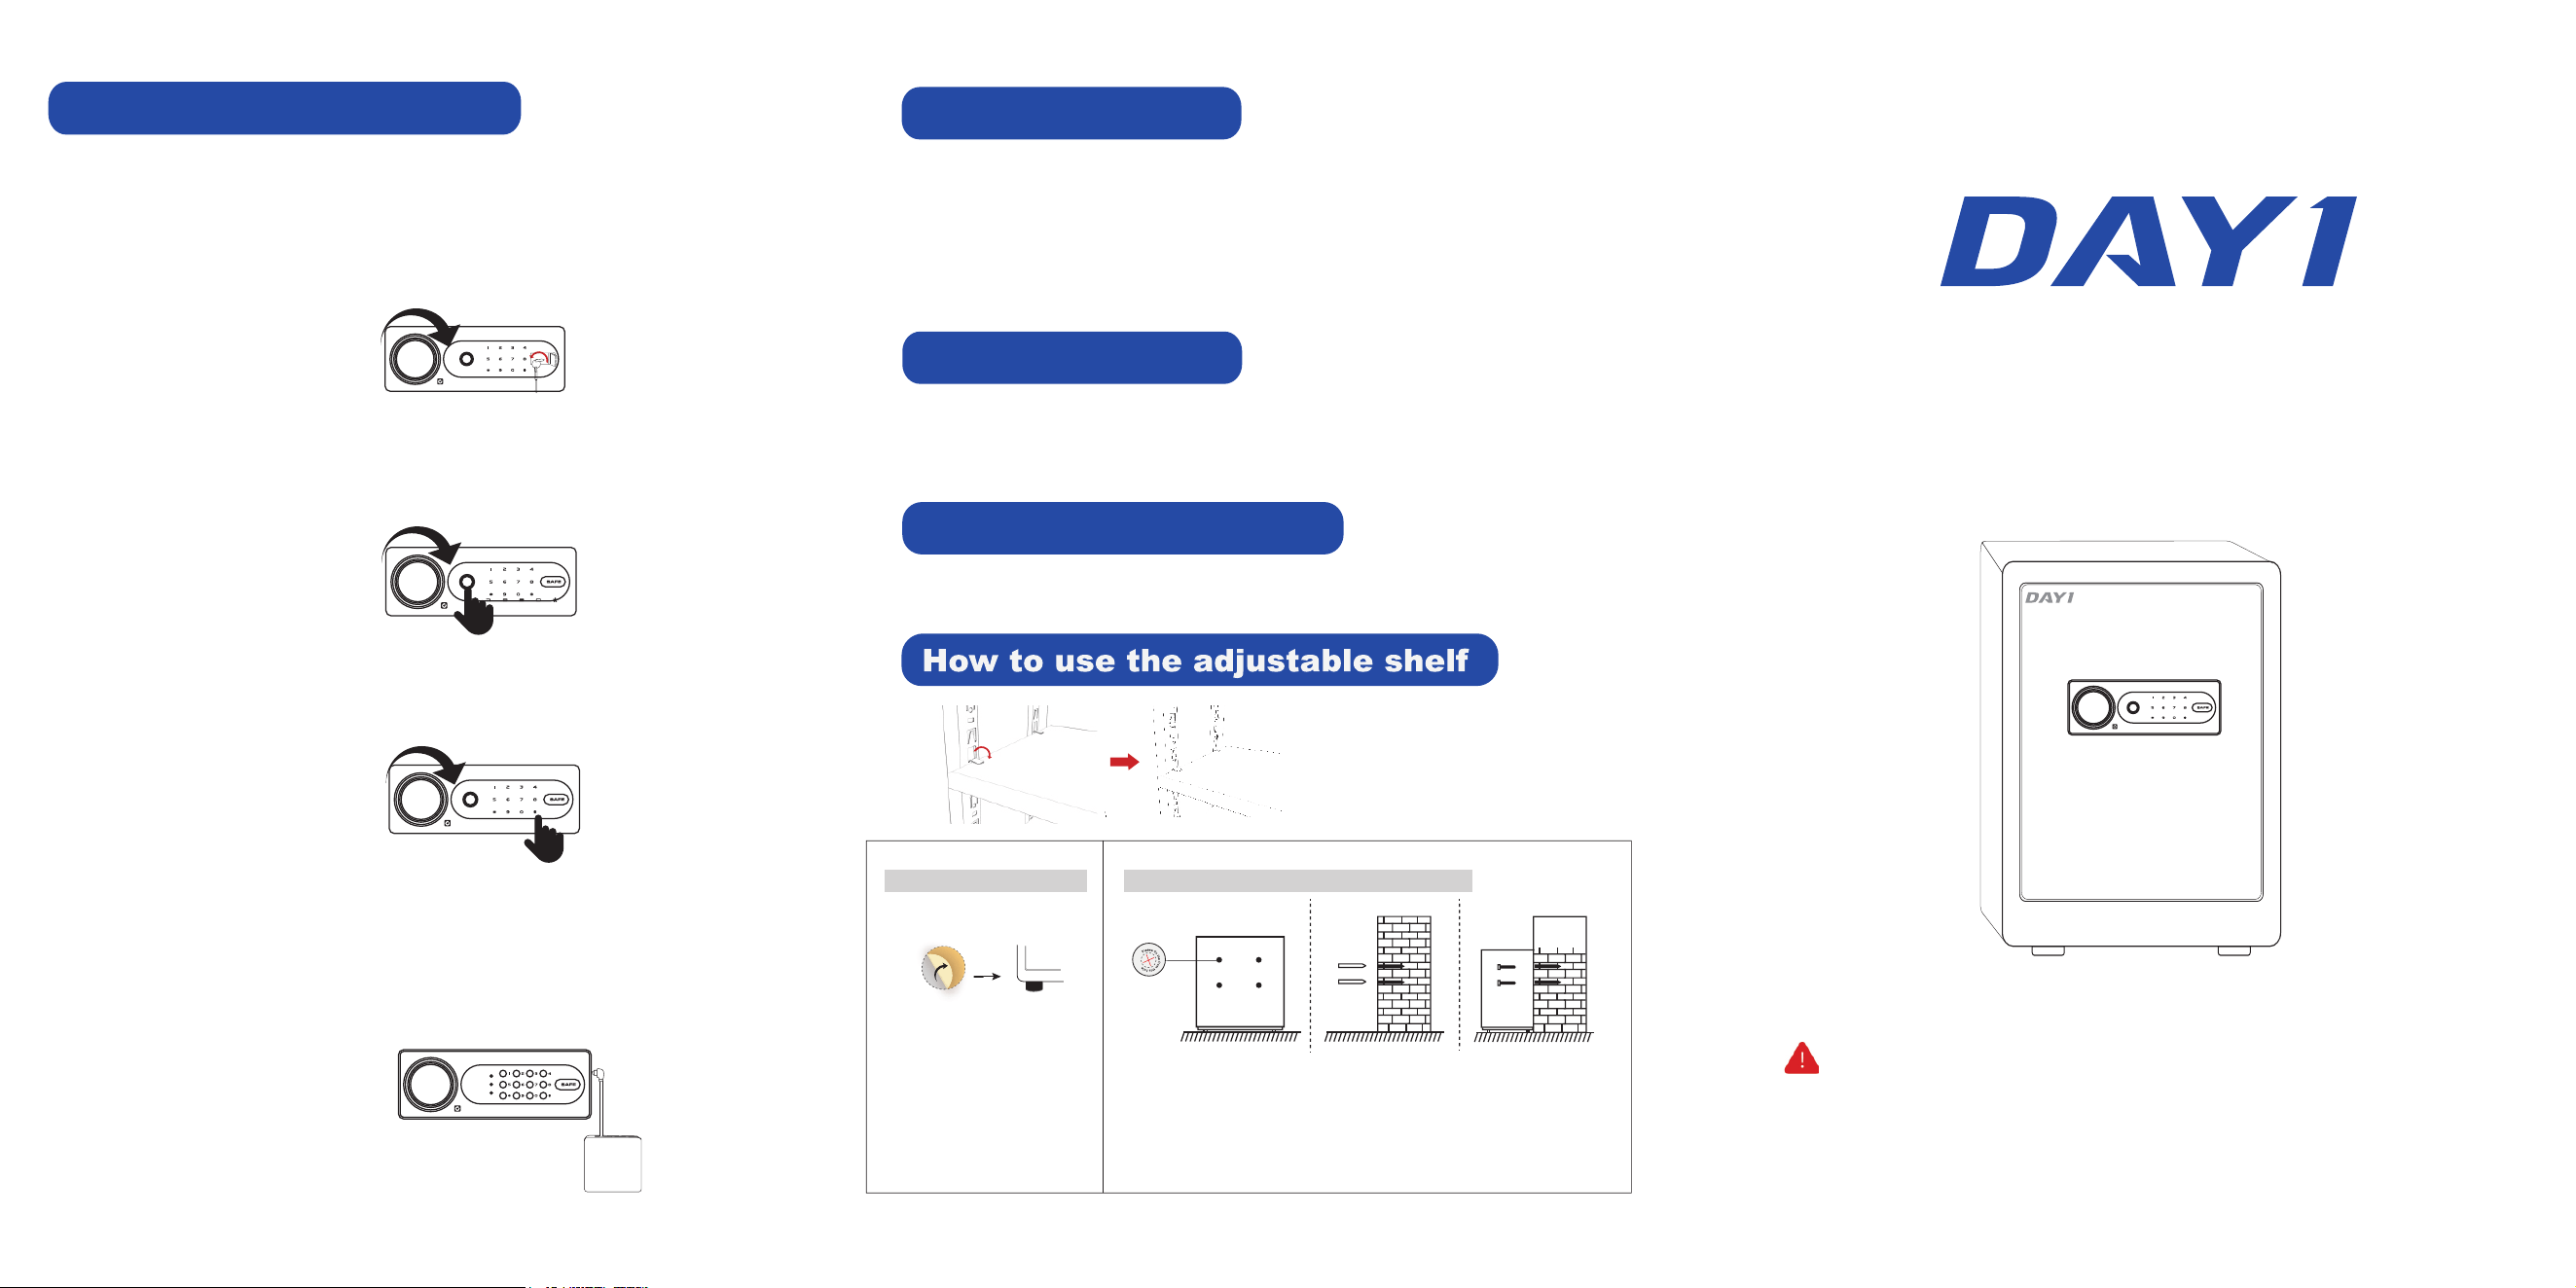
Removable Shelf
Battery Case
Have any issues? Please contact us: dayi_service@outlook.com
Locking bolts
UNLOCK
UNLOCK
Backup Battery Box x 1
Expansion Bolts x 4
User Manual x 1
Backup Keys x 2
Foot Pads x 4
OPEN
Instruction Manual
5
1
2
3
4
6 7
8
9 0
#
*
ERROR
SET
RIGHT
Please do not lock the emergency key and emergency battery box into the cabinet.
1
Knob
Backup Power Supply
(USB-C Port)
Enter Key(#)
Backup Keyhole Cover
Return Key (*)
Fingerprint Scanner
UNLOCK
Safe Box x 1
Preparing Your Safe for First-Time Use
1. Press the right side of the keyhole cover. Insert the backup key into the keyhole and turn
it 90° counterclockwise, then rotate the knob clockwise to open the door.
Setting button
Key Hook
UNLOCK
UNLOCK
1 2
3
4
3
Deleting All User Fingerprints and Passcodes
1. Open the door and press the green setting button for 6 seconds. The fingerprint sensor
will light up green, and the green indicator will lights up, indicating that all user
fingerprints and passcodes have been cleared.
NOTE: The default passcode will revert to “123456” and the fingerprint database will be
cleared. Please reset your fingerprint and passcode before storing valuables
inside.
2
UNLOCK
Red setting button
UNLOCK
NOTE:
- The safe can store up to 25 fingerprints.
- Initially, any fingerprint can access the safe for the first time.
- Do not use a finger with a cut or scar.
- Ensure hands are clean and dry before programming or operating the fingerprint scanner.
- Place your finger flat and fully cover the sensor.
- Adjust your finger's position and angle to capture all parts of the fingerprint.
- For optimal performance, clean the fingerprint sensor periodically with a dry, lint-free cloth.
- The fingerprint sensor may not work well when cold.
1. Open the door and press The numeric keypad will light upthe green setting button.
blue with a short beep.
2. Enter your programmed 3-8 digit code and end with the “#”key. The green indicator
will turn on with a short beep, indicating successful setting.
NOTE:
- The default passcode is "123456".
- Only one passcode can be programmed for the safe.
- The passcode supports 3-8 digit codes.
- Important: Open the door and test your programmed passcode several times before
storing valuables inside.
Setting the User Passcode
Green setting button
1
2
3
4
5
2. Open the battery case cover and insert 4 AA alkaline batteries as shown.
* DO NOT use rechargeable batteries or any other type of non-alkaline battery.
* DO NOT mix old and new batteries.
* DO NOT mix alkaline and standard batteries.
Setting The User Fingerprint
1. Open the door and press The fingerprint sensor will light up blue, the red setting button.
and the yellow indicator will turn on.
2. Place your programmed finger on the fingerprint sensor. A short beep indicates a valid
scan. Repeat this process five times until you hear a long beep and the green indicator
will turn on, indicating that fingerprint enrollment is complete.
3. Repeat steps 1-2 to add additional user fingerprints.