
Focusing
1. Hold the scope about 3 to 3.5 inches (8 to 9cm) away from you
eye and look through the eyepiece until you see the full
field of view.
2. If your reticle isn’t sharp, turn the eyepiece focusing ring in either
direction until the image seen is sharp and focused.
Mounting
1. Make sure you have the appropriate rail for your rifle, if not your
firearms dealer will assist you.
2. Place and secure the scope onto the mount ring. Screws should
be tightened to 15 in/lb. Once you have fitted the scope to your
desired position, tighten the mount ring down onto the rail.
Note: Do not over-tighten as this could damage the scope and
affect the performance. You should ensure that on both sides of the
rings there is always a slight gap of the same diameter.
Pre-Zeroing
1. Pre-zero sighting can be done with scope guide or a shot shaver
which can be obtained from your firearms dealer.
2. With the scope mounted, set zoom to mid power and rest the rifle
on a steady support.
3. Look through the bore from the breech at a target 50 yards away.
Move the butt stock, so that the target is in the center of the bore.
4. Without moving the rifle, loosen the lockable ring of the scope at
the base of the turret by turning it counter-clockwise with fingers
(see image below).
5. Turn the windage and elevation adjustment dials in the direction
you wish the bullet’s point-of-impact to change (up/down,
left/right).
6. Tighten the lockable ring by turning it clockwise.
WARNING
BE CERTAIN THAT YOUR FIREARM IS NOT LOADED
AND POINTED AWAY FROM YOU IN A SAFE DIRECTION
DIRECTLY VIEWING THE SUN OR ANY LIGHT SOURCE WITH THIS
OPTICAL DEVICE CAN CAUSE PERMANENT EYE DAMAGE.
Use safe gun handling procedures at all times.
ATTENTION: All shooting should be done in an approved range
and in a safe area and that eye and ear protection is used
DANGER: If you used a bore sighting collimator or another bore
obstructing device, remove it before proceeding. If the barrel has
been drilled for a mount, ensure that the screws do not obstruct
the bore. Do not fire live or even blank ammunition with an
obstructed barrel as any obstruction can cause serious damage
to the gun and the possible injury to yourself and other people
around you.
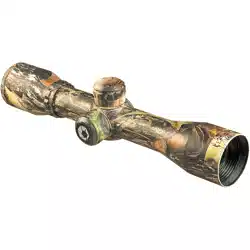
Parts of the Scope
1. Eyepiece Focusing Ring
2. Zoom Ring
3. Windage Adjustment
4. Elevation Adjustment
5. Rheostat and Battery
Compartment
6. Objective Lens
7. Ring Mount
©2018 BARSKA® | Pomona, CA 91767 USA
www.barska. c o m
12/18
BC595
Note: If a large amount of windage and elevation adjustments are
needed to bore sight, make half of the scales available adjustments
at a time for the windage and elevation
Boresighting
Bore sighting your riflescope with your rifle will allow you quickly
and more accurately “zero in” or “sight in” the riflescope to the
correct shooting distance. You will always need to shoot a test
group of shots after you bore sight your riflescope with the rifle. It
will reduce wasting ammunition when targeting in your rifle during
test shooting.
Zeroing
To make adjustment:
1. To unlock the windage and elevation turrets, rotate the lockable
ring at the base of the turrets countercolockwise.
2. Set scope zoom to the max power, and adjust the windage and
elevation dials as needed to correct the aim.
3. Each click adjustment of the windage and elevation
changes/moves the bullet strikes by the amount in chart below
3-9x42 IR
Contour Scope Manual
Click Value 1/4” MOA
WINDAGE / ELEVATION (inches per click or movement)
50yds 100yds 200yds 300yds
1/8 inch 1/4 inch 1/2 inch 3/4 inch
See reverse side for additional information
4. After zeroing in your scope, you can follow pre-zeroing procedure
to scale back to zero.
Re-Zeroing
Re-zeroing scale back to zero is optional and should only be done
after zeroing in your scope.
WARNING: Turning the hexagon screw too tight or too loose can
cause damage to the scope.
1. Loosen the lockable ring at the base of the turret by turning it
counter-clockwise.
2. Loosen hexagon screw by turning counter-clockwise until the
screw hits the stopper screw inside. About 1-1 ½ turn of the
Allen wrench.
Note: The hexagon screw CANNOT be totally removed.
3. Pull the turret cap gently to disconnect it from the drum inside.
4. Turn the cap to reset the scale to zero.
5. Hold the cap and turn hexagon screw clockwise to lock the cap
1-1 ½ turn of the Allen wrench.
6. Your scale is now re-zeroed.
1
2
3
4
5
6
7
Illuminated Trace MOA IR Reticle
The MOA measurements are accurate
at 9x magnification.
The MOA reticle is effective for ranging.
To use the MOA ranging formula,
shooter needs to know the size of the
target or nearby object in inches. MOA
ranging formula is as below:
Height of Target inches x 95.5
Height of Target in MOA
1 2 3
4 5 6
IR (Green/Red/Blue)
Lockable Ring
= Range in Yards
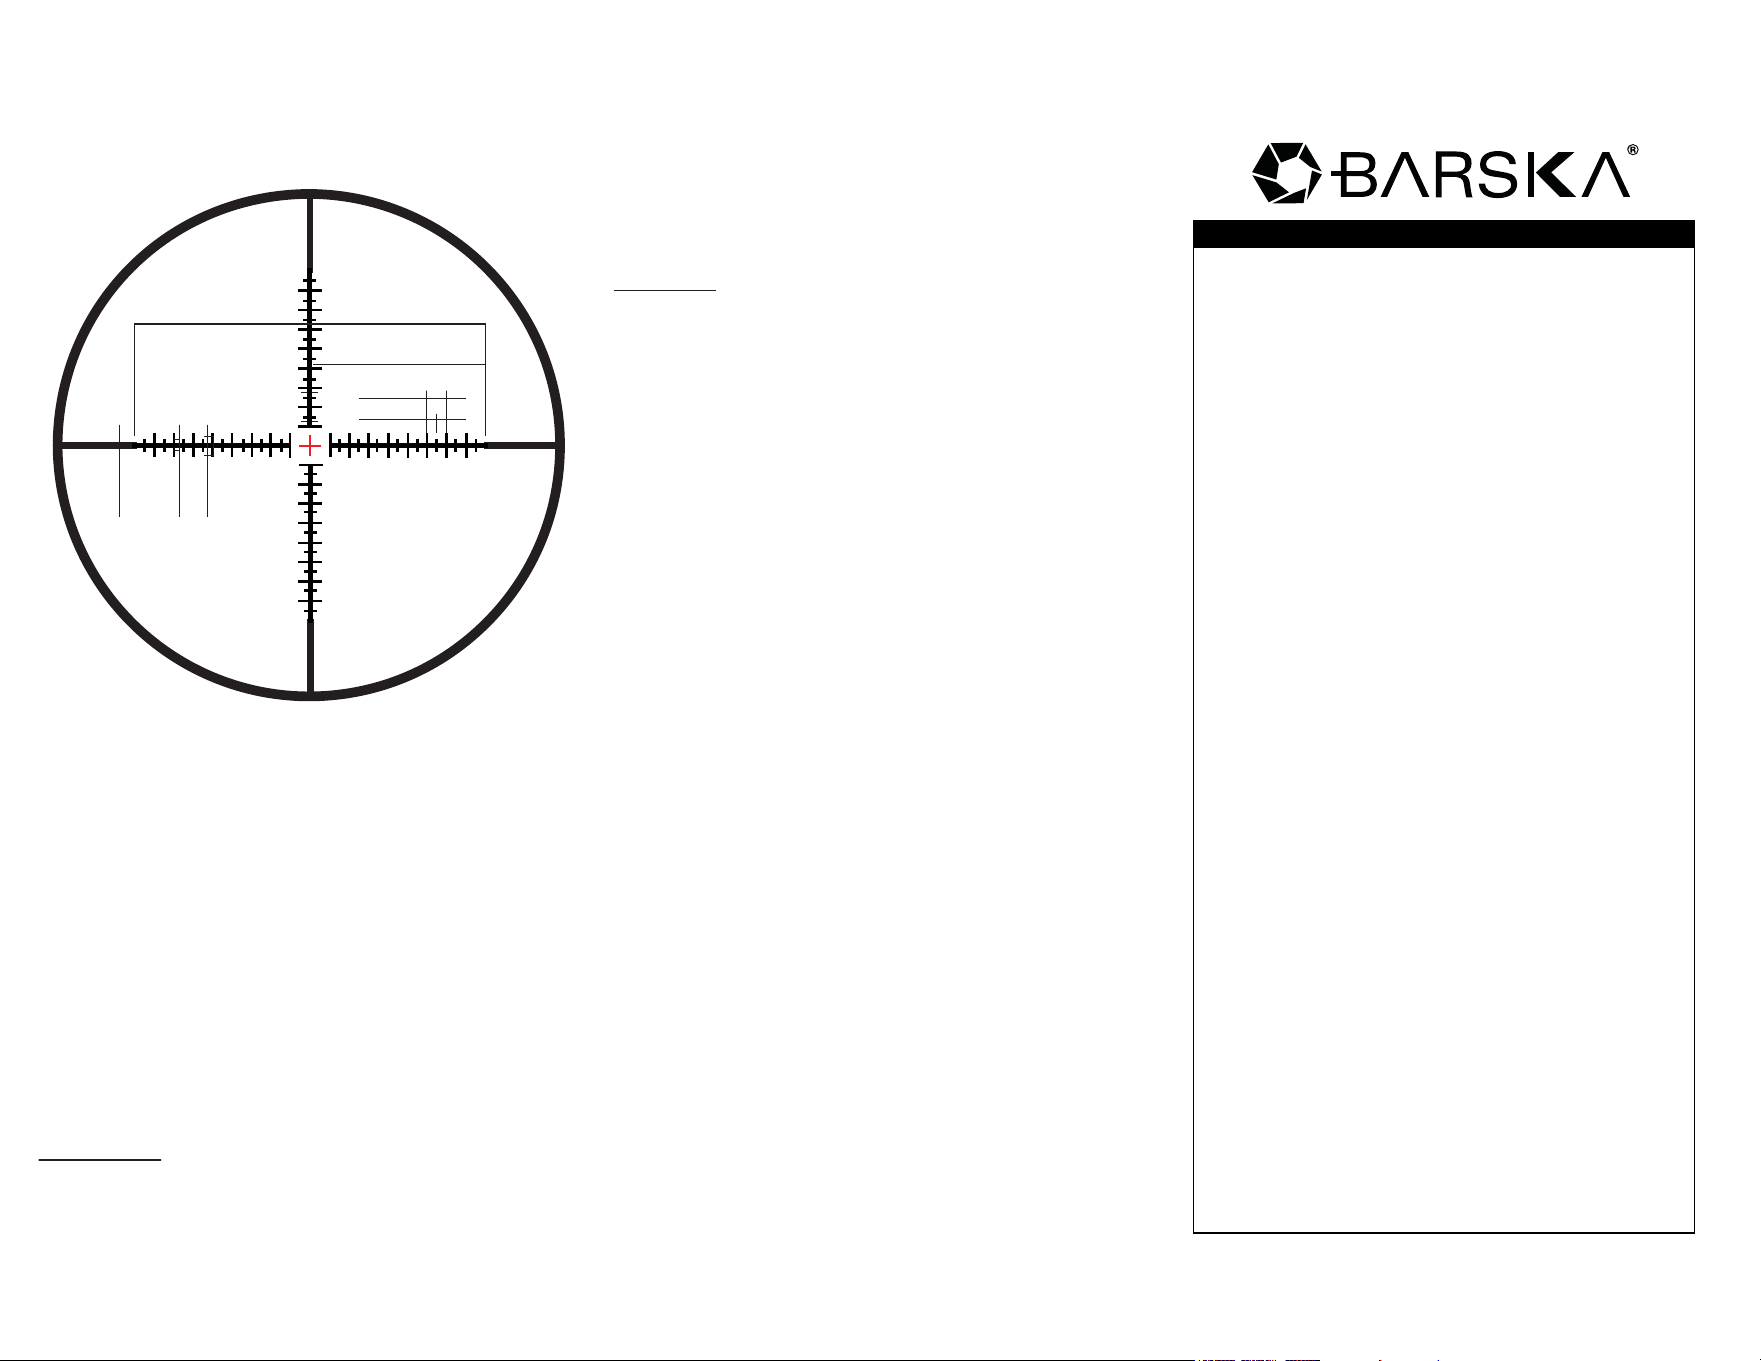
Use either the vertical or horizontal MOA scale, place the reticle on
target of known dimensions, and read the number of MOA. Accurate
MOA measurement reading will depend on how steady the scope is
held.
Note: Can multiply by 100 instead of 95.5 for quicker calculations,
but will be less accurate.
©2018 BARSKA
®
BC293
LIMITED LIFETIME WARRANTY
BARSKA® Optics, as manufacturer, warrants this new precision
optical product to be free of original defects in materials and/or
workmanship for the length of time specified by this warranty. This
warranty does not include damage caused by abuse, improper
handling, installation, maintenance, normal wear-and-tear,
unauthorized repairs or modifications and tampering in anyway.
This warranty is limited to the original purchaser and is not
transferable. This warranty applies only to products purchased in
the United States of America and Canada.
In the event of a defect within 30 days, the consumer must return
the defective unit to the BARSKA dealer (the place of purchase) at
his/her own expense.
Beyond 30 days, BARSKA products should be sent to the following
address for warranty repairs. Products must be packed carefully
and sturdily to prevent damage in transit, and returned freight
prepaid to:
BARSKA® OPTICS
Repair Department
855 Towne Center Drive
Pomona, CA 91767
For additional and updated information
please visit our website at www.barska.com
Please email [email protected] or call 1-888-666-6769 for Return
Merchandise Number (RMA#) before any returns.
NOTE: All merchandise received without a valid RMA # will be
returned to shipper at his/her own expense.
Please include all of the following when returning BARSKA
products for service and/or replacement:
1. Please write your complete details (Name, Address,
Telephone #, E-mail address, RMA#, etc.)
2. Purchase receipt or Proof of Purchase. (Original/Copy)
3. A brief explanation of the defect.
4. A Check/Money Order of $25.00 to cover inspection, shipping
and handling.
*Please allow 6-8 weeks for delivery.
This product will either be replaced or repaired at the discretion of
the warrantor. If it's a discontinued item, we will replace the product
with an equivalent product. Should the repair not be covered by
this warranty, an estimate will be sent for your approval.
Non-warranty repairs or refurbishing of your optical products are
always provided at a reasonable cost.
BARSKA® Optics shall not be liable for any consequential,
incidental and/or contingent damages whatsoever. We will not pay
shipping, insurance or transportation charges from you to us, or
any import fees, duties and or taxes. This warranty supersedes all
previous BARSKA® Optics warranties.
Here are some suggestions to increase your range estimation skills.
- Build targets of known dimensions such as 1 yard squares and
number them, so the target can be seen from a distance.
- Place the targets now at various ranges and make sure that the
targets are visible from the start point.
- Return to the start point. With a notepad, number the left side of
the pad with the number of targets you have put out.
- Look at the targets you have put out and determine the range with
the naked eye. Write down this figure on your notepad next to the
corresponding target number. This will help you develop your eye
skills and assist you in estimating range by optics.
- After you finished determining the range with the naked eye,
establish a stable shooting position with your unloaded rifle or mil
dot equipped spotting scope.
- Use the formula above to determine range. Using an odometer or a
measuring wheel determine the actual range to the targets.
- Compare the actual range between using a measuring wheel,
naked eye and using mils.
Moving Targets
This skill is extremely difficult, as well as difficult to train. However, if
you have the means of making a moving target in an area where
you can train, you should do so at every opportunity. Here are some
suggestions on moving targets.
7.8mm
36MOA
4MOA
2MOA
- Start with slow speeds and then build speed as skill increases. Do
not increase target speed until you can hit them 90% or better all
the time.
- Use a target size that at a minimum replicates the kill zone of your
intended target. In the beginning, a larger target should be used to
show hits to allow you adjust your leads/ actions.
- Begin training at close ranges (50 yards) and increase as your
skills improve.
- You should use a partner slightly behind your shoulder with a
spotting scope, look for a bullet trace, and provide you with the
feedback as to where the bullet is landing.
Maintenance
Your riflescope is shockproof and waterproof. However, please don’t
take it apart or clean it internally. If your scope requires repairs or
adjustment, you should bring it to your firearms dealer or an
authorized service center. Please refer to the warranty section for
further details.
The exposed optical surfaces can be wiped clean occasionally with
the included lens cloth or with a special optical cleaning cloth. It is
recommended to keep the protective lens cover on the scope when
not being used.
The metal body of your scope can be cleaned by using a soft brush
or a damp cloth followed by a soft cloth. To maintain the scope, you
can use a silicon treated cloth to restore luster and protect the scope
against corrosion. However, don’t touch the lenses with the silicon
cloth.
1MOA
2MOA
4MOA