User Manual
www.AvantcoIce.com
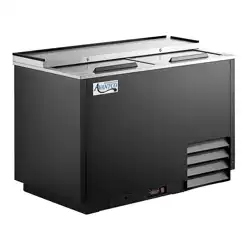
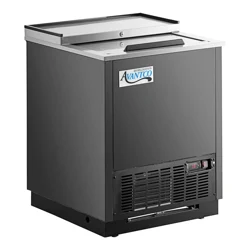
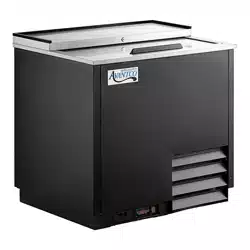
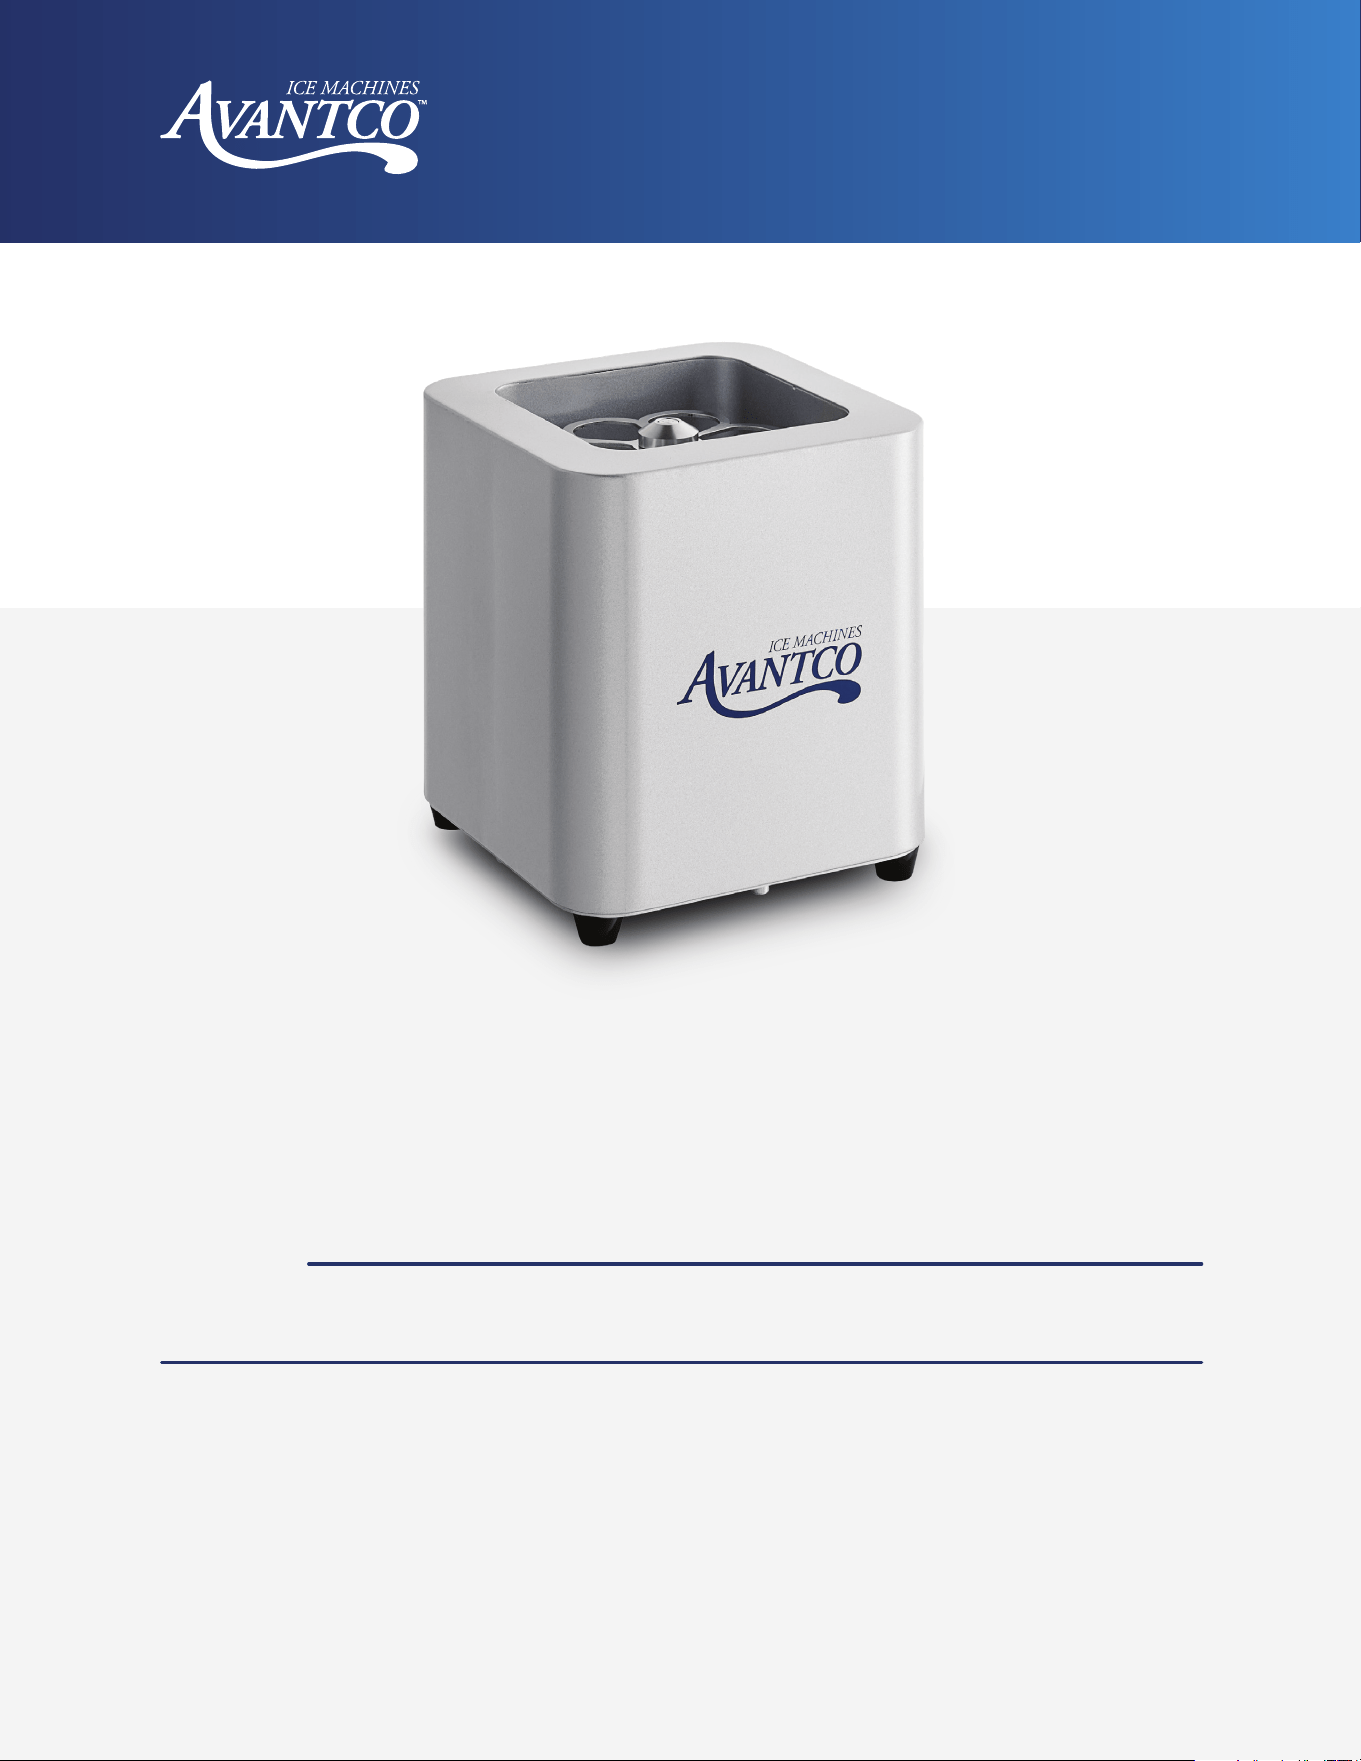
Countertop
Glass / Frost Chiller
Model:
#194SQRCGF
Note:
Read the manual thoroughly prior to equipment setup, operation, and maintenance.
An adapter is included in the product packaging. This adapter is only needed for applications
in places other than North America.
01/2025

2
User Manual
www.AvantcoIce.com
Countertop Glass / Frost Chiller
Table of Contents
Warnings .............................................................................................................................. 2
Installation ........................................................................................................................... 2
Connecting CO
2
Cylinder ................................................................................................ 3
Troubleshooting ................................................................................................................. 3
Warnings
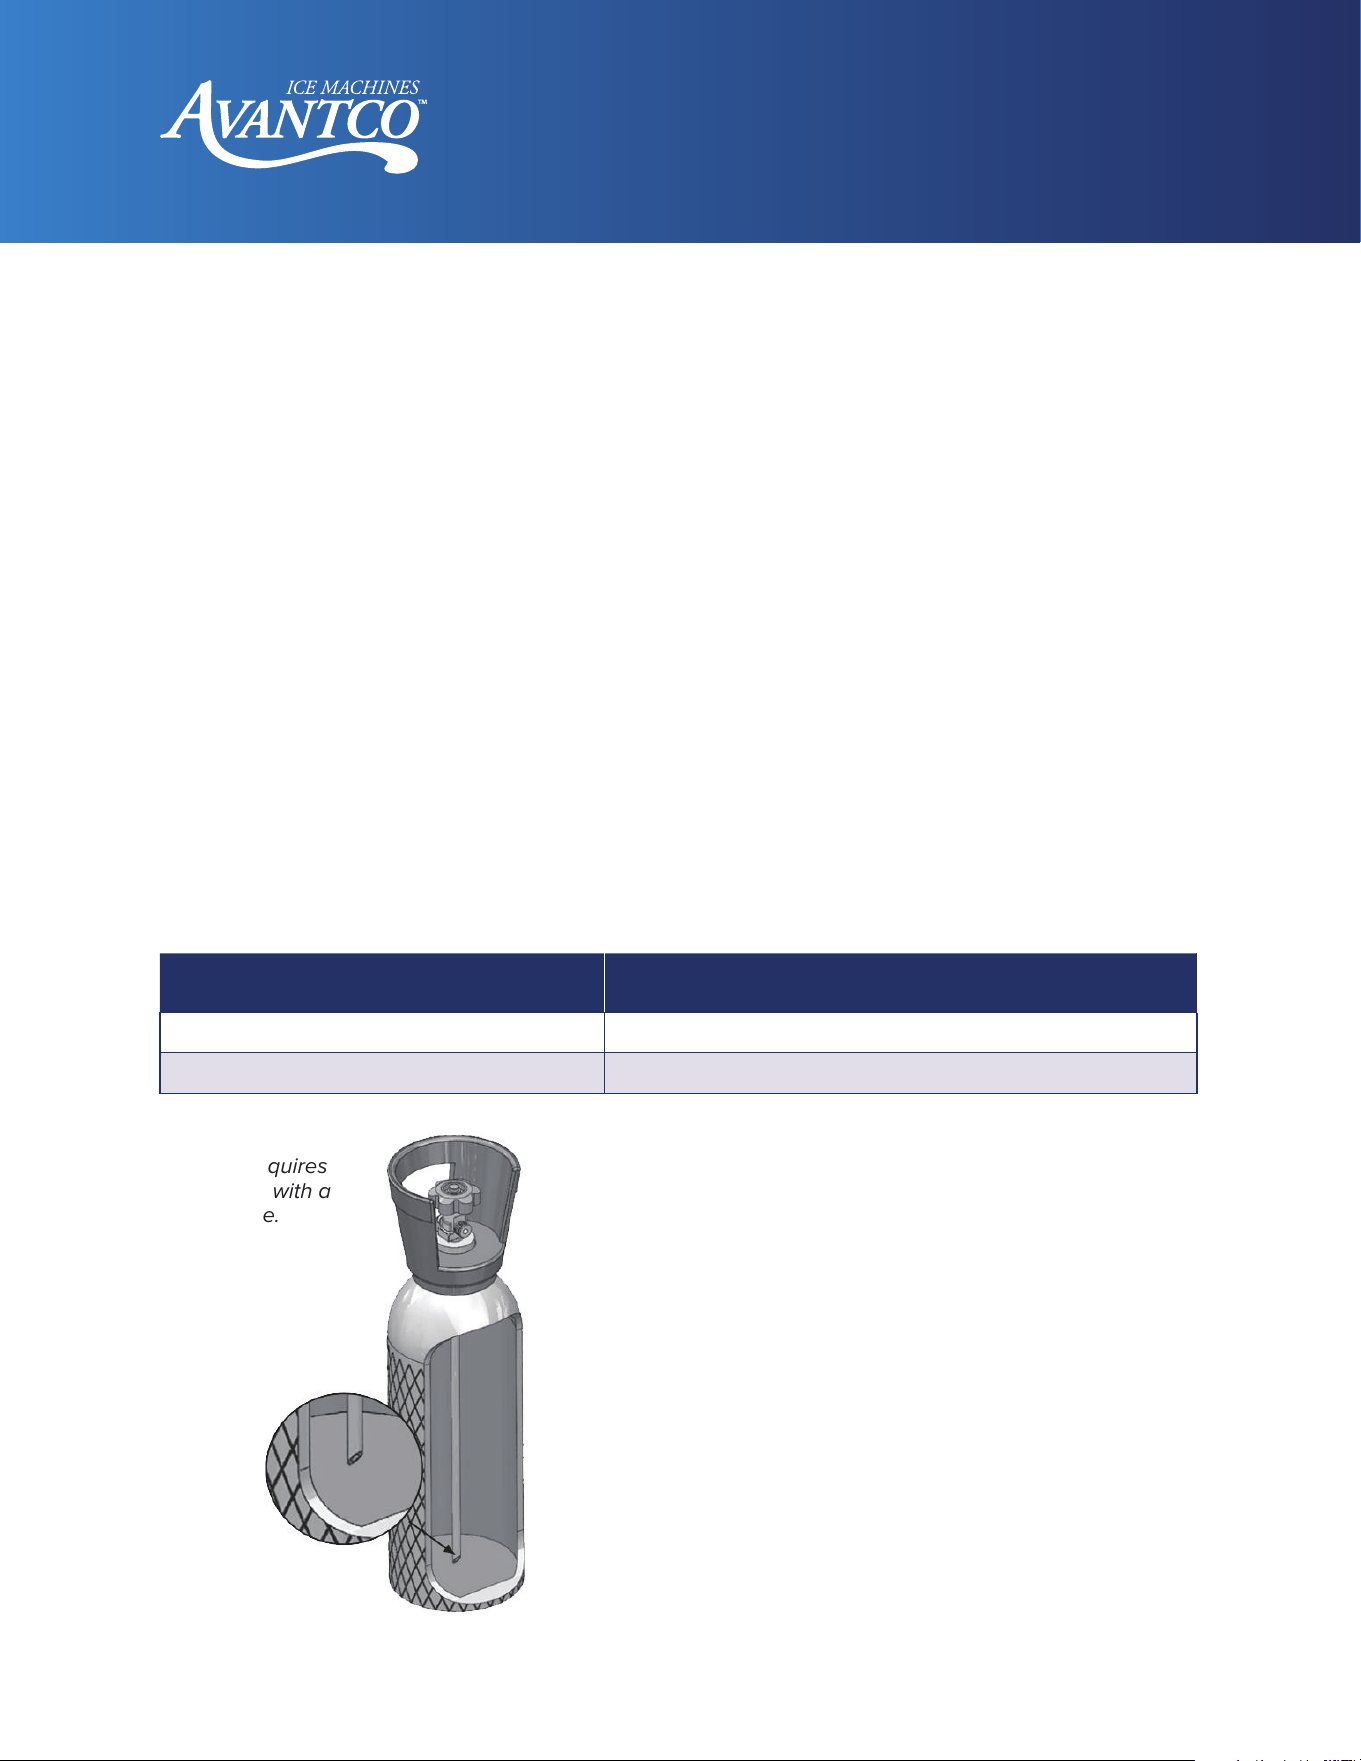
This product works with liquid CO
2
only. Do not use other compressed gas cylinders with high-pressure
or non-liquid CO
2
. A liquid CO
2
cylinder with siphon tube is required for eective delivery of liquid CO
2
.
A non-liquid CO
2
cylinder may be used if the tank is inverted (turned upside down). Install this product in
a well-ventilated area to assist in venting excess CO
2
.
Dry ice can cause burns or other injuries if not properly handled. Always use PPE, such as gloves, while
handling dry ice.
Installation
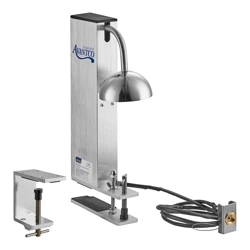
1. Connect the glass froster with CO
2
tank and make sure there is no gas leak.
2. Slowly open CO
2
tank to ensure there are no leaks in the system. Then, fully open CO
2
tank.
3. Connect the glass froster to the power.
4. Press the blue-red button to turn on the machine.
5. Prepare the glasses.
6. Press down on the blue button to ensure equipment is operational.
NEMA
1-15P
3
User Manual
www.AvantcoIce.com
Countertop Glass / Frost Chiller
CONNECTING CO
2
CYLINDER
NOTE: We recommend using a 20 lb. or larger CO
2
tank with this machine for
optimal results.
1. Close the shut o valve of the CO
2
cylinder.
2. Press the blue button until all excess pressure is released.
3. Loosen the nut on the CO
2
cylinder and remove the CO
2
cylinder.
4. Replace it with a full CO
2
cylinder.
5. Place steel wire for the connection hose around the CO
2
tank.
6. Add rubber seal rings to the inside of the connection hose nut, then connect
to CO
2
tank.
7. First, tighten by hand. Then, use a wrench to finish tightening.
NOTE: Do not overtighten.
8. Slowly open CO
2
tank to ensure there are no leaks in the system. Then, fully
open CO
2
tank.
9. Press down on the glass froster head to ensure equipment is operational.
Troubleshooting
Problem Possible Solution
Long frosting time. Replace the CO
2
tank with a full tank.
Not frosting at all. Replace the CO
2
tank with a full tank.
This unit requires
a CO
2
tank with a
siphon tube.