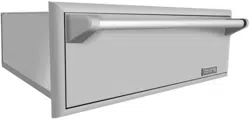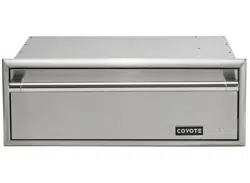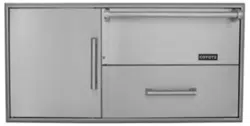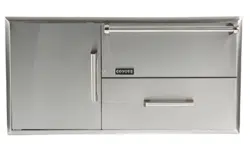
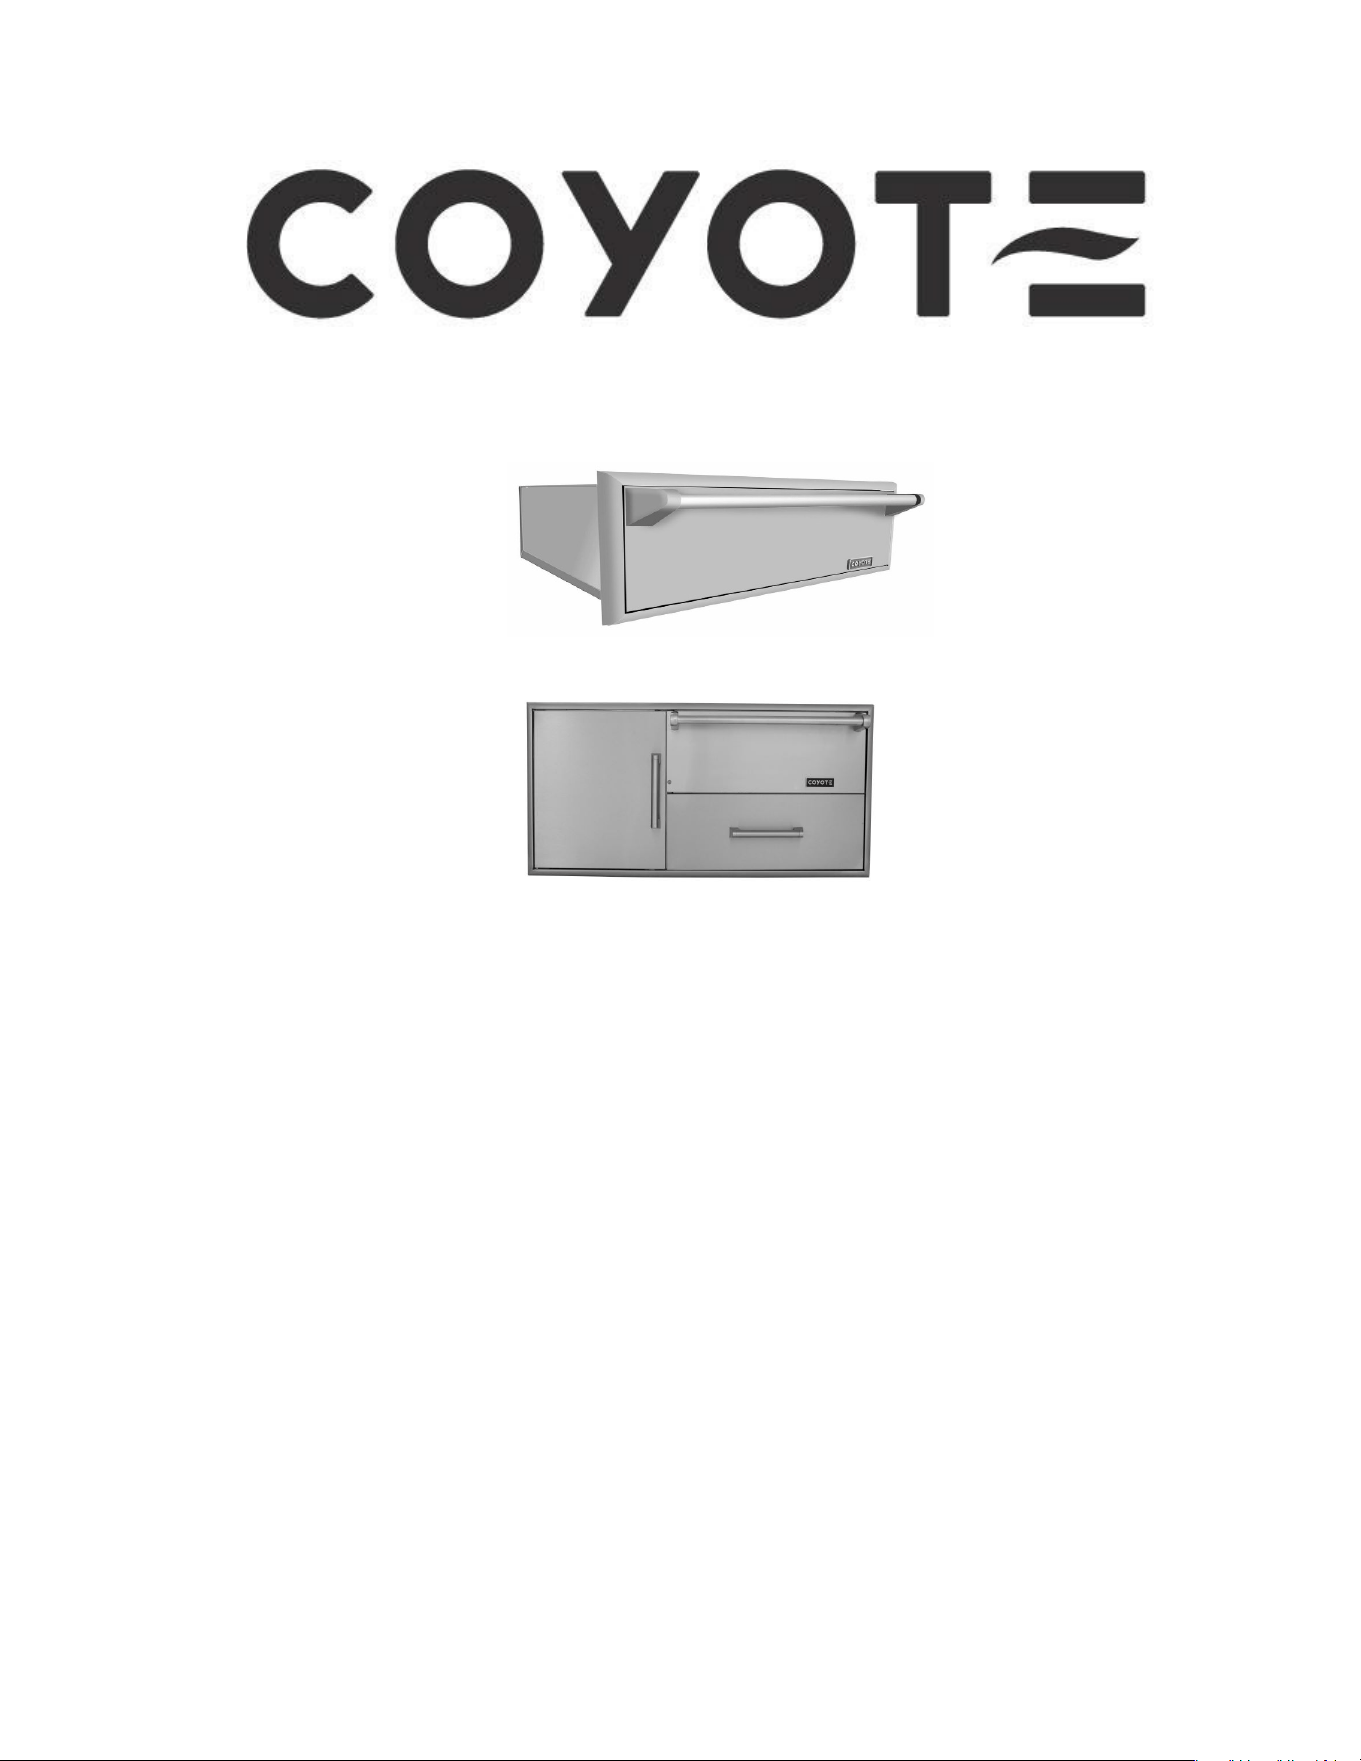
Use and Care Manual Warming Drawer & Warming Drawer Combo
C3-CWD
C3-CCD-WD

2
Important Safety Instructions
1. Proper Installation
Ensure your appliance is correctly installed and grounded by a qualified technician.
2. Do Not Use as a Heater
Never use your appliance to warm or heat a room.
3. Child Safety
o Do not leave children unattended in areas where the appliance is used.
o Prevent children from sitting or standing on any part of the appliance.
4. Appropriate Clothing
Avoid wearing loose-fitting or hanging garments while using the appliance to prevent accidental
contact with heating elements.
5. User Servicing
Only repair or replace appliance parts if explicitly recommended in the manual. A qualified
technician must perform all other repairs.
6. Storage Safety
Do not store flammable materials near surface units or other heat-producing components.
7. Grease Fire Protocol
Never use water on grease fires. Instead, smother the flames or use a dry chemical or foam
extinguisher.
8. Use Dry Potholders
o Damp potholders on hot surfaces can cause steam burns.
o Avoid using towels or bulky cloths near heating elements.
9. Proper Pan Size
Select flat-bottomed utensils large enough to cover the surface unit. Undersized utensils can
expose heating elements, increasing the risk of fire or inefficiency.
10. Monitor High Heat Settings
Never leave surface units unattended at high heat settings. Boil overs can cause smoking or
grease fires.
11. Reflector Pans and Drip Bowls
Ensure reflector pans or drip bowls are in place during cooking to prevent damage to wiring or
components.
12. Avoid Improper Liners
Do not use aluminum foil to line drip bowls or oven bottoms unless specified in the manual.
Incorrect use can lead to electric shock or fire hazards.
13. Glazed Cooking Utensils
Use only heat-resistant glazed utensils designed for range-top use to avoid breakage from
temperature changes.
14. Utensil Handle Position
Turn handles inward to reduce the risk of burns, accidental contact, or spills. Ensure they do
not extend over adjacent surface units.
15. Do Not Stack Heating Elements
Never immerse or stack removable heating elements in water.
16. Broken Cooktop Safety
If the cooktop is damaged, stop use immediately. Spills and cleaning solutions can penetrate
and create an electric shock risk. Contact a qualified technician.
17. Cleaning Precautions
Be cautious when cleaning a hot cooktop. Wet sponges or cloths can cause steam burns, and
some cleaners may release harmful fumes on hot surfaces.

3
CAUTION
Avoid storing items of interest to children in cabinets above or on the backguard of the range. Children
could climb on the appliance and risk injury.
WARNING: Avoid Contact with Surface Units and Nearby Areas
Surface units can remain hot even when they appear dark in color. Surrounding areas near the surface
units may also reach temperatures high enough to cause burns.
• During and after use, do not touch surface units or adjacent areas.
• Keep clothing and flammable materials away from surface units and nearby areas until they
have had sufficient time to cool.
• High-temperature zones include the cooktop and surfaces directly facing the cooktop.
SAVE THESE INSTRUCTIONS
4
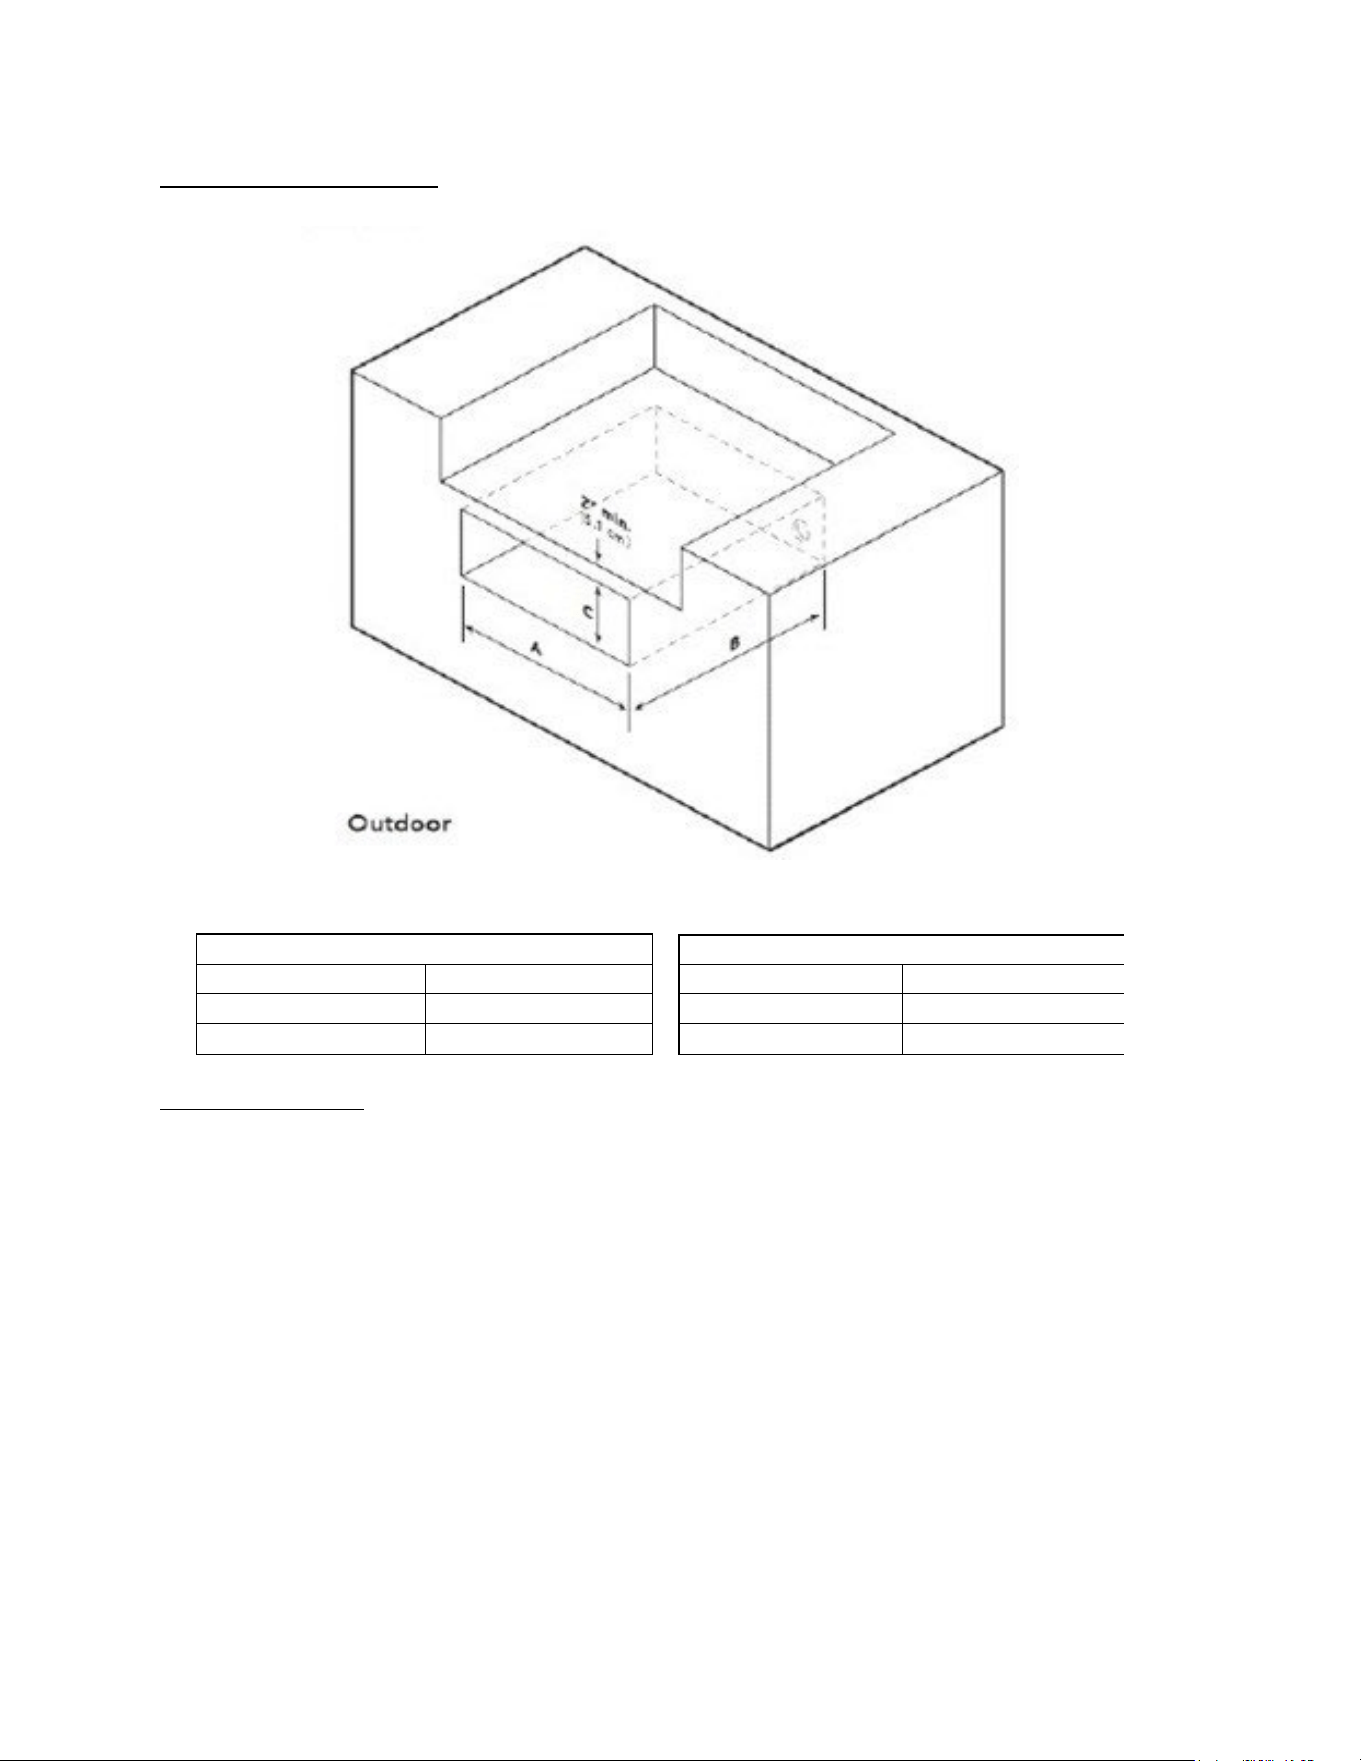
Cutout Dimensions for CWD
General Information
• Recommended Compatibility: When installing this unit directly below other appliances, it is
strongly recommended to use Coyote built-in products.
• Unboxing: Carefully remove the warming drawer from its packaging, ensuring all loose packing
materials and accessories are removed.
• Compliance: It is the installer's responsibility to adhere to all local codes. In the absence of
local codes, follow the National Electrical Code (ANSI/NFPA 70, latest edition).
• Electrical Protection: This appliance is not fused. For protection, use a properly sized fuse,
circuit breaker, and Ground Fault Interrupter (GFI).
• Accessibility: Ensure the line disconnect switch, circuit breaker, GFI, or plug/receptacle is
readily accessible to the operator.
• Grounding: Ground the unit according to applicable electrical codes.
• Warranty Compliance: Installations not complying with the specifications outlined in these
instructions will void the Coyote warranty.
Cutout Measurements for CWD
Cutout Width - A
28-1/4"
Cutout Depth - B
23-1/2"
Cutout Height - C
9-1/2"
Cutout Measurements for CCD-WD
Cutout Width - A
40 5/8"
Cutout Depth - B
25 1/4"
Cutout Height - C
19 1/2"

5
Electrical Connection
• Grounding Instructions:
o This appliance must be connected to a grounded metal, permanent wiring system.
Alternatively, an equipment-grounding conductor must be run with the circuit
conductors and connected to the equipment-grounding terminal or lead on the
appliance.
• Electrical Requirements:
o Hardwire directly using a separate 120V/15-amp minimum, 2-wire circuit with ground.
o Maximum power usage is 400 watts / 3.3 amps.
o Voltage and Frequency: AC 120V / 60Hz.
CCD-WD Installation Instructions
1. General Installation Guidelines
o When installing the CCD-WD combo cabinet, follow the instructions outlined for the
CWD, ensuring you anchor the cabinet instead of just the individual door.
2. Structural Support
o Depending on your building materials, provide adequate support for the cabinet:
Support from underneath the cabinet.
Use strapping around the cabinet to secure it.
o Each installation and island build is unique. The installer must determine the best
method to properly support the CCD-WD (or CWD) weight to prevent damage to the
structure.
IMPORTANT SAFETY INFORMATION
PLEASE READ AND FOLLOW THESE INSTRUCTIONS CAREFULLY
1. Preparation
o Thoroughly read these instructions before beginning the installation.
o Ensure all steps follow these instructions to avoid compromising safety or warranty
coverage.
2. Product Labels
o Do not remove permanently affixed labels, warnings, or plates from the product.
Removing these may void the warranty.
3. Code Compliance
o Adhere to all local and national codes and ordinances.
o In the absence of local codes, follow the National Electrical Code (ANSI/NFPA 70,
latest edition).
4. Documentation
o The installer must leave these instructions with the consumer.
o The consumer should retain the instructions for local inspector reference and future
use.
5. Grounding
o Ensure the product is properly grounded to prevent electrical hazards.
6
Safety Alert Information
• Your safety and the safety of others are extremely important.
• This manual and the appliance itself contain critical safety messages. Always read and follow
these messages to reduce risk.
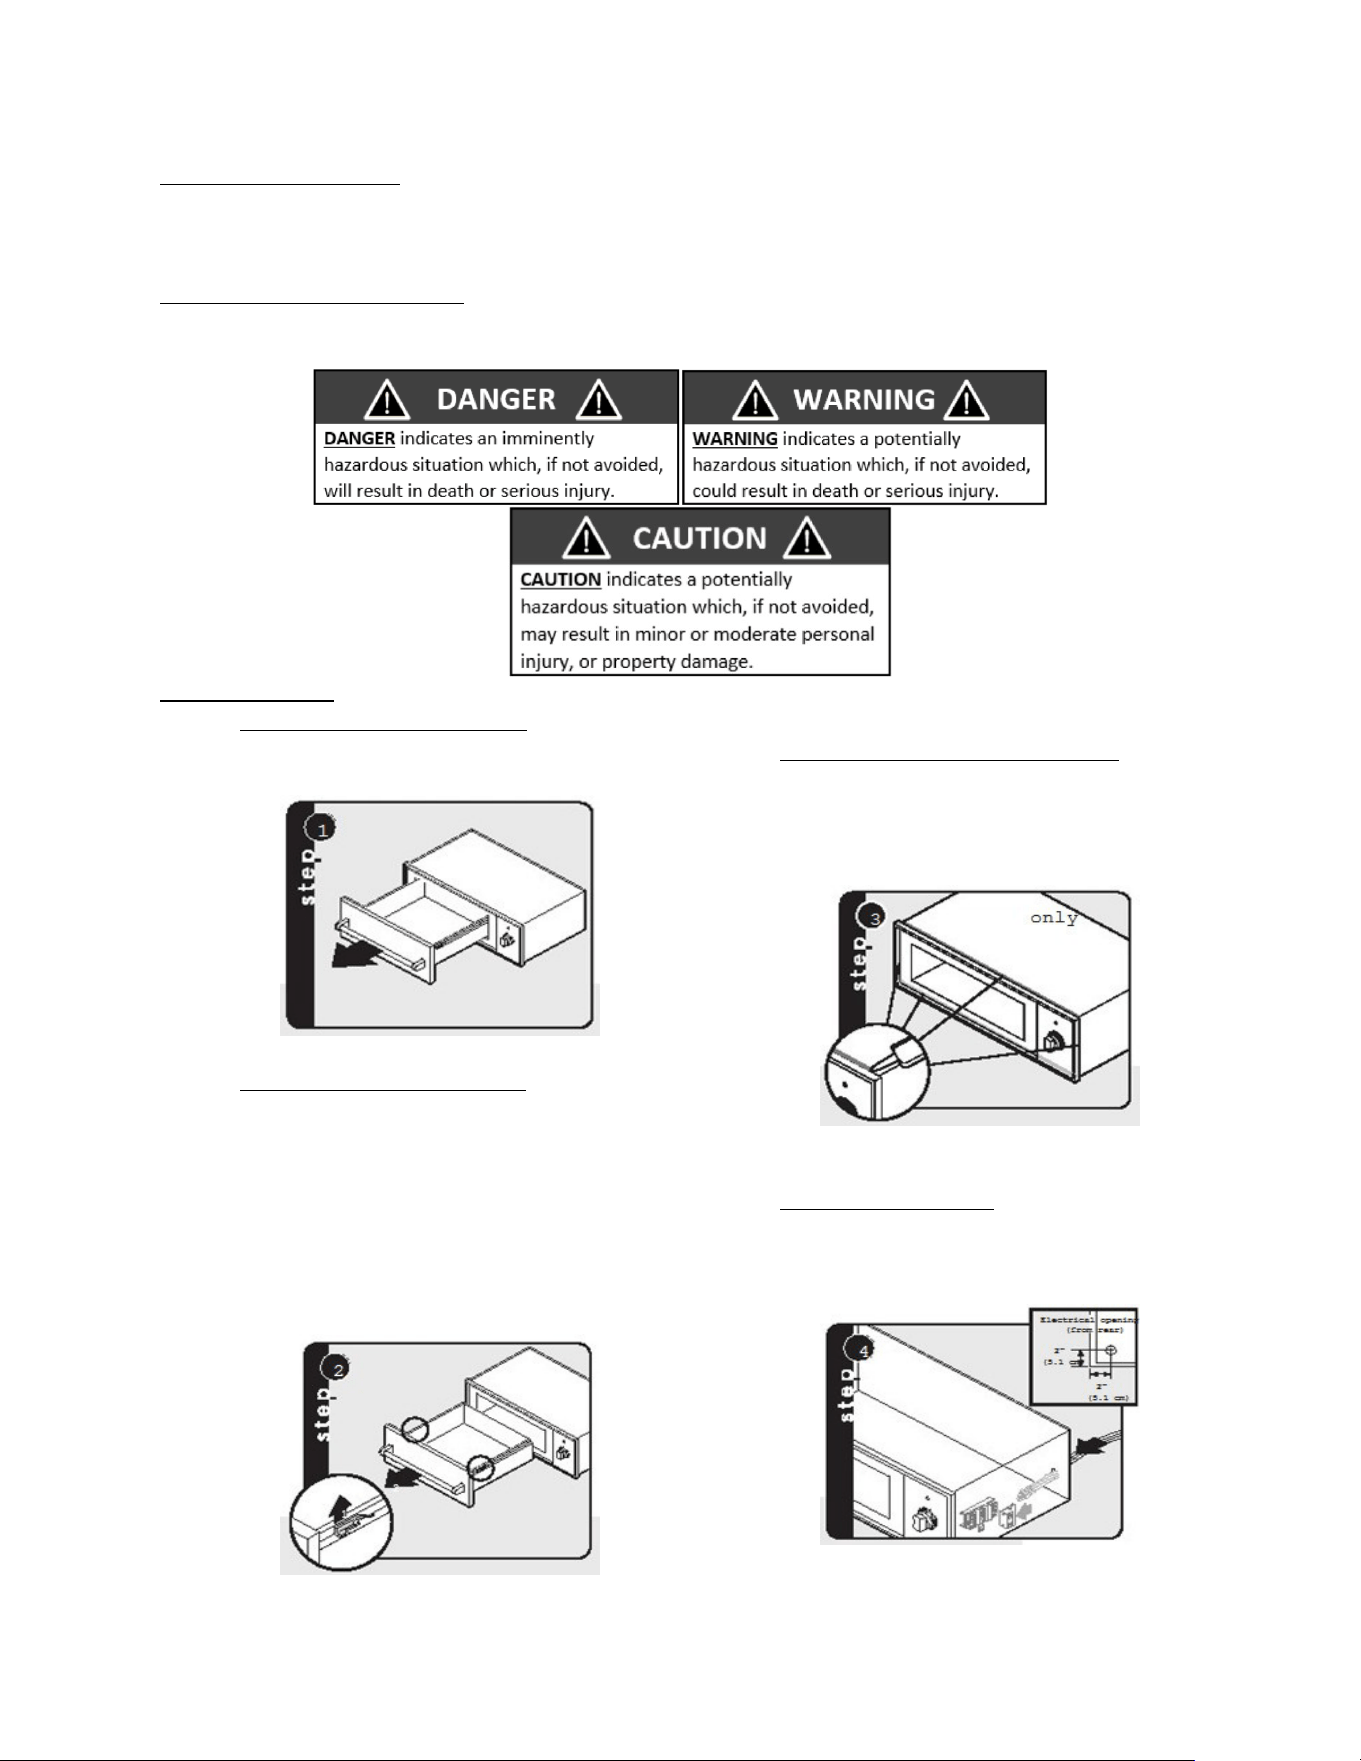
Safety Symbols and Warnings:
• Safety Alert Symbol: Alerts you to hazards that can cause serious injury or death.
• Warning Labels: Each safety message will be preceded by one of the following:
Installation CWD
:
1. Extend the Drawer Assembly
• Pull the drawer assembly out until
it is fully extended.
2. R
elease Drawer Pan Support
• Slide your fingers along both the
right and left sides of the drawer
rails until you locate the black
hand latches at the front of the
rails.
• Pull up simultaneously on both the
right and left latches to release and
remove the drawer pan support.
3. P
repare the Warming Drawer Trim
• Apply a bead of silicone caulk
around the back edge of the
warming drawer trim to ensure a
secure seal.
4. F
eed the Supply Cord
• Feed the supply cord through the
hole in the rear of the warming
drawer.
7
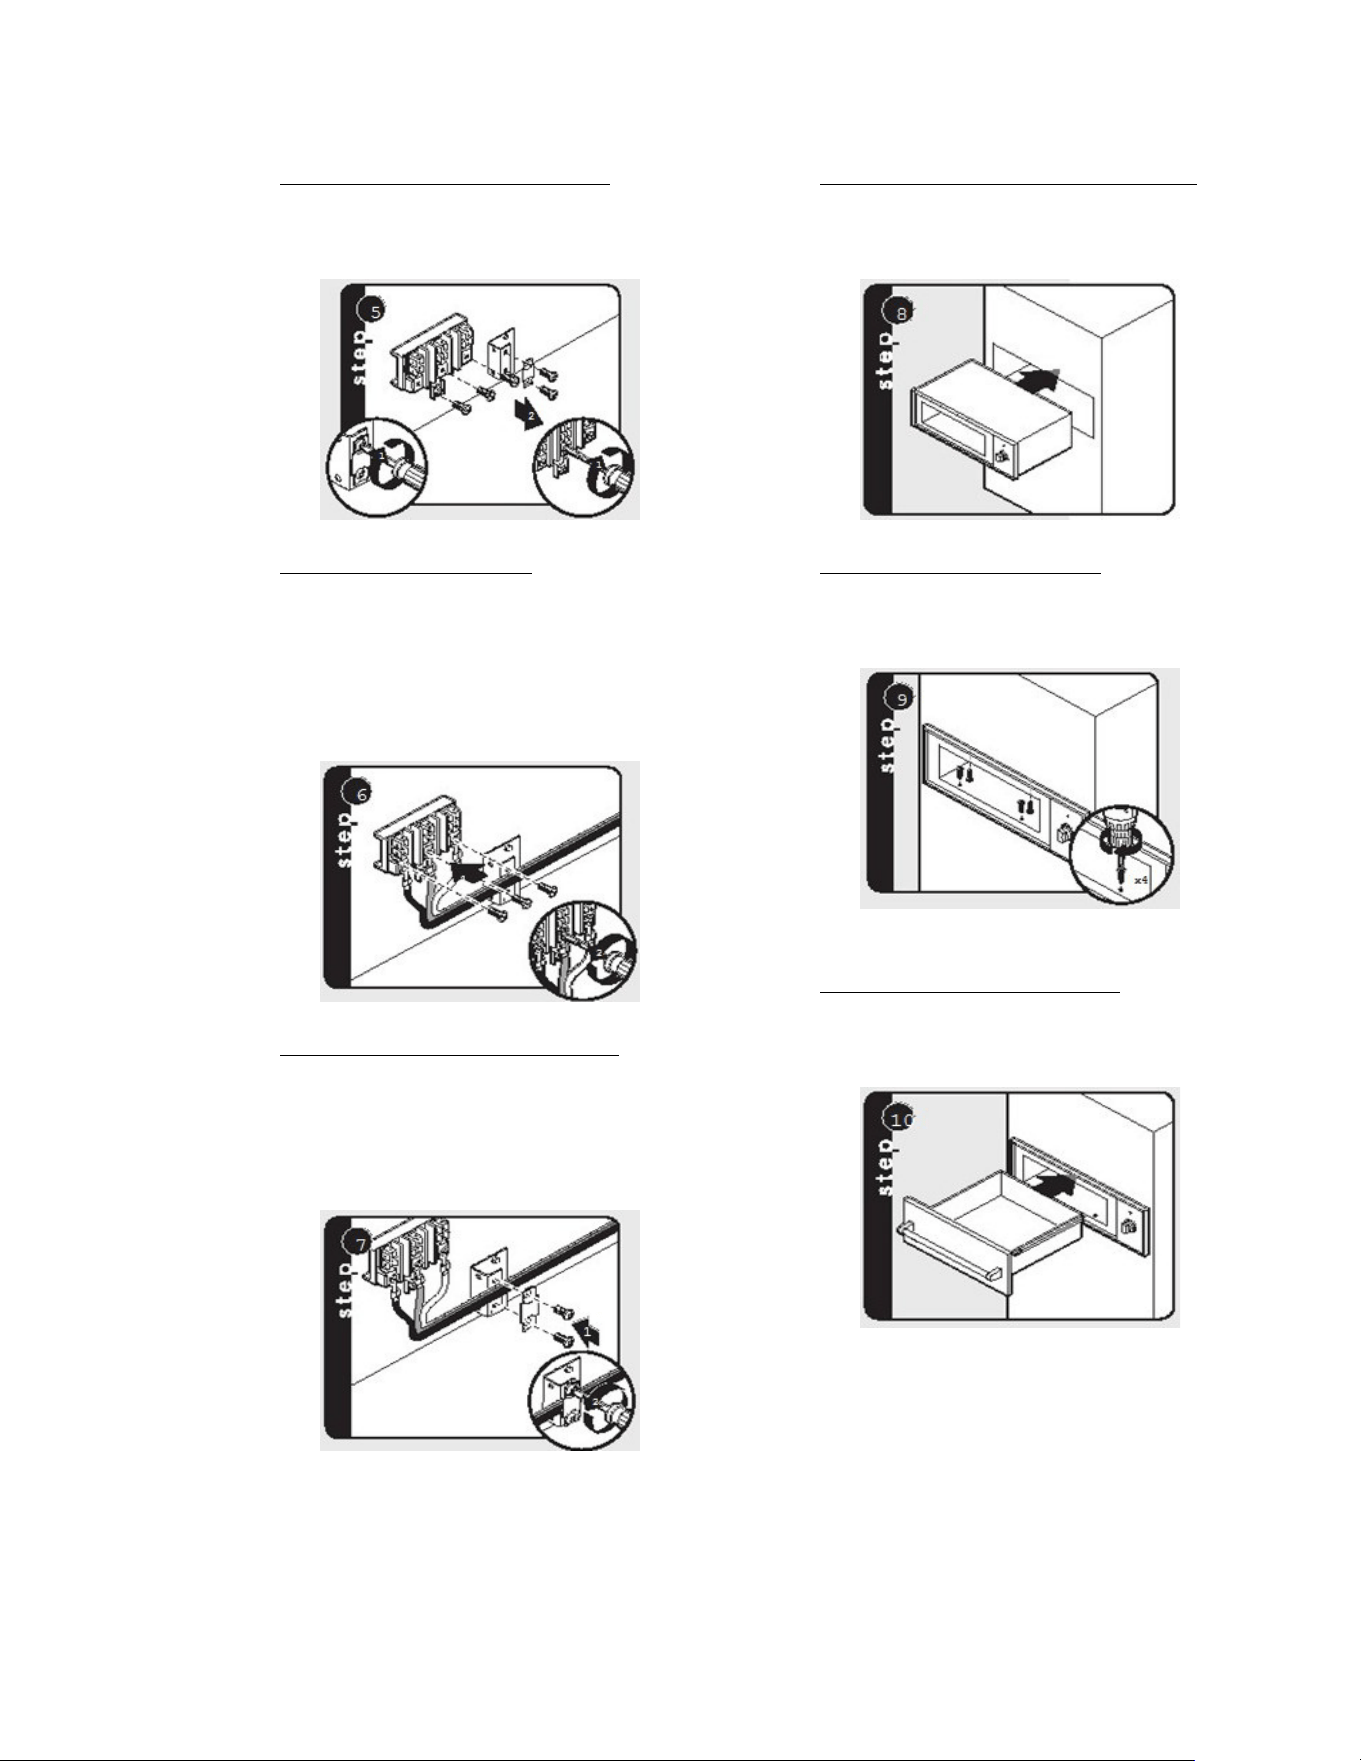
5. Remove the Strain Relief Bracket
• Detach the strain relief bracket
and mount screws from the
terminal block.
6. Connect Electrical Leads
• Attach the white (neutral) lead and
black (line) lead to their respective
terminals.
• Connect the ground wire to the
center terminal for proper
grounding.
7. Reattach the Strain Relief Bracket
• Push the supply cord toward the
terminal block to reduce strain on
the wires.
• Reinstall the strain relief bracket
over the supply cord to secure it.
8. Install the Warming Drawer Assembly
• Carefully slide the entire warming
drawer cabinet assembly into the
prepared cabinet opening.
9. Secure the Warming Drawer
• Use the four #8 mounting screws
(provided) to secure the warming
drawer to the cabinet.
10. Replace the Drawer Assembly
• Reinstall the drawer assembly,
ensuring it is appropriately aligned
and slides smoothly.
8
WARNING: Hazards or unsafe practices COULD result in severe personal injury or death
WARNING
DANGER: Hazards or unsafe practices WILL result in severe personal injury or death
DANGER
CAUTION: Hazards or unsafe practices COULD result in minor personal injury or
property damage
CAUTION
Make sure that the incoming voltage is the same as the unit rating. An electric rating plate
specifying voltage, hertz, wattage, amps, and phase is attached to the product. Wiring the
warming drawer with more voltage than it is rated for may cause severe damage to the
thermostat, elements, and other components. Wiring the warming drawer with less voltage
than it is rated for may cause a significant decrease in performance.
WARNING
To reduce the risk of fire, electric shock, or injury to persons, installation work must be
done by qualified people in accordance with all applicable codes and standards, including
fire-rated conditions.
WARNING
For outdoor installation, installer must install a ground fault interrupt.
WARNING
FIRE AND ELECTRICAL SHOCK HAZARD
Do not use a flexible power supply cord with this appliance to reduce the risk of electric
shock and fire.
WARNING

9
Coyote Outdoor Living, Inc. Limited Warranty
General Terms
To the maximum extent permitted by law, this Limited Warranty and the remedies outlined herein are
exclusive and supersede all other warranties, whether oral or written, express or implied. Coyote Outdoor
Living, Inc. expressly disclaims any implied warranties, including but not limited to warranties of
merchantability and fitness for a particular purpose.
This warranty is provided to the original purchaser at the original delivery site with proof of purchase and
applies only to residential use. The warranty covers defects in workmanship and materials under regular
residential use for the specified periods outlined below. It is non-transferable and does not apply to any grill
used in a commercial setting. Surface corrosion, scratches, discoloration, and other cosmetic issues arising
from regular use are explicitly excluded.
Warranty Coverage Periods
Lifetime (no rust or burn-through)
• Stainless Steel Frame/Housing
One Year
• Ignition Systems/Valves
• Electric/Plastic Components
Coyote's Obligations
Coyote Outdoor Living, Inc. will repair or replace defective components at its discretion during the warranty
period. Replacement or repair is the exclusive remedy under this warranty. Liability under this warranty is
limited to the cost of the replacement part or repair. Labor and labor-related charges are not covered, and
customers are responsible for shipping and handling fees for replacement parts.
Exclusions
This Limited Warranty does not cover:
Normal wear and tear or damage caused by:
• Misuse, negligent use, or abuse of the product.
• Improper fuel/gas supply.
• Failure to follow operating instructions.
• Alterations by anyone other than a factory-authorized technician.
Cosmetic issues, including but not limited to:
• Scratches, dents, corrosion, or discoloration due to weather, heat, abrasive cleaners, chemical
exposure, or pool and spa chemicals.
• Paint loss, surface rust, or stainless-steel discoloration are considered normal wear and tear.
• External factors include damage from accidents, vandalism, flashback or grease fires, and
improper installation, maintenance, or service.
• Severe weather events (hail, hurricanes, tornadoes, earthquakes, etc.), terrorism, Acts of God, or
exposure to atmospheric chemicals.
• Inconveniences or damages: Personal injury, property damage, or any incidental or
consequential damage arising from improper use or product failure.
Limited Warranty

10
Warranty Claim Procedure
If you require service or replacement parts for your Coyote Grill, follow these steps:
• Contact the Warranty Service Center: Phone: 855-520-1559
• Email: support@coyoteoutdoor.com
• Website: www.coyoteoutdoor.com (Warranty claims can be submitted online.)
• Provided With Required Information:
• Model number.
• Serial number.
• Proof of purchase.
Coyote Outdoor may require defective parts to be returned for examination. Customers are responsible for
prepaying shipping charges. If the part is deemed defective, Coyote Outdoor will approve the claim and issue
replacement parts at no charge. Shipping and handling costs for replacement parts remain the customer's
responsibility.
Important Notes
• Exclusion of Extended Warranty: Warranty periods are not extended by any repair or replacement.
• Customer Responsibility: The customer is responsible for the proper maintenance and operation of
the grill, as outlined in the product manual.
• Non-Covered Issues: Damages from misuse, improper cleaning, and exposure to harsh environmental
conditions are not covered.
Limitation of Liability
To the maximum extent permitted by law, Coyote Outdoor Living, Inc. shall not be liable for:
• Incidental or consequential damages.
• Costs of inconvenience, personal injury, or property damage resulting from improper use or product
failure.
This Limited Warranty constitutes the sole and exclusive warranty provided by Coyote Outdoor Living, Inc.; no
other warranties, express or implied, will apply.