www.DiamondAudio.com
3761 S. Hill Street
Los Angeles, CA. 90007
Tech Support Direct: 213-212-3187
©2019 Diamond Audio. All rights reserved.
(a division of CV & DA Holdings, Inc.)
MOTORSPORT SERIES
MSHRNS2/4 MSHRNS2/4
HARLEY-DAVIDSON
BAGGER - 2/4 CHANNEL
WIRING HARNESS/KIT
HARLEY-DAVIDSON
BAGGER - 2/4 CHANNEL
WIRING HARNESS/KIT
TM
11
2
INSTALL GUIDE:
WARRANTY
THIS WARRANTY IS NOT TRANSFERABLE AND APPLIES ONLY TO THE ORIGINAL PURCHASER OF THIS PRODUCT
IN ITS ORIGINAL INSTALLATION. Original purchaser must reside in the United States and be able to provide proof of
purchase and installation with the sales receipt and completion of online registration from the authorized DAT retailer that
sold and installed the product.
Should a manufacturing defect occur during above said warranty period, DAT will replace or repair the defective product
with a product of the same or equivalent value and performance, at DAT’s discretion.
Damage or failure caused by any of the following is not covered under this warranty policy: negligence, improper use,
abuse, product modification, unauthorized repair attempts, accident, acts of God, misrepresentations by DAT retailers, and
improper/inadequate packaging during return shipping.
Warranty is void if serial numbers have been removed, altered or defaced.
In the event a DAT product should require service, you should visit the authorized DAT retailer you purchased the product
from and they can expedite your claim. All claims must fall into the guidelines listed above and be accompanied by a copy of
the original sales and installation receipt from that authorized DAT retailer.
Product returned for warranty service must be freight-prepaid, properly packaged and clearly marked with the Return
Authorization (RA) number issued by DAT. Any product returned to DAT that is improperly packaged, does not have a
RA number clearly marked on the package, or never received a RA number, may be refused upon delivery. DAT does not
assume responsibility for lost or misdirected product.
Repair or replacement under this warranty is the exclusive remedy of the consumer. DAT shall not be liable for any
incidental or consequential damages for breach of any expressed or implied warranty on this product. Some states do not
allow the exclusion or limitation of incidental or consequential damages, or allow limitations on how long an implied warranty
lasts, so the above limitations or exclusions may not apply to you. This warranty gives you specific legal rights and you may
also have other rights that may vary from state to state.
Customers outside the United States should contact their local sales office to obtain information on pricing, exchange unit
availability, instructions, service and warranty/non-warranty replacement or repair.
Diamond Audio Technologies
1225 E.7th ST
LOS ANGELES,CA 90021
Tel: 213-261-4161
Fax: 213-947-4767
Web: diamondaudio.com
Service/Tech Support:
213-261-4161
Tech Support Email
Diamond Audio Technologies (DAT), a division of CV & DA Holdings Incorporated, warrants this product to be free from
defects in material and workmanship for a period of one (1) year from the original date of purchase, provided it was
purchased from an authorized DAT retailer within the United States. Product warranty period starts at the date of
purchase or one year past the manufacture date whichever is first. However, upon purchase and completion of the
on-line registration and installation by an authorized DAT dealer, warranty period will be extended to two (2) years.
This warranty extension offer will only be recognized upon completion of the on-line registration of your product within
thirty (30) days of the date of purchase.
HOW TO OBTAIN WARRANTY SERVICEMSHRMS2 - BAGGER 2/4 CHANNEL AUDIO WIRING KIT
Congratulations, you have just purchased one of the finest mobile audio products on the
market. Diamond Audio products represent the latest advances in acoustic technology in
sound reproduction for your vehicle. Diamond Audio products are designed, developed, and
engineered in the USA using the latest innovative materials and components to provide the
finest sound reproduction possible. Every Diamond Audio product has been verified and
tested to ensure the best sounding and most reliable product on the market, if installed
properly. Diamond Audio products will provide many years of the ultimate listening experience.
Diamond Audio recommends our products be professionally installed by an authorized
Diamond Audio dealer to achieve the best possible system recommendation and installation.
This will ensure a true Diamond Audio listening experience and sound you would expect from
Diamond Audio products. With proper validation use a Diamond Audio Retailer for installation
of your newly purchased amplifier. Diamond Audio will extend the product warranty from one
year to Two Years!!
Go ahead, Hear the Music
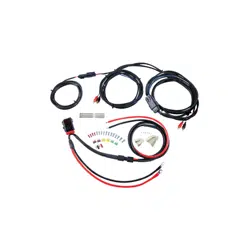
• 8 gauge power and ground battery connections
• Waterproof fuse holder includes 60A mini ANL fuse and Allen key for service.
• Heavy duty power quick disconnects
• Quality twisted OFC RCAs with quick disconnects included
• All cable runs are blacked out, loomed, & terminated for you.
• Stainless steel chrome plated wire inlets for both saddlebags included
• Speaker terminal assortment, amplifier power & speaker terminal forks included
• Zip ties included
• Amplifier remote turn-on integrated into quick disconnect harness
• No special tools needed for installation
2 channel version is for speakers in bags only with 2 channels of signal
RCA. Comes with speaker harnesses for both bags, and 2 channels of
RCA. 4 channel version is for speakers in fairing (or lowers) and speakers
in bags, with 4 channels of signal RCA.
Fitment: All Harley baggers 1998 through 2019

3
10
INSTALL NOTES: INSTALL GUIDE:
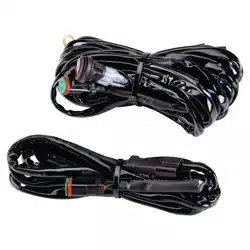
The wire harnesses are broken down into several parts and packaged
individually.
Harness Parts:
Main Harness
This is the harness that is routed into the saddle bag. This harness
contains both positive and negative power cables (red & black), remote
amplifier turn on(blue), input signal (RCAs), and speaker cables.
All of these cables are pre-terminated for you on the end that exits the
bag. These connections should be placed under the side plastic covers
that are located directly in front of the saddlebags under the seat.
The MSHRNS2/4 2 & 4 channel wiring kit has power, ground, remote
turn-on, and two channels of RCA's exiting the bag.
Speaker Wire Runs
Speaker outputs are used to run speaker wire to various sections of the
bike such as: up to the fairing, down to lower fairing speakers, into the
opposite saddlebag, or into the tour pack.
There are two sets of two channel speaker cables. Each set is encased in
a white cable. Inside these white cables are four speaker wire conductors.
The colors are as follows:
Red = Positive
Black = Negative
White = Positive
Green = Negative
You can use whatever speaker color arrangement that you like. We prefer
to use Red/Black for right and White/Green for left.
Inside the bag that is opposite of the bag containing the amplifier, the
speaker cable will have four conductors instead of just two.
This is because many people run two speakers in each bag. If you do not
need these extra conductors, simply cut the ends back and tape.

9
4
INSTALL GUIDE: INSTALL GUIDE:
Note the harnesses exact position and remove the bag from the bike.
Silicone the wire hole from the outside of the bag. Use just enough to
make a seal. Pre-drill three holes for the clamp screws and fasten the
clamp down over the harness. When done right, no silicone is visible
and the bag will remain watertight.
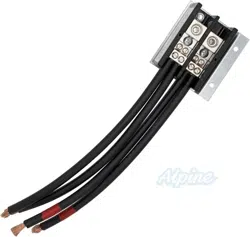
Power Harness
The power harness is the part that connects the battery to the bag. On
one end there are chrome plated ring terminals for connecting to the
battery, on the other end there is a high power quick disconnect for
connecting to the bag. The fuse holders are also a part of this harness
component.
A- Run the wire harness along the factory harness.
B- Loosen the front two gas tank bolts using a T40 Torx driver.
C- Loosen the rear gas tank bolt using a T40 Torx driver.
D- Lift the gas tank up enough to pop open the plastic wire
channel on the brake side. Take care to not pull out fuel lines.
Removal of the gas tank will make this much easier.
E- Run the wire down though the wire channel and snap the
top of the wire channel back in place.
F- The gas tank can be lowered back into place and the
mounting bolts can be put back and tightened in place
The fuse holders are positioned on each power harness in such a way
that the fuse holder can be located in either the left side plastic or the
right side plastic, or for bikes that are '08 and earlier, the fuse holder
can be located in between the frame rails (center) in front of the
battery location

Speaker Outputs
Backbone Upper Fairing Speaker Harness
A standard harness comes with a Backbone speaker harness. This is a
two channel harness that is routed from the side plastic where it is
connected to the bag, up under the gas tank and out to the fairing of the
bike.
Lower Fairing Speaker Harness
The lower fairing speaker harness is a three piece harness that runs the
length of the bike from the side plastic bag connection up to the main
fairing. At this point the harness has two 2 pin connections that get
located behind the headlight. The second piece of this harness is two
harness that run down each side of the crash bar to the lower fairing
speaker pods. The third part of this harness is an additional four conduc-
tor length of terminated cable that exits the bag containing the amplifier
alongside the main amplifier harness. This cable terminates in the side
plastic along with the other inputs and outputs of the main harness.
Crosslink Speaker Harness
The crosslink is a three part harness that is used to route speaker lines
from one bag to another. This is the harness required to get the speak-
ers wires over to your speakers in your bags. The harness consists of a
speaker cable with quick disconnects on each side that runs from the
side plastic on one side to the side plastic on the opposite side of the
bike. The second part of this harness is a speaker lead that runs into the
opposite bag. The third part is a harness that exits the bag with the
amplifier in it. This harness also includes a second wire clamp for the
second bag. This harness can be run either in front of the battery or
behind it. We prefer to run behind the battery. If you run behind the
battery, you will want to make a loop in the cable (between the battery
and the rear fender) to take up some extra slack.
Amplifier Remote Turn-On
Lastly there is a single blue wire in both the bag harness as well as the
bike side. This wire is used to trigger (turn on) the amplifier when the
radio comes on. This wire should be connected to an aftermarket radio's
amplifier turn on circuit. If using the factory Harley radio or installing on a
Road King (no radio), this wire can be connected to the bikes accessory
circuit.
5
8
INSTALL GUIDE:
SUPER TIP!
Here is a tip that can make the whole installation go much smoother.
Leave the gas tank off of the bike until the end. A key step in getting the
plugs to fit nicely under the side plastics is to get the amount of slack right
for the harnesses that run under the tank. If you keep the gas tank off of
the bike, you will be able to make adjustments to the backbone wire runs
(RCAs, upper and lower fairing harnesses). A half an inch of adjustment
one direction or another can make or break the outcome of the end
product.
Blue Rings on Cable Ends
The Crosslink cables are marked with a blue ring around each end (end
that goes into the bag and the end that plugs into the bike) to help you
keep track of each cable.
When more than one set of RCA cables have been ordered one or more
sets are marked with a blue rings to identify which channels they belong
to.
Mounting the Cable and Cable Clamp to the Bag.
A stainless steel wire clamp is included in the kit. This clamp covers
where the harness enters the bag and also acts as a strain relief device,
holding the harness in position.
The exact position of the clamp on the bag is not critical. The clamp
should be near the front of the bag a couple of inches from the bottom. If
you tilt the wire clamp slightly back towards the rear of the bike (opposite
of whats shown above), the wire run actually flows into the side plastic
nicer.
Drill a hole just big enough for the harness to be threaded through. Place
the harness in the bag and temporarily place the bag on the bike. Adjust
the position of the harness in the bag so that all of the connectors reach a
suitable position under the side plastic of the bike. A typical distance
between the wire side of the connectors and the point of the harness that
enters the bag is about 14".
INSTALL GUIDE:
7
6
INSTALL GUIDE:
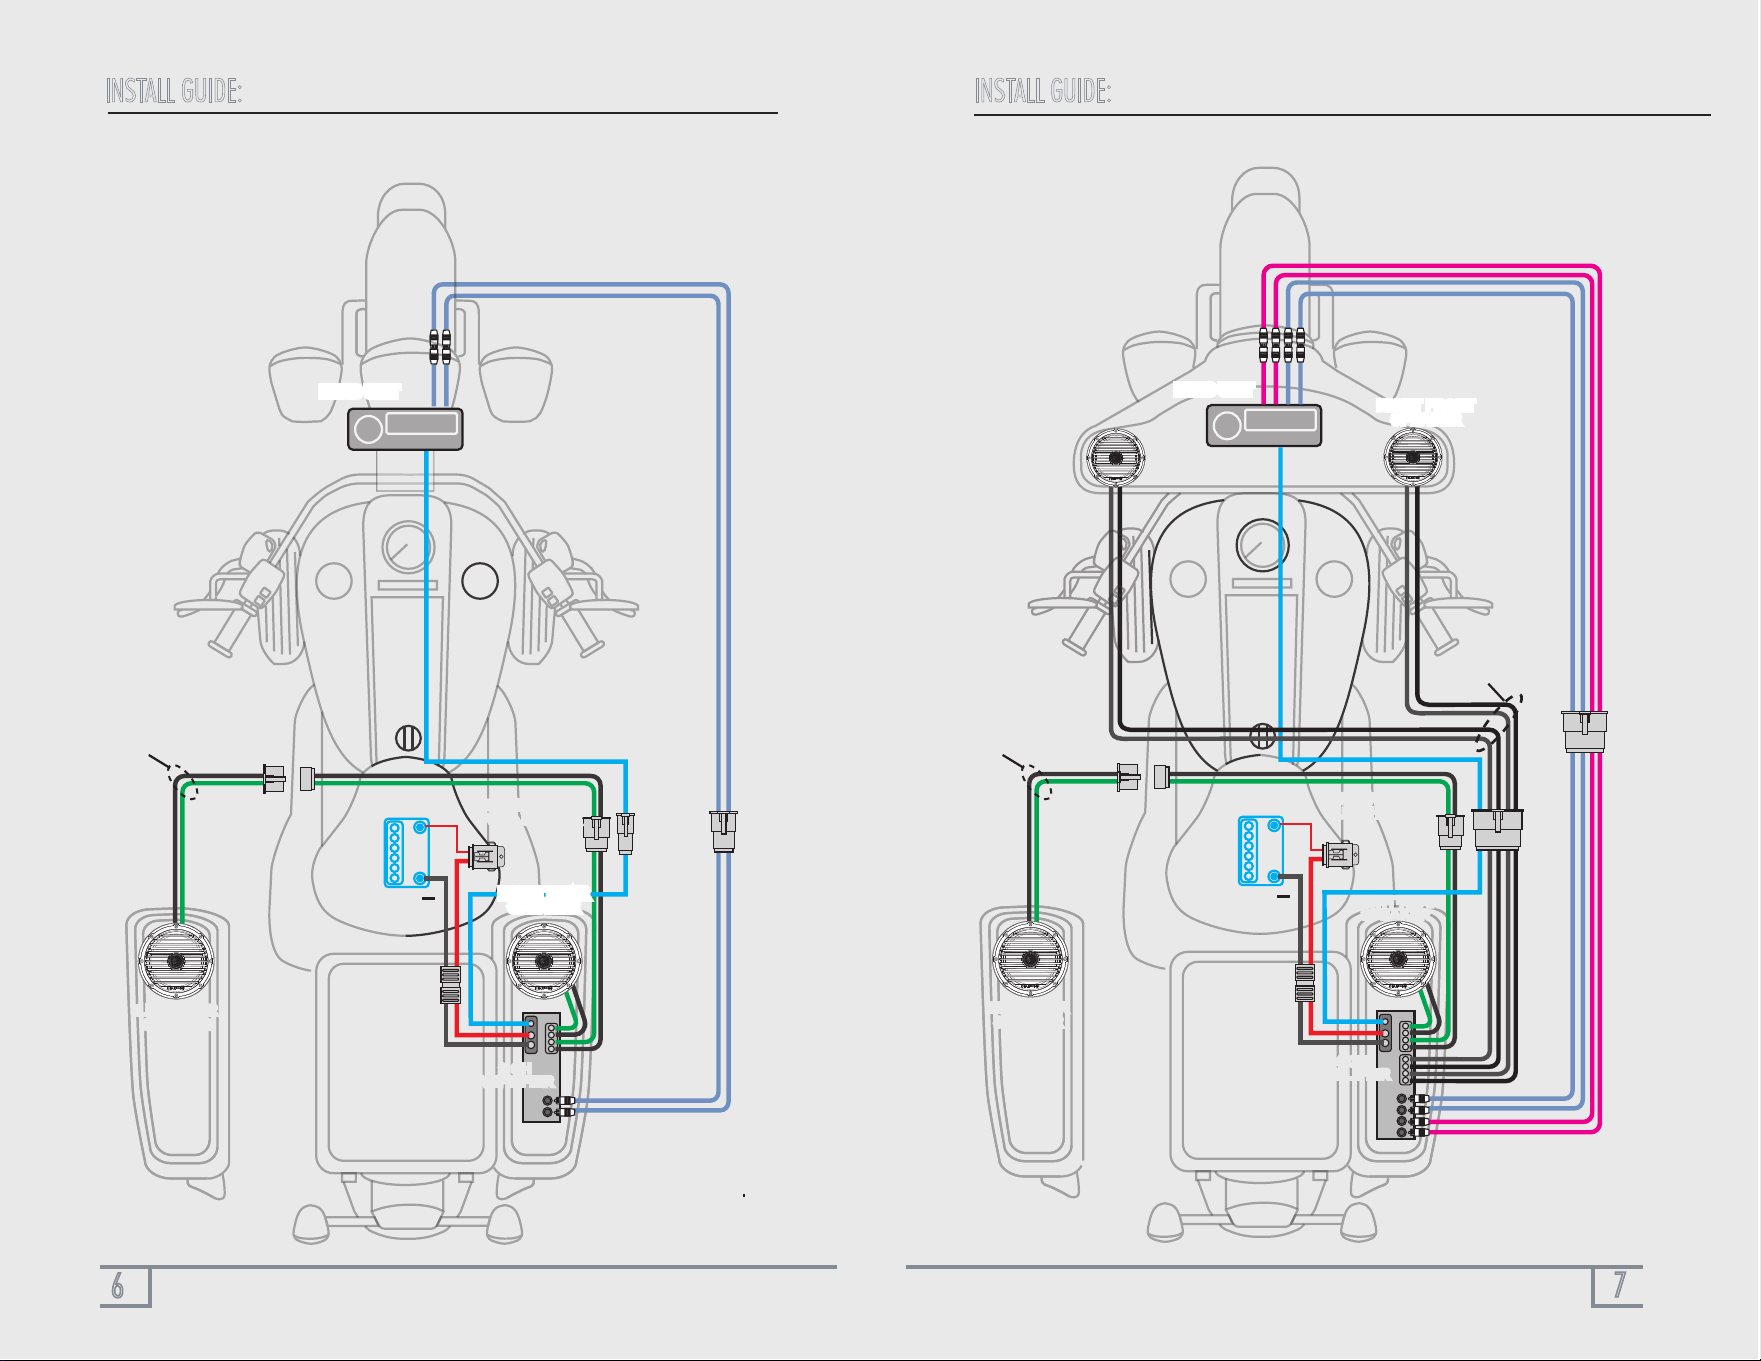
BATTERY
+
LEFT FRONT
SPEAKER
6FT7FT
POWER
QUICK
RELEASE
WATERPROOF
FUSE HOLDER
RIGHT REAR
SPEAKER
LEFT REAR
SPEAKER
4 Channel Wiring
4 CH
AMPLIFIER
HEAD UNIT
RIGHT FRONT
SPEAKER
INSTALL GUIDE:
BATTERY
+
6FT
WATERPROOF
CONNECTORS
POWER
QUICK
RELEASE
RIGHT REAR
SPEAKER
RIGHT REAR
SPEAKER
2 Channel Wiring
HEAD UNIT
2 CH
AMPLIFIER
CROSSLINK
CABLE
LOWER FAIRING
SPEAKER HARNESS
CROSSLINK
CABLE
LEFT REAR
SPEAKER
WATERPROOF
FUSE HOLDER