INSTRUCTION MANUAL
Please read this instruc�on manual
before opera�ng and keep safe for future reference
ALPHA-AF55 WiFi
Dehumidifier
INSTRUCTION MANUAL [EN]

Safety Instruction……………………………………………………………………………… 3-5
Safety Regulations For Service And Repaire Work………………...…………..5-6
Product Description…………………………………………………………………………….. 7
Placement
…… ………………………………………………………….…...7Control Panel Description
…… …………………………………………………………………..8Technical Specifications
……………………. ……………… …………………………………………………….. 8
Operating Instructions……………………………………………………………………. 9-13
Cleaning And Maintenance……………………………………………………
……..…….14
Trouble Shooting…………………………………………………………………………………15
Responsible Disposal…………………………………………………………….…………….15
Smart Connec�on Opera�on Guide .…………………………………….……… 16-19
CONTENTS
SAFETY INSTRUCTION
3 [EN]
Dehumidifier
Please read the instruction manual before using the product and then save it for future reference.
We reserve the right for any error in text or images and any necessary changes made to technical
data.
· Failure to abide by this warning could result in an explosion, death, injury and property
damage.
· Any person who is involved with working on or breaking into a refrigerant circuit should hold
a current valid certificate from an industry-accredited assessme
nt authority, which authorizes
their competence to handle refrigerants safely in accordance with an industry, recognized
assessment specification.
· Servicing shall only be performed as recommended by the equipment manufacturer.
Maintenance and repair requiring the assistance of other skilled personnel shall be carried
out under the supervision of the person competent in the use of flammable refrigerants.
Check the voltage a
Warning
nd make sure it meets the technical specification of the machine.
This machine can be used by children aged from 8 years and above and persons with reduced
physical, sensory or mental capabilities or lack of experience and knowledge if they have been
given supervision or instruction concerning use of the appliance in a safe way and understand the
hazards involved. Children shall not play with the machine. Cleaning and user maintenance shall
not be made by children without supervision.
The machine must always s
tand upright.
The machine must stand upright for at least 1 hour before it is used for the first time
Never sit, cover or place foreign objects on the product.
Make sure that the air filter is clean and fitted correctly before turning the machine on
Never use the product if the mains lead, plug or any other part is damaged or does not work
properly.
Never try to dismantle or repair the machine yourself.
Never plug in or unplug the product with wet hands.
Never insert foreign objects i
nto the machine.
Unplug the product immediately if it emits strange noises, odours or smoke.
Make sure that no foreign objects cover or block the air inlet/outlet. Blockages can lead to fires,
electric shocks or damage to the product.
·
·
·
·
·
·
·
·
·
·
·
·
SAFETY INSTRUCTION
4 [EN]
Unplug the product when it is not in use.
Before the machine is moved, make sure it is switched off, unplugged and that the water tank is
empty.
If the supply cord is damaged, it must be replaced by the manufacturer, its service agent or
similarly qualified person in order to avoid a hazard.
The appliance shall be installed in accordance with national wiring regulations.
The machine is designed A-weighted sound pressure level below 70 dB.
Warning on Refrigerant R290
The machine is designed only for use with R290(propane) gas as the designated refrigerant.
THE REFRIGERANT LOOP IS SEALED. ONLY A QUALIFIED TECHNICIAN
SHOULD ATTEMPT TO SERVICE!
The lack of smell does not indicate a lack of escaped gas.
No open flames, cigarettes or other possible sources of ignition should be used in the vicinity of
the machine.
Component parts are designed for propane and non-incentive and non-sparking. Component
parts shal
l only be replaced with identical repair parts.
THE MACHINE MAY ONLY BE INSTALLED IN A ROOM WITH A MINIMUM
FLOOR AREA OF 4 .
R290 is a flammable gas that is heavier than air. On this basis, if the gas leaks from the unit, the
concentration will be the highest at ground level. However, the gas can be lifted (e.g. by draught,
fan, etc) to higher levels. The R290(propane) used in this unit has no odour.
Do not use the machine in a room with an open flame, other high-level heat sources (e.g.
c
igarettes, candles, etc.) or electrical discharges. Install the machine in a room which can be
ventilated when necessary and where gas accumulation is not possible.
·
·
·
·
·
·
·
·
·
·
m
2

SAFETY REGULATIONS FOR SERVICE AND REPAIRE WORK
5 [EN]
If R290(propane) is detected in the room, or a leak is suspected, do not allow unauthorized
persons to search for the source of the leak. In such cases, evacuate all people from the room,
open the windows, leave the room and notify your local fire department to advise them that a
propane leak has occurred. Do not allow any person to return to the room until the commanding
officer of the fire department or a certified service engineer decides that the risk has ceas
ed to
exist.
Repairs must only be carried out by authorised service personnel and only using genuine spare
parts.
1. Checks to the Area
Prior to beginning work on systems containing flammable refrigerants, safety checks are
necessary to ensure that the risk of ignition is minimised. For repair to the refrigerating system,
the following precautions shall be complied with prior to conducting work on the system.
2. Work procedure
Work shall be undertaken under a controlled p
rocedure so as to minimise the risk of a flammable
gas or vapour being present while the work is being performed.
3. General work Area
All maintenance staff and others working in the local area shall be instructed on the nature of
work being carried out. Work in confined spaces shall be avoided. The area around the
workspace shall be sectioned off. Ensure that the conditions within the area have been made safe
by control of flammable material.
4. Checking for presence of refrige
rant
The area shall be checked with an appropriate refrigerant detector prior to and during work, to
ensure the technician is aware of potentially flammable atmospheres. Ensure that the leak
detection equipment being used is suitable for use with flammable refrigerants, i.e. non-sparking,
adequately sealed or intrinsically safe.
5. Presence of fire extinguisher
If any hot work is to be conducted on the refrigeration equipment or any associated parts
appropriate fire
extinguishing equipment shall be available to hand. Have a dry powder or CO2
fire extinguisher adjacent to the charging area.
6. No ignition sources
No person carrying out work in relation to a refrigeration system which involves exposing any
pipe work that contains or has contained flammable refrigerant shall use any sources of ignition
in such a manner that it may lead to the risk of fire or explosion. All possible ignition sources,

6 [EN]
including cigarette smoking, should be kept sufficiently far away from the site of installation,
repairing, removing and disposal, during which flammable refrigerant can possibly be released to
the surrounding space. Prior to work taking place, the area around the equipment is to be
surveyed to make sure that there are no flammable hazards or ignition risks. “No smoking” signs
shall be displayed.
7. Ventilated area
Ensure that the area is in the open or that it is adequat
ely ventilated before breaking into the
system or conducting any hot work. A degree of ventilation shall continue during the period that
the work is carried out. The ventilation should safely disperse any released refrigerant and
preferable expel it externally into the atmosphere.
8. Checks to the refrigeration equipment
Where electrical components are being changed, they shall be fit for the purpose and to the
correct specification. At all times the manufacturer’s ma
intenance and service guidelines shall be
followed. If in doubt consult the manufacturer’s technical department for assistance. The
following checks shall be applied to installations using flammable refrigerants.
The charge size is in accordance with the room size within which the refrigerant containing parts
are installed;
The ventilation machinery and outlets are operating adequately and are not obstructed;
If an indirect refrigerating circuit is being used, t
he secondary circuit shall be checked for the
presence of refrigerant;
Marking to the equipment continues to be visible and legible. Markings and signs that are
illegible shall be corrected;
Refrigeration pipe or components are installed in a position where they are unlikely to be
exposed to any substance which may corrode refrigerant containing components, unless the
components are constructed of materials which are inherently resistant to being corroded or are
suit
ably protected against being so corroded.
9. Checks to electrical devices
Repair and maintenance to electrical components shall include initial safety checks and
component inspection procedures if a fault exists that could compromise safety, then no
electrical supply shall be connected to the circuit until it is satisfactorily dealt with. If the fault
cannot be corrected ommediately but it is necessary to continue operation, an adequate
temporary solution shall be u
sed. This shall be reported to the owner of the equipment so all
parties are advised. Initial safety checks shall include:
That capacitors are discharged: this shall be done in a safe manner to avoid possibility of
sparking;
That there no live electrical components and wiring are exposed while charging, recovering or
purging the system;
That there is continuity of earth bonding.
·
·
·
·
·
·
·
·
7 [EN]
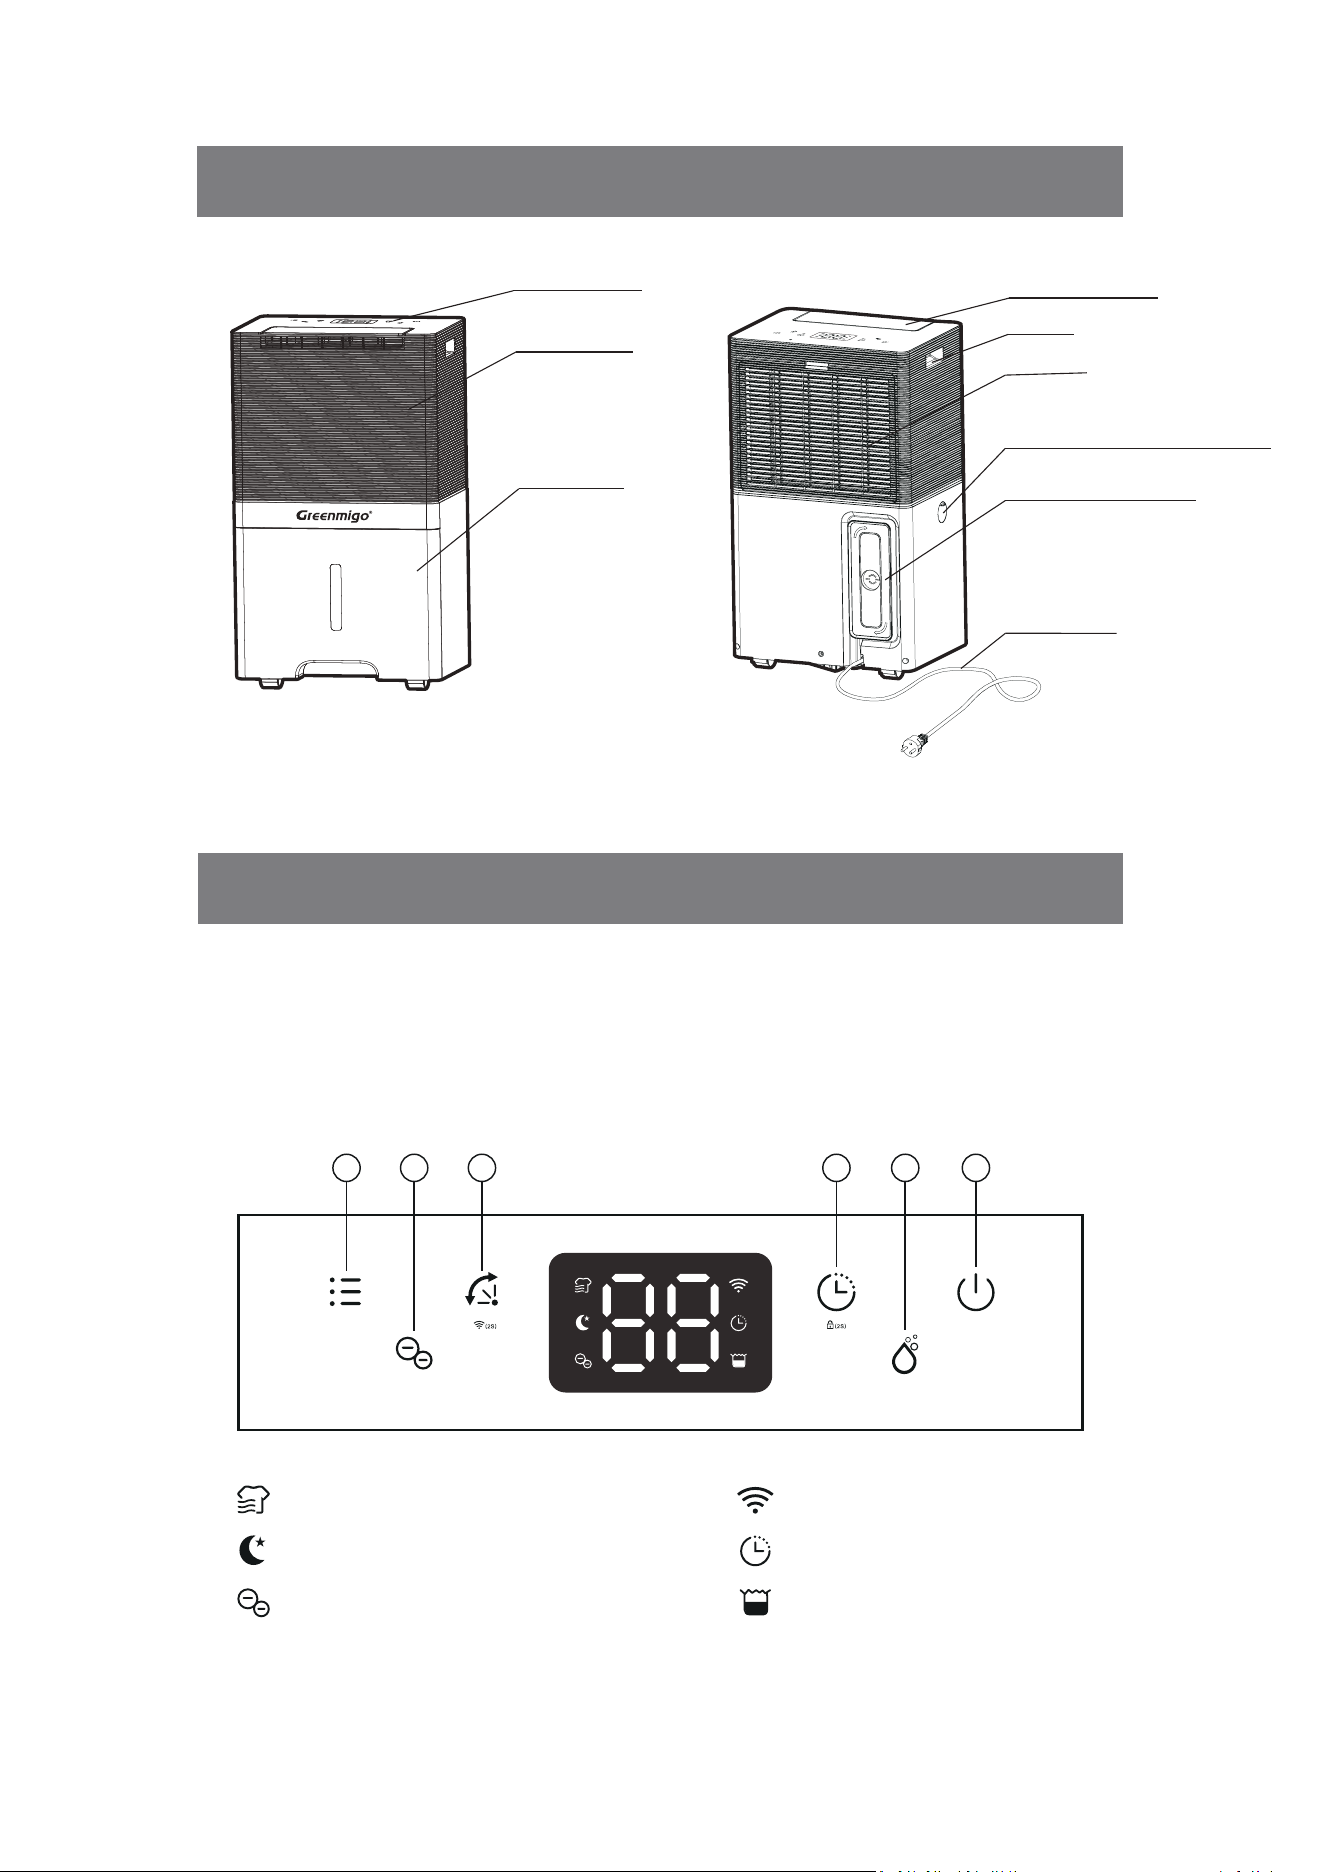
Laundry Drying Indicator
1. Power Buon 4.
Automac Louver Buon / WiFi Buon
2. Manual Buon
3. Timer Buon / Childlock Buon
5. Ionizer Buon
6. Mode Buon
WiFi Indicator
Sleeping Indicator
Tank Full Indicator
Timer Indicator
Ionizer Indicator
13 246 5
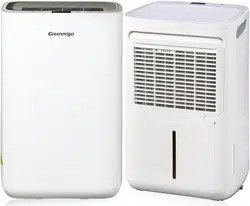
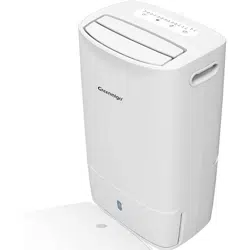
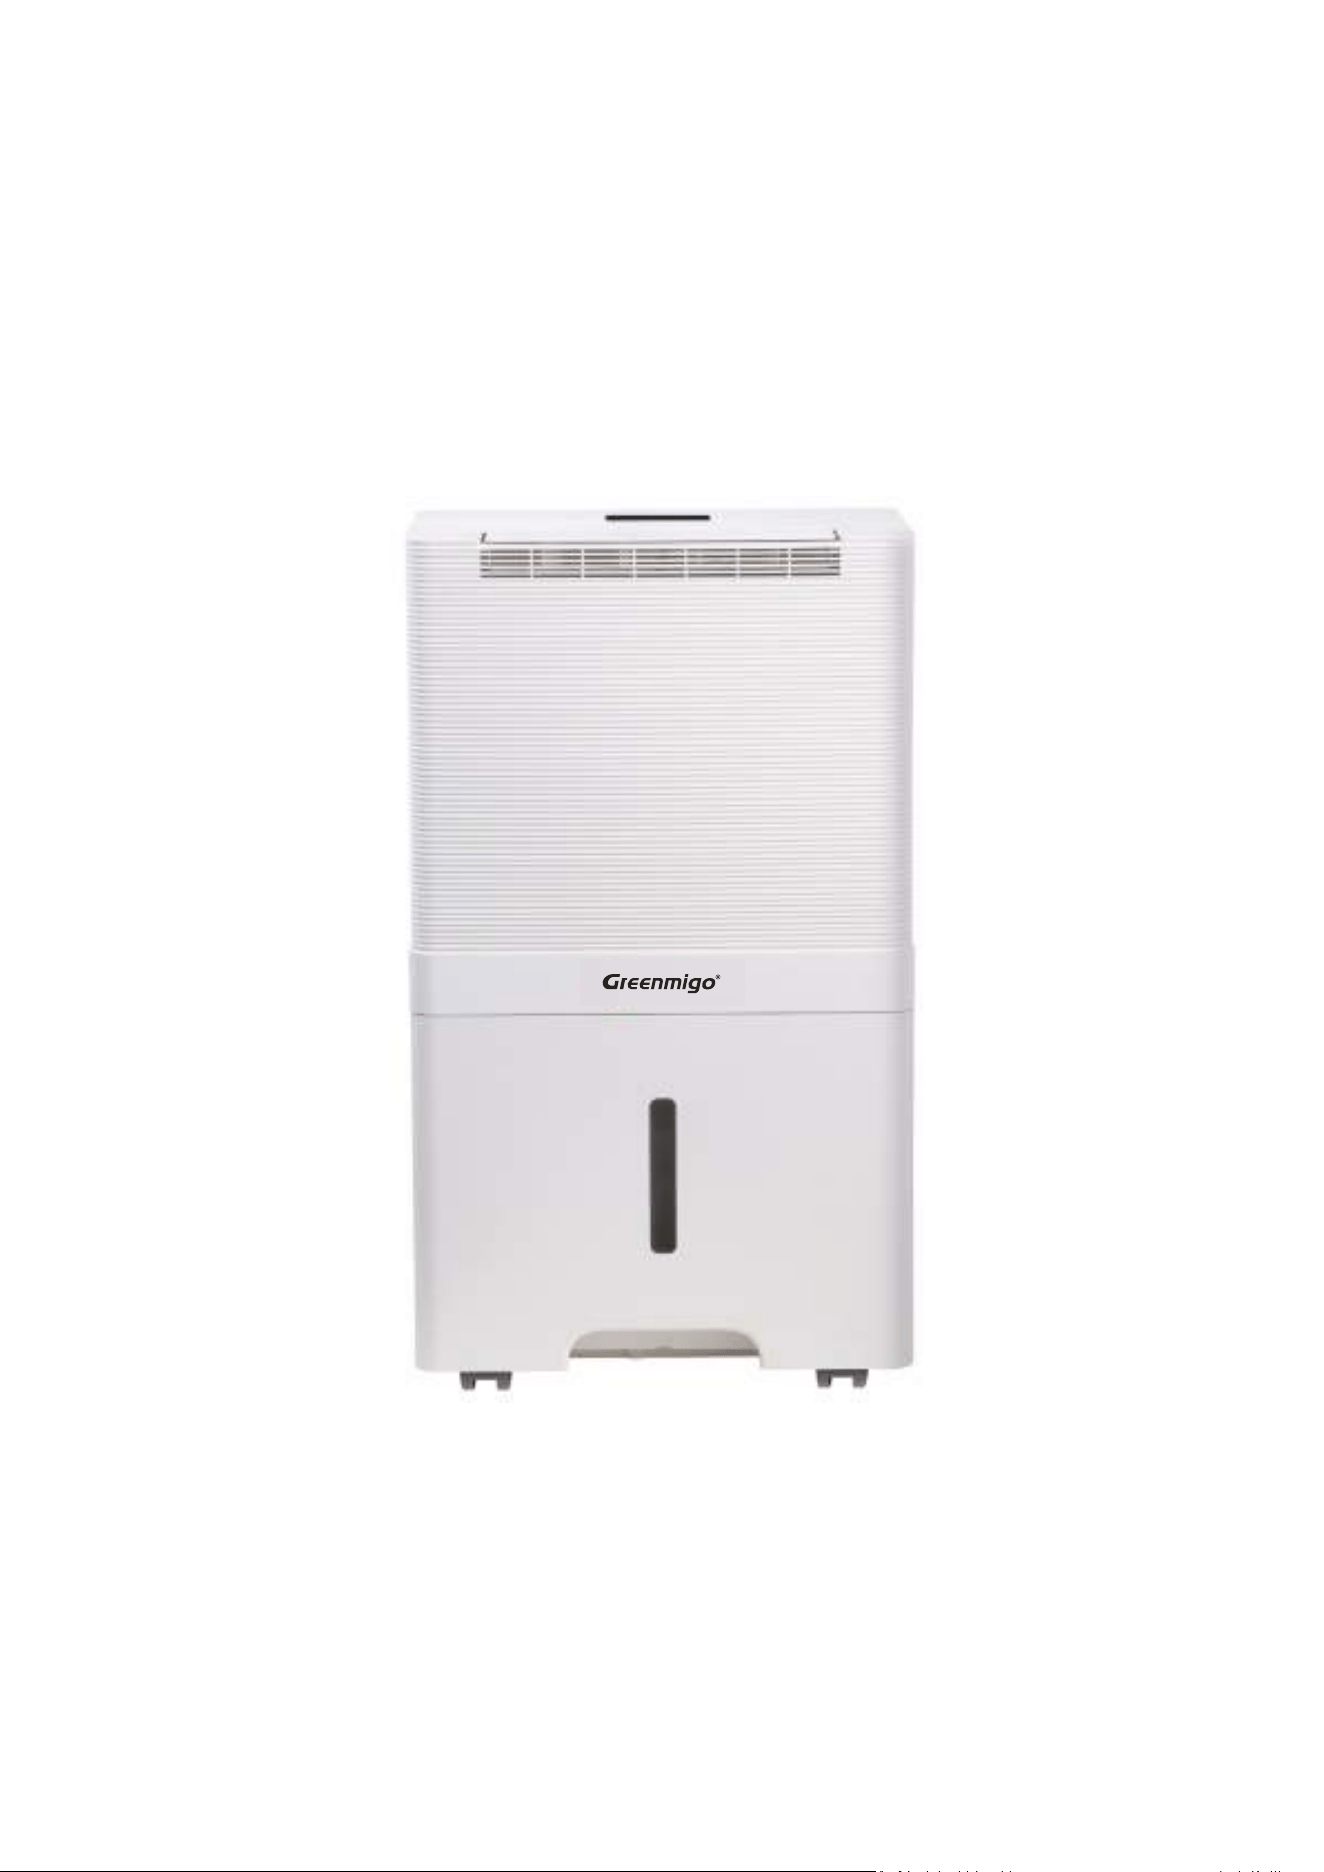
PRODUCT DESCRIPTION
CONTROL PANEL DESCRIPTION
Front Panel
Control Panel
Water Tank
Automac Louver
Handle
Power Cord Bracket
Connuous Drainage Outlet
Air Filter
Power Cord

8 [EN]
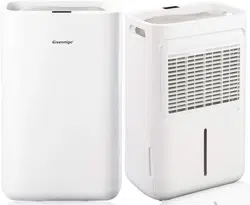
Check the dehumidifier for any transport damage. In case of damage, you should contact with
seller immediately.
Make sure that the dehumidifier is standing firmly on a flat surface
Minim 50 cm
.
Make sure that the mains lead is easily accessible and is not
damaged by sharp edges or is crushed in any way during use.
If any part of your house suffers from severe humidity, the
dehumidifier can be placed there first and then moved to
another part of the house later.
Ensure the dehumidifier is at a safe distance at least 50cm
of air space on all sides.
Never place the dehumidifier next to a radiator or heating
appliance.
·
·
·
·
·
Model
Power Supply
Dehumidifying Capacity
Rated Power
Rated Current
Air Flow
Noise Level
Refrigerant
Water Tank Capacity
Operang Temperature
Net Weight
Product Size
ALPHA-AF55 WiFi
220-240V~ 50Hz
55L/day
33L/day
550W
2.45A
330m³/h
290m³/h
50dB(A)
45dB(A)
R290/0.12kg
7.0L
5~35°C
19.7 kg
380 × 277 × 653 mm
30°C RH80%
27°C RH60%
High
Low
High
Low
W × D × H
TECHNICAL SPECIFICATIONS
PLACEMENT

9 [EN]
Note:
Ensure the supply power is in correspondence with the value on the nameplate.
Ensure the water tank is correctly fitted before the dehumidifier can be switched on.
If the dehumidifier is turned off and then turned back on again immediately, it will take
approximately 3 minutes to reach full power (compressor back to work).
If the dehumidifier switched off by a power cut, it will automatically switch back on once the
power is restored.
The dehumidifier works best at no
rmal room temperature, its efficiency is reduced if the
ambient temperature falls to below 15 .
Switching On/Off The Unit
Connect the mains lead to socket.
Press Power button once to turn on the unit. By default, it runs on Manual Dehumidifying Mode.
Press Power button once again to turn off the unit.
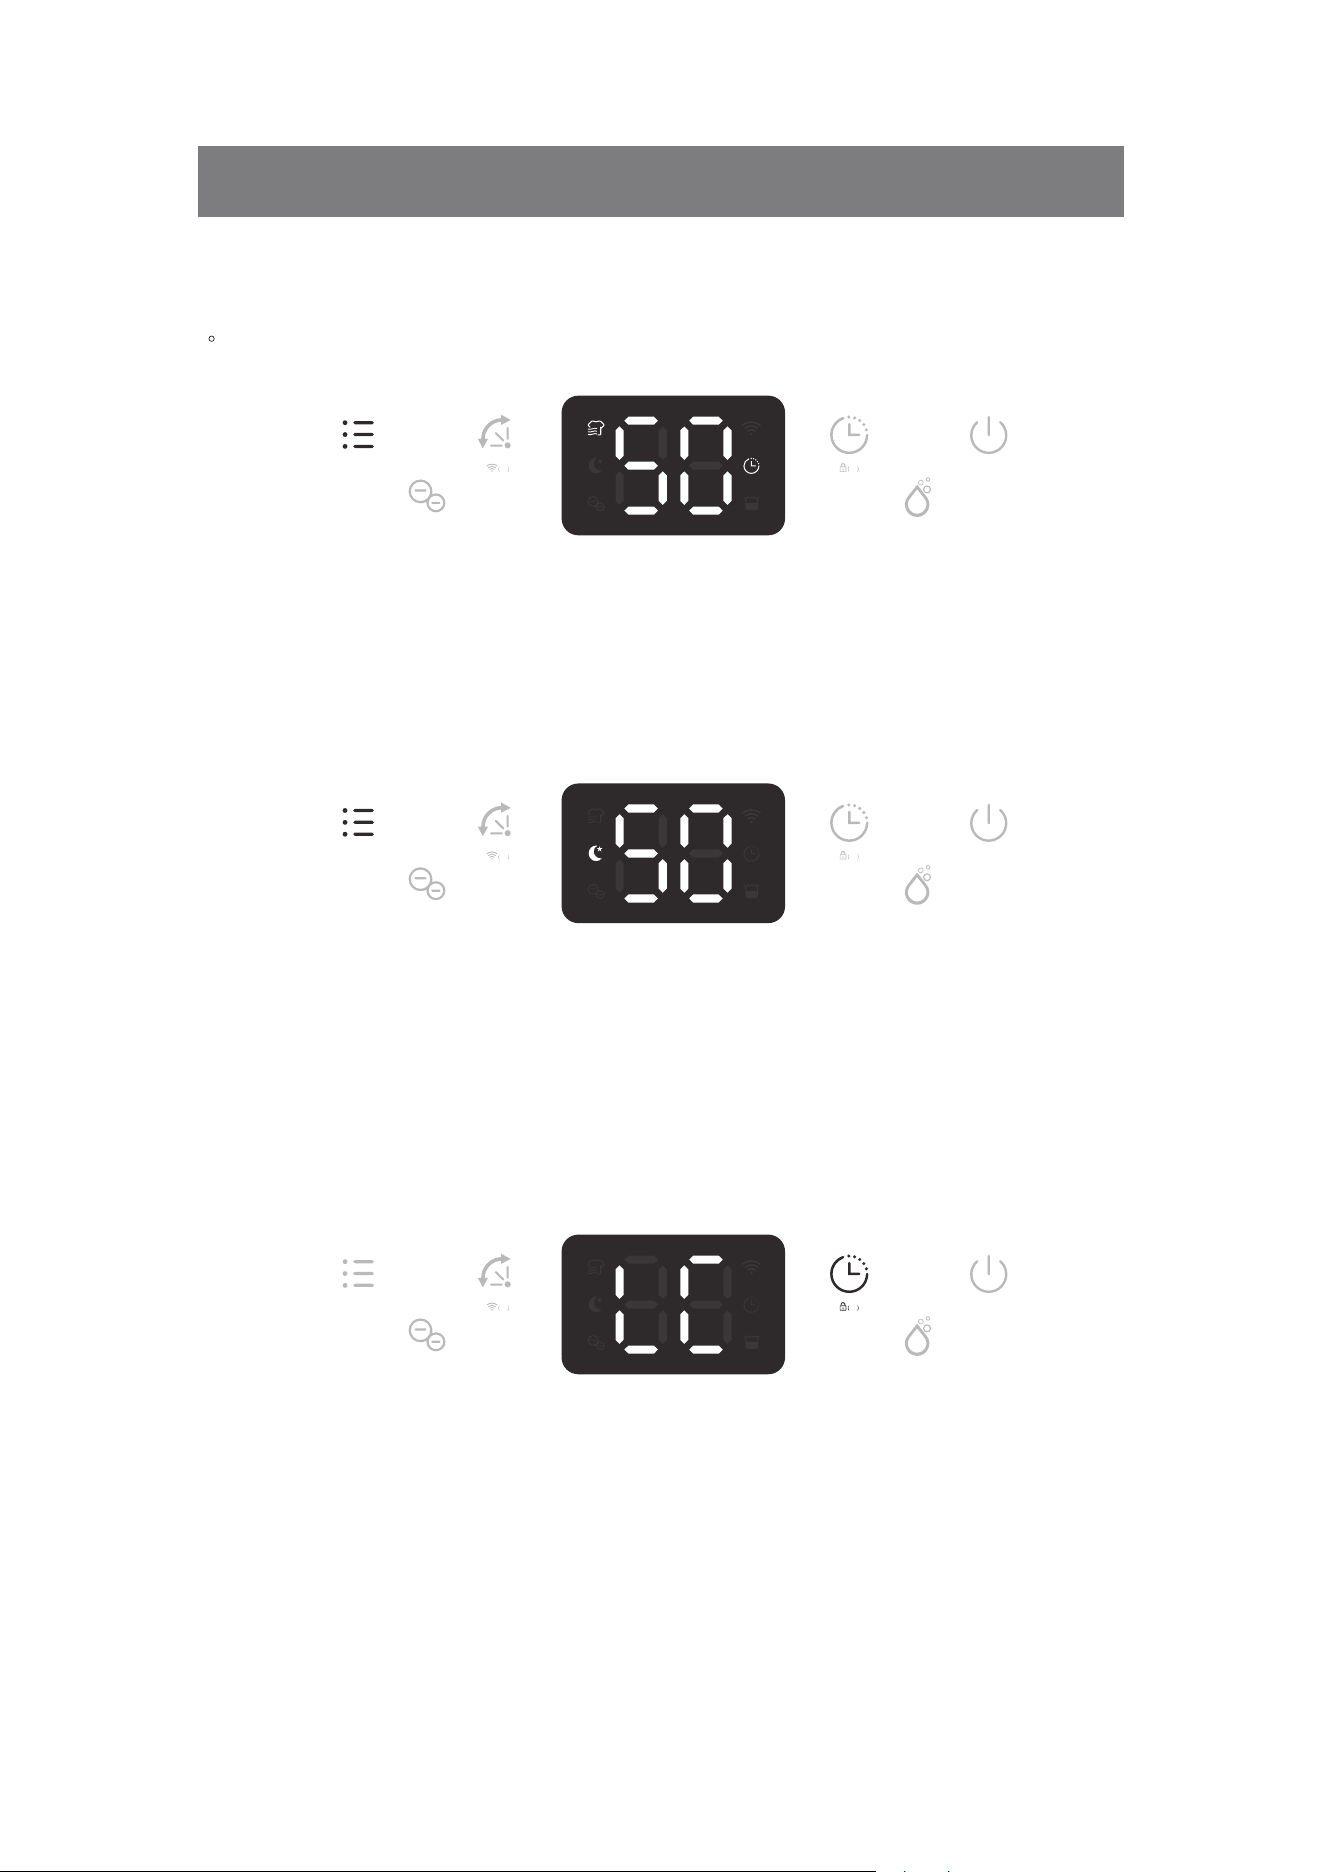
Humidity Setting Control
Press Manual button once to enter Manual Dehumidifying Mode or to select desired level of
humidity from CO-30%-35%-40%-45%-50%-55%-60%-65%-70%-75
%-80%-CO.
Note: if ambient humidity lower than 30%, display shows LO.
if ambient humidity higher than 90%, display shows HI.
Timer Setting
·
·
·
·
·
OPERATING INSTRUCTIONS
At ON mode, press �mer bu�on consecu�vely from 1-24h to select your preferred �mer dura�on
for automa�c shutoff se�ng. Its corresponding Timer indicator will be displayed on screen.
2S
2S
2S
2S
2S
2S
10 [EN]
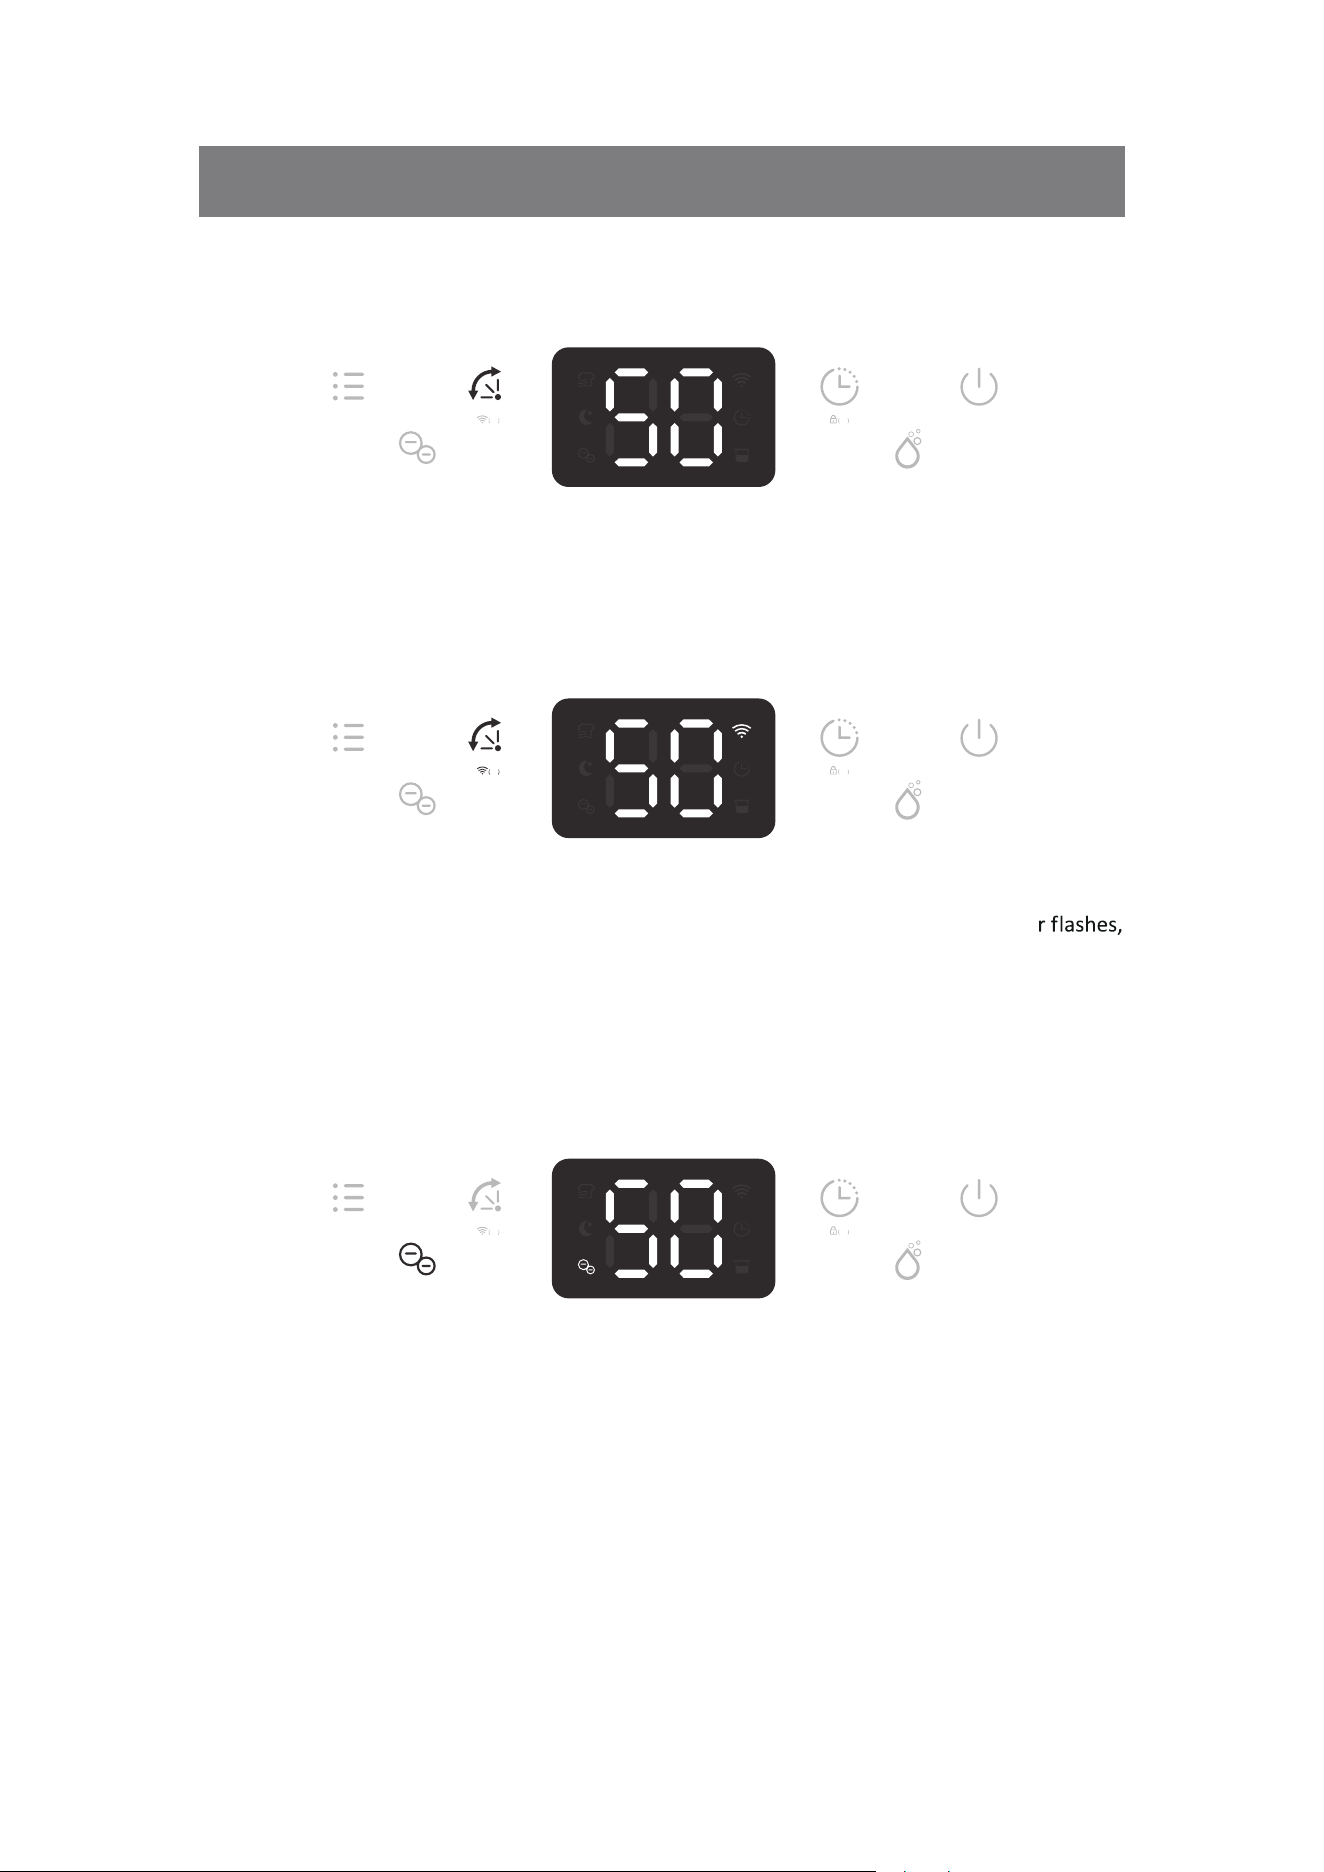
Automa�c Louver
WiFi Function
Press the Automa�c Louver button for 2 seconds to activate the WIiFI function and enter into
the
distribution network mode, during the network configuration, the WIFI indicato
after WIFI connected, the icon is on.
Note: Detailed operation, please refer to the manual “Smart Connection Operation Guide”.
Note: Long press the Automa�c bu�on for 2 seconds can disconnect the WiFi.
Note: If the fan stops working, anion func�on will automa�cally be deac�vated.
Built in Ionizer
OPERATING INSTRUCTIONS
The Louver oscillates from different angle for be�er air circula�on and op�mum diffusion of
the dehumidified air throughout the room.
Press the Ionizer bu�on to ac�vate the ion func�on, built-in ionizer can produces nega�ve ions to
freshen up the air quality and to promote air purifica�on through the elimina�on of air borne
allergens and germs.
2S
2S
2S
2S
2S
2S
11 [EN]
Multifunction Optional
·Laundry Drying Mode
·Sleeping Mode
Note: At Sleep mode, press any bu�on to wake up the unit first then to operate as usual.
Note: A�er ac�va�ng the childlock func�on, the LC will be displayed on screen, 3 seconds later,
screen will show the current room humidity.
Childlock Function
To prevent the mishandling by young children, unit is equipped with a Childlock function. Press
Timer button for 2 seconds to activate or deactivate the childlock function.
OPERATING INSTRUCTIONS
At Manual mode, press the Mode bu�on once to select the Laundry Drying mode.
Its corresponding Laundry Drying indicator will be displayed on screen. The unit works in
con�nuous dehumidifica�on with high fan speed for 6 hours then switch off automa�cally.
At Manual mode, press the Mode bu�on twice to select the Sleeping mode. Its corresponding
Sleep indicator will be displayed on screen, 10 seconds later, all indicators will be off. At Sleep
mode, it operates in low fan speed.
2S
2S
2S
2S
2S
2S
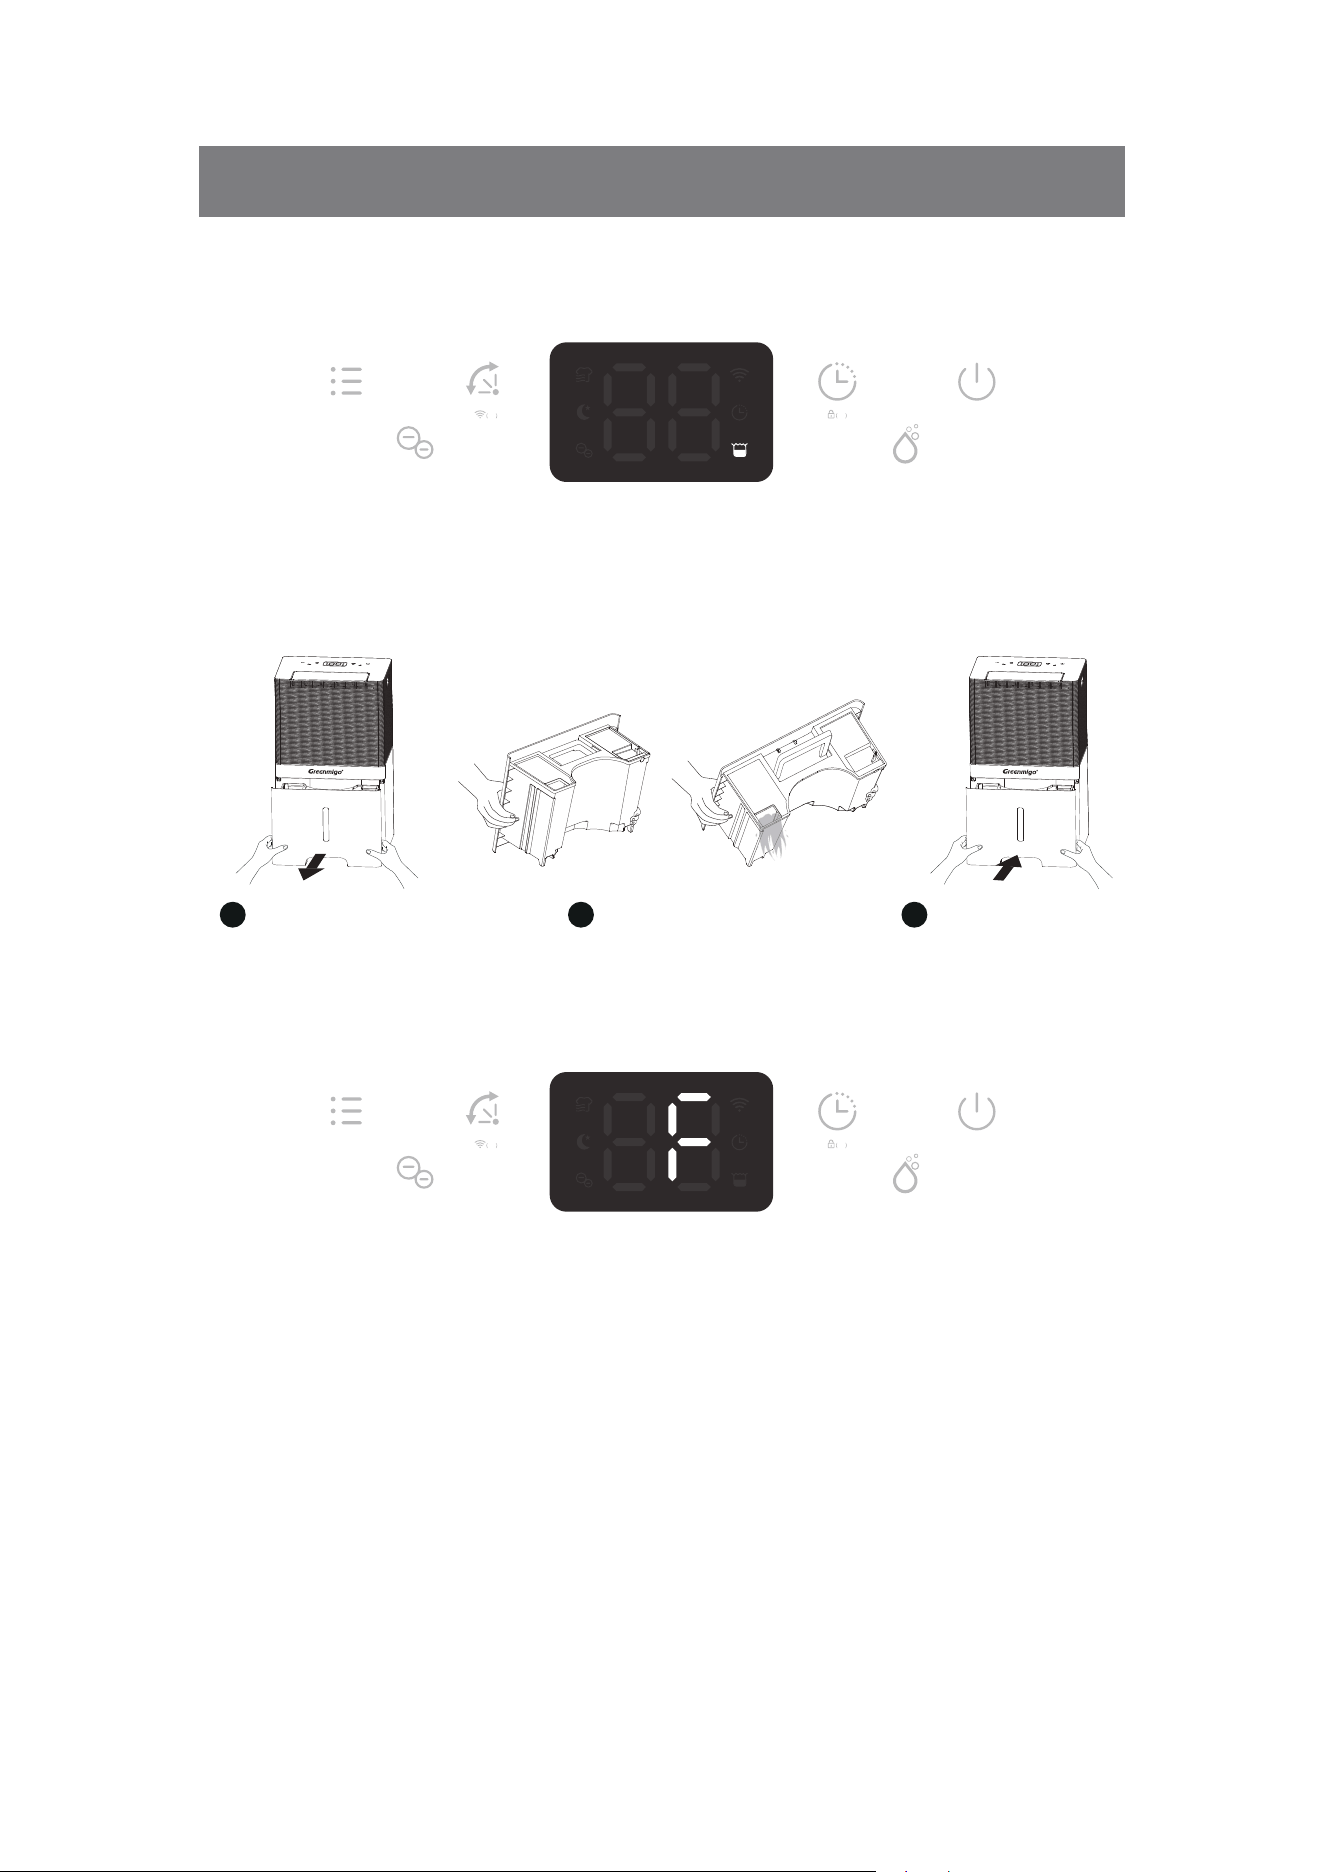
Automa�c Shut Off
Note: If water tank is removed or not placed properly, above phenomenon will appear also.
Automa�c Defrost Feature
Memory Feature
12 [EN]
OPERATING INSTRUCTIONS
When the water tank becomes full during normal use, the unit shuts off automa�cally with tank
full indicator on the screen and buzzer alarm goes off for 5 �mes.
The unit is equipped with an automa�c defrost feature. When room temperature is too low,
compressor shuts off and unit runs on high fan speed se�ng un�l the frost has disappeared, no
other se�ng can be made for this feature. the F will be displayed on screen.
When power failure and a�er recovering, the unit will work with the mode prior to the shutdown
except the �mer se�ng.
Pull water tank out Pour water away
1 2
Restore the water tank
3
2S
2S
2S
2S
3S
13 [EN]
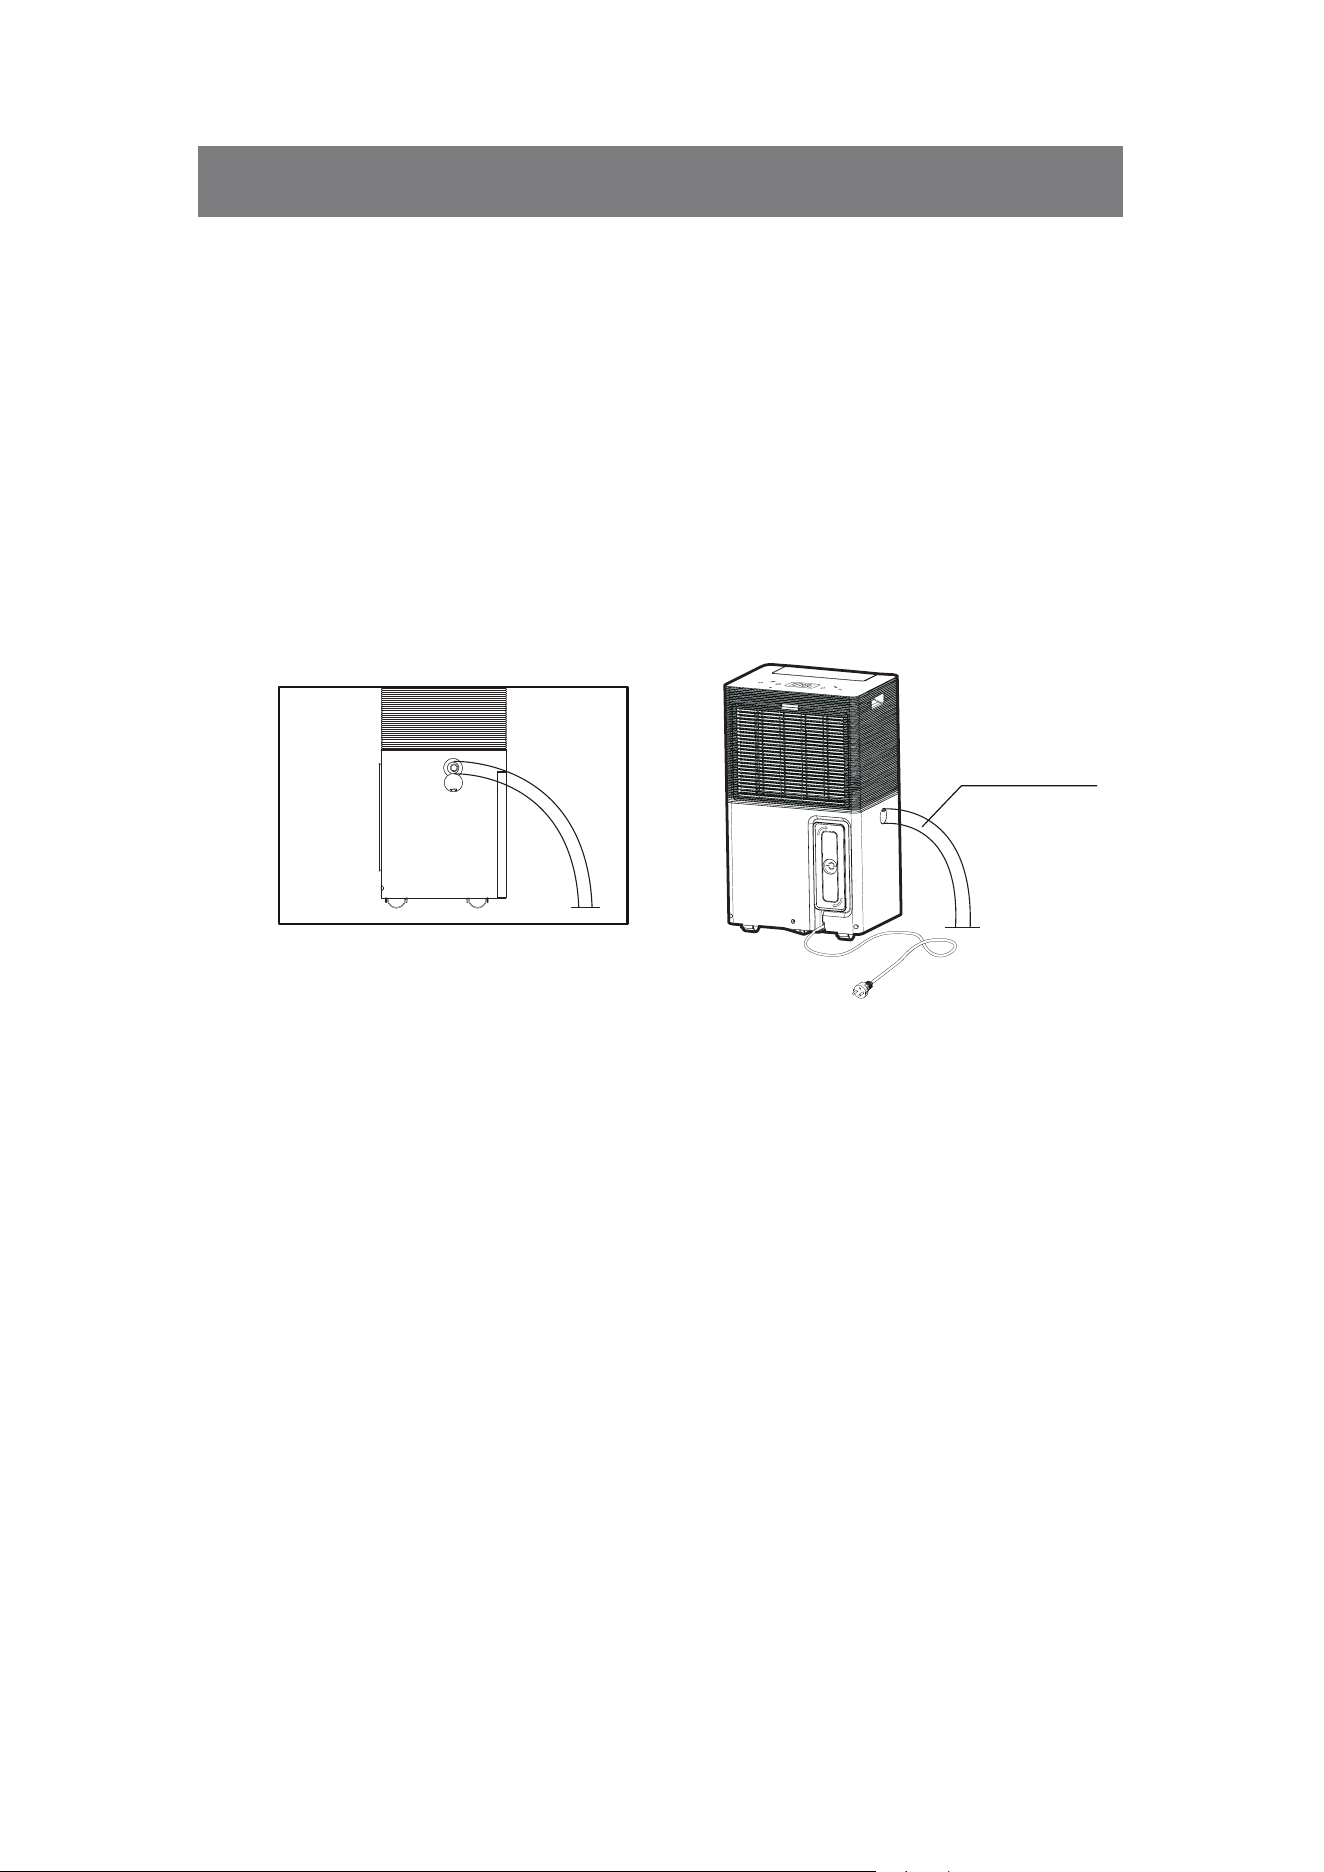
Con�nuous Drainage Op�on
Con�nuous drainage op�on allows easy removal of collected water instead of manually emptying
from the water tank when the environment is very high humidity.
1. Remove the rubber plug covering the drain hose connec�on.
2. Connect a suitable drain hose (16mm inner diameter) through the drainage outlet. Ensure that
the hose is secure and �ght to prevent leakage.
3. Always make sure the drainage hose is not blocked or obstructed to maintain a smooth flow.
OPERATING INSTRUCTIONS
Drainage Pipe
14 [EN]
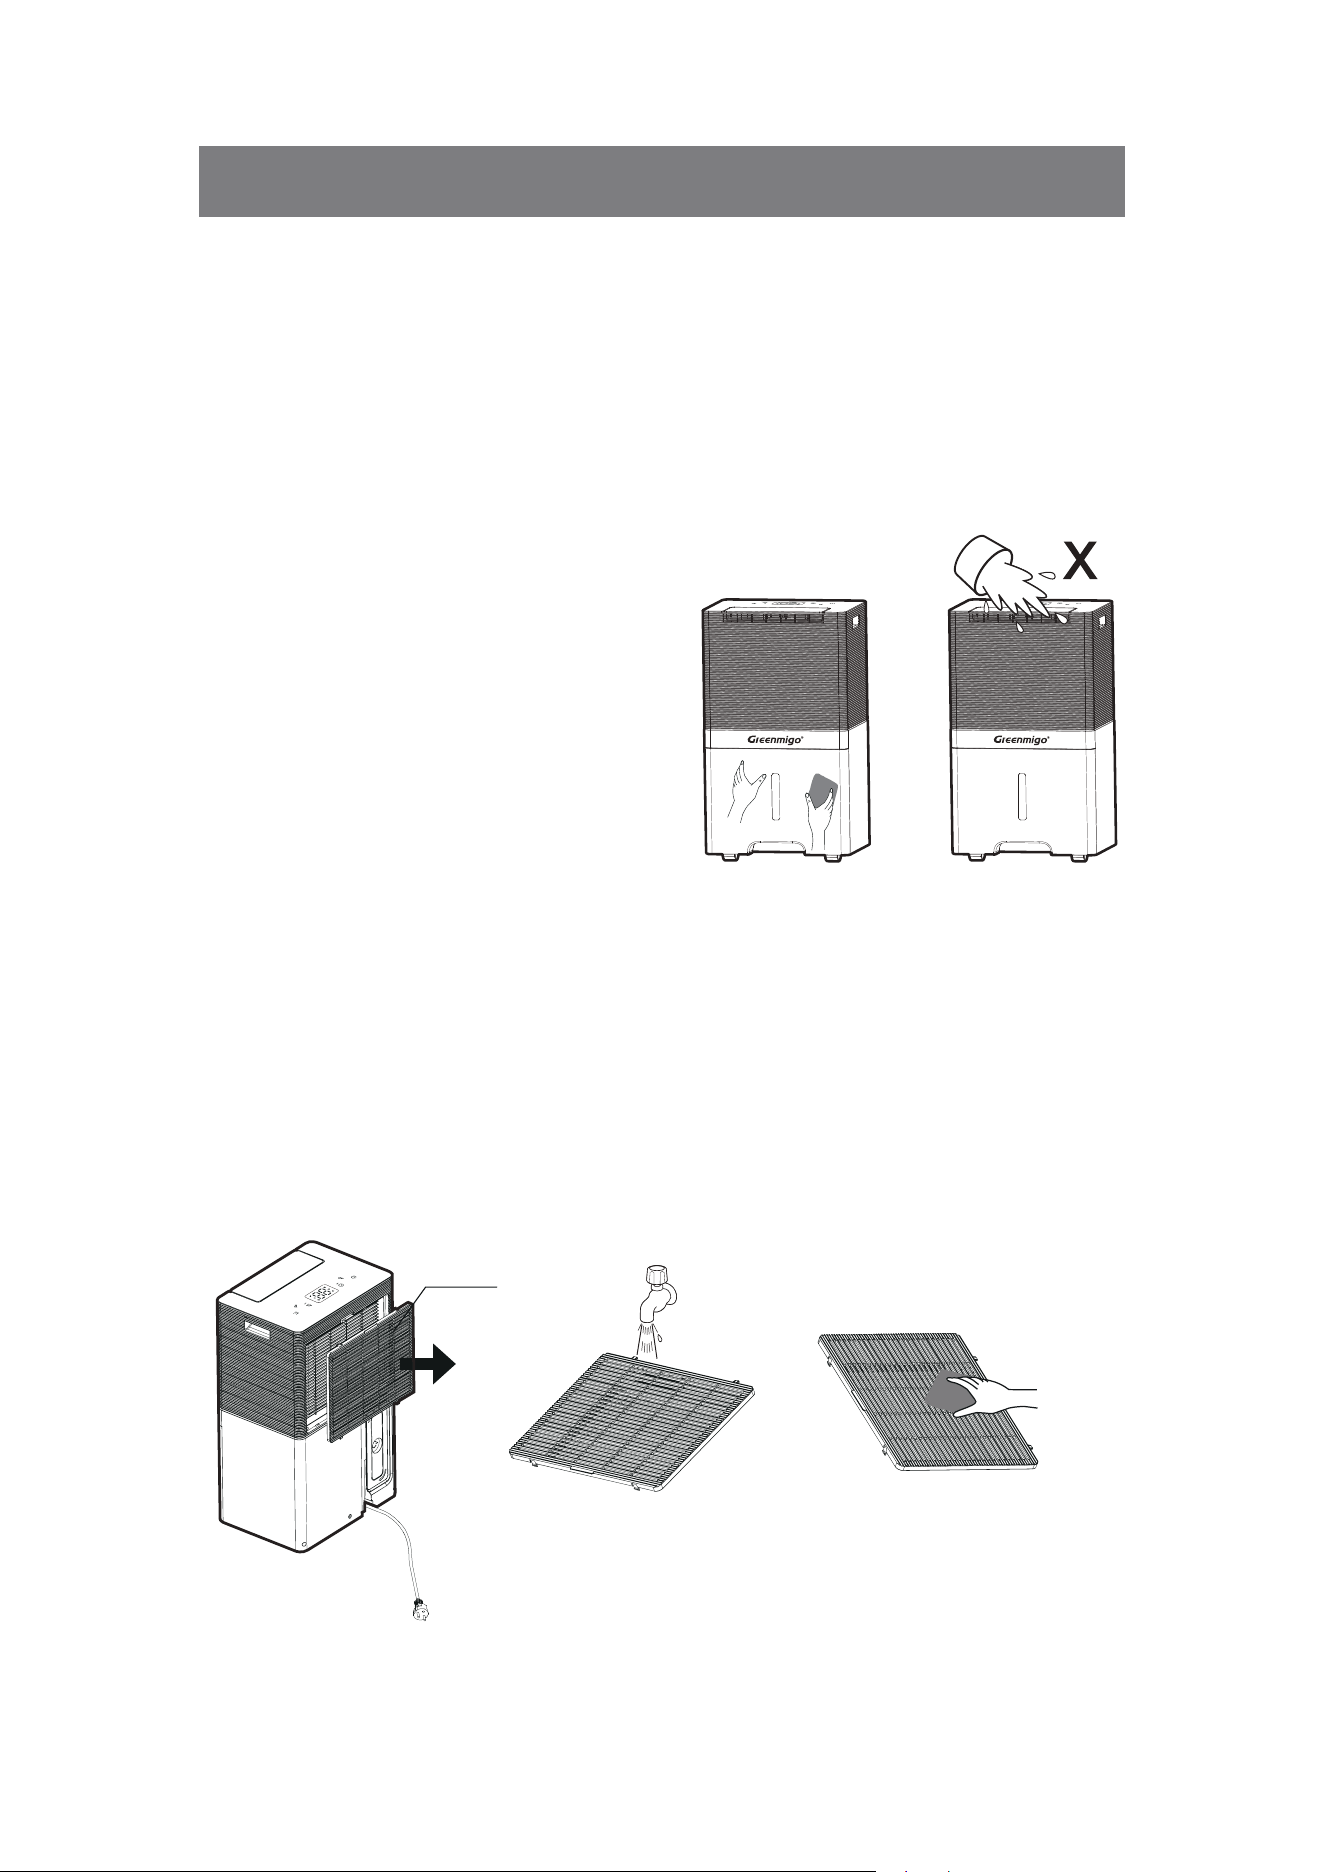
Cleaning the dehumidifier
To ensure the effectiveness of the dehumidifier, it is recommended to clean the unit at least
every two weeks.
1. Turn the dehumidifier off and pull out the plug before cleaning.
2. Use a soft cloth to gently wipe the outer case to remove dust.
3. Vacuum clean the air inlet and outlet grilles of the dehumidifier.
4. Remove the water tank and wash it by hand using a mild detergent.
Rinse it with Clean Water.
Note: Do not spray water directly onto the unit.
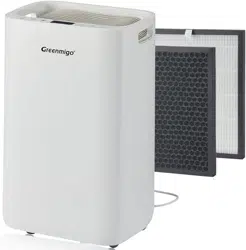
Cleaning the Air Filter Frame
1. Remove the inlet frame from the back.
2. Wash the filter frame carefully in warm water, use a mild detergent if necessary.
Note: Do not wash the filter frame in a dishwasher.
3. Rinse the filter frame in clean water and let it dry before reinserting it.
4. Fit the filter frame back onto the unit.
Note: DO NOT use the dehumidifier without the Air Filter Frame in place.
CLEANING AND MAINTENANCE
Air Filter
15 [EN]
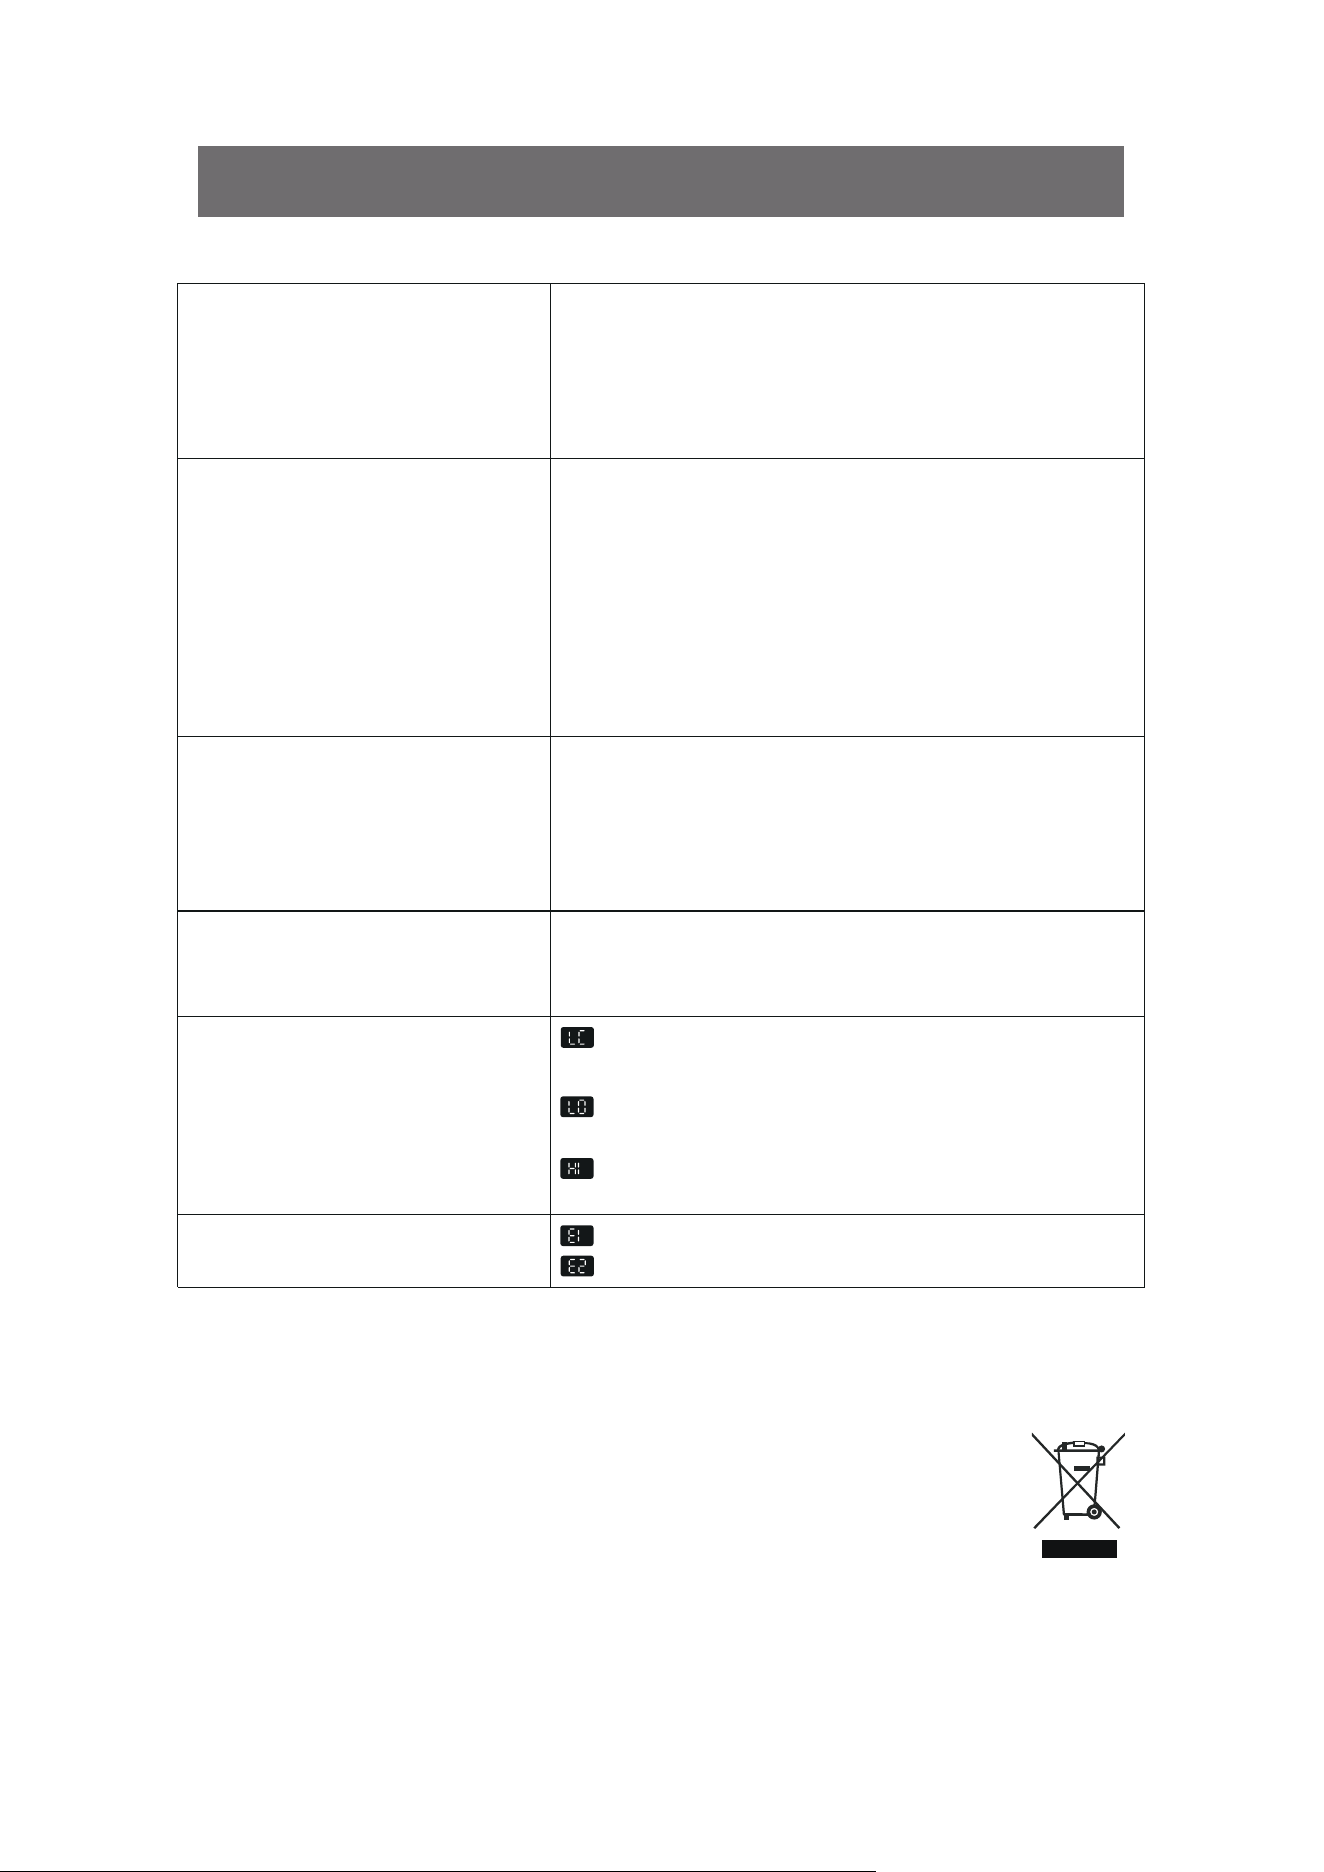
TROUBLE SHOOTING
Responsible Disposal
This symbol indicates that this product should not be disposed of with general
household waste. This applies throughout the entire EU. In order to prevent any harm
to the environment or health hazards caused by incorrect waste disposal, the product
must be handed in for recycling so that the material can be disposed of in a
responsible manner. When recycling your product, take it to your local collection
facility or contact the place of purchase. They will ensure that
the pr
oduct is disposed of in an
environmentally sound manner.
The dehumidifier will not switch on
.
.
.
.
Make sure that the mains lead is properly plugged in and
that there is power in the wall socket.
The water tank is full or incorrectly fitted.
The set humidity level has been reached.
Power plug or cord damaged.
The humidity is not reducing
The dehumidifier has not been used long enough.
Make sure that the doors and windows are closed.
The ambient temperature is too low.
The surrounding humidity level is too low.
The air filter frame is dirty.
Exceed recommended room coverage
area.
.
.
.
.
.
.
.
The ambient humidity level is lower than the desired
humidity level set.
Unusual noises
.
.
.
.
The dehumidifier is tilted or standing on an uneven
surface.
Make sure that the air filter is clean
Loose or foreign particles inside the unit.
Sound of flowing refrigerant.
Water in tank overflows
.
.
.
Water tank may be damaged.
Float for water auto-sensor is not in place.
Internal drainage passage is blocked or obstructed.
E
Display LC
Display LO
Display HI
rror code
Temperature sensor error. Contact customer care center.
Humidity sensor error. Contact customer care center.
The control panel be locked. Press and hold the Timer
buon for 2 seconds to unlock the panel.
Ambient humidity is lower than 30%, will back to value
display when the ambient humidity above 30%.
Ambient humidity is higher than 90%, will back to value
display when the ambient humidity below 90%.
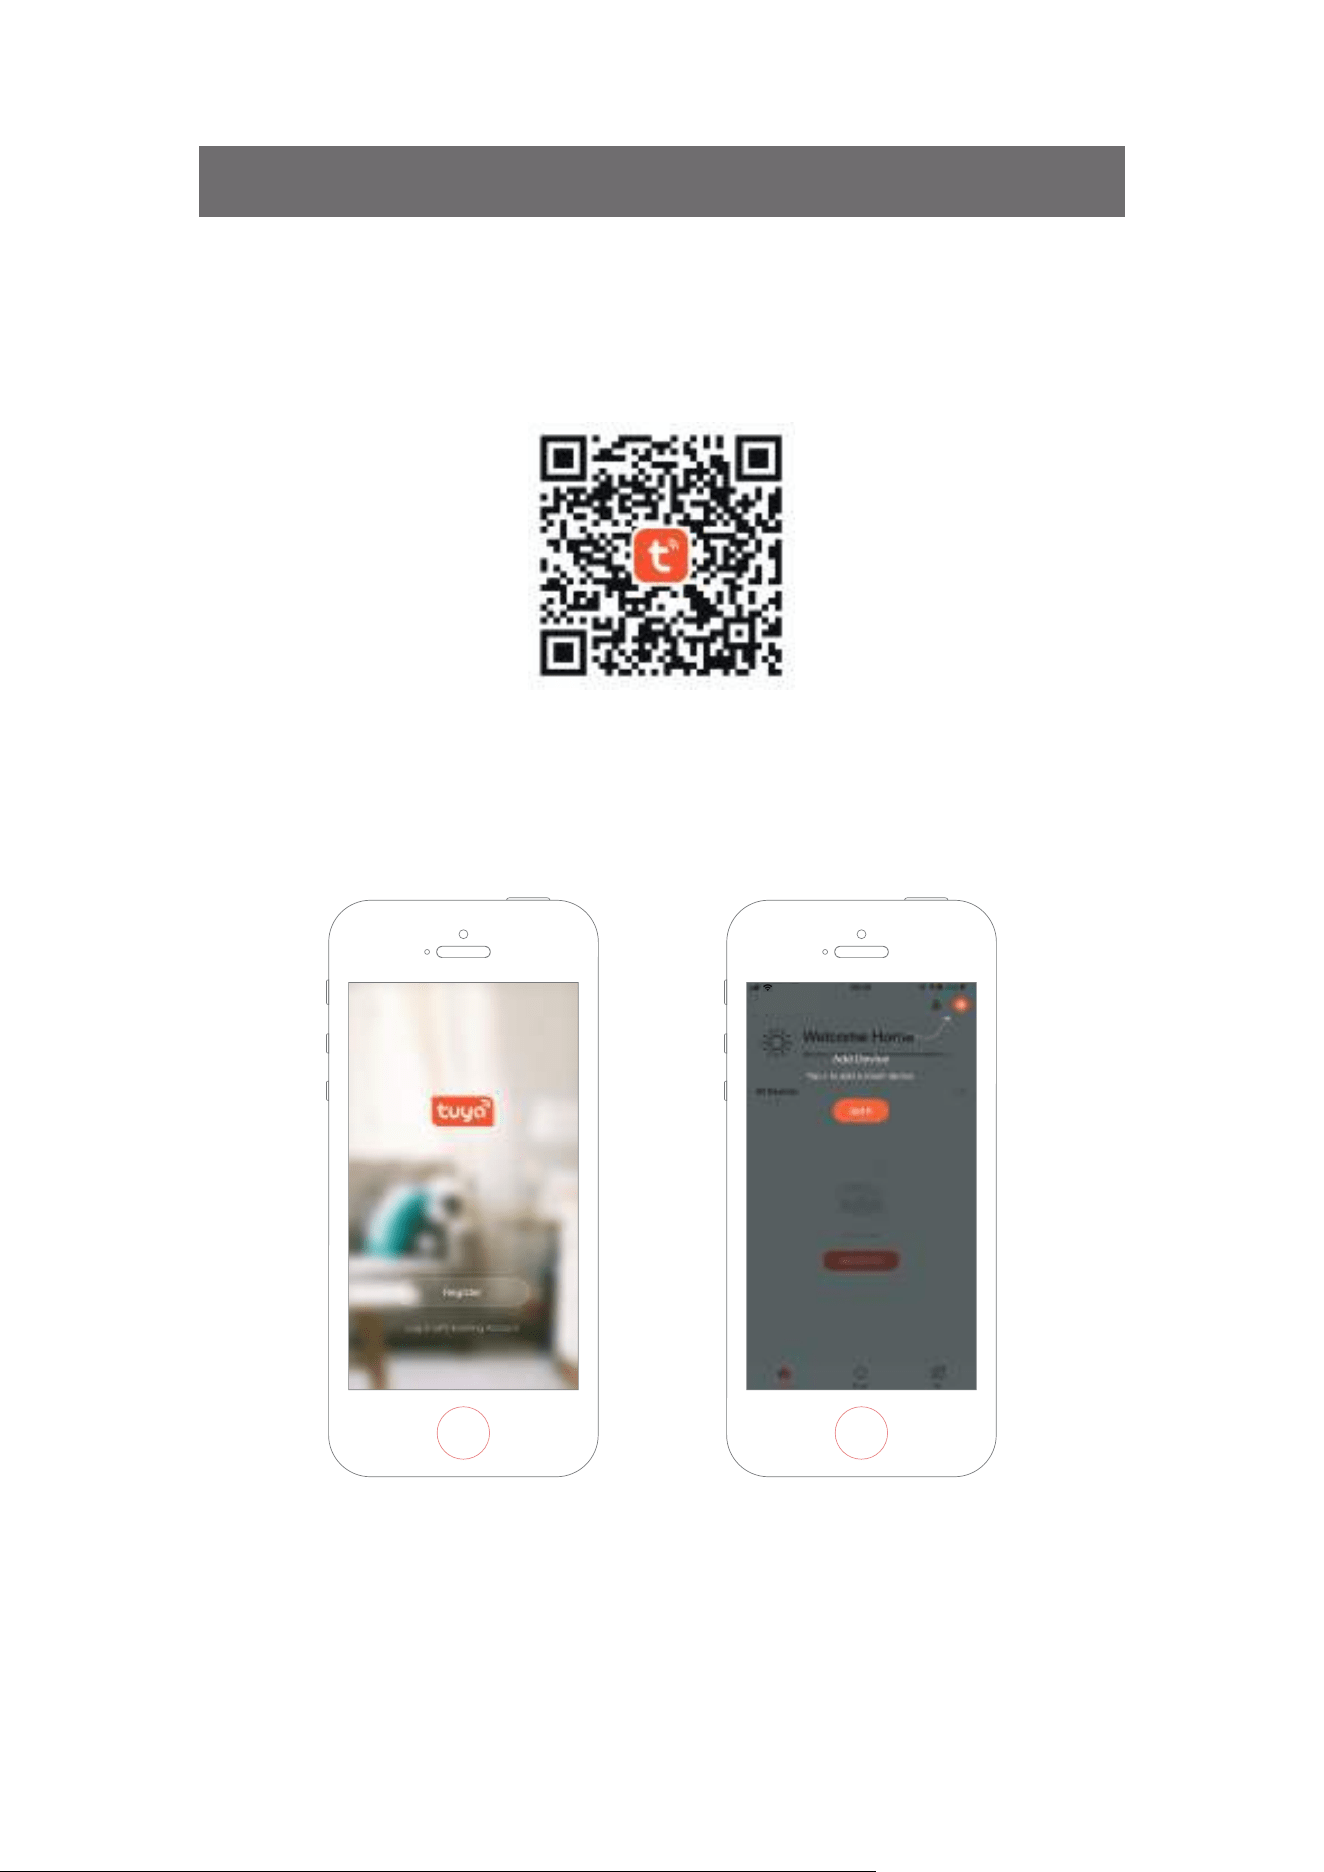
SMART CONNECTION OPERATION GUIDE
16 [EN]
APP Binding Device
Search an APP pla�orm for “TuyaSmart” or scan the following QR code to download the APP.
Make sure the phone is connected to the WIFI at home, and turn on the Bluetooth device, tap
the upper right corner of the home page+ to add device.
Step One
.

17 [EN]
Follow the guide to select the device to be configured, then enter the WiFi password.
Step Two
.
Complete the connec�on to set the dehumidifier with APP.
Step Three
.
SMART CONNECTION OPERATION GUIDE

18 [EN]
Adding Device Manually
Tap Add Device on the home page or + in the upper right corner to go to the Add Device page.
Step One
.
Confirm the indicator rapidly blink and enter the WiFi password.
Step Two
.
SMART CONNECTION OPERATION GUIDE

19 [EN]
Adding Device Manually
Complete the connec�on to set the dehumidifier with APP.
Step Three
.
SMART CONNECTION OPERATION GUIDE