• Please make sure to turn o the power before starting the installation.
• Installation must be performed by a qualified electrician.
• For indoor use only.
INTRODUCTION
WARNING
INSTRUCTION MANUAL
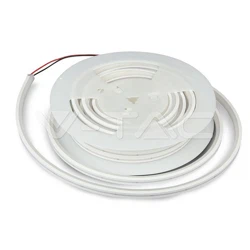
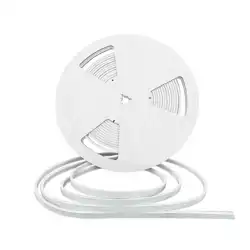
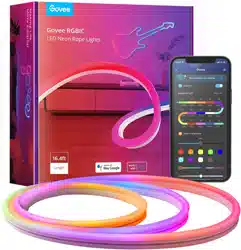
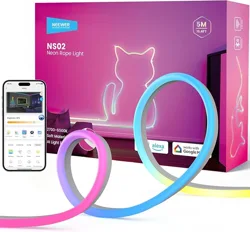
NEON STRIP LIGHT
RGB MAGIC
Thank you for selecting and buying V-TAC Product. V-TAC will serve you the best. Please read these
instructions carefully & keep this user manual handy for future reference. If you have any another
query, please contact our dealer or local vendor from whom you have purchased the product. They
are trained and ready to serve you at the best.
TECHNICAL DATA
MODEL
SKU
LED COLOR
INPUT
LENGTH
PROTECTION RATING
QUANTITY
CURRENT/M
VT-562
24050
RGB
DC 5V
POWER/M
3W
5M
IP20
30 LEDs/M
0.6A
This marking indicates that this
product should not be disposed
of with other household wastes.
Caution, risk of electric shock.
MULTI-LANGUAGE
MANUAL QR CODE
Please scan the QR code
to access the manual in
multiple languages.
IN CASE OF ANY QUERY/ISSUE WITH THE PRODUCT, PLEASE REACH OUT TO US AT: SUPPORT@V-TAC.EU
FOR MORE PRODUCTS RANGE, INQUIRY PLEASE CONTACT OUR DISTRIBUTOR OR NEAREST DEALERS.
V-TAC EUROPE LTD. BULGARIA, PLOVDIV 4000, BUL.L.KARAVELOW 9B
• 1 × NEON Strip Light (5M)
• 1 × USB Controller
1. Clean the surface where the LED strip will be mounted.
2. Use the clips and screws to firm the strip in place.
3. Connect the strip to the USB controller.
4. Plug the USB into a compatible power source (5V USB adapter, power bank, or USB port).
5. Turn on using the remote or app.
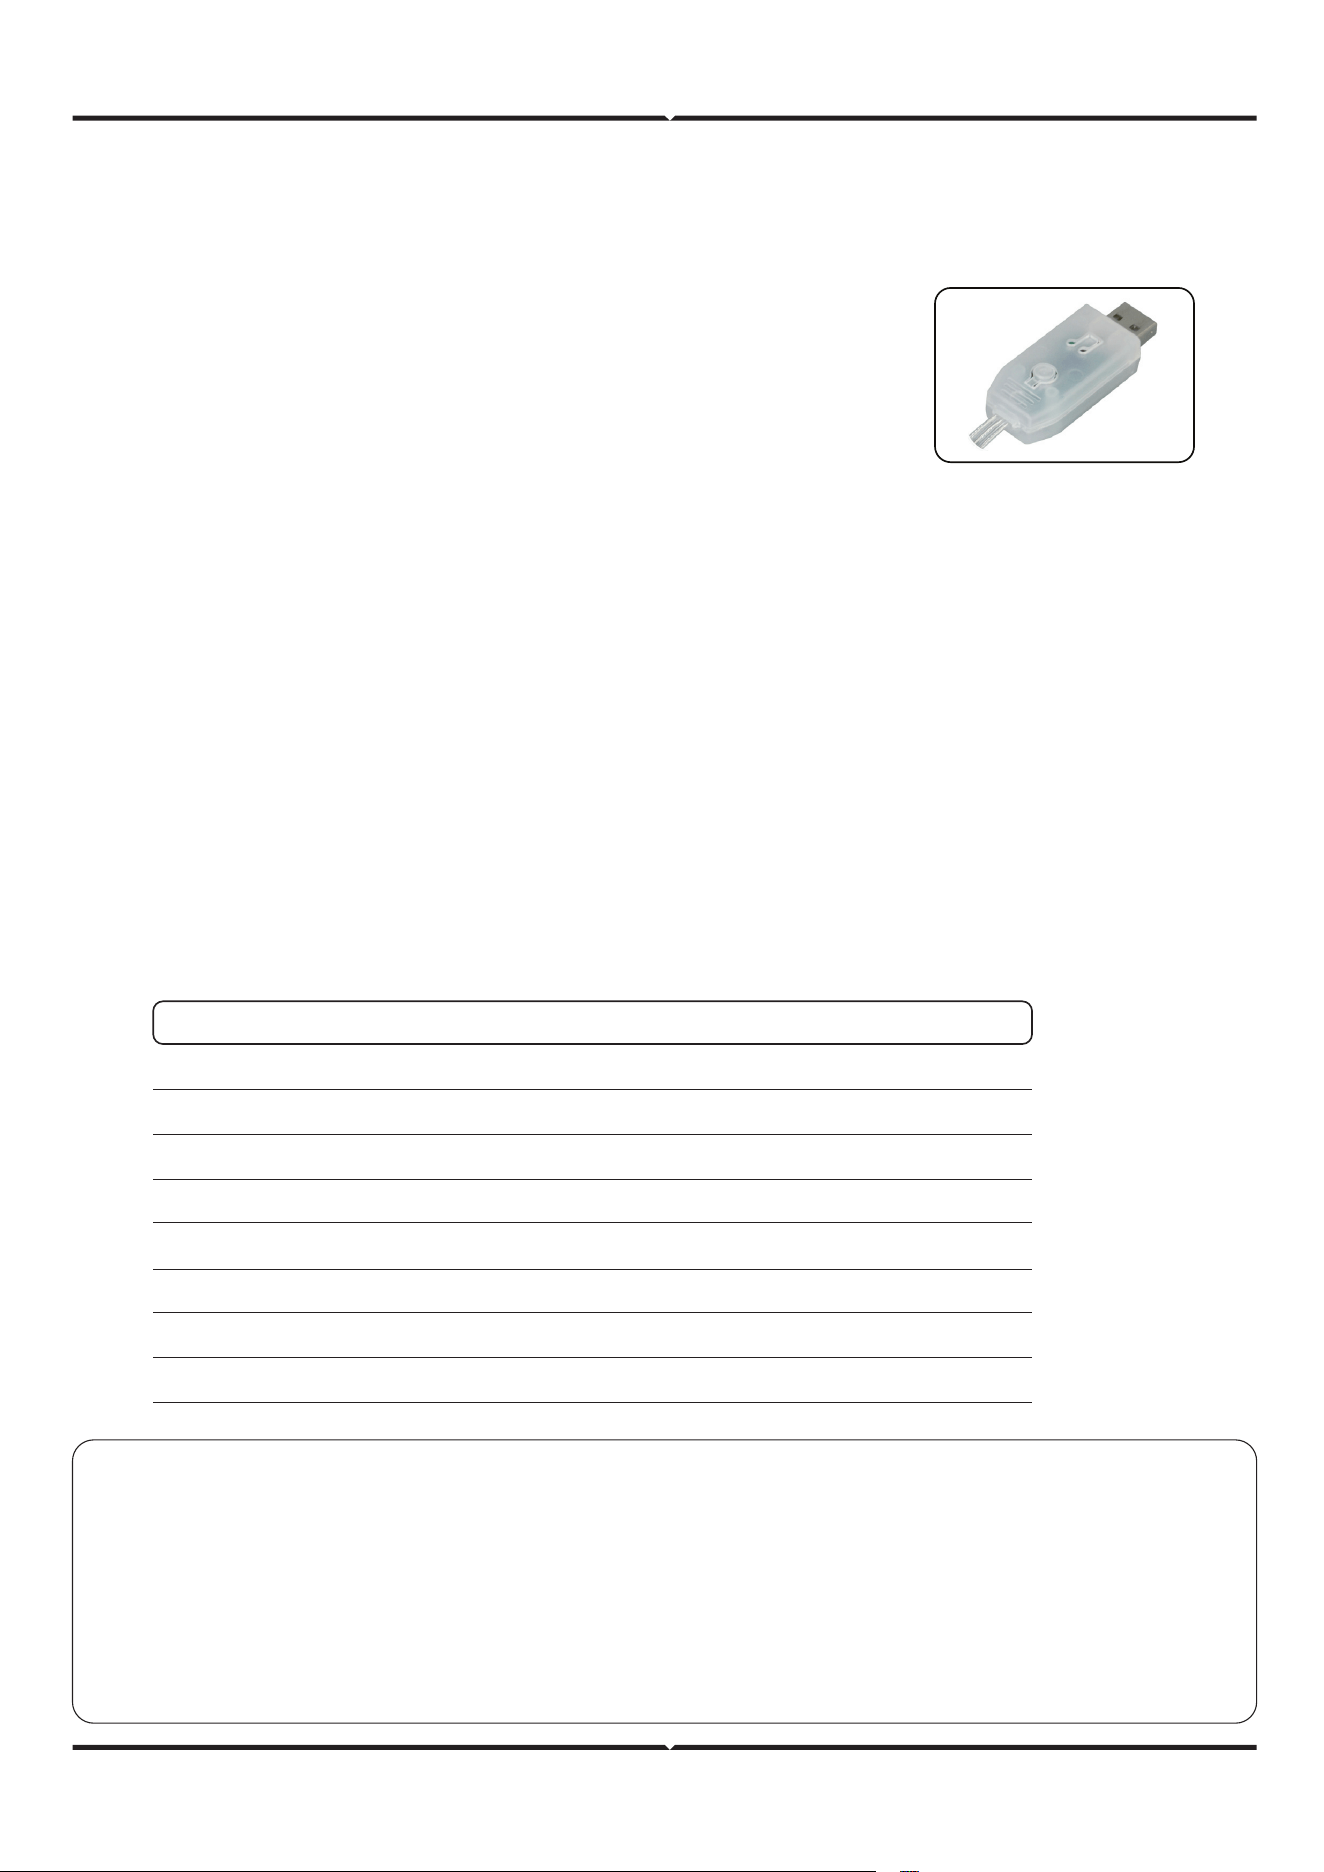
1. Short Press: Cycles through preset lighting modes.
2. Long Press (3 sec): Turns the strip on/o.
INSTALLATION INSTRUCTIONS
CONTROL METHODS
A. USB Controller Buttons
B. Remote Control
PACKAGE CONTENTS
This product uses USB power supply. You can connect the LED
Strip to the power supply with USB interface (such as computer,
mobile phone charger, Power Bank, USB socket, etc.). Aer power
on, the default mode is 7 color cycle change color.
Note: Ensure the power source provides stable 5V DC output.
• 1 × Remote Control (Battery Included)
• 1 × User Manual
BUTTON
ON/OFF
SPEED/BRIGHTNESS
SINGLE COLOR
RGB
7 COLOR / 16 COLOR
FLASH / JUMP / METEOR
AUTO / TRANSITION / FLOW
SLOW BREATHING
FUNCTION
Power toggle
Adjusts eect speed or brightness
Static color mode
Custom RGB color mixing
Predefined color cycles
Dynamic lighting eects
Smooth color transitions
Gentle fade in/out eect
REMOTE CONTROL SAFETY INSTRUCTIONS
• Before using this product, make sure that all parts are configured correctly according to
the instructions in the attached instruction.
• The product should not be used by persons under 5 years of age without supervision by
a parent or guardian.
• Ensure that the power batteries are configured correctly and have the appropriate
parameters as specified by the manufacturer.
Auto
Flashing
Flow
Trailing
Jump
Running
Breathing
Transition
Music Rhythm
Color Setting
Automatically cycles through all eects
Quick flashes in selected colors
Smooth directional color movement
So trailing eects
Sudden color switches
Continuous color chase
Light slowly brightens and dims
Gradual color fade transition
Lights react to ambient or phone music
Manually choose from millions of colors
1. To install the LotusLamp X App, either scan the provided
QR code or search 'LotusLamp X' in the Play Store or
App Store. Download and install it on your device.
2. Power on the strip and open the app.
1. Color Palette: Adjust RGB values, brightness, and warmth.
2. Dynamic Modes: Strobe, gradient, music sync (mic or playlist).
3. Timers: Schedule on/o times.
4. Group Control: Manage multiple strips simultaneously.
C. Mobile App (LotusLamp X)
APP FEATURES
LIGHTING MODES & EFFECTS
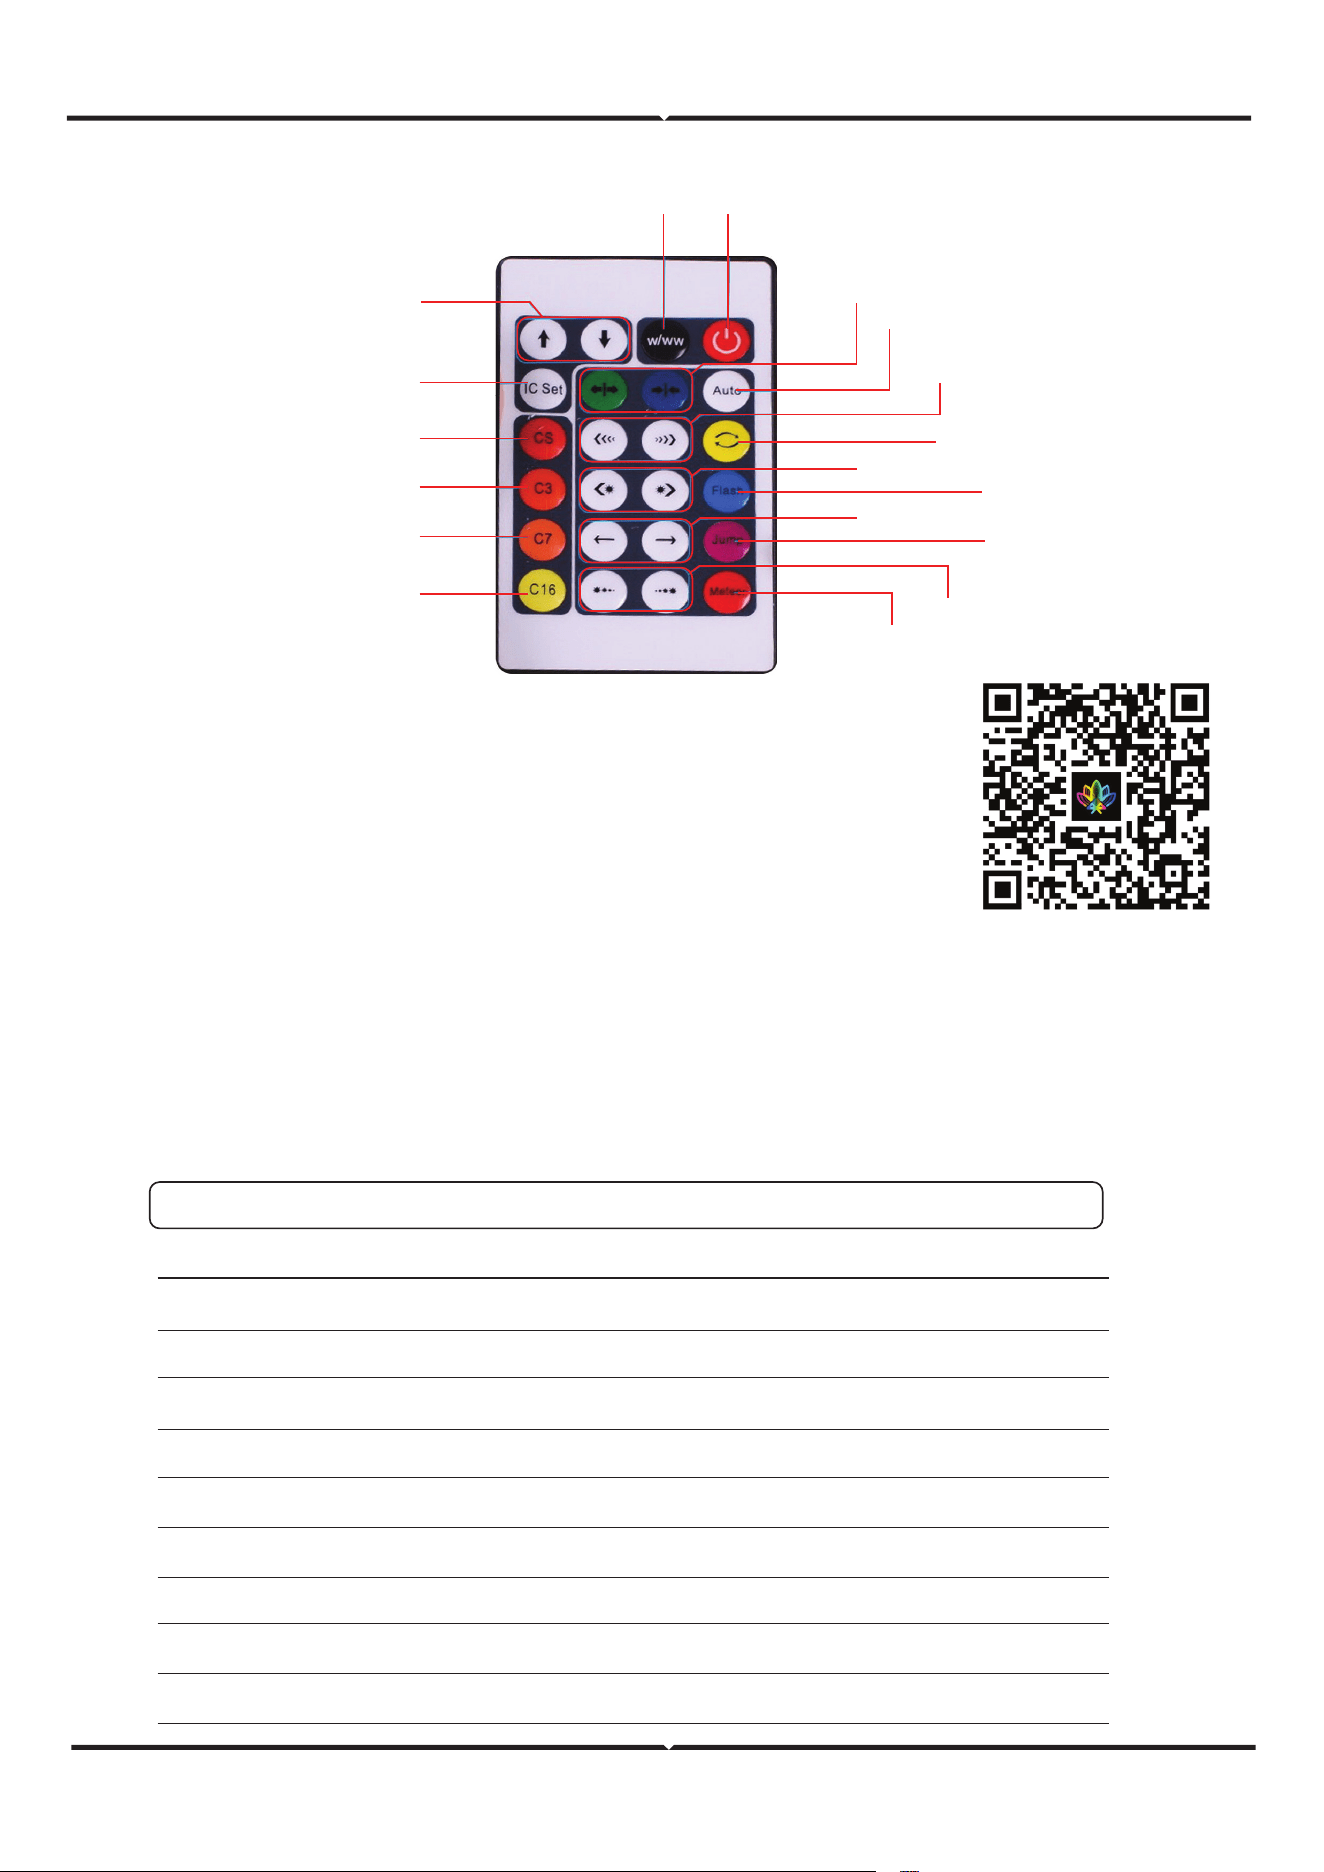
REMOTE INSTRUCTIONS
White light/purple light
Up and down closing mode
Transition mode
Running mode
Flow
Trailing
Auto
Energy / Flutter mode
Flashing mode
Color jump
Slow breathing
16 Color
7 Color
RGB
Single color
LED quantity selection
Speed/Brightness
ON/OFF
DESCRIPTIONMODE
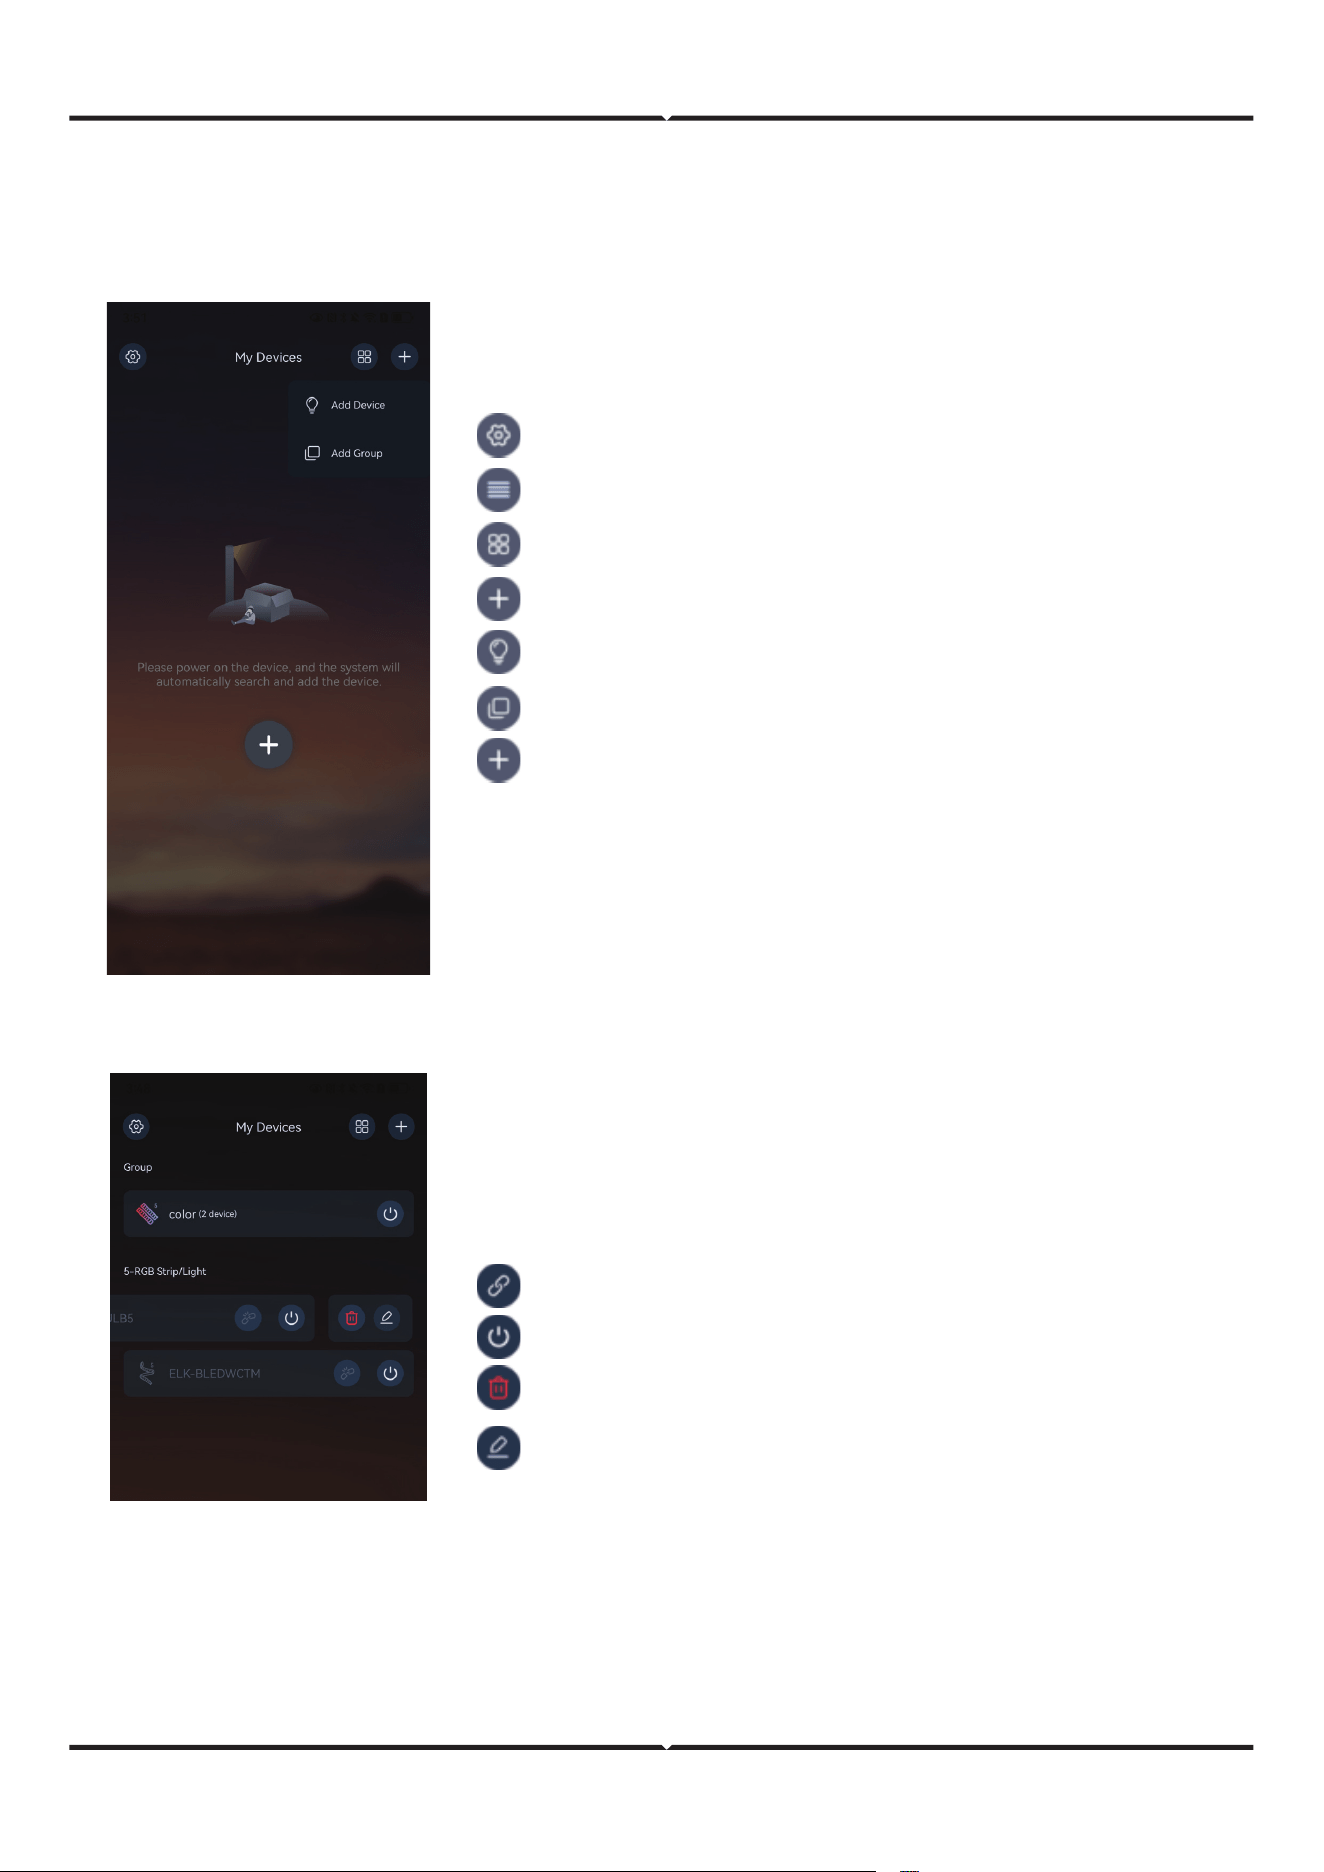
The default interface is displayed for the first time aer the APP is installed.
Aer you power on the device, the system automatically searches for and adds the device.
LOTUSLAMP X APP INSTRUCTIONS
The system menu page is displayed.
Connect button, click Connect device.
Switch button, click to control group/device on and o.
Delete button, click Remove device.
Click to switch list display.
Click to switch grid display.
Click Add Device/Add group in the upper right corner.
Click Add Device.
Click Add Group.
This button is displayed at the bottom of the page
when you add a device for the first time without
obtaining the system permission, such as Bluetooth.
This screen allows you to manage groups and devices.
Click the device/group icon name to enter the
device/group control panel.
Swipe le to enter the edit mode.
Group/Device edit button allows you to edit group/device
icon, name, group device/select group, menu style, mode
style, and customize functions.
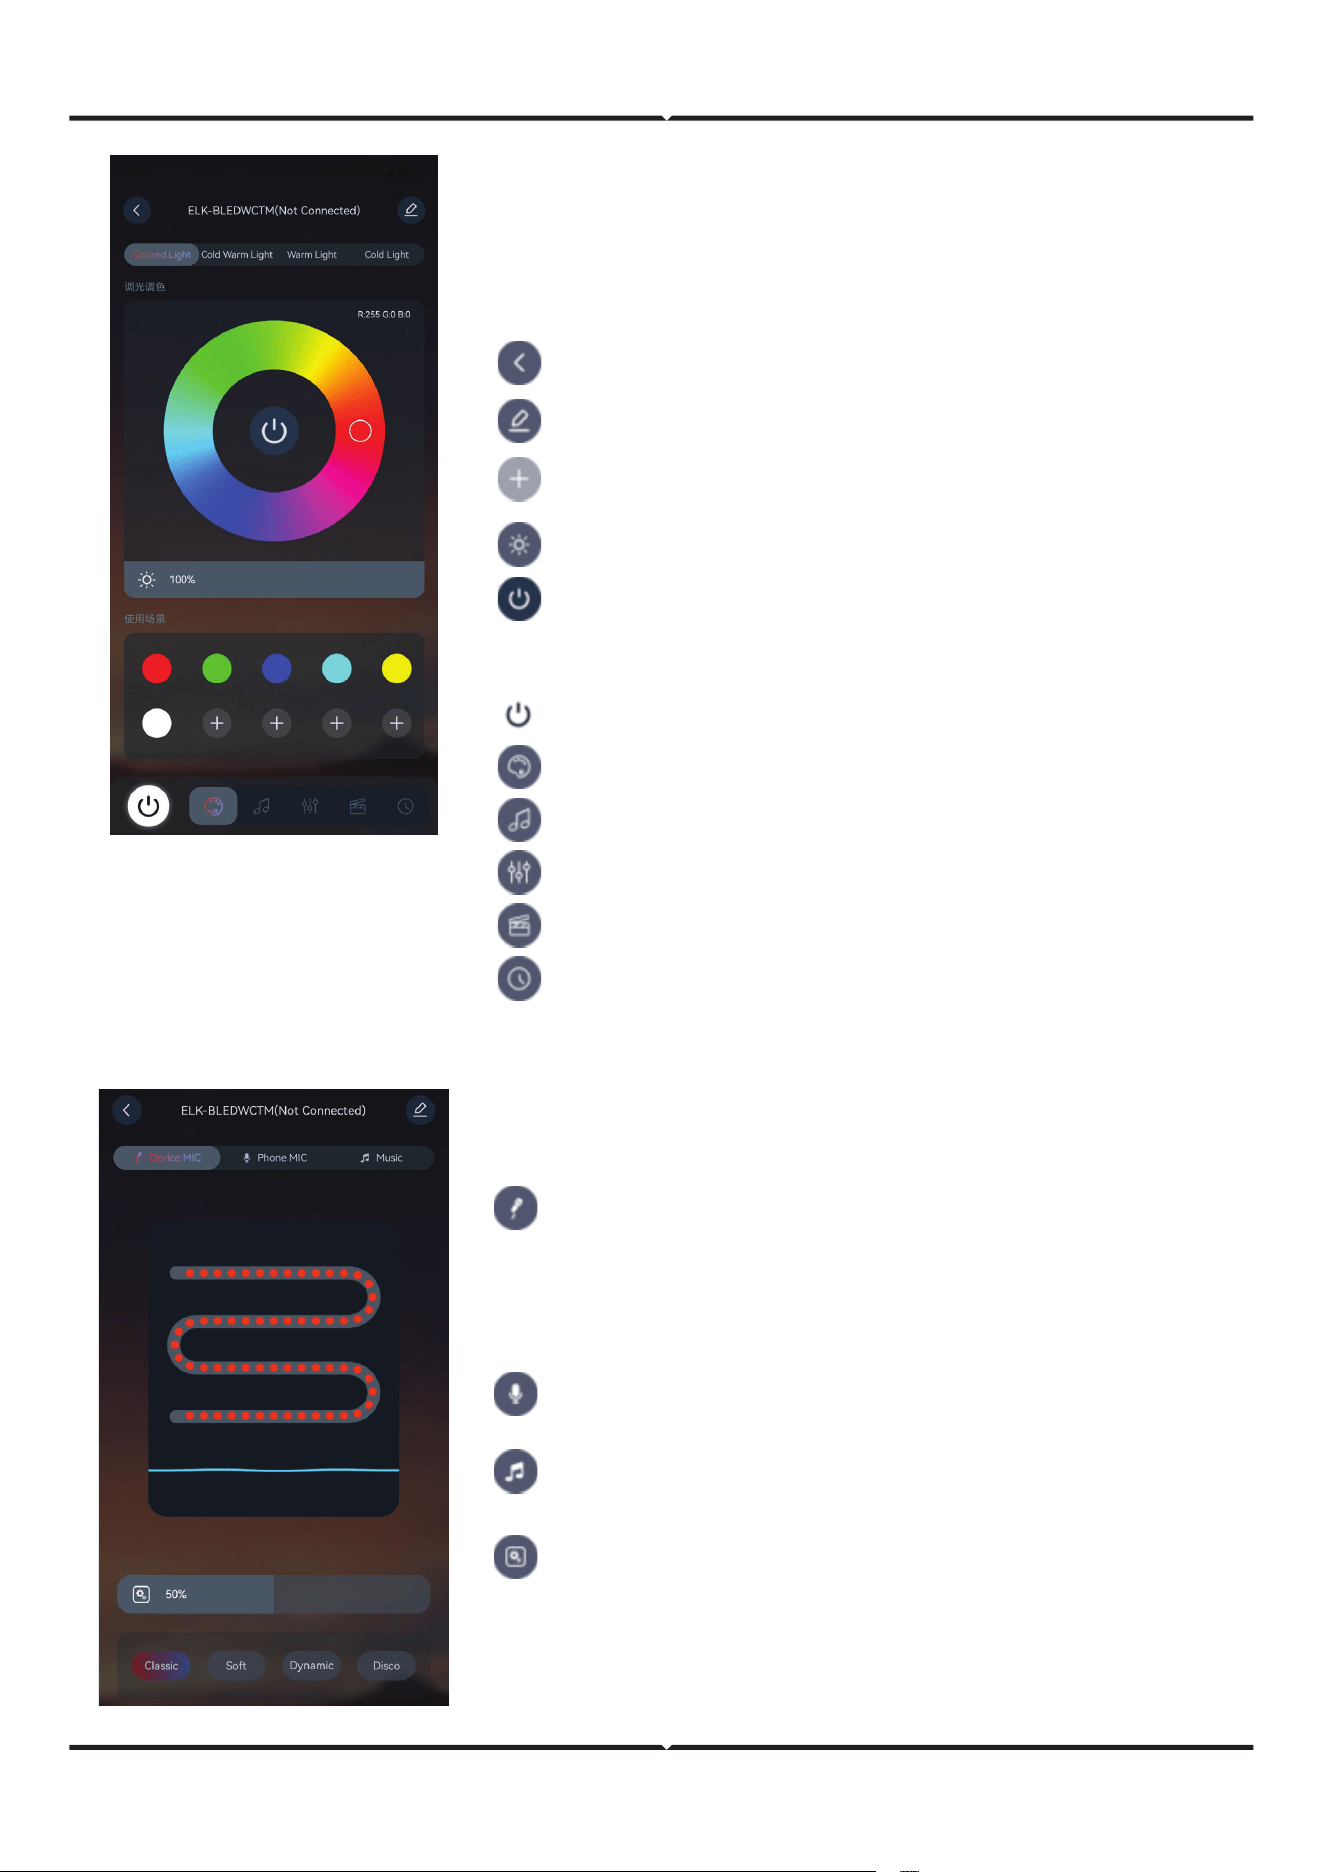
Back button to return to the device management page.
Edit button to enter the page for editing device properties.
Sliding brightness bar adjusts brightness.
Master switch, control lights on and o.
Color button, click to enter the color interface.
Click the rhythm button to enter the rhythm interface.
Click the mode button to enter the mode interface.
Click the scene button to enter the scene interface.
Timing button, tap to enter the timing interface.
Light rhythm control interface. Select rhythmic sound
source and rhythmic mode eect.
External microphone interface, select the controller
hardware integrated microphone as a sound collector,
capture the music of the surrounding environment and
control the change of the light with the change of the
rhythm and intensity of the music.
On the mobile microphone screen, select the mobile
microphone as the sound collector.
Music interface, play the music stored in the phone, the
light changes with the music.
Control the sensitivity of sound acquisition, slide to select
the appropriate value to make sound acquisition sensi-
tive and avoid random lighting.
Device control panel color palette. It can adjust the color and
brightness of color light, cold and warm light, warm light and
cold light.
Slide the color palette to adjust the light color. Click the RGB
module in the upper le corner to adjust R, G and B respectively.
Customize button to customize the color, long
press to delete the color.
RGB switch button, in the middle of the color disk,
can control the RGB on and o. Color cannot be
adjusted aer closing.
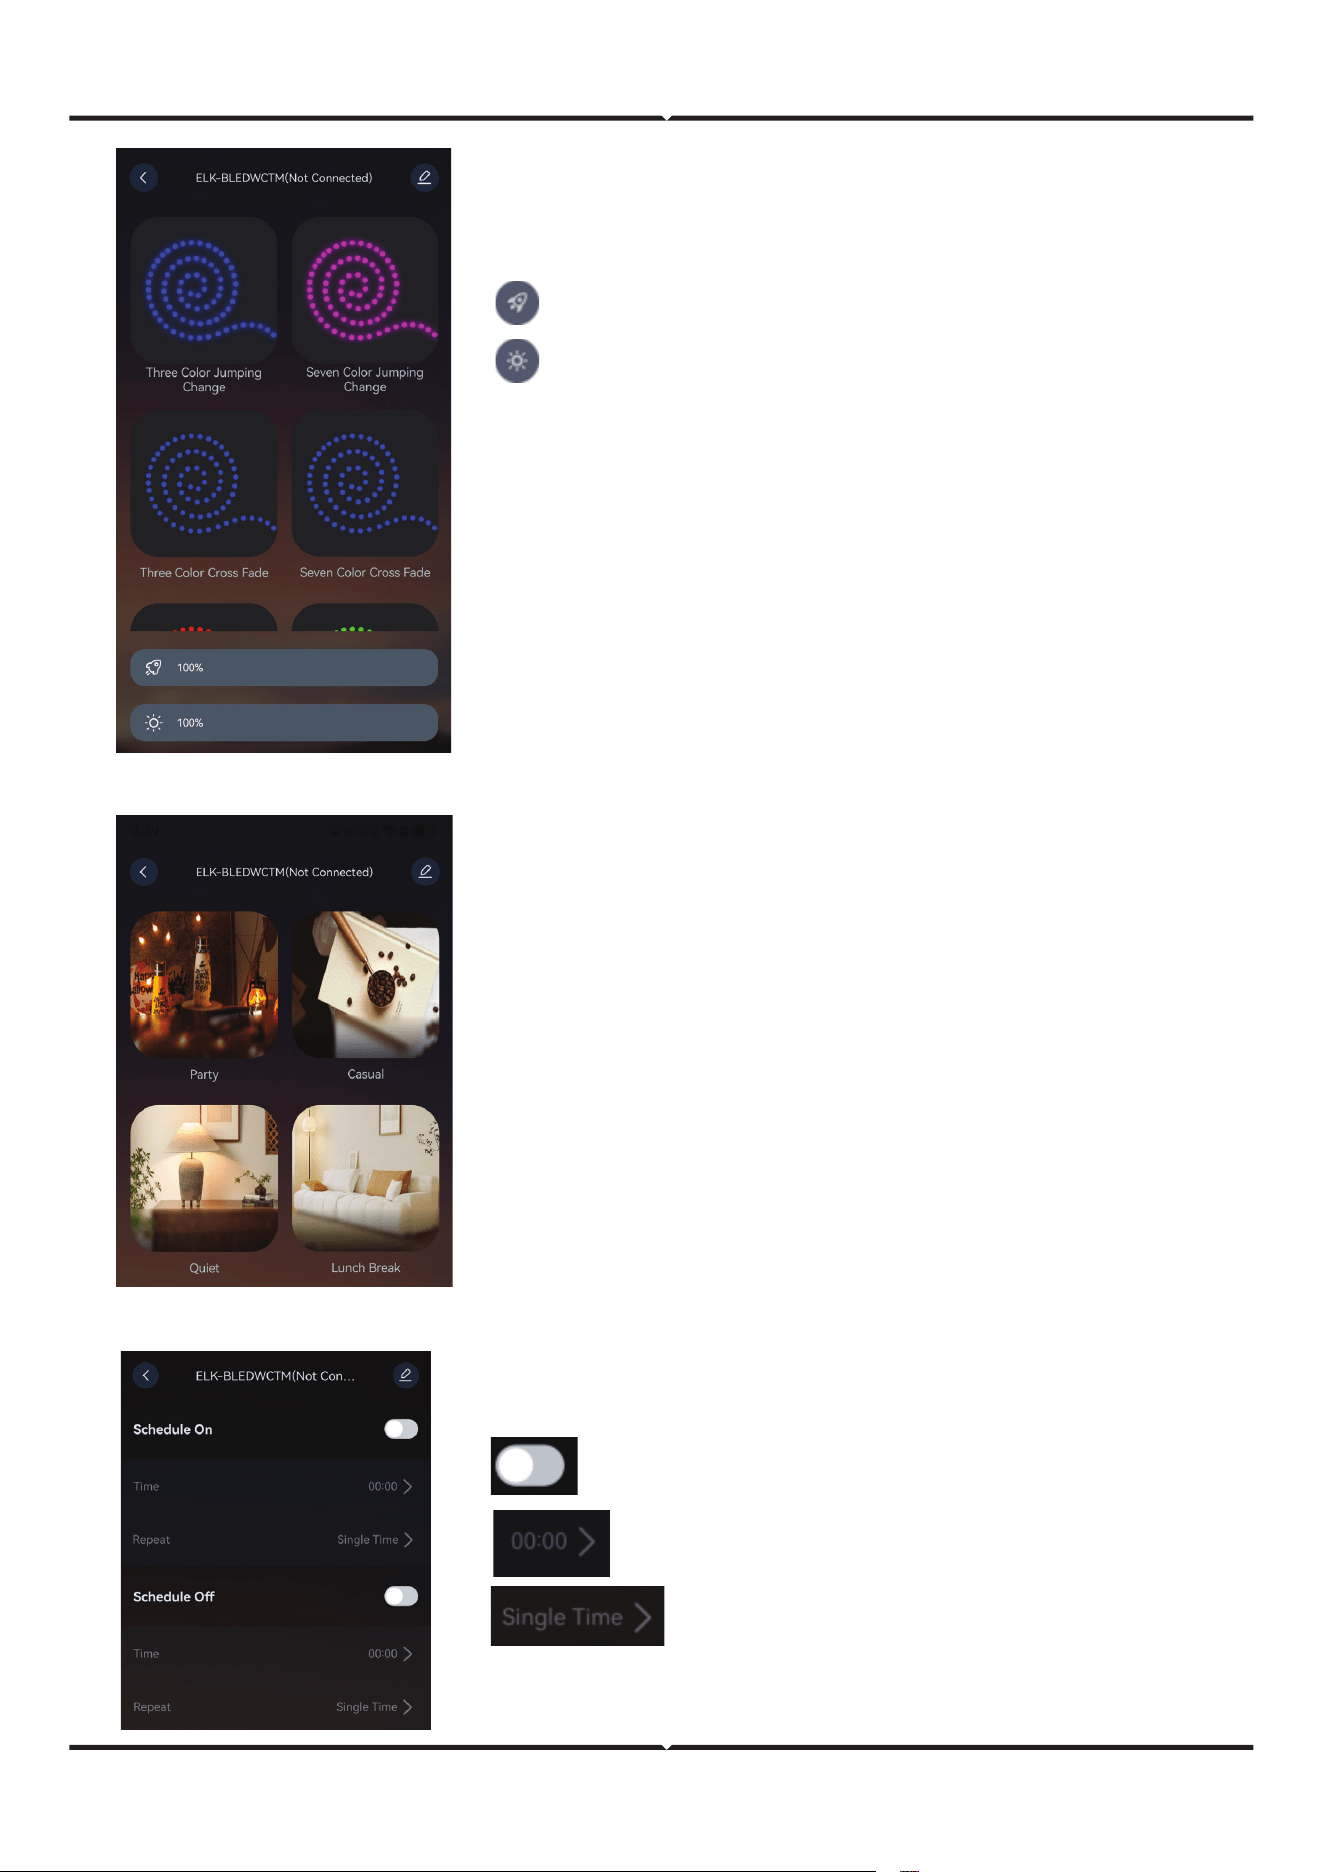
Lighting scene setting screen.
Click on the picture to set the corresponding lighting scene.
Lights on and o schedule setting page.
Enable or disable the schedule of lights on/o.
Time setting of lights on/o.
Repeat mode, single or weekly loop.
Dynamic mode interface.
Speed slider to control the speed of dynamic mode.
Brightness slider to control the maximum bright-
ness for dynamic mode.
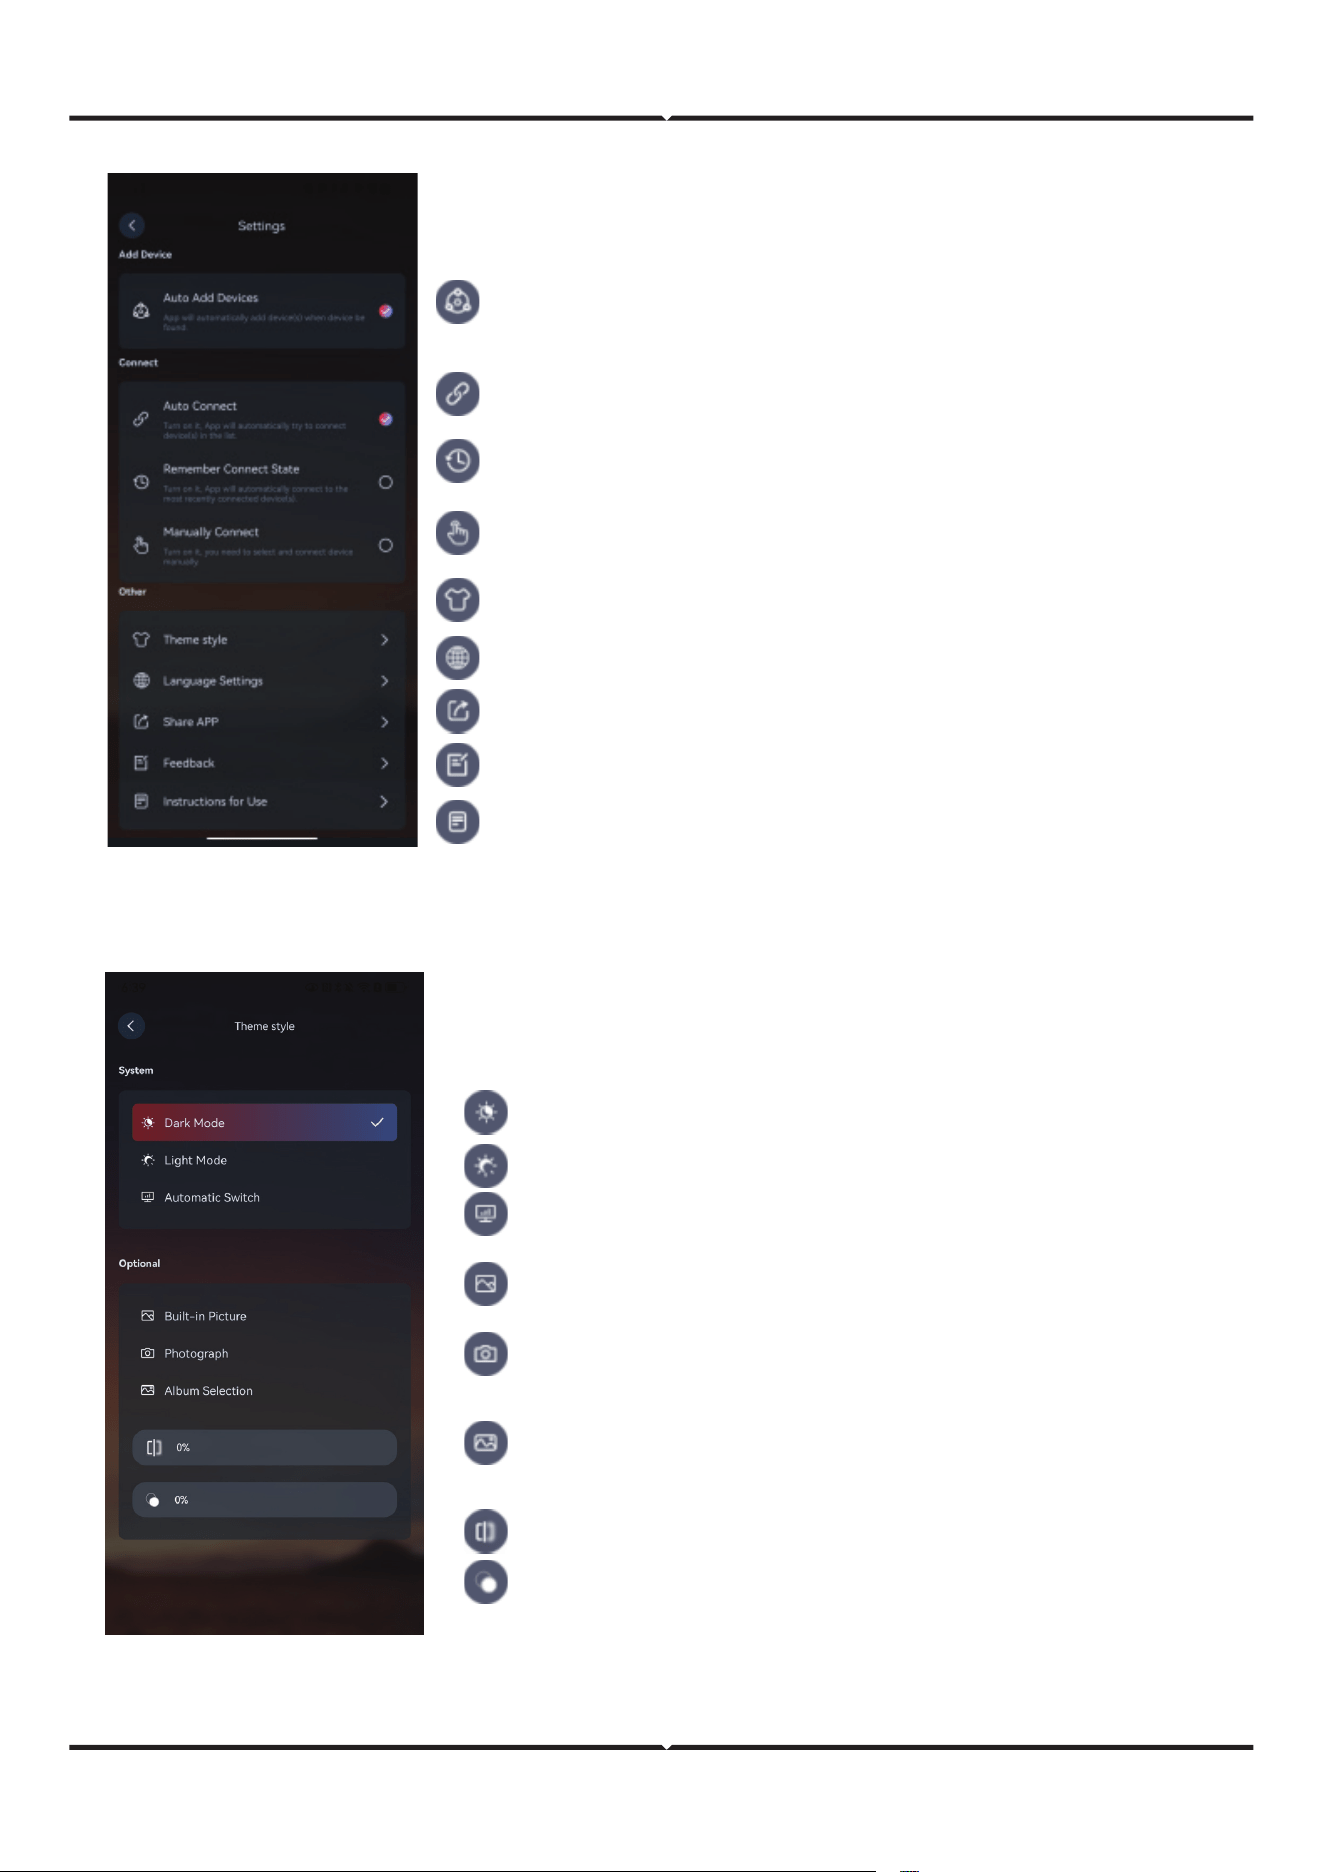
System settings page. Including strategy of device search,
append, connnect. Interface language selection, theme style
setting, usage instructions and so on.
Theme style setting page. You can select two styles of system
integrated or select a picture for your wallpaper.
Add devices automatically. This parameter is selected by
default. If an unconnected device is nearby, it is automatically
added to the device list.
Automatic connection, selected by default. Aer this function is
enabled, the device in the device list is automatically connected.
Memory connection: When enabled, the recently connected
devices are automatically connected.
Dark Mode: Select a dark theme.
Light Mode: Select a light theme.
Automatic Switch: Switch dark or light mode according to
the mobile phone system setting of theme.
Picture Gallery: Select a picture from picture gallery of
system built-in.
Photograph: Turn on the camera, shoot, as your wallpa-
per.
Album Selection, Select a picture from your phone's
album.
Adjust the image sharpness.
Adjust the image transparency.
Manually connect. Aer opening, click the device connection
button to connect.
Theme style, can choose dark mode/fresh mode, custom
theme background.
Language Settings, select the APP interface display language.
Share the APP, you can share the APP with others.
Question feedback, questions and comments can be submitted.
Use instructions, see the detailed description of the function.
V-TAC UK LTD. IN CASE OF ANY QUERY/ISSUE WITH THE PRODUCT PLEASE REACH OUT TO US AT
[email protected] V-TAC, 5A TUNGSTEN PARK, DOWNS ROAD, WITNEY, OXFORDSHIRE, OX29 0AX
V-TAC WEST EUROPE LTD. IN CASE OF ANY QUERY/ISSUE WITH THE PRODUCT, PLEASE REACH OUT TO US AT:
[email protected] FOR MORE PRODUCTS RANGE, INQUIRY PLEASE CONTACT OUR DISTRIBUTOR OR NEAREST DEALERS.
V-TAC WEST EUROPE LTD. GROUND FLOOR, 71 LOWER BAGGOT STREET, DUBLIN 02, IRELAND DO2 P593
• This product contains battery type "Primary" (non-rechargeable).
• Electrical and electronic equipment that has become waste is known as old equip-
ment/device. Old devices must not be disposed of with other household waste.
• Owners of old devices at the end of its service life must return the device by taking them
to the collection points set up by public waste disposal authorities or distributors. This
return does not entail any costs for you.
• Owners of old devices have an obligation to remove accessible batteries / rechargeable
batteries as well as non-destructively removable lamps from the old device prior to
return. This does not apply if old devices are being prepared for reuse with the participa-
tion of a public law firm.
• Batteries removed from an old electronic device should be disposed of separately. This
return of battery does not entail any costs for you and the user is obliged to return the
battery.
• Please make sure that this product is not powered on when removing the battery. Fire
hazard! Avoid short-circuiting the contacts of a detached battery. Do not incinerate the
battery. Please handle the battery with Caution!
• If electrical appliances or batteries are disposed of in landfills or dumps, hazardous sub-
stances can leak into the groundwater and get into the food chain, damaging your health
and well-being.
• The symbol of "Crossed rubbish bins "indicates that this product should not be disposed
of with other household wastes and must be collected separately from unsorted munici-
pal waste at the end of its service life.
• Please use the link below to view the online directory of the collection and return
points:https://www.ear-system.de/ear-verzeichnis/sammel-und-ruecknahmestellen
IMPORTANT NOTES