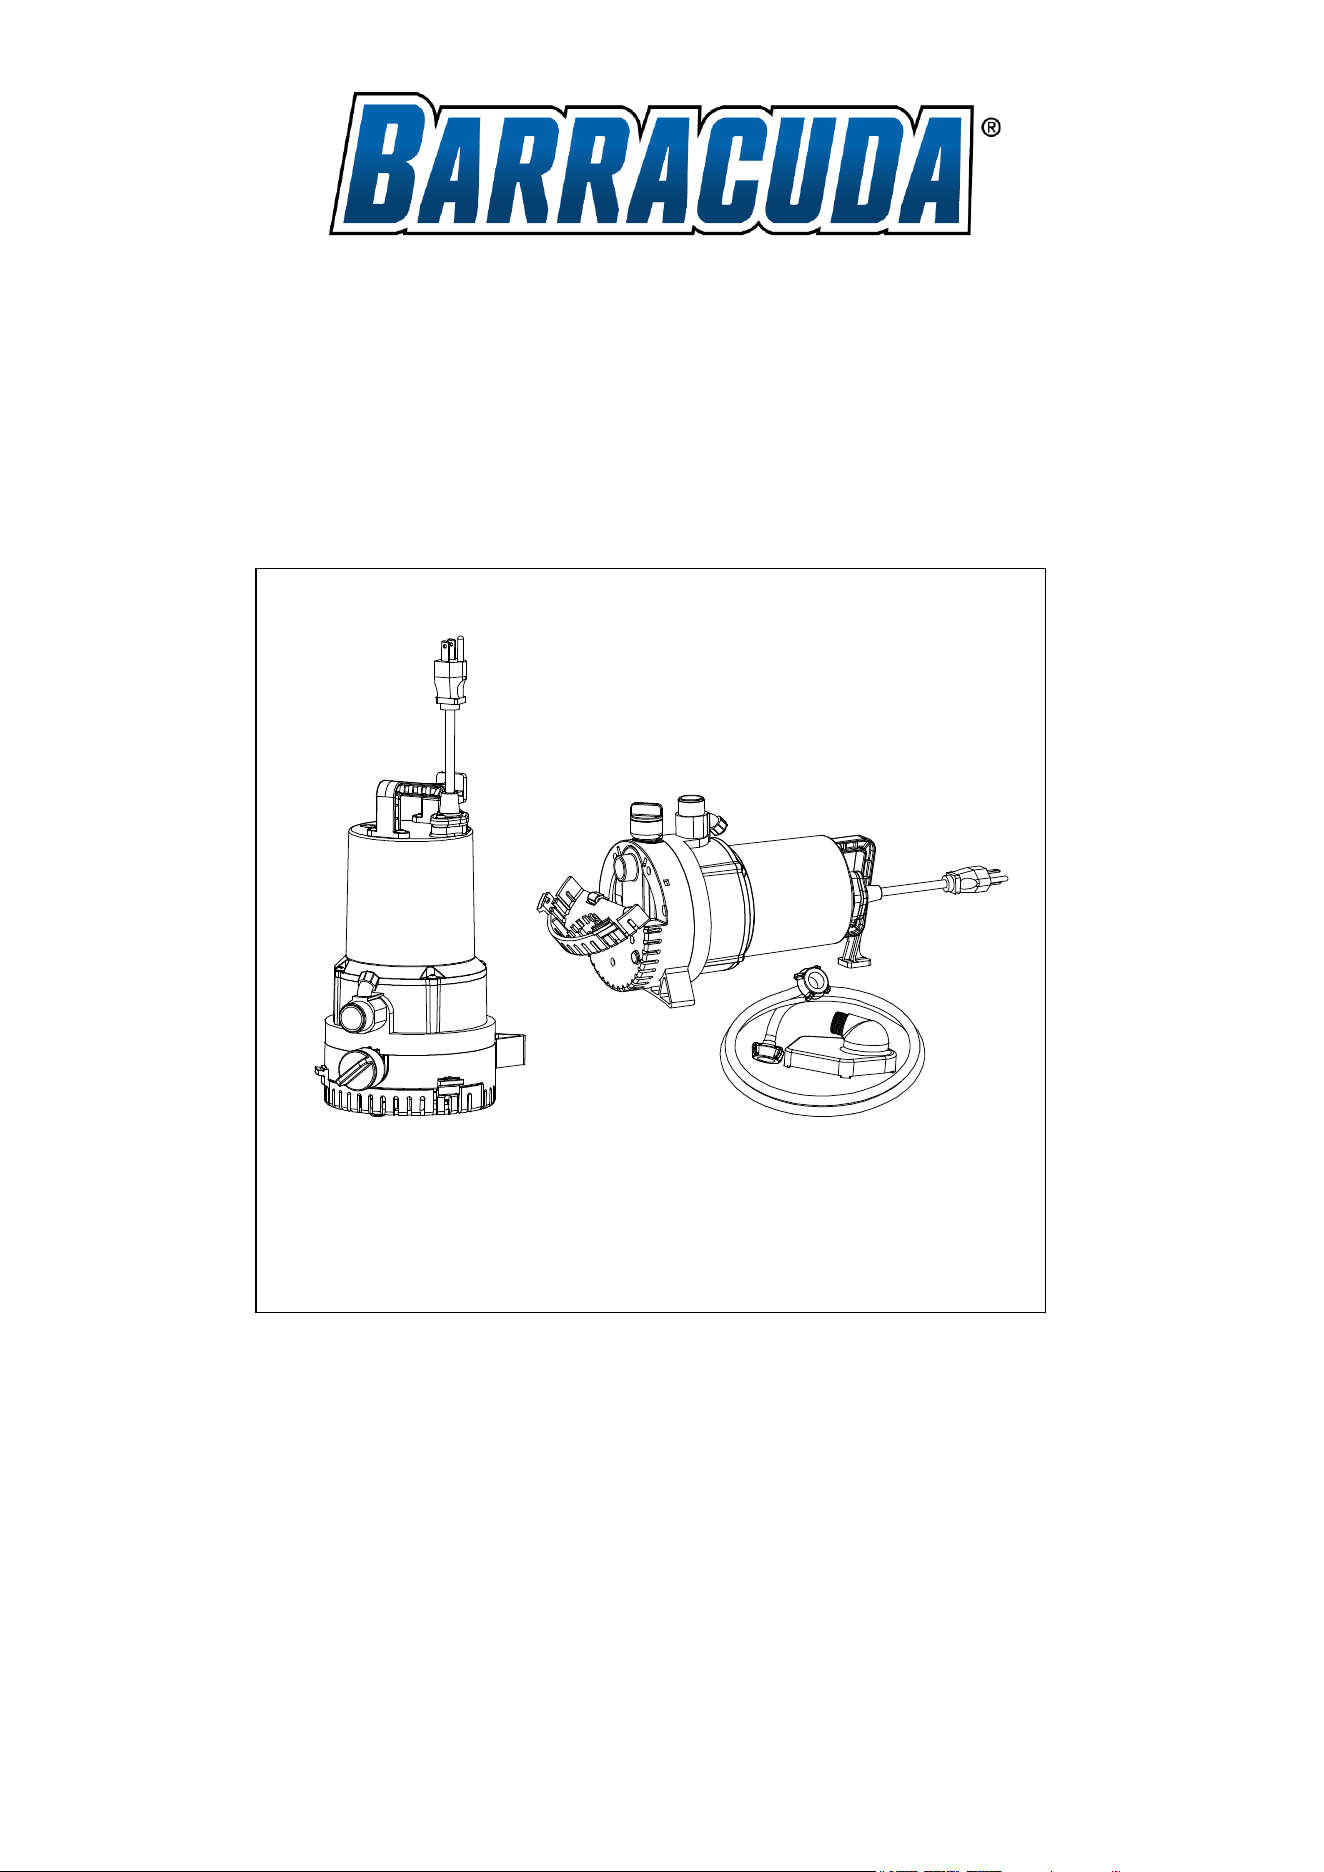
OWNER’S MANUAL
UTILITY/TRANSFER PUMP
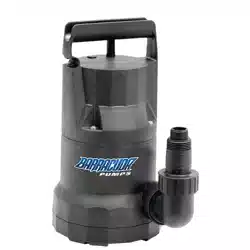
NON-SUBMERSIBLE
TRANSFER
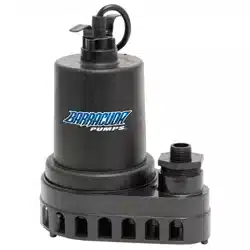
SUBMERSIBLE UTILITY
SKU# 691-3323
Model#: BPUTM02505
2
PERFORMANCE
SKU
MODEL
HP
Discharge Flow (GPM)
Max. Lift
0 ft. 5 ft. 10 ft. 15 ft. 20 ft. 25 ft.
691-3323
BPUTM02505
Submersible
Utility Pump
Function
1/4 27 25 22 16 12 4 30 ft.
Non-
Submersible
Transfer Pump
Function
1/4 16 14 12.2 10 6.7 2.8 30 ft.
PRE-INSTALLATION
APPLICATION
This pump can be used as a submersible utility pump. It is suitable for draining or removing water from the
following: Dewatering in coastal areas or salt-water marine areas, drain utility sinks, flooded basements, window
wells, flat roofs, pool covers, and descaling.
This pump can be also used as a non-submersible transfer pump. It is suitable for draining or removing from the
following: Drain water heaters, boats, clogged sinks, water softeners, washing machines, utility sinks, and fill
radiant heating systems.
WARNING: Risk of eye injury. Wear safety goggles at all times when working with pumps.
DO NOT USE THIS PUMP: With flammable liquids, as a sump, sewage, or effluent pump; to recirculate water or run
continuously for fountains and water features.
MATERIALS REQUIRED (NOT INCLUDED)
SPECIFICATIONS
Power supply
115V, 60 HZ., 2.8 Amp Circuit minimum
Liquid Temp. Range 32 to 130°F (0- 54°C)
Discharge
3/4 in. garden hose thread
Power Cord
SJTW, 18AWG/3C, 10 ft.
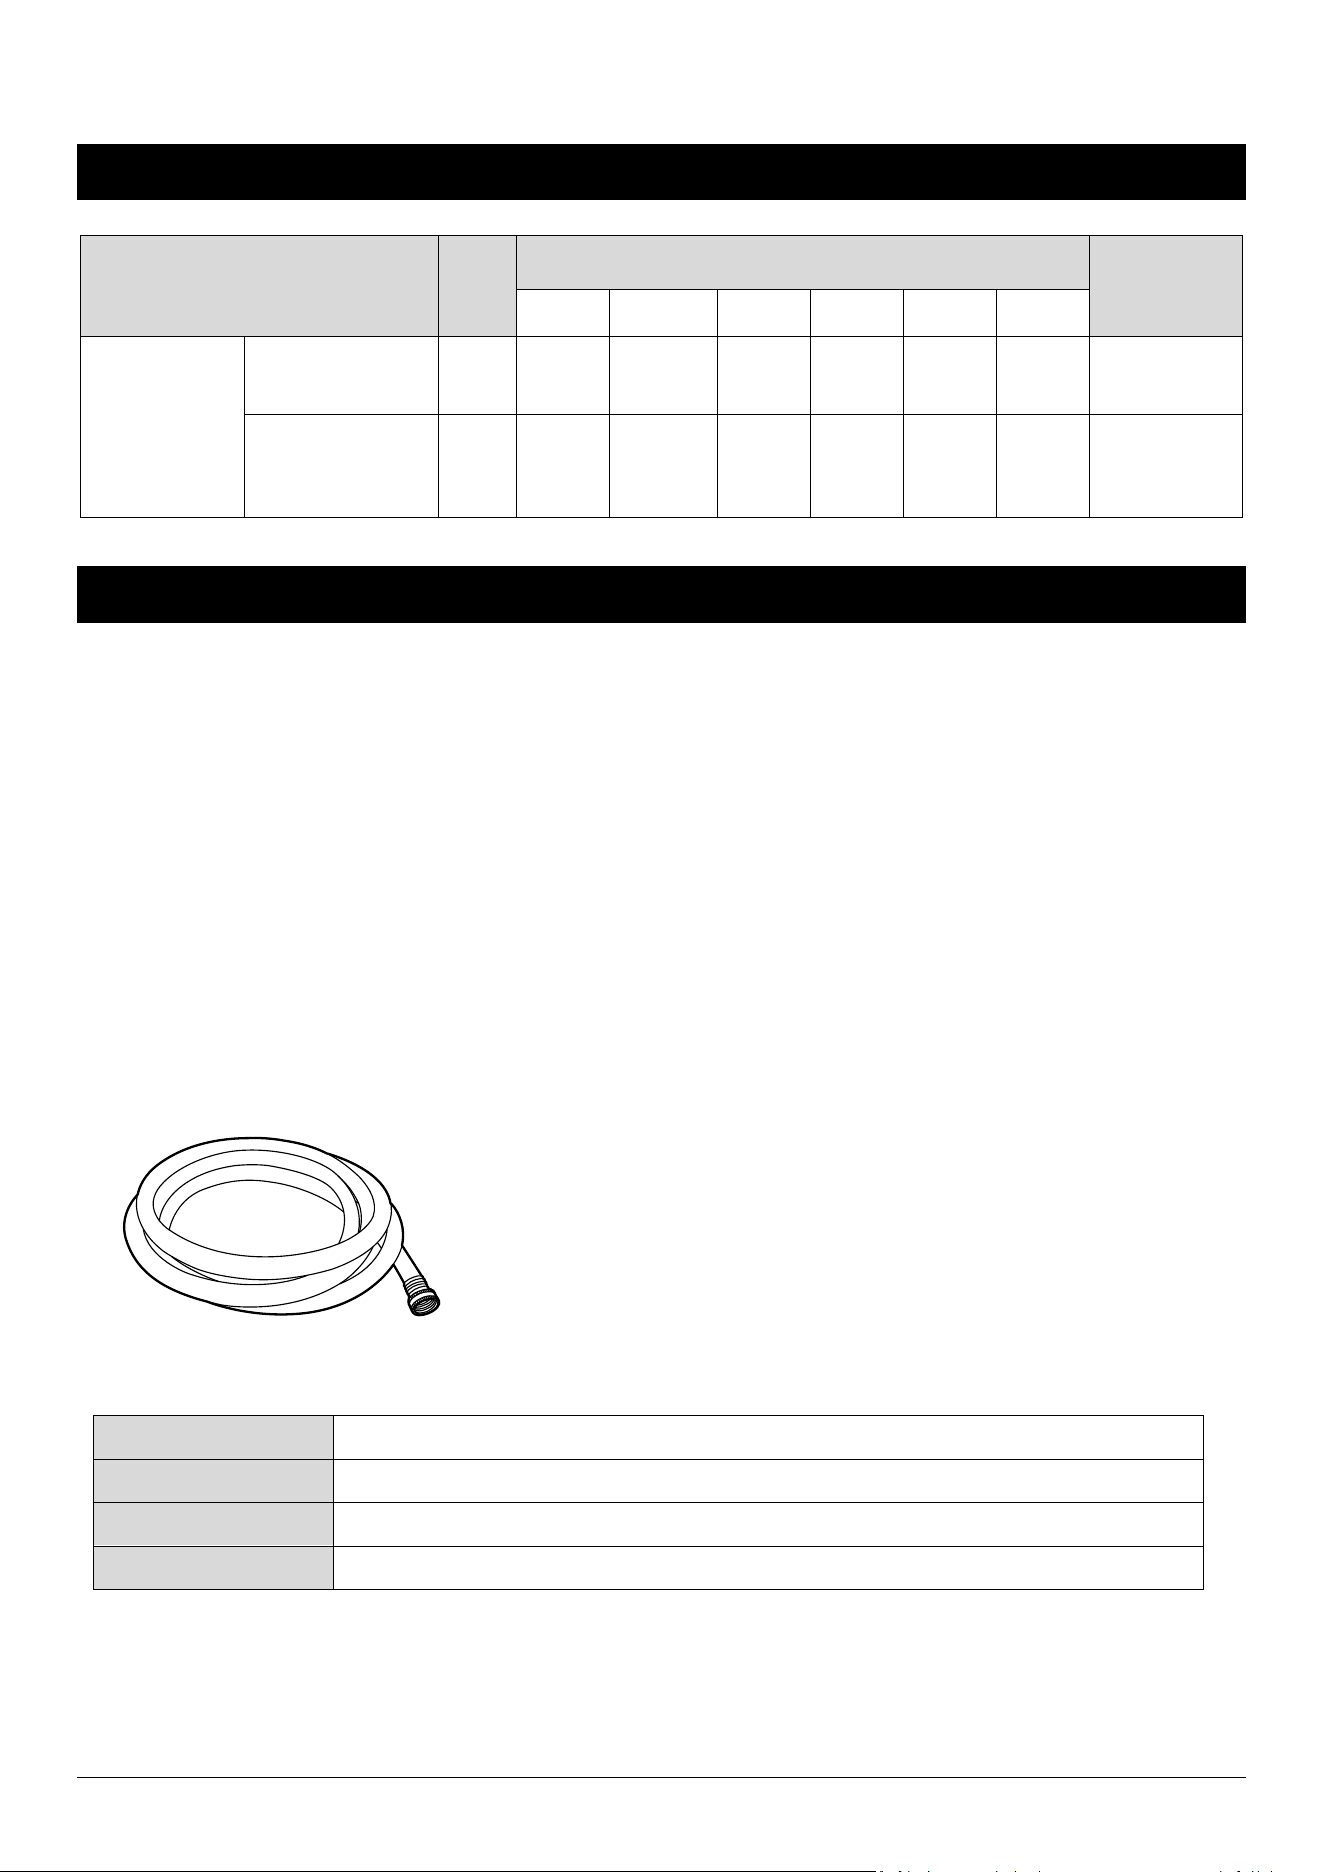
3/4” Garden Hose (25 ft. max. length)

3
SAFETY INSTRUCTIONS
DANGER: Indicates a hazardous situation that, if not avoided, will result in death or serious injury.
1. Do not pump flammable or explosive liquids such as oil, gasoline, kerosene, ethanol, etc. Do not use in the
presence of flammable or explosive vapors. Using this pump with or near flammable liquids can cause an
explosion or fire, resulting in property damage, serious personal injury, and/or death.
2. ALWAYS disconnect the power to the pump before servicing.
3. Do not touch the motor housing during operation. The motor is designed to operate at high temperatures. Do not
disassemble the motor housing.
4. Do not handle the pump or pump motor with wet hands or when standing on a wet or damp surface, or in water
before disconnect the power.
WARNING: indicates a hazardous situation that, if not avoided, could result in death or serious injury.
1. Release all pressure and drain all water from the system before servicing any component.
2. Secure the discharge line before starting the pump. An unsecured discharge line will whip, possibly causing
personal injury, and/or property damage.
3. Use of an extension cord is not recommended. Extension cords may not deliver sufficient voltage to the pump motor
and can present a life-threatening safety hazard if the insulation becomes damaged or the connection ends fall into
the water. If the application requires one, it must be an outdoor grade, 16 AWG, or heavier, and no longer than 25’.
4. Wear safety goggles at all times when working with pumps.
5. This unit is designed only for use on 115 volts (single phase), 60 Hz, and is equipped with an approved 3-
conductor cord and 3-prong grounded plug. Do not remove the ground pin under any circumstances. The 3-prong
plug must be directly inserted into a properly installed and grounded 3-prong, grounding-type receptacle. Do not
use this pump with a 2-prong wall outlet. Replace the 2-prong outlet with a properly grounded 3-prong receptacle
(a GFCI outlet) installed in accordance with the National Electrical Code and local codes and ordinances. All wiring
should be performed by a qualified electrician.
6. Protect the electrical cord from sharp objects, hot surfaces, oil, and chemicals. Avoid kinking the cord. Do not use
damaged or worn cords.
7. Failure to comply with the instruction and designed operation of this unit may void the warranty. ATTEMPTING TO
USE A DAMAGED PUMP can result in property damage, serious personal injury, and/or death.
8. Ensure that the electrical circuit to the pump is protected by a 10 Amp fuse or circuit breaker.
CAUTION: indicates a hazardous situation that, if not avoided, could result in minor or moderate injury.
1. Do not lift the pump by the power cord.
2. Know the pump and its applications, limitations, and potential hazards.
3. Secure the pump to a solid base. This will aid in keeping the pump in a vertical orientation. This is critical in
keeping the pump operating at maximum efficiency. It will also help prevent the pump from clogging resulting in
premature failure.
4. Periodically inspect the pump and system components to ensure the pump suction screen is free of mud, sand,
and debris. Disconnect the pump from the power supply before inspecting it.
5. Follow all local electrical and safety codes, along with the National Electrical Code (NEC). In addition, all
Occupational Safety and Health Administration (OSHA) guidelines must be followed.
6. Do not run the pump dry. Operating the pump without water will cause damage to the seals and the pump to fail,
which voids the warranty.

4
IMPORTANT: indicates best practices not related to personal injury.
1. The motor of this pump has a thermal protector that will trip if the motor becomes too hot. The protector will reset
itself once the motor cools down and an acceptable temperature has been reached. The pump may start
unexpectedly if it is plugged in.
2. Ensure the electrical power source is adequate for the requirements of the pump.
3. Before using the pump, check the hose for holes or excess wear, which could cause leaks, and ensure the hose
is not kinked or making sharp angles. A straight hose allows the pump to move the greatest amount of water
quickly and also checks that all hose connections are tight to minimize leaks.
4. After each use the pump should be flushed with clean water for 30 seconds. This will prevent any residual liquid
from solidifying and/or damaging the seal and pump.
5. This pump is made of high-strength, corrosion-resistant materials. It will provide trouble-free service for a long
time when properly installed, maintained, and used. However, inadequate electrical power to the pump, dirt, or
debris may cause the pump to fail. Please carefully read the manual and follow the instructions regarding
common pump problems and remedies.
PACKAGE CONTENTS
Part
Description
A
Pump
B
Suction hose
C
Suction strainer
5
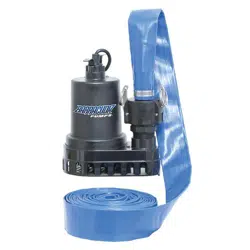
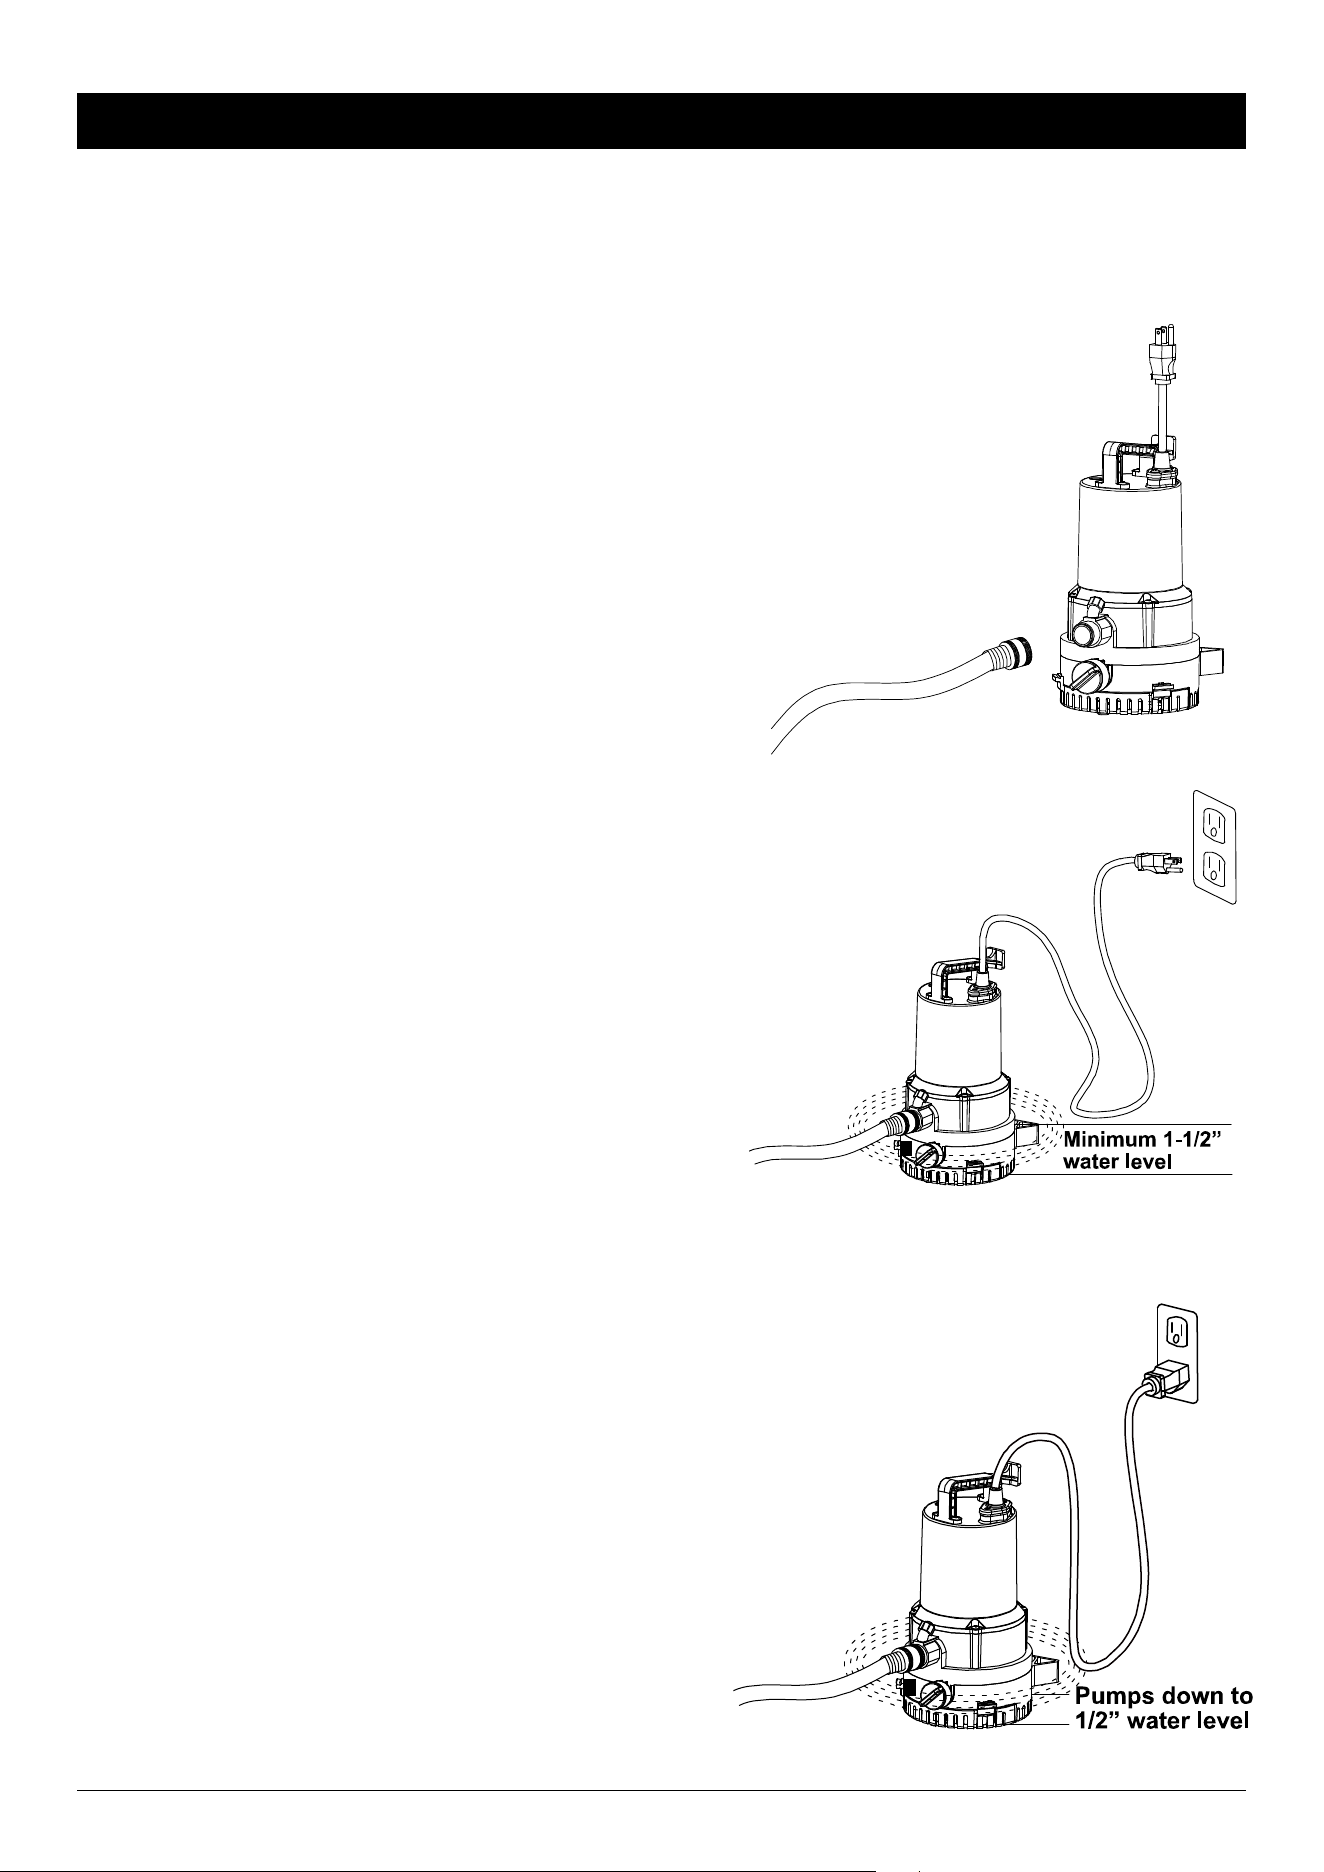
SUBMERSIBLE UTILITY PUMP INSTALLATION
DANGER: Always use the handle to lift the pump. Never use the power cord to lift the pump. To avoid skin burns,
unplug the pump and allow time for it to cool after periods of extended use.
DANGER: Always disconnect power source before attempting to install, service, or maintain the pump. Never handle
a pump with wet hands or when standing on wet or damp surface or in water. Fatal electrical shock could occur.
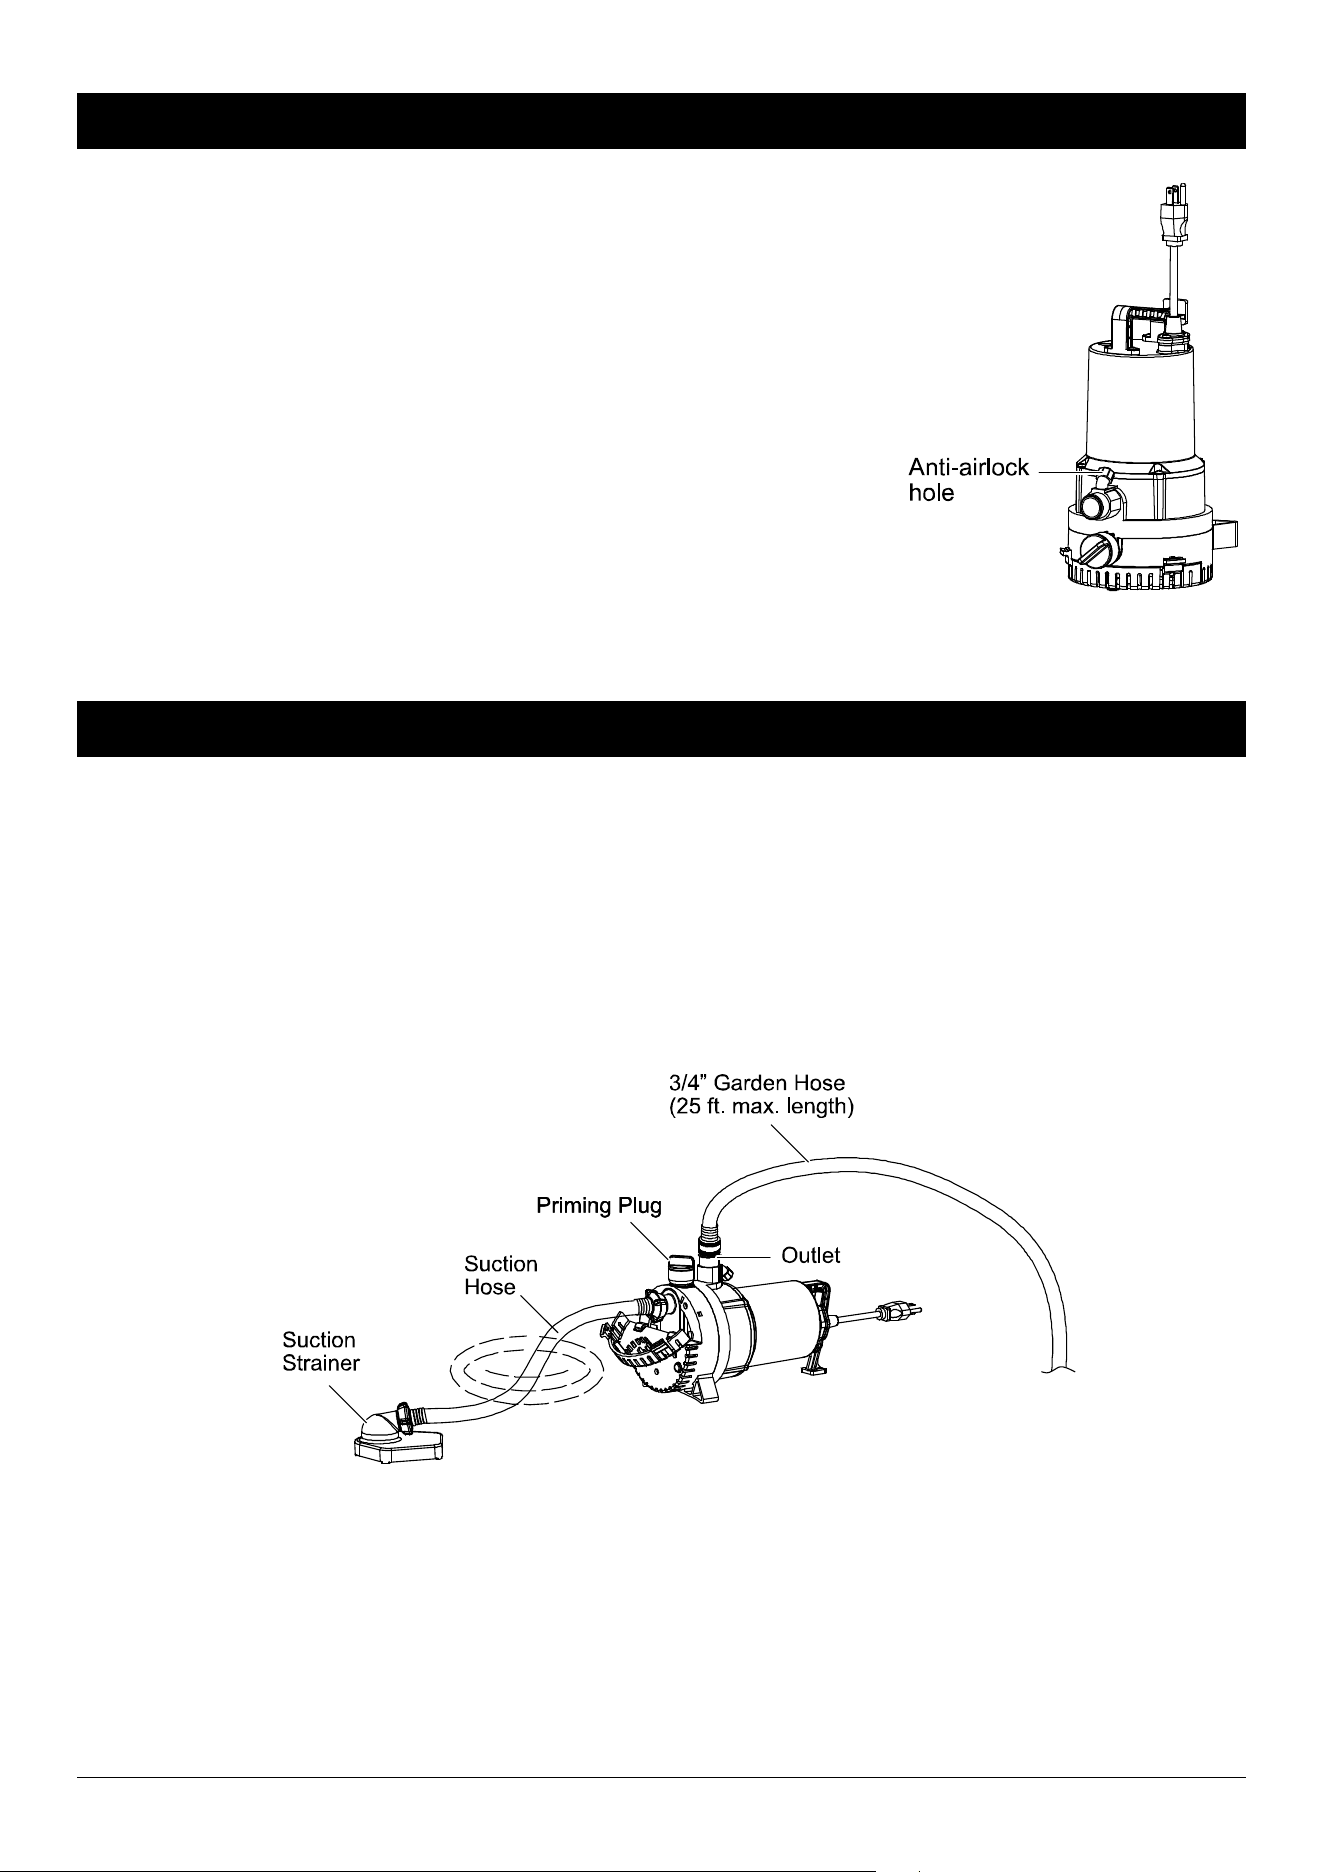
1. Connect the Garden Hose
Attach a 3/4 in. garden hose to the pump outlet. Use a garden hose
that is no longer than 25 ft.
2. Plug in the Pump
Place the pump on a hard surface in water that is at least 1-1/2 in.
deep. Do not place the pump directly on sand, dirt, or mud. Plug
the pump into a properly grounded 115V GFCI outlet. Be sure the
plus is secure and will not fall into the water. The pump should
start immediately.
If you need to pump water that is less than 1-1/2 in. deep, use the
Transfer function of the pump with the suction strainer – see next
page.
3. Operating the Pump
Allow the pump to run and monitor its progress. Unplug the
pump when it has removed water down to approximately 1/2 in.
CAUTION: Do not run the pump dry. Operating the pump
without water will cause damage to the seals and will cause the
pump to fail, which voids the pump’s warranty.
The pump may still run even when it is not pumping water.
Monitor the pump’s progress and promptly unplug the pump
before it runs dry to avoid damaging the motor.
6
AIRLOCK
This pump is a centrifugal utility pump, designed to efficiently remove water.
However, it cannot move air. If air is trapped inside the pump (a condition called
“airlock”), the pump cannot pump water out even though the pump is completely
submerged. This pump has an anti-airlock hole. Air flows out through the anti-
airlock hole, eliminating the airlock so that the pump can operate properly. If
debris blocks the anti-airlock hole, unplug the pump, clean out the anti-airlock
hole, and restart the pump. Alternately, drain the water out of the garden hose,
keep the end of the hose out of the water, and plug in the power cord, restarting
the pump.
CAUTION: This hole is for anti-airlock purposes. Leakage of air or water is
NORMAL. DO NOT BLOCK THIS HOLE!
NON-SUBMERSIBLE TRANSFER PUMP INSTALLATION
DANGER: Always disconnect power source before attempting to install, service, or maintain the pump. Never handle
a pump with wet hands or when standing on wet or damp surface or in water. Fatal electrical shock could occur.
CAUTION: Always use the handle to lift the pump. Never use the power cord to lift the pump. To avoid skin burns,
unplug the pump and allow time for it to cool after periods of extended use.
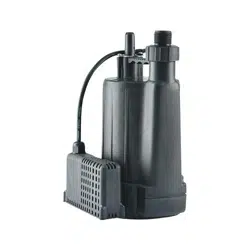
The following drawing shows a typical installation. Use the Suction Strainer and Suction Hose included in the package.
The Suction Strainer has a built-in check valve.
7
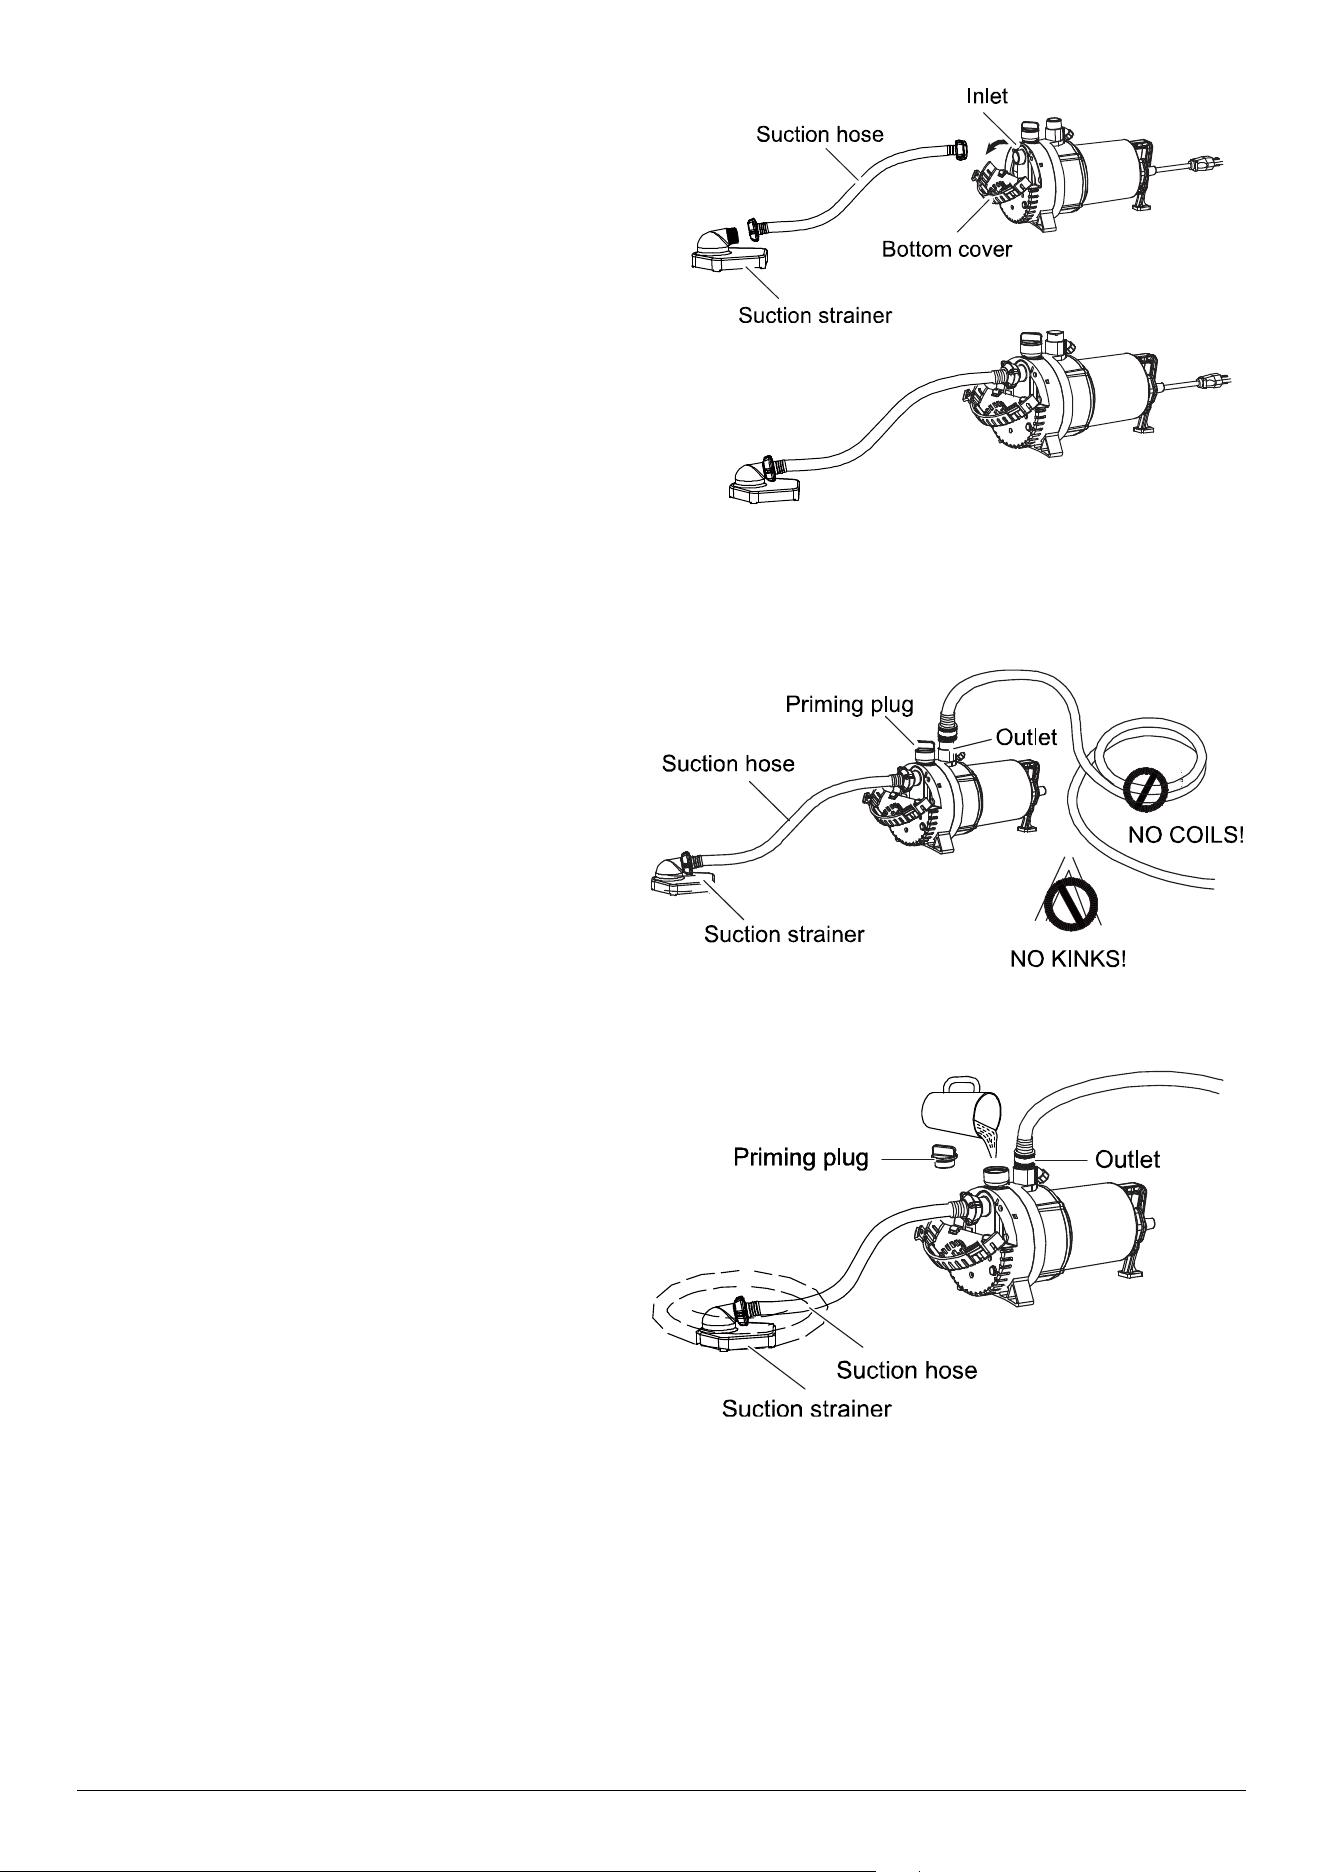
1. Connect the Suction Strainer and
Suction Hose
Attach the Suction hose included with your pump to the
Suction Strainer. Make sure the gaskets in the Suction
hose are airtight or the pump will not pump water.
Lay the pump on its side and open the bottom cover.
Attach the other end of the Suction hose to the pump
inlet.
2. Attach the Garden Hose
Attach a 3/4 in. garden hose to the pump outlet. Use
a garden hose that is no longer than 25 ft. Keep both
the Suction hose and Garden hose as straight as
possible. The end of the Garden hose should be
OUT of the water.
3. Prime the Pump
Unscrew the priming plug. Fill with water until the
suction hose is completely filled and overflowing with
water. Tighten the priming plug.
8
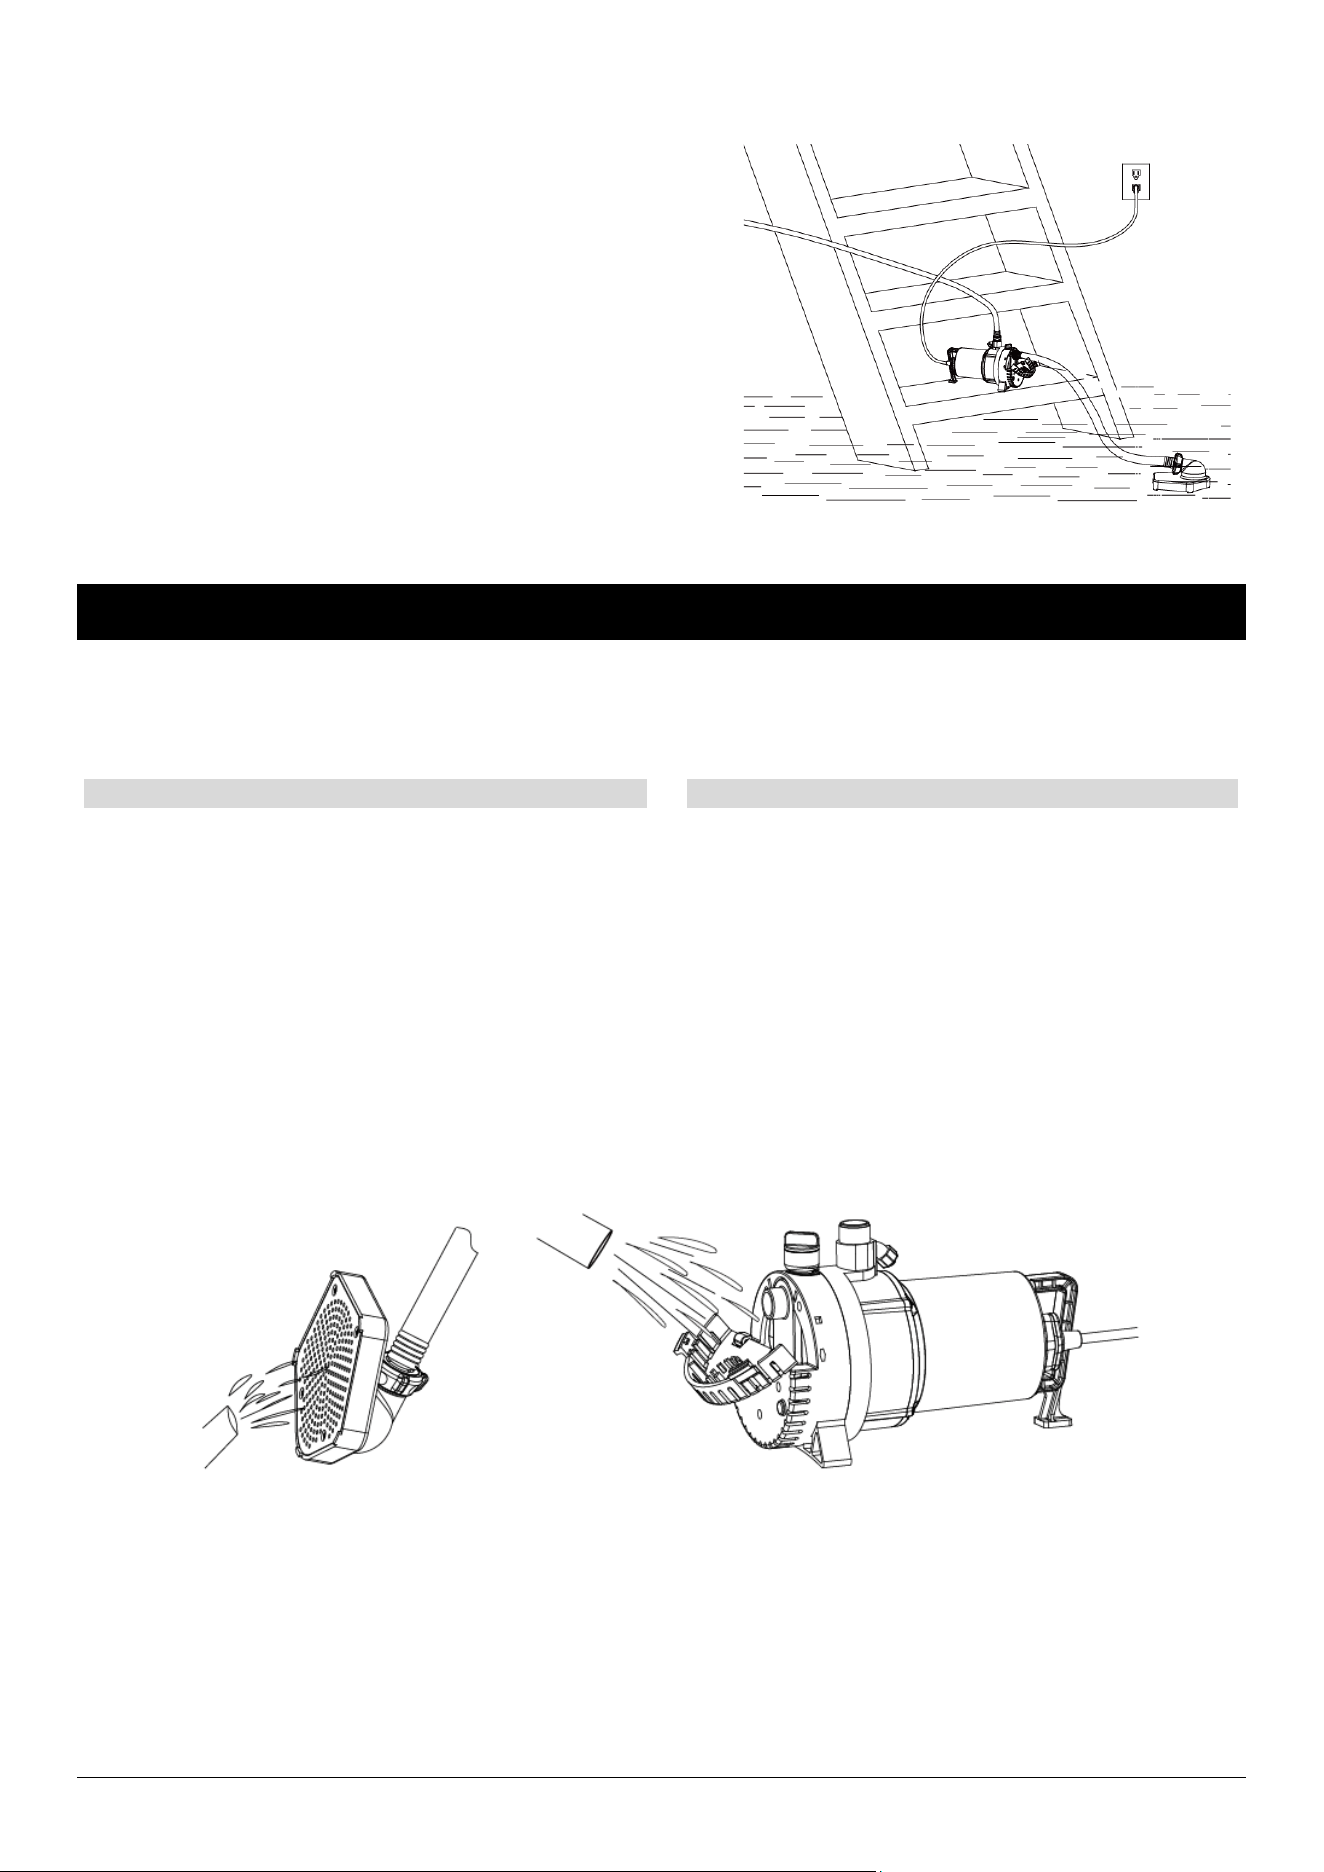
4. Operating the Pump
Place the Suction Strainer on a level surface IN the water. The
garden hose and pump should be OUT of the water.
Plug the pump into a properly grounded 115V GFCI outlet. The
pump should start within 30 seconds. Monitor the pump’s
progress and unplug the pump before it runs dry.
NOTE: If the pump is not pumping water in 30 seconds, unplug
the pump. Check the connections on the two ends of the Suction
hose to make sure there are no air leaks. Repeat the priming
instructions.
CARE AND CLEANING
CAUTION: Always use the handle to lift the pump. Never use the power cord to lift the pump. To avoid skin burns,
unplug the pump and allow time for it to cool after periods of extended use.
DO
DO NOT
When the power is disconnected, inspect the pump
suction screen and remove all debris.
After each use, the pump should be flushed with
clean water for 30 seconds. This will prevent any
residual liquid from solidifying and/or damaging the
seal and pump.
Disassemble the motor housing. This motor has
NO repairable internal parts, and disassembly
may cause leakage or dangerous electrical wiring
issues.
Lift the pump by the power cord.
To clean a pump clogged with debris:
Unplug the pump from electrical power.
Remove debris from the screen.

9
TROUBLESHOOTING
Possible Causes
Corrective Action
Pump does not start or run
1. The circuit breaker has tripped.
1. Reset the circuit breaker by switching the breaker to
the "ON" position.
2. The plug is disconnected.
2. Make sure the plug is securely connected.
3. The plug is corroded.
3. Clean the prongs of the plug.
4. The motor has failed.
4. Replace the pump.
5. Motor is thermally protected and the pump will
shut OFF if it is running too hot
5. Wait approximately 3 minutes for the pump to cool
down and it will turn ON automatically
Submersible Utility
Problem 1: Pump does not pump water
1. The screen is blocked.
1. Clean the screen.
2. The hose is bent, kinked, or coiled too tightly.
2. Straighten the hose.
3. There is trapped air inside the pump,
a condition called "airlock".
3. Clean the anti-air lock hole and make sure it is not
blocked.
4. Pump inlet is blocked by debris.
4. Open the bottom cover to clean out the debris.
Non-Submersible Transfer
Problem 1: Pump does not prime
1. The suction line has air leaks.
1. Tighten the hose connection. Replace the hose
washer if needed.
2. Debris has collected on the strainer.
2. Clean debris from the strainer.
3. Pump needs to be primed or re-primed
3. Refer to the owner's manual for priming instructions.
4. The suction strainer is not attached to the inlet
hose when removing surface water.
4. Attach the suction strainer to the inlet hose.
5. Suction strainer is floating in the water.
5. Suction strainer needs to be flat on the bottom
surface of whatever you are draining.
6. The suction strainer is higher than the inlet of the
pump.
6. Make sure that the suction strainer is positioned
lower than the inlet of the pump.
7. The suction hose is not filled with water.
7. The suction hose needs to be completely filled and
overflowing with water.
Problem 2: Flow rate is too low
1. The hose is kinked or coiled tightly.
1. Straighten the hose.
2. The strainer or hose is blocked.
2. Clean the strainer or hose.
3. The discharge hose is too long.
3. The hose length should be no longer than 25'.
4. Wrong Garden hose on outlet/discharge. 4. Use standard garden hose, not "expandable" hose.

10
BARRACUDA® LIMITED WARRANTY
WHAT THIS WARRANTY COVERS
Barracuda warrants to the original consumer purchaser (You) that its products are free from original defects
in material and workmanship for two years (warranty varies depending on model; see box or BARRACUDA
website for specific warranty informa�on) from the date of purchase (the Warranty Period). Repair parts
and accessories are warranted for 90 days from the date of purchase. During the Warranty Period,
BARRACUDA will repair or replace, at no cost to you, products that have been examined by BARRACUDA
and found to be defec�ve in materials or workmanship.
WHAT THIS WARRANTY DOES NOT COVER
This Warranty does not cover use of the product in a non-residen�al applica�on, improper installa�on
and/or maintenance of the product, damage due to misuse, acts of God, nature, vandalism, or other acts
beyond control of BARRACUDA, owner’s acts or omissions, use outside the country in which the product
was ini�ally purchased and resale of the product by the original owner. This warranty does not cover pick-
up, delivery, transporta�on, or house calls. However, if you mail your product to a BARRACUDA Sales and
Service Center for warranty service, cost of shipping will be paid one way. This warranty does not apply to
products purchased outside the United States, including its territories and possessions, outside of U.S.
Military Exchange and outside of Canada. This warranty does not cover products purchased from a party
that is not an authorized retailer, dealer, or distributor of BARRACUDA products.
OTHER IMPORTANT TERMS
This warranty is not transferable and may not be assigned. This Warranty shall be governed and construed
under laws of the state of Michigan. The Warranty Period will not be extended by any replacement or
repair performed under this Warranty. THIS WARRANTY IS THE EXCLUSIVE WARRANTY AND REMEDY
PROVIDED BY BARRACUDA. ALL OTHER WARRANTIES, EXPRESSED OR IMPLIED, INCLUDING WARRANTIES OR
MERCHANTABILITY OR FITNESS FOR PARTICULAR PURPOSE, ARE DISCLAIMED. IN NO EVENT WILL
BARRACUDA BE LIABLE FOR ANY SPECIAL, INDIRECT, INCIDENTAL, OR CONSEQUENTIAL DAMAGES OF ANY
KIND OR NATURE TO OWNER OR ANY PARTY CLAIMING THROUGH OWNER WHETHER BASED IN CONTRACT,
NEGLIGENCE, TORT, OR STRICT PRODUCTS LIABLITY OR ARISING FROM ANY CAUSE WHATSOEVER. Some
states do not allow for the exclusion of consequen�al damages, so the above exclusion may not apply to
you. This warranty gives you specific rights. You may also have other rights that vary from state to state.
For technical support and parts, call Customer Service at 844-242-2475.