Assembly manual
Tricycle
2/32
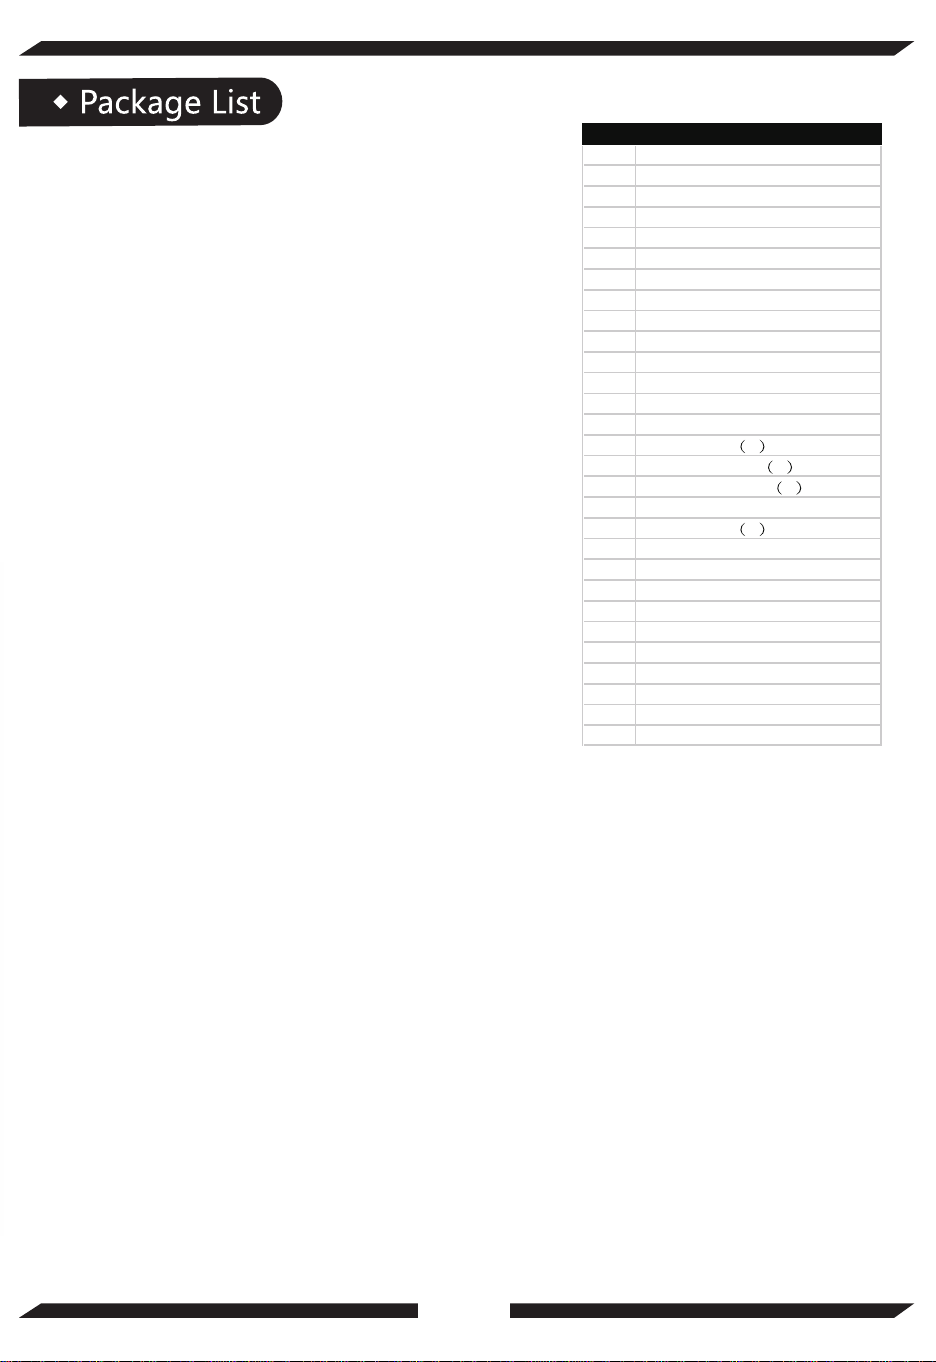
No. Part Name
1 Handlebar
2 Rear mud plate bracket(2)
3 Front mud plate
4 Rear mud plate(2)
(2)
5 Front wheel
6 Left wheel
7 Right wheel
8 Seat post
9 Seat cushion
10 Frame
11 Rear axle
12 Chain cover
13 Rear basket
14 Front reflector
15 Rear light
2
16 Rear axle cap 2
17 Front axle cap 2
18 Rear brake spring
19 Foot pedal
2
20 Rear Derailleur
21 chain
22 wheel reflector (3)
23 bell
24 Front basket
25 Basket protective cover(4)
26 Screws for front basket(2)
27 Basket pin (2)
28 Rear Basket Pressing (2)
29 Tricycle lock

Tools Suggested (NOT INCLUDED IN PACKAGE)
3/32
Part List
A
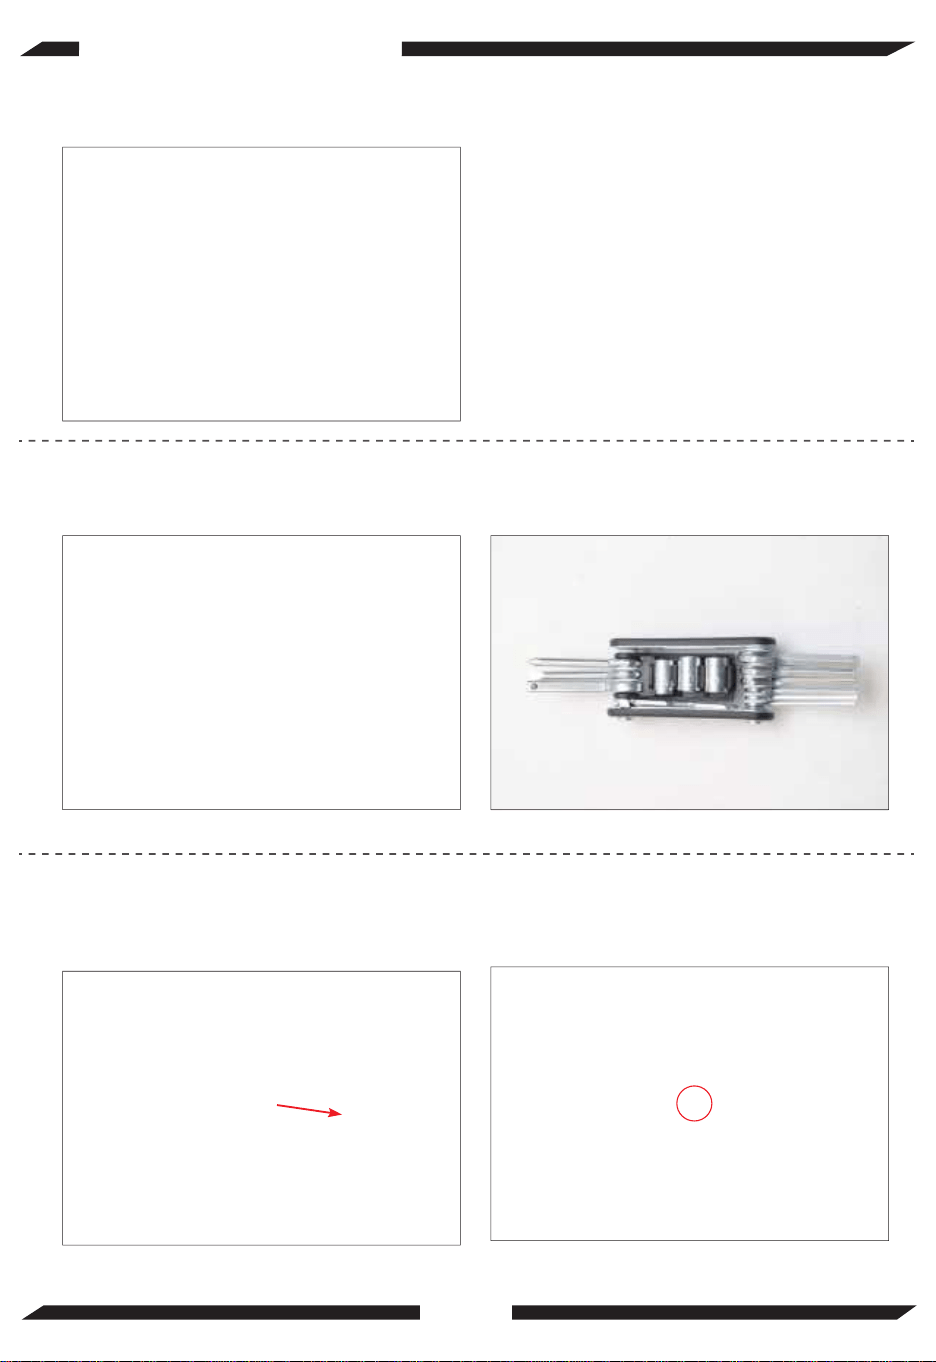
Multi-Function
Screwdriver
B
Multi-Function
Wrench
C
Adjustable Wrench
(Not include in the
package, you need
to bring your own)
4/32
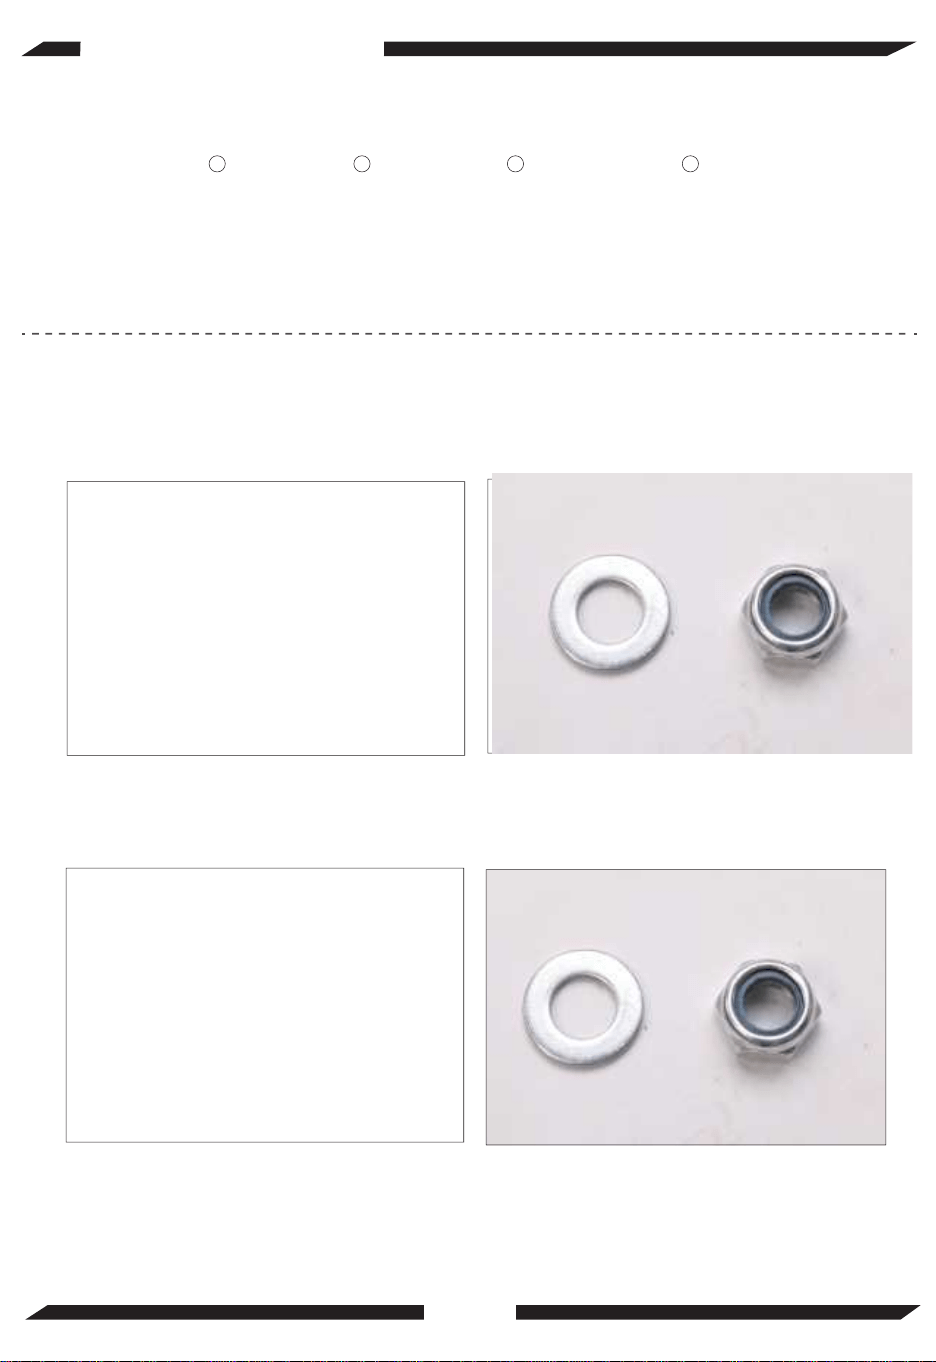
The installation of rear wheel
Required Parts & Tools
Installed Part Left wheel Right wheel Real Axle Cap Adjustable Wrench
1.Loosen the screws on the axle with a wrench
Differentiate the left or right wheel according to the shape of the screw hole
6 7 16
C
L L
R R

5/32
The installation of rear wheel
2.Differentiate the left or right of the rear axle according to the shape of the two
ends of the rear axle
3.First, assemble the right wheel. Insert the bolt of the right axle into the screw
hole of the right wheel
L
R
4.Put the gasket first, then the nut, and finaly tighten with a wrench
6/32
The installation of rear wheel
5.Put the metal tube on the left axle before installing the left wheel
7/32
The installation of rear wheel
6.The same operation as installing the right wheel
7.The same operation as installing the right wheel

8/32
The installation of rear wheel
9.Inflate the tires
8.Cover the rear axle cap
10.Finished, the effect shows
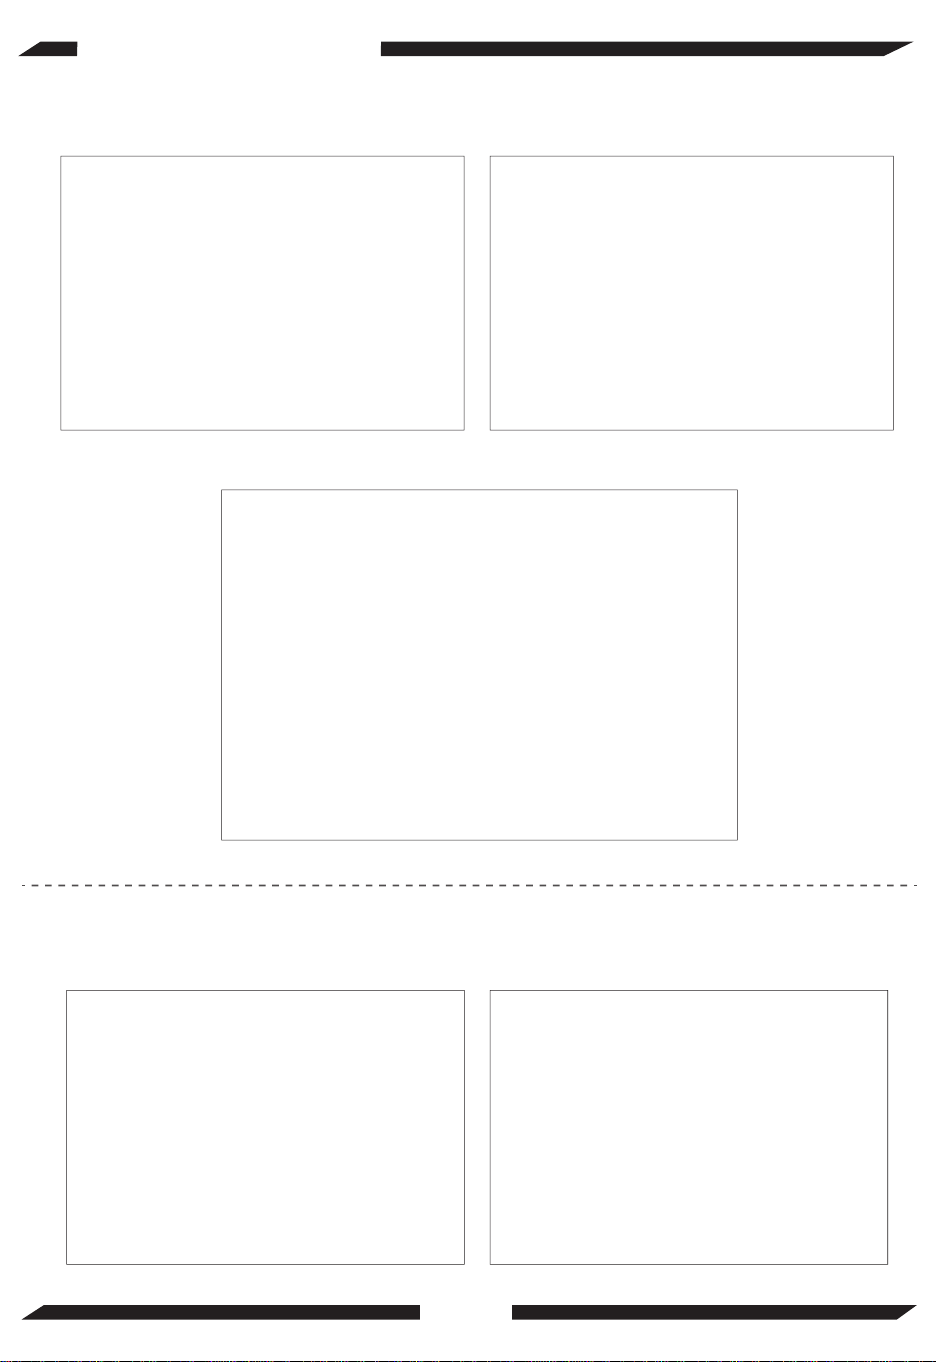
Required Parts & Tools
Installed Parts Frame Multi-Function Wrench Adjustable Wrench
1.Loosen the screws before installation
(the screw required for this step are fixed on the rear axle and the frame)
2.Connect the rear axle and fram as
shown
9/32
Connecting the rear axle to the frame
3.The connector on the rear axleis inside
the connector on the frame is outside
10 B C
5.Tighten the six screws
4.Use both multi-function wrench and
adjustable wrech
6.Finished, the effect shows
10/32
Connecting the rear axle to the frame
Required Parts & Tools
Installed Parts (Turn down it) Chain Pincer Pliers
1.As shown, one end of the chain passess through the guide wheel of the rear
derailleur
2.As shown, move in, like an "S" line
11/32
The installation of chain cover
21

4.Chain passess the front chain wheel3. Chain passess through the smallest
free wheel
5. Use the Pincer Pliers to tight the ends of the chain together
12/32
The installation of chain cover

Required Parts & Tools
Installed Parts Chain Cover Multi-Function Screwdriver
1.Loosen the three screws
13/32
The installation of chain cover
A12

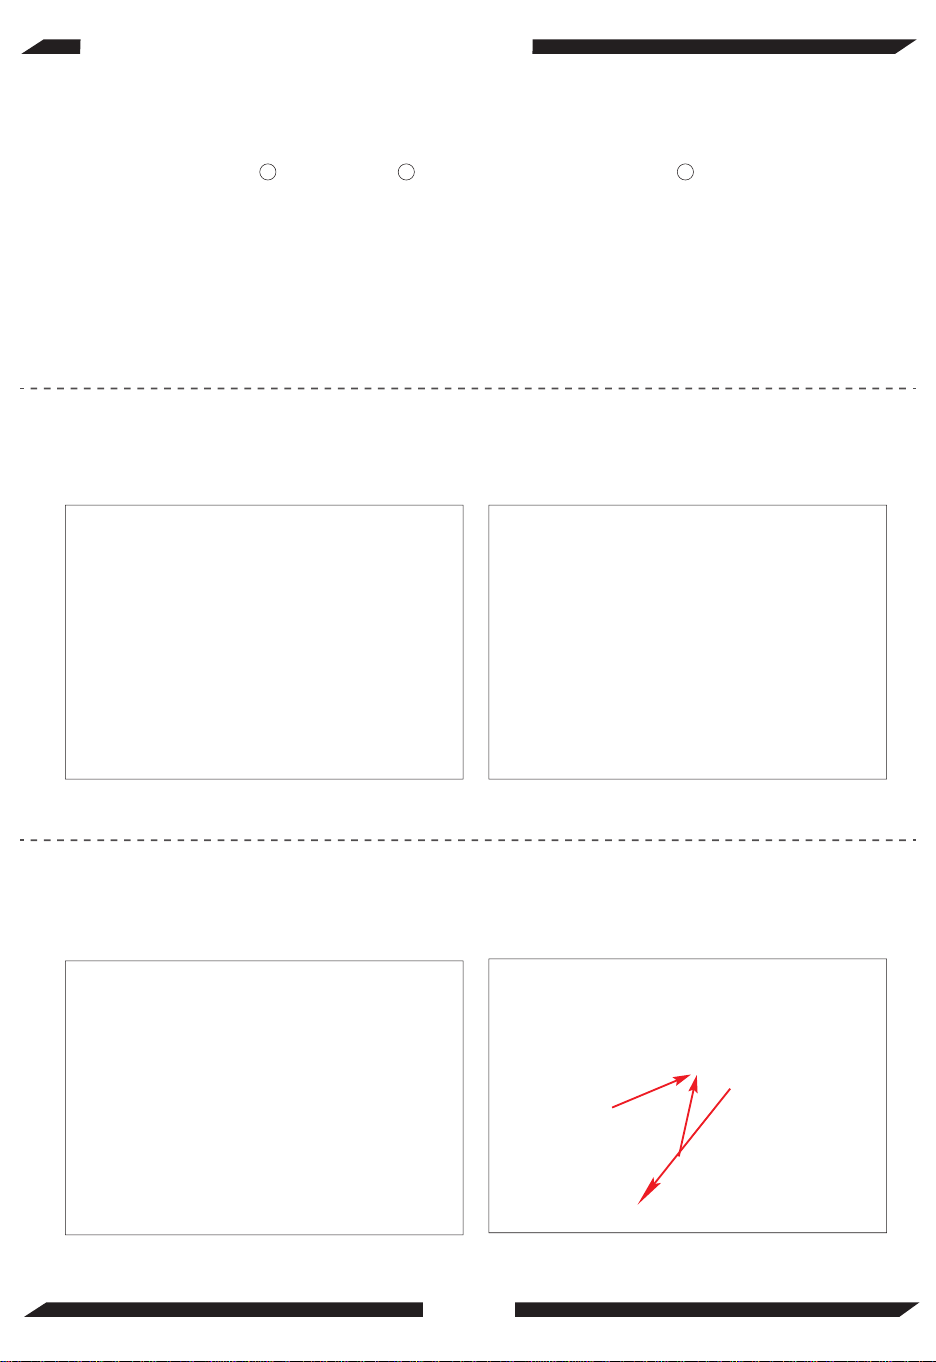
8.Position for istalling the spoke reflector
9.Three spoke reflectors mounted on the spokes of two rear wheels and one front
wheel
The installation of bell and reflectors
14/32

Required Parts & Tools
Installed Parts
Rear fender bracket (2)
Detailed Installation Steps
1.Loosen the 5 screws
15/32
The installation of rear fender
2
Rear fender(2)
4
Rear light (2)
15
Multi-Function Screwdriver
A
Adjustable Wrench
C
2.Position for installing the rear light as
shown (white part upward)
4.Tighten the screws for the fender to fender bracket
Repeat the operation for the position side
5.Tightn the screws as shown
Note: You need to tighten screws of both side first then the middle
Repeat the operation to assmeble another
3.Tighten the screw
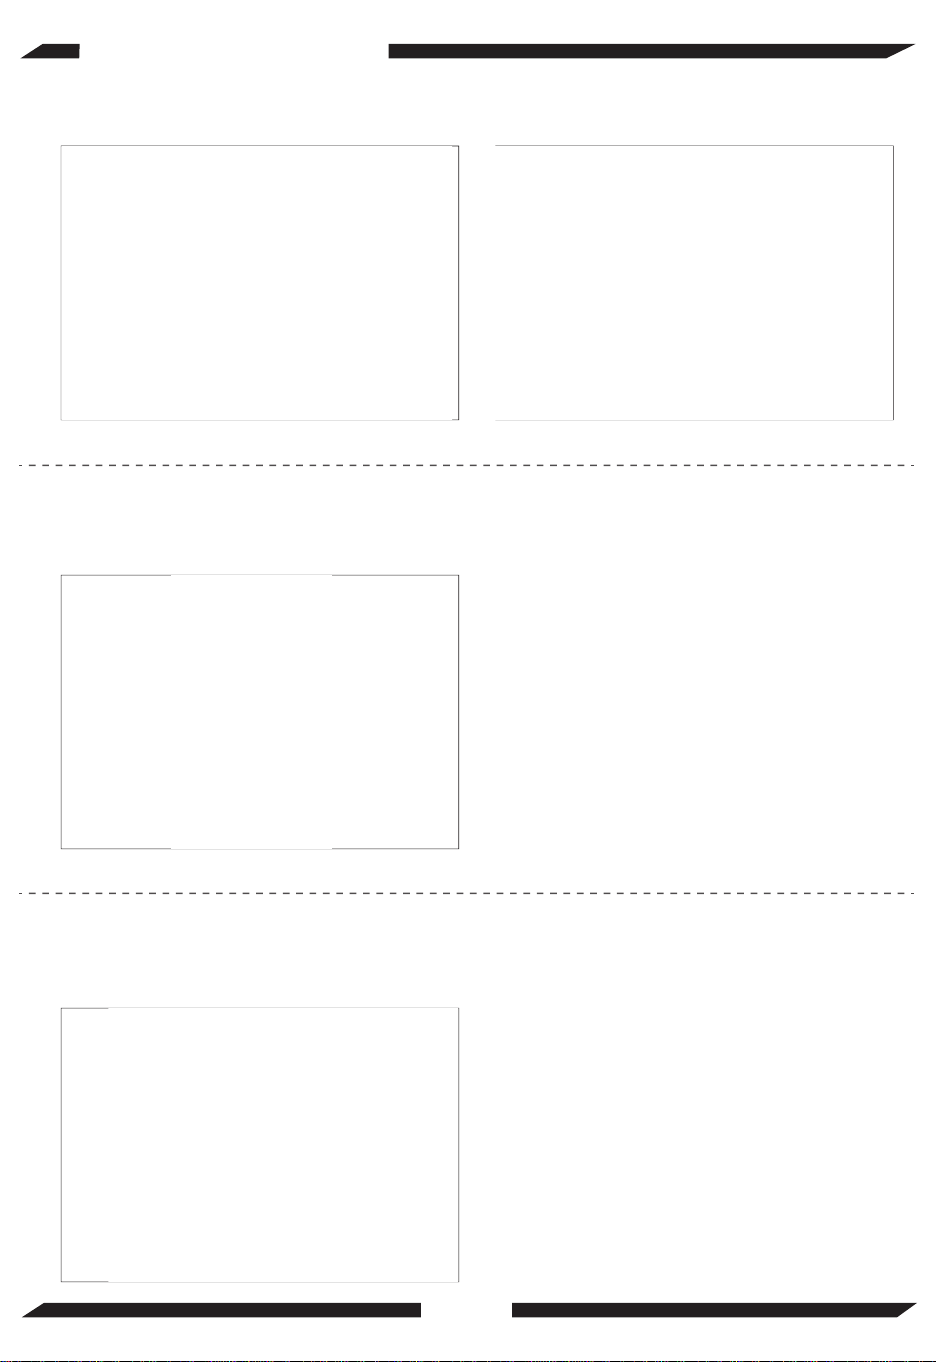
The installation of rear fender
16/32
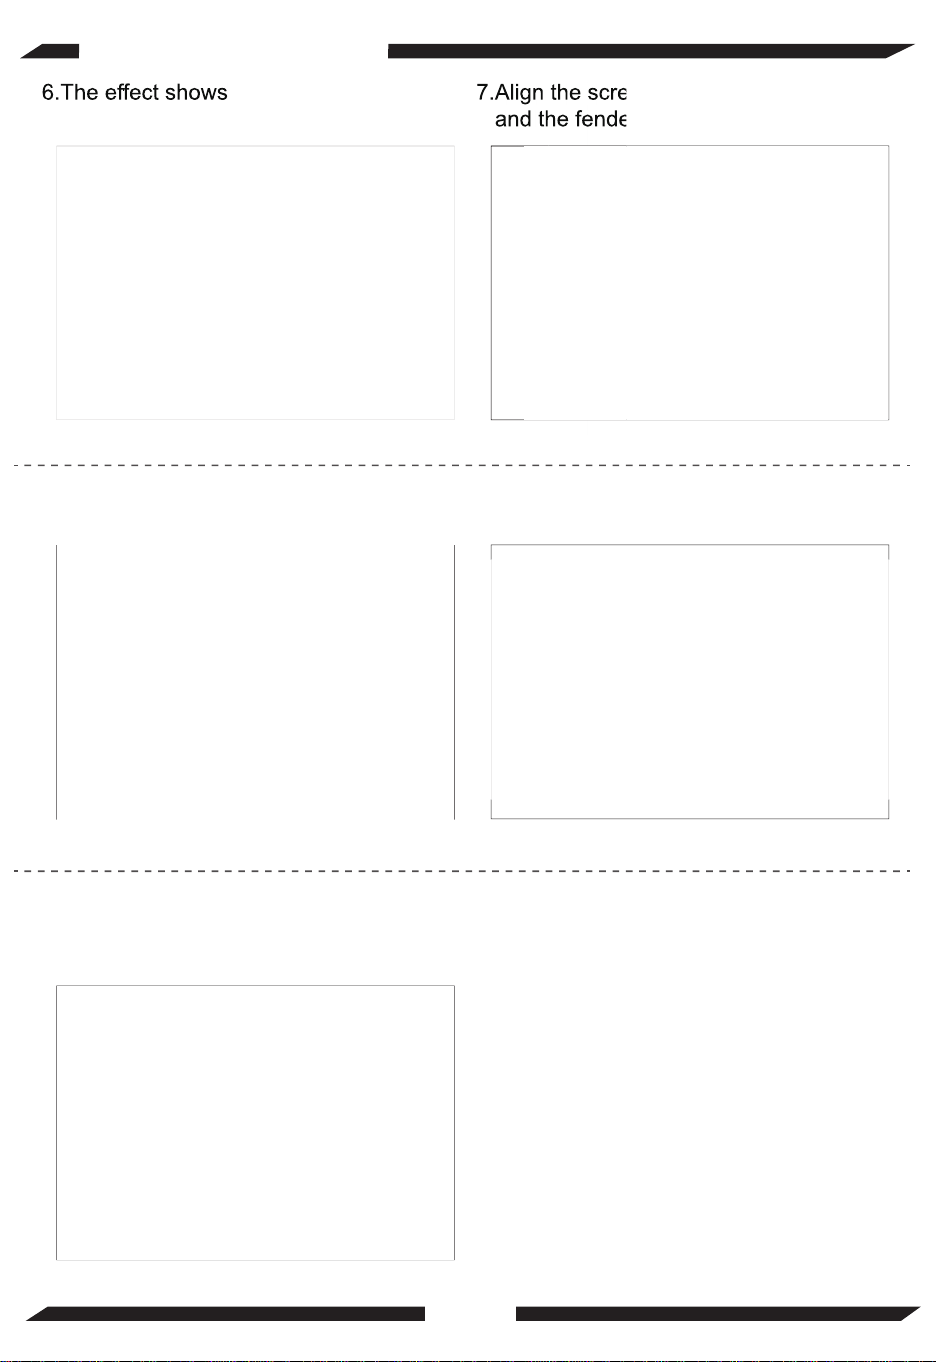
6.The effect shows
8.Screw holes on the rear axle
9.Tignten the two screws with a Phillips Screwdriver
Repeat the operation for another
7.Align the screw holes on the rear axle
and the fender
9.Install the end with bracket on the inside
17/32
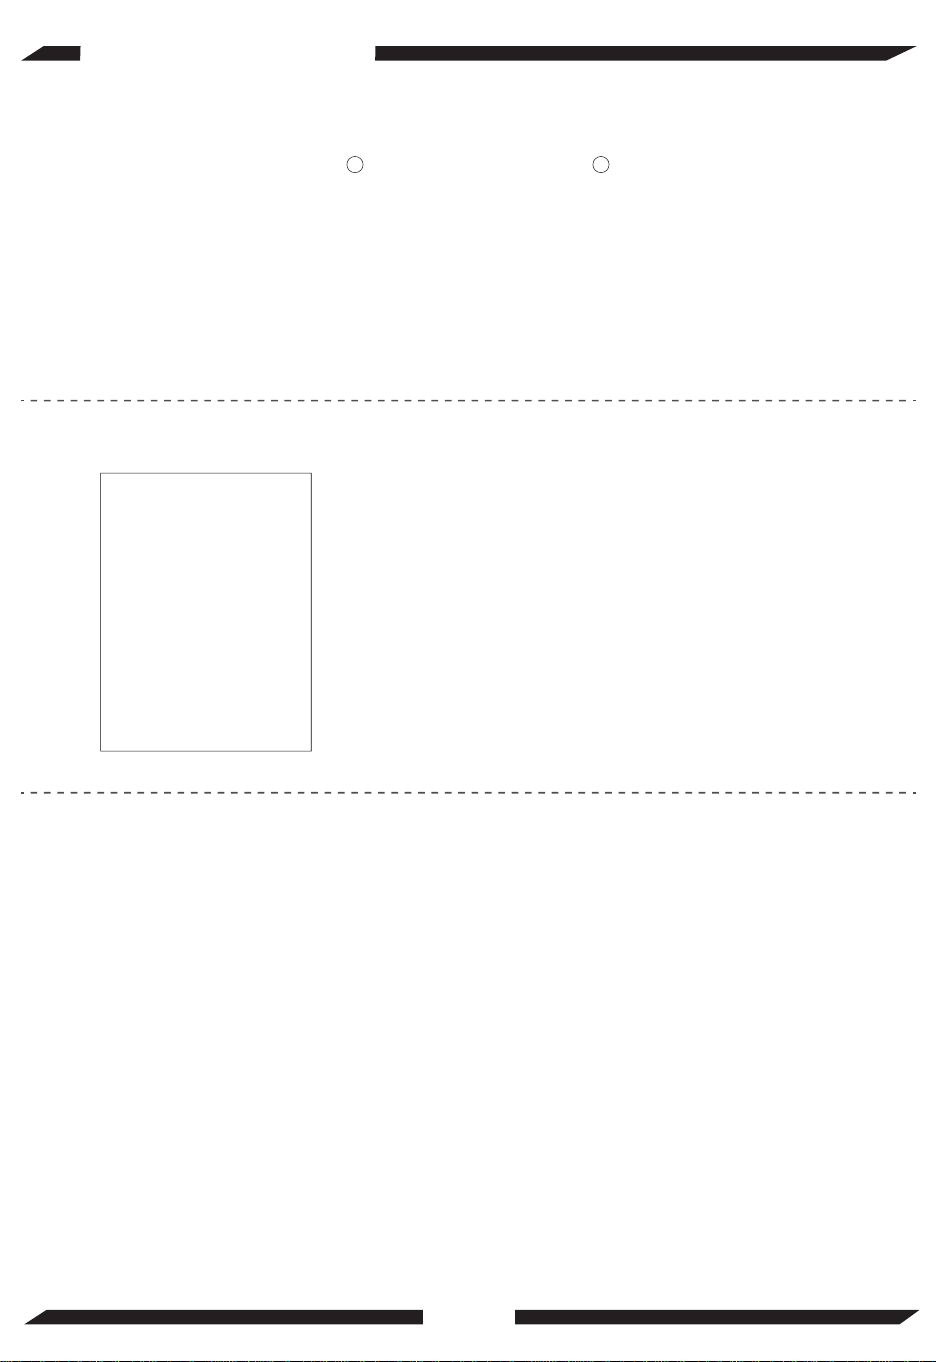
The installation of rear fender

Note: The screws should be at the highest position or it may rub against tire
11.Finished, the effect shows
The installation of rear fender
18/32
Required Parts & Tools
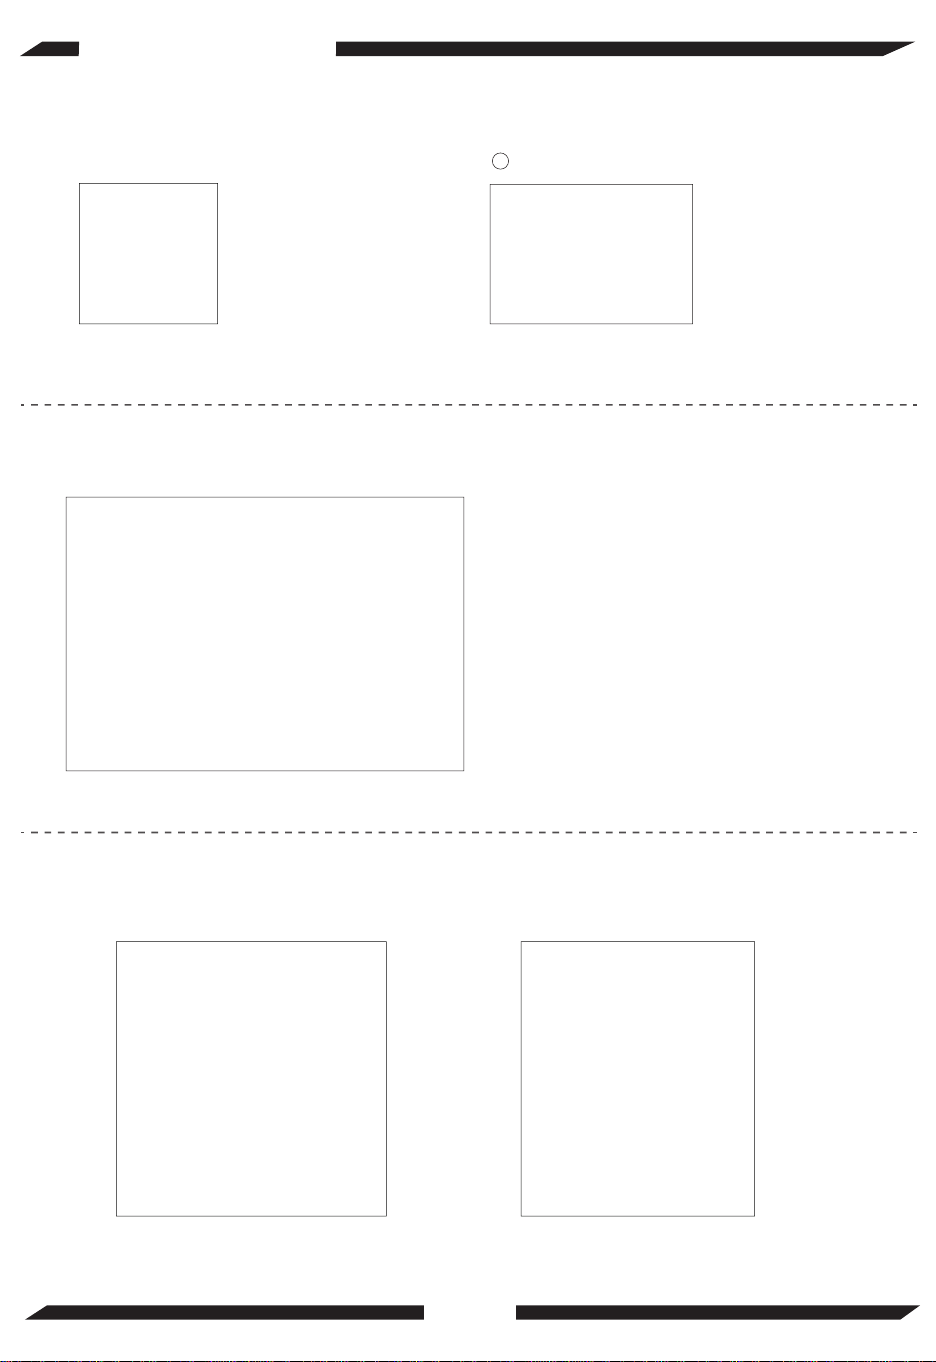
Installed Parts Handlebar Multi-Function Screwdriver
1.Insert the stem on the handlebar into the head tube
19/32
The installation of handlebar
A1

Required Parts & Tools
Seat Tube Seat Post Saddle Multi-Function Wrench
1.Insert the thin end of the set post the
hole-position on th saddle
3.Insert the other end of the seat post 4.Tighten the seat post clamp
2.Tighten the nut with a wrench
20/32
The installation of saddle
B98
Required Parts & Tools
Crank Pedal
1.Differentiate the left and right pedals. "L" for left "R" for righ
2.Insert the bolt of the pedal into the screw hole of crank
21/32
The installation of padal
19
L R

Required Parts & Tools
Shifter Rear Derailleur Multi-Function Wrench
Short Shifter Cable Housing Long Shifter Cable Housing
1.The derailleur cable on the shift lever has been fixed
2.Inser the derailleur cable to shifter cable housing that fixed on the frame
22/32
The installation of shifter cable
B20
3.Insert the end of the derailleur cable housing into the shift lever and fix it
4.Inser the derailleur cable to another short shifter cable housing, as shown
5.Clear display 6.The derailleur cable housing bypasses
the rear axle
23/32
The installation of shifter cable
8.Loosen the screw of the gasket with hexagon wrench and the 9mm Nut
7.Pass the derailleur cable through the screw hole in the figure
9.Press the derailleur cable under the
gasket
10.Special Note: When installing the
transmission, the front shifter should
be adjustaed to the 7th speed
24/32
The installation of shifter cable
9mm

11.Special Note: When installing the transmission, the chain should be on the
smallest free wheel
12.Pull the cable to the tightest and tighten the nut
13.If there is a shifting fault, adjust by screws (H and L)
Note: Please go to page 47 to see how to adjust the rear derailleur
25/32
The installation of shifter cable
H L

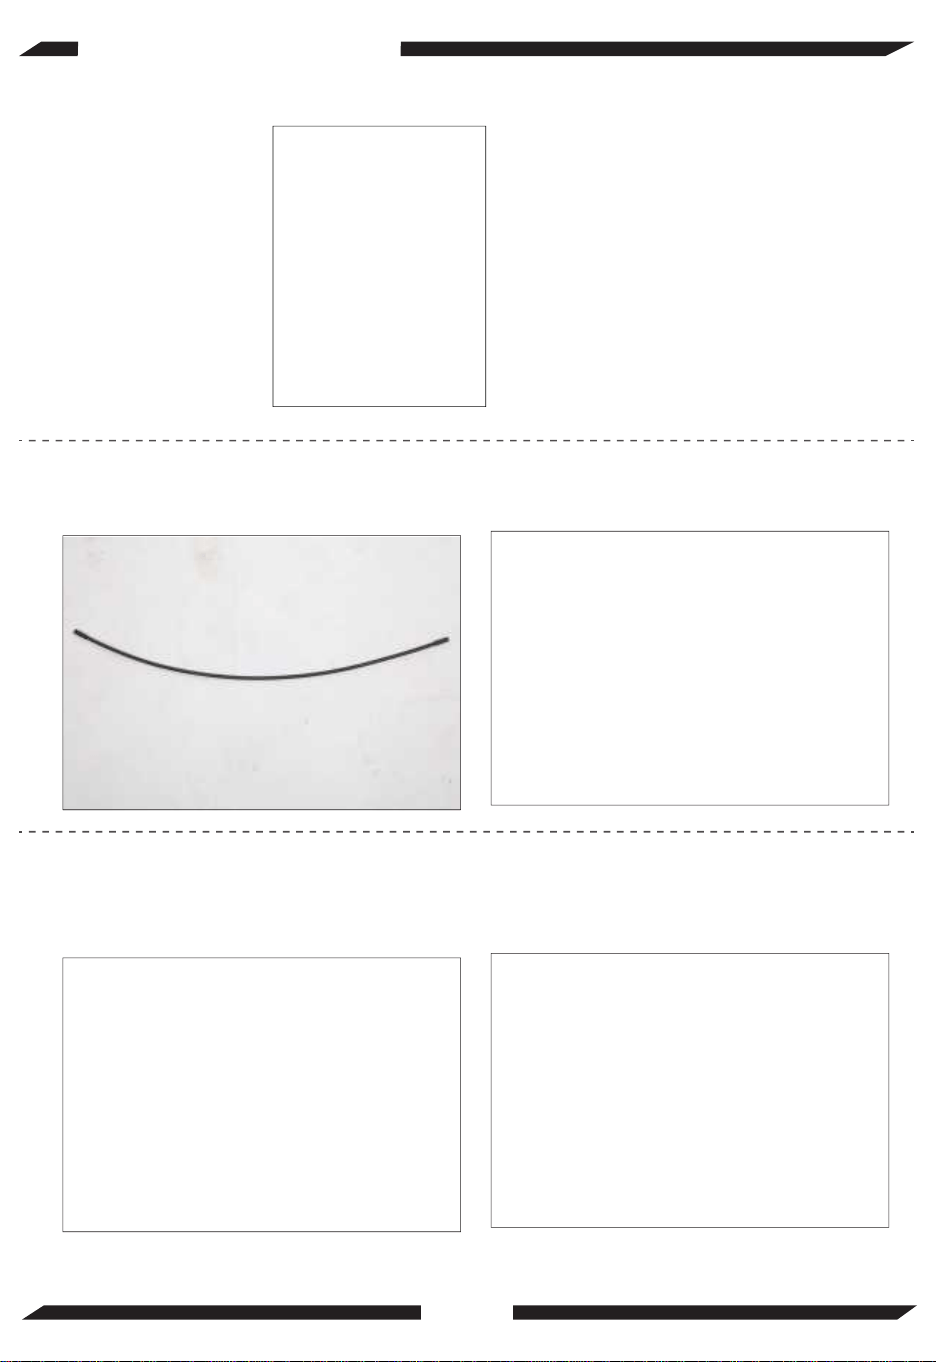
The installation of rear brake
Required Parts & Tools
Rear Brake Right Brake Lever Rear Brake Cable Multi-Function Wrench
1.The rear brake cabel has been fixed on the frame in advance.
The rear brake cabel needs to be connected to the right brake lever
2.Rotate the cabel adjustment barrel and cabel nut until the slots are aligned with
the slot on the brake lever body
26/32
The installation of rear brake
B
4.Press the brake lever towards the
grip as shown
3.The end of the brake cable is a small
cylinder, put it in the hole of the brake lever
5.Slide the brake cabel through the slots
and place the cabel head into the brake lever
27/32
The installation of rear brake
7.Lightly put on the cable, and rotate the
cabel nut and cabel barrel so they are
no longer aligned
6.Release the brake lever
8.Insert the brake cable into screw hole
28/32
The installation of rear brake
11.Tighten the screw
10.Through the hole of the bolt
9.Put on the brake spring
12.Finish, effect shows
27
13
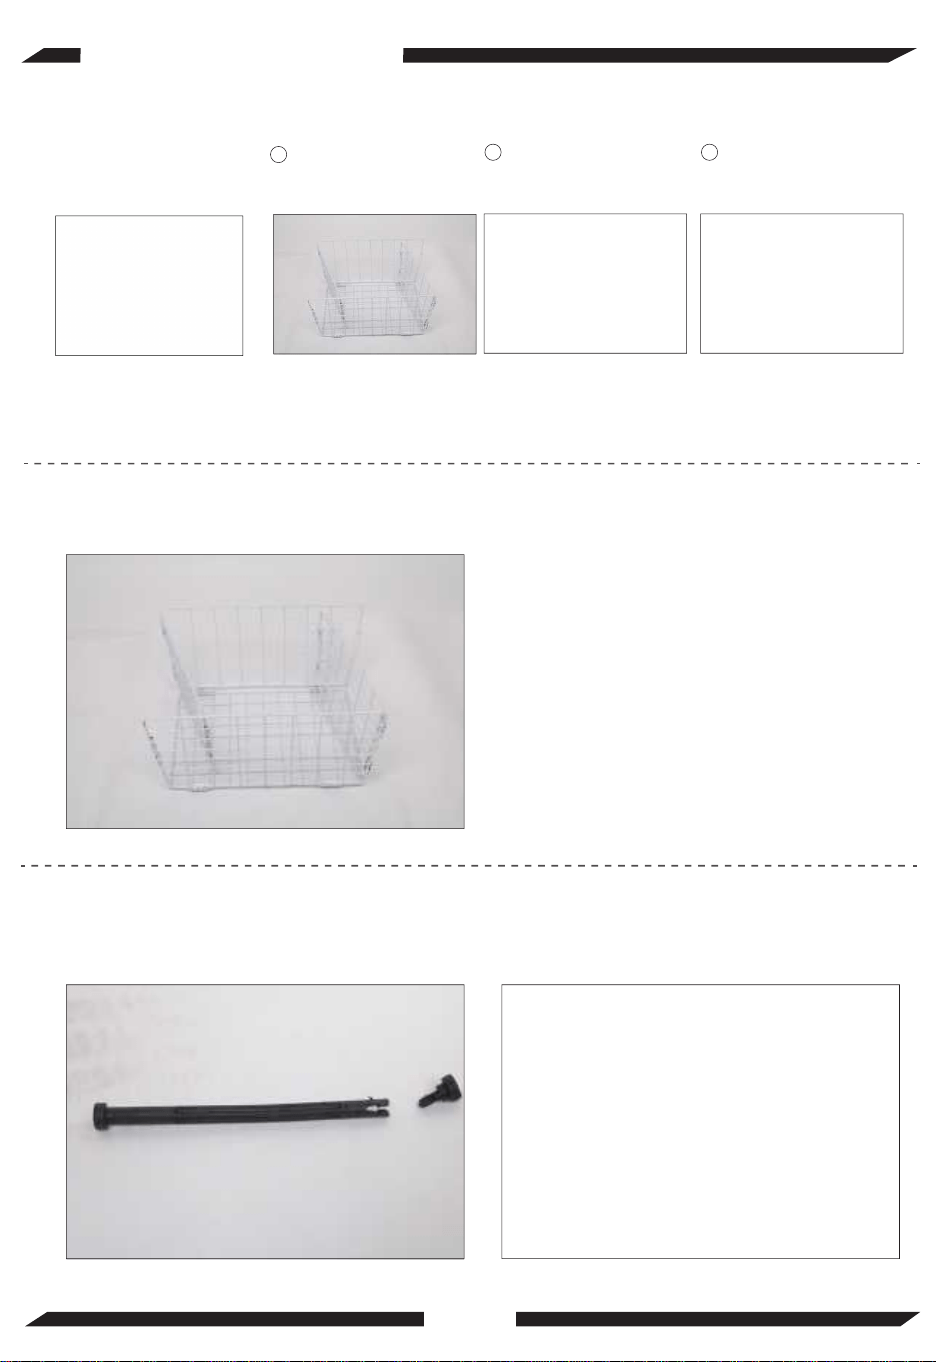
Required Parts & Tools
Installed Part
Rear Basket
Basket pin (2)
28
Rear Basket
Pressing (2)
1.Open the rear basket and turn down it
29/32
The installation of rear basket
2.Insert the basket pin
Note: We recommend turn down the basket this step for easy assemble
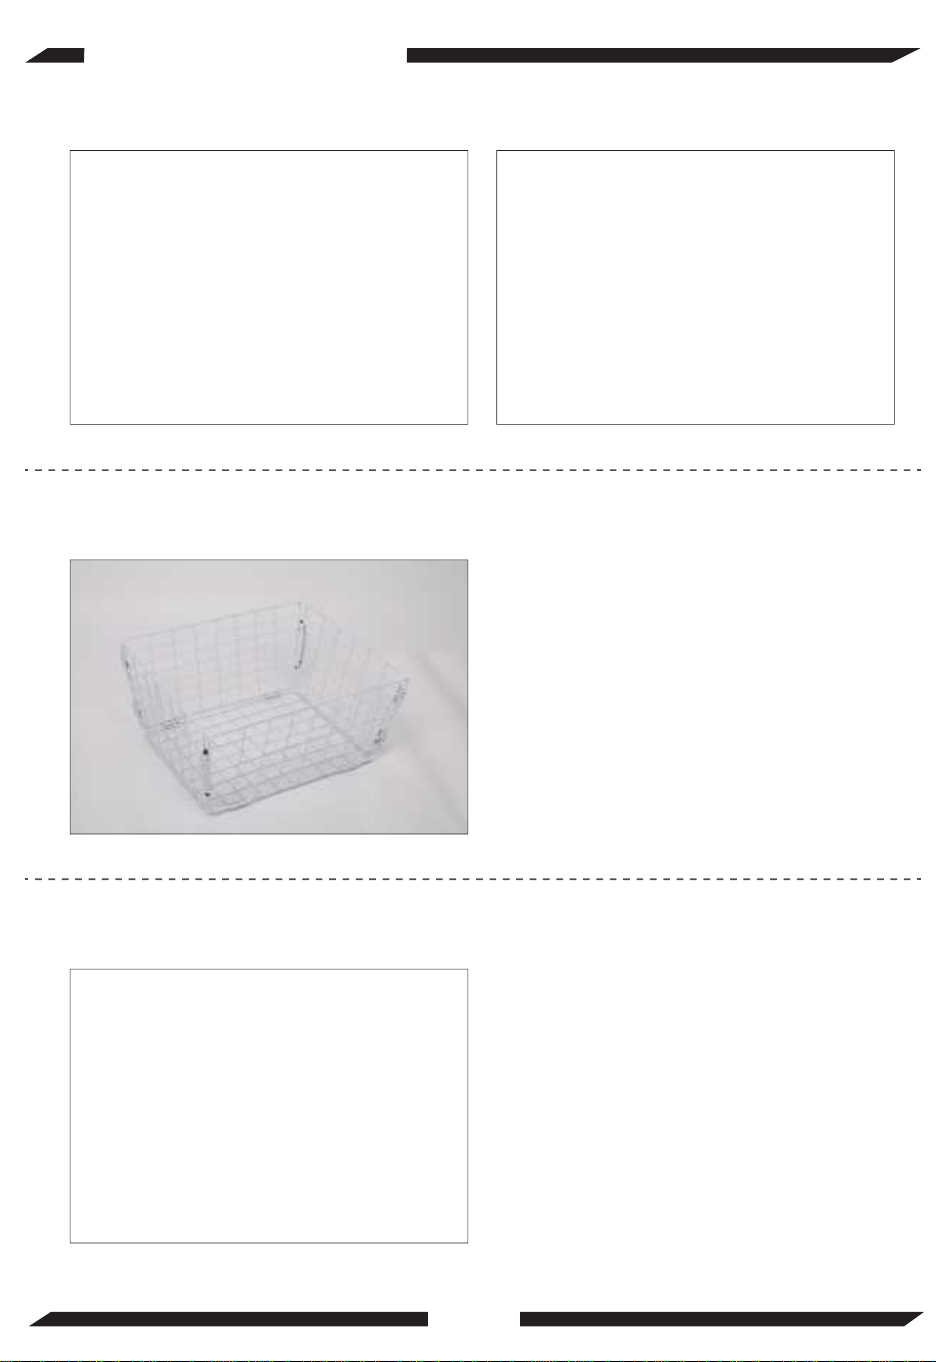
4.The effect shows
5.The screw holes for fixing the basket on the rear axle
3.Close the basket pin
30/32
The installation of rear basket
7.Tighten the fours screws
8.Finished, the effect shows
6.First put the basket, then put two long gaskets. Make sure the screw holes are
aligned
31/32
The installation of rear basket

32/32
Adjusting the rear derailleur
Dear Customer,
Thank you for your choosing our tricycle. This manual will show you how to install
your tricycle.Read the manual before installing your tricycle, be sure to follow the
sequence of steps carefully, and keep the manual handy for furture reference.
This manual contains important information regardin assemnle of the tricycle but
is not intended to be a complete or comprehensive manual. We recommend
consulting a tricycle specialist if you have any doubts or concerns regarding your
experience or ability to properly assemble and maintain the bicycle.