Model: Marvel 19L
Marvel : 19L
Customer purchasing from Online platforms needs to produce the Online Partner's Invoice
copy to claim the warranty.
0c
W
A
R
R
A
N
T
Y
YEAR
1
Caution
Close supervision is necessary while using the appliance near
children
Do not immerse the power cord, plug or any part of the appliance in
water or other liquids
Do not let the power cord hang over the edge of table or counter
Do not operate the appliance with damaged power cord or plug
Whileusing the oven, keep at least four inches ofspace on all sides of
the oven to allow adequate air circulation
To disconnect, turn the control to OFF before removing the plug
Extreme caution must be maintained while moving the appliance
containing hot oil or food
Do not cover any part of the oven to prevent overheating of the oven
Do not use any accessories other than recommended by the
manufacturer recommended
This appliance is for HOUSEHOLD USE only
The glass door is heavy. Please hold the handle until the door is
completely open. Do not let the door fall itself
This appliance is not intended for use by persons with reduced
physical,sensory or mental capabilities, or lack of experience and
knowledge,unless they have been given enough supervision or
enough instructionconcerning use of the appliance by a person
responsible for their safety
ACCESSORIES
Bake Pan
Oven Rack
Tray Handle
Rotisserie Rod
Rotisserie Handle
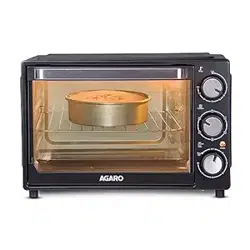
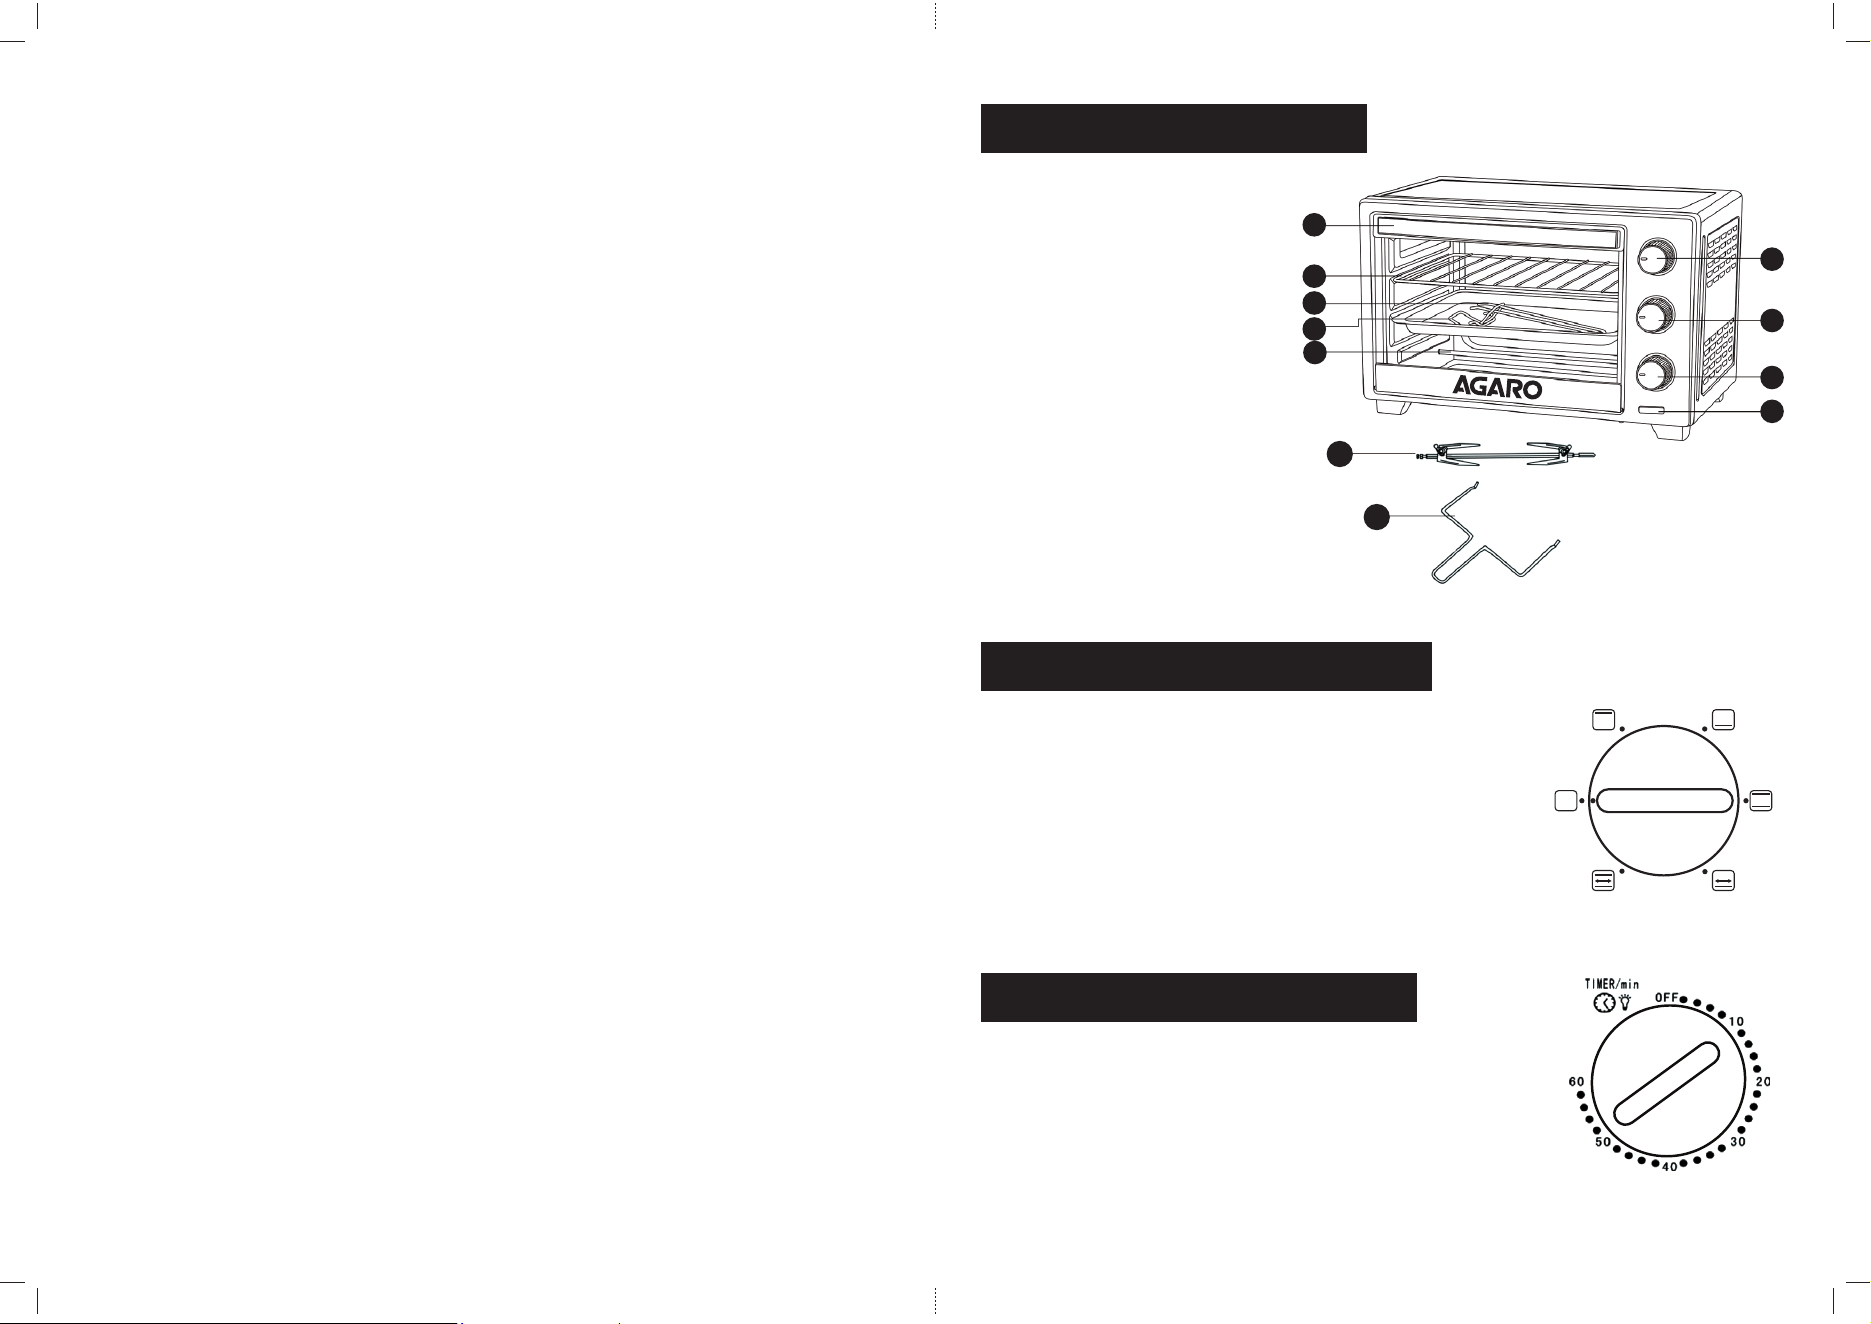
1. Indicator Light
2. Timer
3. Function Knob
4. Temperature Knob
5. Door handle
6. Oven rack
7. Bake pan
8. Tray handle
9. Heating rods
10. Rotisserie rod
11. Rotisserie handle
KNOW YOUR PRODUCT
1. OFF
2. Top heating
3. Bottom heating
4. Top & Bottom heating
5. Bottom heating and Rotisserie
6. Top & Bottom heating and Rotisserie
OPERATION SELECTOR DIAL
When timer is turned on, the inside lamp is ON.
When timer is turned o, the inside lamp is OFF.
It sets time upto 60 mins as per recipe
requirement.
TIMER DIAL
1
2
3
4
5
6
5
4
3
2
1
6
7
8
9
10
11
1 2

HOW TO USE
Turn the temperature knob clockwise to the desired temperature
Turn the function knob to the desired position
Turn the timer dial clockwise to set the desired cooking time
The power light will light up once the timer is turned on and will turn
o when the timer is turned to OFF
When the cooking time is over, the timer will unit will auto shut o
and the bell will ring
If the cooking is nished earlier than the set cooking time, please
turn back the timer to OFF to turn o the oven
When used for the rst time, there might be some light smoke
coming out from the oven which is normal. After 5-10 minutes the
smoke will disappear automatically.
In order to get better cooking performance, it is recommended to
pre-heat the oven about 10-15 minutes
ROTISSERIE USE
Place one skewer through the pointed end of the spit, making sure
the points of skewer face towards the spit's pointed end. Slide the
skewer towards the square end of the spit
Insert the spit directly through the center of the food which you
want to roast
Put the other skewer through the pointed end of the spit, making
sure the points of skewer face the spit's square end
Put the two skewers into the food, then secure both skewers with the
thumbscrews.
Make sure the food is centered on the spit
Insert the pointed end of the spit into the drive socket, make sure the
square end of the spit rests on the spit support
Plug-in the oven
Set the thermostat to the desired temperature
Turn the timer to the desired cooking time. The power indicator will
light up
Set the function knob as per your cooking requirement
Once the cooking is done, the ready bell will ring
3 4
After the oven is cooled down, place the hooks of the rotisserie
handle under the grooves on both sides of the spit. Lift the right side
of the spit rst, move towards right side a little bit, so that the left
side of the spit goes out of the drive socket. Then carefully move out
the roasted food from the oven
Take the food o the spit
Switch o the oven after use
GRILLING
Turn the function knob to top heating position
Set the temperature knob to the desired temperature
Set the timer to the desired time
When the cooking is done, turn back the timer to OFF to turn o the
oven
MAINTENANCE AND CLEANING
Unplug the appliance and allow it to cool before cleaning
All surfaces can be cleaned with a clean damp cloth
If stains still appear, it is recommended to use soap
Do not use abrasive cleaners or sharp utensils to clean the appliance
TECHNICAL SPECIFICTIONS
Capacity: 19L
Wattage: 1280 Watts
Rated Power: 230V/50Hz
Timer: 60 Min.
Temperature control up to 2500 C
Auto shut o and ready bell