USER MANUAL
Chef Base Refrigerator
Models:
KM-BR-362D | KM-BR-482D | KM-BR-724D | KM-BR-844D
Commercial
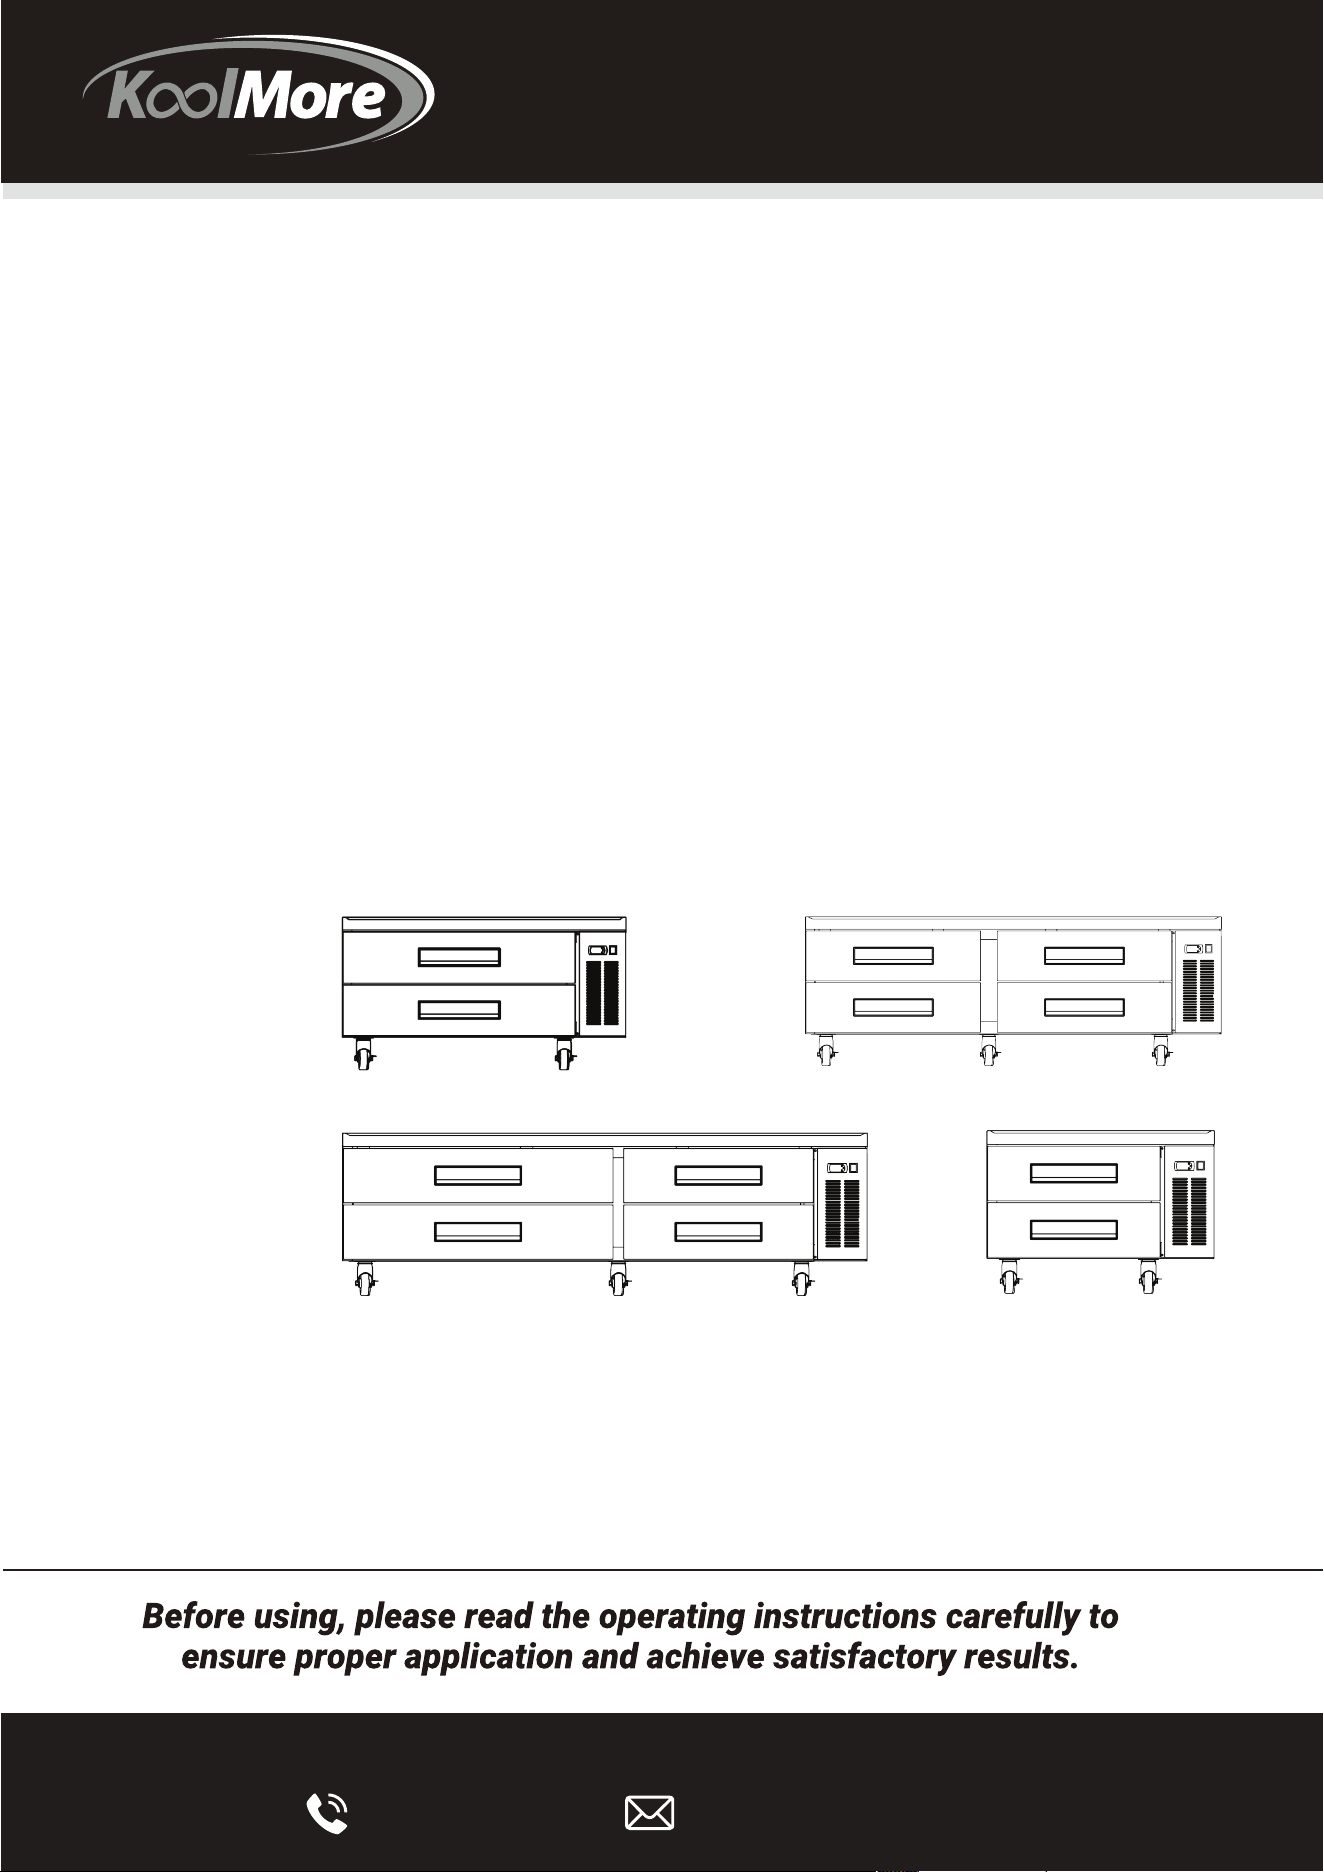
Chef Base Refrigerator
KM-BR-362D
KM-BR-482D
KM-BR-724D
KM-BR-844D

Stay informed with the latest information
for your KoolMore Appliance.
Scan the QR code above to access the most recent user manual
on our website, which is constantly being updated and improved.
If you need any assistance or have questions, our customer
support team is here to help.
Updated On Sep 07 2023
Version: 1.0

• Your safety is our top priority. Before installing and using this equipment, please read and
follow these important warnings and guidelines:
Clearance: Ensure at least 8 inches of space between the back of the unit and any walls. The
back should not be completely sealed; make sure to provide an air vent to the outside.
Packaging: Remove all packaging materials, especially from the bottom, to allow for proper
heat radiation and to prevent fire hazards.
Storage Guidelines: Do not store flammable or explosive materials in the unit.
Electrical Connection: Use a dedicated single-phase outlet that's properly grounded. Do not
connect the grounding wire to water or gas pipes.
Transportation: When moving the unit, avoid tilting it at an angle greater than 45 degrees and
prevent any hard collisions or intense vibrations.
Technical Issues: If the unit experiences problems, consult the troubleshooting guide first.
For repairs, consult only certified technicians.
FLAMMABLE REFRIGERANT WARNINGS
DANGER: There is a risk of fire or explosion due to flammable refrigerant. Do not use
mechanical devices to defrost the refrigerator and avoid puncturing the refrigerant tubing.
CAUTION: Before attempting any service, consult the repair manual or owner's guide.
Dispose of the unit properly according to federal or local regulations.
IMPORTANT NOTICES
Warranty: The warranty does not cover loss or spoilage of products stored in the unit.
Initial Run: Operate the unit for at least 24 hours before its first use to ensure it's working
correctly.
ELECTRICAL SAFETY
Outlet: Use only the designated outlet for the unit and avoid using extension cords.
Hand Placement: Do not place your hands under the unit when moving it.
Extended Non-Use: If the unit is not in use for an extended period, unplug it.
Reconnection: Wait at least 10 minutes before plugging the unit back in after it's been
unplugged.
ADDITIONAL PRECAUTIONS
Child Safety: Do not allow children to climb, stand, or hang on the unit's shelves.
SAFETY PRECAUTIONS
2
Maintenance: Always unplug the unit before cleaning or performing any repairs.
ELECTRICAL SAFETY:
• Use only the designated outlet for the unit and avoid using extension cords.
• Do not place your hands under the unit when moving it.
• If the unit is not in use for an extended period, unplug it.
• Wait at least 10 minutes before plugging the unit back in after it's been unplugged.
Grounding: The unit must be properly grounded to prevent electrical hazards.
Repairs: Do not attempt to remove or repair any parts unless specifically instructed by the
manufacturer.

• Your safety is our top priority. Before installing and using this equipment, please read and
follow these important warnings and guidelines:
Clearance: Ensure at least 8 inches of space between the back of the unit and any walls. The
back should not be completely sealed; make sure to provide an air vent to the outside.
Packaging: Remove all packaging materials, especially from the bottom, to allow for proper
heat radiation and to prevent fire hazards.
Storage Guidelines: Do not store flammable or explosive materials in the unit.
Electrical Connection: Use a dedicated single-phase outlet that's properly grounded. Do not
connect the grounding wire to water or gas pipes.
Transportation: When moving the unit, avoid tilting it at an angle greater than 45 degrees and
prevent any hard collisions or intense vibrations.
Technical Issues: If the unit experiences problems, consult the troubleshooting guide first.
For repairs, consult only certified technicians.
FLAMMABLE REFRIGERANT WARNINGS
DANGER: There is a risk of fire or explosion due to flammable refrigerant. Do not use
mechanical devices to defrost the refrigerator and avoid puncturing the refrigerant tubing.
CAUTION: Before attempting any service, consult the repair manual or owner's guide.
Dispose of the unit properly according to federal or local regulations.
IMPORTANT NOTICES
Warranty: The warranty does not cover loss or spoilage of products stored in the unit.
Initial Run: Operate the unit for at least 24 hours before its first use to ensure it's working
correctly.
ELECTRICAL SAFETY
Outlet: Use only the designated outlet for the unit and avoid using extension cords.
Hand Placement: Do not place your hands under the unit when moving it.
Extended Non-Use: If the unit is not in use for an extended period, unplug it.
Reconnection: Wait at least 10 minutes before plugging the unit back in after it's been
unplugged.
ADDITIONAL PRECAUTIONS
Child Safety: Do not allow children to climb, stand, or hang on the unit's shelves.
Maintenance: Always unplug the unit before cleaning or performing any repairs.
ELECTRICAL SAFETY:
• Use only the designated outlet for the unit and avoid using extension cords.
• Do not place your hands under the unit when moving it.
• If the unit is not in use for an extended period, unplug it.
• Wait at least 10 minutes before plugging the unit back in after it's been unplugged.
Grounding: The unit must be properly grounded to prevent electrical hazards.
Repairs: Do not attempt to remove or repair any parts unless specifically instructed by the
manufacturer.

INSTALLATION/OPERATION
Initial Setup: If the unit has recently been transported, let it stand still for at least 24 hours before
plugging it in.
Temperature Check: Make sure the unit reaches the desired temperature before loading it with
products.
Ventilation: Ensure proper ventilation around the unit where it will operate.
Accessories: Install all accessories like poly pans, drawers, and casters before plugging in the unit.
Manual Review: Read through this Operation/Owner's Manual in its entirety.
UNBOXING YOUR UNIT
Tools Required:
• Adjustable Wrench
• Phillips Screwdriver
• Level
Procedure:
Remove the outer packaging and inspect for concealed damage. File a claim with the freight carrier
if there is damage.
Move the unit as close to its final location as possible before removing the wooden skid.
Cabinet Location Guidelines
Surface: Install the unit on a strong and level surface to prevent unpleasant noises and
malfunctions.
Indoor Installation: Place the unit in an indoor, well-ventilated area.
Clearance: Maintain a clearance of 3 inches on the back of the unit for optimal performance.
Humidity and Dust: Avoid installation in high-humidity or dusty areas. High humidity can cause the
unit to rust and decrease its efficiency. Dust collected on the condenser coil can cause the unit to
malfunction. Clean the condenser at least once a month with a brush or clean cloth. Malfunctions
due to a dirty condenser will void the warranty.
ELECTRICAL INSTALLATION & SAFETY
Supply Cord: If the supply cord is damaged, it must be replaced by a special cord or assembly
available from the manufacturer or its service agent.
Lamps: Use only identical lamps for replacements.

ELECTRICAL INSTRUCTIONS:
Voltage Check: Before connecting the unit to a power supply, check the incoming voltage with a
voltmeter. If anything less than 100% of the rated voltage for operation is noted, correct it
immediately.
Proper Voltage: All units are equipped with a service cord and must be powered at the proper
operating voltage at all times. Refer to the cabinet data plate for this voltage.
WARNINGS:
• Compressor warranties are void if the compressor burns out due to low voltage.
• The power supply cord ground should not be removed.
• Do not use electrical appliances inside the food storage compartments of the appliances unless
they are of the type recommended by the manufacturer.
Note: To reference the wiring diagram, remove the front louvered grill; the wiring diagram is
positioned on the inside cabinet wall.
SETUP
Standard Accessories: Ensure all standard accessories are properly set up with the unit.
DRAWER REMOVAL & INSTALLATION:
Removal:
1. Open the drawer completely. Roller clips will be in the down position.
2. While holding the sides of the drawer, use your hands to lift the side track of the drawer.
3. Lift the drawer and remove it from the channel.
Installation:
1. Lower rear rollers into channel slots.
2. Make the two side tracks of the drawer horizontal, and lower the front rollers into the channel.
3. Make sure the drawer tracks are in the right position.
STARTUP:
• Plug in the cooler.
• The digital thermostat is factory-set to give refrigerators an approximate temperature of 35°F.
Allow the unit to function for several hours, cooling the cabinet completely before adjusting the
control settings.
• The electronic temperature control is located on the front of the unit.
• Excessive tampering with the control could lead to service difficulties. Should it ever become
necessary to replace the temperature control, consult the manual or a certified technician.
• Note: If the unit is disconnected or shut off, wait five minutes before starting again.

Recommendation:
Before loading products, run your unit empty for two to three days. This ensures that electrical
wiring and installation are correct and that no shipping damage has occurred. Remember, product
loss is not covered by the warranty.
Cleaning the Condenser Coil:
Required Tools:
• Phillips screwdriver
• Stiff bristle brush
• Adjustable wrench
For efficient operation, it's crucial to keep the condenser surface free of dust, dirt, and lint.
Clean the condenser coil and fins at least once per month.
Use a commercial condenser coil cleaner, available from any kitchen equipment retailer. Brush the
condenser fins from top to bottom, not side to side.
After cleaning, straighten any bent condenser fins with a fin comb.
Cleaning the Fan Blade and Motor:
If necessary, clean the fan blades and motor with a soft cloth.
If washing the fan blades, cover the fan motor to prevent moisture damage.
Cleaning the Interior of the Unit:
Use a solution of warm water and mild soap for cleaning the cabinet interior.
Avoid using steel wool, caustic soap, abrasive cleaners, or bleach that may damage the stainless
steel surface.
Door Gaskets:
• Wash door gaskets on a regular basis, preferably weekly.
• Remove the door gasket from the frame of the door, soak in warm water and soap for 30
minutes, dry with a soft cloth, and replace.
• Check door gaskets for a proper seal after they are replaced.
Shelves and Pilasters:
• Periodically remove the shelves and pilasters from the unit and clean them with mild soap and
warm water.
• To remove the pilasters, first remove the shelves and shelf brackets. Then, simply lift the pilaster
up and out.

STAINLESS STEEL CARE AND CLEANING
• For routine cleaning, use soap, ammonia, and mild detergents applied with a soft cloth or
sponge.
• For stubborn stains and discoloration, use non-abrasive cleaners. Rub in the direction of polish
lines.
• For grease and fatty acids, use oven cleaners.
• Any good commercial detergent can be applied with a sponge or soft cloth to remove grease
and oil.
• For restoration and passivation, use appropriate stainless steel cleaners.
CAUTION:
Do not use steel wool, abrasive, or chlorine-based products to clean stainless steel surfaces.
Factors That Can Ruin Stainless Steel:
• Scratches from wire brushes, metal scrapers, and steel pads can break down stainless steel's
passivity layer and allow corrosion to occur.
• Deposits left on stainless steel can leave spots and break down the passivity layer.
• Chlorides present in table salt, food, and water can also break down the passivity layer.
8 Steps to Prevent Rust on Stainless Steel:
1. Use non-abrasive tools for cleaning.
2. Clean along the polish lines.
3. Use alkaline, alkaline chlorinated, or non-chloride containing cleaners.
4. Use soft water for cleaning to reduce deposits.
5. Maintain cleanliness of food equipment.
6. Rinse and wipe dry immediately when using chlorinated cleaners.
7. Never use hydrochloric acid (muriatic acid) on stainless steel.
8. Regularly restore or passivate stainless steel.
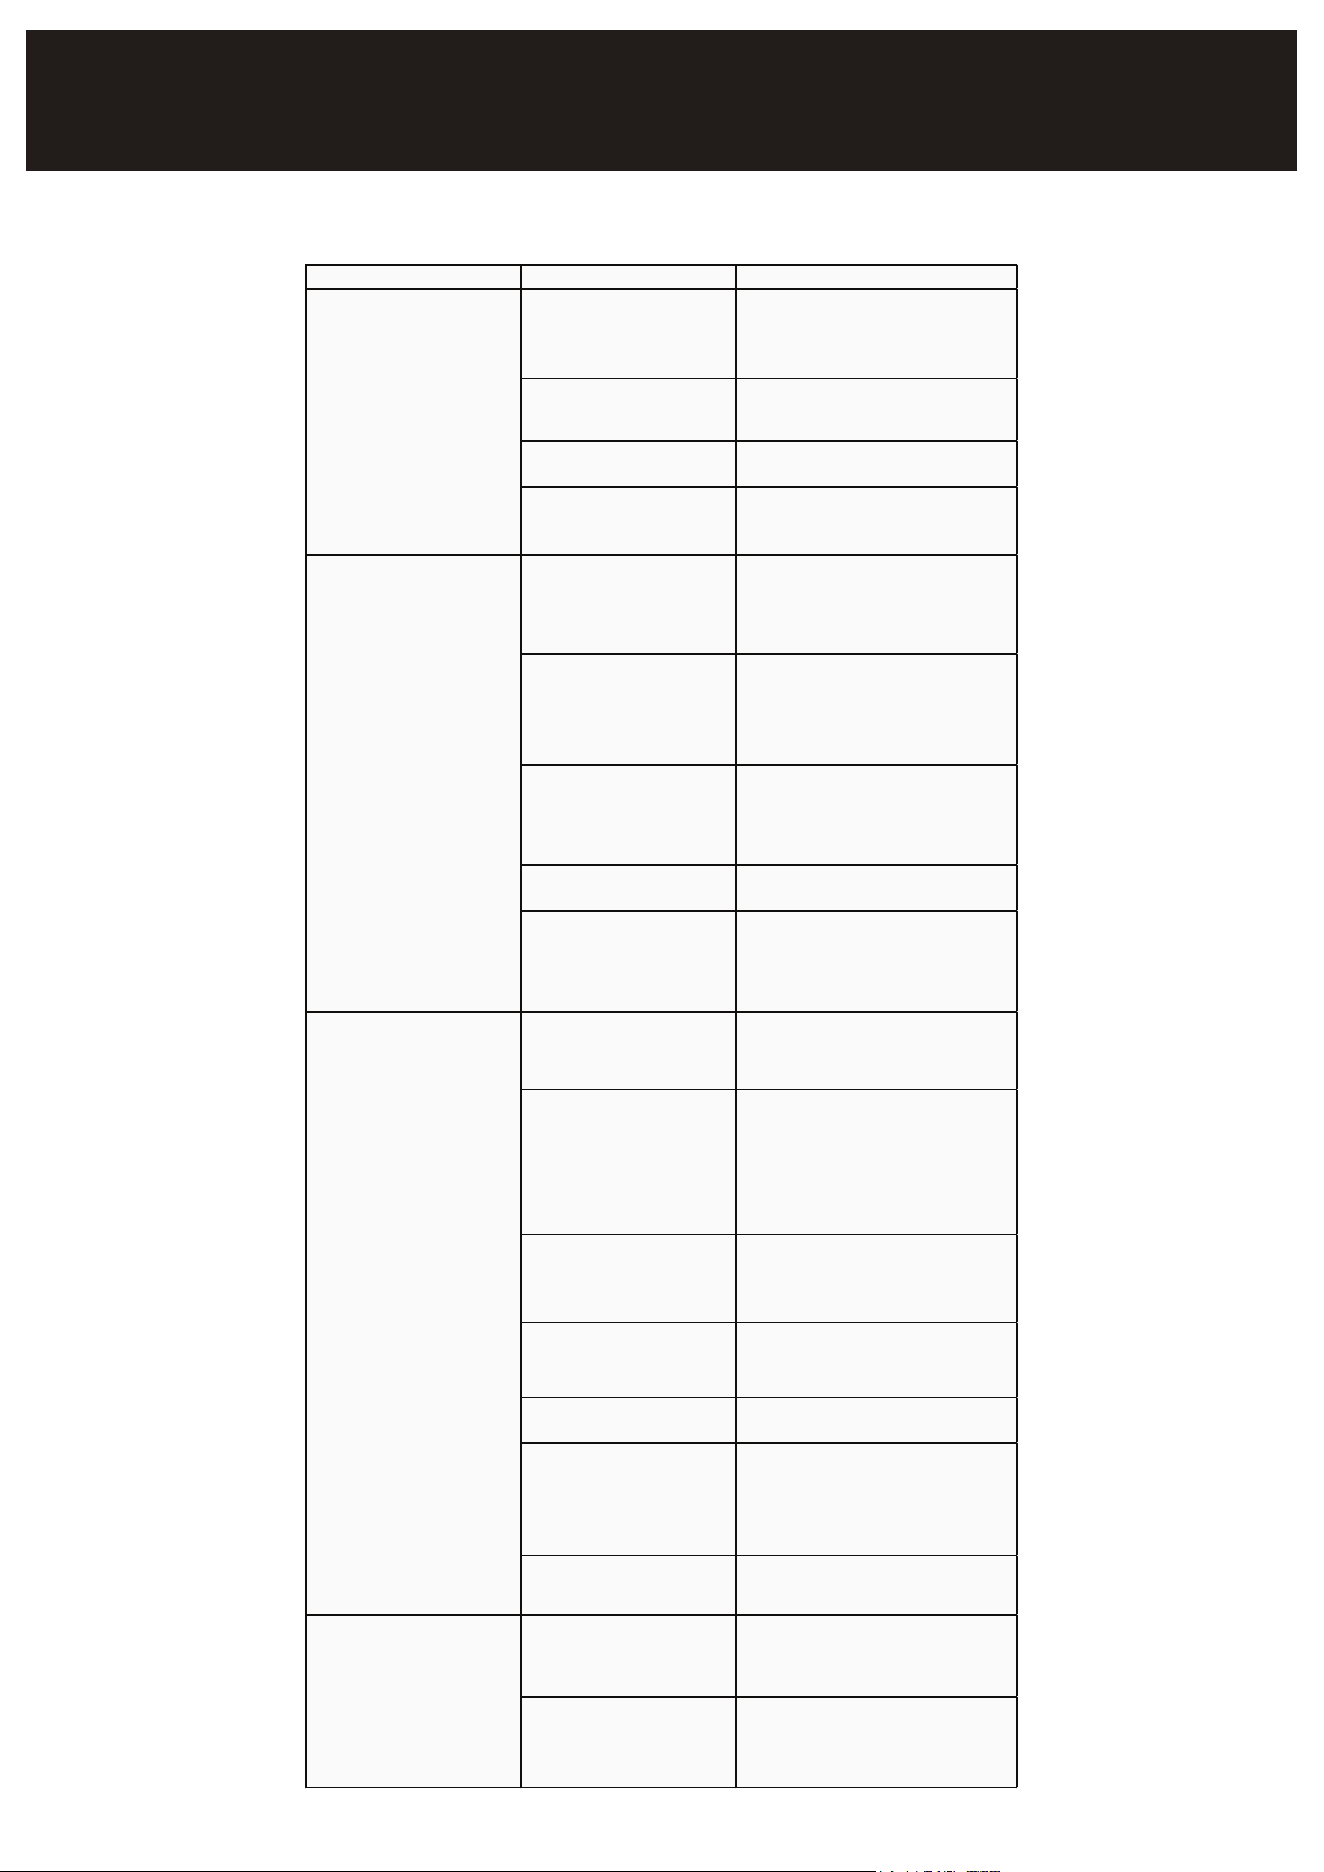
Symptom Poss ible Cause Corrective Action
Fuse blown or circuit breaker
tripped
Replace the fuse or reset the circuit
breaker
Power cord unplugged Plug in the power cord
Thermostat set too high Lower the thermostat setting
Cabinet in defrost cycle Wait for the defrost cycle to finish
Excessive warm items in the
cabinet
Allow sufficient time for items to cool
down
Door open for extended
periods
Keep doors closed when not in use;
avoid keeping them op
en for long
durations
Door gasket not sealing
properly
Ensure gaskets are fully snapped in;
clean with soap and water; replace if
needed
Dirty condenser coil Clean the condenser coil
Evaporator coil iced over
Unplug the unit and let the coil
defrost; check thermostat and door
gaskets
Thermostat set too warm Lower the thermostat setting
Blocking air flow
Rearrange items for better air flow;
maintain at least
4 inches of clearance
from the evaporator
Excessive warm items in the
cabinet
Allow sufficient time for items to cool
down
Fuse blown or circuit breaker
tripped
Replace the fuse or reset the circuit
breaker
Dirty condenser coil Clean the condenser coil
Door open for extended
periods
Keep doors closed when not in use;
avoid keeping them open for long
durations
Evaporator coil iced over (See corrective actio
n above)
Loose parts Locate and tighten any loose parts
Tubing vibration
Ensure tubing is not in contact with
other tubing or components
Compressor not running
Condensing unit runs for
long periods
Cabinet temperature too
warm
Cabinet is noisy
TROUBLESHOOTING

LIMITED WARRANTY
Koolmore Supply, Inc. extends a limited warranty to the original purchaser, guaranteeing that this Koolmore
product is free from manufacturing defects in material or workmanship for one year from the date of
purchase.
Should you discover any such defect within the warranty period, Koolmore Supply, Inc., reserves the right to
repair or replace the product without charge, or to cover the cost of replacement parts and repair labor needed
to correct defects present at the time of purchase or resulting from regular usage, when the appliance has been
installed, operated, and maintained as per the instructions provided.
At its sole discretion, Koolmore Supply Inc. may decide to replace the product. In such an event, your replace-
ment appliance will carry the warranty for the remaining term of the original unit's warranty period.
This warranty is valid exclusively to the original purchaser of the product and only applicable within the United
States. The warranty commences from the date of original consumer purchase. Proof of the original purchase
date will be required to obtain service under this warranty.
Under this limited warranty, your sole and exclusive remedy will be product repair, as outlined above. All
services must be provided by a Koolmore-designated service company.
To claim warranty or request repair service:
Email suppor[email protected]. Please include your name, address, phone number, warranty repair request,
and a copy of your proof of purchase receipt. Alternatively, visit koolmore.com and use the contact us page. A
Koolmore customer service representative will promptly arrange service for your appliance.
We thank you for choosing Koolmore.
WARRANTY EXCLUSIONS
This limited warranty will not cover:
1. Failure of the product to perform during power failures or interruptions,
or due to inadequate electrical service.
2. Damage incurred during transportation or handling.
3. Damage caused by accidents, vermin, lightning, winds, fire, floods, or acts of God.
4. Damage resulting from accidents, alterations, misuse, abuse, improper installation, repair, or mainte-
nance. This includes using any external device that alters or converts the voltage or frequency of
electricity.
5. Unauthorized product modifications, repairs by unauthorized centers, or use of non-approved
replacement parts.
6. Abnormal cleaning and maintenance not aligned with the user's manual.
7. Use of incompatible accessories or components.
8. Any costs associated with repairs or replacements under these excluded circumstances shall be the
responsibility of the consumer.
WARRANTY
7