
Technical Support and E-Warranty Certificate www.vevor.com/support
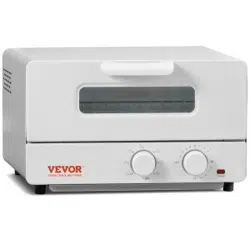
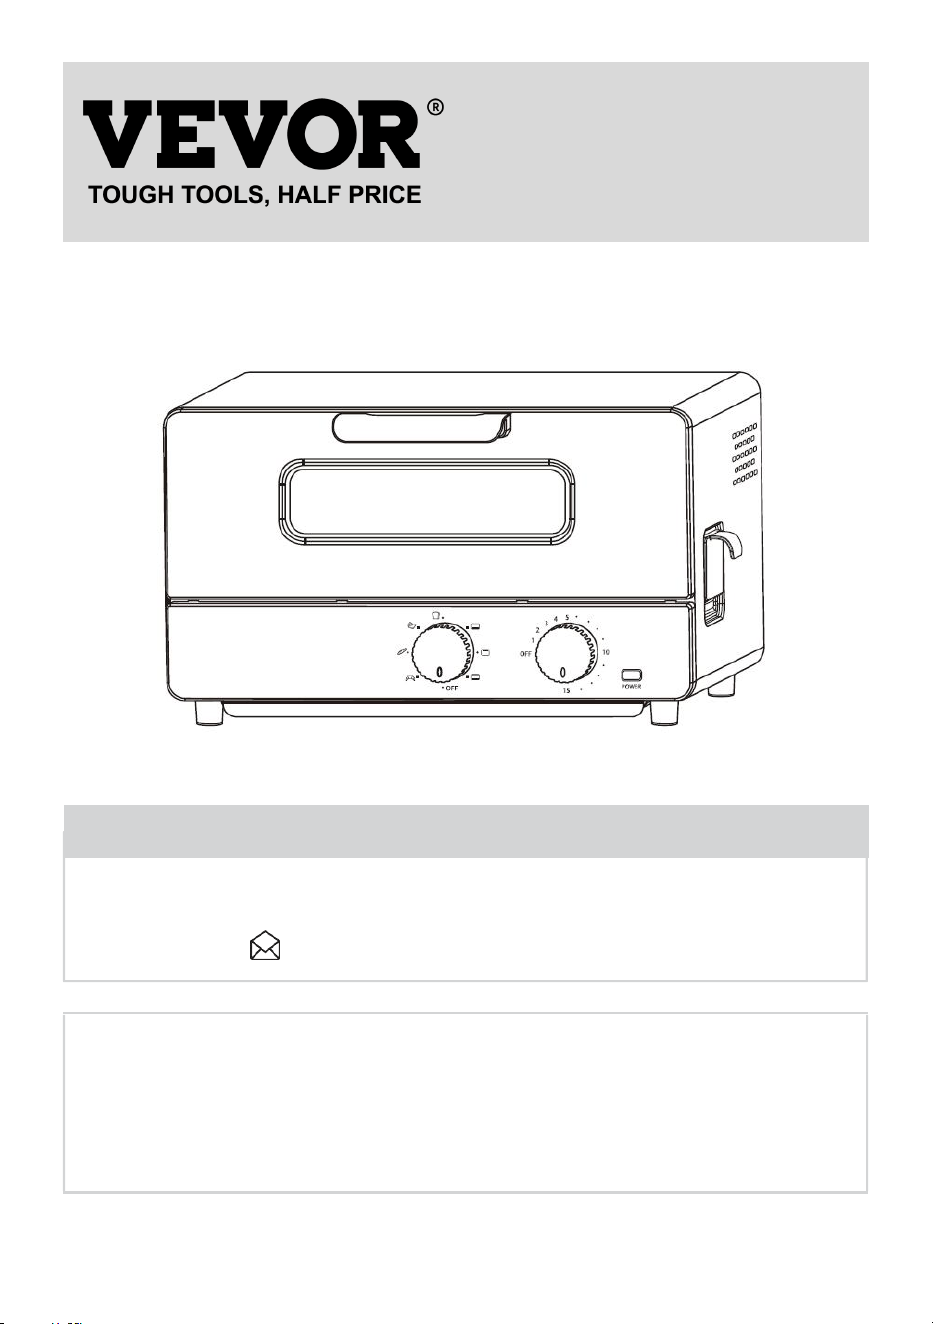
STEAM TOASTER OVEN
MODEL NUMBER: TM121-J
We continue to be committed to provide you tools with competitive price.
"Save Half", "Half Price" or any other similar expressions used by us only represents an
estimate of savings you might benefit from buying certain tools with us compared to the major
top brands and doses not necessarily mean to cover all categories of tools offered by us. You
are kindly reminded to verify carefully when you are placing an order with us if you are
actually saving half in comparison with the top major brands.
- 1 -
MODEL: IMN1000-UL
TM121-J
Have product questions? Need technical support? Please feel free to
contact us:
CustomerService@vevor.com
NEED HELP? CONTACT US!
This is the original instruction, please read all manual instructions carefully before
operating. VEVOR reserves clear interpretation of our user manual. The
appearance of the product shall be subject to the product you received. Please
forgive us that we won't inform you again if there is any technology or software
updates on our product.
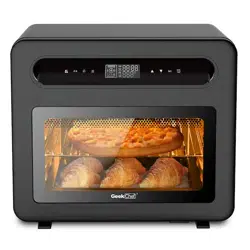
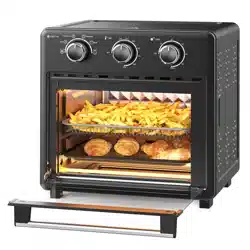
STEAM TOASTER OVEN
- 2 -
Thank you for purchasing the Steam Toaster Oven. Please read the User Manual
carefully before use and keep it in a convenient place for future reference.
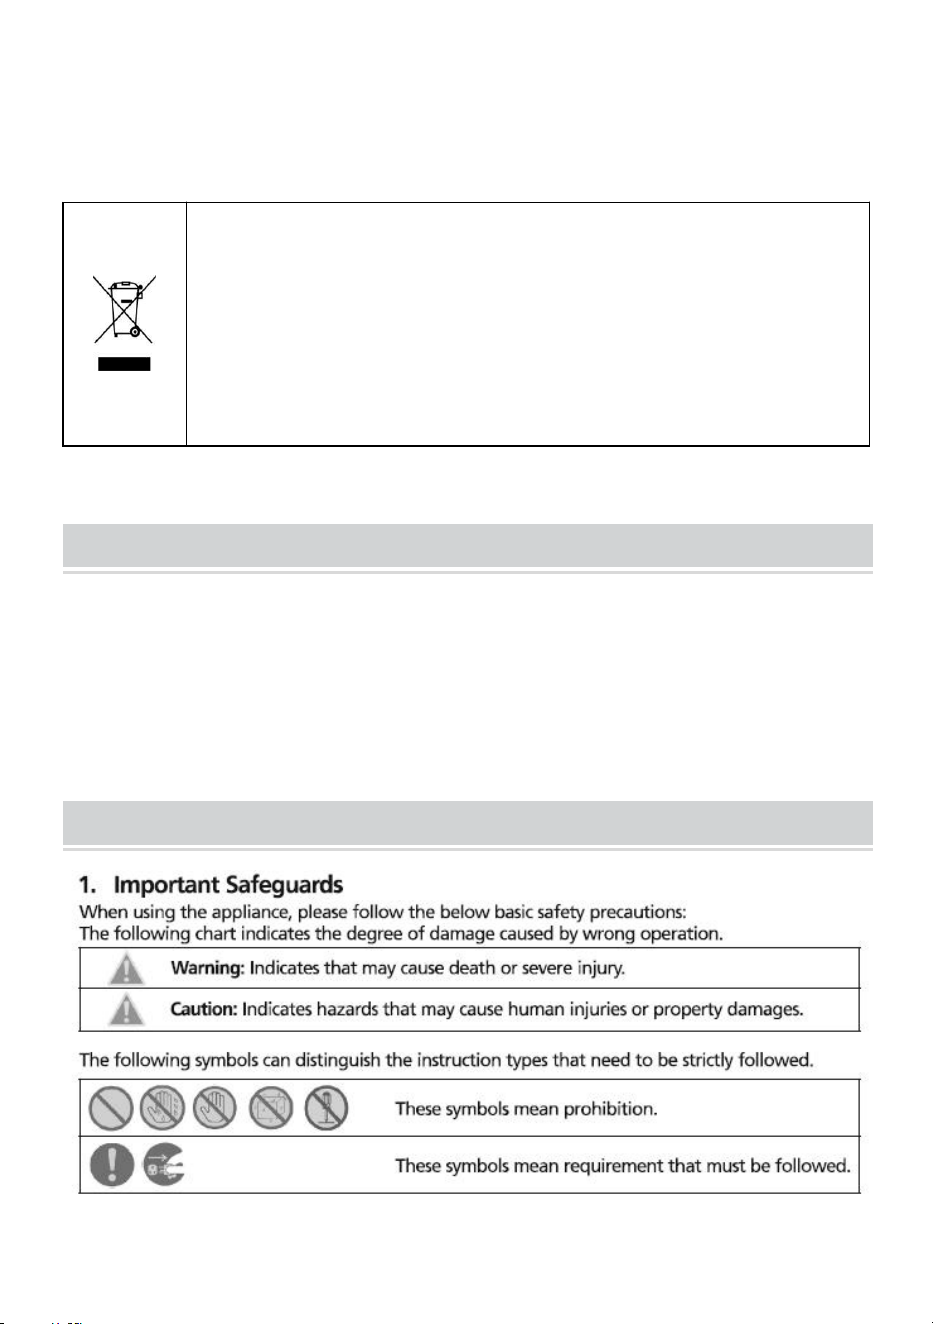
This product is subject to the provision of european Directive
2012/19/EU. The symbol showing a wheelie bin crossed through
indicates that the product requires separate refuse collection in the
European Union. This applies to the product and all accessories
marked with this symbol. Products marked as such may not be
discarded with normal domestic waste, but must be taken to
acollection point for recycling electrical and electronic devices.
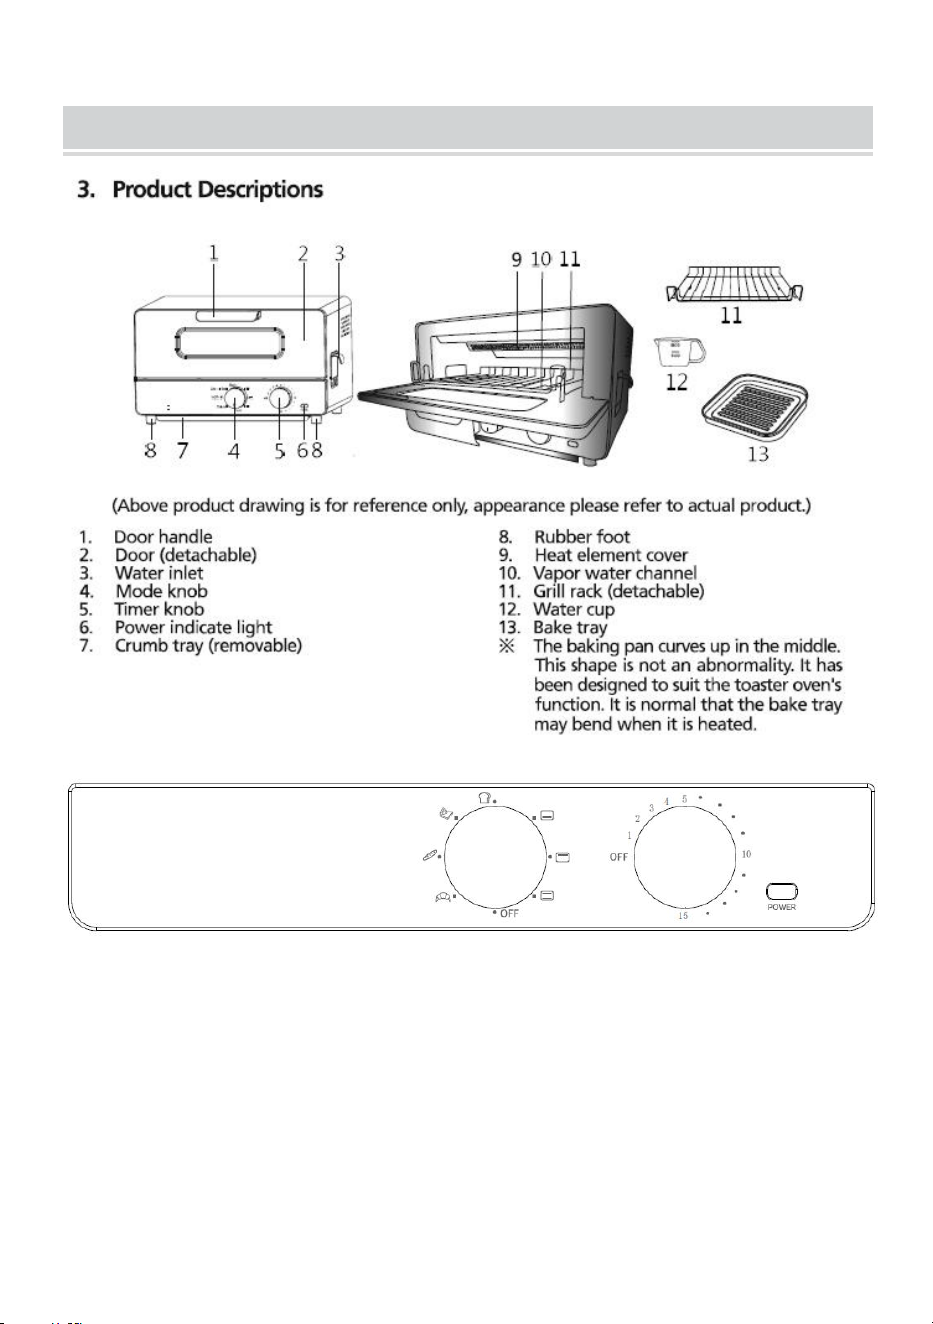
SPECIFICATION
1.MODEL NO.: TM121-J
2.POWER: 120VAC 60Hz 1300W
3.PRODUCT SIZE: 365*308*205mm
4.TIME RANGE: 1min ~ 15min
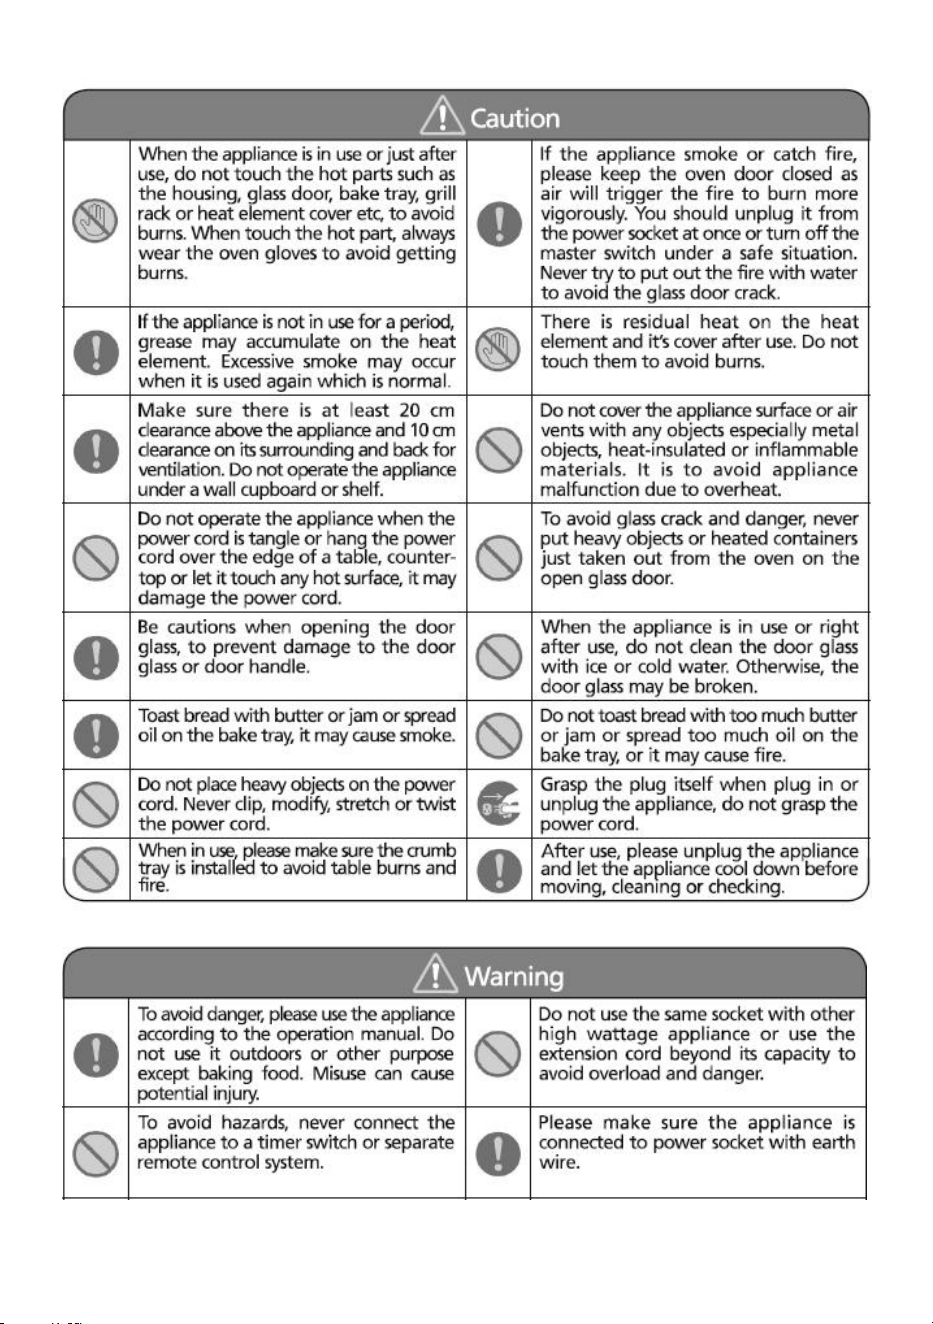
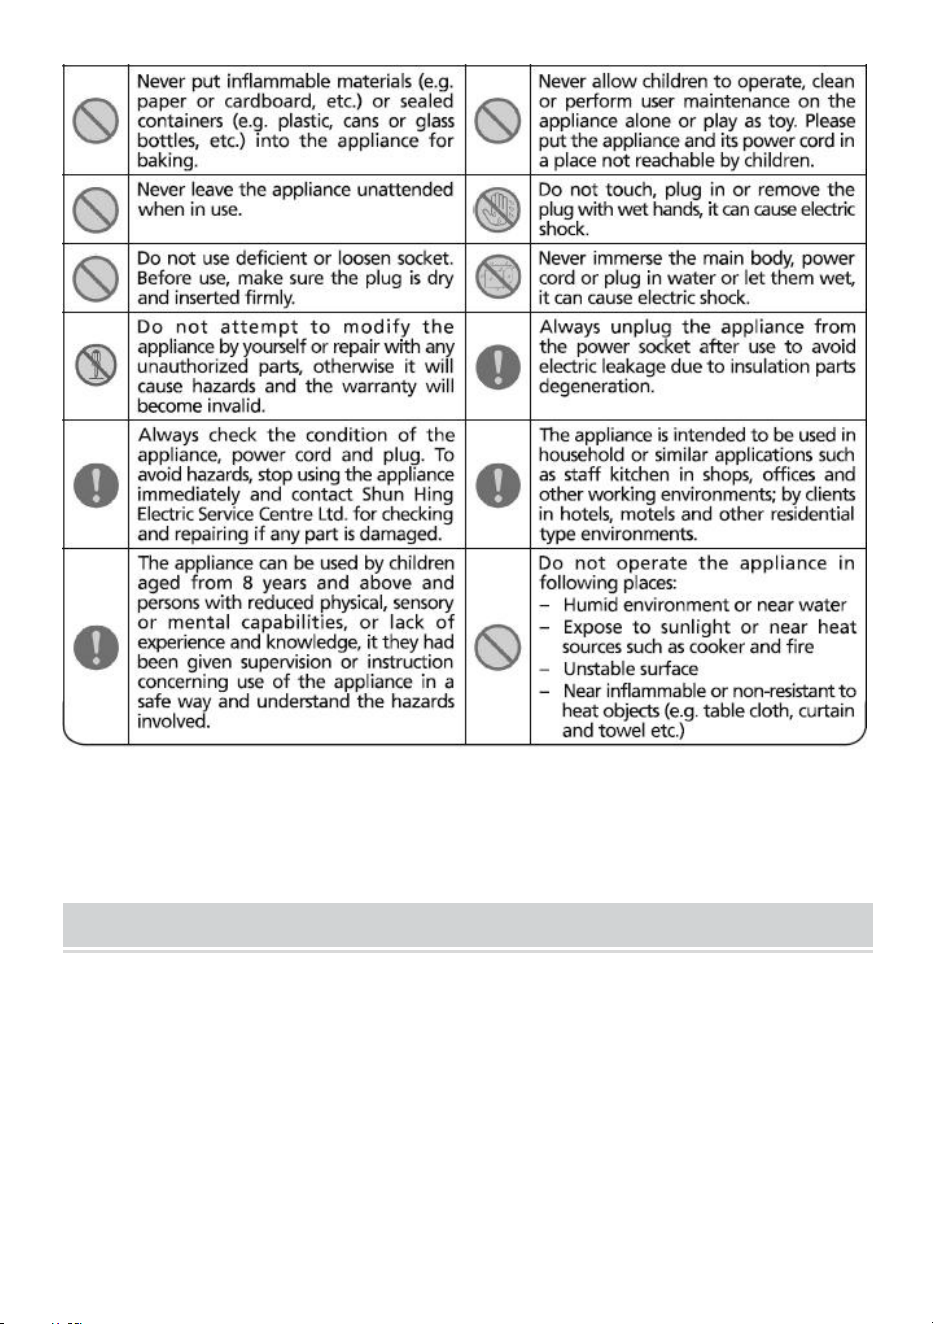
IMPORTANT SAFEGUARDS
- 3 -
- 4 -
SAVE THE INSTRUCTIONS
FIRST USE
1. When using this product for the first time, the product may have a little smoke or
other flavors. This is a normal phenomenon and will disappear soon. Make sure
the product has good ventilation.2.Please check that all parts and accessories of
the product are intact and undamaged.
3. Clean all parts of the product according to the "Cleaning and Maintenance"
section.
4. Dry the parts thoroughly and assemble them into the inside of the product. The
- 5 -
product can be put into use.
OPERATION INSTRUCTIONS
- 6 -
Operation instructions:
- 7 -
- 8 -
- 9 -
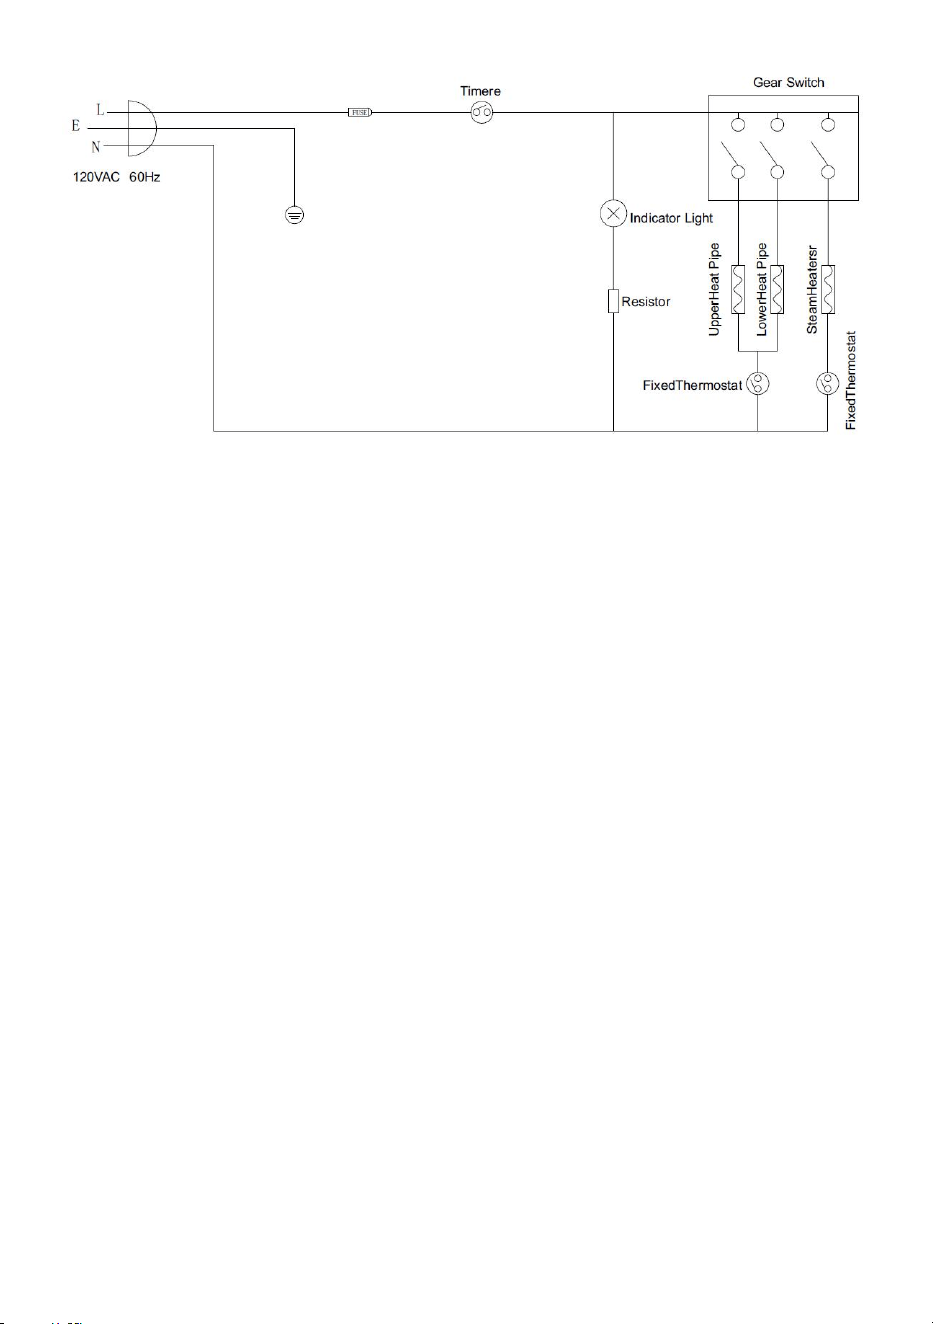
Wiring Diagram
- 10 -