
USER MANUAL
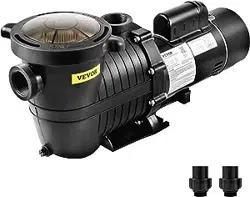
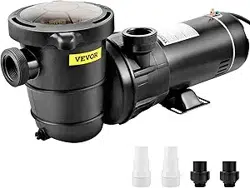
DUAL SPEED POOL PUMP
01
Instruction Manual
VVPS215BUS(1.5THP 230V)
VVPS220BUS(2.0THP 230V)
IMPORTANT : Be sure to review the contents of this manual before attempting to operate the equipment.
This manual should be located where it can be easily referenced by all users of themachine.
NEED HELP? CONTACT US!
Have product questions? Need technical suppo? Please feel free to contact us:
CustomerSe[email protected]
Read this "Safety Precautions" before operation.
The below information should not be neglected for the proper use of this product. Your understanding
can prevent harm or danger to the user or others.
SAFETY PRECAUTIONS
MAIN PARTS
02
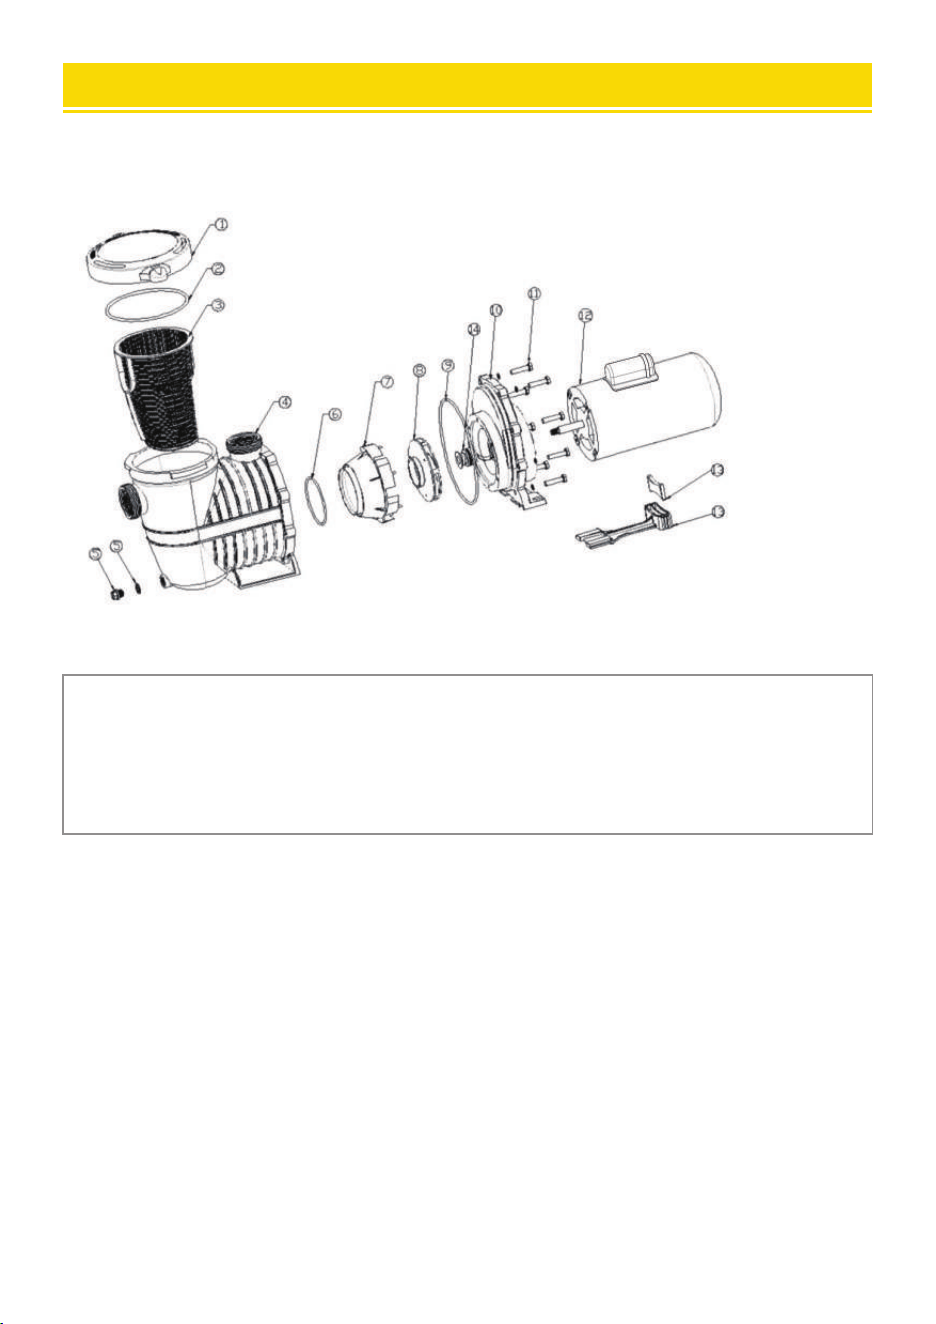
PARTS
1.Lid
2.O-Ring
3.Strainer
4.Strainer body
5.Drain Plug
6.Diuser O-Ring
7.Diuser
8.Impeller
9.Pump Casing O-Ring
10.Pump Housing
11.Screw
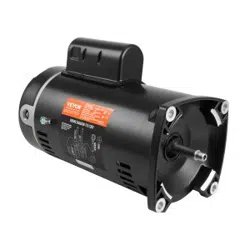
12.Motor
13.Carrier
14.Shaft Seal
ATTENTION INSTALLER – THIS MANUAL CONTAINS IMPORTANT INFORMATION ABOUT THE
INSTALLATION, OPERATION, AND SAFE USE OF THIS PUMP THAT MUST BE FURNISHED TO THE
END-USER OF THIS PRODUCT. FAILURE TO READ AND FOLLOW ALL INSTRUCTIONS COULD
RESULT IN SERIOUS INJURY.
READ CAREFULLY AND SAVE THIS INSTRUCTION MANUAL
INSTALLATION
03
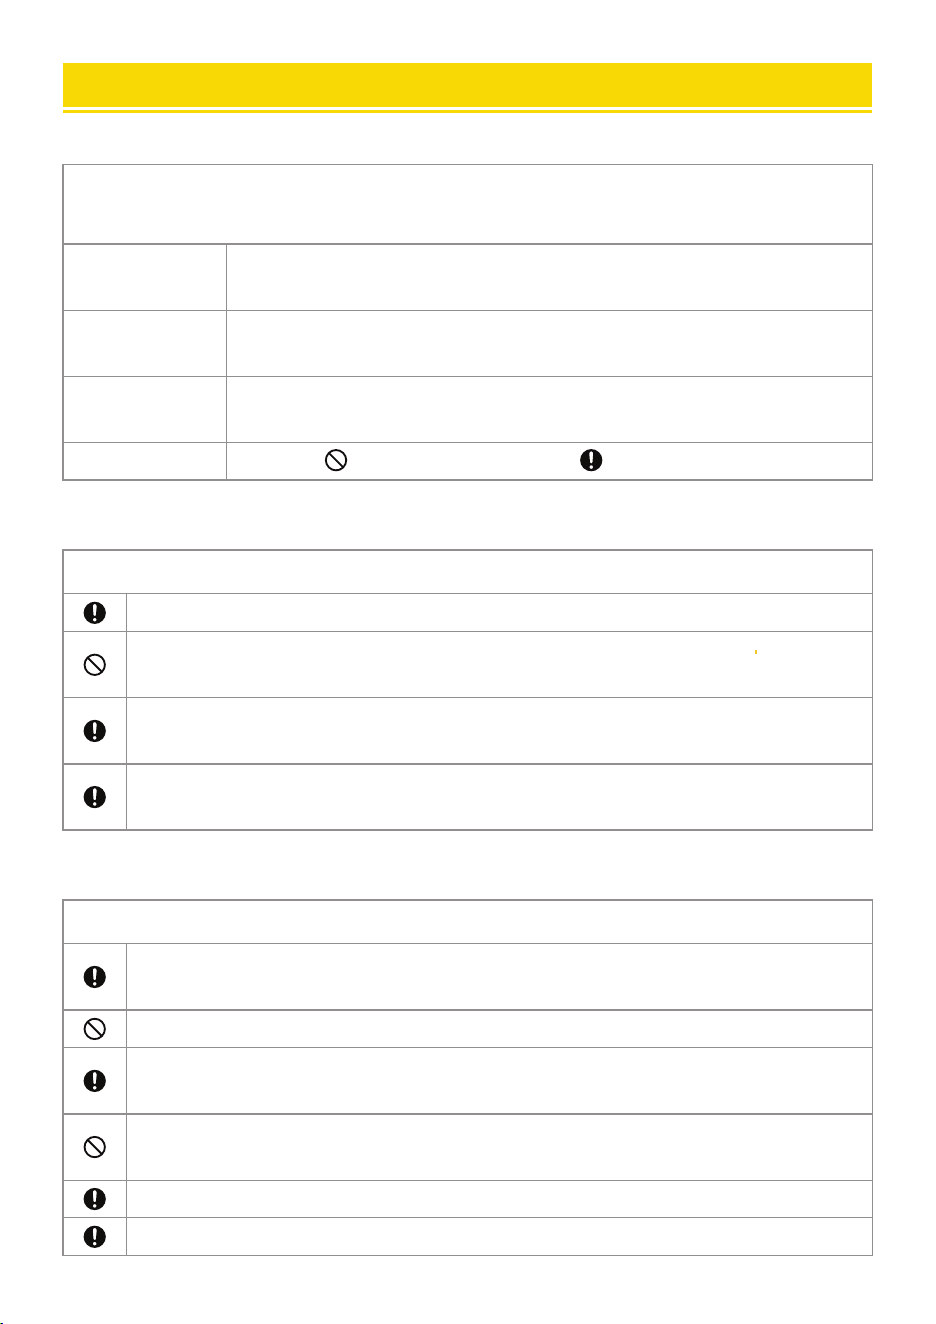
The following information is ve impoant for safety in
handling this product. Be sure to obsee it.
Indicates an imminently hazardous situation that, if not avoided, will result
in death or serious inju.
DANGER
Indicates a potentially hazardous situation that, if not avoided, could
result in death or serious inju.
WARNING
Indicates a potentially hazardous situation that, if not avoided, may
result in minor or moderate inju, or propey damage.
CAUTION
ALERT
PROHIBITED
IMPORTANT
Do not operate the pool and spa circulation system if a system component is not assembled
properly, damaged, or missing.
Before staing the system pump, all system valves must be set to allow system water to
return to the pool.
Remove pressure test plugs and/or plugs used in winterization of the pool/spa from the
suction outlets. Fail to do so will result in an increased potential for suction entrapment.
Connect only to a branch circuit protected by a ground-fault circuit interrupter (GFCI).
Before working on any electrical equipment, turn o the power supply to the equipment.
Do not permit children to play with this product.
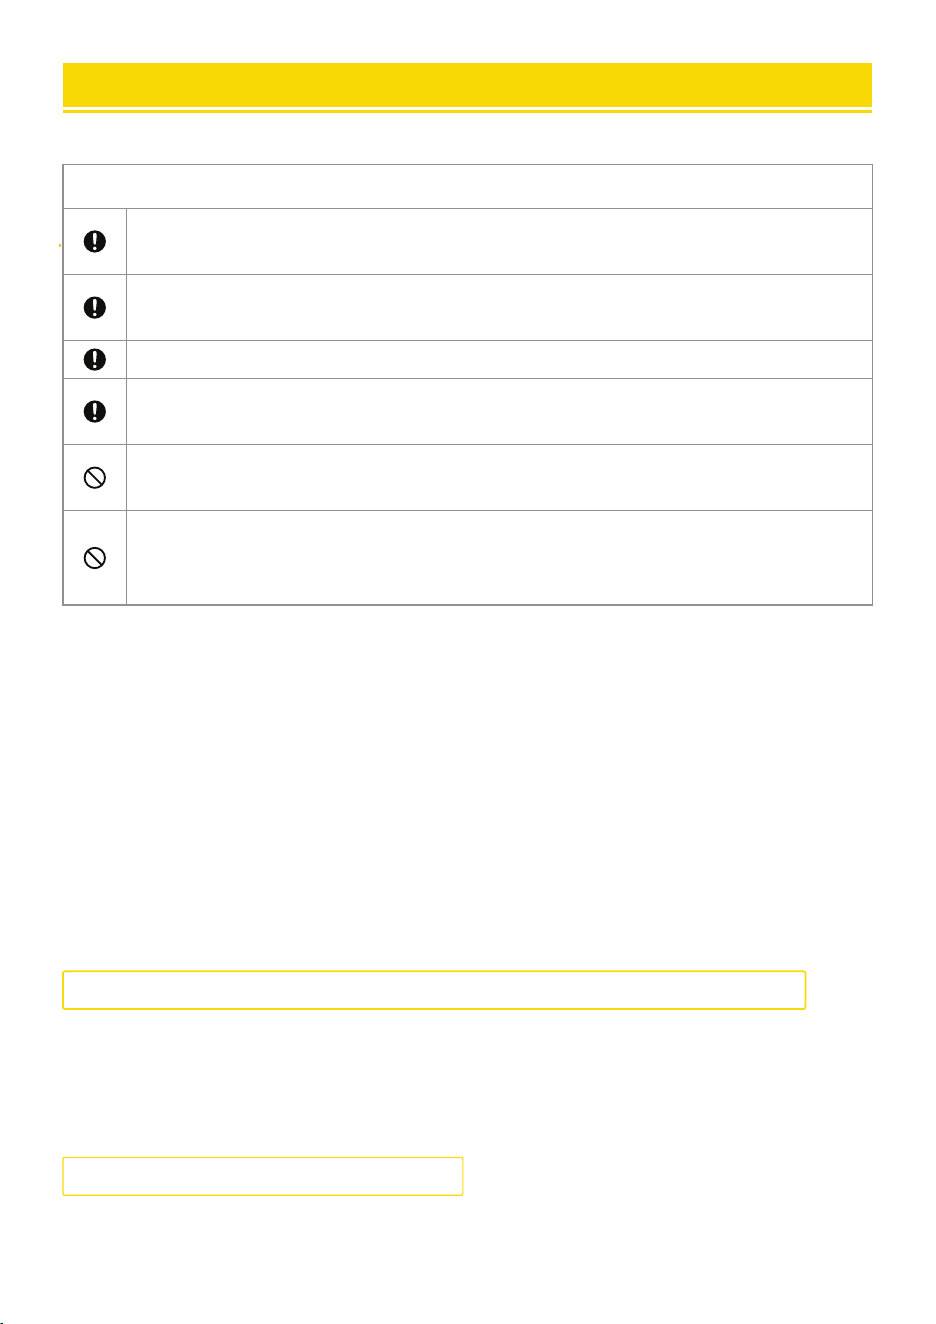
WARNING
Strainer cover must be properly secured to prevent violent separation due to pressure in
the circulation system.
Before seicing, turn all the circulation system and pump controls o, make sure the lter
manual air relief valve is in the open position, and all pressure is relieved.
It is highly recommended that this product be installed and seiced by a qualied pool
professional.
Stay o the main drain and away from all suction outlets.
DANGER
04
Use Teon tape on the thread before screw ttings to pump inlet and outlet pos so as to avoid
leakage. Do not over-tighten the ttings.
Warning: Keep product away from Children.
Before seicing, all water circulation systems and pump controls must be o
position and release all the pressure from the system.
INSTALLATION
Locate the pump as close to the pool and water level as possible. Do not add too many elbow pipes in
the plumbing so as to avoid suction reduction. It is highly recommended that the pump be placed in
cool, d places and avoid direct sunlight. Install the pump on a rm, level base or pad to meet all local
and national codes. Fasten the pump to the base or pad with screws or bolts to fuher reduce
vibration and stress on pipe or hose joints. The base must be solid, level, rigid, and vibration-free.
WARNING: This product should be installed and seiced by a qualied pool professional.
All electrical wiring must be in conformance with applicable local codes, regulations, and
the National Electric Code (NEC).
It is strongly advised to protect the electrical components from direct sunlight though
this pump is designed for outdoor use.
If installed within an outer enclosure or beneath the ski of a hot tub or spa, adequate
ventilation and free circulation of air must be provided to prevent overheating.
Place this pump in a well-drained area, one that will not ood when it rains.
Do not install this pump in a damp or non-ventilated location. It requires free circulation
of air for cooling.
Do not run the pump d. Water acts as a coolant and lubricant for the mechanical shaft
seal. Running the pump d may damage seals, causing leakage, ooding, and voids
warranty. Fill strainer housing with water before staing the motor.
CAUTION
05
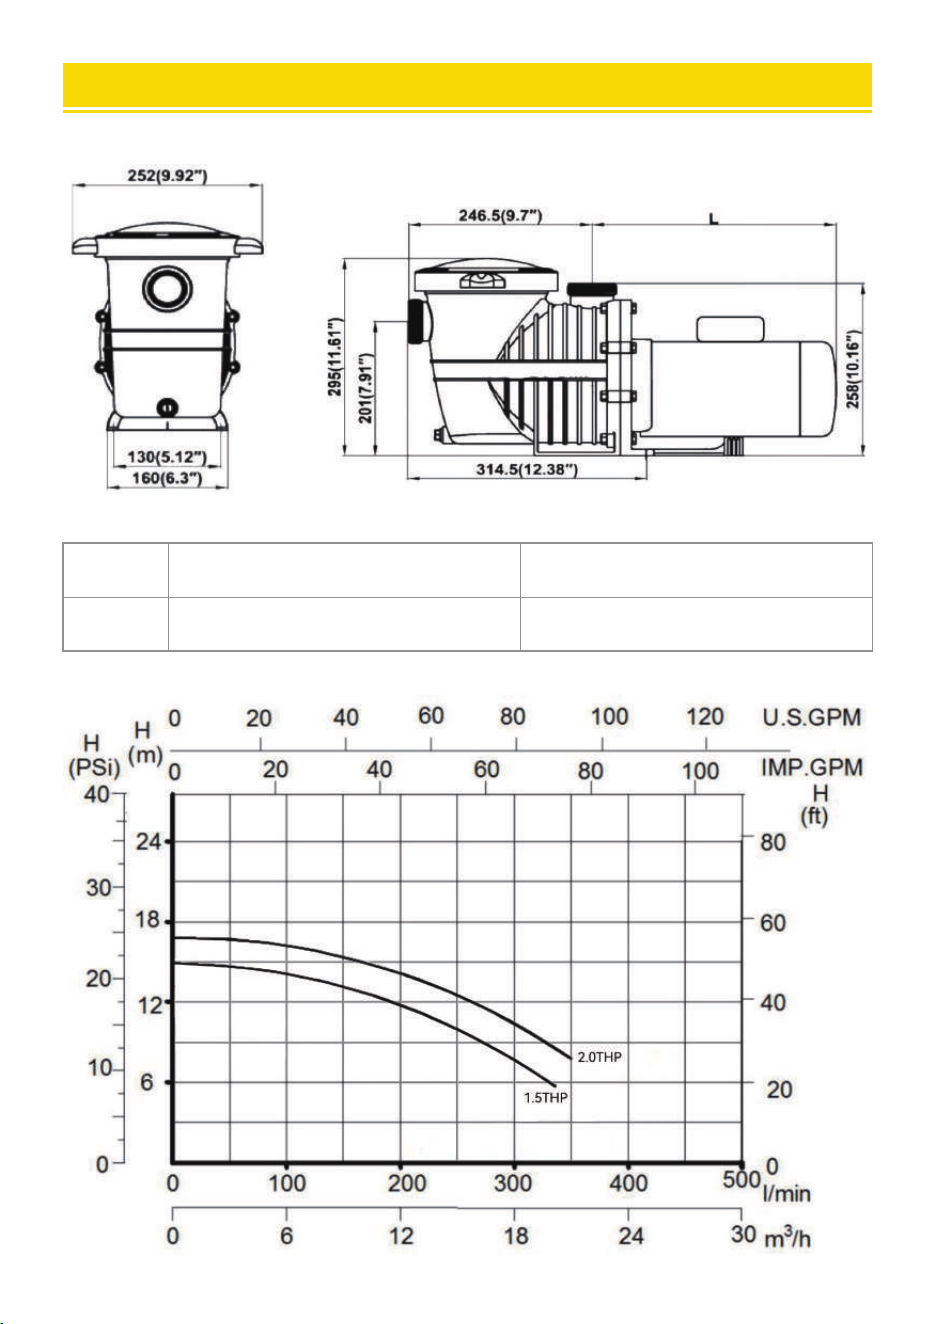
THP 1.5 2.0
L 13.58"(345mm) 14.17"(360mm)

06
WIRING
For Single Speed Pumps
If the pump comes with a power cord, no wiring is needed.
If not, wire the pump as below:
230
115
How to wire 230V
• Make sure the switch is at the 230V side.
• Ground wire connects to the ground terminal.
• Hot wire connects to terminal 1 or 3; a neutral wire connects to terminal 3 or 1. Either hot wire or
neutral wire is compatible with terminal 1 or 3.
• Turn on the power and run the pump.
How to wire 115V
• Make sure the switch is at the 115V side.
• Ground wire connects to the ground terminal.
• Hot wire connects to terminal 1 or 3, a neutral wire connects to terminal 3 or 1. Either hot wire or
neutral wire is compatible with terminal 1 or 3.
• Turn on the power and run the pump.
WARNING: All electrical wiring must conform to local codes, regulations, and the NEC.
WARNING: Turn o power to pump before working on electrical connections.
07
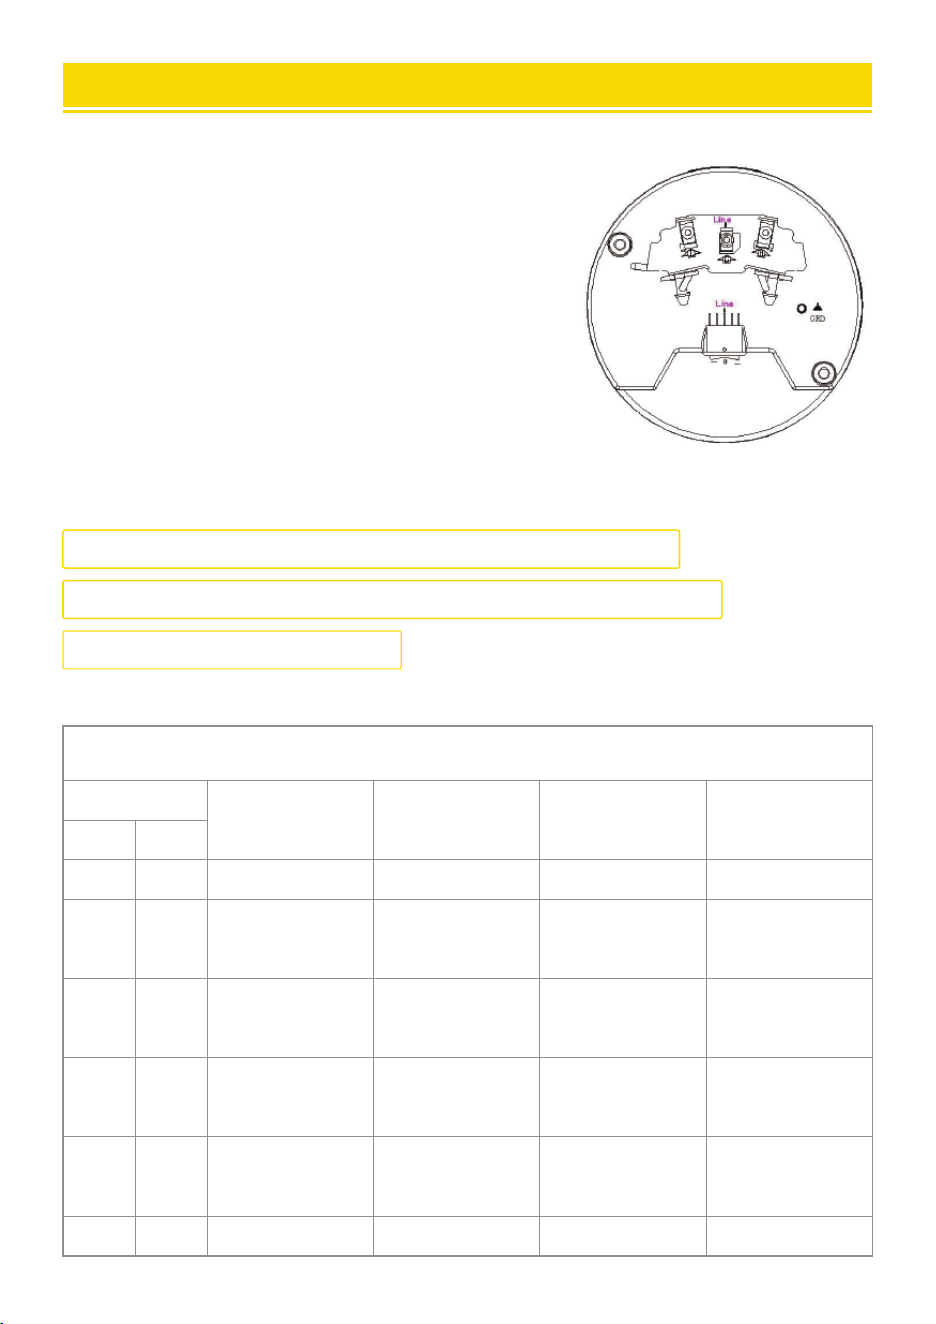
If the pump comes with a power cord, no wiring is needed.
If not, wire the pump as below:
• Ground wire connects to the ground terminal.
• If your power supply has two hot wires, connect them to each
terminal marked with “Line”; If your power supply has one hot
wire and one neutral wire, connect either of them to either of the
terminal marked with “Line”.
• Turn on the power and run the pump.
For Two Speed Pumps
Make sure that the electrical supply available is suitable for the
motor’s voltage, phase, and cycle, and that the wire size is adequate for
the HP (kW) rating and distance from the power source.
Warning: All electrical wiring must be peormed by a licensed electrician.
Warning: All electrical wiring must conform to local codes and NEC regulations.
Warning: Use copper conductors only.
Recommended
Wire Size 0-50’
No. 14
No. 14
No. 14
No. 12
No. 14
No. 10
No. 14
No. 10
No. 14
No. 12
Branch Fusetron
Amps
15
15
6.25
20
9
30
15
30
12
20
Circuit Breaker
Amps
15
15
10
20
10
30
15
30
15
20
Volts
115
115
230
115
230
115
230
115
230
230
Rated
KW
0.37
1.88
1.55
1.1
0.75
0.55
HP
0.5
2.5
2
1.5
1
0.75
Electrical Guidance for 60Hz Single phase motors

08
Turn on the power and wait for the pump to prime, which may take up to ve (5) minutes. Priming
time will depend on the veical length of the suction lift and the horizontal length of thesuction pipe.
If the pump does not prime within ve minutes, stop the motor and determine the cause. Make sure all
suction and discharge valves are open when the pump is running.See Troubleshooting Guide.
PRIMING
Fill strainer housing with water to suction pipe level. If water leakage occurs anywhere on the pump
or lter, DO NOT sta the pump. If no leakage occurs, stand at least 10 feet from the pump and/or
lter and proceed with staing the pump.
STORAGE
In order to keep the pump from the freeze in winter, please drain the pump properly:
• Keep the water level below the inlet of the pool.
• Pull out the drain plug from the pump strainer body and
remove the strainer lid.
• Disconnect pump from mounting pad, wiring system, and
piping system.
• Once water is drained o from the pump, reassemble the
strainer lid and drain plugs.
• Place pump in a shady and d area.
Voltage from the power must be in the range from 90% to 110% of the motor nameplate rated
voltage. Otherwise, the motor may overheat and result in overload tripping and reduced
component life.
Install, ground, bond, and wire motor in accordance with local or NEC requirements.
The motor should be grounded permanently by connecting the ground terminal to the electrical seice
ground.
Bond motor to pool structure. Bonding will connect all metal pas within and around the pool with
a continuous wire.
Bonding reduces the risk of current passing between bonded metal objects, which could potentially
cause electrical shock if grounded or shoed.
If any problem is found on the pump, see the Troubleshooting Guide to determine the cause and
contact the distributor to get spare pas for replacement. See Pas Guide.
SERVICING
Check the status of the pump regularly. Clean the strainer immediately if it is full of debris. Make
sure the environment is ventilated enough for the motor to cool itself.
Warning: Stop the pump and release all pressure from the circulation system before seicing.

TROUBLE SHOOTING
MOTOR WILL NOT START
• Improper or loose wiring connections; open switches or relays; tripped circuit breakers,
GFCI’s, or blown fuses.
• Manually check rotation of motor shaft for free movement and lack of obstruction.
• If you have a timer, make sure it is working properly. Bypass it if necessa.
MOTOR SHUTS OFF
MOTOR HUMS BUT DOES NOT START
• Undersized wiring; loose connections; etc.
• Low voltage at motor or power drop (frequently caused by undersized wiring or extension cord use).
• Mechanical binding and electrical overload.
• Centrifugal switch stuck in the OPEN position.
• Binding of the motor shaft.
PUMP WON’T PRIME
•Make sure pump strainer housing is lled with water and the cover O-ring is clean; also, be sure it is
properly seated in the cover O-ring groove. Make sure the strainer cover is locked rmly in position
and lubricated with “Jack’s 327”.
• Make sure all suction and discharge valves are fully open and not blocked, that the pool water level
is at a proper level and that the skimmer weir is not hung up or stuck on the skimmer wall.
• Block o to determine if the pump will develop a vacuum. You should have 5”-6” of vacuum at the
strainer cover. You may be able to check by removing the skimmer basket and holding your hand over
the bottom po with the skimmer full and pump running. If no suction is felt, check for line blockage.
• a. If pump develops a vacuum, check for a blocked suction line or diy strainer basket, and an air
leak in the suction piping may be the cause.
• b. If the pump does not develop a vacuum and the pump has sucient “priming water”: i. Re-check
strainer housing cover and all threaded connections for suction leaks. Check if all hose clamps are
tight. ii. Check voltage to ensure that the motor is rotating at full RPM. iii. Open housing cover and
check clogging or obstruction in suction. Check impeller for debris. iv. Remove and replace shaft seal
only if it is leaking.
09
TROUBLE SHOOTING(CONTINUED)
Warning: Turn o the power and release all pressure before draining the pump.

LOW FLOW
• Clogged or restricted strainer or suction line; undersized pool piping.
• Plugged or restricted discharge line or lter, valve paially closed (high gauge reading).
How to correct: Backwash strainer as per manufacturer’s instructions;
• Air leak in suction piping causing rumbling in the pump.
• Cavitation due to restricted or undersized suction line or leak at any joint, low water
level in the pool, and unrestricted discharge return lines. Correct suction condition or
throttle return lines, if practical.
NOISY PUMP
•Vibration due to improper mounting, etc. Put a rubber pad under metal mounting feet.
• Foreign matter in the pump housing. Loose stones/debris hitting the impeller could be the
cause; remove any above.
• Motor bearings noisy from normal wear, rust, overheating, or concentration of chemicals
causing seal damage which will allow chlorinated water to seep into bearings wiping out
the grease causing bearing to whine. All seal leaks should be replaced at once.
• Equipment base vibrating.
10

E-mail: CustomerSeice@vevor.com