
CABINET
COUNTERTOP
WALL
INSTALLATION OPERATION
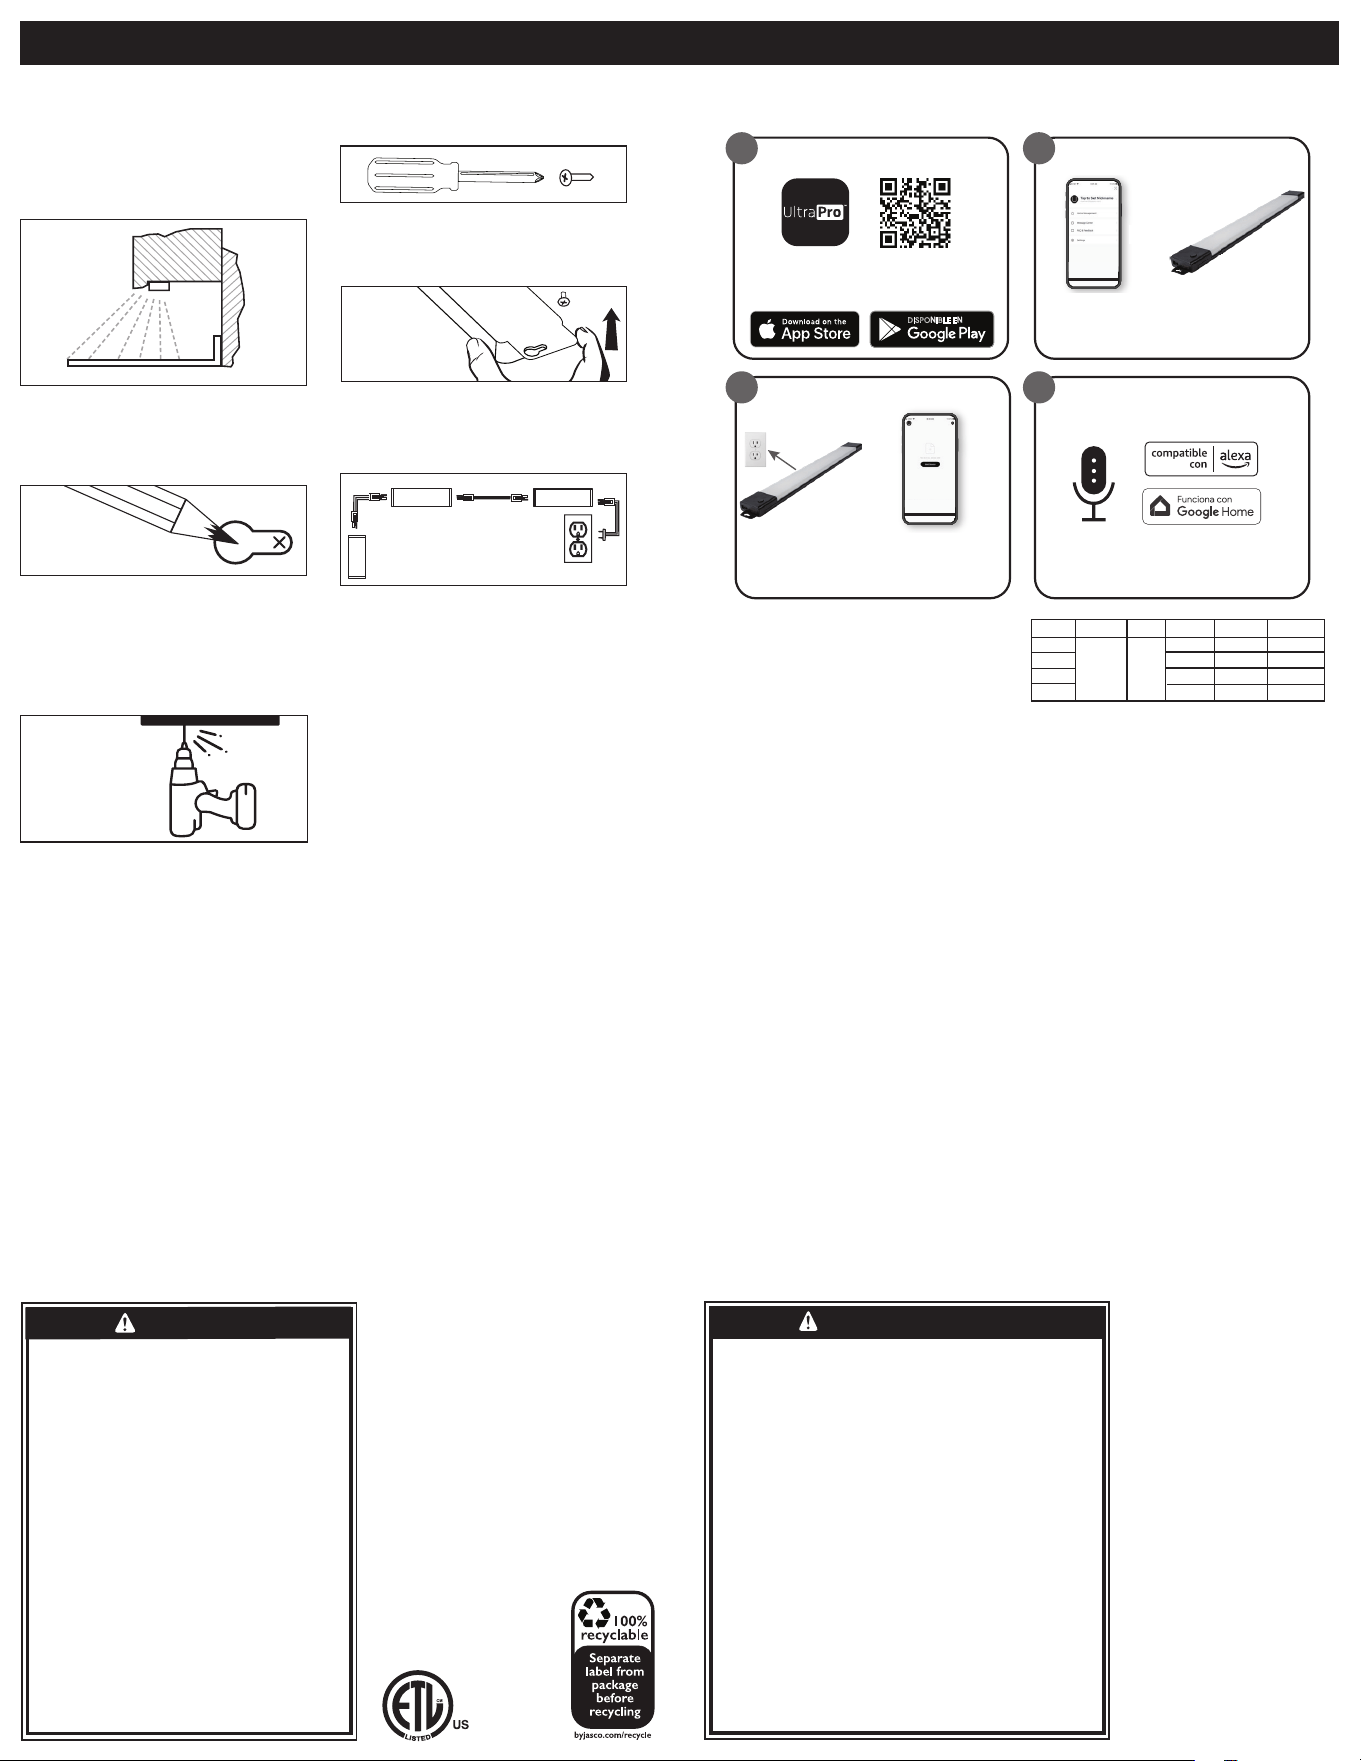
STEP 1: CHOOSE INSTALL LOCATION
Make sure that the 5ft. power cord will
reach the nearest outlet. The mounting
location should be indoors, dry and able
to support the fixture. It is recommended
to mount the light bar near the front lip of
your cabinets.
STEP 2: MARK SCREW LOCATIONS
With a pencil, mark the screw locations
using the keyholes on either end of the
fixture for guidance.
STEP 3: PRE-DRILL HOLES
Pre-drill holes for the screws using the
pencil markings for guidance. Use a 1/16in.
drill bit for soft woods and a 3/32in. drill
bit for hard woods.
STEP 4: INSERT SCREWS
Insert the screws with a #1 Phillips
screwdriver, leaving 1/8in. beyond
the surface.
STEP 5: MOUNT FIXTURE
Align the keyholes on the fixture with the
screws to secure it into place. Fasten the
screws as needed.
STEP 6: PLUG IN THE FIXTURE
Insert the 3-pin connector on the power
cord into the fixture and the flat plug into
the nearest 120VAC 60Hz outlet.
LINKING ADDITIONAL FIXTURES
Follow steps 1-5 to install additional
fixtures (sold separately). Once installed,
connect each fixture with their included
18in. linking cords. See image above.
MANUAL OPERATION
Press the ON/OFF button to turn the
fixture on or o. Press and hold the
ON/OFF button to adjust the
brightness level.
1
3
Scan the QR code above or search
UltraPro on the Apple App Store or on
Google Play.
Download the app
Create an account in
the UltraPro app
Follow the on-screen
instructions to add
devices, create schedules
and control the light
fixture from anywhere
Set up account
1. 2.
Works with Amazon Alexa or
Google Assistant-enabled devices
Follow the steps in the Amazon Alexa or
Google Home app to connect the
UltraPro app or select “Support” in the
UltraPro app.
Voice control
Remotely operate your Wi-Fi fixture with the easy-to-use UltraPro app.
Follow the available instructions and resources to set up your smart
device.
MARK
MOUNT
WARNINGS TO REDUCE THE RISK OF FIRE,
ELECTRIC SHOCK OR INJURY TO PERSONS:
This fixture has a polarized plug (one blade is wider
than the other) to reduce the risk of electric shock.
This plug will fit into a polarized outlet only one way.
If the plug does not fit fully in the outlet, reverse
the plug. If it still does not fit, contact a qualified
electrician. Never use an extension cord unless the
plug can be fully inserted. Do not alter the plug.
• Read the entire installation procedure before
you begin.
• Not to be used with a dimming circuit or any other
electronically switched control.
• Do not attempt to install the fixture while
plugged in.
• Save these instructions so you can refer to them at
a later time.
CLEANING INSTRUCTIONS: Your LED light fixture
is made from quality materials that will last for many
years with minimum care. When cleaning, make sure
you have unplugged your LED light fixture and have
allowed sucient time for the unit to cool to room
temperature. You should clean the housing and lens
using a soft, damp cloth. DO NOT USE chemicals to
clean your LED light fixture, as this could damage
or disable the light fixture. You should plug your
LED light fixture in only after the light fixture has
thoroughly dried.
ELECTRICAL CORD CAN BE
ROUTED AROUND CORNERS
TO SUIT THE INSTALLATION
3 PIN
3 PIN
3 PIN
2 PIN2 PIN
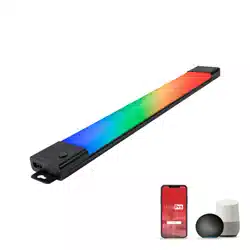
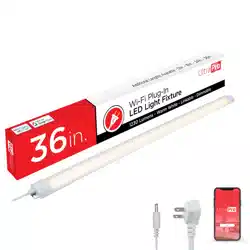
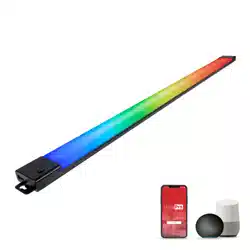
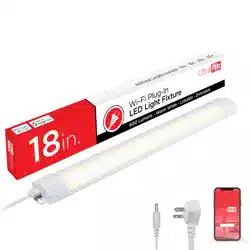
12/18/24/36in.
LED Wi-Fi
Color-Changing
Smart Light
Fixture
User Manual
See reverse for easy-to-follow
instructions and exclusive deals.
IMPORTANT: BEFORE INSTALLING, READ ALL SAFETY
INSTRUCTIONS LISTED AT THE END OF THIS MANUAL.
LENGTH
12”
7.9502 63.8
67
62.5
69.6
11.2751
16.11005
21.31480
2000-
6500K
95
18”
24”
36”
LUMENS*
WATTAGE* EFFICACY*CRICCT
Thank you for your purchase!
Instructions
made easy
Register your
product
For additional Wi-Fi smart
devices and accessory
products, visit our website.
www.byjasco.com/ultrapro
Like our product?
Leave a review
on your favorite
retailer website.
Having Problems?
Let us know how
we can help.
Call 1-800-654-8483,
M-F.
Read instructions or watch
easy-to-follow video.
Scan code or visit
byjasco.com/57070i
Receive exclusive deals and
register your product.
Scan code or visit
byjasco.com/deals
Setup and installation
Setup and installation
Create an account in
the UltraPro app
Follow the on-screen
instructions to add
devices, create schedules
and control the light
fixture from anywhere
Set up account
1. 2.
Install light fixtureCreate an account
in the UltraPro app
Plug light fixture
into outlet
Note: Only connects on a
2.4 GHz Wi-Fi connection
Add devices, control
the smart light fixture
from anywhere and
create schedules
Create an account in
the UltraPro app
Follow the on-screen
instructions to add
devices, create schedules
and control the light
fixture from anywhere
Set up account
1. 2.
1.
3.
2.
4.
2
4
PRE-DRILL
*Measured at 6500K
Suppliers Declaration of Conformity | Model #: 57070, 57071, 57072, 57073 | Jasco Products Co.,
10 E. Memorial Rd., Oklahoma City, OK 73114, www.byjasco.com
This device complies with Part 15 of the FCC Rules. Operation is subject to the following two
conditions: (1) this device may not cause harmful interference, and (2) this device must accept any
interference received, including interference that may cause undesired operation.
FCC NOTE: The manufacturer is not responsible for any radio or TV interference caused by
unauthorized modifications to this equipment. Such modifications could void the
user’s authority to operate the equipment.
NOTE: This equipment has been tested and found to comply with the limits for a Class B digital
device, pursuant to Part 15 of the FCC Rules. These limits are designed to provide reasonable
protection against harmful interference in a residential installation. This equipment generates,
uses and can radiate radio frequency energy and, if not installed and used in accordance with
the instructions, may cause harmful interference to radio communications. However, there is no
guarantee that interference will not occur in a particular installation. If this equipment does cause
harmful interference to radio or television reception, which can be determined by turning the
equipment o and on, the user is encouraged to try to correct the interference by one or more of
the following measures:
• Reorient or relocate the receiving antenna.
• Increase the separation between the equipment and receiver.
• Connect the equipment into an outlet on a circuit dierent from that
to which the receiver is connected.
• Consult the dealer or an experienced radio/TV technician for help.
Declaración de conformidad del proveedor | Modelo #: 57070, 57071, 57072, 57073
Jasco Products Co., 10 E. Memorial Rd, Oklahoma City, OK 73114, www.byjasco.com
Este dispositivo cumple con la Parte 15 de las normas de la FCC. Su funcionamiento está sujeto a
las siguientes dos condiciones: (1) este dispositivo no podrá causar interferencias perjudiciales, y
(2) este dispositivo debe aceptar cualquier interferencia recibida, incluidas las interferencias que
puedan causar un funcionamiento no deseado.
NOTA DE LA FCC: El fabricante no se hace responsable de ninguna interferencia de radio o TV
ocasionada por modificaciones no autorizadas efectuadas a este equipo. Dichas modificaciones
podrían anular la autoridad del usuario para utilizar el equipo.
NOTA: Este equipo ha sido probado y cumple con los límites para aparatos digitales de Clase B,
de conformidad con el apartado 15 de las normas de la FCC. Estos límites están diseñados para
proveer protección razonable contra interferencias perjudiciales en una instalación residencial.
Este equipo genera, usa y puede irradiar energía de radiofrecuencias y, si no se instala y usa según
las instrucciones, puede provocar interferencia perjudicial a las radiocomunicaciones. No obstante,
no hay garantías de que no ocurrirá interferencia en una instalación en particular. Si este equipo
provoca interferencia perjudicial a la recepción de radio o televisión, lo que puede determinarse
encendiendo y apagando el equipo, se recomienda que el usuario intente corregir la interferencia
por medio de la implementación de una o más de las siguientes medidas:
• Reorientar o reubicar la antena receptora.
• Incrementar la separación entre el equipo y el receptor.
• Conectar el equipo a un tomacorriente de un circuito diferente del circuito al que está
conectado el receptor.
• Consultar al distribuidor o a un técnico con experiencia en radio/televisión
para solicitar asistencia.
MADE IN THAILAND
Distributed by Jasco Products Company LLC,
10 E. Memorial Rd., Oklahoma City, OK 73114.
This Jasco product comes with a 5-year
limited warranty. Visit www.byjasco.com for
warranty details.
Questions? Contact our U.S.-based Consumer
Care at 1-800-654-8483, M-F.
HECHO EN TAILANDIA
Distribuido por Jasco Products
Company LLC, 10 E. Memorial Rd.,
Oklahoma City, Oklahoma 73114.
Este producto de Jasco tiene
una garantía de por cinco años
limitada. Visite www.byjasco.com
para conocer los detalles de la
garantía.
¿Tiene preguntas? Comuníquese
con nuestro servicio de atención al
consumidor de EE.UU. al
1-800-654-8483, de lunes
a viernes.
57070, 57071, 57072,
57073 v2 10/24
RISK OF ELECTRIC SHOCK
• DO NOT USE IN WET LOCATIONS.
• USE INDOORS ONLY.
• USE ONLY INSULATED STAPLES OR PLASTIC TIES TO
SECURE THE CORDS.
• ROUTE AND SECURE THE CORDS SO THEY WILL NOT BE
PINCHED OR DAMAGED.
• NO SERVICEABLE PARTS.
• NON-REPLACEABLE LEDS.
• LED LIGHT OUTPUT IS STRONG ENOUGH TO INJURE
HUMAN EYES. PRECAUTIONS MUST BE TAKEN TO
PREVENT LOOKING DIRECTLY AT THE LEDS WITH
UNAIDED EYES FOR MORE THAN A FEW SECONDS.
RISK OF FIRE
• NOT INTENDED FOR ILLUMINATION OF AQUARIUMS.
• NOT INTENDED FOR USE ABOVE STOVES, COOKTOPS,
SINKS OR OTHER HEAT-PRODUCING APPLIANCES, SUCH
AS COFFEE MAKERS, TOASTERS OR TOASTER OVENS.
• NOT INTENDED FOR RECESSED INSTALLATION IN
CEILINGS OR SOFFITS.
• NOT INTENDED FOR SURFACE INSTALLATION INSIDE OR
ON TOP OF BUILT-IN FURNISHINGS, SUCH AS KITCHEN
CABINETS, CHINA CABINETS OR TROPHY CASES.
• DO NOT CONCEAL POWER SUPPLY CORD OR LINKING
CORDS INSIDE A WALL, CEILING, SOFFIT, KITCHEN
CABINET OR SIMILAR PERMANENT STRUCTURE.
• DO NOT RUN THE POWER SUPPLY CORD OR LINKING
CORDS THROUGH HOLES IN WALLS, CEILINGS OR
FLOORS.
RIESGO DE DESCARGA ELÉCTRICA
• NO UTILICE EN UBICACIÓN MOJADOS.
• USO SOLO EN INTERIORES.
• UTILIZAR LA SÓLO GRAPAS AISLADAS O CUERDAS DE PLÁSTICOS
PARA ASEGURAR LOS CABLES.
• RUTA Y ASEGURAR LAS CUERDAS PARA QUE NO VA SER APRETADO
O DAÑAR.
• NO HAY PIEZAS.
• NO REEMPLAZABLE BOMBILLOD DE LED.
• SALIDA DE LUZ LED ES SUFICIENTEMENTE FUERTE PARA DAÑAR LOS
OJOS HUMANOS. DEBEN TOMARSE PRECAUCIONES PARA EVITAR
MIRAR DIRECTAMENTE LOS LEDS CON OJOS SIN AYUDA PARA MÁS
DE UNOS POCOS SEGUNDOS.
RIESGO DE INCENDIO
• NO ES DESTINADOS PARA LA ILUMINACIÓN DE ACUARIO.
• NO ESTÁ DISEÑADO PARA USO POR ENCIMA DE LAS COCINAS,
ENCIMERAS DE COCCIÓN, FREGADEROS O APARATOS DE CALOR
PRODUCIENDO, COMO CAFETERAS, TOSTADORAS, HORNOS
TOSTADORES O.
• NO ES DESTINADOS A LA INSTALACIÓN EMPOTRADA EN TECHO O
PLAFONES.
• NO ES DESTINADOS A LA INSTALACIÓN DE SUPERFICIE DENTRO
O ENCIMA DE MOBILIARIO INCORPORADA COMO GABINETES DE
COCINAS, GABINETES DE CHINA O CASOS DE TROFEO.
• NO OCULTAR LA FUENTE DE ALIMENTACIÓN O LA CONEXIÓN DE
CABLES ADENTRO DE UNA PARED, TECHO, PLAFONES, ARMARIOS
DE COCINA O SIMILAR ESTRUCTURA PERMANENTE.
• NO SE EJECUTAN EL CABLE DE SUMINISTRO DE ALIMENTACIÓN O LA
CONEXIÓN DE CABLES, A TRAVÉS DE AGUJEROS EN LAS PAREDES,
TECHO O PISOS.
WARNING
ADVERTENCIA
App Store is a service mark of Apple Inc.
Google, Google Home and Google Play are
trademarks of Google LLC.
Amazon, Alexa and all related logos are trademarks
of Amazon.com, Inc. or its aliates.
INSTALACIÓN FUNCIONAMIENTO
PASO 1: ELIJA EL LUGAR DE
INSTALACIÓN.
EAsegúrese de que el cable de alimentación de
1,5m (5ft.) llegue hasta el tomacorriente más
cercano. La ubicación de montaje debe ser una
en interiores, seca y con capacidad de admitir la
lámpara. Se recomienda montar la barra de luz
cerca del borde de sus armarios.
PASO 2: MARQUE LAS UBICACIONES DE
LOS TORNILLOS
Con un lápiz, marque las ubicaciones de los
tornillos usando los orificios en cada uno de los
extremos de la lámpara como guía.
PASO 3: PERFORE PREVIAMENTE
LOS ORIFICIOS
Perfore previamente orificios para los tornillos
guiándose por las marcas con lápiz. Use una
broca de 1/16in. para maderas blandas y una
broca de 3/32in. para maderas duras.
PASO 4: INSERTE LOS TORNILLOS
Inserte los tornillos con un destornillador Phillips
#1, dejando 3mm sobre la superficie.
PASO 5: MONTE LA LÁMPARA
Alinee los orificios tipo cerradura en la lámpara
con los tornillos para fijarla en su lugar. Apriete
los tornillos según sea necesario.
PASO 6: ENCHUFE LA LÁMPARA
IInserte el conector de 3 pines del cable de
alimentación en la lámpara y el enchufe plano en
el tomacorriente de 120VAC 60Hz más cercano.
UNIÓN LAS LÁMPARAS ADICIONALES
Siga los pasos 1 a 5 para instalar lámparas
adicionales (se venden por separado). Una vez
instaladas, conecte cada lámpara con sus cables
de conexión de 45,7cm (18in.) incluidos. Ver la
imagen de arriba.
FUNCIONAMIENTO MANUAL
Presione el botón de encendido y apagado
para encender o apagar la lámpara. Mantenga
presionado el botón para ajustar la configuración
de brillo.
Escanee el código QR anterior o
busque UltraPro en App Store de
Apple o en Google Play.
Descargue la app
DISPONIBLE EN
Opere de forma remota su lámpara Wi-Fi con la app
UltraPro fácil de usar. Siga las instrucciones y los recursos
disponibles para configurar su dispositivo inteligente.
PERFORE
PREVIAMENTE
MARQUE
MONTE
ADVERTENCIAS PARA REDUCIR EL RIESGO
DE INCENDIO, DESCARGA ELÉCTRICA O
LESIONES A PERSONAS:
Esta lámpara tiene un enchufe polarizado (con una
patilla más ancha que la otra) para reducir el riesgo de
descarga eléctrica. El enchufe solo podrá conectarse en
un tomacorriente polarizado de una manera. Si no puede
colocarlo por completo en el tomacorriente, gire el enchufe.
Si aun así no puede colocarlo, llame a un electricista
habilitado. No use un cable de extensión a menos que pueda
colocar el enchufe por completo. No modifique el enchufe
• Lea todo el procedimiento de instalación antes de
comenzar.
• No se debe usar con un circuito regulador
de intensidad ni otro control conmutado
electrónicamente.
• No intente instalar la lámpara si está enchufada.
• Guarde estas instrucciones para consultarlas
posteriormente.
INSTRUCCIONES DE LIMPIEZA: Su lámpara LED
está fabricada con materiales de calidad que durarán
muchos años con cuidados mínimos. Cuando la
limpie, asegúrese de haber desenchufado la lámpara
LED y esperado el tiempo suficiente para que la
unidad se enfríe a temperatura ambiente. Debe
limpiar la carcasa y el lente con un paño suave y
húmedo. NO USE productos químicos para limpiar
la lámpara LED porque podría dañarla o inutilizarla.
Debe enchufar la lámpara LED solamente después de
que se ha secado por completo.
GABINETE
ENCIMERA
PARED
EL CABLE ELÉCTRICO SE PUEDE
PASAR POR ESQUINAS PARA
AJUSTARSE A LAS NECESIDADES
DE LA INSTALACIÓN.
3 clavijas
3 clavijas
3 clavijas
2 clavijas2 clavijas
MONTE
App Store es una marca de servicio
de Apple Inc. Google, Google Home y
Google Play son marcas de Google LLC.
Amazon, Alexa y todos los logotipos
relacionados son marcas registradas de
Amazon.com, Inc. o sus filiales.
1
3
Create an account in
the UltraPro app
Follow the on-screen
instructions to add
devices, create schedules
and control the light
fixture from anywhere
Set up account
1. 2.
Configuración y Instalación
Create an account in
the UltraPro app
Follow the on-screen
instructions to add
devices, create schedules
and control the light
fixture from anywhere
Set up account
1. 2.
Instalar lámpara
LED
Agregue dispositivos,
controle la lámpara
inteligente desde cualquier
lugar y cree horarios
Create an account in
the UltraPro app
Follow the on-screen
instructions to add
devices, create schedules
and control the light
fixture from anywhere
Set up account
1. 2.
1.
3.
2.
4.
2
4
Compatible con Amazon Alexa y Google
Assistant-dispositivos habilitados
Siga los pasos en la app de Amazon
Alexa o Google Home para conectar la
app UltraPro, o seleccione “Apoyo” en
la app UltraPro.
Control por voz
LARGA
12”
7.9502 63.8
67
62.5
69.6
11.2751
16.11005
21.31480
2000-
6500K
95
18”
24”
36”
LÚMENES*
VATIO* EFICACIA*CRICCT
Enchufe la làmpara
en un tomacorriente
Nota: Solo se conecta en
una 2.4 GHz Wi-Fi conexión
Cree una cuenta
en la app UltraPro
Configuración y Instalación
PATENTS/PATENTS PENDING
WWW.BYJASCO.COM/PATENTS
PATENTES/PATENTES
PENDIENTES
WWW.BYJASCO.COM/PATENTS