
INSTALLATION GUIDE
for the
SBX-F-MAVG1/10TW1
SKU# 94748
2021-Up Ford Maverick
• Installation requires appropriate tools and safety equipment.
Professional installation is recommended.
• If you prefer to perform your own installation, please read this
installation guide completely before beginning.
• Before cutting or drilling, check for potential obstacles behind
mounting surfaces.
• Mount this product securely to prevent damage or injury in
severe conditions.
INSTALLATION
DIFFICULTY:
ESTIMATED TIME:
2 HOURS
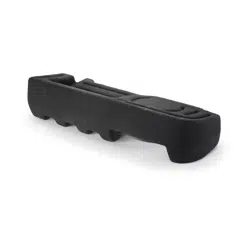
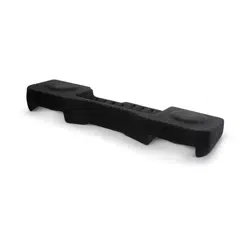
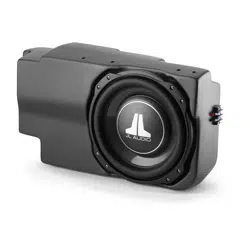
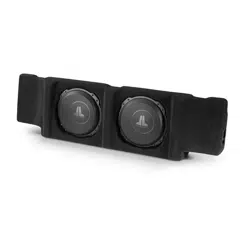
Enclosure Type: Sealed
Driver Type: 10TW1
Nominal Impedance: 2 ohms
Continuous Power Handling: 300 watts (RMS method)
Continued on Next Page
2
5
OUT
OF
SBX-F-MAVG1/10TW1 INSTR_SKU# 011612
INCLUDED HARDWARE
Continued on Next Page
Page 2 • JL Audio, Inc., 2024
BOM ID Qty SKU Description
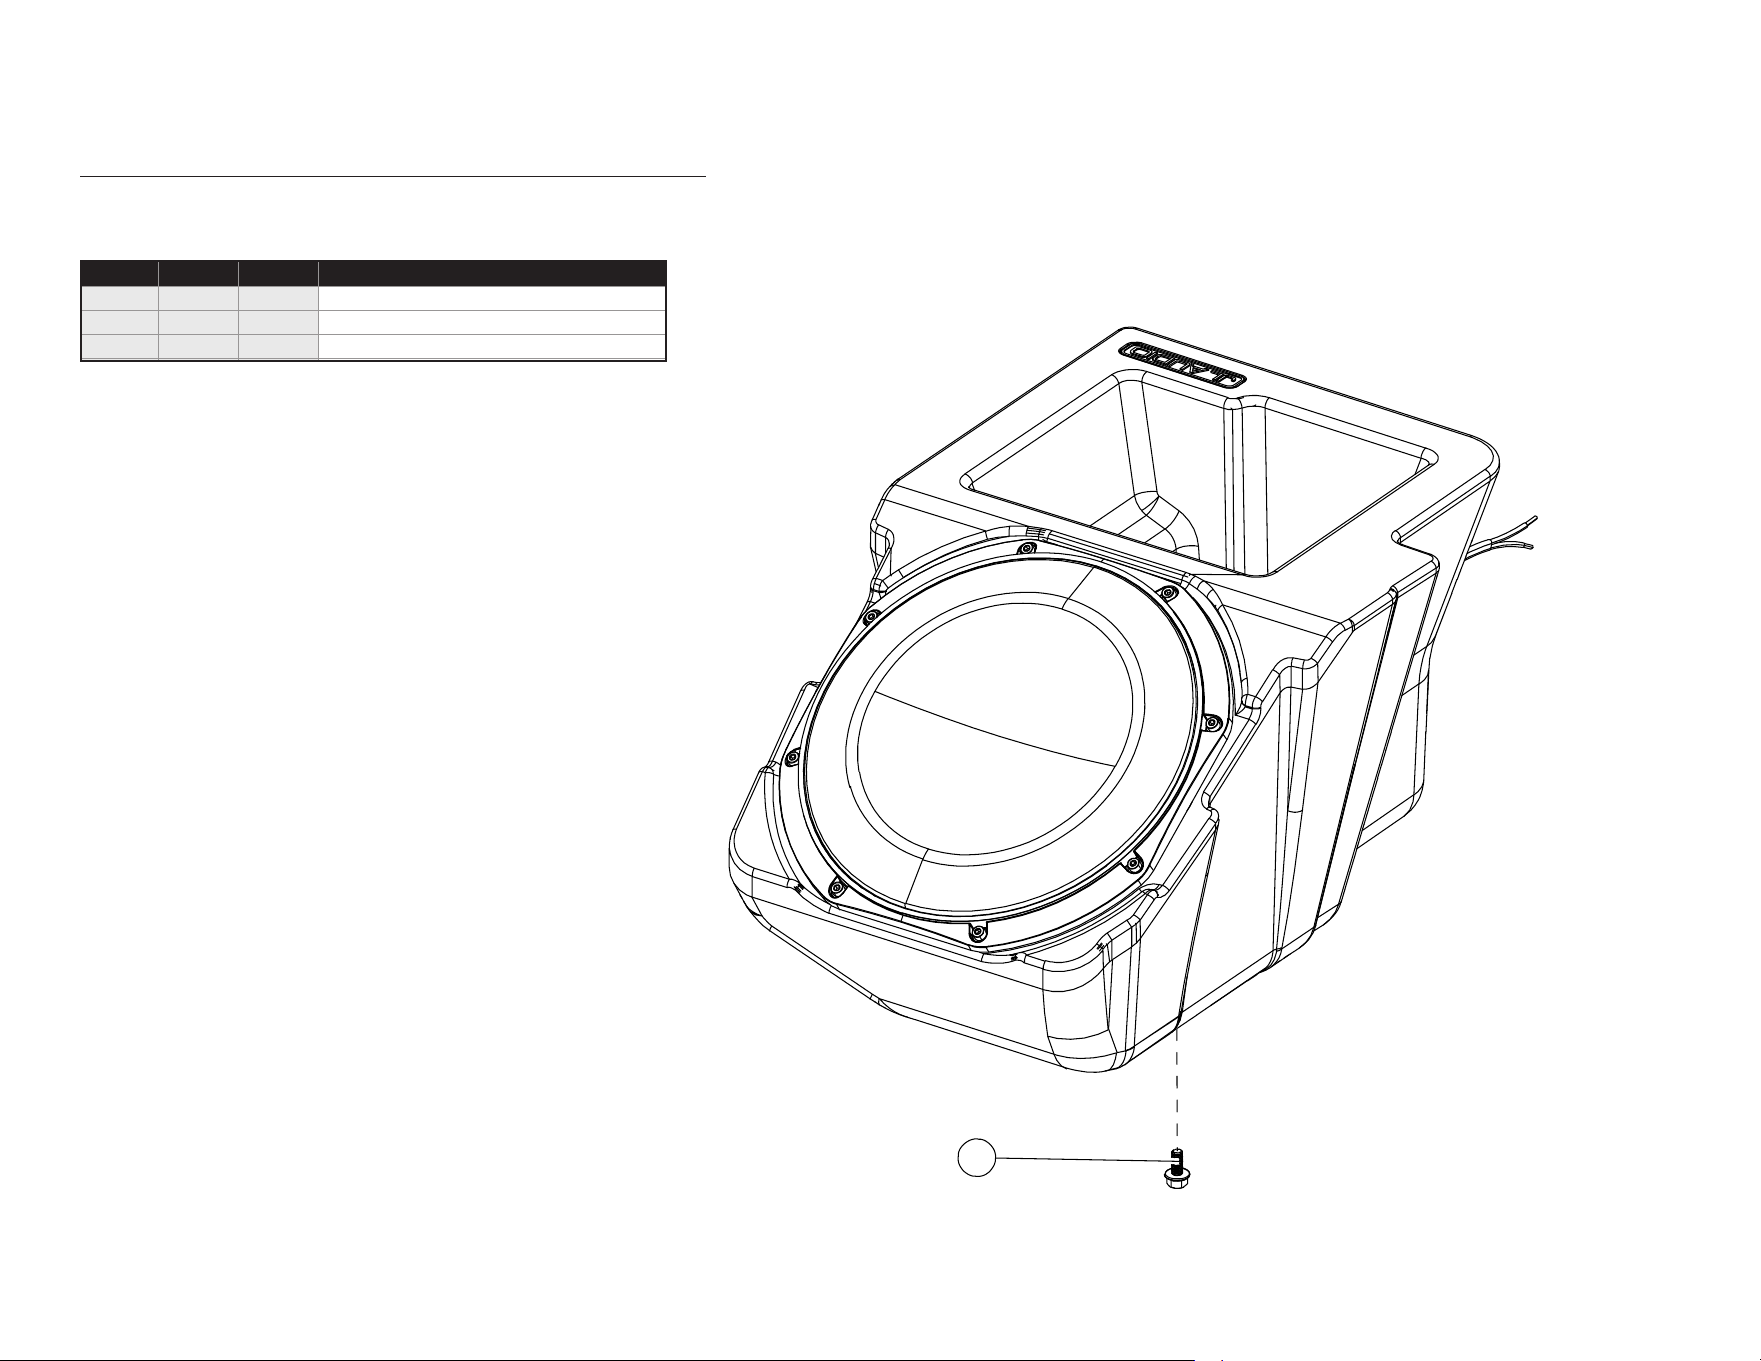
1 1 155078 M6 x 14mm Flanged Hex Head Screw
- 1 194157 Vibra-tite 132 (not shown)
- 1 150249 Foam Tape Strips (not shown)
SBX-F-MAVG1/10TW1 INSTR_SKU# 011612
1

Page 3 • JL Audio, Inc., 2024 Continued on Next Page
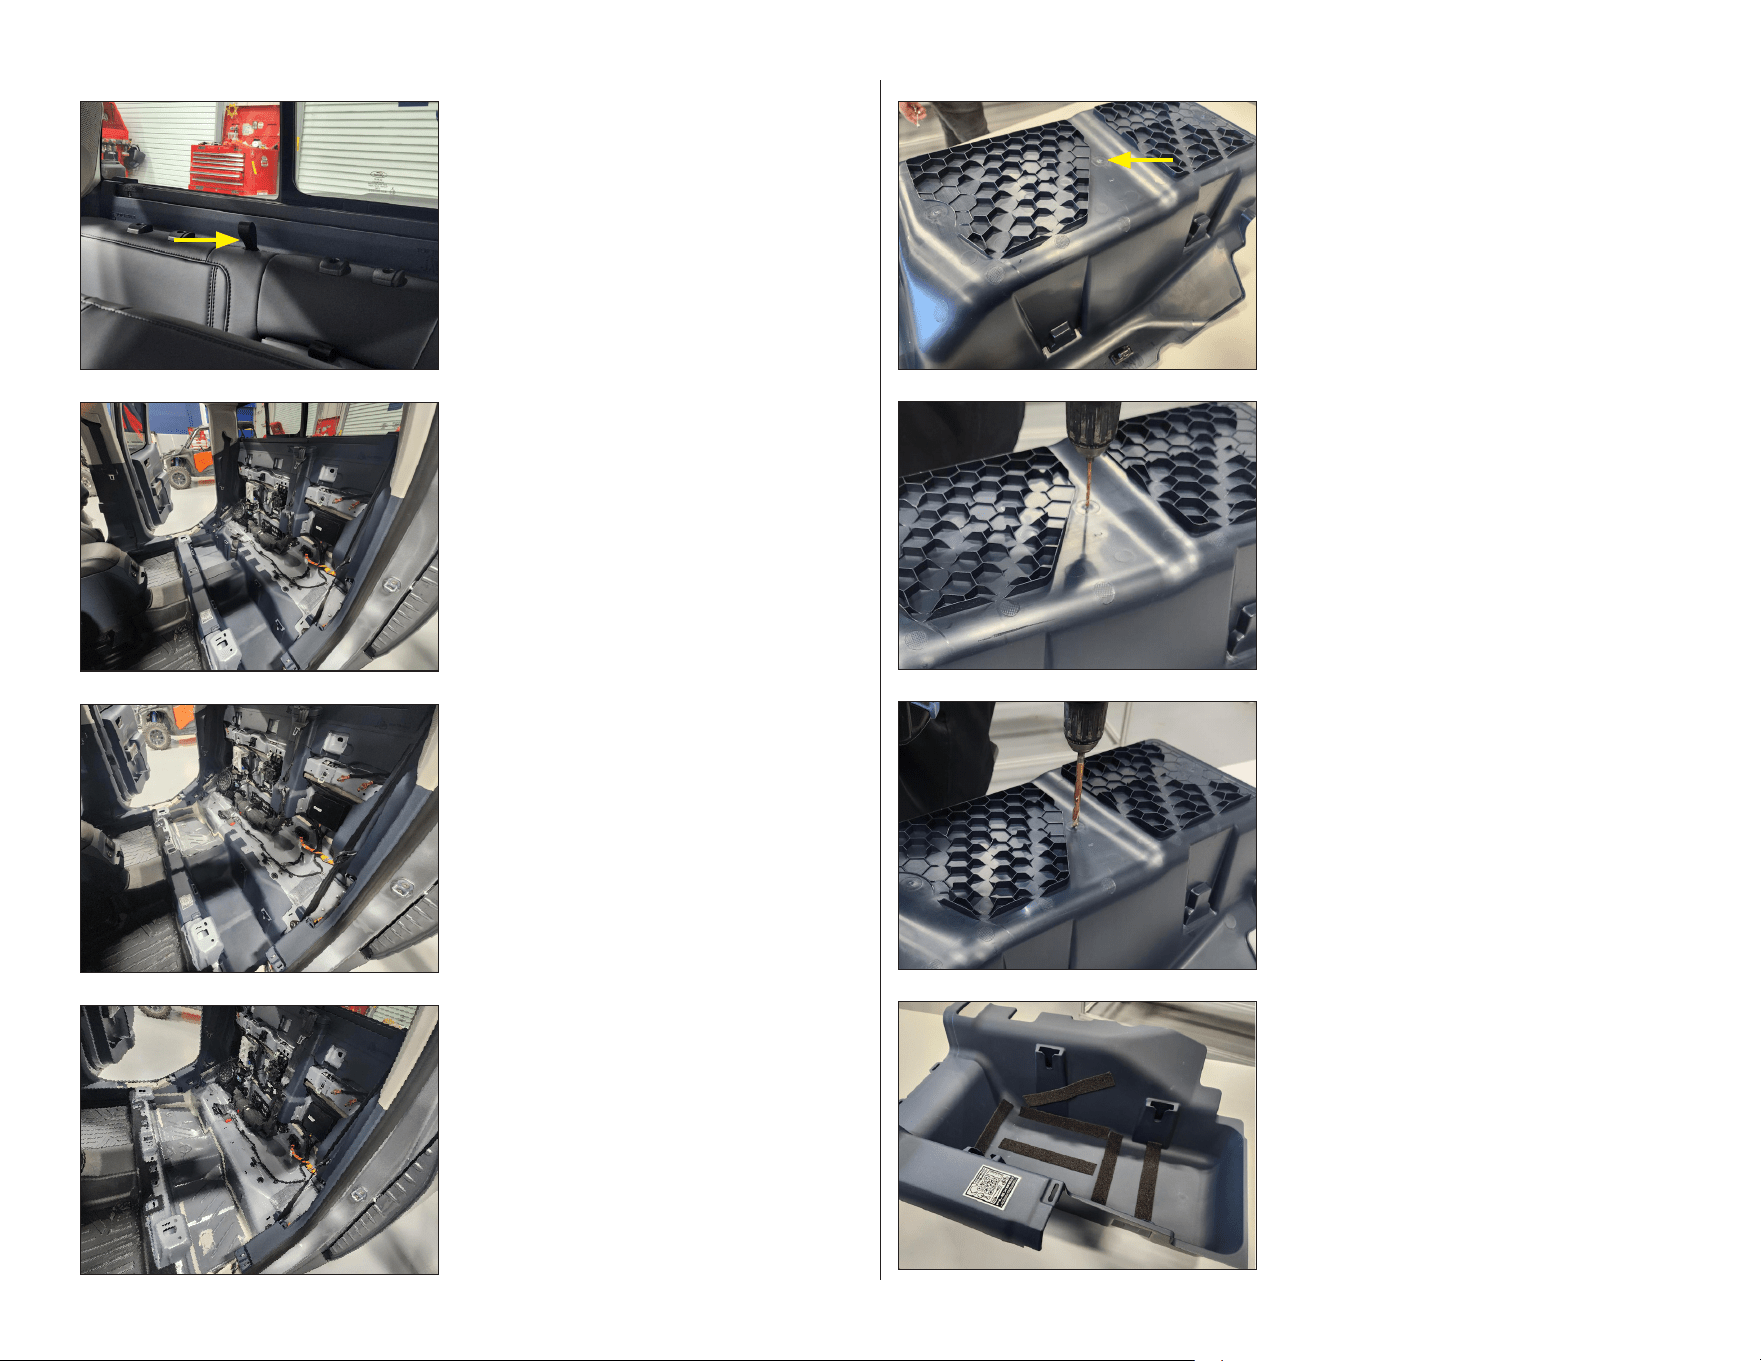
STEP 8
Press the release tab and lift the to remove
each of the rear seat headrests.
STEP 7
Remove two 15mm bolts from the seat bracket
on both sides of the vehicle.
STEP 6
Push the seat belt buckles below the seat
cushion.
STEP 5
Pull the seat belt bracket through to the top of
the seat cushion.
STEP 4
Remove the T-50 Torx bolt from seat belt
bracket under the seat on the passenger side,
and disconnect the harness.
STEP 3
Carefully unclip and remove the rear door sill
panels on both sides of the vehicle.
STEP 2
Lift the rear seat and empty the storage
pocket. Carefully remove C-pillar cover on
both sides of the vehicle.
STEP 1
Empty the rear seat area.
SBX-F-MAVG1/10TW1 INSTR_SKU# 011612
Page 4 • JL Audio, Inc., 2024 Continued on Next Page
STEP 16
Peel the adhesive backing and place Foam
Tape strips into the driver side storage pocket,
as needed.
STEP 15
Using a 5/16” drill bit, enlarge the hole drilled in
the previous step.
STEP 14
Using a 1/8” drill bit, carefully drill through the
center of the marker on the storage pocket.
STEP 13
Place the driver side storage pocket face down,
and locate the indicated marker.
STEP 12
Remove the driver’s side storage pocket.
ST EP 11
Remove the passenger side storage pocket.
STEP 10
Carefully remove the rear seat from the vehicle.
STEP 9
Pull the release strap to release the seat back.
SBX-F-MAVG1/10TW1 INSTR_SKU# 011612
Page 5 • JL Audio, Inc., 2024
STEP 18
Peel the adhesive backing and place Foam
Tape strips onto the vehicle floor, as needed.
STEP 17
Route the speaker cable as necessary and place
the enclosure into the storage pocket.
Apply Vibra-Tite 132 to an M6 x 14mm Flanged
Hex Head Screw, pass it through drilled hole
in the bottom of the storage pocket, into the
threaded insert in the enclosure, and fully
tighen.
STEP 19
With the enclosure installed in the driver side
storage pocket, reinstall the pocket.
STEP 20
Reinstall the passenger side storage pocket,
the rear seats, headrests, seat belt brackets and
trim panels.
SBX-F-MAVG1/10TW1 INSTR_SKU# 011612
CONGRATULATIONS!
You have completed the installation for this model! Enjoy your new Stealthbox®!
JLA-SKU# 011612 • ver. 04.18.2024 • 10369 NORTH COMMERCE PARKWAY • MIRAMAR, FLORIDA • 33025 • USA
Please review the warranty information included with each product for details. Warranty is valid only if the product was purchased from an Authorized JLAudio Dealer. Authorized dealer
status can be veried with the Dealer Locator on www.jlaudio.com. International Warranty: Please contact your country’s JLAudio distributor for specic warranty details.
© Garmin Ltd. or its subsidiaries. All rights reserved. • Garmin, JLAudio, Stealthbox, and How we play. are trademarks of Garmin Ltd. or its subsidiaries and are registered in one or more
countries, including the U.S. The JLAudio logo, the How we play logo, the Stealthbox logo, and the SBX logo are trademarks of Garmin Ltd. or its subsidiaries. Product images shown are for
illustrative purposes only and may differ from the actual product. Due to continuous product development, all specifications are subject to change without notice.
MID/HIGH FREQUENCY DRIVER FITMENT
A variety of JL Audio coaxial and component systems will t in the factory speaker locations of your vehicle.
1 - Installation may require adaptor, 2 - Component woofer only
Location / OEM
Speaker Size
Suggested JL Audio Speaker Models
Coaxial Models Component Models
Front Door / 6.5-inch C1-650x, C2-650x
C1-650, C2-650, C3-650,
C6-650cw
(2)
,
C7-650cw
(2)
Rear Pillar / 4-inch C1-400x, C2-400x
C7-350cm
(1)