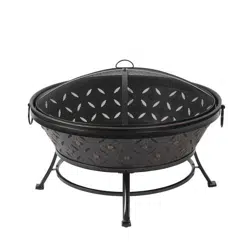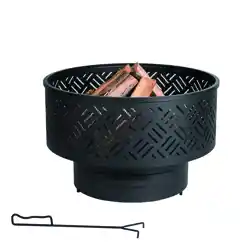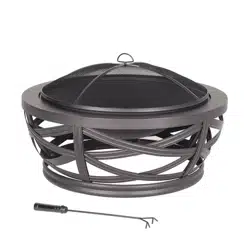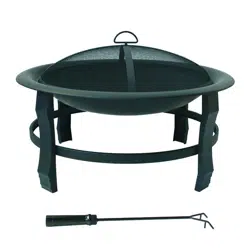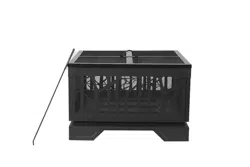
Birch Forest Wood Burning Fire Pit
Item# 13534
Questions, problems, missing parts? Before returning to your retailer,
call our customer service department at 1-877-447-4768,
8:00 a.m. - 4:30 p.m., CST, Monday-Friday or email us at
Model# 259-5280
2
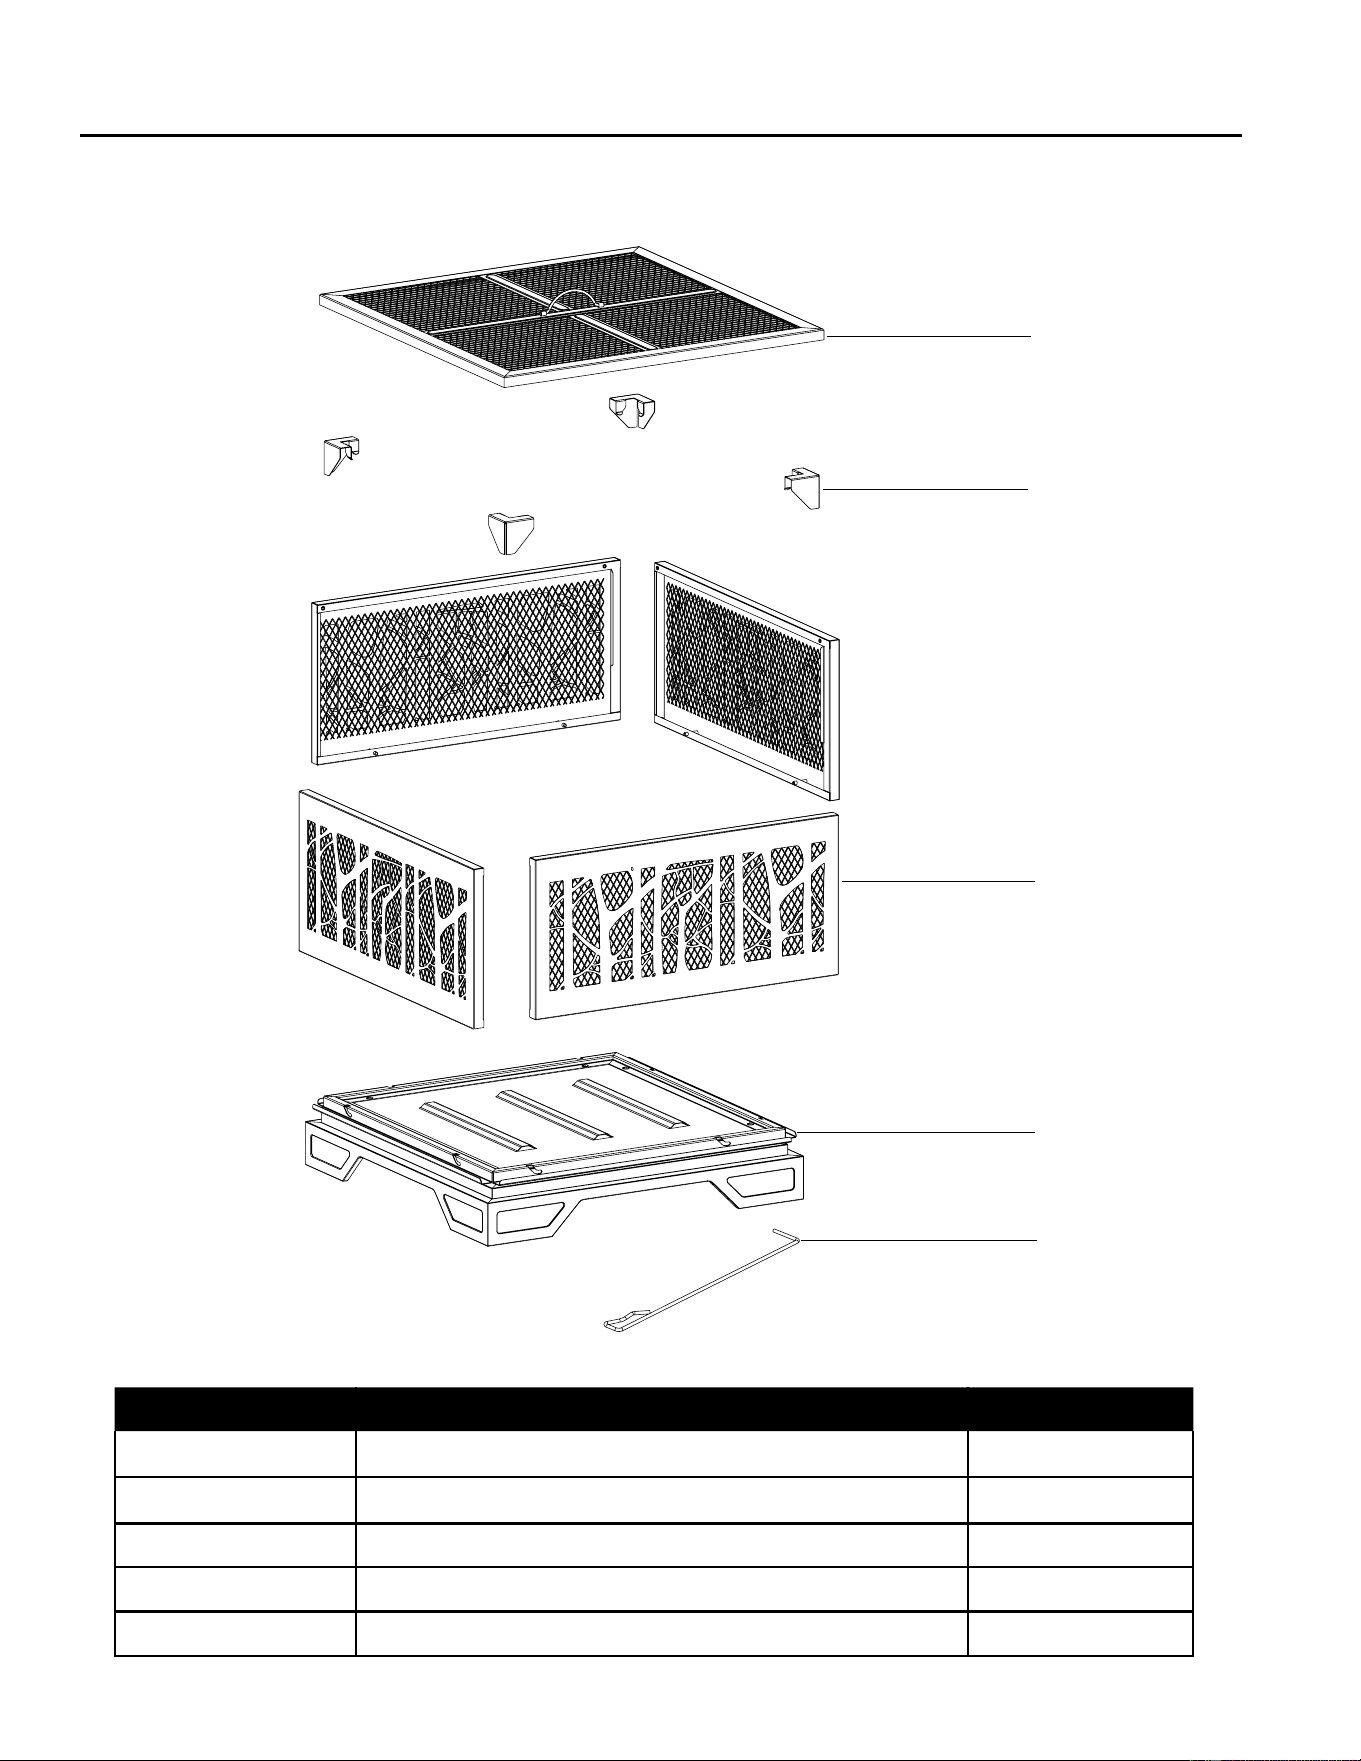
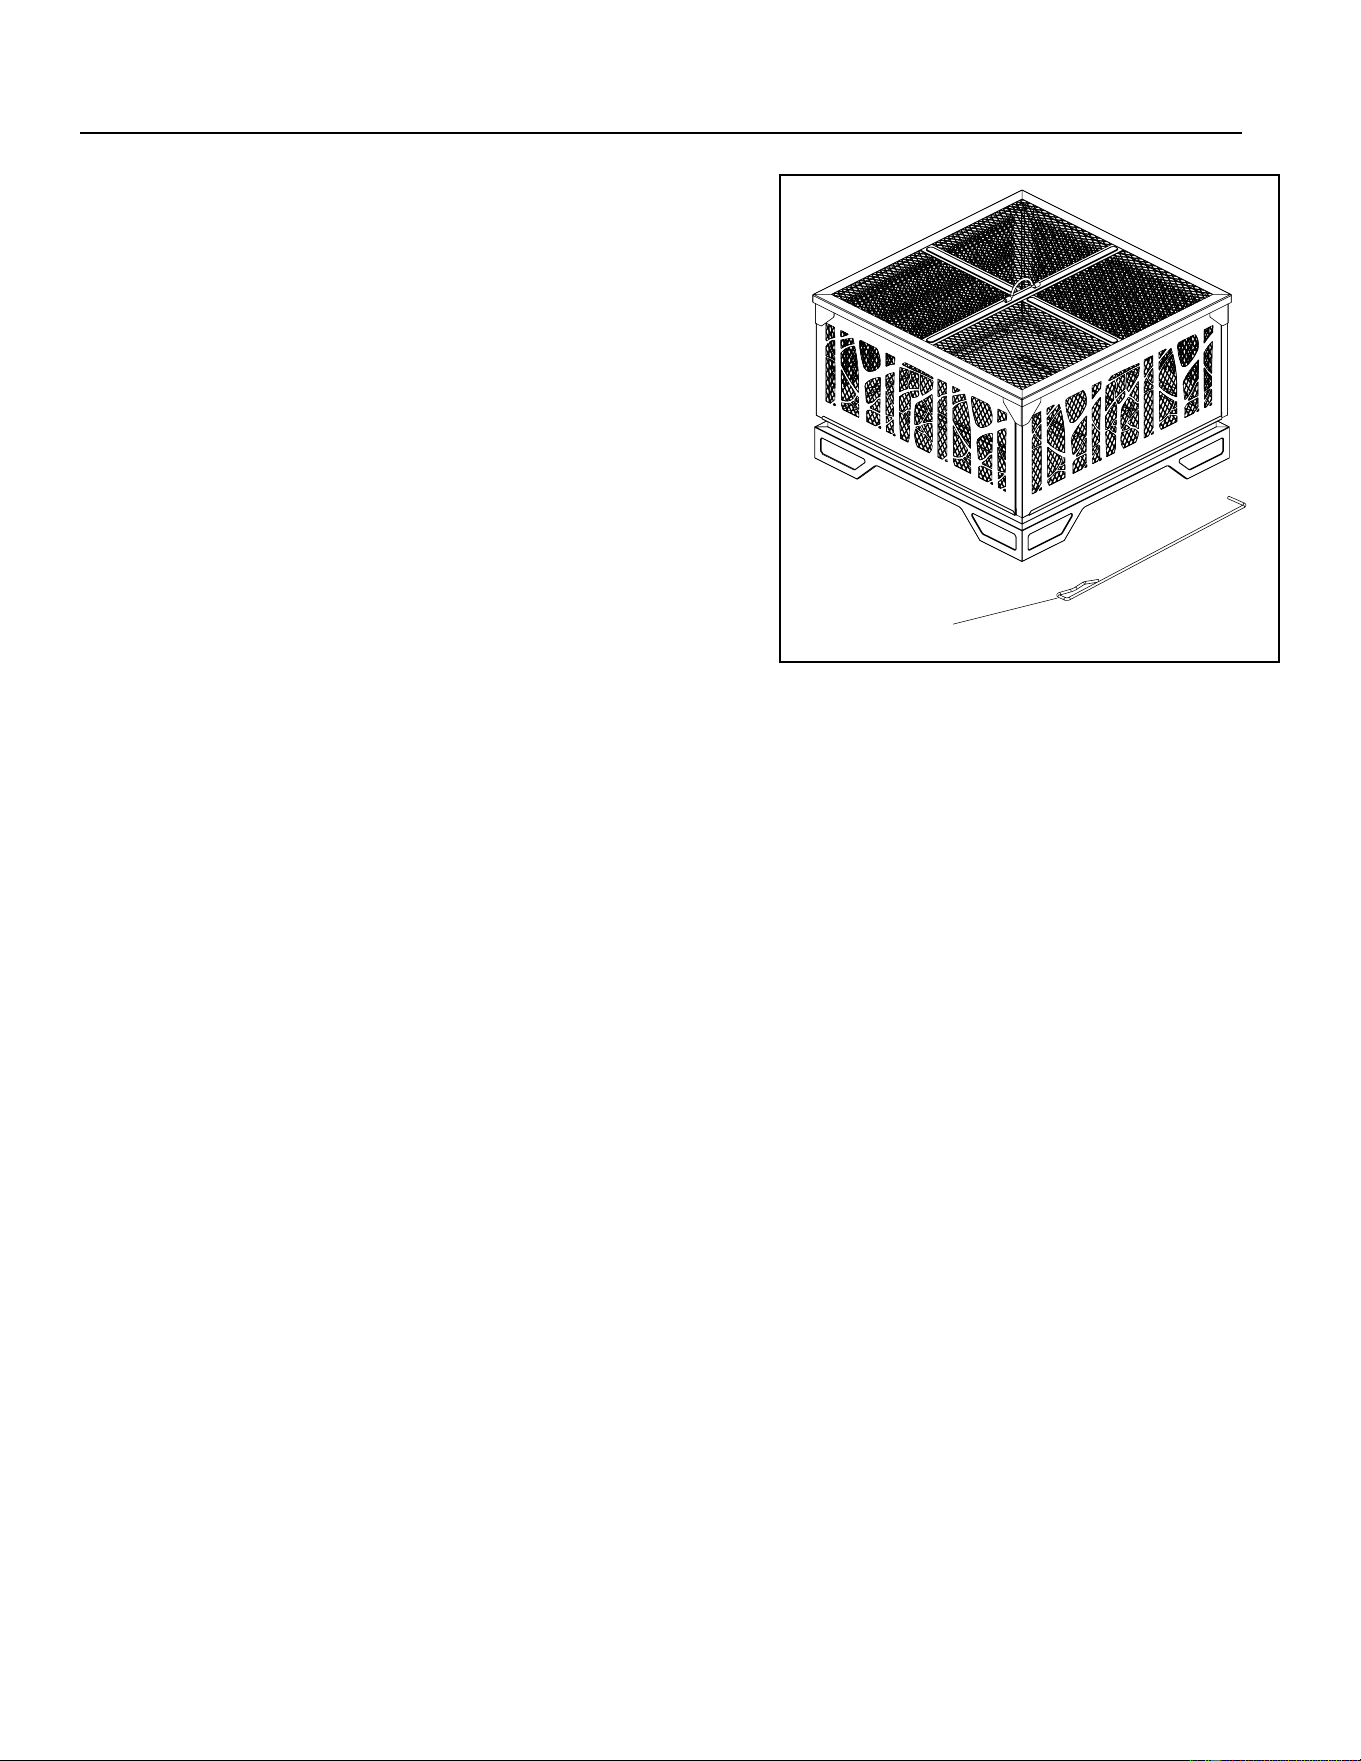
PACKAGE CONTENTS
A
B
C
D
E
Item Description Qty
A Mesh Lid 1
B Fastener 4
C Fire Bowl Panel 4
D Base 1
E Poker 1

SAFETY INFORMATION
WARNING
FUELS USED IN WOOD BURNING APPLIANCES, AND THE PRODUCTS OF
COMBUSTION OF SUCH FUELS, CAN EXPOSE YOU TO CHEMICALS INCLUDING
CARBON BLACK, WHICH IS KNOWN TO THE STATE OF CALIFORNIA TO CAUSE
CANCER, AND CARBON MONOXIDE, WHICH IS KNOWN TO THE STATE OF
CALIFORNIA TO CAUSE BIRTH DEFECTS OR OTHER REPRODUCTIVE HARM.
For more information go to: www.P65Warnings.ca.gov
Before you assemble or operate this unit, please carefully read this entire manual. Failure to do so
may result in a re, explosion, injury or death.
WARNING
• FOR OUTDOOR USE ONLY! This re pit shall be used only outdoors in a well-ventilated space
and shall not be used in a building, garage, or any other enclosed area.
• DO NOT add gasoline, kerosene, diesel fuel, lighter uid or alcohol to relight or enhance ame.
Excessive heat may damage the integrity of the structure. The ONLY method of lighting used
should be a match or lighter. Do not use any ammable fuels.
• Never use charcoal or any other solid fuel in the re pit.
• DO NOT use the unit indoors due to hazard of carbon monoxide fumes. Lack of ventilation can
cause death.
• This re pit was designed for burning untreated wood ONLY. Do not use with chemically treated
re logs.
• DO NOT pour water into the re pit when it is burning; this will cause rusting.
• Check the local bylaws before using the re pit.
• Never leave a lighted fire pit unattended.
• DO NOT use under any unprotected combustible structure. Keep combustible surfaces at least
48 inches away from all sides of the re pit.
• Protective gloves and long-handled tools are recommended for use with this re pit.
• Dispose of packing materials properly.
• DO NOT use the re pit on wooden decks or on other combustible surface.
• Fire pit will remain very hot for a period of time after using.
• Be sure re pit is cooled before moving.
• Use with extreme care and at your own risk.
• This re pit must be attended at all times!
• DO NOT operate re pit unless it is completely assembled and all parts are in place.
• Pay attention when operating the re pit. It is hot when in use and should never be left
unattended. Do not move it while in operation.
• DO NOT put any other re pit cover or anything ammable on, beneath or around the re pit.
• Users should be alerted to the hazards of high surface temperatures and keep a safe distance to
avoid burning or clothing ignition.
• Never lean over the re pit or place hands or ngers on the upper portion of an operational unit.
• Combustible materials should never be within 48 inches of the top, back or sides of the re pit.
• DO NOT handle the re pit until it is completely cooled.
• This heating appliance should not be used on plastic or articial wood decks.
3

SAFETY INFORMATION
• Children must be supervised while near this unit.
• Children and adults should be alerted to the hazards of high surface temperatures and
should stay away to avoid burns or clothing ignition.
• Young children should be carefully supervised when are in the area of the re pit.
• Clothing or other ammable materials should not be hung from the re pit or placed on or
near the re pit.
• Any guard or other protective device removed for servicing the re pit shall be replaced
prior to operating the re pit.
• Maximum safe fuel capacity: 5 lb/2.27 kg.
4
5
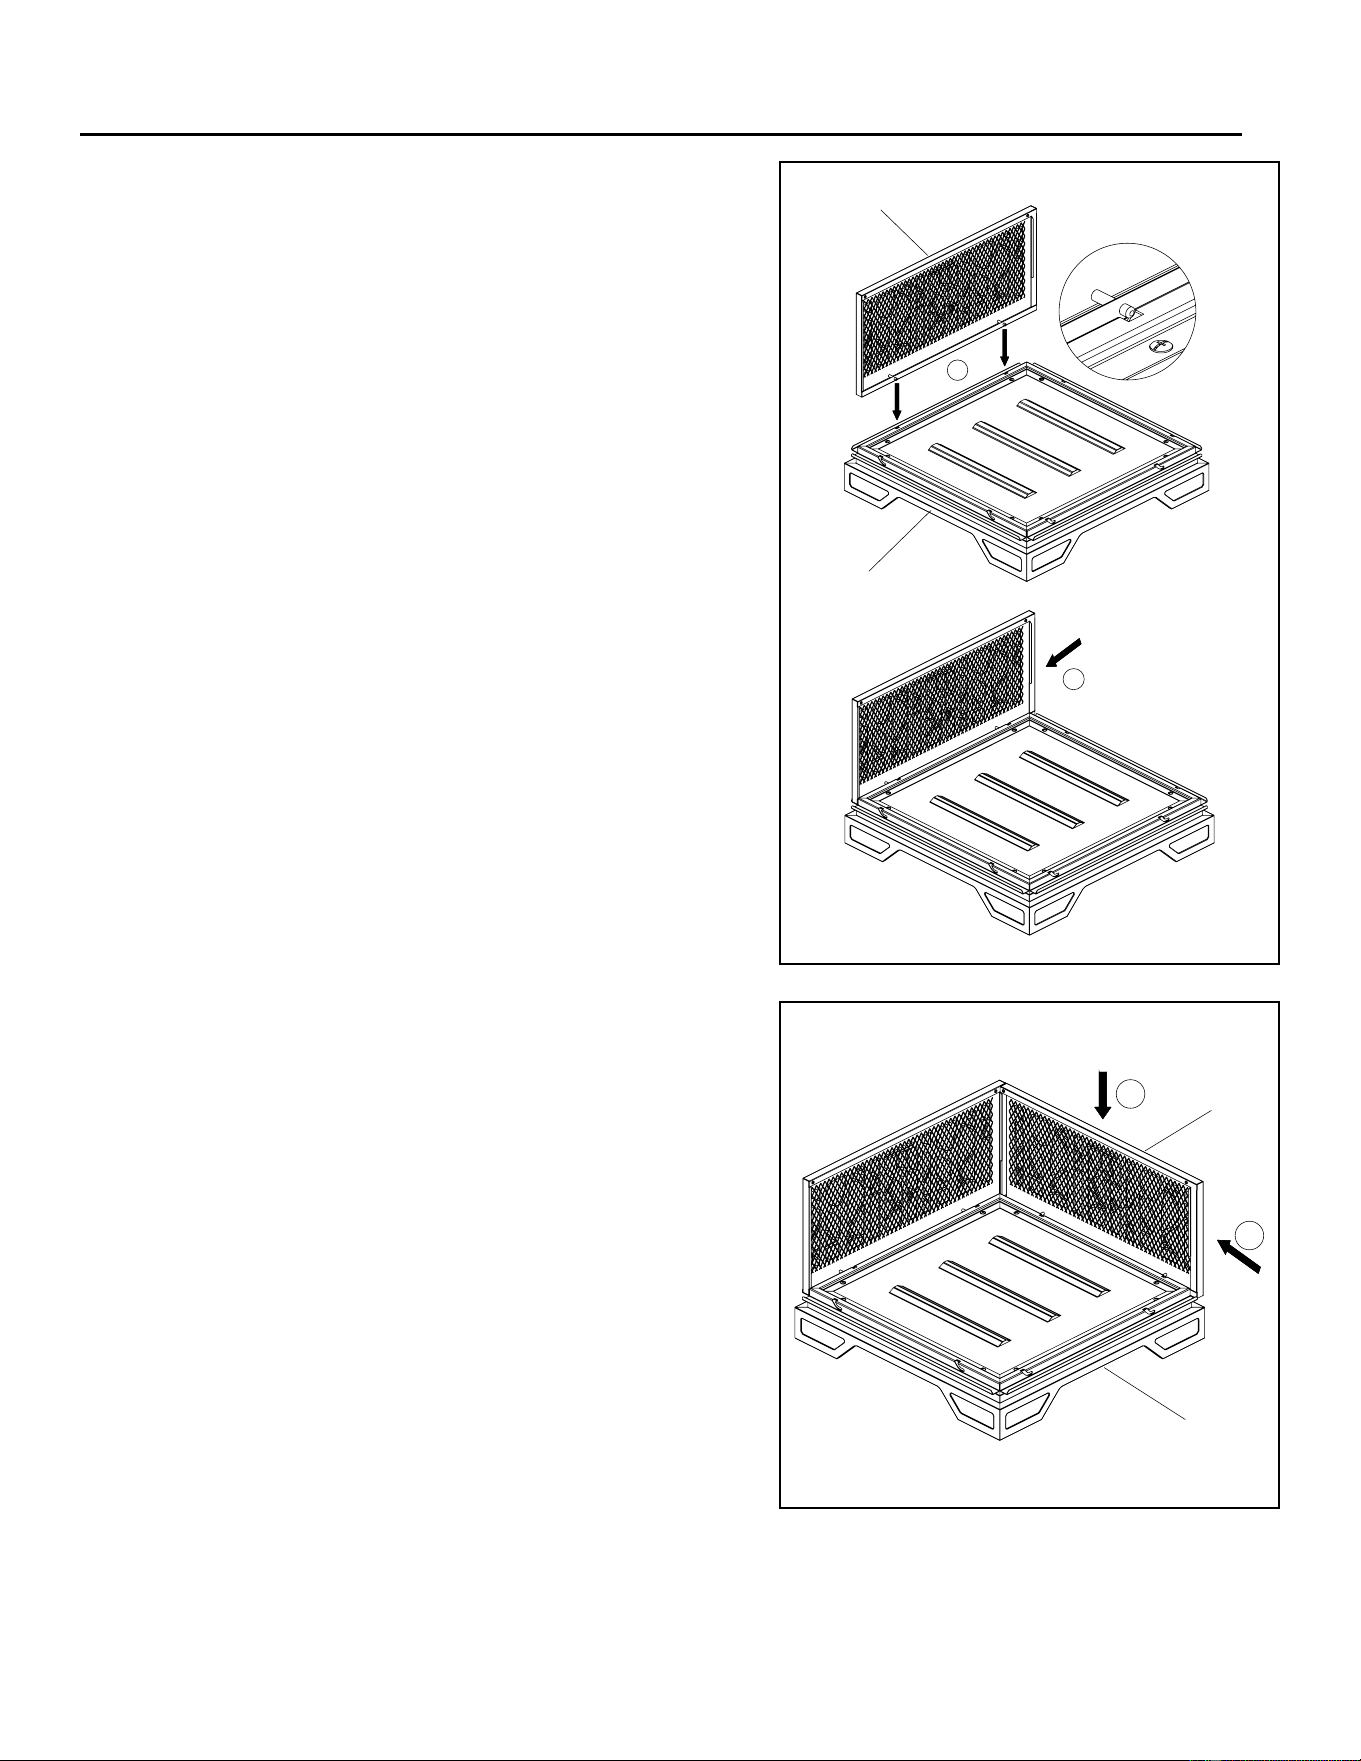
ASSEMBLY INSTRUCTIONS
1.
1
2
C
D
1
2
C
D
5
Attach the first fire bowl panel (C) to base (D)
by inserting the pins on the bottom of the fire bowl
panel (C) into the holes on the base (D) and sliding
the fire bowl panel (C) to the right.
2.
Attach the second fire bowl panel (C) to base (D)
by inserting the pins on the bottom of the fire bowl
panel (C) into the holes on the base (D) and sliding
the fire bowl panel (C) to the right.
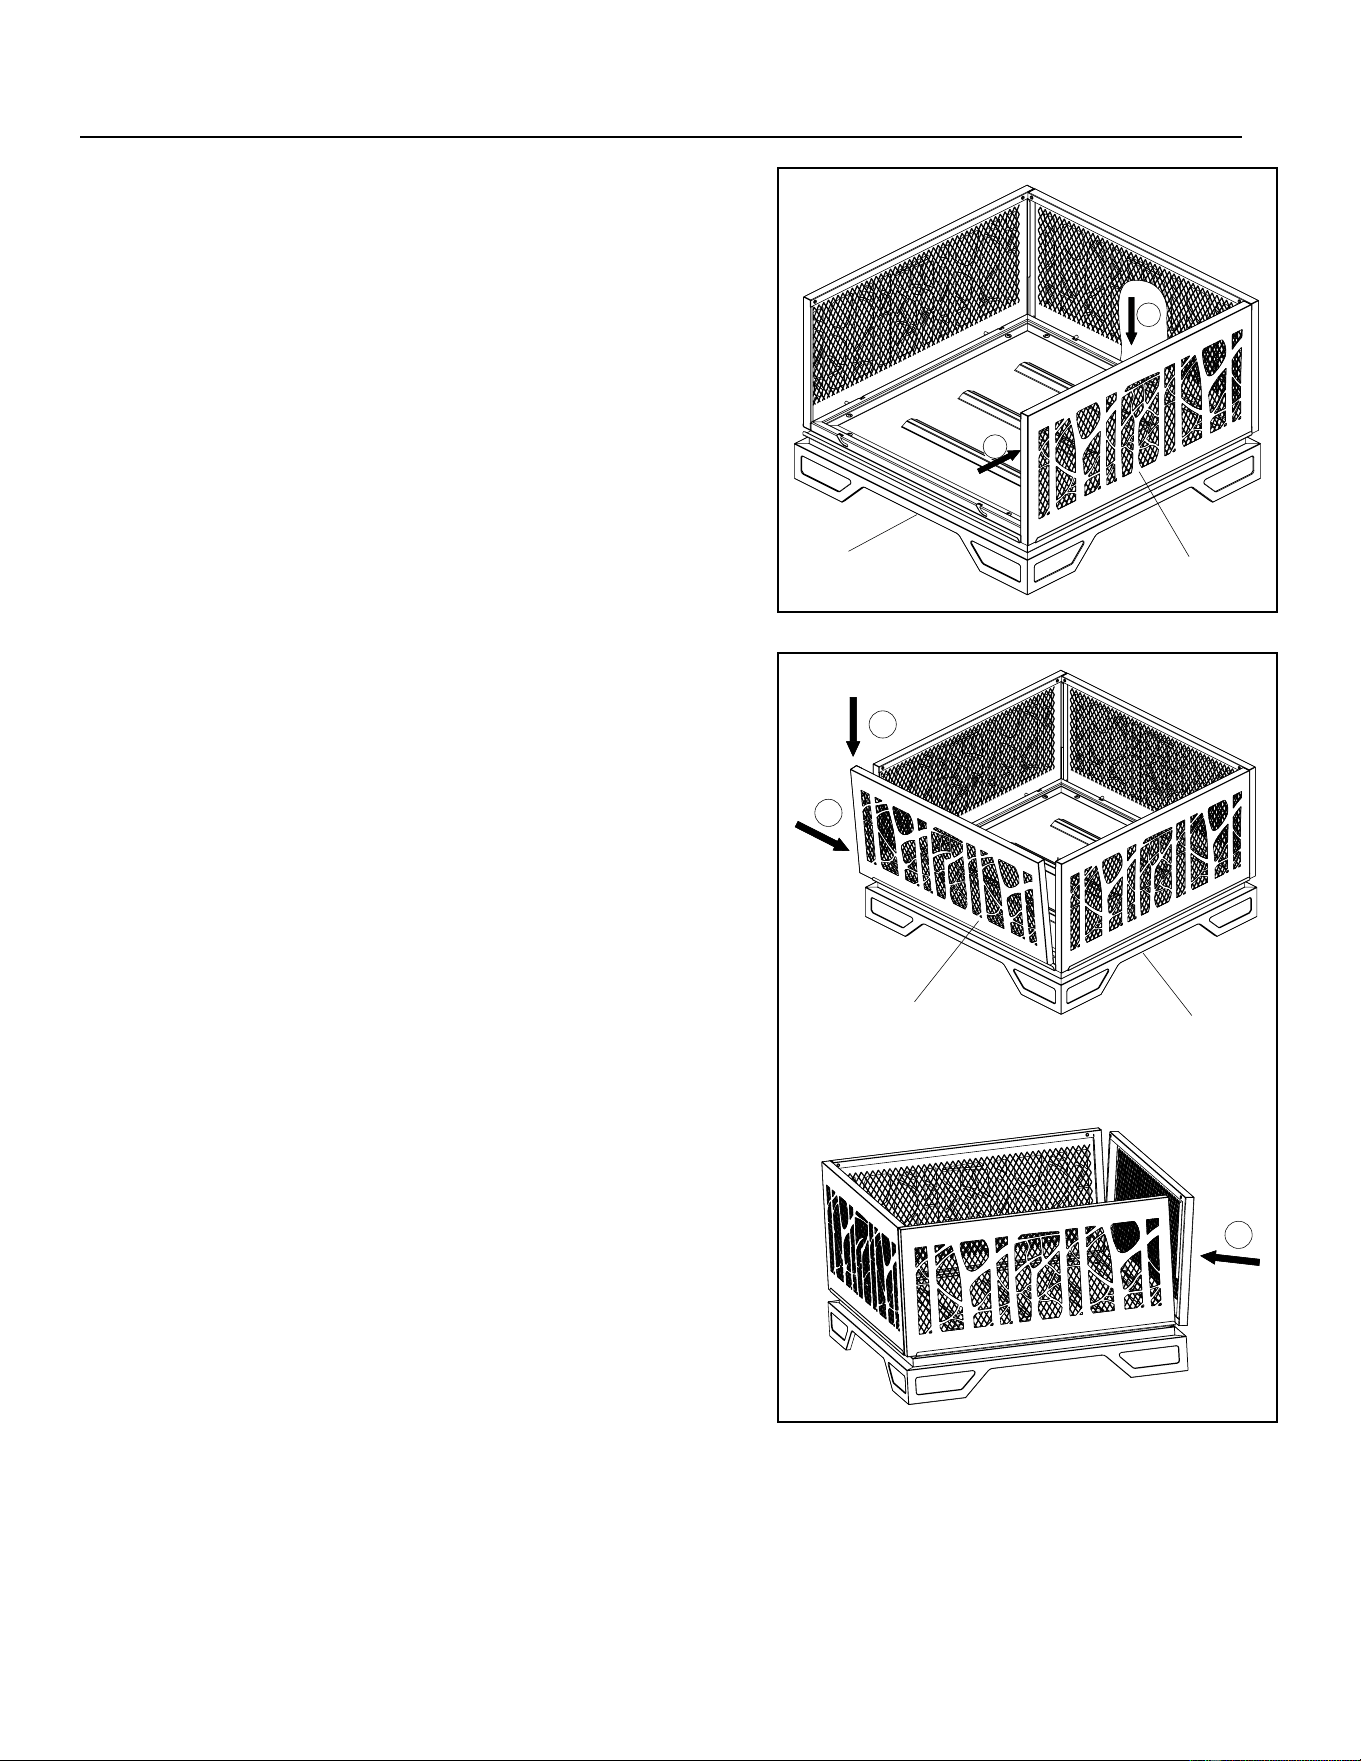
ASSEMBLY INSTRUCTIONS
1
2
D
C
1
2
3
C
D
6
3.
Attach the third fire bowl panel (C) to base (D)
by inserting the pins on the bottom of the fire bowl
panel (C) into the holes on the base (D) and sliding
the fire bowl panel (C) to the right.
4.
Attach the last fire bowl panel (C) to base (D)
by inserting the pins on the bottom of the fire bowl
panel (C) into the holes on the base (D) and sliding
the fire bowl panel (C) to the right.
5.
B
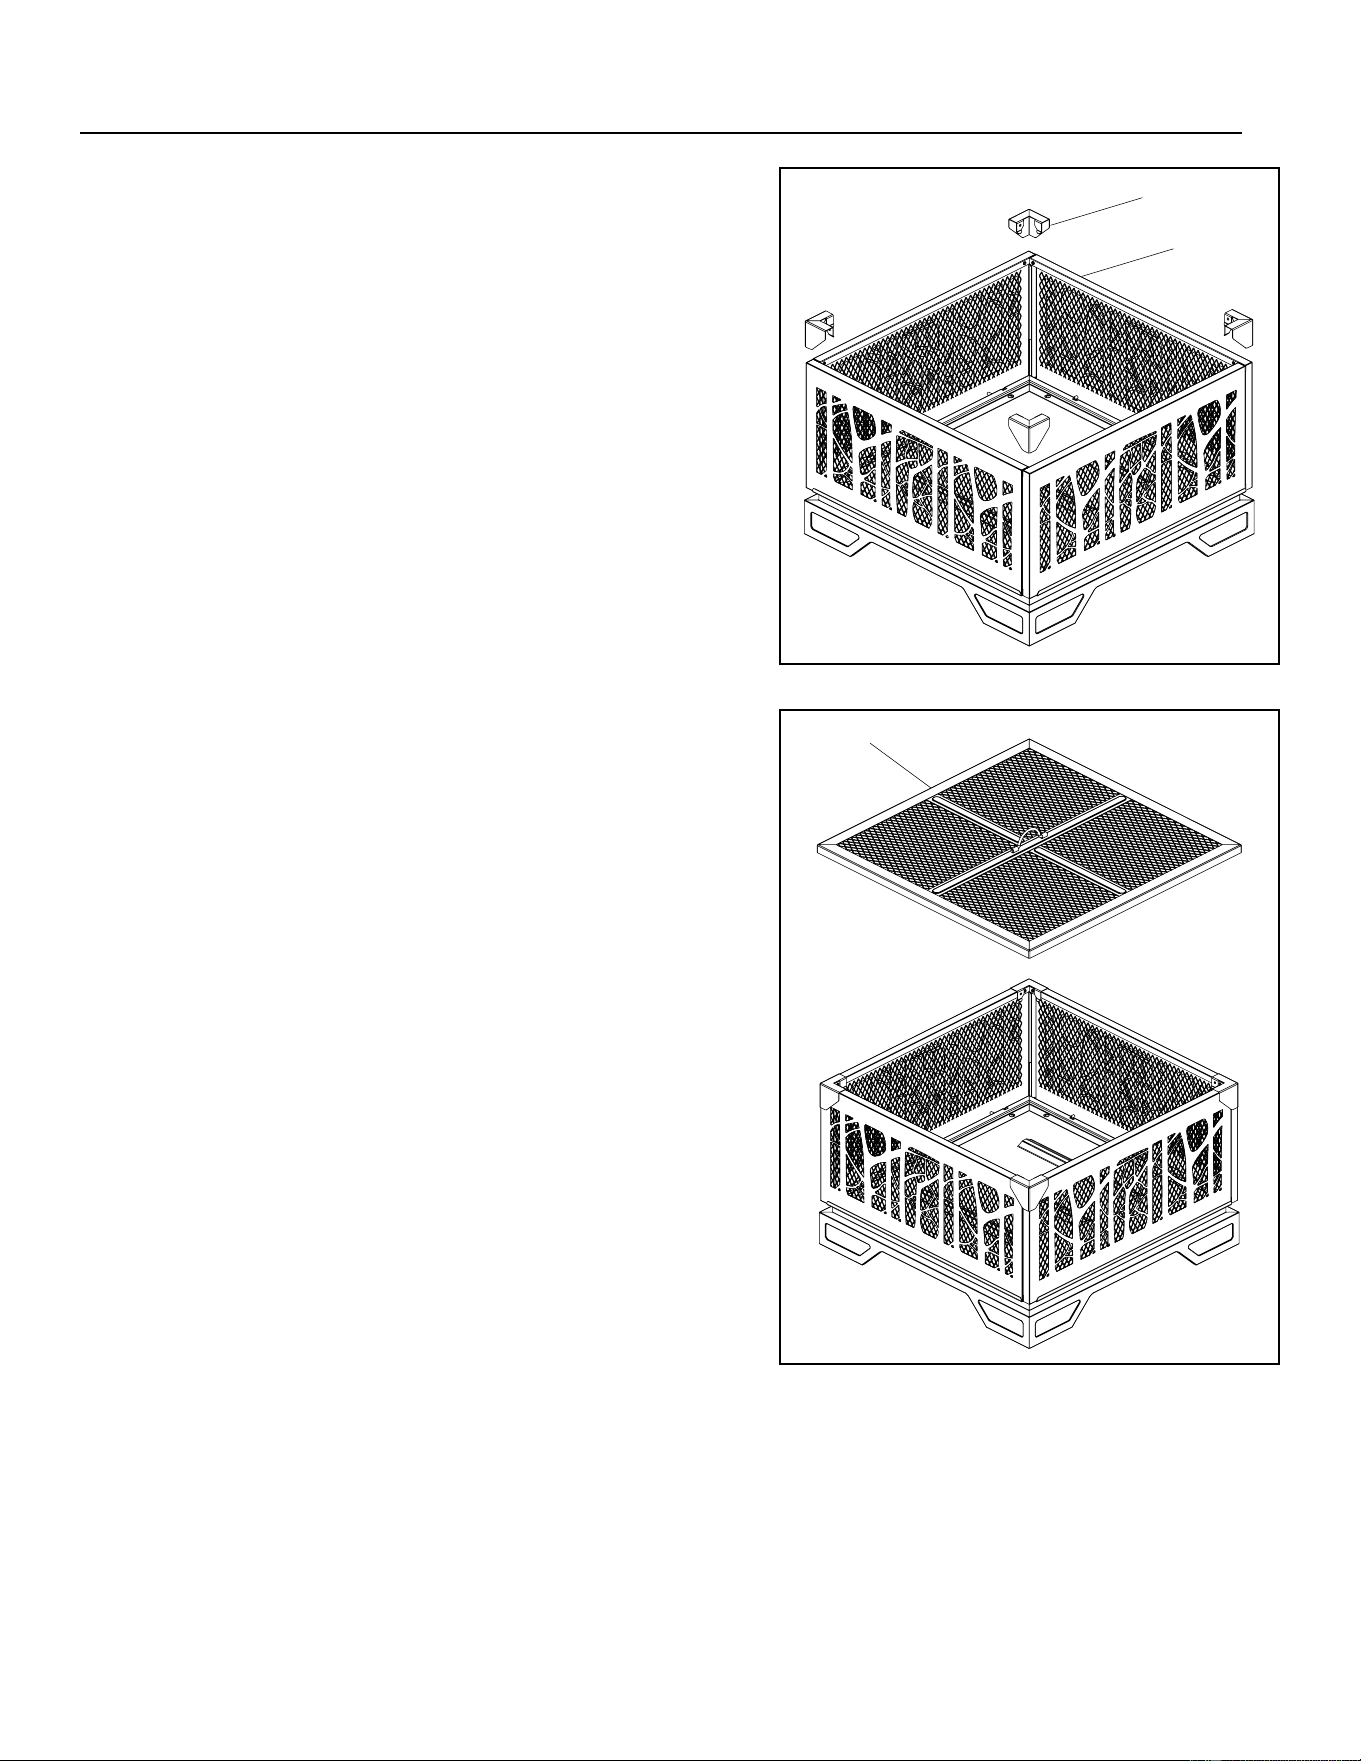
ASSEMBLY INSTRUCTIONS
6. Place the mesh lid (A) on re bowl.
A
7
Attach a fastener (B) on the top of each corner
where fire bowl panel (C) meet.
C
E
ASSEMBLY INSTRUCTIONS
7. Your re pit is now ready for use. Keep your
poker (E) nearby to safely tend your re.
8

MAINTENANCE
OPERATIONOPERATION
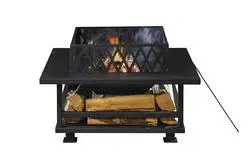
To Light
1.Make sure all debris is removed from the re pit.
2.Place a layer of dry kindling or a natural restarter onto the center of the log rack.
3.Place above that, a layer of dry seasoned hardwood that is cut to lengths no greater than
3/4 the width of the rebowl.
4.Use a long match to light kindling.
To Extinguish
1.Allow re to burn itself out.
2.Do NOT use water to extinguish as this is dangerous and can cause damage to the re pit.
Tending The Fire
1.While using re poker, shift coals/wood logs to allow additional airow.
2.Wait until glowing coals have developed before adding any additional wood. If additional wood is
required, place wood on top of coals. Be careful not to shift ashes.
3.Please don’t close mesh lid (A) until the re logs turn to charcoal.
4.Using re poker (E), carefully close the mesh lid (A).
• This outdoor re pit should be inspected on a regular basis to ensure product safety and long
product life.
• Check handles to make sure they are secure before use.
• Check components for any signs of damage.
• Wipe exterior surfaces with a mild cleaning product and water.
• For stubborn surfaces use a citrus based degreaser and soft cloth.
• Rinse surfaces clean of any cleaning product with water after cleaning is complete.
• Remove built-up creosote from components with a chimney cleaning product.
• Store re pit in a cool dry place.
• Use manufacturer-approved or supplied replacement parts and accessories only. Otherwise, it
may void the warranty of this product and result in a hazardous condition.
• Keep the re pit free and clear from combustible materials and debris.This product has a one-
year warranty against manufacturing defects in workmanship, or materials.
9

CONTACT
If you have any questions or concerns, please contact manufacturer at the below resources:
Toll free phone 1-877-447-4768 | Monday - Friday, 8:00 am - 4: 30 pm CST
Email [email protected]
Website www.ghpgroupinc.com
WARRANTY
This product has a one-year warranty against manufacturing defects in workmanship, or materials.
The manufacturer warranty will be voided by, and manufacturer disclaims any responsibility for, the
following actions:
• Modication of the unit and/or components including the gas valve assembly.
• Use of any component part not manufactured or approved by Manufacturer.
• Use and installation other than what is listed in this manual.
Please contact the manufacturer for replacement parts.
10
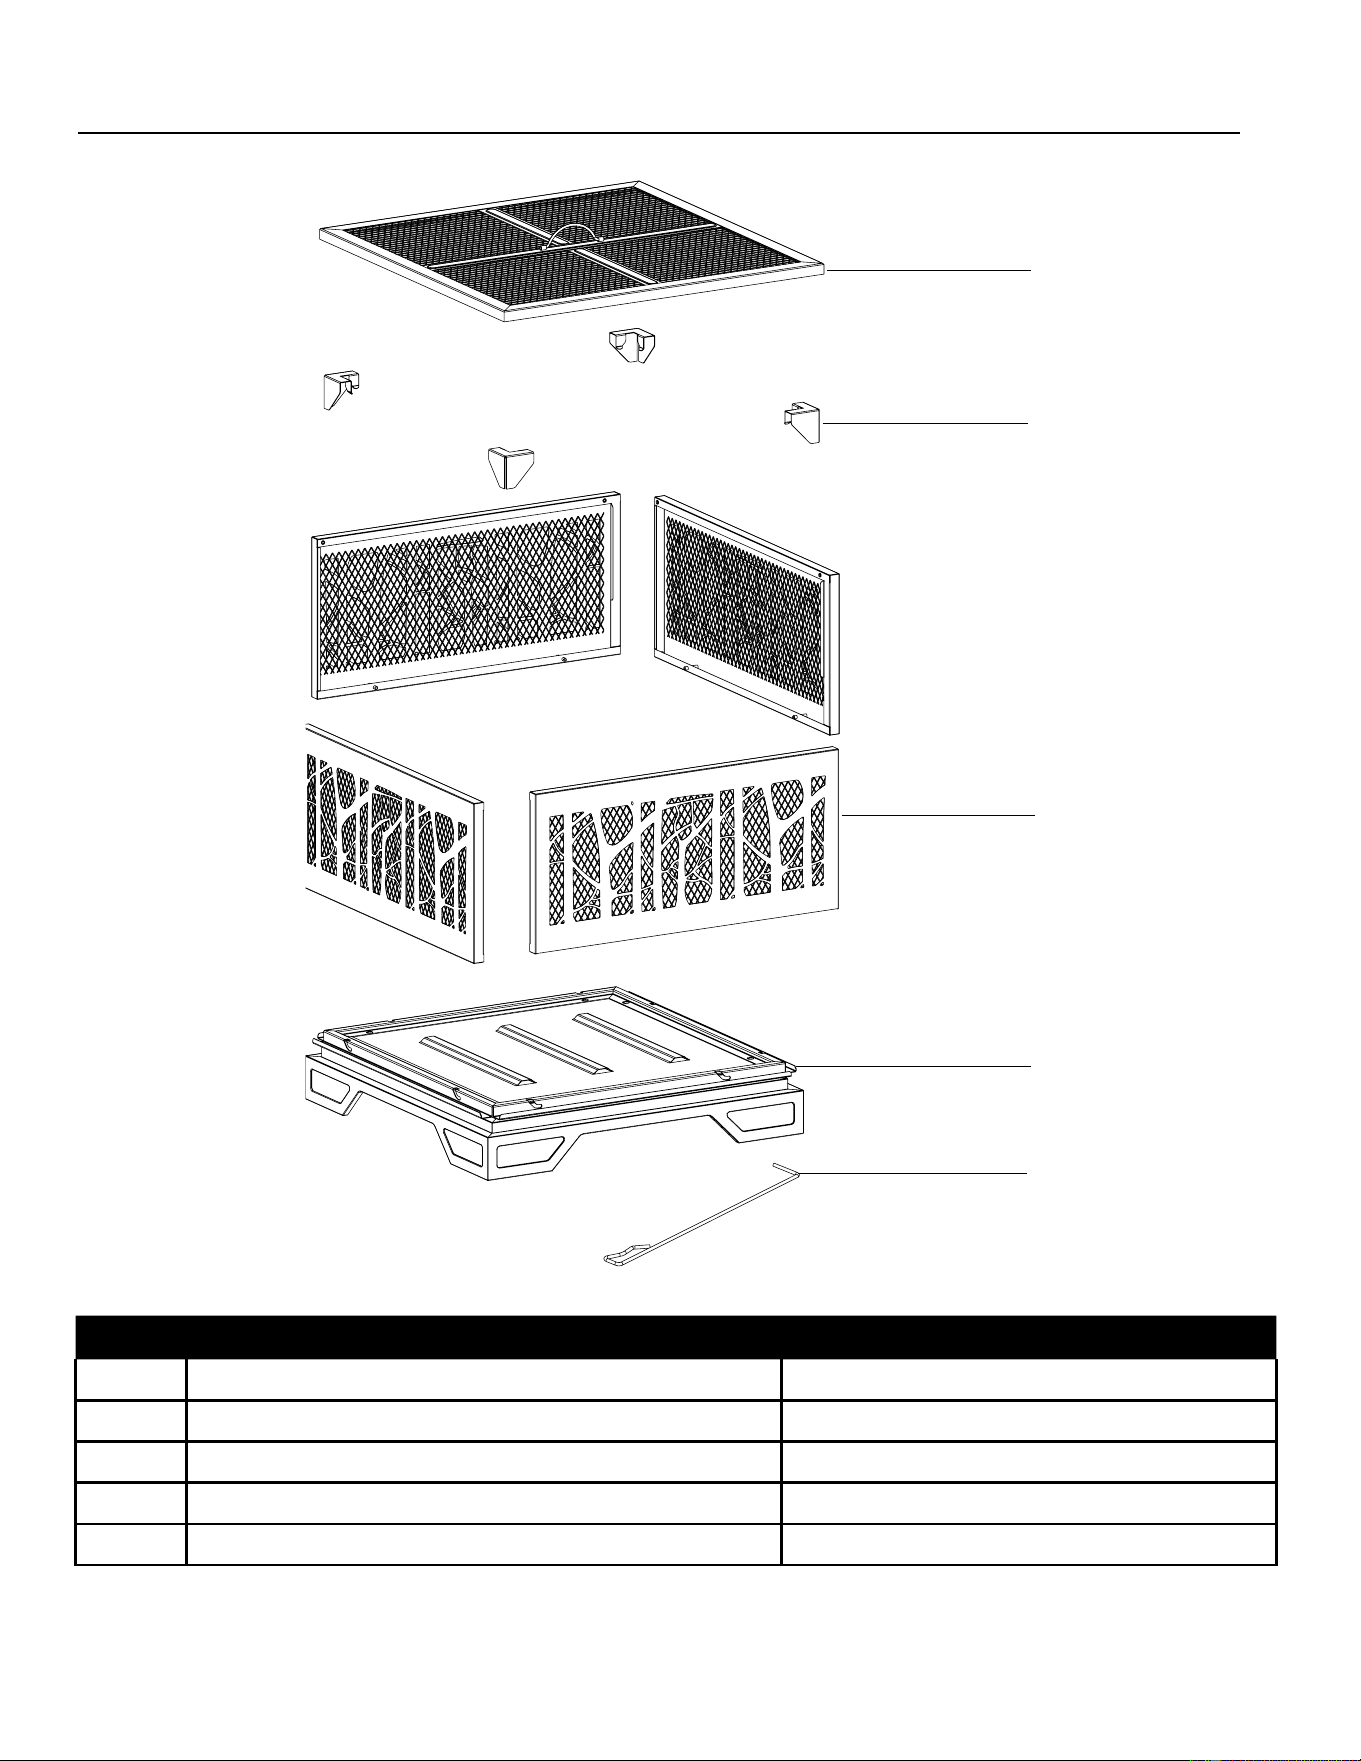
REPLACEMENT PARTS LIST
A
B
C
D
E
PART DESCRIPTION PART #
A Mesh Lid 30-01-900
B Fastener 30-01-901
C Fire Bowl Panel 30-01-946
D Base 30-01-903
E Poker 30-01-945
11