Alarm Clock Wireless Charger
User Manual
Important
For any questions or comments about our products, or if there is a quality problem with the product for
which you wish to request a REPLACEMENT or a REFUND, please send an email to our after sales team and
we will reply you within 24 hours.
UK after sales team:
sales-uk@sonrudirect.com
US/CA after sales team:
sales-us@sonrudirect.com
1. Product Function
1.1 Alarm clock
LED display date, time, temperature
12H/24H display
Three brightness levels, 5% 50% 100%
Three Alarms, A1 A2 A3
Support snooze function
Five buttons for convenient operation: TIME, ALARM, SNZ, UP, DOWN
Alarm clock setting for working days (5-day system or every day)
Support turn off LED screen
Memory function
1.2 Wireless charger
10W wireless fast charging suitable for all QI enabled smart phones.
iPhone8 or above
Samsung S7 or above
other mobile phones that support wireless QI protocol

Note:
Please use a power adapter above 5V/2A to power the alarm clock. If the power adapter is below
5V/1A, it will reduce the efficiency of the wireless charging function.
Properly place the phone on the alarm clock for effective wireless charging. Make sure the thickness
of your phone case ≤ 5mm.
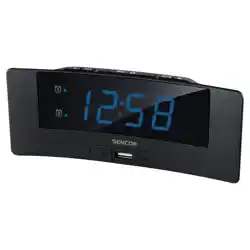
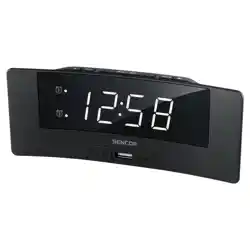
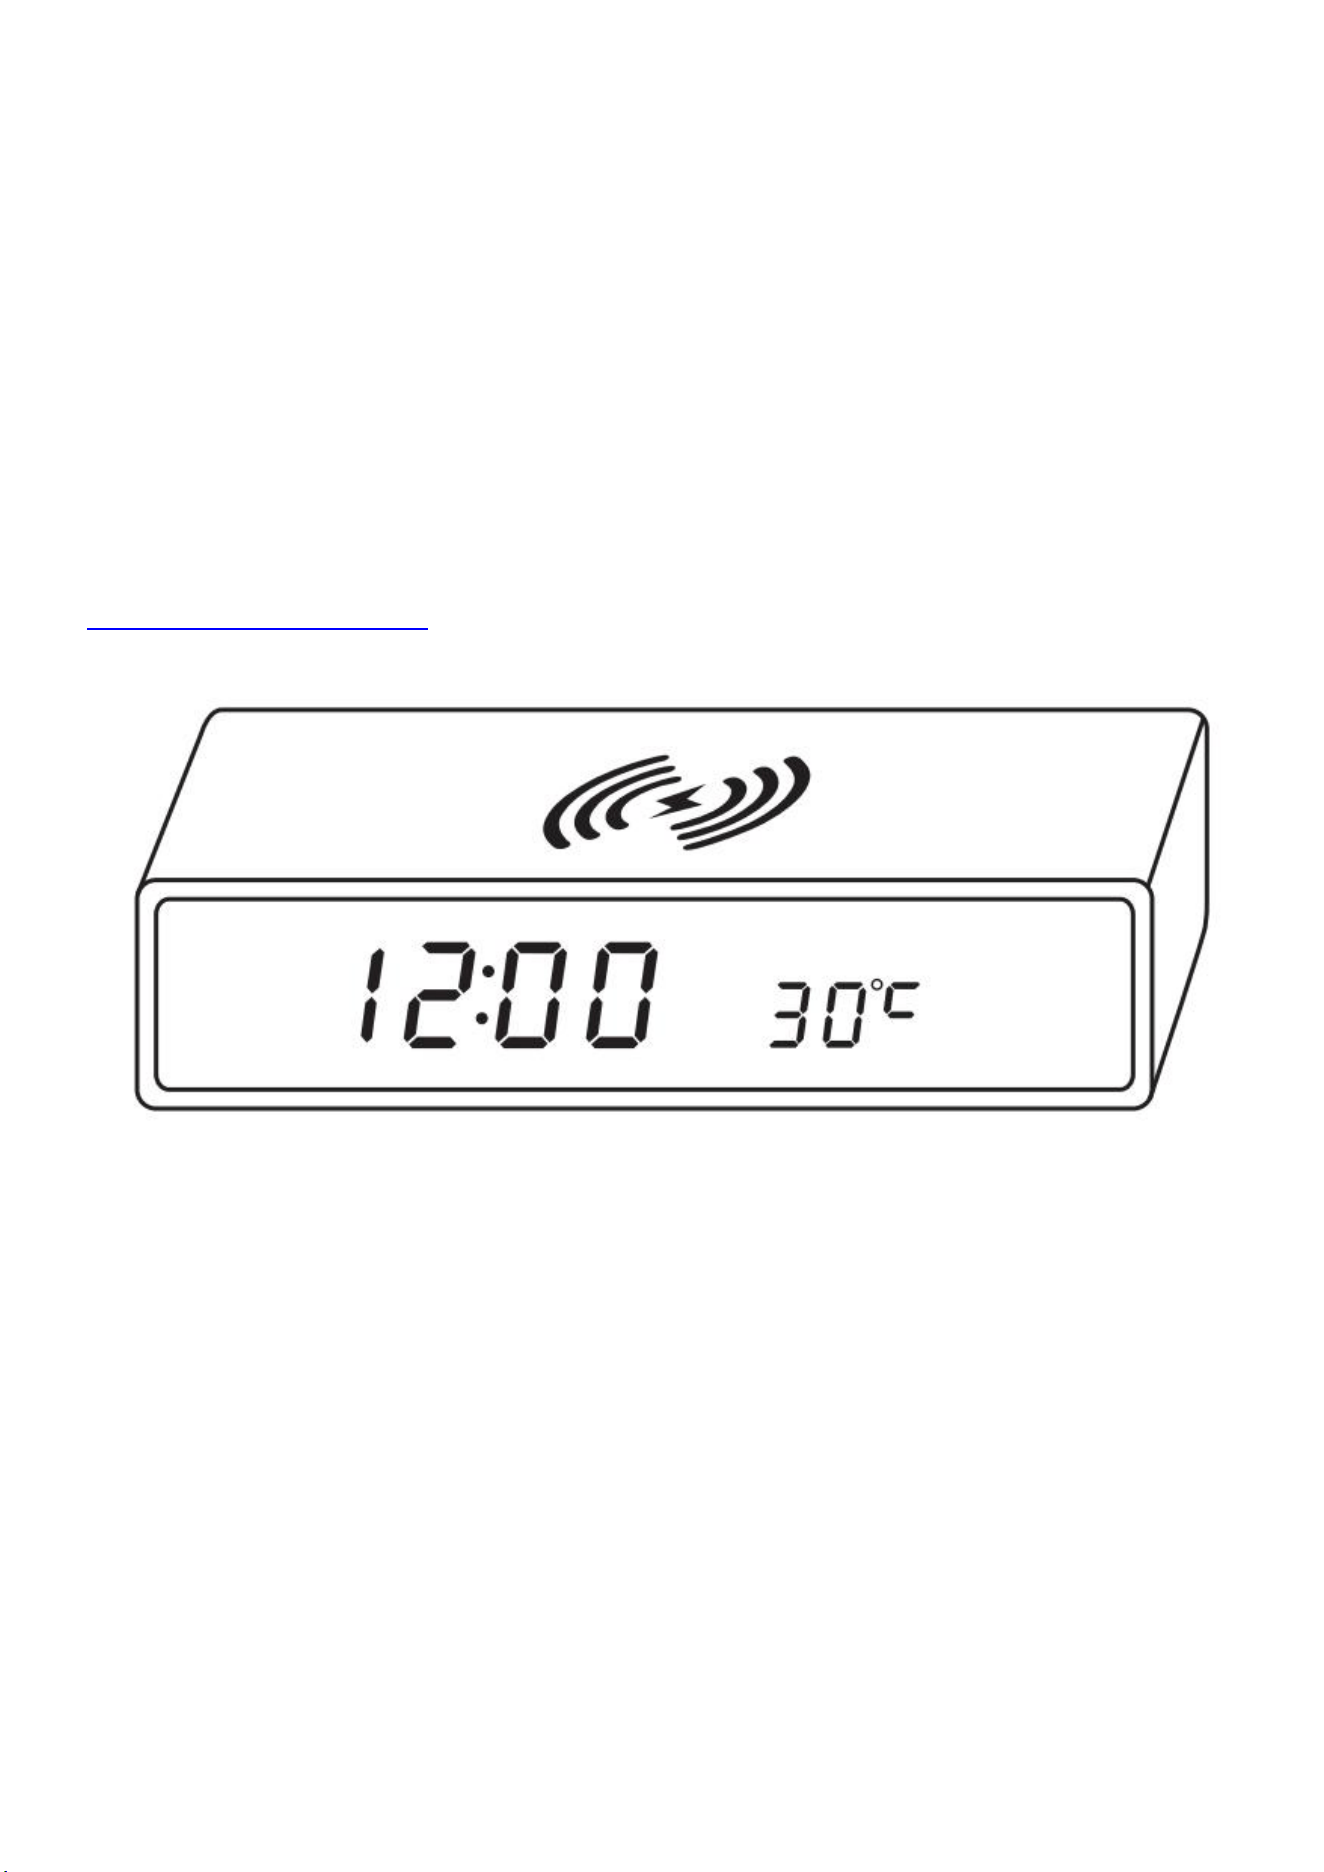
2. Product Picture
3. Button Introduction
TIME: clock mode, display mode selection
ALARM: alarm setting
SNZ: snooze, brightness setting
UP: increase, Celsius to Fahrenheit conversion
DOWN: decrease
4. Display Mode
In any mode, simply press the “TIME” button to change the display mode.
dP-1: Time, temperature, and date Cyclic display
dP-2: Time and temperature fixed display
5. The Brightness Settings
In any mode, press the “SNZ” button to adjust the screen brightness from 100%, 50%, and 5% successively.
Long press the “SNZ” button for 3 seconds to turn off the screen display, press any key can light up the
display again and keep the brightness setting set at the last time.
6. Temperature Unit Conversion
Press the “UP” button in any mode to select ˚ C / ˚ F.

Temperature range: -10˚ C ~ 50˚ C (32˚ F ~ 122˚ F)
“HI” is displayed above 50˚ C, “LO” is displayed below -10˚ C.
Note:
There will be a temperature difference of +/-4˚ F,+/-2˚ C.
Using the wireless charging function will cause heat, and the displayed temperature will also increase
at this time. It will return to normal after charging finished.
7. Clock Settings
Press the “ALARM” button in any mode to view ALARM settings of A1, A2, A3, and alarm set of working
days.
Setting alarm 1:
Press “ALARM” button to enter the alarm 1 mode, long press “ALARM” for 2 seconds, "hour" starts to flash,
and then press “UP” or “DOWN” to change it. After setting "hour", press “ALARM” again, "minute" starts to
flash, and then press “UP” or “DOWN” to change it. After setting, press “ALARM” to confirm the setting,
press “UP” or “DOWN” to enable or disable, alarm on will display “oNA1”, alarm off will display “--A1”.
Setting alarm 2 and alarm 3 is the same as the setting of alarm 1.
Weekday alarm settings:
Press “ALARM” button four times to enter weekday alarm setting, press “UP” or “DOWN” to enable or
disable it, "oNE" means alarm only rings from Monday to Friday; "--E" means alarm rings every day.
8. Stop Alarm or Snooze?
When the alarm rings, press “SNZ” button to enter the snooze mod and the alarm will ring again after 10
minutes.
If you want to stop the alarm, you can press any other button once.
9. Date and Time Settings
In any mode, long press “TIME” button for 2 seconds, and the “year” starts to flash, press UP or DOWN to
set the “year”, press “TIME” after setting. Set “month” and “day” in the same way. Press “TIME” to enter
the selection mode of 12-hour system and 24-hour system, press UP or DOWN to select "24H" or "12H".
Press “TIME” to enter the setting of HOUR and MINUTE, press UP or DOWN to set it, and press “TIME” to
confirm the setting.
10. How to Power It?
Input voltage of the power adapter: AC110V-240V, 50/60Hz.
Note:
The CR1632 battery on the back is only for time memory, not for clock or charging.
When the CR1632 battery is of low power, it will lose memory function (please change the battery to
ensure time accuracy). When no power supplied, the product will reset to full display, beep 3 times, and
enter the clock mode, this case please reset the clock to the correct one.