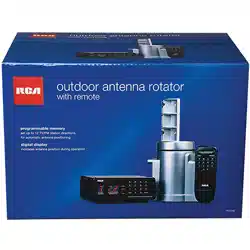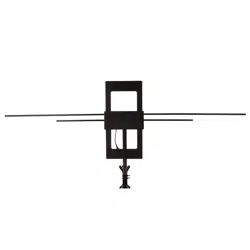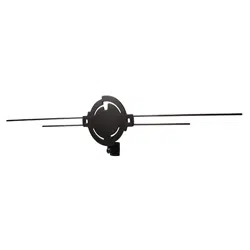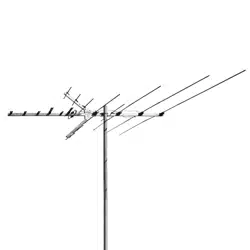

ANT3036W / ANT3036X
Outdoor Antenna
User’s Guide
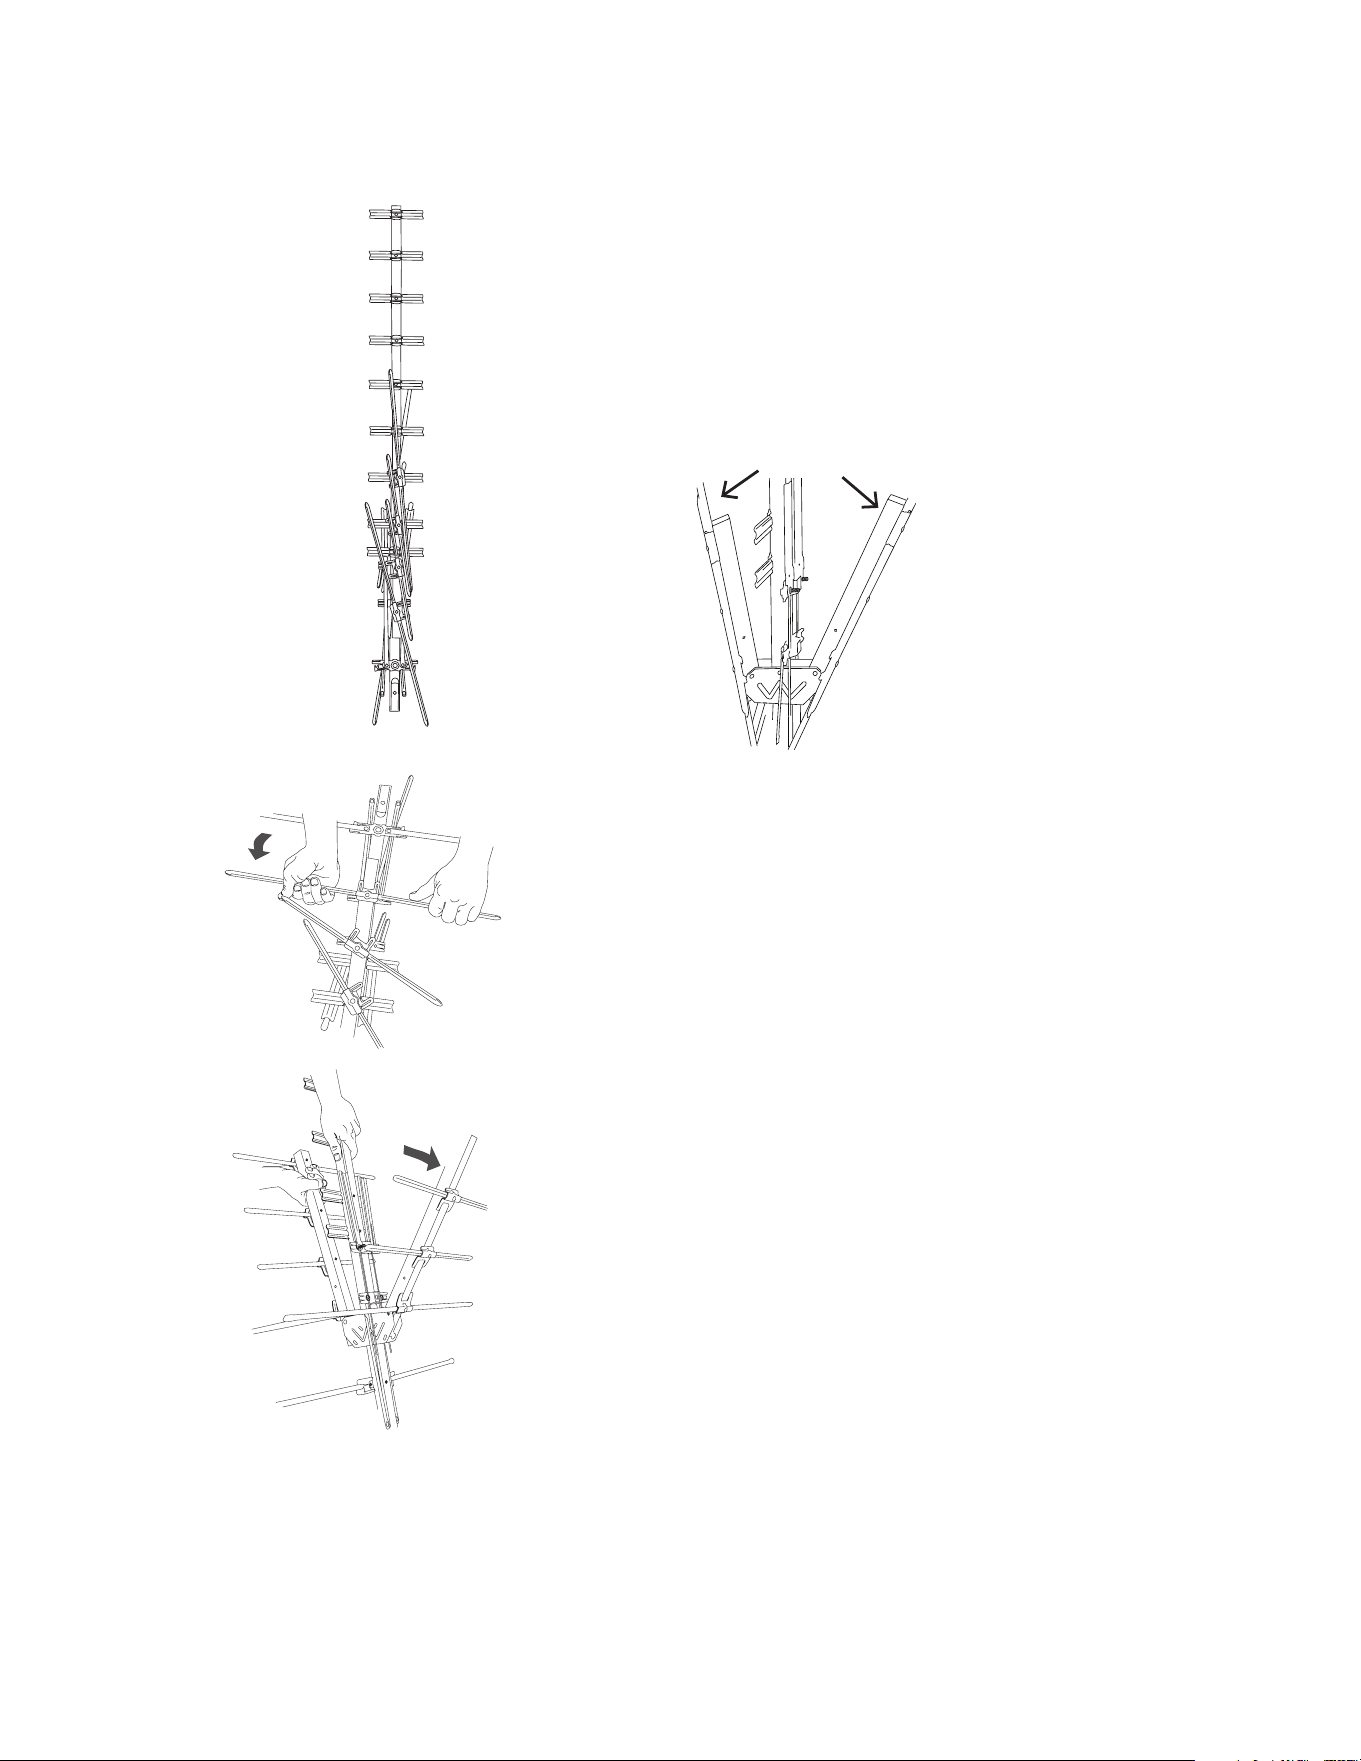
Step 1: Unpack
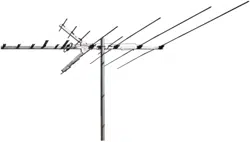
Remove all three sections of the antenna and the hardware bag from
package. Make sure the following parts are in the package:
s ANTENNASECTIONS
s (ARDWAREBAG
U-Bolt Transformer
Mast Clamp Insert (4) Plugs
v(EXNUTS v(EX.UTS
Matching v7ASHERS
s vMAST!.47ONLY
Middle
section
Step 2: Unfold the middle section
Find the middle section of the antenna
(illustrated on the left).
Starting from the rear of the middle section,
UNFOLDTHELONG6(&%LEMENTSUNTILTHEYLOCK
into place (as illustrated below).
Turn the middle section over and unfold the
shorter elements on the other side.
Rear
BEFORE YOU START!!!
0LEASEREADTHE)-0/24!.43!&%49).&/2-!4)/.SHEET
included in this package.
Back
Middle
Front
Step 3: Unfold the back section
/NTHEMIDDLESECTIONTHEONEYOUUNFOLDED
INSTEPlNDTHEWORDh"ACKvSTAMPEDIN
blue on the boom. Find the same stamp on the
boom of the back section. Line up both booms
SOTHATTHESTAMPSFACEYOU
Remove the screw and nut from end of the
middle section closest to the back section.
Insert the crimped end of the back section into
the middle section as illustrated on the left.
NOTE: Make sure the blue-stamped words “Back”
on the two sections are lined up.
/NCETHEEXTENSIONISINPLACEREINSERTTHE
screw and install the nut to secure the two
sections together.
&INDTHEBACKSECTIONTHESECTIONWITHONLY
one set of elements).
5NFOLDTHETWO6(&ELEMENTSONTHEBACK
section.
Back
section
Step 4: Connect the back section to the
middle section
Middle
section
Back
section
VHF element
Step 5: Unfold the front section
Find the front section of the antenna
(illustrated on the left).
/NTHEFRONTSECTIONlNDTHEREmECTORBOOMS
(illustrated below).
%ACHREmECTORBOOMHASFOURELEMENTS5NFOLD
EACHSLIGHTLY4HENSTARTINGWITHTHEELEMENT
closest to the main boom, unfold the element
until it locks into place.
Front
section
Reflector
booms
/NCEYOUVEUNFOLDEDALLOFTHEELEMENTSON
THEREmECTORBOOMSEXTENDTHEREmECTORBOOMS
AWAYFROMTHEMAINBOOMUNTILTHEYLOCKINTO
place.
!FTERLOCKINGTHEREmECTORBOOMSINTOPLACE
UNFOLDTHESMALL5(&ELEMENTSBETWEENTHE
REmECTORBOOMS
/NTHEFRONTSECTIONTHEONEYOUUNFOLDED
INSTEPlNDTHEWORDh&RONTvSTAMPEDIN
red on the boom. Find the same stamp on
the boom of the middle section. Line up both
BOOMSSOTHATTHESTAMPSFACEYOU
Remove the screw and nut from end of the
middle section closest to the front section.
Insert the crimped end of the front section into
the middle section as illustrated on the left.
NOTE: Make sure the stamped words “Front” on
the two sections are lined up.
Once the front section is in place, re-insert
the screw and install the nut to secure the two
sections together.
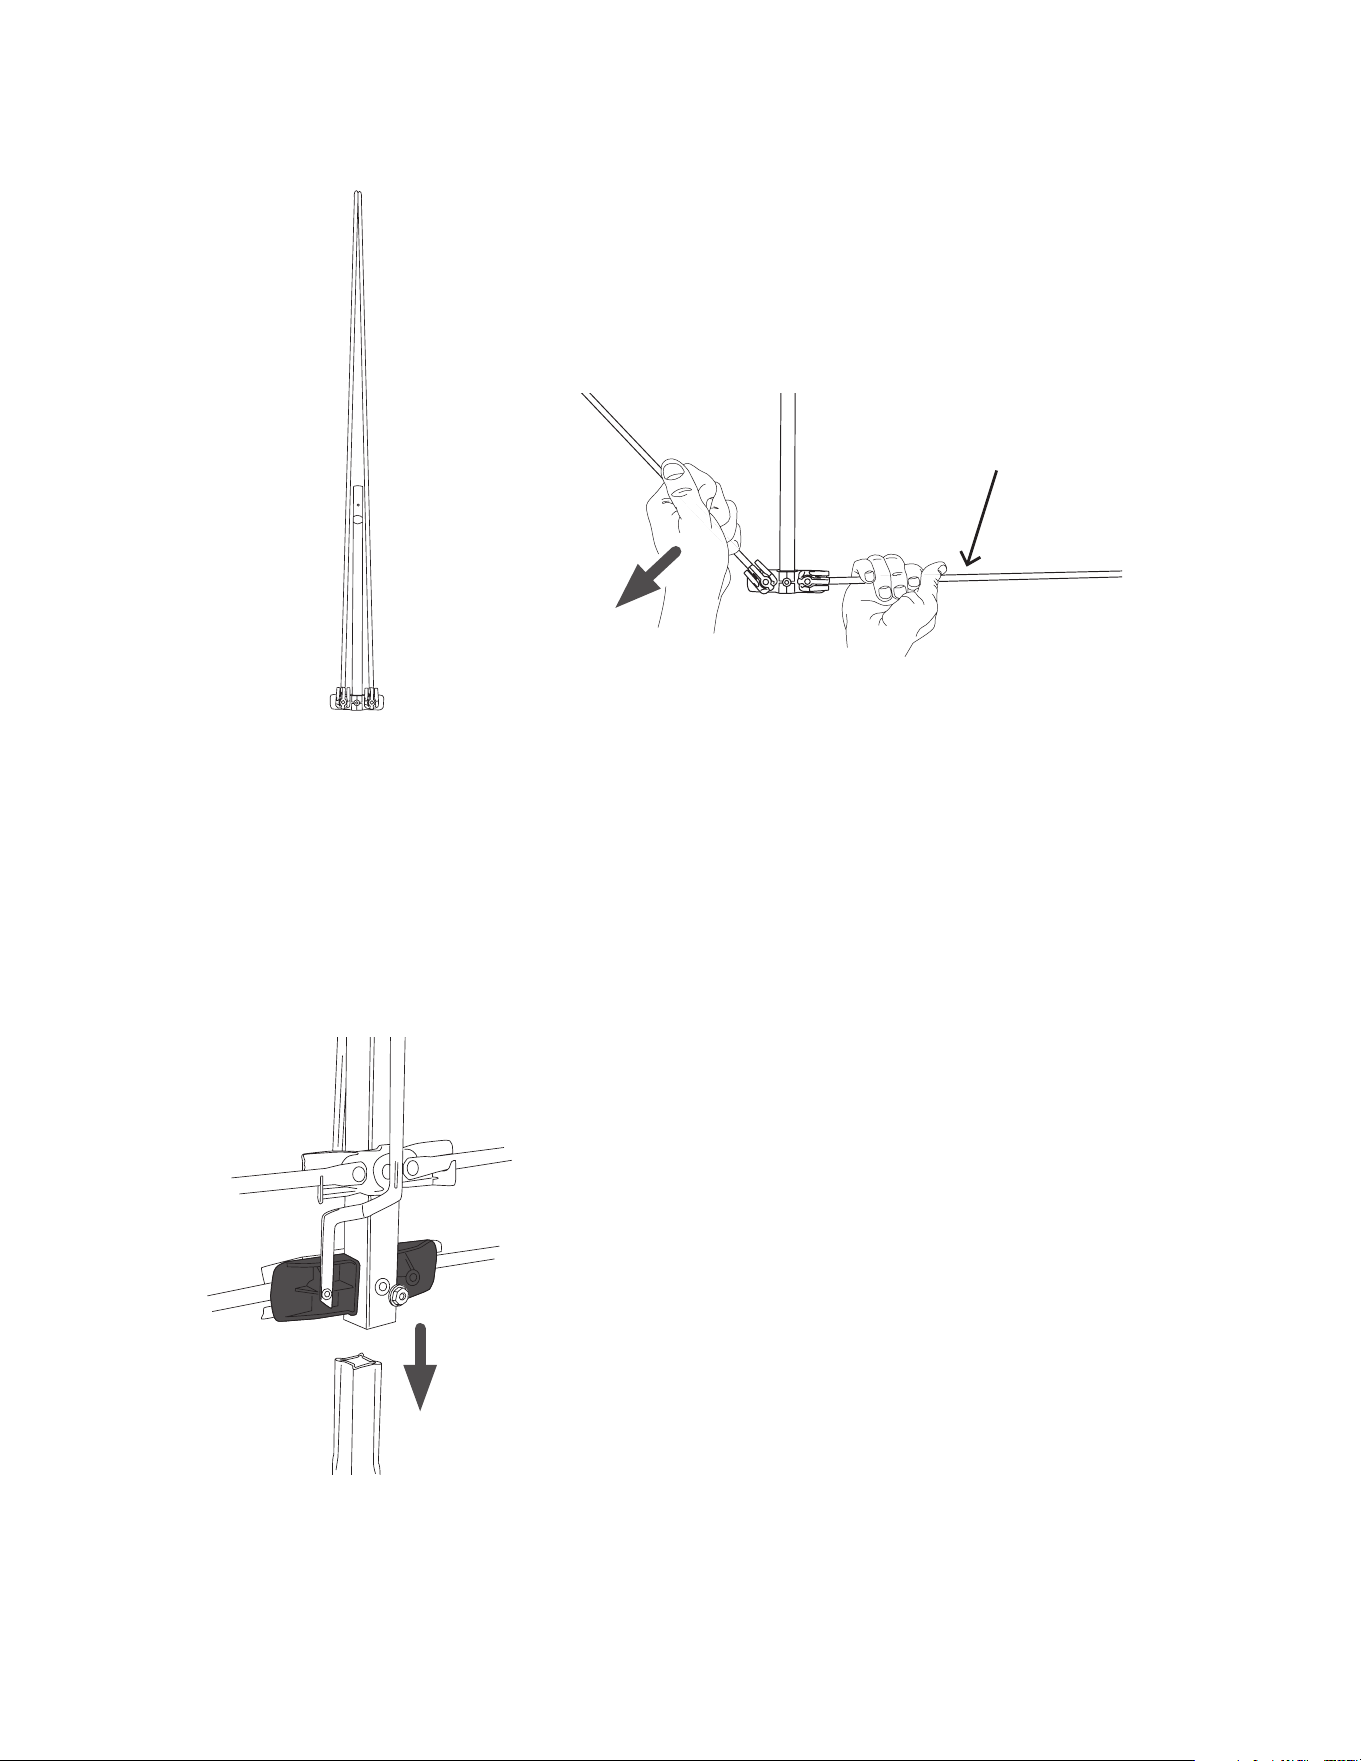
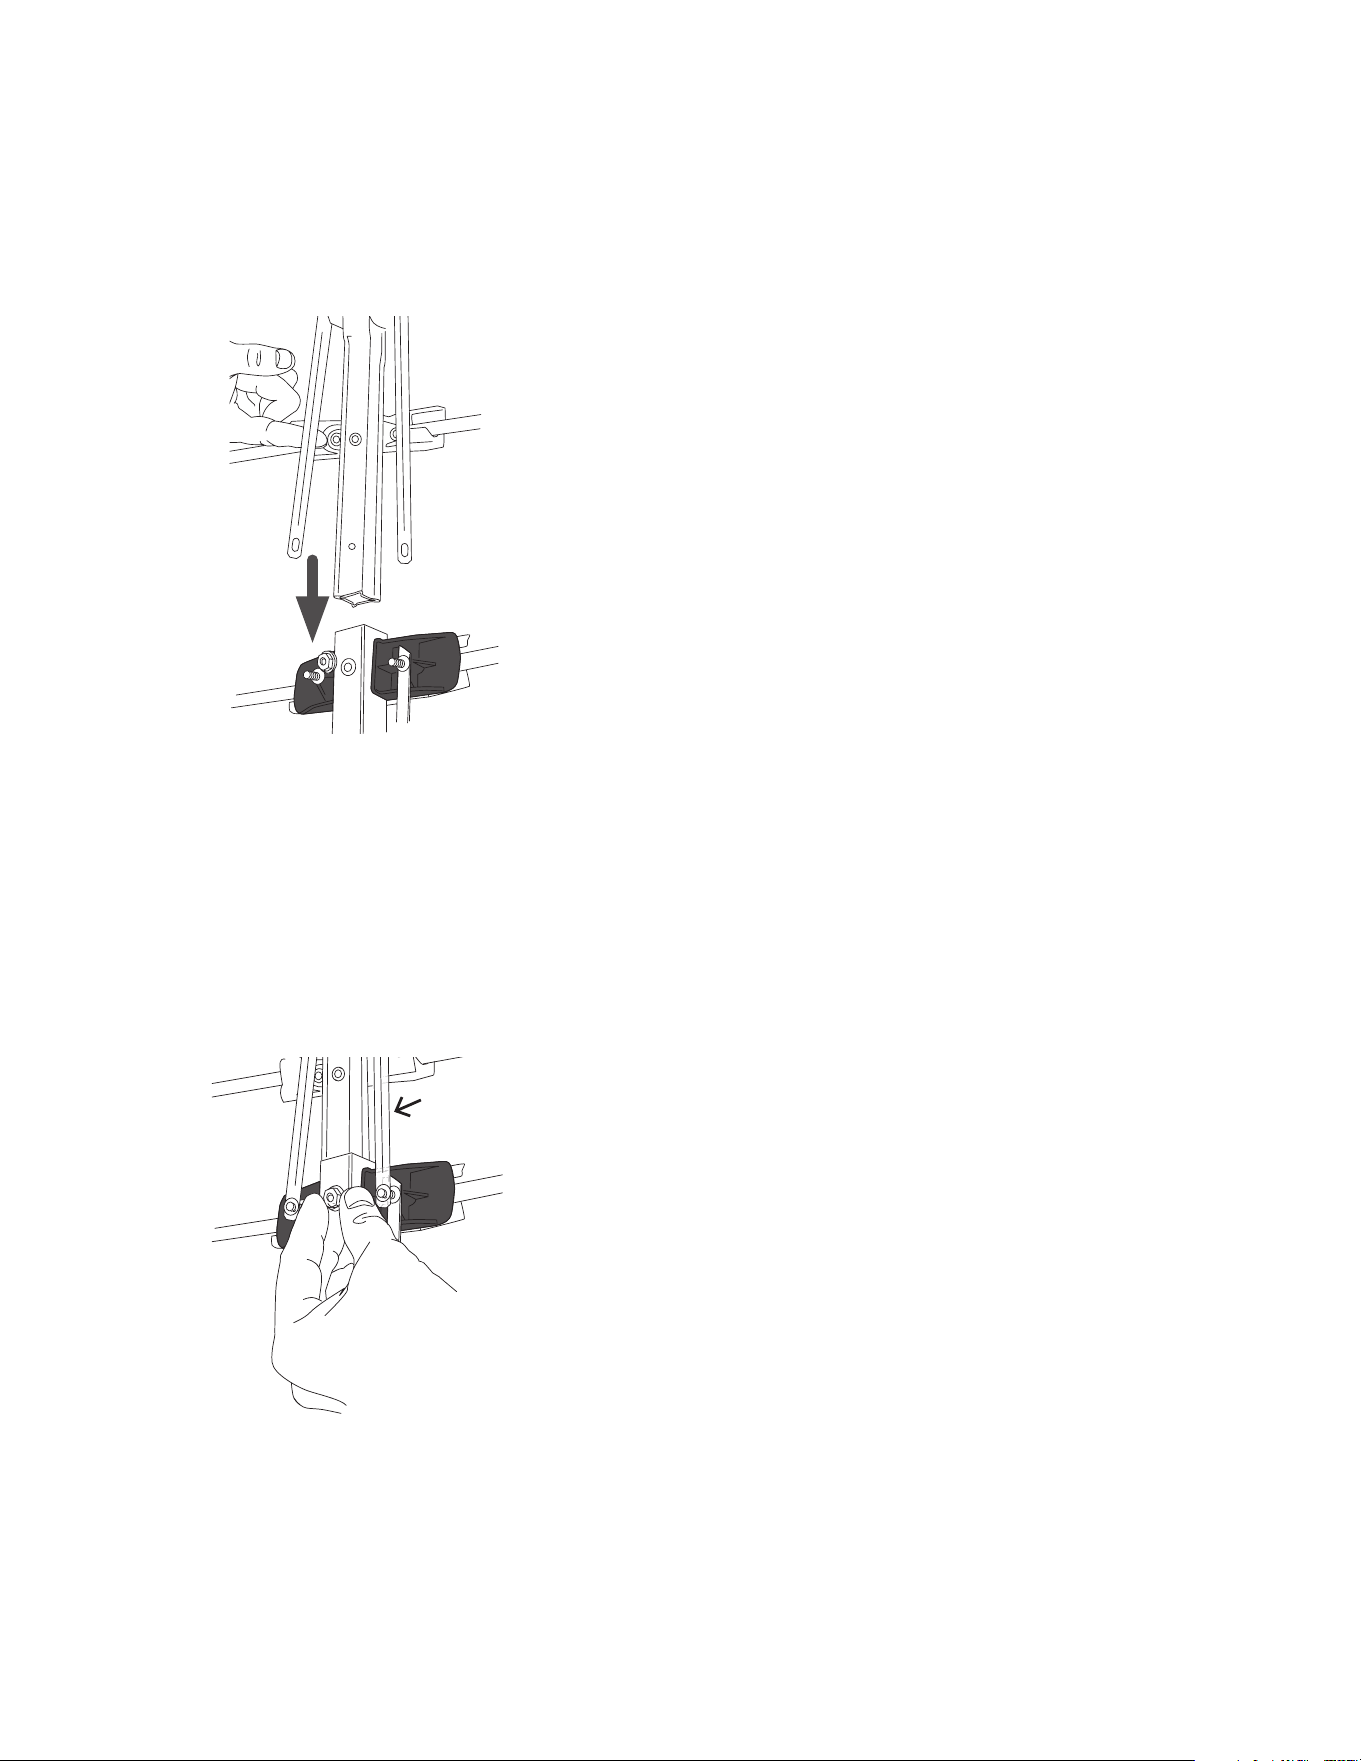
Step 7: Attach the phasing lines
Step 6: Connect the front section to the
middle section
&INDTHEWASHERSANDvHEXNUTSINTHE
hardware bag.
Place the phasing lines from the front section
OVERTHESTUDSONTHEMIDDLESECTION!TTACHTHE
WASHERSANDvHEXNUTS
Front
section
Middle
section
Phasing
line
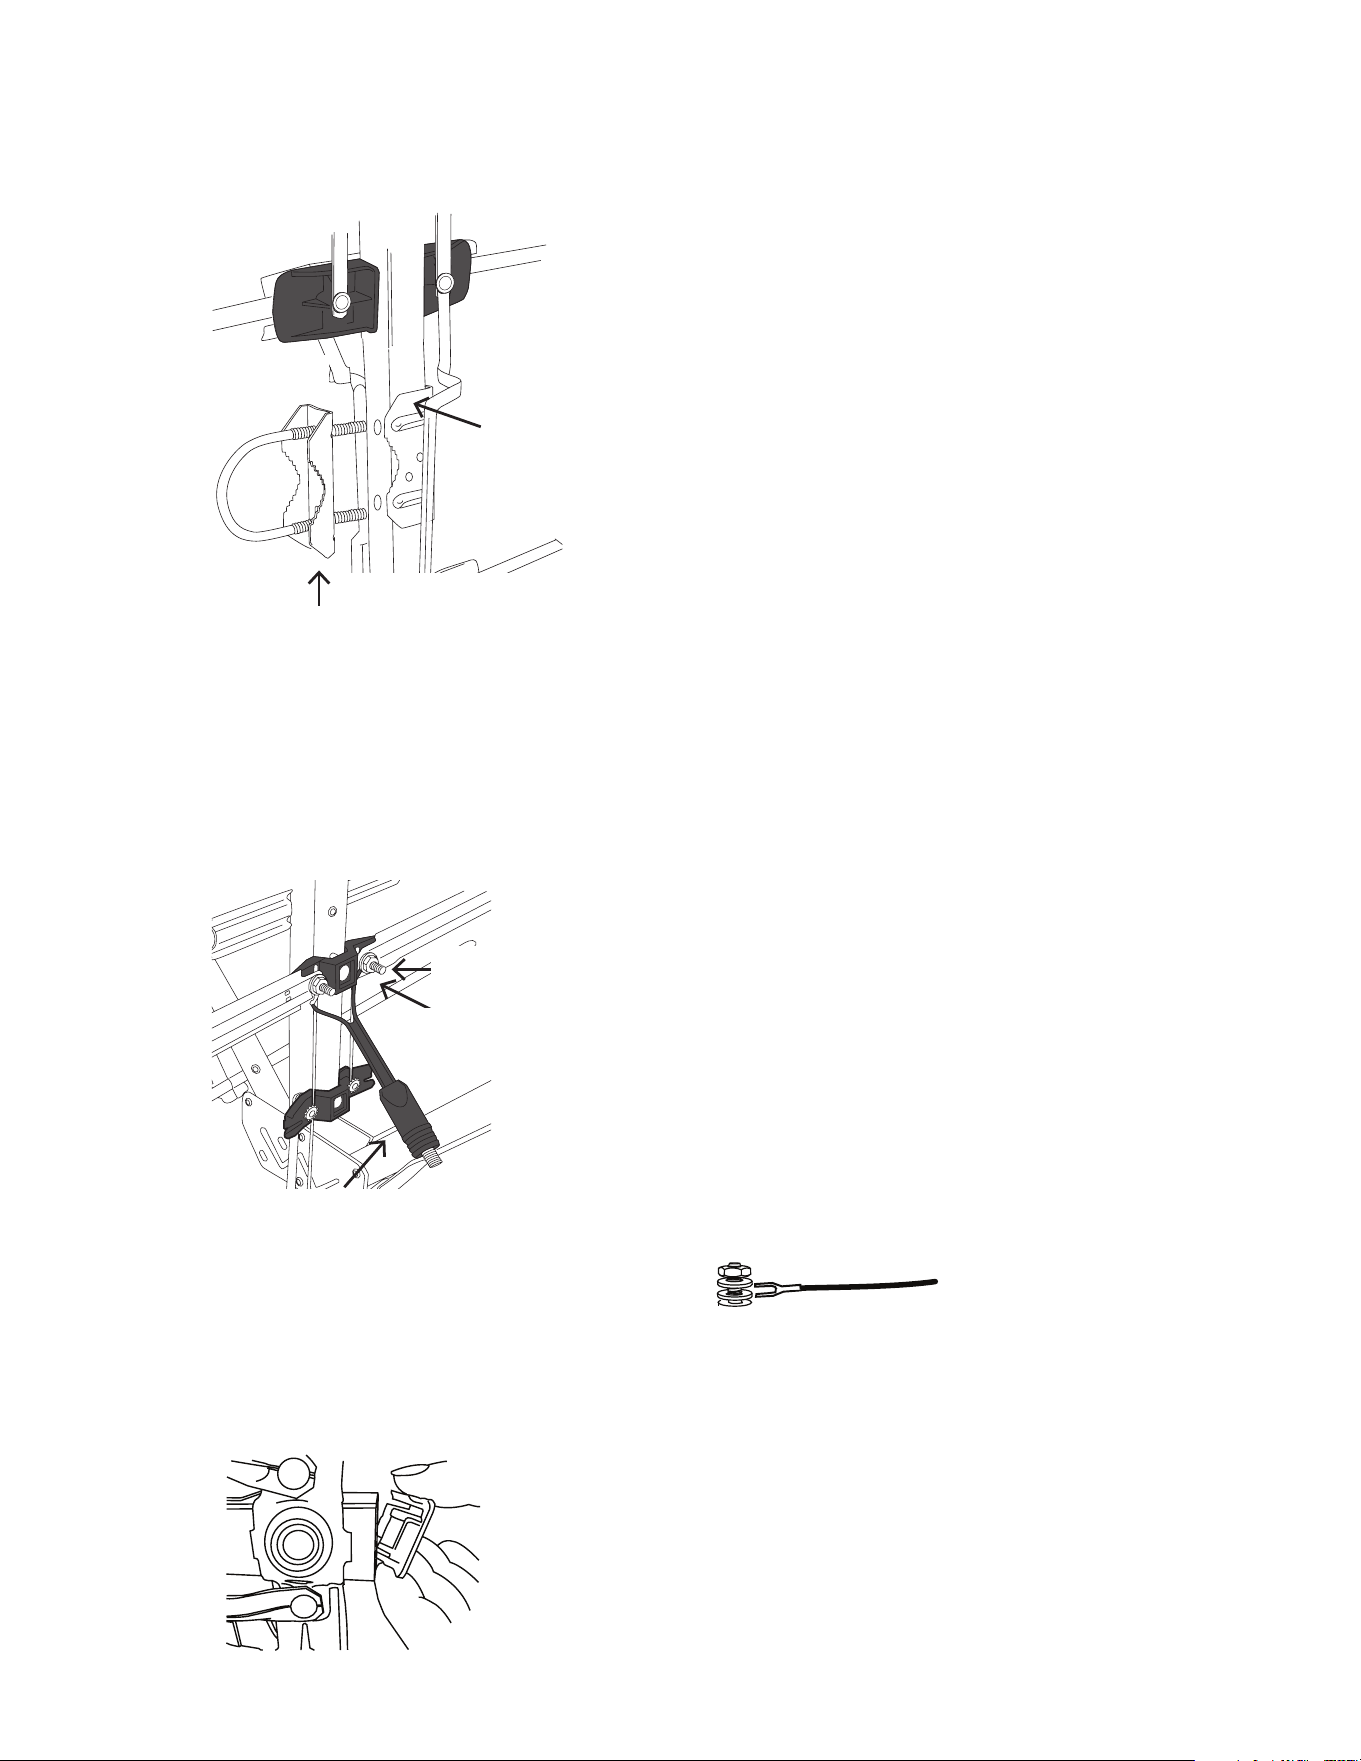
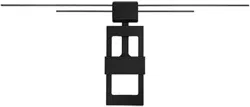
Step 9: Install the transformer
&INDTHEvHEXNUTSANDWASHERSINYOUR
hardware bag.
&INDTHESMALLELEMENTSBETWEENTHEREmECTOR
booms. These elements have posts at their
bases.
Place two washers on each post. Then position
the transformer leads between the two washers
as shown here.
Transformer
Post
Transformer
lead
&INALLYTIGHTENTHEHEXNUTSTOSECURETHELEADS
Step 10: Insert end caps
Insert the plastic end caps in the ends of the
booms as shown here. Use a rubber mallet to
GENTLYTAPTHEMINTOTHEANTENNABOOMSTO
secure them.
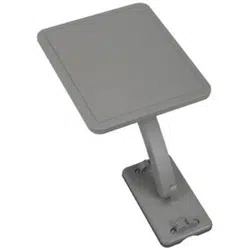
Step 8: Attach the mast clamp insert
Find the U-bolt and mast clamp insert (see
the illustration to the left). Put the U-bolt
into the mast clamp insert with the teeth of
the mast clamp insert facing the closed end
of the U-bolt.
Insert the U-bolt into the mast clamp on
THEANTENNAANDLOOSELYTHREADTHEv
HEXNUTSONTOTHE5BOLT4HETEETHON
the mast clamp and the teeth on the insert
should be facing the same direction.
$ONOTTIGHTENTHEHEXNUTSYET
Mast
clamp
U-bolt
Mast clamp insert
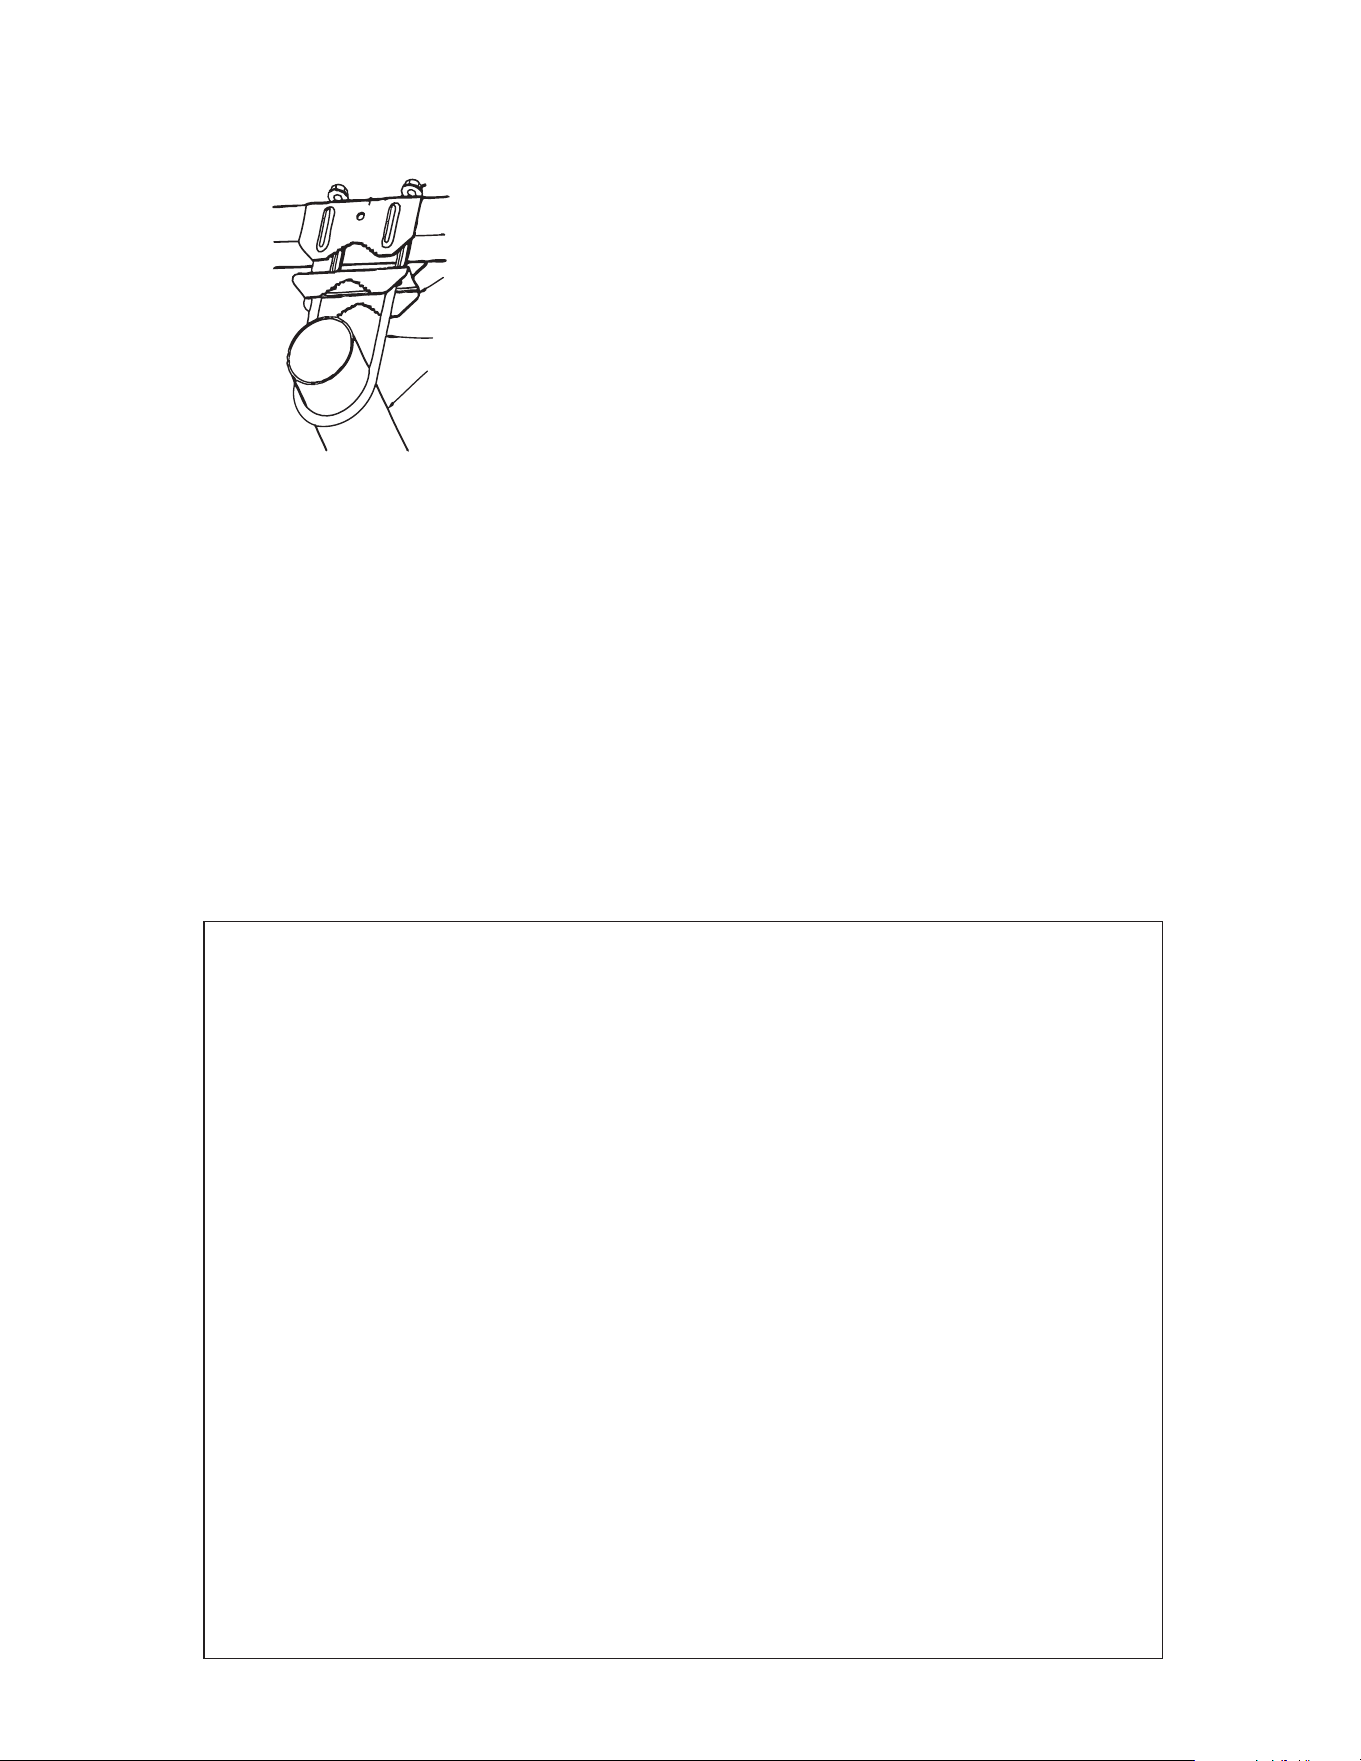
Step 12: Connect the coax cable
/NCETHEANTENNAISSECUREDTOTHEMASTCONNECTTHEOHMCOAXIAL
CABLETOTHEMATCHINGTRANSFORMER4HECONNECTIONSHOULDBElNGER
TIGHT4HECOAXIALDOWNLEADMAYBESECUREDTOTHEMASTBYEITHERTAPING
it or use of plastic wire ties.
Step 11: Attach the antenna to the mast
IMPORTANT: Before you attach the antenna
to your mast, visit www.antennaweb.org to see
the locations of your local broadcast towers. This
information is crucial in pointing your antenna
correctly.
Loosen the nuts on the mounting clamp U-bolt
as needed. Then slide the U-bolt over the mast.
0OINTSMALLENDOFANTENNATOWARDYOURLOCAL
broadcast towers. Tighten the mast clamp and
NUTSSECURELY
12 Month Limited Warranty
!UDIOVOX%LECTRONICS#ORPORATIONTHEh#OMPANYvWARRANTSTOTHEORIGINALRETAILPURCHASEROFTHISPRODUCTTHAT
SHOULDTHISPRODUCTORANYPARTTHEREOFUNDERNORMALUSEANDCONDITIONSBEPROVENDEFECTIVEINMATERIALOR
WORKMANSHIPWITHINMONTHSFROMTHEDATEOFORIGINALPURCHASESUCHDEFECTSWILLBEREPAIREDORREPLACEDAT
THE#OMPANYSOPTIONWITHOUTCHARGEFORPARTSANDREPAIRLABOR4OOBTAINREPAIRORREPLACEMENTWITHINTHETERMS
OFTHIS7ARRANTYTHEPRODUCTALONGWITHANYACCESSORIESINCLUDEDINTHEORIGINALPACKAGINGISTOBEDELIVEREDWITH
PROOFOFWARRANTYCOVERAGEEGDATEDBILLOFSALESPECIlCATIONOFDEFECTSTRANSPORTATIONPREPAIDTOTHE#OMPANY
at the address shown below. Do not return this product to the Retailer.
4HIS7ARRANTYISNOTTRANSFERABLEANDDOESNOTCOVERPRODUCTPURCHASEDSERVICEDORUSEDOUTSIDETHE5NITED3TATES
OR#ANADA4HEWARRANTYDOESNOTEXTENDTOTHEELIMINATIONOFEXTERNALLYGENERATEDSTATICORNOISE4HIS7ARRANTY
DOESNOTAPPLYTOCOSTSINCURREDFORINSTALLATIONREMOVALORREINSTALLATIONOFTHEPRODUCTORIFINTHE#OMPANYS
opinion, the product has been damaged through acts of nature, alteration, improper installation, mishandling,
MISUSENEGLECTORACCIDENT4HISWARRANTYDOESNOTCOVERDAMAGECAUSEDBYAN!#ADAPTERNOTPROVIDEDWITHTHE
PRODUCT4(%%84%.4/&4(%#/-0!.93,)!"),)495.$%24()37!22!.49)3,)-)4%$4/
4(%2%0!)2/22%0,!#%-%.402/6)$%$!"/6%!.$)../%6%.43(!,,4(%#/-0!-
.93,)!"),)49%8#%%$4(%052#(!3%02)#%0!)$"9052#(!3%2&/24(%02/$5#44HIS
7ARRANTYISINLIEUOFALLOTHEREXPRESSWARRANTIESORLIABILITIES!.9)-0,)%$7!22!.4)%3).#,5$).'
!.9)-0,)%$7!22!.49/&-%2#(!.4!"),)49/2&)4.%33&/2!0!24)#5,!20520/3%
3(!,,"%,)-)4%$4/$52!4)/./&4()37!22!.49!.9!#4)/.&/2"2%!#(/&
!.97!22!.49(%2%5.$%2).#,5$).'!.9)-0,)%$7!22!.49-534"%"2/5'(4
7)4().!0%2)/$/&-/.4(3&2/-4(%$!4%/&/2)').!,052#(!3%)../#!3%
3(!,,4(%#/-0!.9"%,)!",%&/2!.9#/.3%15%.4)!,/2).#)$%.4!,$!-!'%3
7(!43/%6%2.OPERSONORREPRESENTATIVEISAUTHORIZEDTOASSUMEFORTHE#OMPANYANYLIABILITYOTHERTHAN
EXPRESSEDHEREININCONNECTIONWITHTHESALEOFTHISPRODUCT
3OMESTATESPROVINCESDONOTALLOWLIMITATIONSONHOWLONGANIMPLIEDWARRANTYLASTSORTHEEXCLUSIONORLIMITATION
OFINCIDENTALORCONSEQUENTIALDAMAGESOTHEABOVELIMITATIONSOREXCLUSIONSMAYNOTAPPLYTOYOU4HIS7ARRANTY
GIVESYOUSPECIlCLEGALRIGHTSANDYOUMAYALSOHAVEOTHERRIGHTSWHICHVARYFROMSTATEPROVINCETOSTATEPROVINCE
U.S.A.:!UDIOVOX%LECTRONICS#ORPORATION-ARCUS"LVD(AUPPAUGE.9
CANADA:!UDIOVOX2ETURN#ENTERCO'ENCO+ENNEDY2OAD5NIT$OOR-ISSISSAUGA/NTARIO,4!