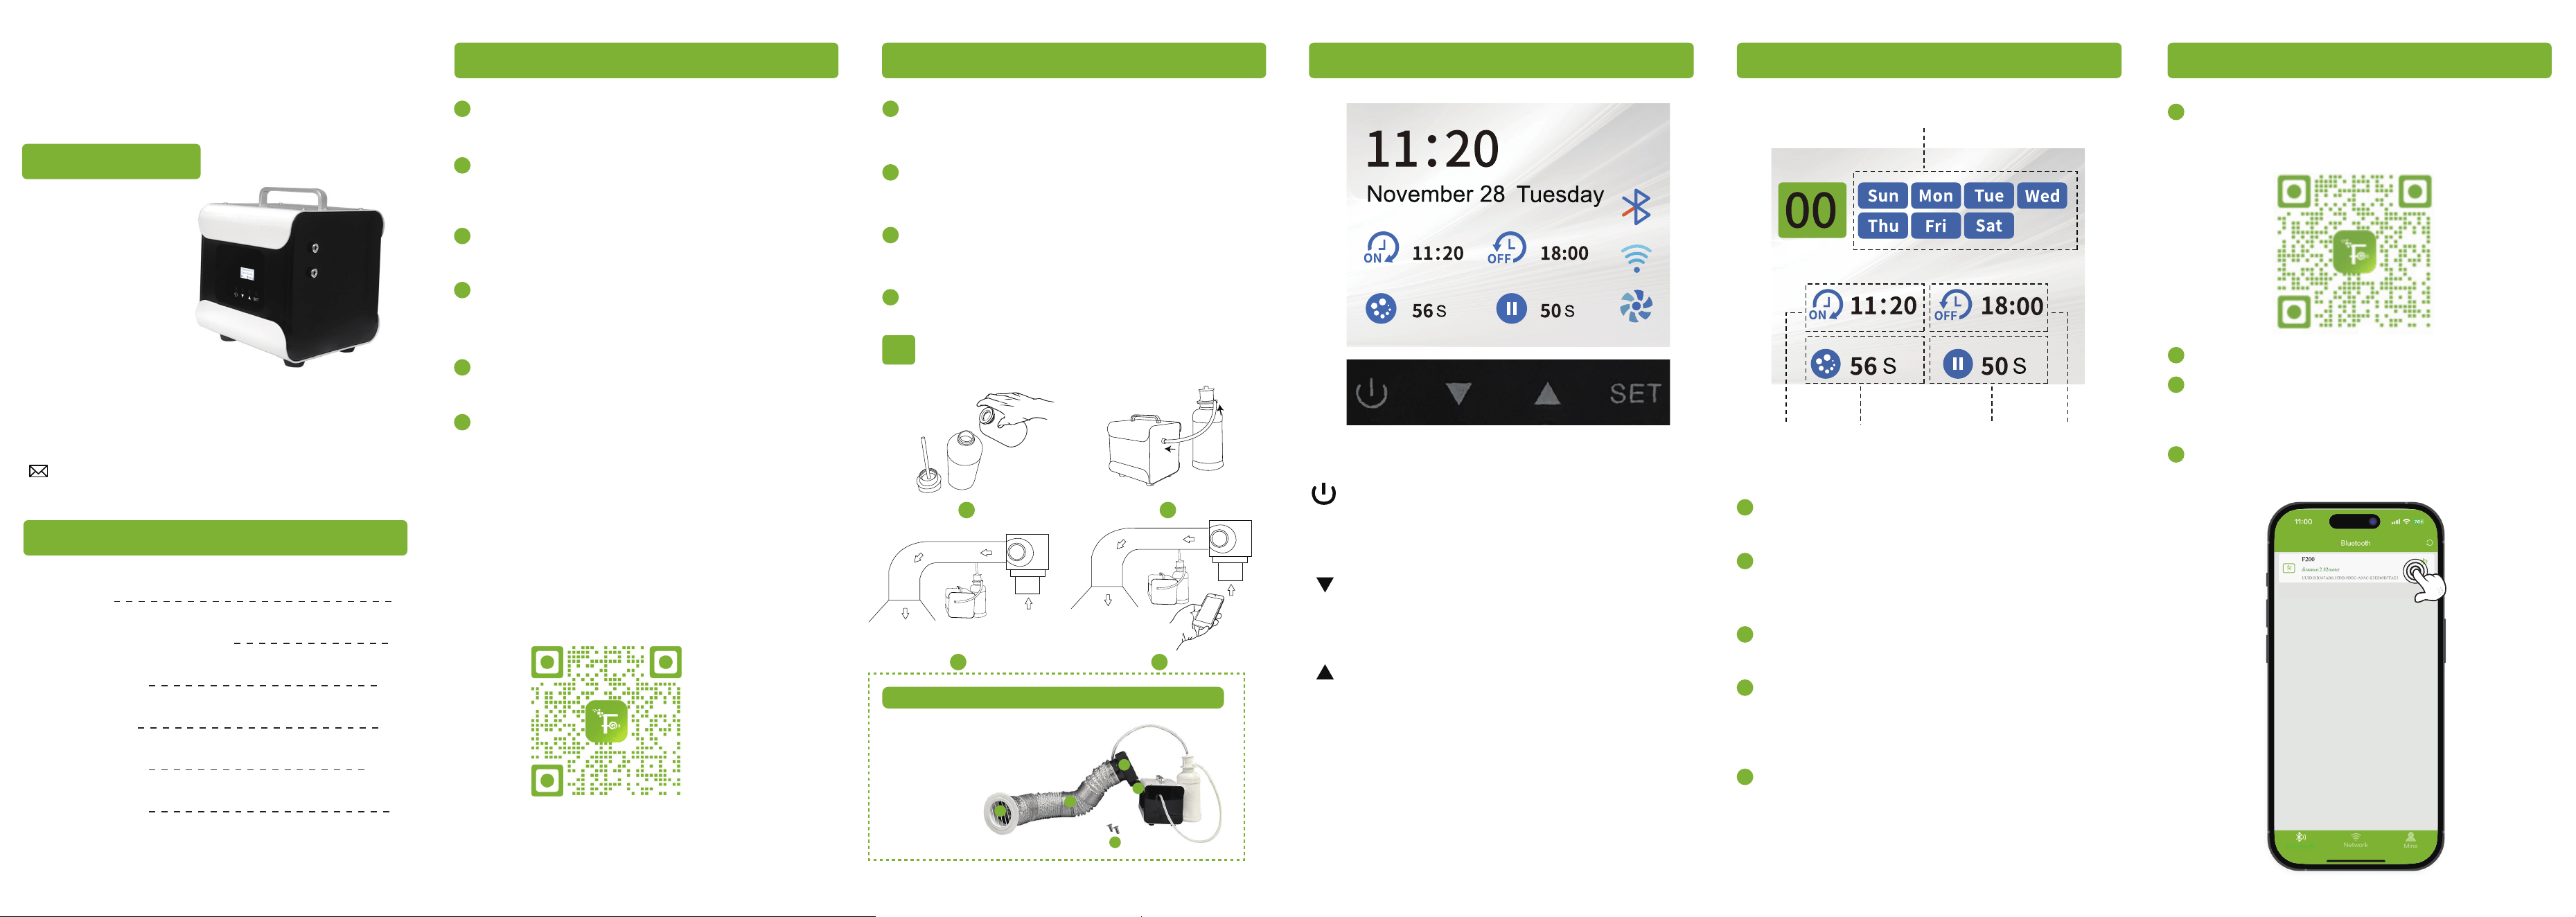
Control Panel Operating
Press the SET button to enter the settings
mode.
Use the UP and DOWN buttons to navigate
through different time modes. You can set up
to 30 modes in total.
For example, in mode 00, press the SET button
to enter the edit mode (it will turn green).
Use the UP and DOWN buttons to set different
days. Selected days will be highlighted in blue.
Press the SET button to save your selection.
You can choose from 1 to 7 days.
Use the UP and DOWN buttons to set 4
different time values: start time, end time,
running time, and pause time. Press the
SET button again to save each value.
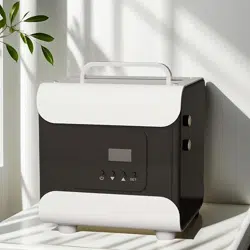
Waterless Diffuser
LK-3000
User Manual
Thanks for your purchase.
We provide a one-year warranty.
If any quality issues, replacement
or refund is available.
Please feel free to contact us
via E-mail:
Contents
Precautions
1
Quick Guide to Get Started
2
Panel Operation
3-4
APP Operation
5-7
Troubleshooting
8-10
Warranty Policy
11
1
Precautions
Please read this manual carefully before using
and keep it for future reference.
1
All pictures shown are for illustration purposes
only. Actual products may vary due to product
enhancement.
2
Always keep the device in an upright position
and avoid turning it upside down or shaking it.
3
To prolong the lifespan of the device, it is
recommended to clean the atomization core
with alcohol approximately every two months.
4
Keep the device out of reach of children and
pets.
5
Non-technical personnel are prohibited from
modifying, disassembling, or repairing
the machine.
Scan the QR code to view the user manual
and troubleshoot common issues.
6
Quick Guide to Get Started
Unscrew the atomizer head from the diffuser. Pour
fragrance oil into the oil bottle, then screw the atomizer
head back onto the bottle.
Attach one end of the tube to the pneumatic port of the
diffuser and the other end to the air inlet of the
atomizer head.
If connecting to an HVAC system, attach one end of the
fog tube to the fog outlet at the top of the atomizer head
and connect the other end to the HVAC pipe.
Plug in the power cord to connect the device to a power
source.
1
2
3
4
Do not place it flat or upside down to prevent
the oil from spilling and damaging the device.
1
2
3 4
Control Panel Operating
Power Button:
Turn the device on or off.
Confirm a selection or return to the previous
menu during settings.
SET Button:
Press this button to access various device
settings or enter specific functions.
Up Button:
Increase the setting value or move up in
the menu.
Down/Fan Button:
Decrease the setting value or move down in
the menu. Long Press this button to quickly
turn the fan on or off.
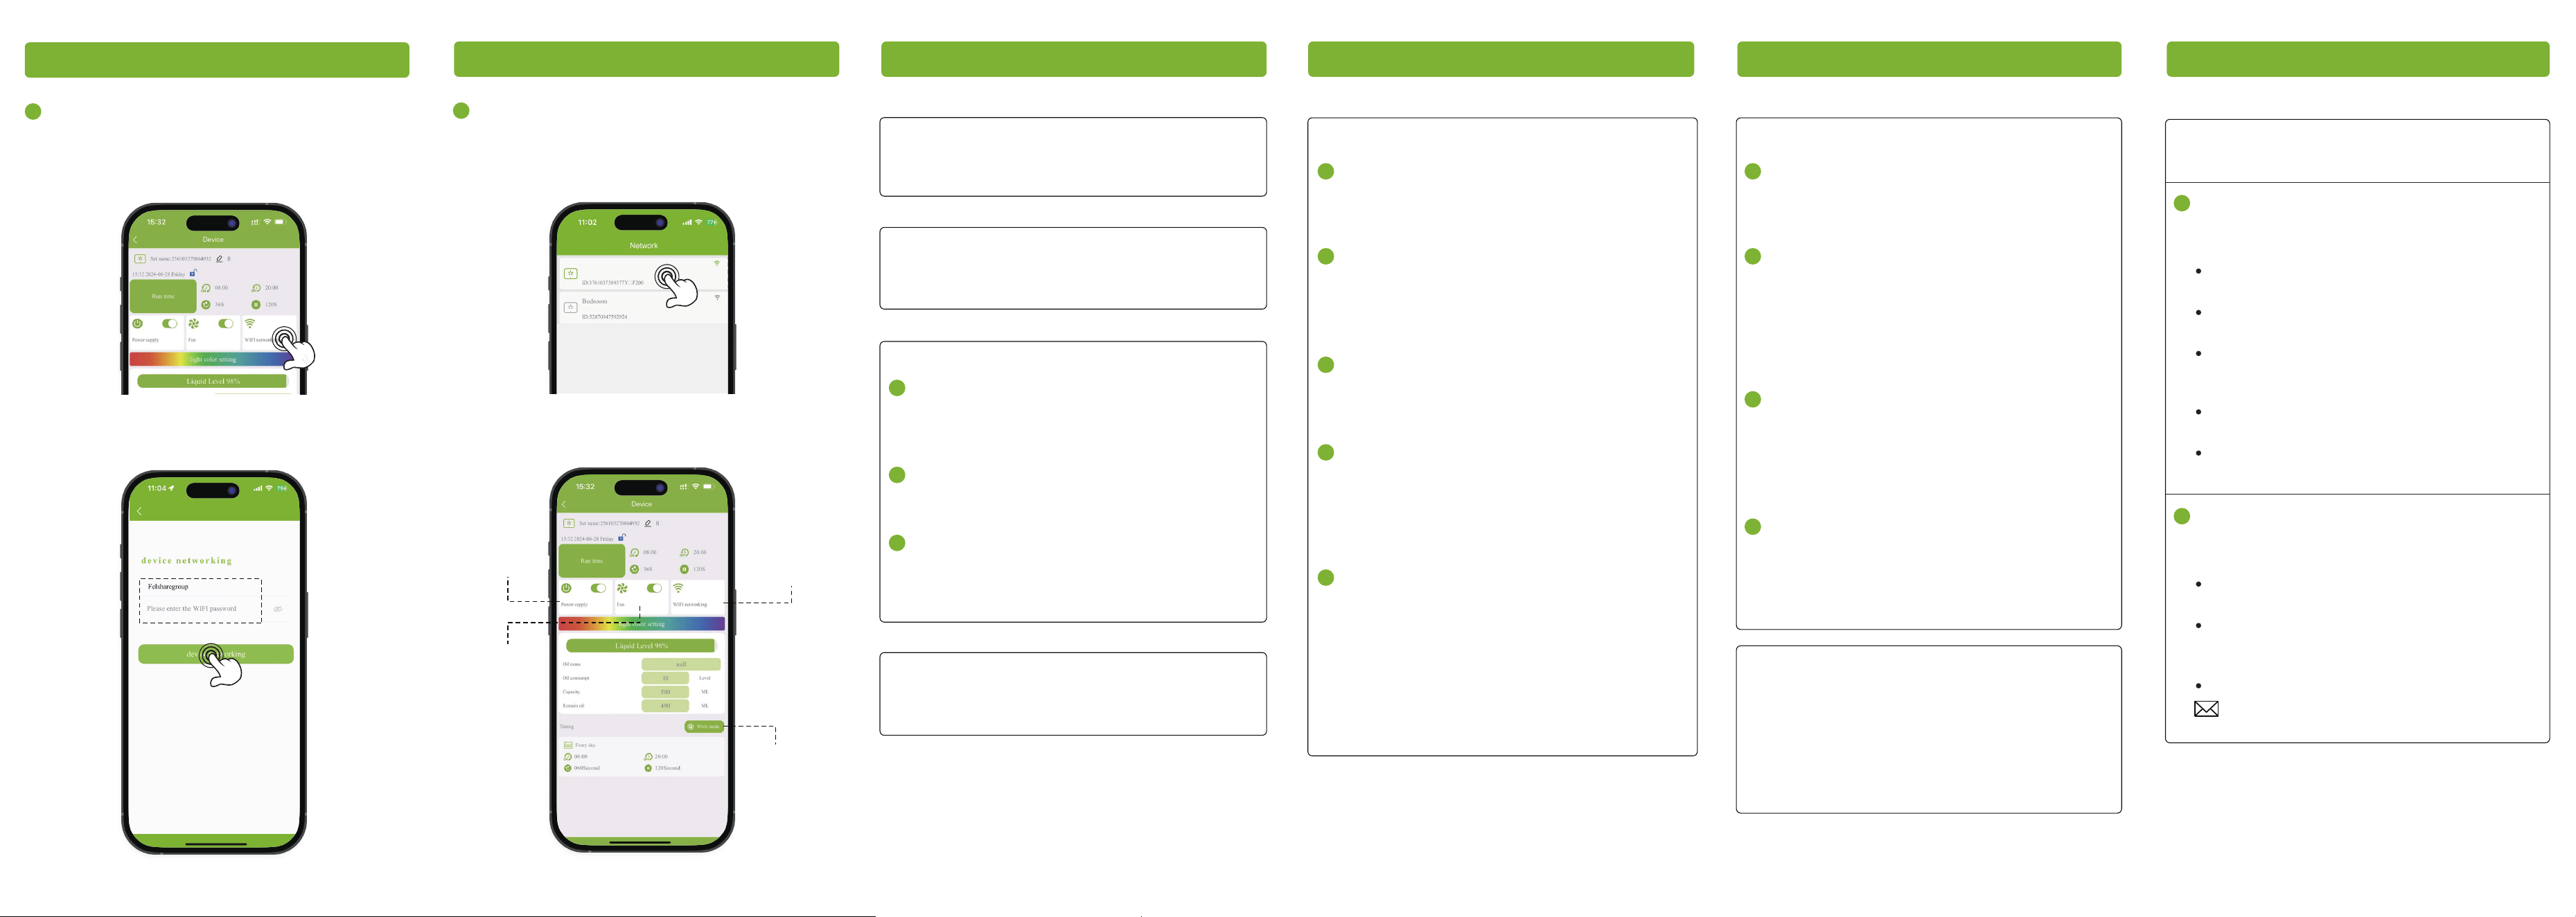
APP Operating Instructions
Scan the QR code below or Search for
"Smart fragrance" from APP store/Google Play.
Download and install it.
1
Creat an account and Sign in to the APP.
2
Click on the Bluetooth icon.
Click on the device to wait for matching.
4
Turn on Home WIFI(2.4GHz).
Turn on Bluetooth.
Trun on Location services/GPS.
3
Days
Start time End timePause timeRunning time
2 3 4 5
Note
Optional Accessories (Additional charges apply):
SET
1
2
3
4
5
1.Diffuser Fan
2.Fan and Pipe Support
3.Flexible Hose (up to 118 inches long)
4.Exhaust Air Cap (Diffuser Cap)
5.Screws and Miscellaneous Small Parts
1
2
3
5
4
Warranty Policy
APP Operating Instructions
Click on the Wifi icon.
Enter Home WIFI(2.4GHz) login account and
password.
5
TroubleshootingAPP Operating Instructions
Now you can set up your aroma plan.
6
Power
Essential oil
setting
Work mode
setting
Fan
Q:
Device Not Turning On
Ensure the power cord is securely plugged in
and check the power outlet.
Q:
Leaking Essential Oil
Ensure the oil bottle is tightly secured and
placed vertically.
Q:
No Diffusion
Intermittent Operation:
This scent air machine diffuses intermittently.
It will work for several seconds, then pause,
and work again. This is normal behavior.
Check the Power:
Ensure the device is properly connected to a
power source.
Clean the System:
Replace the oil with rubbing alcohol and run
it through the machine for 5 minutes to clean
any potential blockages.
Q:
Device Emits Unpleasant Smell
Clean the oil reservoir and use high-quality
essential oils.
Troubleshooting
Q:
How to Determine if Your WiFi is 2.4G
Check Your Router Model:
Most routers have a label or marking next to
the model number indicating whether they
are 2.4G.
Use a Network Scanning Tool:
Install a network scanning tool on your
device, such as Fing or Network Scanner.
These tools can scan nearby networks and
display their SSID, frequency band, and
other information. This will help you
determine if your WiFi is 2.4G.
Check Your Device Settings:
Go to the settings menu on your device
and find the WiFi settings option. Here,
you can see detailed information about
the WiFi network you are connected to,
including the frequency band.
Use Third-Party Apps:
For example, "WiFi Analyzer" is a very
useful app that can show you the WiFi
signals around you, including their
frequency bands.
Troubleshooting
Q:
WiFi connection failed
Verify WiFi Credentials:
Ensure that the WiFi username and password
are correct. Double-check for any spelling
errors or misplaced characters.
Check WiFi Signal Strength:
The device requires a strong WiFi signal. If
the signal is too weak, it may cause
connection failures. Try moving the device
closer to the WiFi router.
Ensure Compatibility with 2.4GHz Band:
Confirm that your WiFi router supports the
2.4GHz frequency band. The device can only
connect to 2.4GHz networks.
Check Router Settings:
Some routers have restrictions such as
specific IP addresses or MAC addresses
required for connection. Check the router
settings to ensure the device is authorized
to access the network.
Use a Mobile Hotspot:
Try using another mobile phone to create a
hotspot and connect both the device and the
phone with the app to this hotspot. If the
connection is successful, it indicates that the
issue is with the network environment In this
case, consider switching to a network
environment that meets the necessary
conditions.
Our company provides a one-year warranty
starting from the date of purchase.
Non-Warranty Policy
The following conditions are not covered by
the warranty:
Damage that occurs after the warranty
period has expired.
Damage caused by natural disasters or
other force majeure events.
Any damage caused by use that does not
follow the requirements outlined in the
User Manual.
Failure or damage caused by the forced use
of the product.
The user disassembles or repairs the
product without authorization.
1
Warranty Requirements
In order to receive warranty service, please
follow these steps:
Provide the warranty card and the order
number.
Describe the problems you are experiencing
in detail and provide pictures or videos if
possible.
Send an email to contact Customer Support.
2
6
7 8 9 10 11
1
Q:
Prefer not to use the app?
2
3
4
1
2
3
4
5
1
2
3
Manual adjustments can be made with a
simple Ibutton press. If no settings are
configured, the diffuser willautomatically
follow its default schedule: spraying for 60
seconds and pausing for 120 seconds, from
8 am to 8 pm daily.