© 2020 Suncast Corporation, Batavia, IL 0660207A
PARTS
To learn about other Suncast products, please call
1-855-477-1260 or 1-630-879-2050.
Product Feedback? Email us at: feedbacksuncastcommercial.com
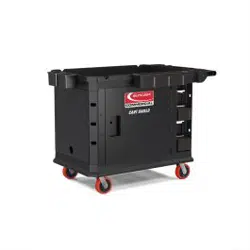
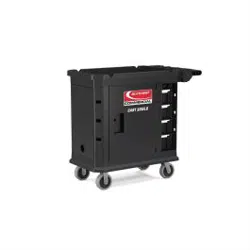
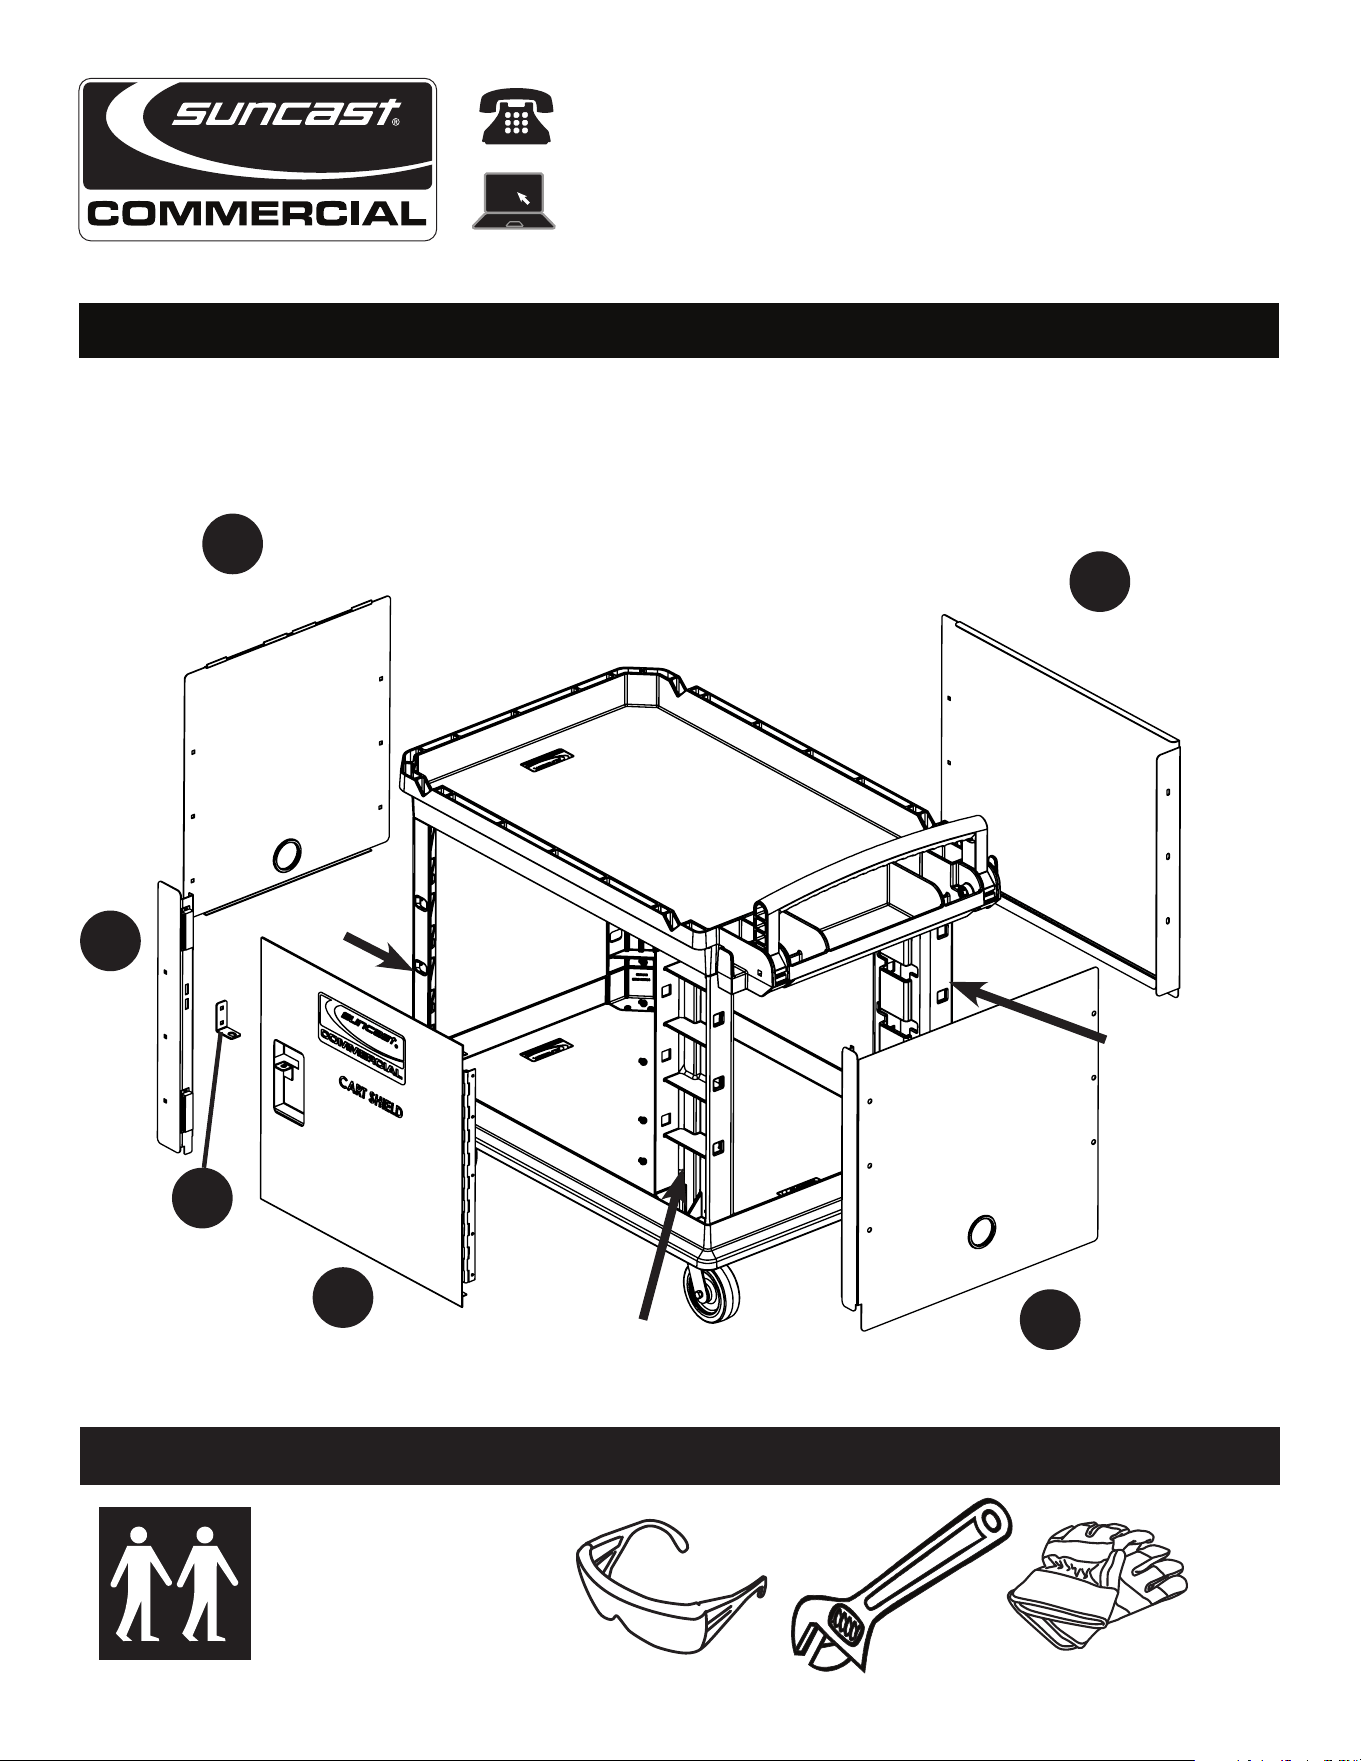
ITEM NUMBER: PUCCS1937/ PUCCS2645 CART SHIELD
3
TOOLS NEEDED
2
5
4
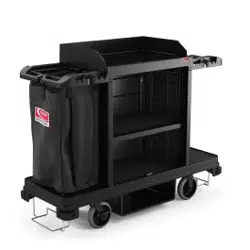
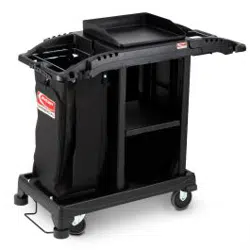
PUCCS1937/2645 - CART SHIELD - *The Utility Cart shown in
the manual is not included and purchased separately
6
Back Panel
Door Panel
Right Side Panel
Left Side Panel
Lock
Post
1
Lock
Hasp
*Cart Purchased
Separately
CORNER #1
CORNER #2
CORNER #3
CORNER #4
Two (2) people
recommended
for assembly
2
BEFORE YOU BEGI
N
• Read instructions thoroughly prior to assembly.
This kit contains parts that can be damaged if assembled incorrectly or in the wrong sequence.
• Please follow instructions.
Suncast is not responsible for replacing parts lost or damaged due to incorrect assembly.
• Check for all parts before you begin assembly.
Using the provided parts check list, verify that you have all the parts required to construct your cart.
• Assistance may be required during parts of the assembly.
CAUTION
• This product is not a toy and is not intended for use by children.
• Exercise caution when moving fully loaded product.
• Do not sit or stand on top.
• This contains parts that can be damaged if assembled incorrectly or in the wrong sequence. Repair or replace
broken parts immediately
• Do not put fuels, flammables, explosives or hazardous materials inside these products.
• Gasoline, solvents, gun powder or other munitions, dynamite, propane, acetylene or other such products can
explode if stored inside these products.
• Use these products ONLY for storing and transporting electric or hand tools and equipment, and other similar
materials.
• Failure to follow these warnings or modifications or other uses of these products could result in death, serious
injury or property damage..
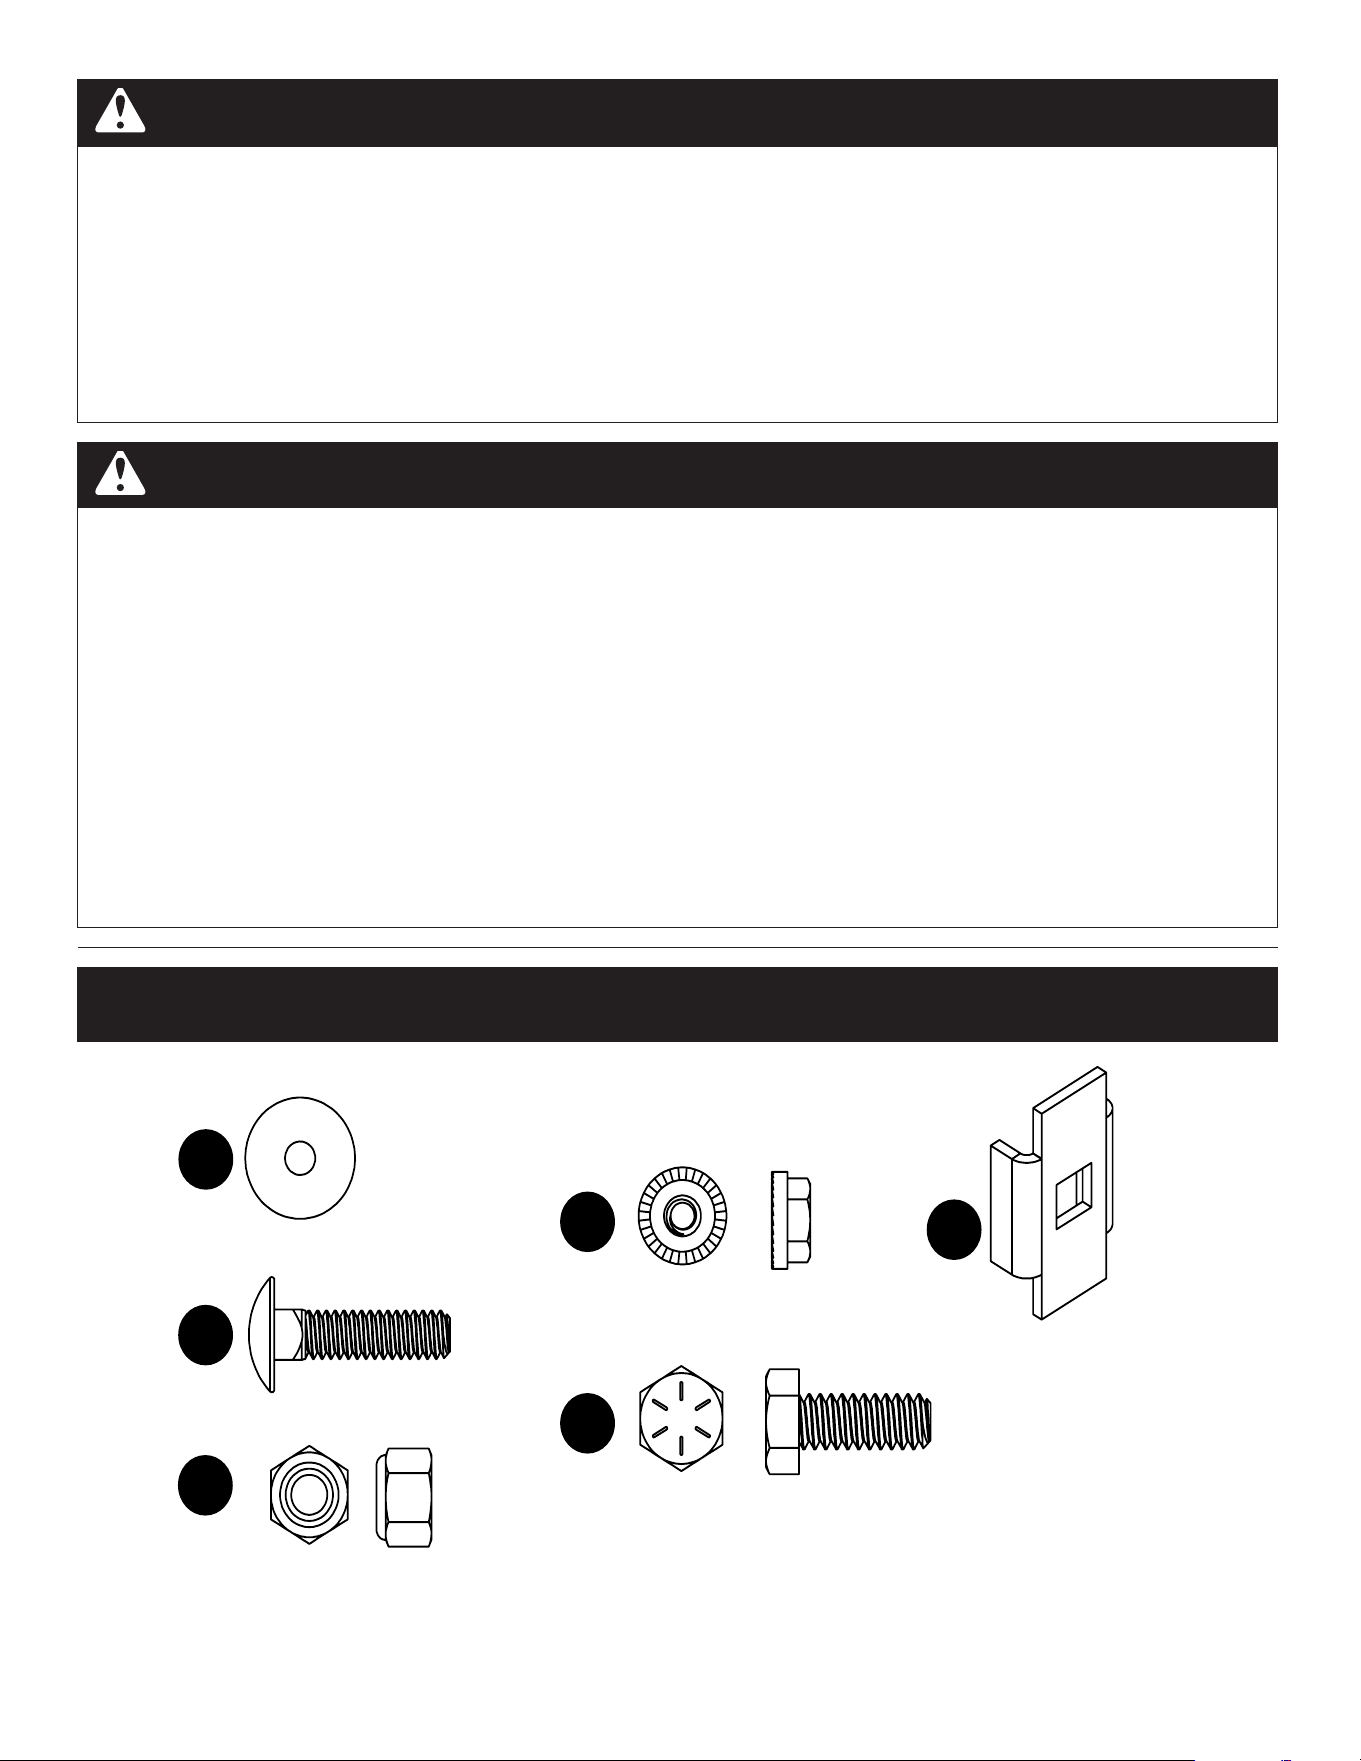
HARDWARE
x20
x20
x20
x5
x6
x5
C
A
D
F
E
G
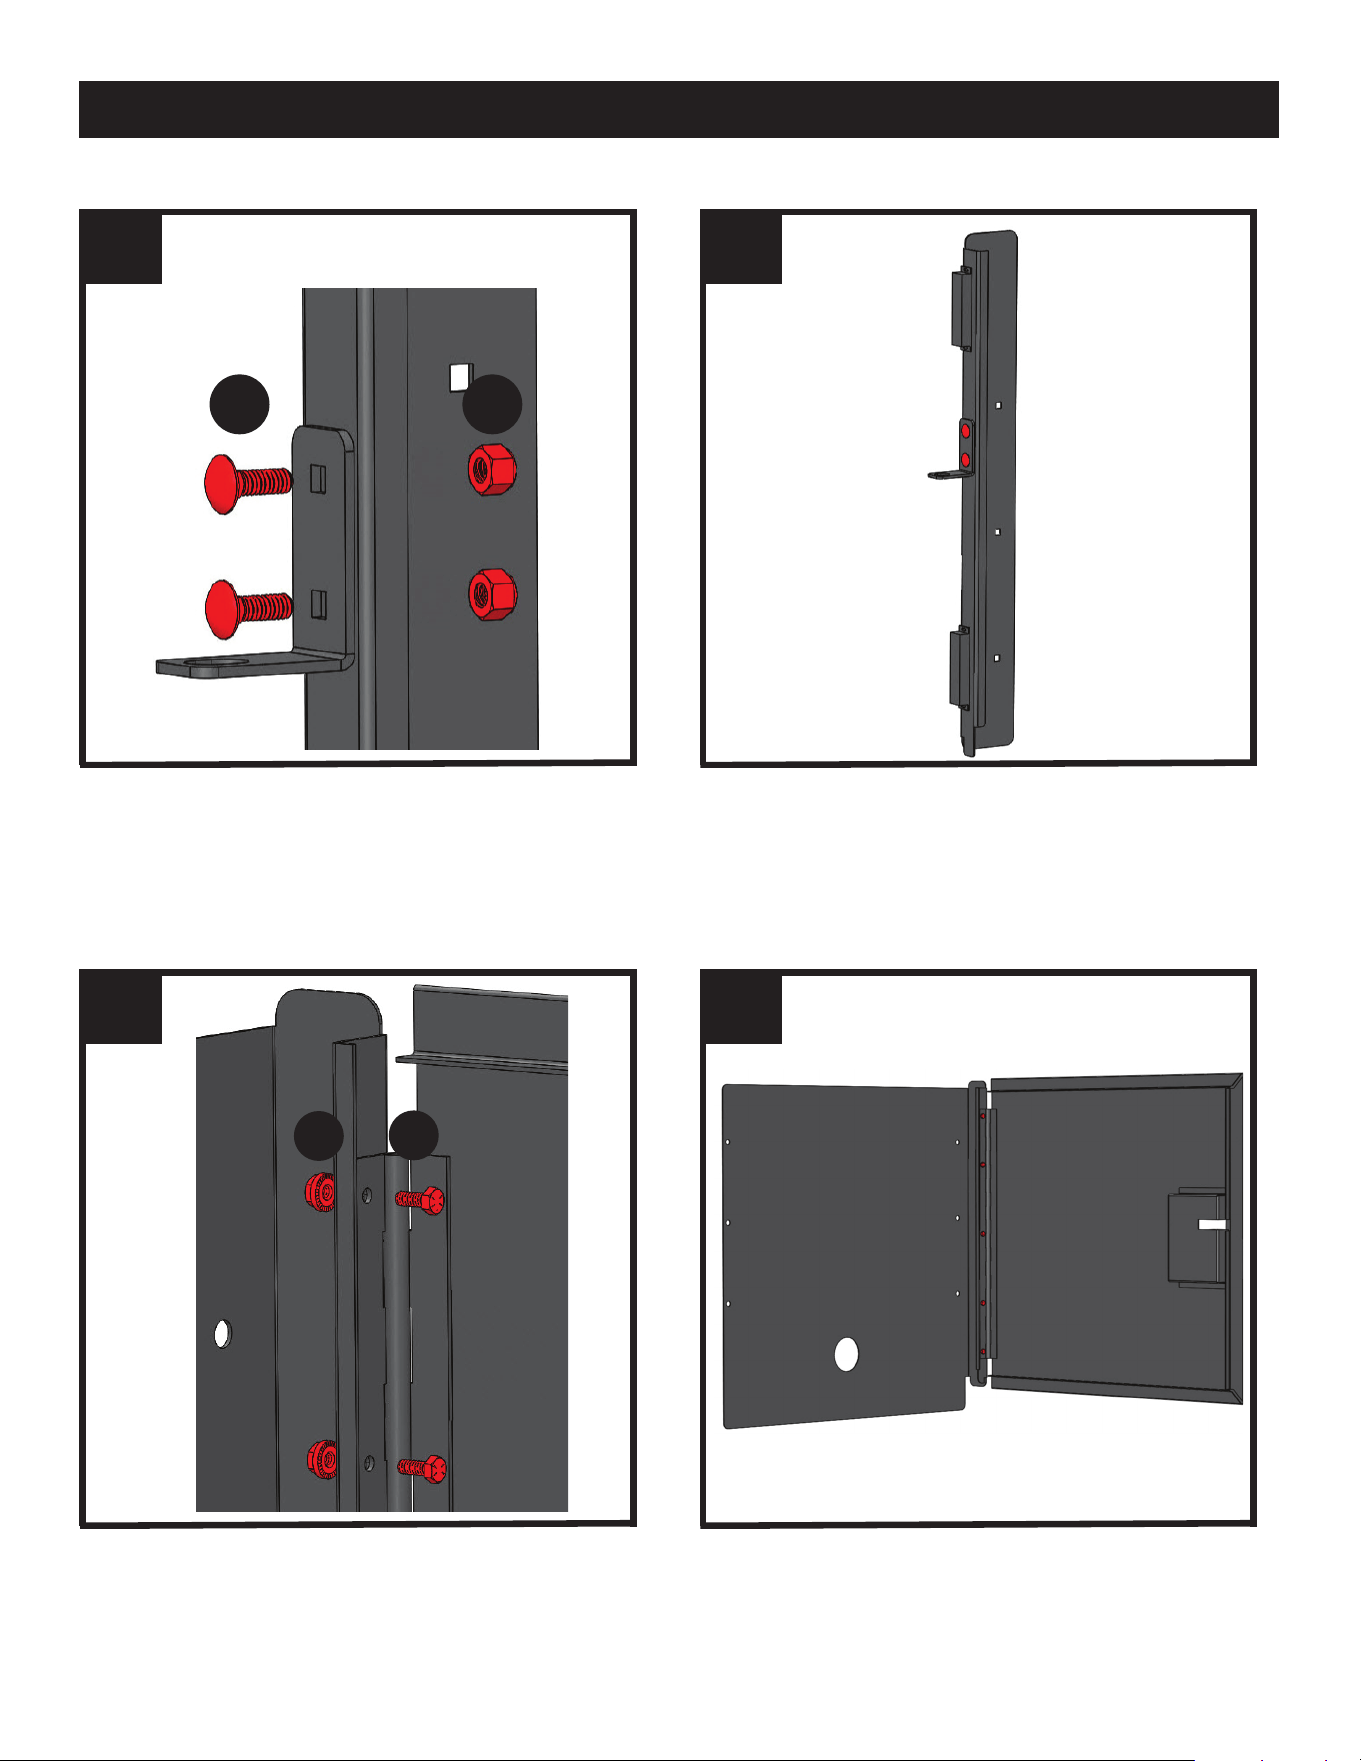
3
Connect Lock Hasp to Lock Post using (2) Carriage Bolts (A),
and (2) Lock Nuts (D). Do not fully tighten, lock hasp height
will be adjusted in later step.
ASSEMBLY
1a
Connect Door to Right side panel using (5) Hex Screws (E),
and (5) Serrated Nuts (F). Connect fasteners through hinge.
2a
A
D
E
F
1b
2b
Assembled Lock Post
Door and Right-Side Subassembly.
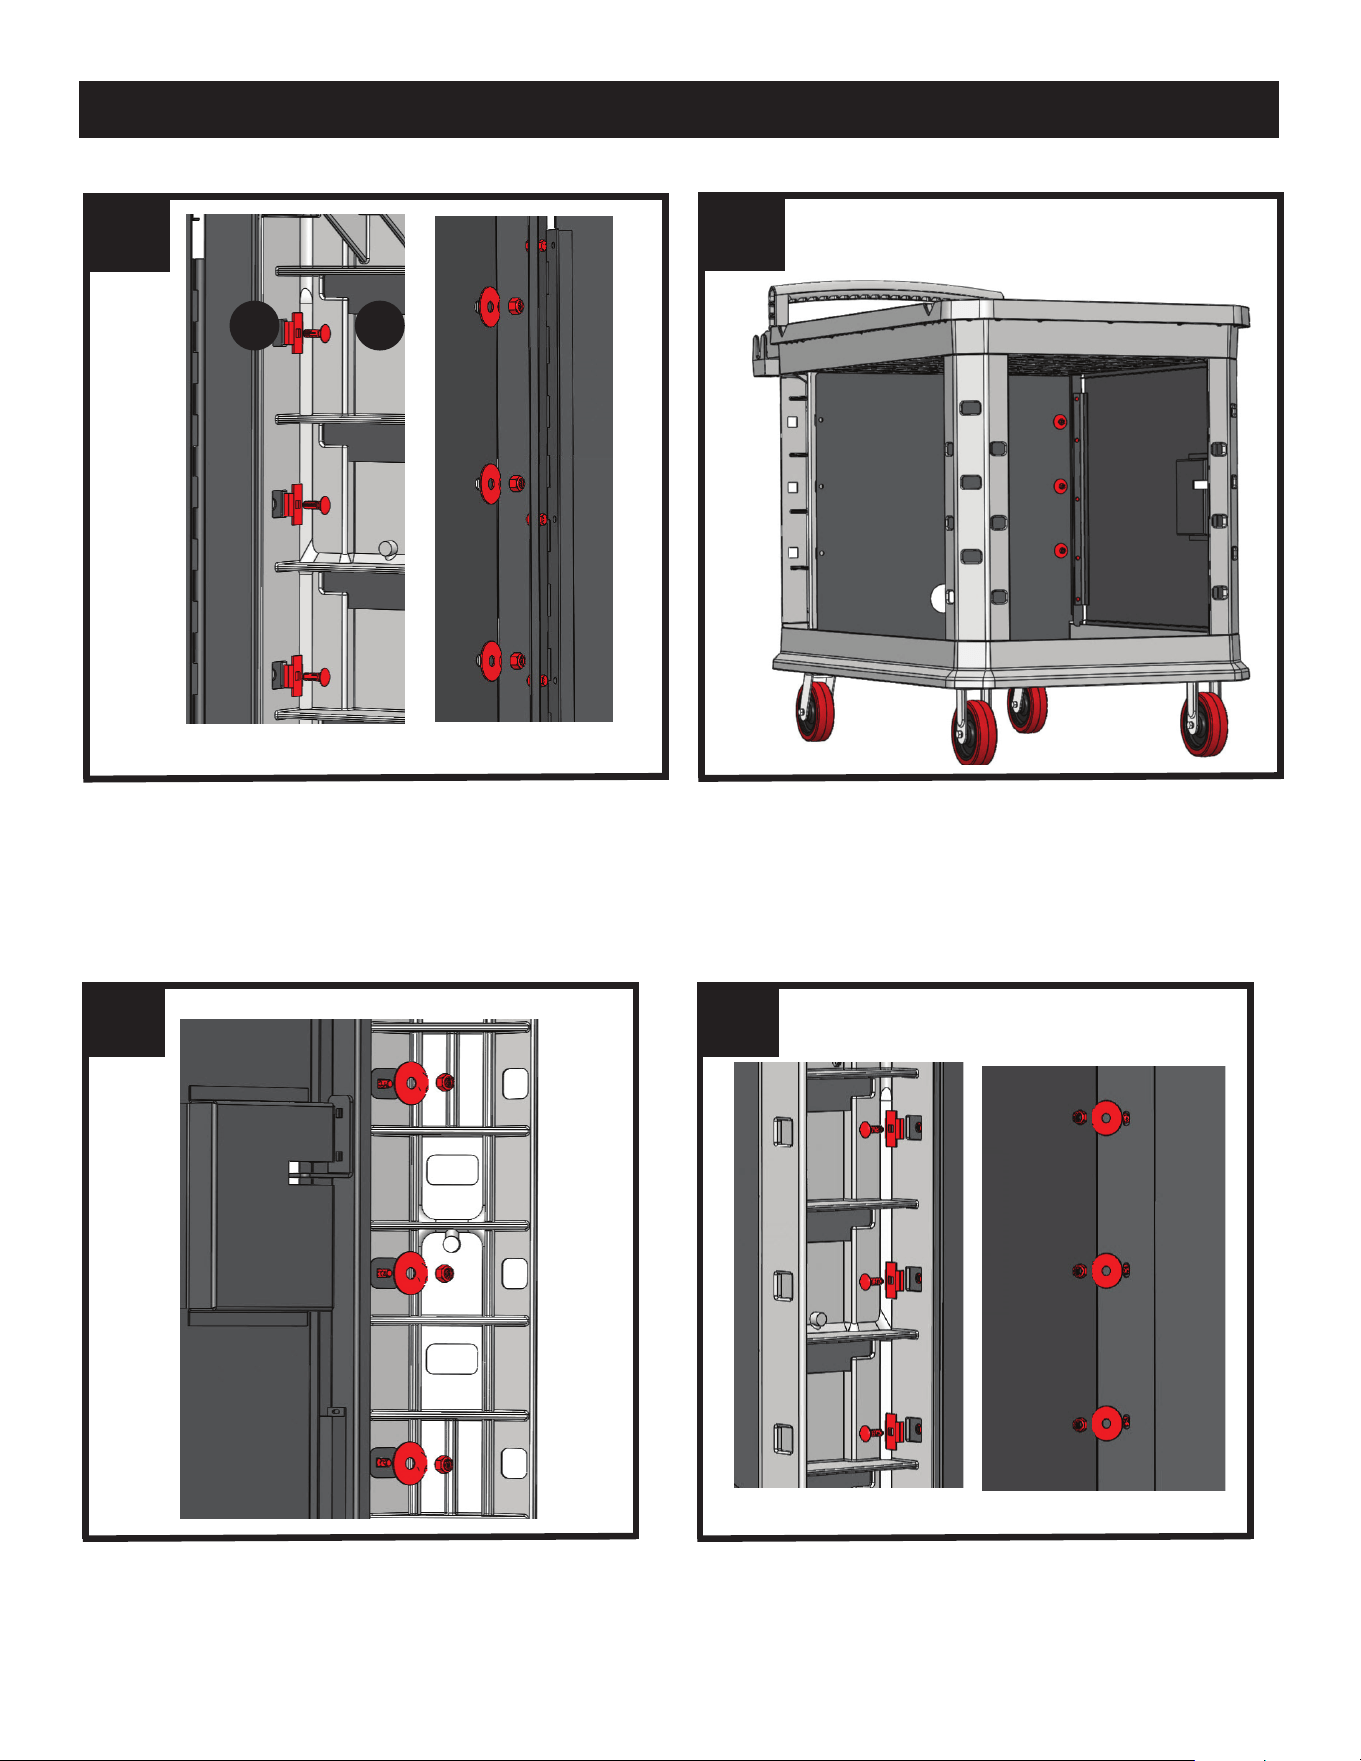
4
Connect Lock Post to CORNER #2 using (3) Carriage Bolts (A),
(3) Large Washers (C), and (3) Lock Nuts (D).
ASSEMBLY
5 6
EXTERIOR VIEW INTERIOR VIEW
Slide Back Panel onto cart platform. Connect Back Panel to
CORNER #3 using (3) Square Washers (G), (3) Carriage Bolts
(A), (3) Large Washers (C), and (3) Lock Nuts (D).
3
EXTERIOR VIEW INTERIOR VIEW
4
Connect Door and Right Side Sub-assembly to INSIDE OF
CORNER #1. Connect from top to bottom using (3) Square
Washers (G), (3) Carriage Bolts (A), (3) Large Washers (C), and
(3) Lock Nuts (D).
G
A
Assembled Door-Right Side Panels to Cart.
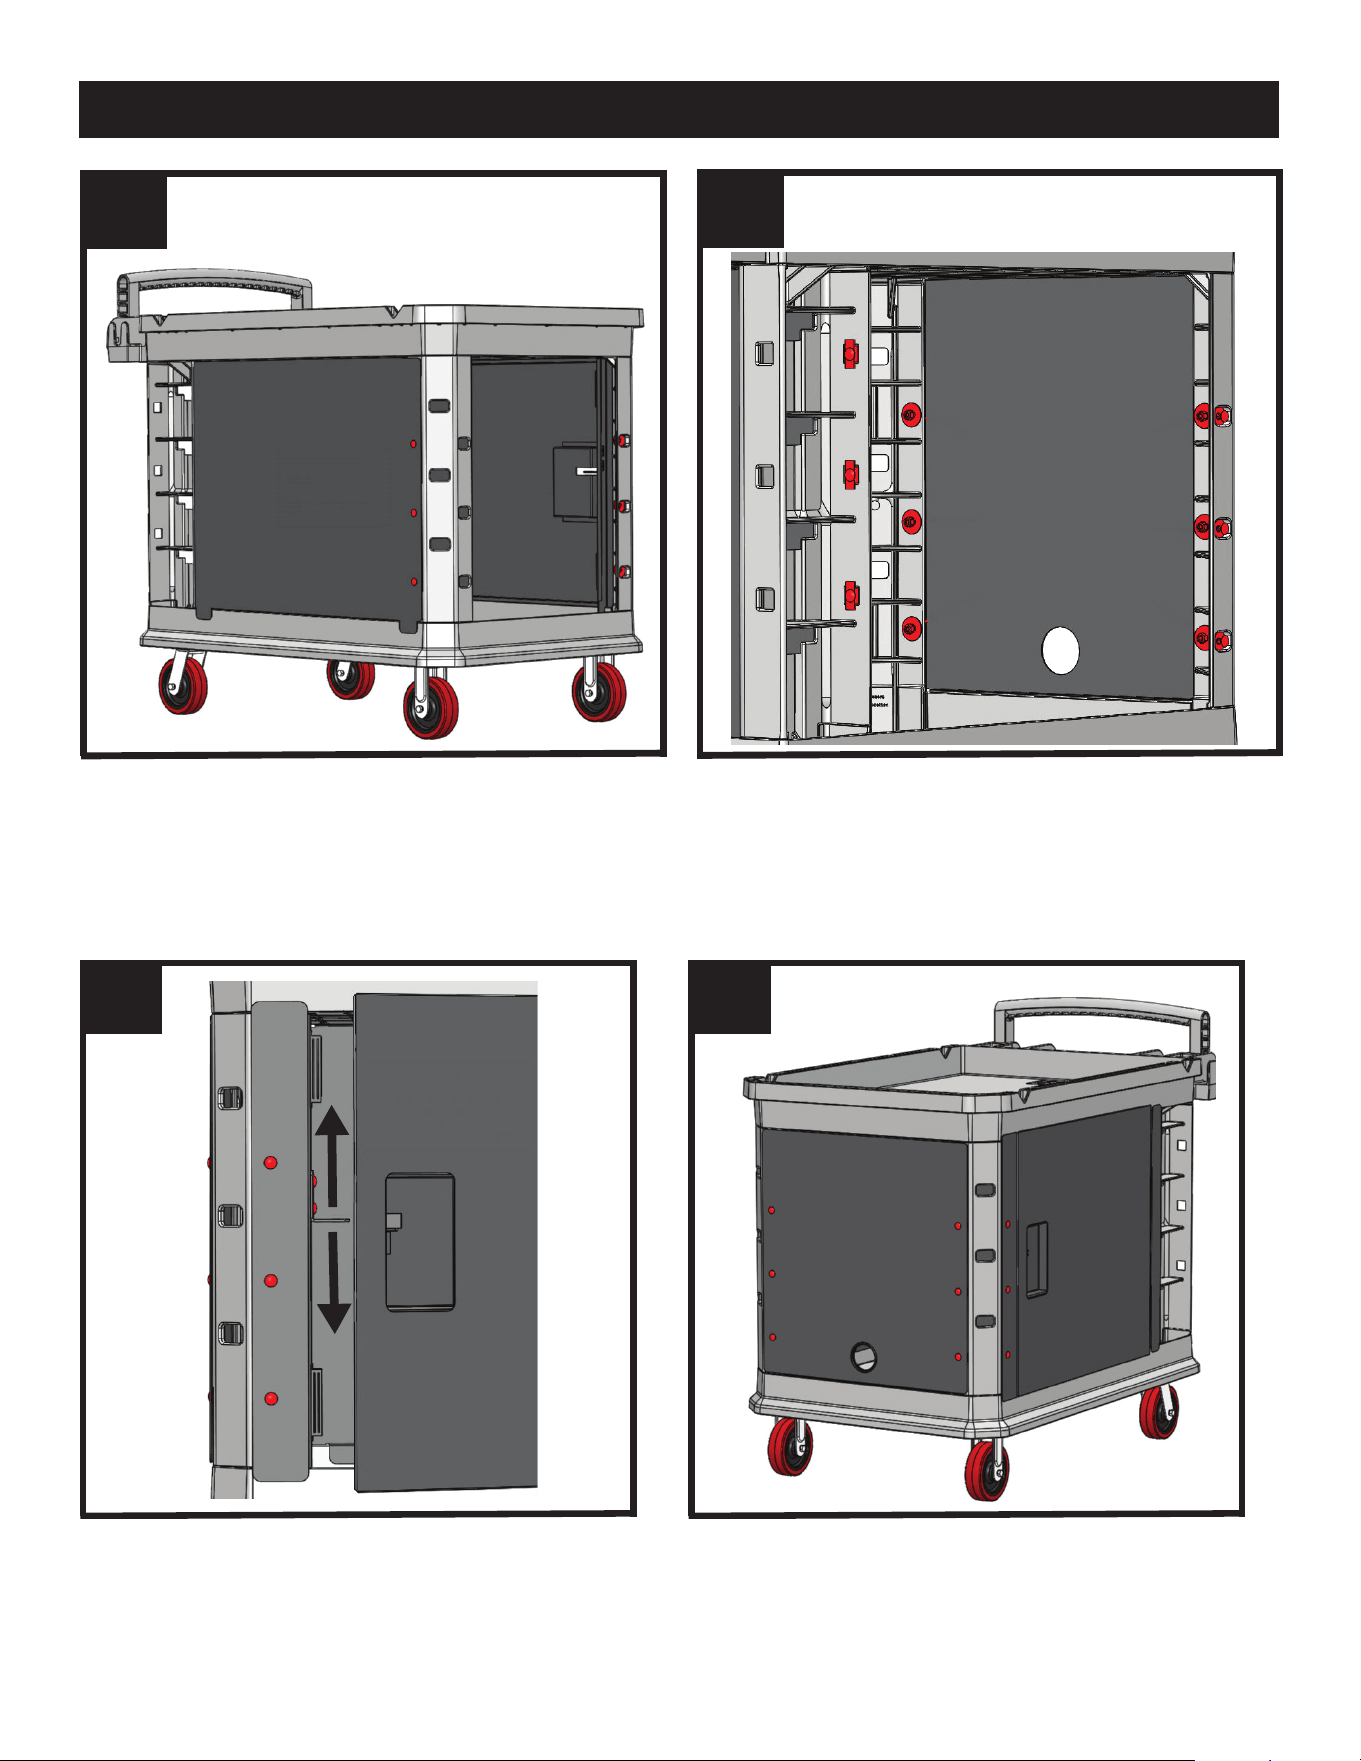
5
Adjust Lock Hasp up and/or down. Close door and confirm
there is no interference. Fully tighten Lock Hasp.
ASSEMBLY
9 10
Complete.
7
8
Connect Back Panel to CORNER #3 and Right Side Panel
using (3) Carriage Bolts (A), (3) Large Washers (C), and (3)
Lock Nuts (D).
Repeat for CORNER #4
Connect Left Side panel to CORNER #2 and CORNER #4 in six
locations, using (6) Carriage Bolts (A), (6) Large Washers (C),
and (6) Lock Nuts (D).