
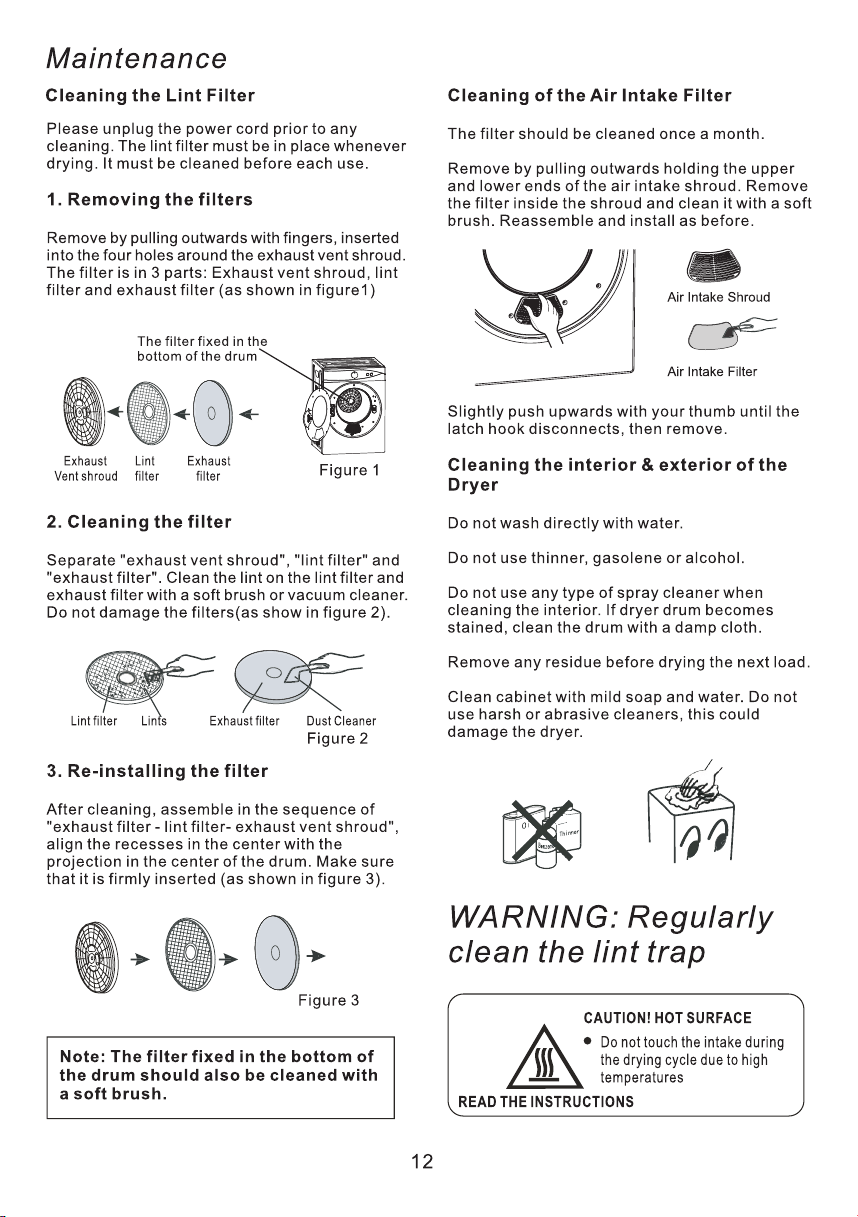
ESSENTIALS FOR LIFE
User
Manual
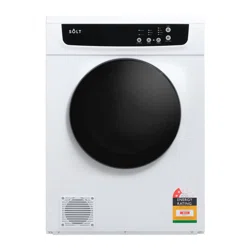
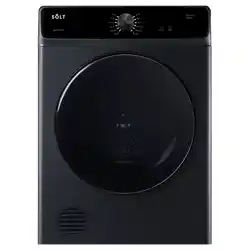
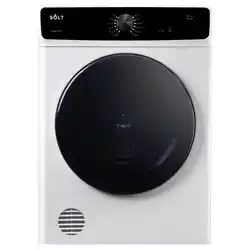
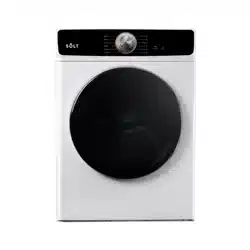
MODEL: SOLVTD7W
V 1.0 | 1024
Freestanding 7kg
Vented Tumble Dryer
Welcome Congratulations on purchasing
your new tumble dryer!
The Sôlt brand is now also proudly
distributed within the UK.
Please refer to the warranty card at the rear of this manual
for information regarding your product’s parts and labour
warranty, or visit us online at
wwwwww..solt.house
At Sôlt Brand, we are customer obsessed and our Support
Team are there to ensure you get the most out of your
appliance. Should you want to learn more about your
cooker's features, and importantly taking care of your
appliance when cleaning, our Support Team are here to
help.
You can use our online job booking service anytime, by
visiting www.appliancesupport.co.uk/solt or by emailing
It is important that you read through the following use and
care manual thoroughly to familiarise yourself with the
installation and operation requirements of your appliance to
ensure optimum performance.
Again, thank you for choosing an Sôlt appliance and we look
forward to being of service to you.
Kind Regards,
The Solt Team
Sôlt
—
Online Job Booking.
www.appliancesupport.co.uk/solt
_
Instagram.
/solt.house
—
Facebook.
/solt.appliances

Oil-affected items can ignite spontaneously, especially when exposed to
heat sources such as in a laundry dryer. The items become warm, causing
an oxidation reaction in the oil. Oxidation creates heat. If the heat cannot
escape, the items can become hot enough to catch fire. Piling, stacking or
storing oil-affected items can prevent heat from escaping and so create a
fire hazard.
•
If ii is unavoidable that fabrics that contain vegetable or cooking oil or have been contaminated
contaminated by hair care products be placed in a laundry dryer they should first be washed
in bot water with extra detergent-this will reduce, but not eliminate, the hazard.
•
Do not dry unwashed items in the laundry dryer.
•
Items that have been soiled with substances such as cooking oil, acetone, alcohol, petrol,
kerosene, spot removers, turpentine, waxes and wax removers should be washed in hot
water with an extra amount of detergent before being dried in the laundry dryer.
•
Items such as foam rubber (latex foam), shower caps, waterproof textiles, rubber backed
articles and clothes or pillows fitted with foam rubber pads should not be dried in the
laundry dryer.
•
Fabric softeners, or similar products, should be used as specified by the fabric softener
instructions.
•
The final part of a laundry dryer cycle occurs without heat (cool down cycle) to ensure that
the items are left at a temperature that ensures that the items will not be damaged.
•
Remove all objects from pockets such as lighters and matches.
WARNING: Never stop a laundry dryer before the end of the drying cycle unless all items
are quickly removed and spread out so that heat is dissipate.
•
The maximum mass of dry textile material in kilograms to be used in the appliance;
•
That the laundry dryer is not to be used if industrial chemicals have been used for cleaning;
•
That the lint trap has to be cleaned frequently, if applicable;
•
That lint must not to be allowed to accumulate around the laundry dryer (not applicable for
appliances intended to be vented to the exterior of the building);
•
That adequate ventilation has to be provided to avoid the back flow of gases into the room
from appliances burning other fuels, including open fires.
NOTE This instruction is not required if the laundry dryer discharges the air into the room.
•
For appliances with ventilation openings in the base, that a carpet must not obstruct the
openings;
•
That exhaust air must not be discharged into a flue which is used for exhausting fumesfrom
appliances burning gas or other fuels.
NOTE This instruction is not required if the laundry dryer discharges the air into the room.
•
That the appliance must not be installed behind a lockable door, a sliding door or a door with
a hinge on the opposite side to that of the laundry dryer, in such a way that a full opening of
the laundry dryer door is restricted.
Save These Instructions
4
5
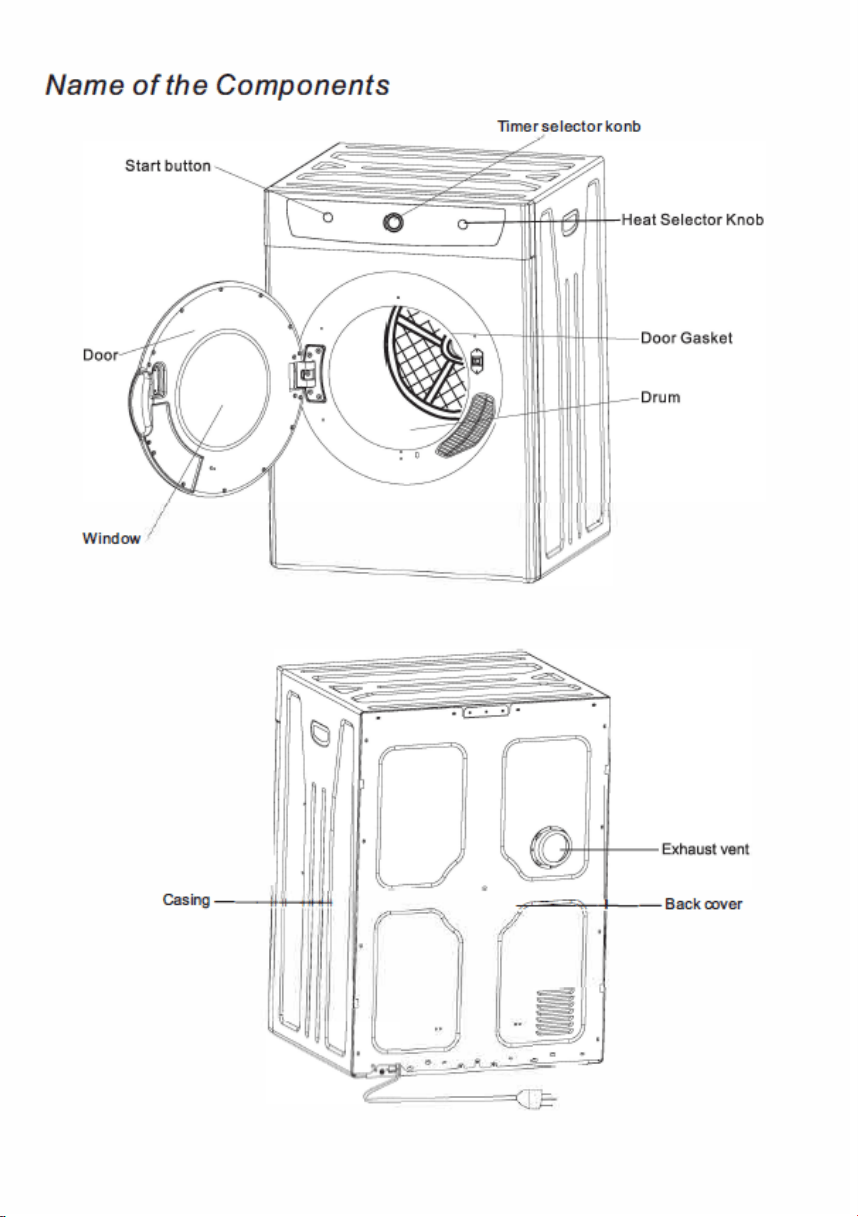
Operating your dryer
Electrical Requirements
The unit is required to be plugged into a three
pin socket that is reliably grounded.
Plug the power cord into the socket.
Loading the dryer
It is recommended that items are placed into
the dryer one at a time. This ensures they are
not tangled which results in uneven drying.
When closing the dryer door prior to starting
the unit ensures that items are not jammed in
the door.
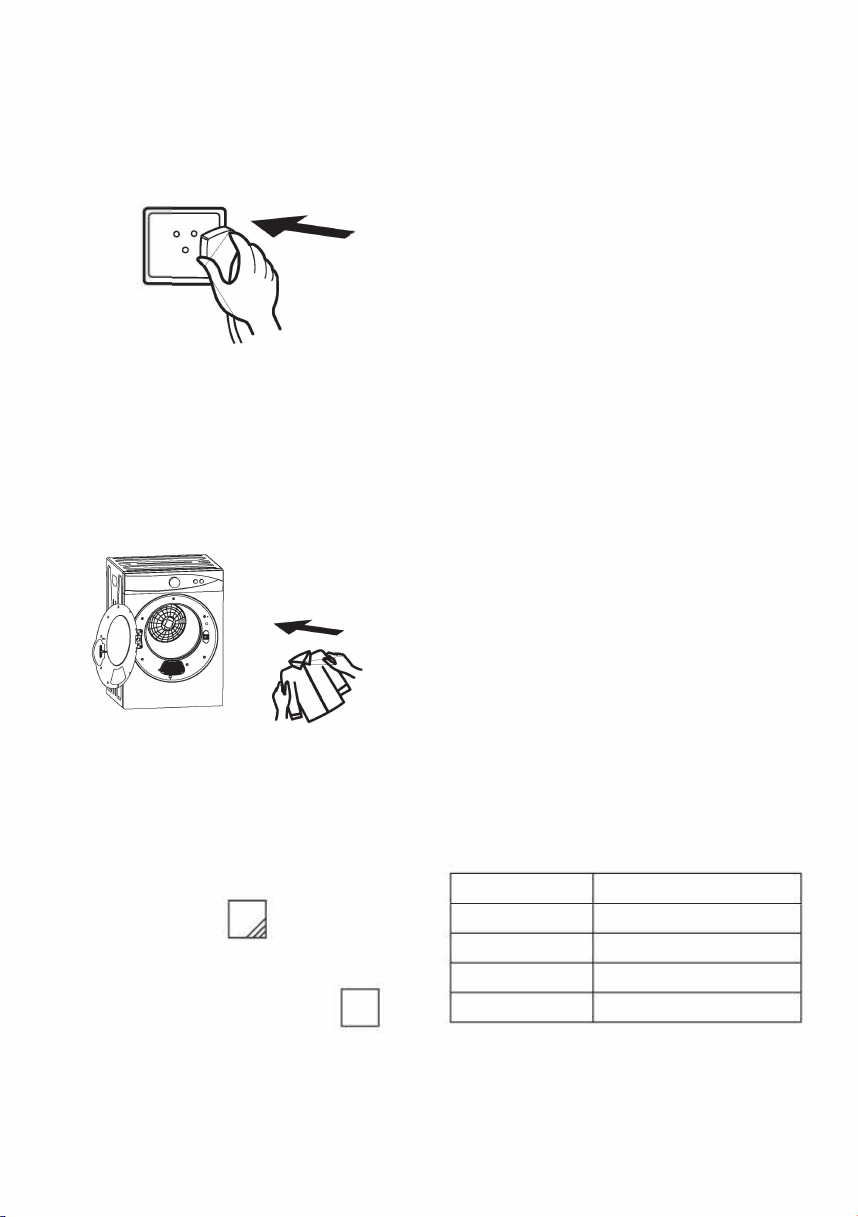
Tips before drying
Prior to loading the dryer check that the items
do not have the following symbols anywhere
on them. If they do, do not laundry dry these
items.
B
Dry flat
Dry in the shade
0 □
Do not laundry dry Hang to dry
I I I
I I I
I I I
Drip dry
6
•
Check the items to be dried do not have
combustible materials or foreign objects
within them i.e.: lighters, hair pins, coins.
.,,,,,
�
•
Turn items with zippers inside out
and fasten buckles.
�
•
Dryer heat may permanently set stains,
ensure you check prior to drying that stains
are removed
•
Separate dark and light colored items as
you would do when washing.
•
For best results load the dryer with similar
fabrics. Place small delicate items in a mesh
bag and do not overload the dryer.
•
The maximum mass is 3.0 kilogram's of dry
textile material for the dryer and do not
overload. The laundry dryer is intended
only for drying textile material washed in
water.
Drying time
reference table
Drying Capacity
Dry time
Approx.1 kg Approx.60min
Approx.2kg Approx.90min
Approx.2.5kg Approx.150min
Approx.3kg Approx.200min
Drying times can be affected by many
factors, such as material, bulkiness, how full
the dryer is etc. The above list is only a guide
only.
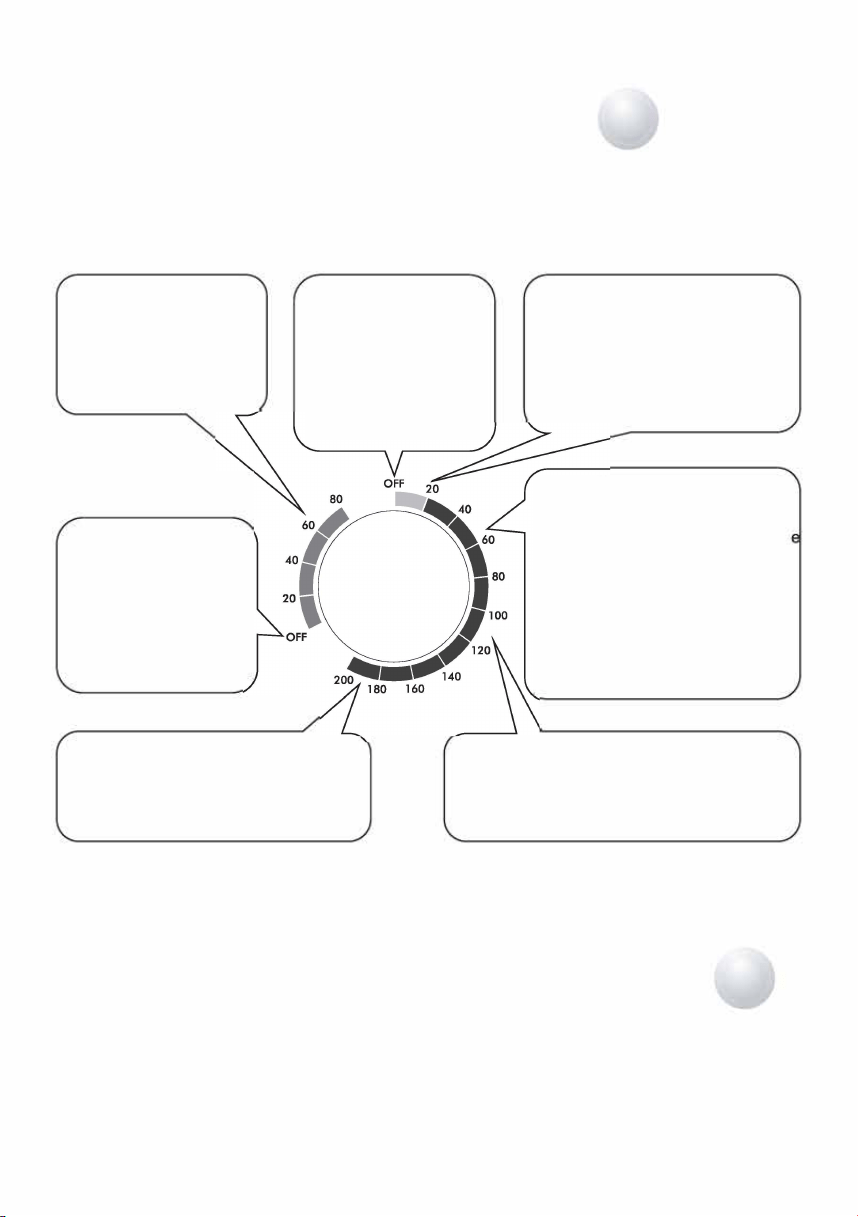
Low
& High
Heat Selector Knob
Control Panel Functions
Heat Selector button
Select 'High Dry' for items that are particularly bulky or large
quantities. Select 'Low Dry' for delicate items such as silk, nylon,
linen etc.
Drying Program Selector
There are five drying combinations available: Cool, Anti-wrinkle, Warm, Hot and
Air dry.
Air Dry: This function runs
with cool air, primarily to
air items that require
freshening. i.e.: clothes
that have been stored for
a long period of time.
OFF: When the 'Drying
Timer' dial is in the 'OFF'
position no power is
supplied to the unit. As
soon as the dial is turned
clockwise to the desired
program, the dryer will
start.
OFF: When the 'Drying
Timer' dial is in the 'OFF'
position no power is
supplied to the unit. As
soon as the dial is turned
clockwise to the desired
program, the dryer will
start.
Cool: This function is generally
used to cool the items that have
just been dried. This helps to
prevent creasing. Instead of the
motor pushing heat into the drum
of the dryer
it will
generate cool air.
Anti-wrinkle: This is used for items
that are difficult to iron i.e.: cotton
shirts and linen. Using the heat
selector knob, choose 'Low'. Set th
drying timer knob between 30-60
minutes depending on the amount
of items in the dryer. Once the
timer stops (including the cool
program) the items will still contain
moisture, making the ironing
process easier.
Hot: For drying large quantities or bulky
items (More than 0.5 times the rated
capacity). Select the 'High' heat option
and set the timer for more that 120
minutes.
Warm: This function will dry and cool items
and in most cases leave items wrinkle free
(depending on material). Select the 'High' heat
option and set the timer for more that 60-120
minutes.
0
Sta
Start button
After having set up the Heat Selector and Timer Dial, press the Start button. the dryer
will start and work until the program is finished. If the during this process the door is
opened or power is switched off, the dryer will stop working. In order to start the dryer
again after the door is closed or power is switched back on, you will need to push the
Start button. then the dryer will start working again.
NOTE:
This Start button is only designed to start the dryer working. If you press this
button during the drying process, the dryer will not pause. In order to stop the
dryer, you must turn the timer dial to the Off position.
7
Operation
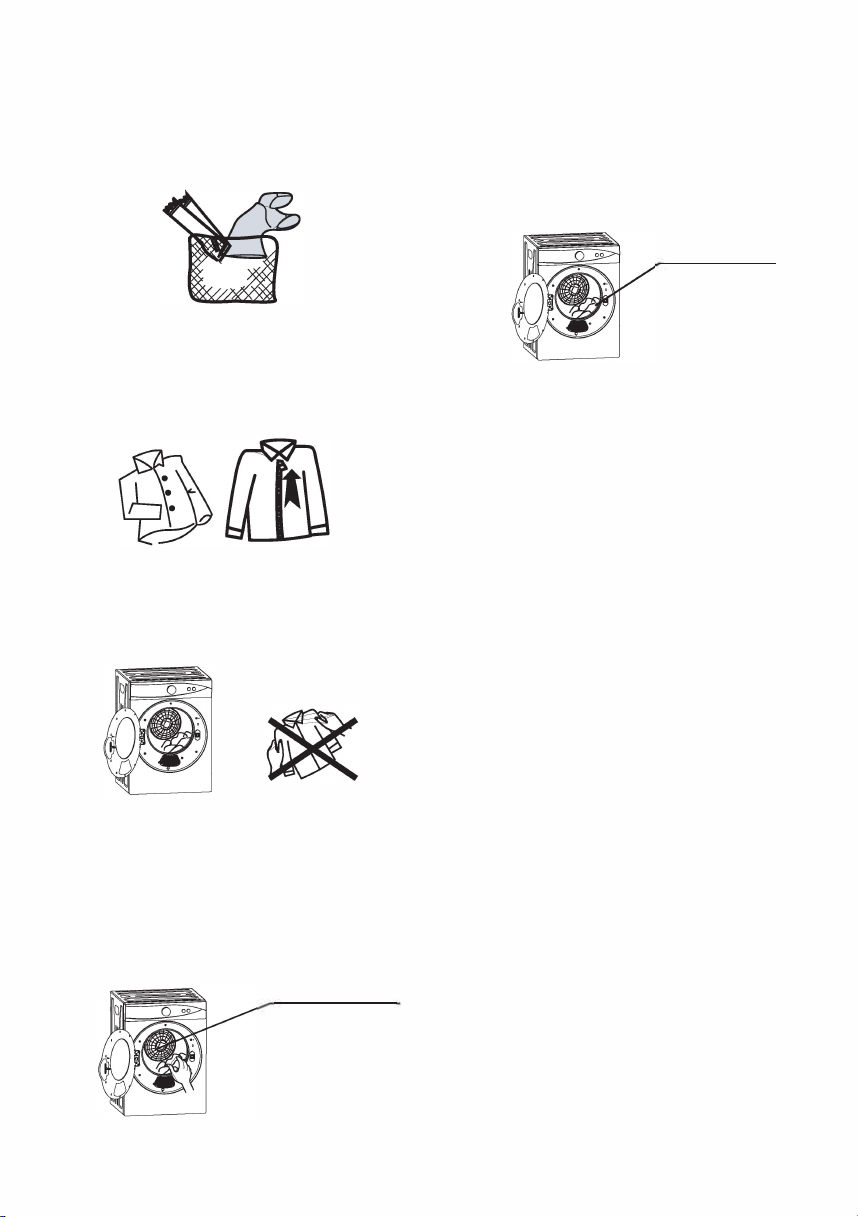
Precautions
Delicate items should be placed into a nylon
net bag prior to drying. It is not
recommended to dry under wire bras in this
unit.
Ensure that foreign objects do not find their
way into the dryer. All pockets should be
emptied, buttons, buckles and zips
fastened. This will also help reduce impact
noise when the items hit against the turning
drum.
Do not add items into the dryer whilst it is
in operation.
If drying large items such as a blanket, it is
recommended that from time to time you
open the dryer door, shake the item, place
the item hack in the dryer and close the
door. This will ensure even drying
Flip over clothes
8
To ensure you get the most out of the
Anti-wrinkle function do not overload the
dryer and remove the dried items from the
dryer immediately and hang on coat
hangers. Iron the items if desired.
Reduced load
To minimize the risk of fire in a laundry
dryer, the following should be observed:
•
Items that have been spotted or soaked
with vegetable or cooking oil constitute
a fire hazard and should not be placed
in a laundry dryer.
Oil-affected items can ignite
spontaneously, especially when exposed to
heat sources such as in a laundry dryer. The
items become warm, causing an oxidation
reaction in the oil. Oxidation creates heat.
If the heat cannot escape, the items can
become hot enough to catch fire. Pil ing,
stacking or storing
oil-affected items can prevent heat from
escaping and so create a fire hazard.

If it is unavoidable that fabrics that contain vegetable or cooking oil or have been
contaminated by hair care products be placed in a laundry dryer they should first be washed
in hot water with extra detergent this will reduce, but not eliminate, the hazard.
The 'cool down' cycle of laundry dryers should be used to reduce the temperature of the
items. They should not be removed from the laundry dryer or piled or slacked while hot.
Items that have been previously cleaned in, washed in, soaked in or spotted with petrol/
gasoline, dry-cleaning solvents or other flammable or explosive substances should not be
placed in a laundry dryer.
Highly flammable substances commonly used in domestic environments include acetone,
denatured alcohol, petrol/gasoline, kerosene, spot removers(some brands), turpentine,
waxes and wax removers.
•
Items containing foam rubber (also known as latex foam) or similarly textured rubber,
like materials should not be dried in a laundry dryer on a heat setting.
Foam rubber materials can, when heated, produce fire by spontaneous combustion.
•
Fabric softeners or similar products should not be used in a laundry dryer to eliminate
the effects of static electricity unless this practice is specifically recommended by the
manufacturer of the fabric softener or product.
•
Undergarments that contain metal reinforcements should not be placed in a laundry
dryer.
Damage to the laundry dryer can result if metal reinforcements come loose during drying.
When available a drying rack could be used for such items.
•
Plastic articles such as shower caps or babies' waterproof napkin covers should not
be placed in a laundry dryer.
•
Rubber-backed articles, clothes fitted with foam rubber pads, pillows, galoshes and
rubber-coated tennis shoes should not be placed in a laundry dryer.
9
INSTALLATION
The appliance must stand vertically on a flat, even surface. It is not recommended to stand
the appliance on a carpeted surface.
Do not restrict the floor clearance with thick carpet or other objects, as this might cause
heat to build up which could interfere with the operation of the appliance or cause a fire.
Before use, all packing materials should be removed.
Do not expose the appliance to damp conditions, open air, or rain.
Do not install the dryer in a room where there is a risk of frost.
Place the tumble dryer in a dry well-ventilated area.
Position the dryer away from heat and direct sunlight.
There should be at least 15cm between the dryer and the walls.
Do not lift the appliance by the door when moving.
It is not recommended to p lace the appliance in a wall recess, fitted cabinet or furniture, as
this will not allow adequate ventilation and could be a potential fire hazard.
The tumble dryer must be installed in a clean place, where dirt does not accumulate. Air
must be able to circulate freely around the appliance. Ensure that vents are not covered.
The tumble dryer must be installed in a clean place, where dirt does not accumulate. Air
must be able to circulate freely around the appliance.
To keep vibration and noise to a minimum level when the dryer is in use, it must be placed
on a firm and level surface.
The dryer comes with fixed feet that need to be assembled to ensure stability.
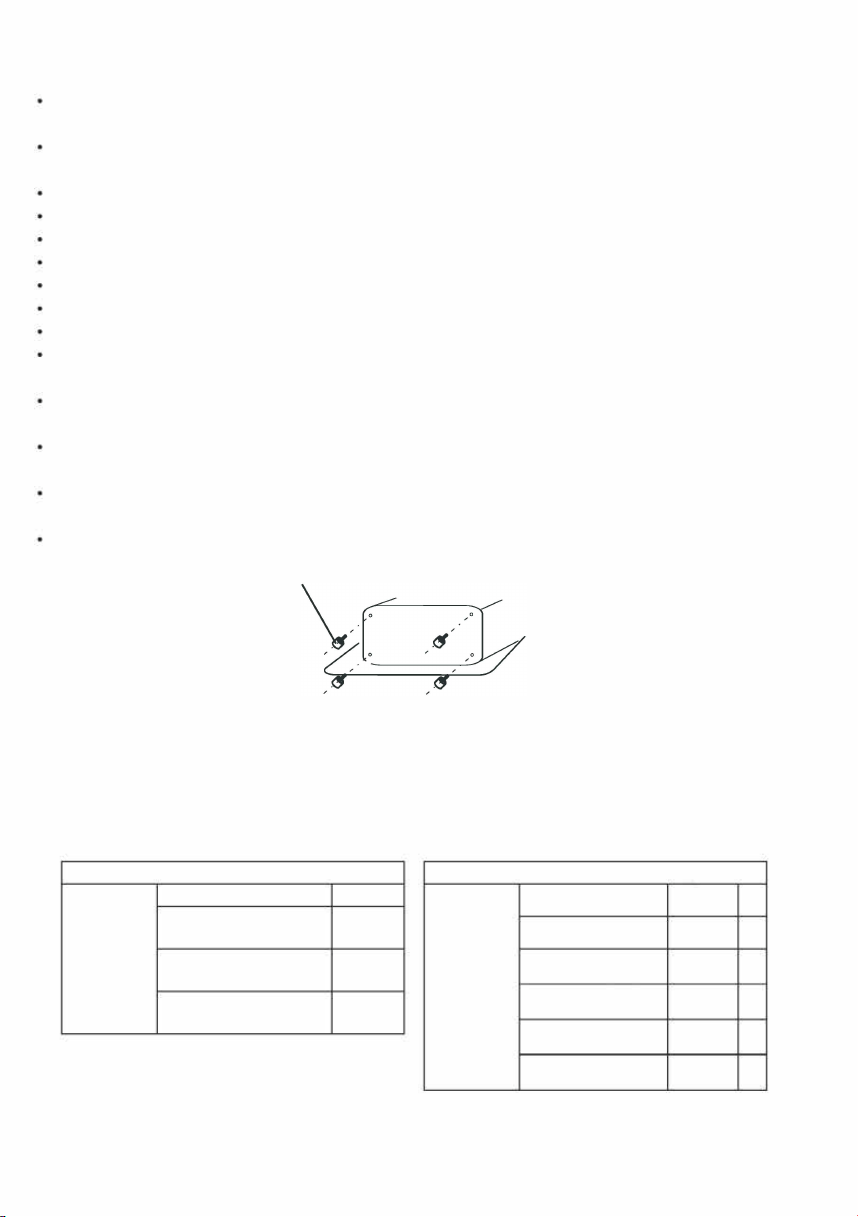
Feet
Wall mounting instructions
1.
Determine dryer position on wall and mark required bracket position. This dryer is not
suitable to be directly placed on top of a washing machine.
*
A minimum 50mm is needed between the top of the dryer and the ceiling for ease of
installation.
*
If mounting above a washing machine, allow sufficient room to open the lid of the washer.
Tools required
Wall Mounting Kit Includes
Tools
Drill & 3mm Bit
l
&pos
Philips Head Screw
l
required
Driver
Hanging brackets
�
2
Plastic Spacers
�
2
for Plaer/
od Screws, l 2 x
4
wooden
50mm Timber Screws
wall
Helper to li dryer
l
Exhaust connector
0
1
Description
�
12mm Long Screws
4
onto wall
25mm Long Screws
�
4
Flexible Pipe
'
1
10

Troubleshooting
Review the following pages before calling for service.
Problem
Possible Cause
What to do
Timer knob
does not turn
Drum does
not turn
Hot air is not
blowing out
The laundry
is not
thoroughly
dried
•
Insert the power cord firmly.
•
Close the door.
•
Insert the power cord firmly.
•
Check the power cord receptacle.
•
Set the timer to hot air.
•
Clean the filter,
•
Reduce the amount in the dryer.
•
Re-dry the items again.
•
Untwist the items and re-dry.
•
Place the dryer in a well-vented area.
•
Is the power cord inserted firmly?
•
Is the door closed?
•
Is the power cord inserted?
•
Does the receptacle have power?
•
Does the receptacle have power?
•
Are the front and back filters clogged?
•
Is there too much laundry in the dryer?
•
Have items been added whilst the
dryer is in operation?
•
Has the laundry become twisted whilst
drying?
•
Has the dryer been placed in a small
and badly ventilated area?
•
Have you set the dryer to Anti-Wrinkle? • Try using 'Warm' or
'Hot'
setting instead.
Dryer does
not start
•
Is there a power failure?
•
Is the power cord inserted firmly?
•
Is the door closed?
•
Is the timer in the OFF position?
•
Try again when there is power.
•
Insert the power cord firmly.
•
Close the door.
•
Set the dry time.
Dryer Technical Specifications
Model
Drying Capacity
Power Source
Rated Input Net
Weight
Dimensions
SOLVTD7W
7.0 kg
220-240V~50/60Hz
1800W
27.5kg
600X565X850mm
NOTE: Consistent with our continuing product development
policy, improvements may have been made which render the
contents of this package slightly different to that shown.
13
Product support
If you still require further assistance, call one of our service experts on 01759 48 78 26. To help give us fast
and efficient service, please have the following information ready:
Model Ref
Serial Number
Date of purchase
You can find these on
the
rating plate - a
small information panel
(usually a sticker or metal
plate) on
the
rear of your
appliance
This will be shown on
your receipt
14
Help and assistance
If you require any technical guidance or find that your tumble dryer is not operating as intended, a simple
solution can often be found in
the
Troubleshooting section of these instructions.

Declaration of conformance to
product standards
This appliance conforms to all relavant standards
applicable to domestic appliances sold in the UK
Disposal
This appliance/fitting is marked
according to the European directive
2012/19/EU on Waste Electrical
and Electronic Equipment (WEEE).
By ensuring this product is disposed of
correctly, you will help prevent potential
negative consequences for the environment
and human health, which could otherwise be
caused by inappropriate waste handling of
this product.
The symbol on the product, or on the
documents accompanying the product, the
crossed out wheelie bin symbol, indicates
that this appliance/tting may not be treated
as household waste. Instead it shall be
handed over to the applicable collection point
for the recycling of electrical and electronic
equipment.
Disposal must be carried out in accordance
with local environmental regulations for waste
disposal.
For more detailed information about
treatment, recovery and recycling of this
product, please contact your local authority,
your household waste disposal service or the
retailer where you purchased the product.
15

16
T. 01759 48 78 26
E. admin@appliancesupport.co.uk
Online. www.appliancesupport.co.uk/solt
ESSENTIALS FOR LIFE
Solt Service:
www.solt.house