User Manual
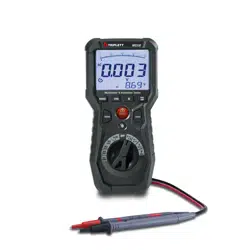
Model MM200
Compact Digital MultiMeter
Introduction
Congratulations on your purchase of the Triplett MM200 Compact Digital
Multimeter. The MM200 is a compact multimeter specially designed for home
and light electrical use. The compact structure makes it easy to hold in one
hand, and the EBTN screen allows users to obtain clear readings at maximum
angle. The multimeter meets the EN61010-1:2010, EN61010-2-030:2010, and
EN61326-1:2013 safety standards and is able to safely operate within the CAT
III 600V environment.
Features
Battery Power Indication on Power Up via LED
- Green (Normal State) Yellow (Low Battery) and Red (Very Low)
Automatic AC/DC Voltage Measurement Detection
Non Contact ACV Detection with LED indicating electric field strength.
Full Feature Protection
Safety
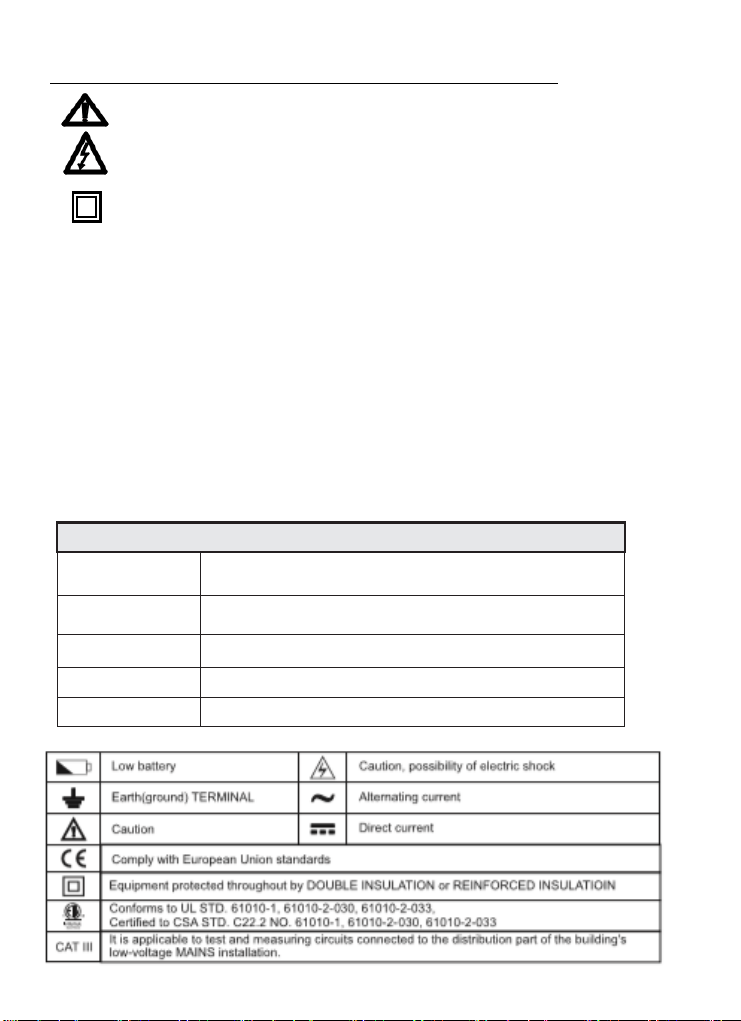
This symbol, adjacent to another symbol or terminal, indicates the user must
refer to the manual for further information.
This symbol, adjacent to a terminal, indicates that, under normal use,
hazardous voltages may be present
Double insulation
• Improper use of this meter can cause damage, shock, injury or death. Read and understand
this user manual before operating the meter.
• Make sure any covers or battery doors are properly closed and secured.
• Always remove the test leads before replacing the battery or fuses.
• Inspect the condition of the test leads and the meter itself for any damage before
operating the meter. Repair any damage before use.
• Do not exceed the maximum rated input limits.
• Use great care when making measurements if the voltages are greater than 25VAC
rms or 35VDC. These voltages are considered a shock hazard.
• Always discharge capacitors and remove power from the device under test before
performing Diode, Resistance or Continuity tests.
• Remove the battery from the meter if the meter is to be stored for long periods.
• To avoid electric shock, do not measure AC current on any circuit whose voltage
exceeds 250V AC.
Safety standards
Design standards
EN61010-1: 2010;
EN61010-2-030:2010;
EN 61326-1:2013
EN61010-2-033:2012,EN61326-2-2:2013
EMC
RF field (1V/m): Overall accuracy = specified accuracy ± 5% of range
RF field (>1V/m): No specified
calculation
Measurement
standards
CAT
III 600V,
double insulation and
material pollution degree II
Dimensions
130mm×65mm×28mm
Weight
About 130g (including batteries)
Operating Instructions
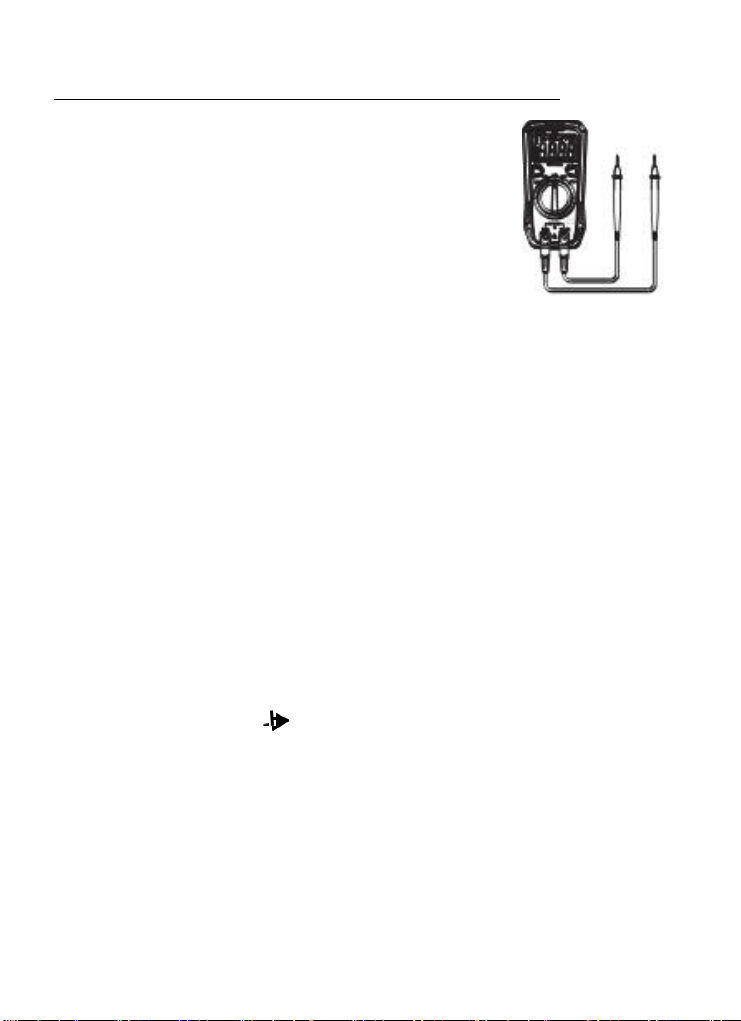
AC/DC Voltage Measurements
1. Insert the black test lead banana plug into the negative COM
jack and the red test lead banana plug into the positive V
jack.
2. Turn the rotary switch to the V position.
3. Press the SELECT button to select either AC or DC.
4. Touch the test probes to the circuit under test and read the
voltage on the display.
**NOTE: The
meter
has
the function
of
ACV/DCV
automatic
identification (voltage
≥
0.5V).
If you
want
to measure
voltage
less
than
0.5V,
press the
SELECT
button
to
toggle
the
AC and
DC
voltage to lock the measurement
mode;
After pressing
the
SELECT
button, the meter no longer has the function
of
ACV
/DCV
automatic
identification,
unless you turn
the
range switch or restart the meter!**
Resistance Measurements
1. Insert the black test lead banana plug into the negative COM jack and the red test lead
banana plug into the positive Ω jack.
2. Set the function switch to the Ω position.
3. Touch the test probe tips across the circuit or part under test. It is best to disconnect one
side of the part under test so the rest of the circuit will not interfere with the resistance
reading.
4. Read the resistance in the display.
Continuity Measurements
1. Insert the black test lead banana plug into the negative COM jack and the red test lead
banana plug into the positive V/Ω/mA jack. Observe polarity.
2. Turn the rotary switch to the •))) position.
3. Touch the test probes to the circuit or device under test. If the resistance is less
than approximately 30Ω the buzzer will sound.
**NOTE: Before making Continuity Measurements make sure circuit power is OFF
and fully discharge any Capacitors to avoid damage to the meter.
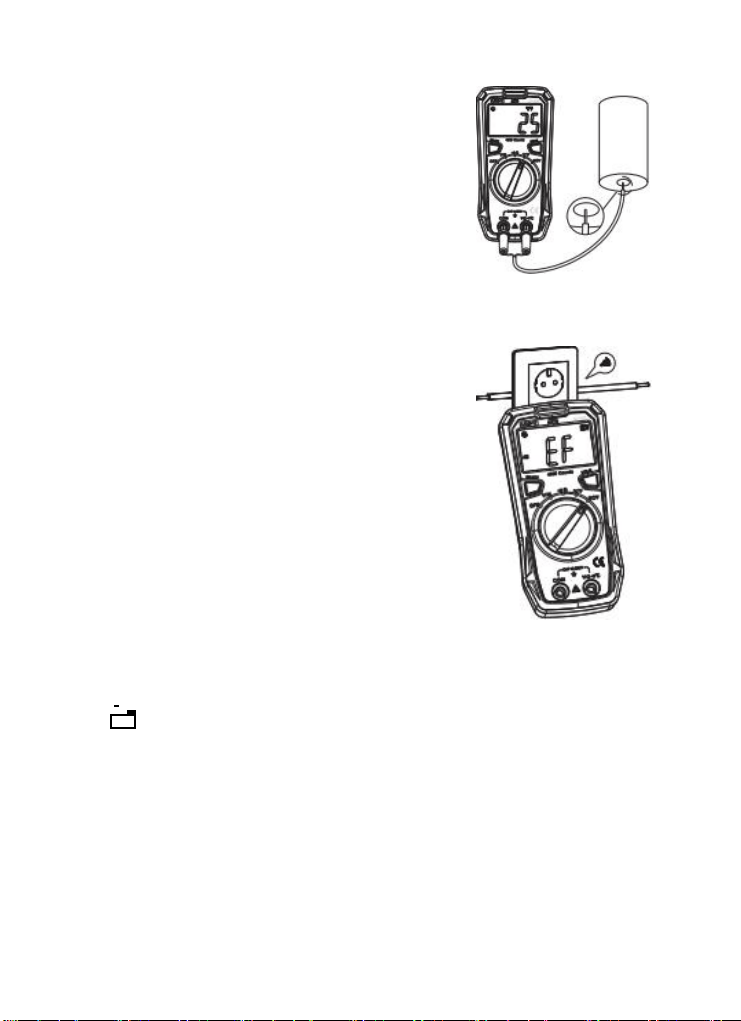
Temperature Measurements
WARNING: To avoid electric shock, disconnect test
leads from any source of voltage before making a
temperature measurement. Be sure that the
thermocouple has been removed before changing to any
other measurement function.
1. Insert the type K thermocouple probe into the Temp
and COM jacks.
2. Turn the rotary switch to the
o
C
/ o
F position. Default is
o
C, Press Select to change to
o
F if desired.
3. Read the temperature on the display.
Non-Contact Voltage and AC Field Sensing
1) Turn the rotary switch to the NCV position.
2)
Bring
the
front end of
the
meter close to the object to
be measured.
**Note: The intensity of the electric field sensing is
indicated by the
LED indicator and the segment "-" on the LCD. The
more segments (up to four segments )are displayed,
the higher the electric field intensity is and the
faster it beeps. **
Data Hold
Press the Hold button to freeze the reading in the display. “H” will appear in the LCD.
Press the key again to release the display.
Low Battery
If the + - low battery icon appears in the display, replace the batteries to maintain proper
operation.
Auto-Ranging
The meter will auto range to the optimum range to provide the best resolution and
accuracy for the input signal.
Auto Power Off
1. This meter will automatically shut off after approximately 15 minutes of operation. If the meter
shuts off, rotate the function switch to OFF and on again (or press the HOLD button) to resume
operation.
2. To disable the auto power off, hold the SELECT button while turning power on or press
the SELECT button after auto power off has turned the meter off.
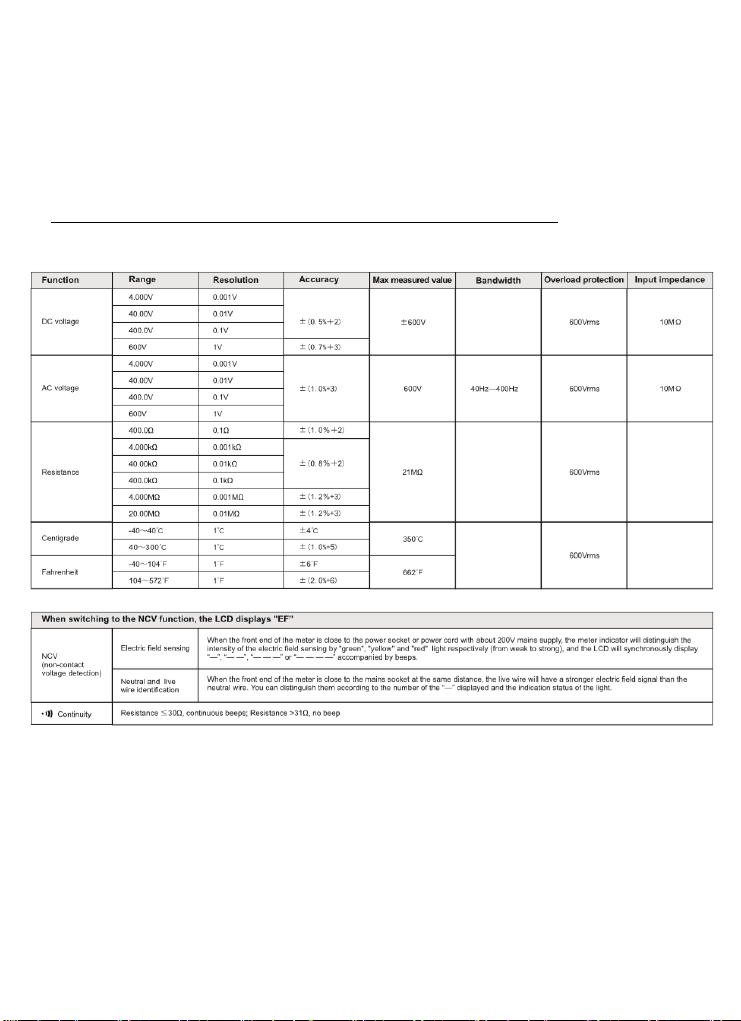
Specifications
Maintenance
Warning: To avoid electric shock, do not operate your meter until the battery cover is in
place and fastened securely.
1.Keep the meter dry.
2. Use and store the meter in mild ambient conditions. Temperature extremes can shorten
the life of the electronic parts and distort or melt plastic parts.
3. Handle the meter gently. Dropping it can damage the electronic parts or the case.
4. Keep the meter clean. Wipe the case occasionally with a damp cloth. DO NOT use
chemicals, cleaning solvents or detergents.
5. Use only fresh batteries of the recommended size and type. Remove old or weak batteries so
they do not leak and damage the unit.
6. If the meter is to be stored for a long period of time, the batteries should be
removed to prevent damage to the unit.
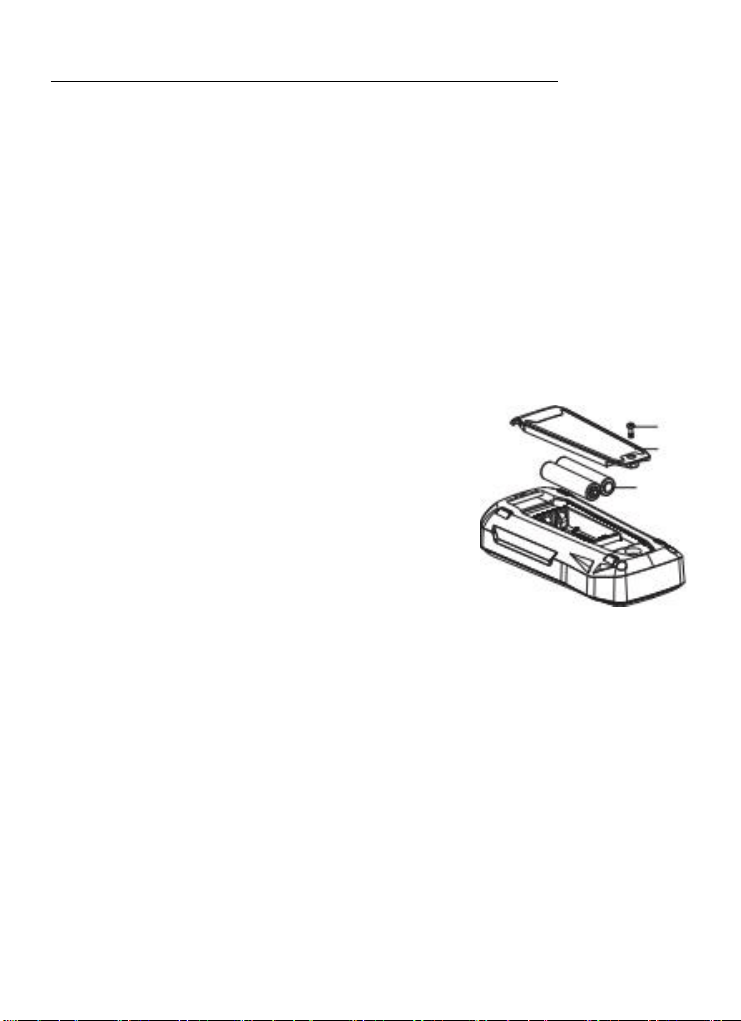
Battery Replacement
1. Replace the batteries immediately when the low battery
symbol “ ”appears on the LCD, otherwise the
measurement accuracy might be affected. Battery
specification: AAA battery 1.5V×2
2. Battery replacement: Use a screwdriver to unscrew the
screw on the battery cover (top), and remove the cover
to replace the batteries. Pay attention to the positive and
negative polarity when installing the new batteries.
Warranty Information
Triplett / Jewell Instruments extends the following warranty to the original
purchaser of these goods for use. Triplett warrants to the original purchaser for
use that the products sold by it will be free from defects in workmanship and
material for a period of (1) one year from the date of purchase. This warranty
does not apply to any of our products which have been repaired or altered by
unauthorized persons in any way or purchased from unauthorized distributors
so as, in our sole judgment, to injure their stability or reliability, or which have
been subject to misuse, abuse, misapplication, negligence, accident or which
have had the serial numbers altered, defaced, or removed. Accessories,
including batteries are not covered by this warranty
Copyright © 2019 Triplett