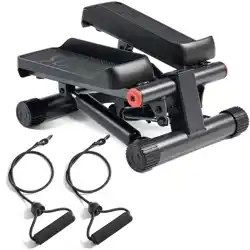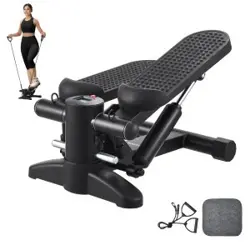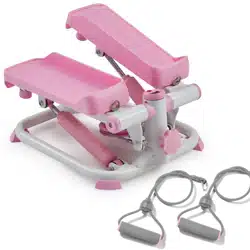
TWIST STEPPER EXERCISE MACHINE
USER MANUAL
IMPORTANT! Please keep the user manual for maintenance and adjustment
instructions.
Your satisfaction is very important to us, PLEASE DO NOT RETURN UNTIL YOU
HAVE CONTACTED US: [email protected]

IMPORTANT SAFETY INFORMATION
WARNING
INGESTION HAZARD : This product contains a button cell or coin battery.
The Battery type (LR44H) and its Nominal voltage: 1.5v.
DEATH
or serious injury can occur if ingested.
KEEP new and used batteries OUT OF REACH of CHILDREN .
Seek immediate medical attention if a battery is suspected to be
swallowed or inserted inside any part of the body.
A
swallowed button cell or coin battery can cause
Internal Chemical Burns
in as little as 2 hours.
IMPORTANT INFORMATION
1. This exercise machine has been tested and certified to EN ISO 20957-1:2013 & EN ISO 20957-8:2017 (Class: HC)
2. The CE marking refers to the Directive 2014/30/EU relating to electromagnetic compatibility.
3. The maximum weight capacity of this unit is 220 pounds (100 KG).
4. Keep children and pets away from the machine at all times. DO NOT leave children unattended in the same room with the
machine.
5. Position the machine on a clear, leveled surface. DO NOT use the machine near water or outdoors.
6. The machine is not suitable for therapeutic purpose.
7.lt is recommended to place an exercise mat underneath the exercise machine to help protect the carpetor floor.
IMPORTANT SAFETY INFORMATION
1. BEFORE starting any fitness or training program, consult with your physician.
2. lf you are pregnant, you may need to seek further adivce from your doctor before using the machine.
3. Only one person at a time should use the machine.
4. Your exercise machine is intended for use in cool, dry conditions. You should avoid storage in extreme cold, hot, or damp areas
as this may lead to corrosion and other related problems.
5. lf the user experiences dizziness, nausea, chest pain, or any other abnormal symptoms, STOP theworkout at once. CONSULT A
PHYSICIAN IMMEDIATELY.
6. The manufacturer recommends placing the machine in a space where you have enough clearance on all sides of the machine
for safe mounting and dismounting of the exercise machine. The minimum dimensions are: 0.6 m on both sides, and 0.6 m either
behind or in front of the machine.
7. Always wear appropriate workout clothing when exercising.
DO NOT wear robes or other clothing thatcould become caught in the machine. Running or aerobic shoes are also required when
using the machine.
8. Keep hands away from all moving parts.
9. Disabled person should not use the machine without a qualified person or physician in attendance.
10. Before using the machine to exercise, always do stretching exercises to properly warm up.
11. Never operate the machine if the machine is not functioning properly.
12. inspect the machine for worn or loose component prior to use. Tighten/replace any loose or wore components prior to use.
13. Damaged or worn components must be replaced immediately.
14. Care should be taken in mounting or dismounting the machine.
SPEC
Product Size : 375*350*305mm
Product Weight: 6.6 KG
BATTERY
WARNING STATEMENT
Ensure the batteries are installed correctly according to polarity (+ and -).
Remove and immediately recycle or dispose of batteries from equipment not
used for an extended period of time according to local regulations.
Always completely secure the battery compartment. If the battery compartment
and keep them away from children.
Call a local poison control center for treatment information.
Do not force discharge , recharge, disassemble, heat or incinerate. Doing so may
result in injury due to venting, leakage or explosion resulting in chemical burns.
Non-rechargeable batteries are not to be recharged.
Even used batteries may cause servere injury or death.
Remove and immediately recycle or dispose of used batteries according to local regulations and keep away from children.
Do NOT
dispose of batteries in household trash or incinerate.
does not close securely,stop using the product, remove the batteries
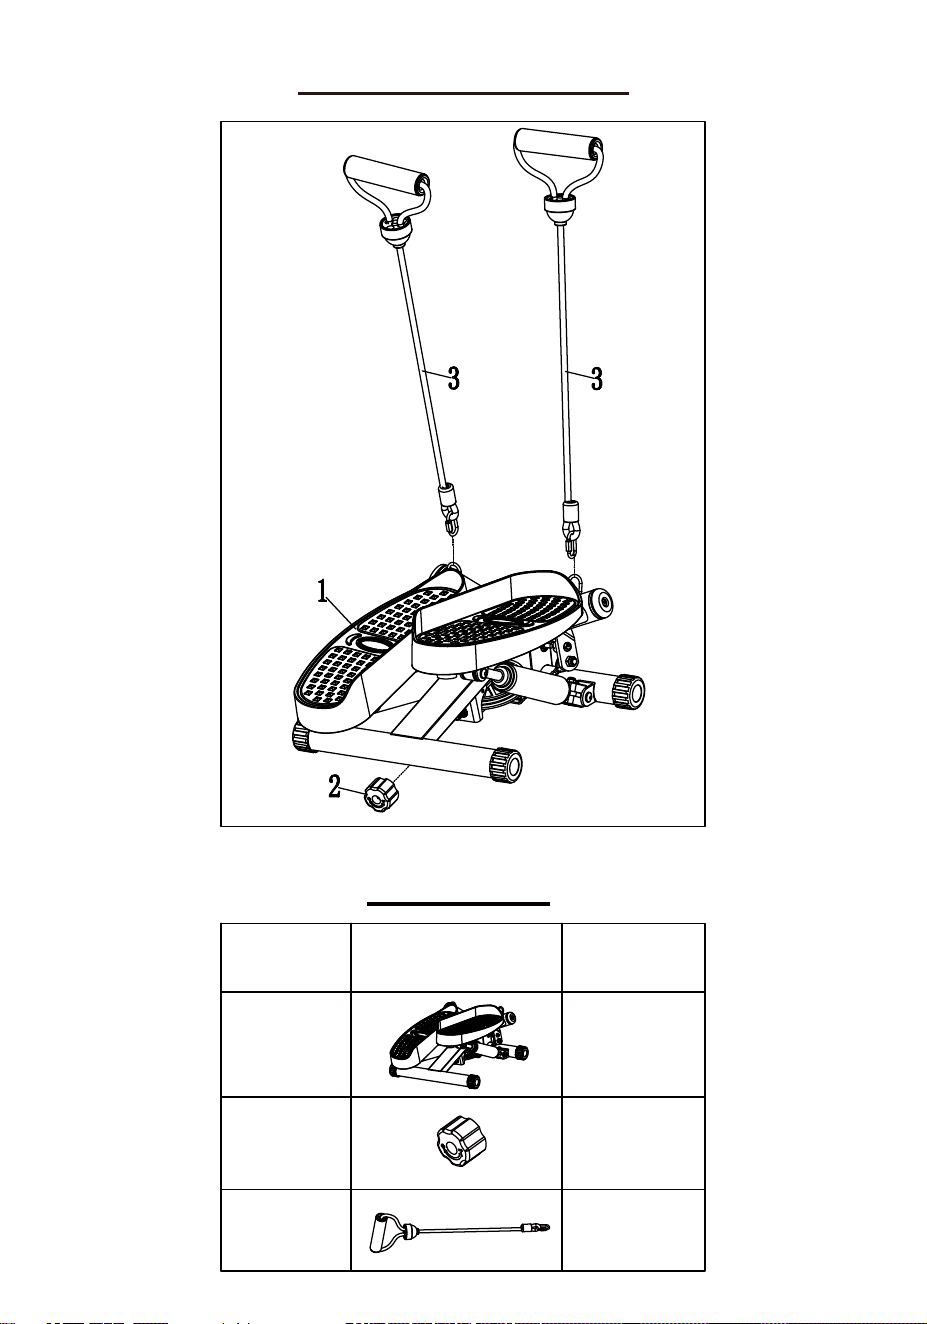
PARTS LIST
EXPLODED DIAGRAM
NO
1
2
3
1
1
2
Parts Parts NO
Customer Service: [email protected]
2
STEP2:
Attach the 2 Resistance Bands (No. 3) to the pedal hooks
located at the front of the left and right pedals as shown in the
picture.
The assembly is complete!
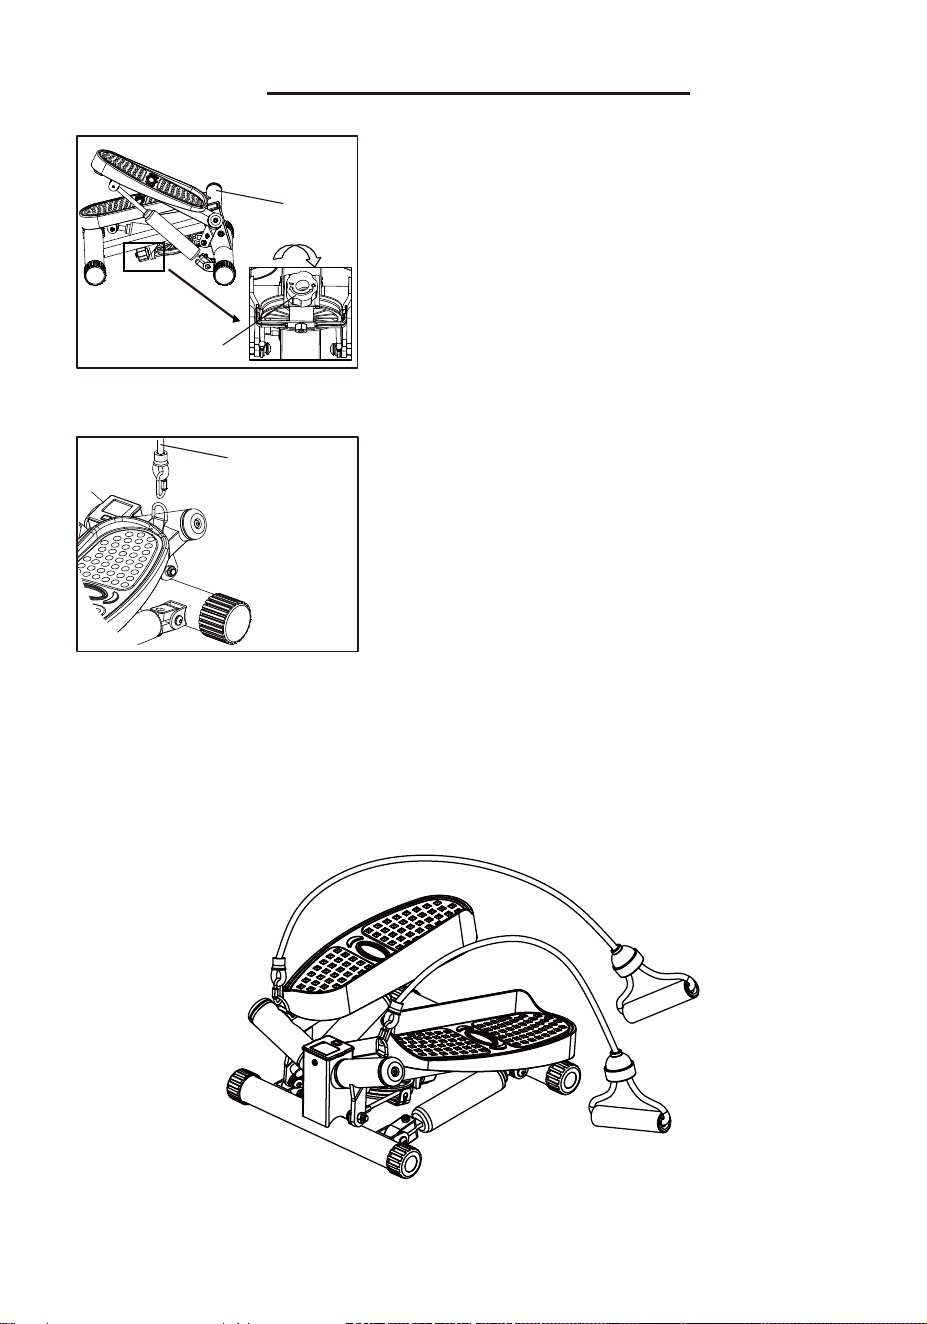
STEP 1:
Remove the Main Frame (No. 1) from the box.
Turn the
Adjustment Knob (No.2)
clockwise
"+"
all the way
Your stepper is set at its highest stepping height. Turn the
Adjustment Knob (No. 2 ) counter-clockwise
"-" to decrease the stepping range.
When the
Adjustment Knob (No.2)
reaches its lowest position
and falls out,refer to
STEP1
lift one foot pedal up to turn it up.
NOTE: Height range will decrease with each turn.
until it reaches its furthest point.
3
1
counter-clockwise
ASSEMBLY INSTRUCTIONS
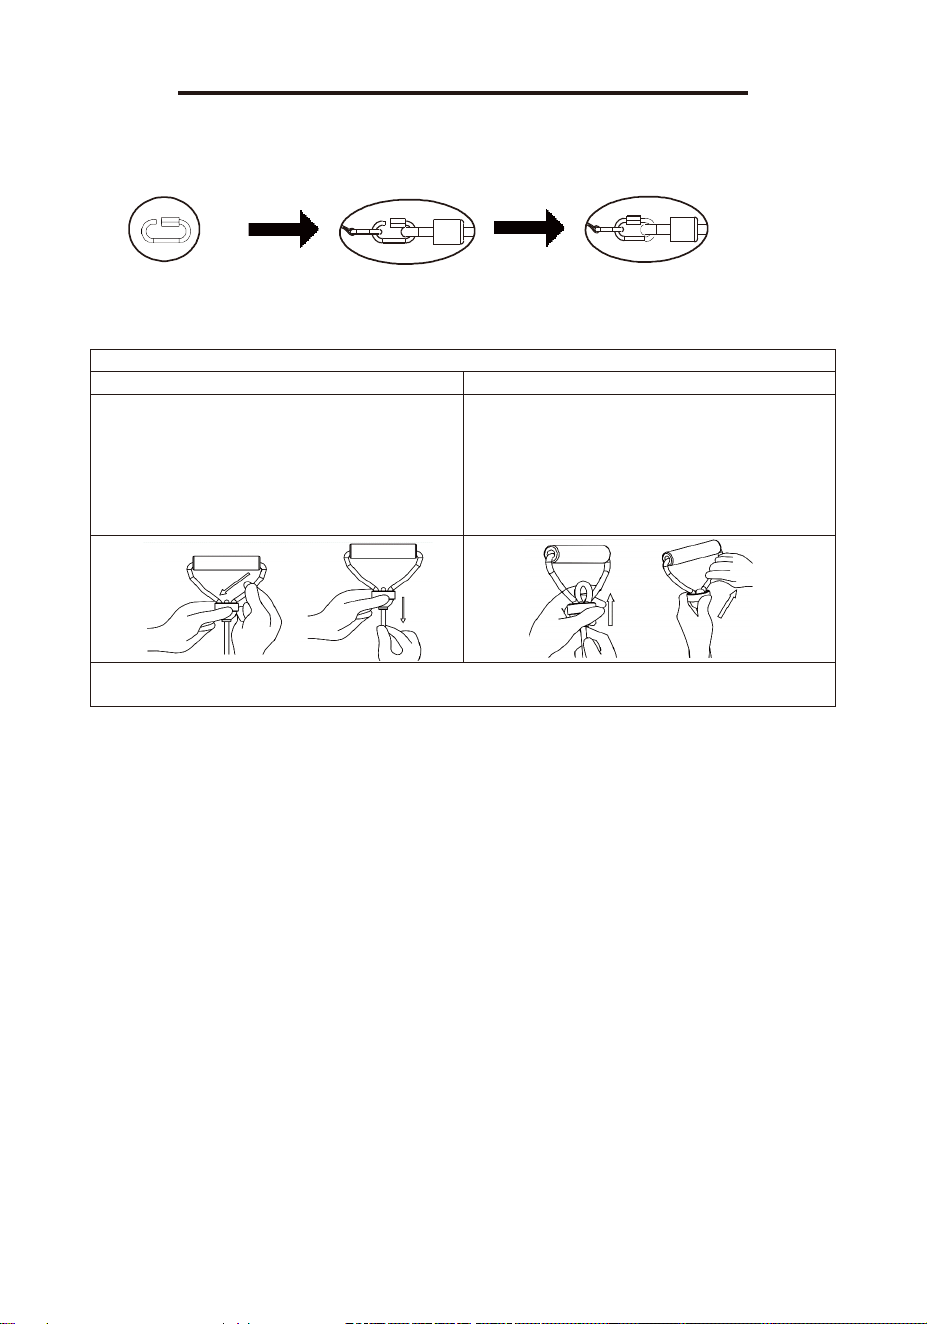
RESISTANCE BANDS INSTRUCTIONS
1. Unscrew the hook nut located on the band until the hook is open as shown in the picture below.
2. Attach the band hook onto the pedal hook and screw the hook nut closed until the pedal hook
is secured with the hook nut.
3. Assembly is done.
Adjusting the Rope Length
To Lengthen Rope
To Shorten Rope
1. Push one side of the rope down.
2. Pull the bottom of the rope downward as
shown in the picture below.
3. Repeat this process until the rope is at the
desired length.
1. Push the rope upward from the bottom.
2. Pull one side of the top rope up as shown in
the picture below.
3. Repeat this process until the rope is at the
desired length.
NOTE: This adjustment decreases the tension
on the bands.
NOTE: This adjustment increases the tension
on the bands.
NOTE:
When lengthening the rope; only one side of the rope can be pushed down. If the side
that you are trying to push down does not move; try the other side of the rope.
MAINTENANCE & CARE INSTRUCTIONS
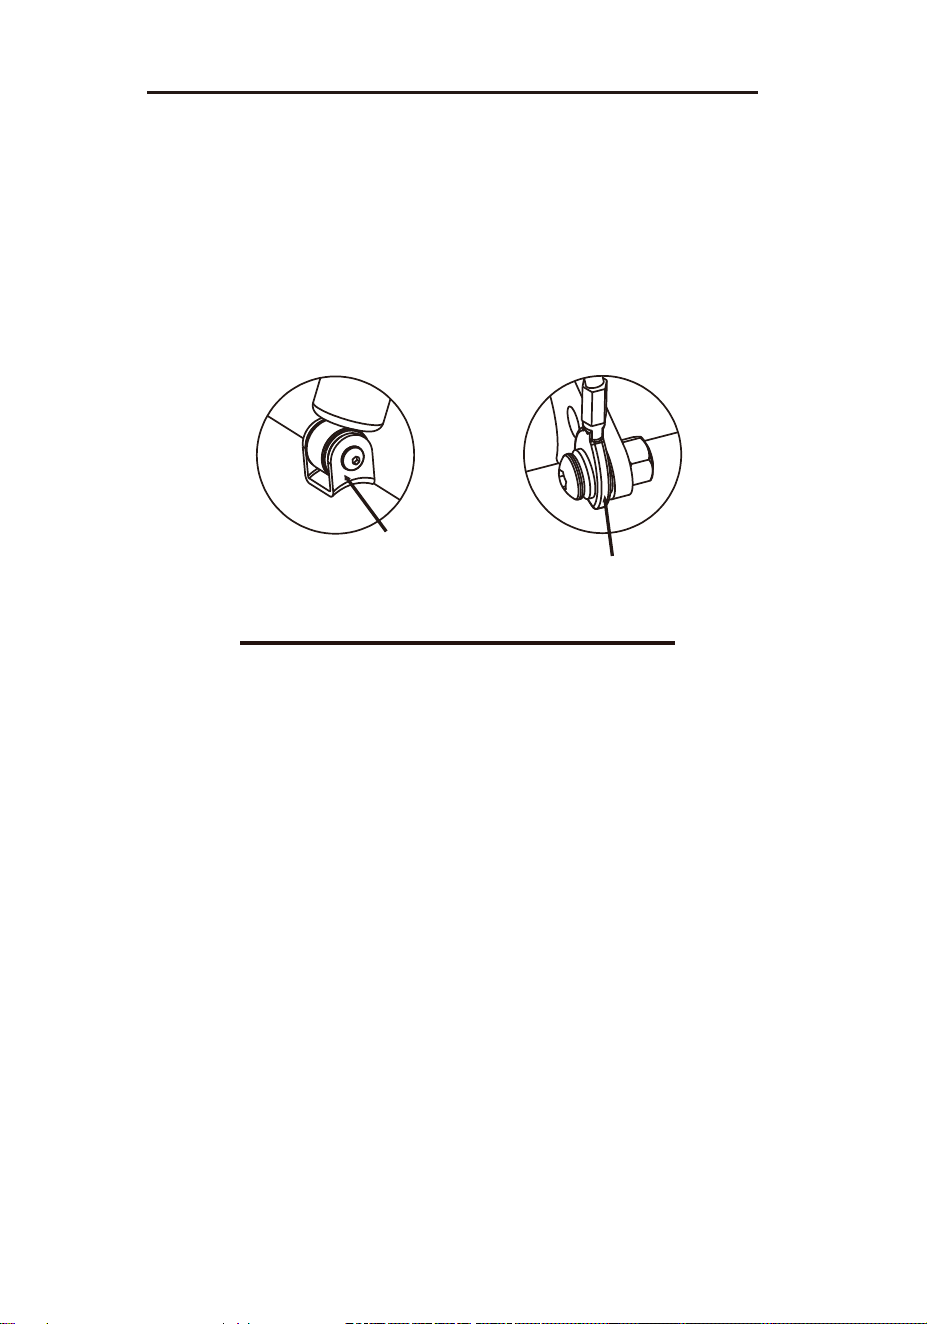
1. If the stepper screeches during exercise, please discontinue use and do the following: loosen the
screw located on the U-Shaped iron then loosen the cable as shown in the picture below. Next,
lubricate both the U-Shaped iron and cable to improve the sliding condition. Re-tighten and
secure the screw and cable.
2. For safety and efficiency, please be sure to inspect and lubricate the U-Shaped iron and cable
regularly.
3. Always use dry cloth when cleaning the stepper, never clean the stepper using a wet or damp
cloth.
4. Store the stepper in a dry area free of moisture, do not store or leave outdoors.
5. During exercise the hydraulic cylinders may produce noise if they become too hot, it is perfectly
normal for this to occur.
6. To avoid injury to your hands, please refrain from touching the hydraulic cylinders during or
immediately after use.
OPERATING INSTRUCTIONS
1
.
During the use of the equipment, please make sure to follow all instructions carefully as any improper
techniques of usage and/or assembly may result in injury and/or damage to the equipment.
2
.
.
The suggested exercise regimen for optimal results is 10-15 minutes per day, at least three times a
week.
3
Before beginning exercise, always inspect the equipment to ensure that all moving parts as well as
hardware are secured correctly and are in proper condition.
Cable
U-Shaped
iron

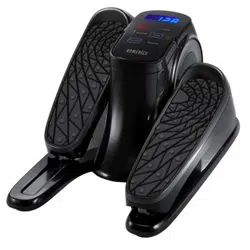
EXERCISE METER
MODE: Press the MODE button to select a function. (Time,
Reps/Min, Count, Calorie and Scan)
1.
AUTO ON/OFF:
If the steps of the machine are put into motion or the MODE button is pressed, the meter will
activate and will remain active during use. If it goes without signal for approximately 4 minutes, the
meter will turn off automatically.
2.
RESET:
The meter can be reset by pressing and holding the MODE button for three seconds. Removing the
batteries will also reset the meter and return all funct
ion settings back to zero.
3.
MODE:
To select the LOCK MODE setting, press the MODE key when the pointer is on the function you
wish to lock. Once locked, only the selected function will be displayed.
4.
FUNCTIONS:
TIME: Counts the total time of an exercise from start to finish.
CALORIES: Counts the number of total calories burned during an exercise from start to finish.
COUNT: Automaticallyaccumulates the countofsteps takenduring sessions. Meter counts 1 step
after you step once with each foot.
REPS/M
IN: Automatically displays the count of steps per minute.
SCAN: Press the MODE button until the indicator arrow points to SCAN. The indicator arrow will
continue to flash indicating that SCAN mode is active. SCAN mode will automatically scan through
each function in sequence.
If you have an inaccurate reading on the meter, please replace the battery immediately. (See instructions below)
1. Please use (1) LR44H, 1.5V battery.
2. The meter is auto-powered. It turns on when exercise begins, and it turns off when no movement is
made between 4 to 5 minutes.
3. All functions will automatically stop calculating when 'STOP' appears in the upper left corner of the
meter. This occurs when there is no signal for a period of 4 seconds. Once the exercise begins again,
the meter will automatically start recalculating.
KEY FUNCTIONS:
NOTE
OPERATION PROCEDURES:
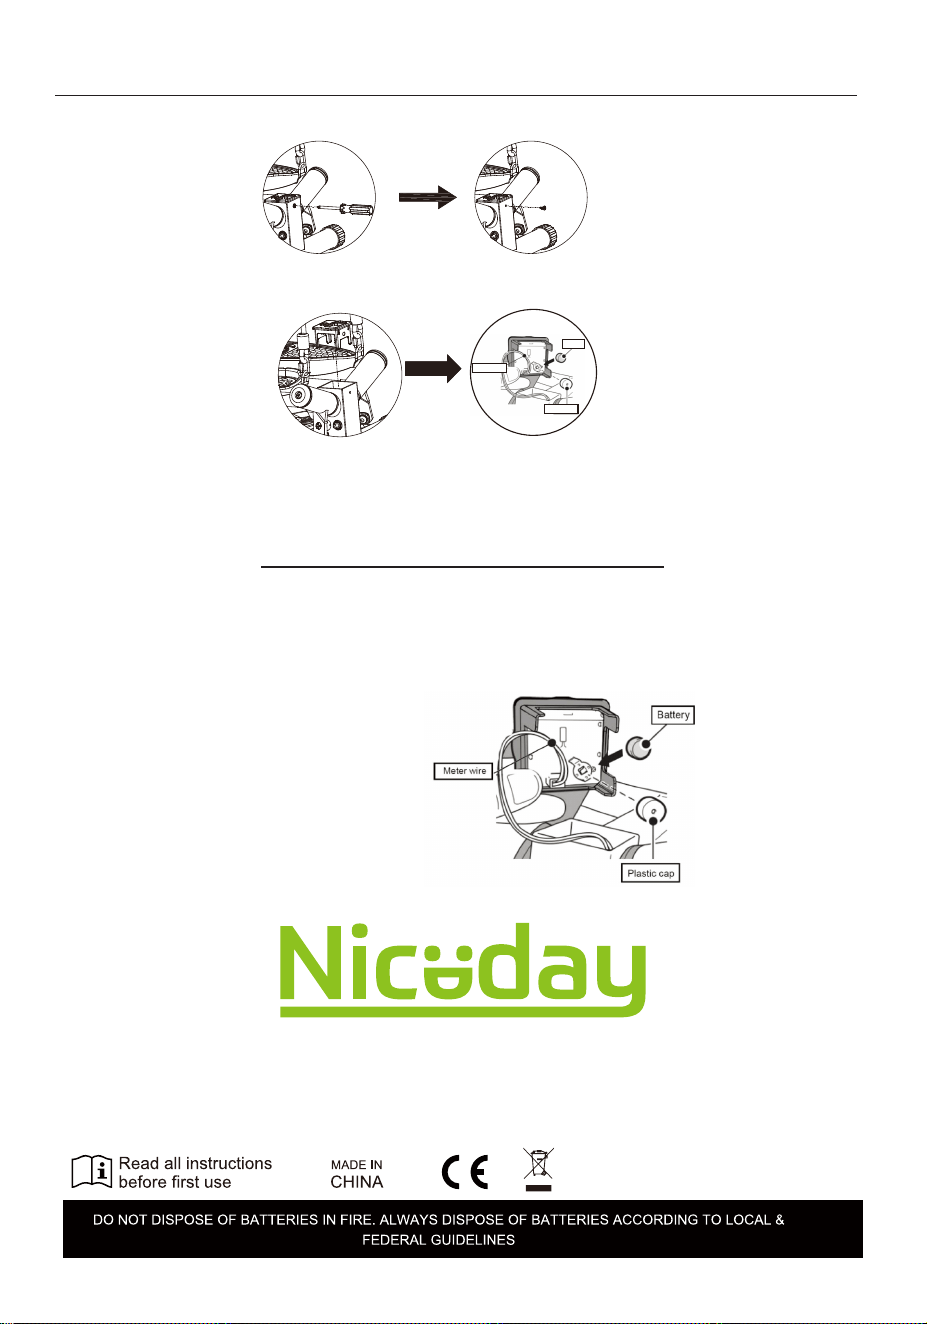
1. Turn out the screw with a wrench. (This wrench is a commonly used tool and is not specially equipped)
2. Remove the meter and remove the plastic cap from the battery, then remove the battery, Insert a new battery.
Place the plastic cap over the battery, Connect the meter wire onto the meter. Insert the meter onto main frame.
3. Finally, it is important to use the wrench to lock the screw back into the original position on the main frame.
CHANGINGTHE BATTERY
1.Remove the plastic cap from the battery.
2.Remove the battery using your fingers.
3.Insert the new battery using your fingers. Ensure that the positive side of the battery which is labeled
with a + sign is facing upward once the new battery is in place.
4.Place the plastic cap over the battery.
5.Connect the meter wire onto the meter.
6.Insert the meter onto main frame.
Battery
Plastic cap
Meter wire
Importer: EASYHOME CO., LTD.
14F-1, No.360, Sec.2, Taiwan Blvd.,
Taichung 40453,Taiwan
UK Representative:
EU Representative:
INSTRUCTIONS FOR BATTERY REPLACEMENT STEPS
APEX CE SPECIALISTS LIMITED
89 Princess Street, Manchester, M1 4HT, UK
Apex CE Specialists GmbH
Habichtweg 1 41468 Neuss Germany