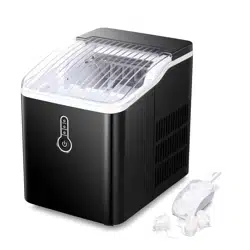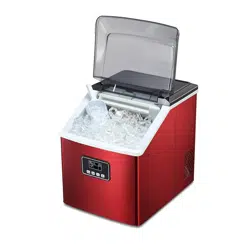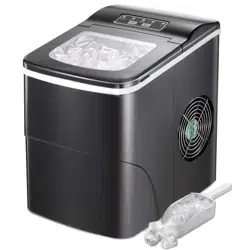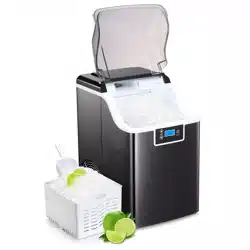
PORTABLE AUTOMATIC ICE MAKER
HZB-12/H

1
IMPORTANT SAFETY INSTRUCTIONS………………………………..2
PREPARING YOUR ICE MAKER FOR USE
IMPORTANT SAFETY TIPS……………………………………………….3
G
PACKING LIST……………………………………………………………...4
ETTING TO KNOW YOUR UNIT
…………………………………
…………………………………
....
....
…
…
..5
..5
AUTOMATIC SELF-CLEANING PROGRAM
………………………
………………………
....
....
…
…
.5
.5
OPERATING PROCEDURES & MAINTENANCE.………………….......6
UNPACKING
UNPACKING
YOUR
YOUR
ICE
ICE
MAKER
MAKER
…………………
…………………
.
.
…………………
…………………
......
......
.
.
7
7
ASSEMBLE
ASSEMBLE
HANDLE
HANDLE
……
……………………………………………
…………………………………………………
......7
......7
CONNECTING
CONNECTING
YOUR
YOUR
ICE
ICE
MAKER
MAKER
………………
………………
.
.
………
………
.
.
…………
…………
.......
.......
8
8
CLEANING
CLEANING
AND
AND
MAINTAINING
MAINTAINING
YOUR
YOUR
ICE
ICE
MAKER
MAKER
…
…
.
.
……………
……………
..
..
…
…
8
8
USING YOUR ICE MAKER……………….……..……………………..…..9
TROUBLESHOOTING
TROUBLESHOOTING
…………………………………………………
…………………………………………………
......
......
9
9
TECHNICAL PARAMETERS & CIRCUIT DIAGRAM……………….....10
EXPLOSIVE DRAWINGS……………………………………………....….11
TABLE OF CONTENTS
2
DANGER
WARNING
Your safety and the safety of others are very important.
We have provided many important safety messages in this manual and on your appliance.
Always read and obey all safety messages.
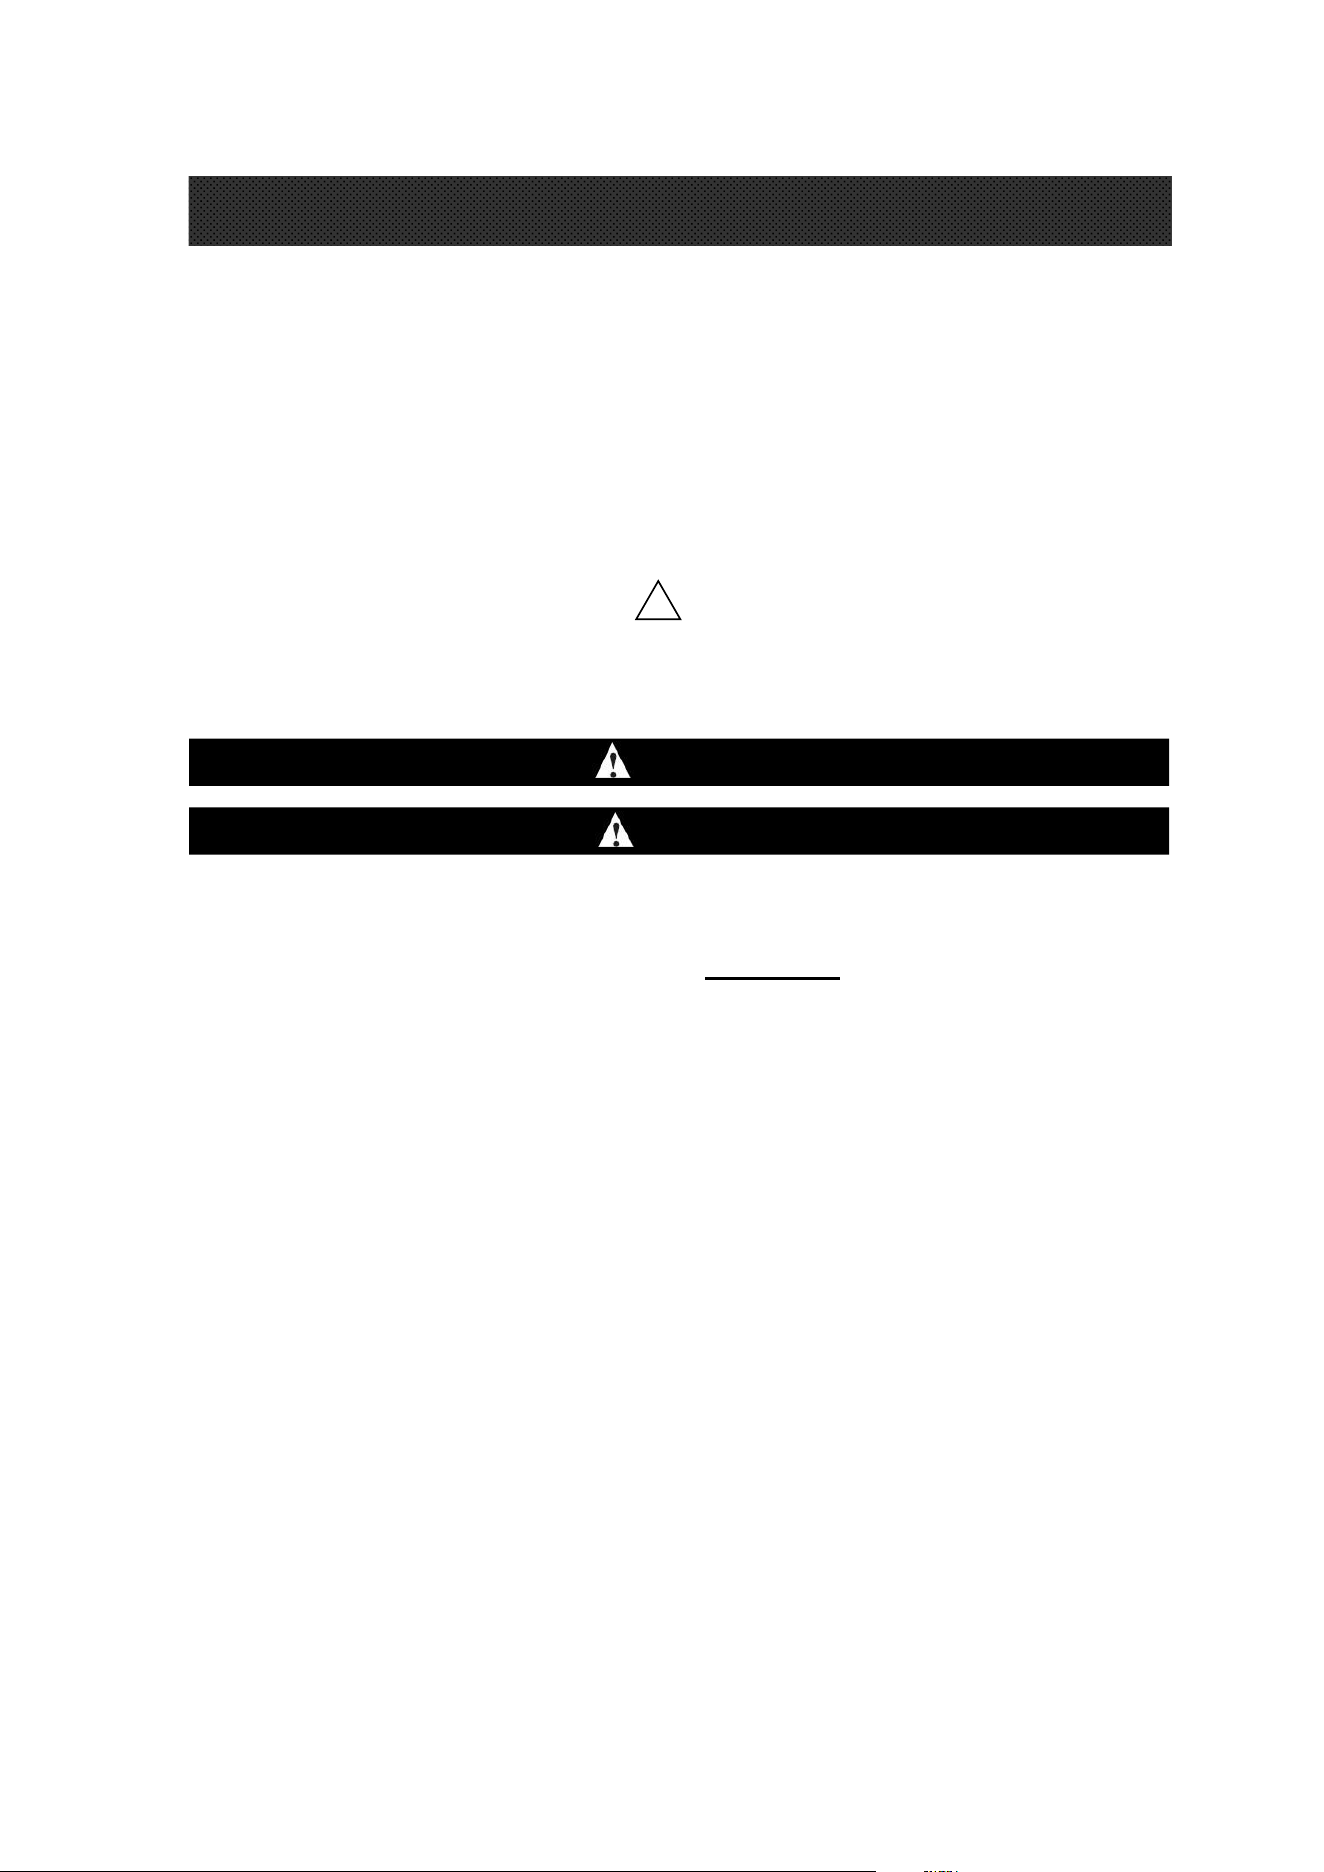
This is the safety alert symbol:
!
All safety messages will follow the safety alert symbol and the word “DANGER” or “WARNING”.
These words mean:
Death or serious injury may occur if you don’t immediately follow instructions.
All safety messages will tell you what the potential hazard is, how to reduce the chance of injury,
and what can happen if the instructions are not followed.
TABLE OF CONTENTSIMPORTANT SAFETY INSTRUCTIONSIMPORTANT SAFETY INSTRUCTIONS
3
When using electrical appliances, basic safety precautions should be followed to reduce the
risk of fire, electric shock, and injury to persons or property. Read all instructions bef ore using
any appliances .
Do not operate this ice maker, or any other appliance with a damaged cord.
If the supply cord is damaged, it must be replaced by the manufacturer, its service agent or
a similarly qualified person in order to avoid a hazard.
This ice maker must be position ed where the p
lug is accessible.
Connect to properly polarized outlets only. No other appliance should be plugged into the
same outlet. Be sure that the plug is fully inserted into the socket.
Do not run the power cord over carpeting or other heat insulators. Do not cover the cord.
Keep the cord away from traffic areas and do not submerge it in water.
We do not recommend the use of an extension cord, as it may overheat and become a risk
of fire. If you must use an extension cord, the cord must be of
No.14AWG minimum size
with its rated watts no less than 1875W.
Unplug the ice maker before cleaning or making any repairs or servicing.
Exercise caution and use reasonable supervision when the appliance is used near
children.
Do not use your ice maker outdoors. Place the ice maker away from direct sunlight and
make sure that there is at least 4 inches of clearance between the back of your unit and
wall. The minimum clearance from each side of the unit must be no less than 4 inch
es.
Do not use liquids other than water to make the ice cube.
Do not clean your ice maker with flammable fluids. The fumes can create a fire hazard or
explosion.
Do not tip it over.
If the ice maker is brought in from outside in wintertime, give it a few hours to warm up to
room temperature before plugging it in.
WARNING: This appliance must be earthed.
DANGER – Risk Of Fire or Explosion. Flammable Refrigerant Used. Do Not Use
Mechanical Devices To Defrost Ice Maker. Do Not Punct
ure R efrigerant Tubing.
DANGER – Risk Of Fire Or Explosion. Fla mmable Refrigerant Used. To Be
Repaired Only By Trained Service Personnel. Do Not Puncture Refrigerant Tubing.
IMPORTANT SAFETY TIPS

4
CAUTION – Risk Of Fire Or Explosion. Flammable Refrigerant Used. Consult Repair
Manual/Owner’s Guide Before Attempting To Install or Service This Product. All Safety
Precautions Must be Followed.
CAUTION – Risk Of Fire Or Explosion. Disposal Of Property In Accordance With Federal
Or Local Regulations. Flammable Refrigerant Used .
CAUTION – Risk Of Fire Or Explosion Due To Puncture Of Refrigerant Tubing;Follow
Handling Instructions Carefully. Flammable Refrig
erant Used.
The ice maker should be installed in accordance with the safety standard for Refrigeration
Systems, ASHRAE15. The ice maker shall not be installed in corridors or hallways of
public buildings.
If problems that need servicing occur, such as the replacement of some components, the
servicing shall be done by service personnel authorized by the factory to minimize the risk
of possible ignition due to incorrect components or improper service.
IMPORTANT:
The wi
res in this main lead are colored in accordance with the following code:
Green or Green with a yellow strip: Grounding
White: Neutral
Black: Live
To avoid a hazard due to instability of the appliance, it must be placed on an even and flat
surface.
No. Description Quantity
1 Manual 1 pc
2 Ice Basket 1 pc
3 Ice Scoop 1 pc
4 Handle 1 pc
PACKING LIST
5
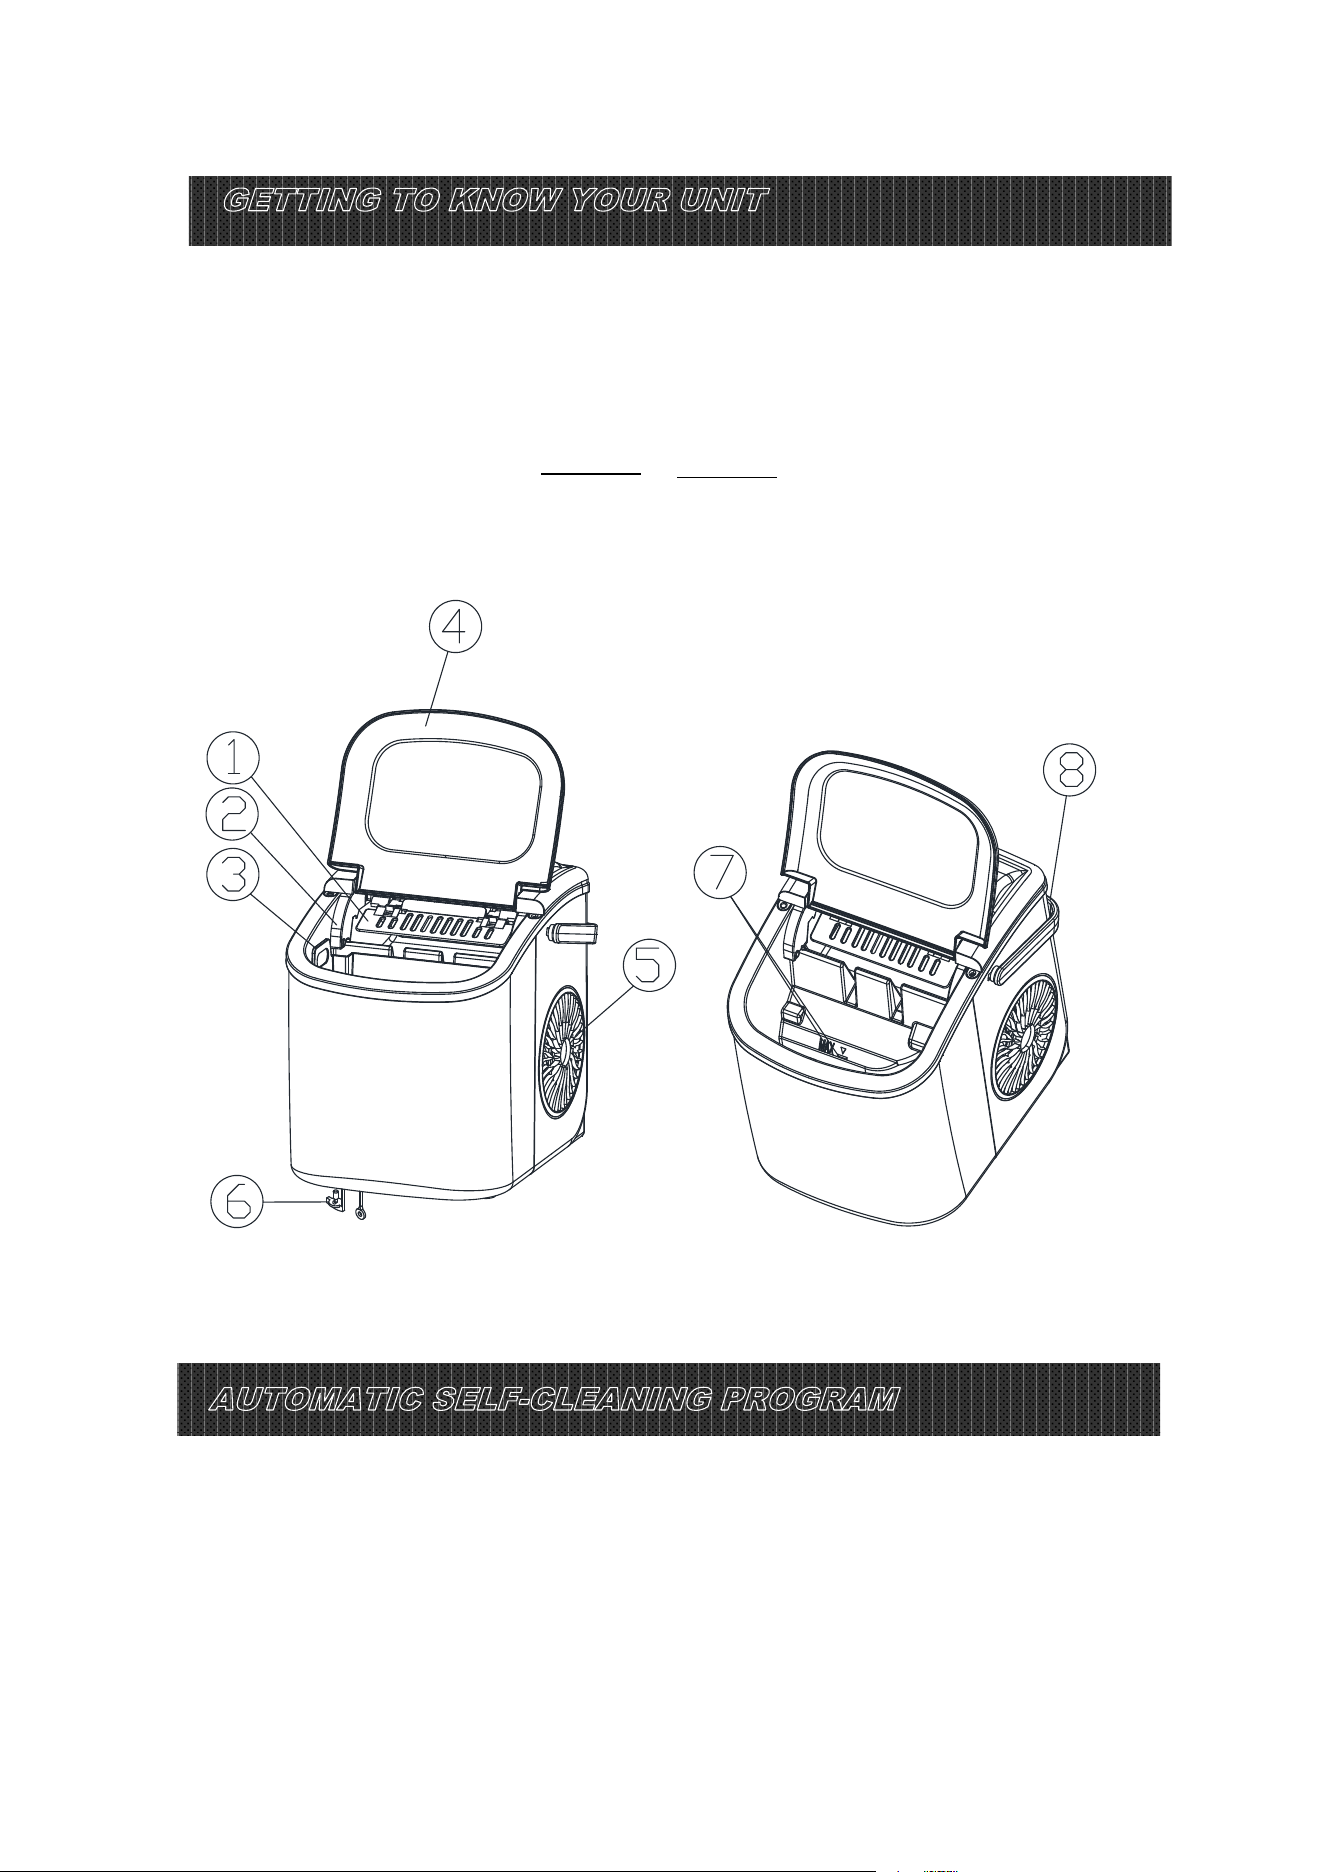
General instruction
1. Ice scoop
2. Ice full sensor
3. Ice basket
4. Top cover with transparent window
5. Air exhausting
6. Water drain cap: at the front bottom side of the unit.
7.
MAXIMUM WATER LEVEL: ▲
Remove the ice baske t, and you can see the water level mark.
8. Handle.
Plug in the unit and press“ON/OFF”button on the control panel for more than 5
seconds. It takes 30 minutes to enter the self-cleaning program. The "Ice Full,
Add Water" indicator flashes during the cleaning. After cleaning, drain the water
from the inner tank through the drainage outlet at the bottom of the machine.
GETTING TO KNOW YOUR UNIT
AUTOMATIC SELF-CLEANING PROGRAM
PREPARING YOUR ICE MAKER FOR USE
6
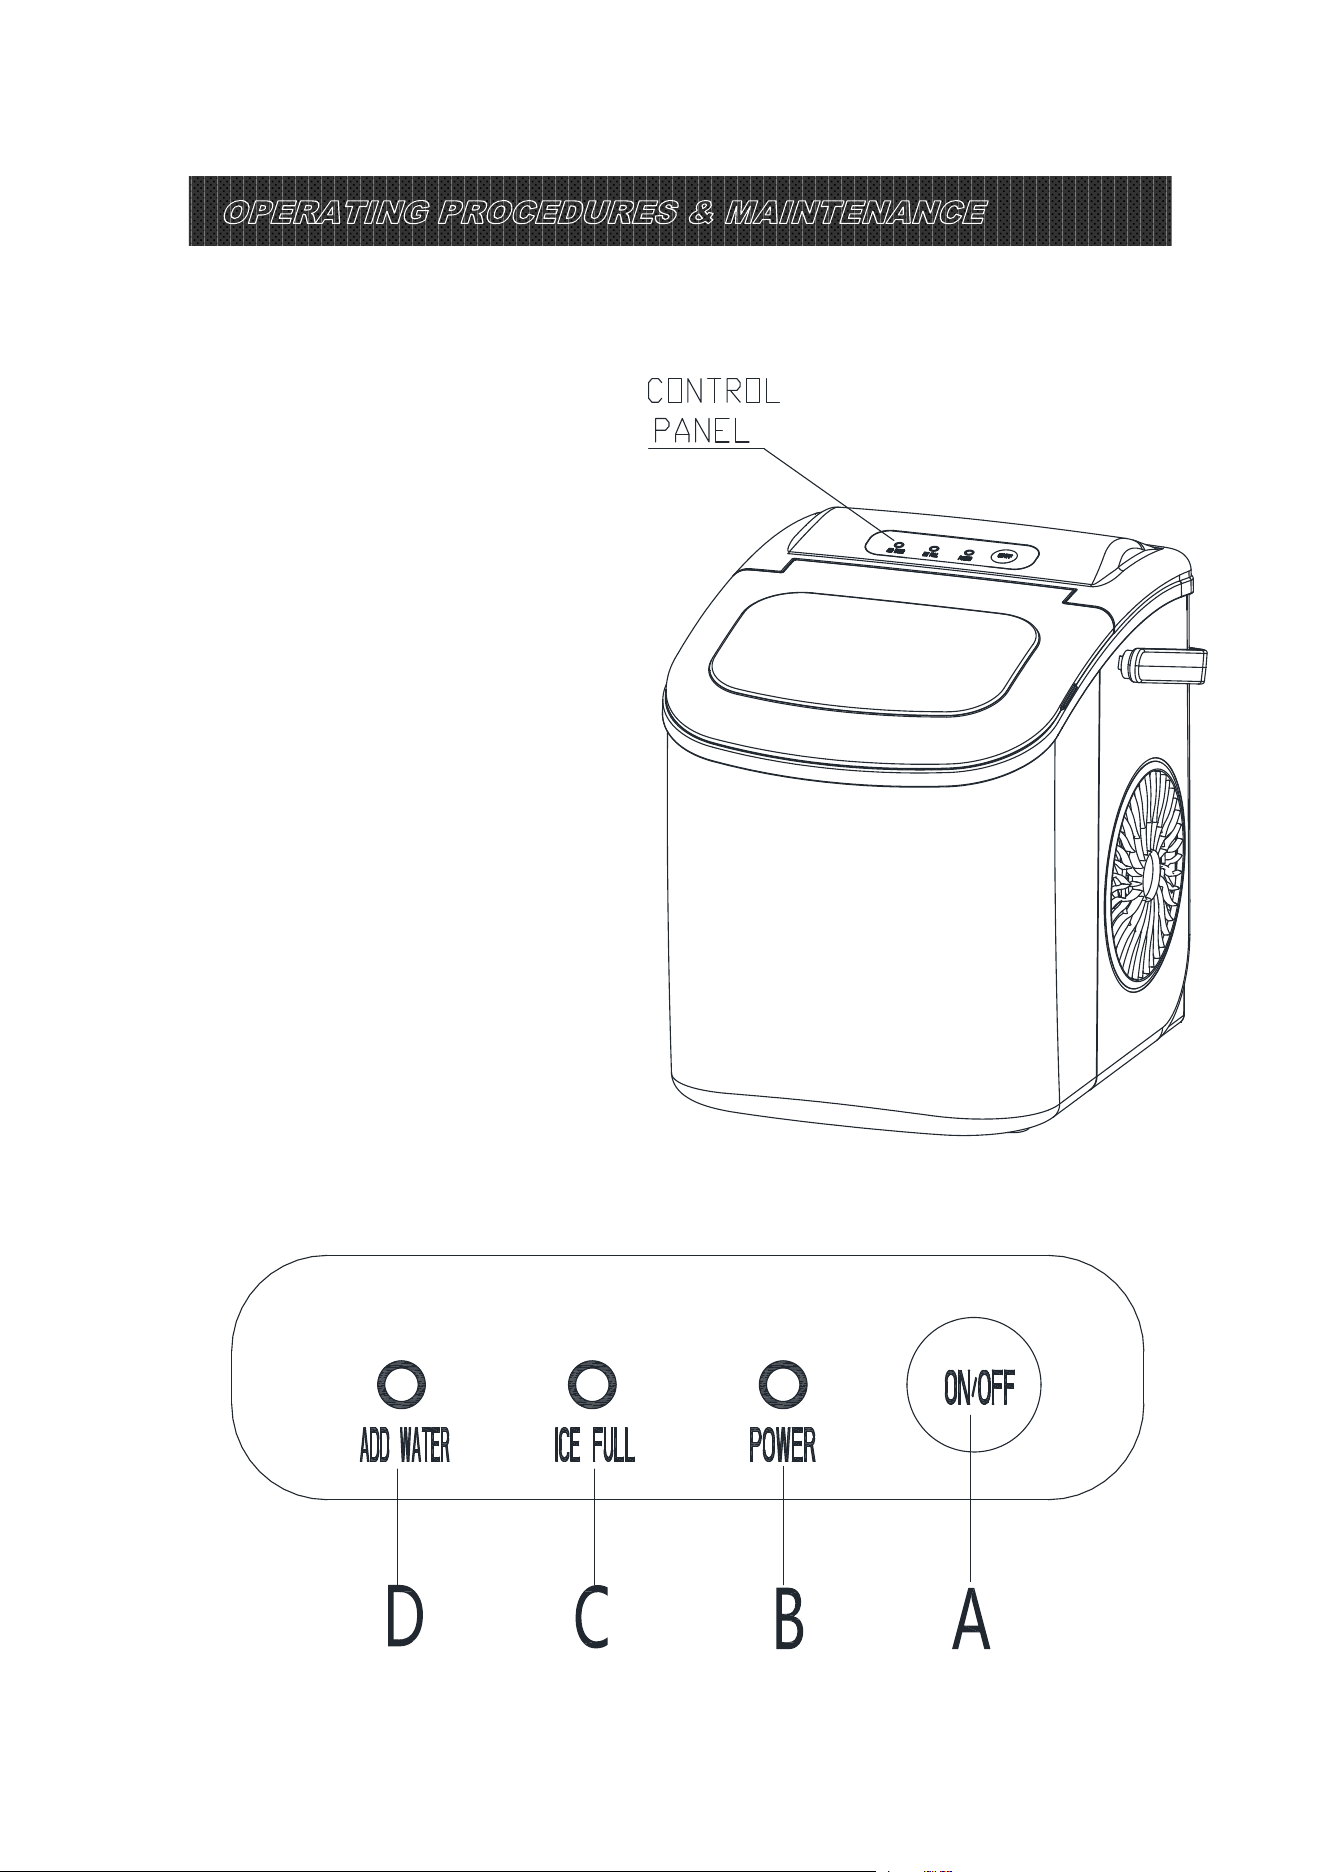
Position of control panel & function
Control Panel: easy to use, visible function setting on touch display.
A. Button to turn on/off the unit.
B. Power indicator
C. Ice Full in dicator
D. Water shortage indicator
OPERATING PROCEDURES & MAINTENANCE
7
UNPACKING YOUR ICE MAKER
1. Remove the exterior and interior packaging. Check if the ice basket and the ice scoop are
included. If any parts are missing, please contact ou r customer service.
2. Remove the tapes used to fix the ice shovel, ice basket and ice scoop. Clean the tank and
the ice basket.
3. Put the ice maker on a level and flat counter top away from direct sunlight and other
sources of heat (i.e.: stove, furnace, radiator). Make sure that the minimum clearance
between th
e wall and the back, left, and right sides of the unit shoul d be at least 4 inches.
4. Allow one hour for the refrig erant fluid to settle before plugging in the ice maker.
5. The appliance must be pos itioned where the plug is accessible.
WARNING: Fill with drinking water (potable water) only.
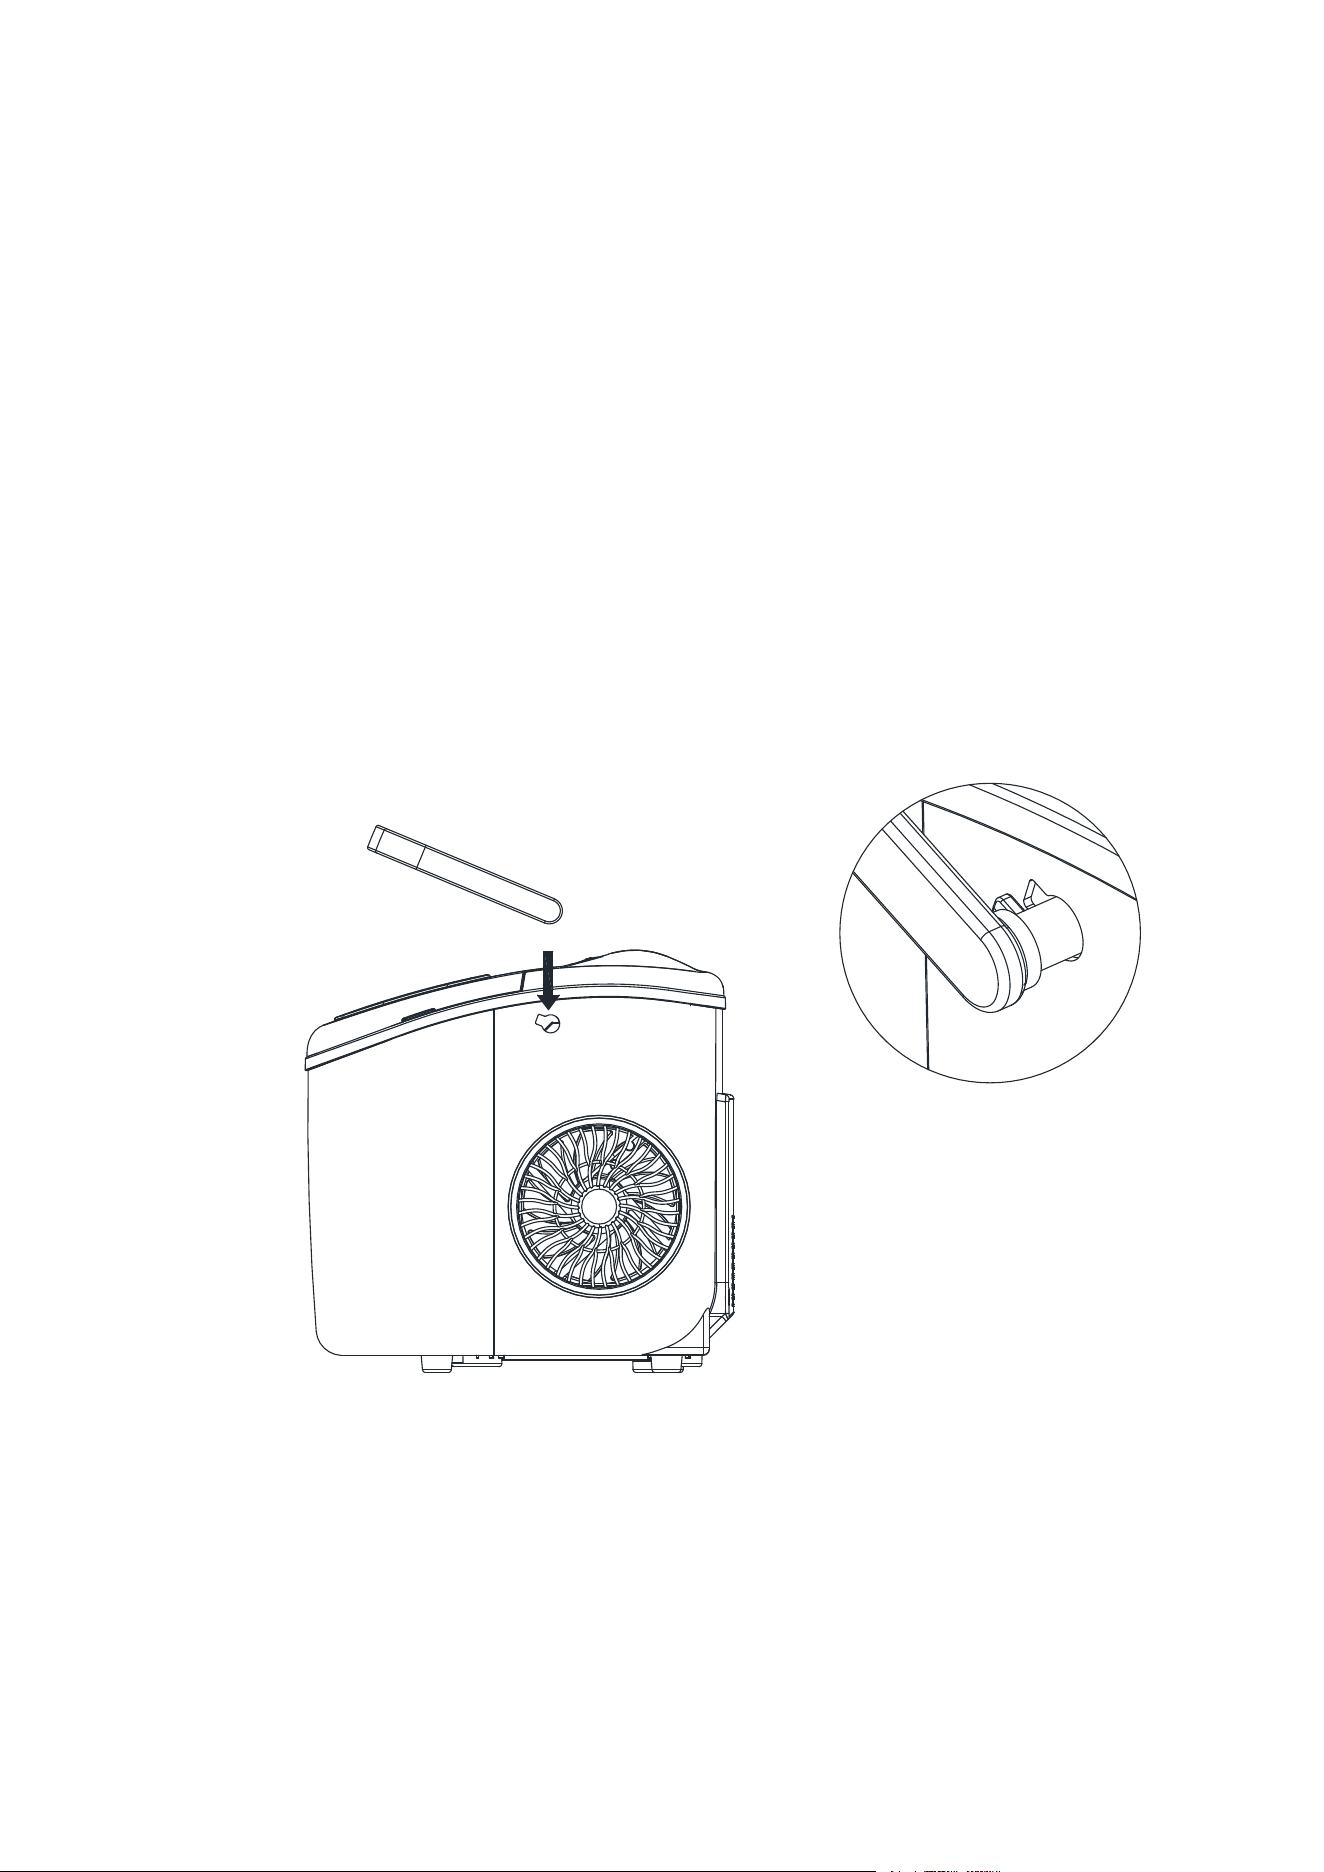
ASSEMBLE HANDLE
Rotate the handle t o the same angle as the m ounting hole on the machine. Make
sure the ha ndle is inserted into the machine.

8
DANGER
CONNECTING YOUR ICE MAKER
* Improper use of the grounding plug can result in the risk of electrical shock. If the
power cord is damaged, please call our customer service.
1. This unit should be properly grounded for your safety. The power cord of this appliance is
equipped with a three-prong plug which matches with standard three-prong wall outlets to
minimize the possibility of electric shock.
2. Plug your appliance into a specialized grounding wall outlet that is properly installed. Do not,
under any circumstances, cut or remove the third (grounding) prong from the power cord.
Any questions concerning power and/or grounding should be directed toward a certified
electrician.
3. This appliance requires a standard 110-120 volt, 60Hz electrical three-prong grounding
outlet.
CLEANING
CLEANING
AND
AND
MAINTAINING
MAINTAINING
YOUR
YOUR
ICE
ICE
MAKER
MAKER
Before using your ice maker, it is strongly recommended to clean it thoroughly.
1. Take out the ice basket.
2. Clean the interior with diluted detergent, warm water and a soft cloth.
3. Then rinse the inner parts with water and drain out the water by unplugging the drain cap
on the front bottom side.
4. The outside of the ice maker should be cleaned regularly with a mild detergent solution and
warm water.
5. Dry the interior and exterior with a clean soft cloth.
6. When the machine is not in use for a long time, drain the water completely out and dry the
interior.
9
1. Open the cover, remove the ice basket and pour water into the tank.
Keep the water level below the max water level mark.
2. Press “
ON/OFF
” button on the control panel to begin the ice-making cycle.
3. Ice-making cycle lasts approximately 6 to 13 minutes, which depends on the selection of
ice cube size and the room temperature. The recommended room temperature is 50℉ to
105℉.
4. If the water pump can’t inject water, the ice maker will stop automatically and the “
ADD
WATER
” indicator will be on. Press “
ON/OFF
” button, add water to the max water level
mark ,and press “
ON/OFF
” button to turn on the unit again. Allow at least 3 minutes for the
refrigerant liquid inside the compressor to settle before restarting.
5. The ice maker stops when the ice basket is full and the “
ICE FULL
” indicator will be on.
Warning: Direct sunlight or su nlight reflection may cause infrared sensor
malfunction. If the unit doesn’t stop even when ice cubes obstruct the sensor, mo
ve
the unit to where there is no sunlight.
6. Change water in the water reservoir every 24 hours to ensure a reasonable hygienic level.
If the unit isn’t to be used, drain all the water and dry the tank.
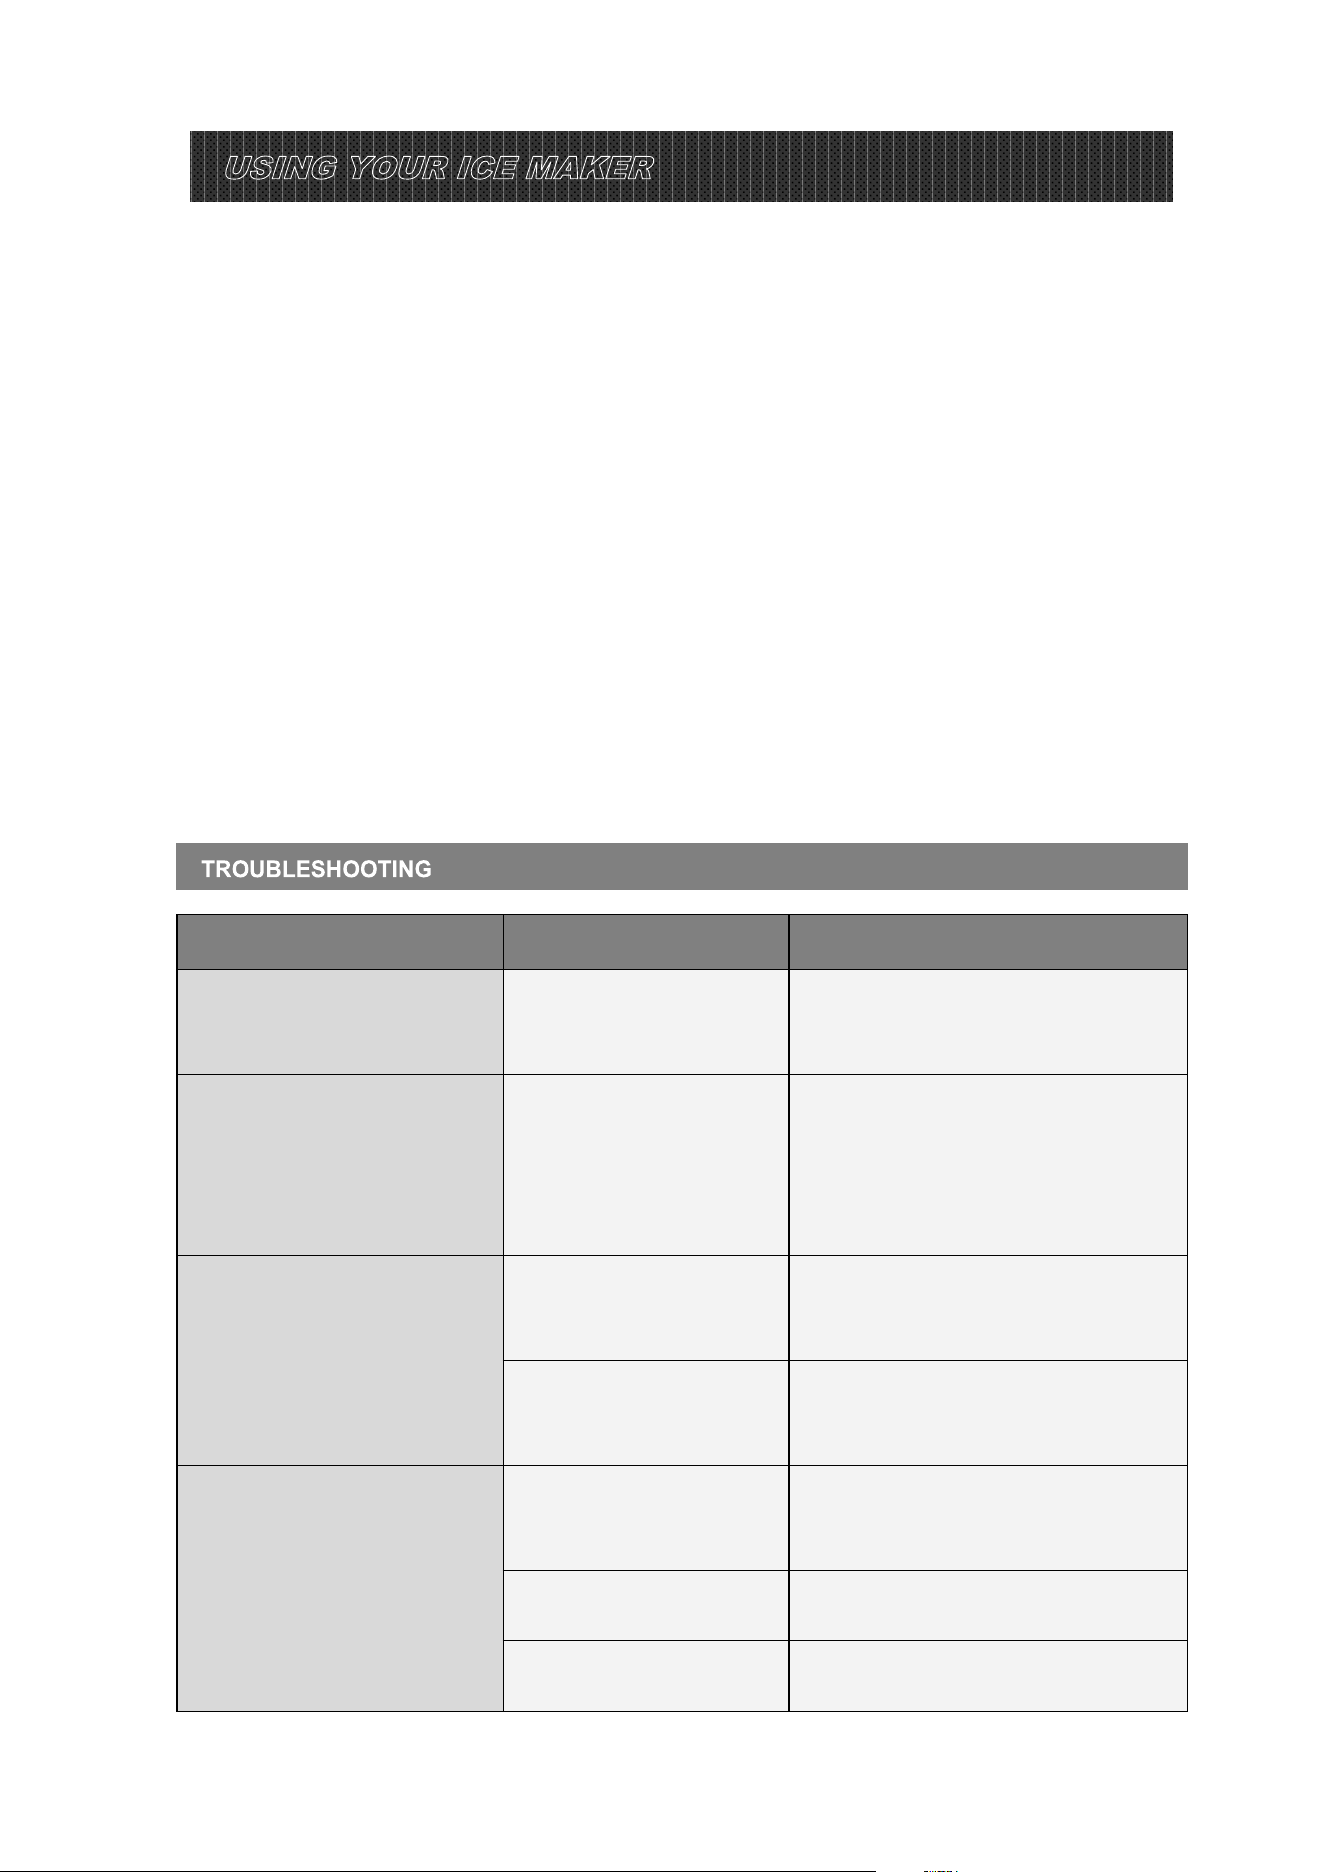
PROBLEM POSSIBLE CAUSE SOLUTIO N
“ADD WATER”
indicator is
on.
Lack of Water.
Stop the ice maker, add water, and
press “
ON/OFF
” button again to
restart the unit.
“
ICE FULL
” indicator is on. Ice is full in basket.
Remove ice cubes from the ice
basket.
Continuously press “on/off” button
for 5 seconds and the unit could
make ice for 10 cycles even when
the “Ice” indicator is on.
Ice cubes stick together.
The ice-making cycle is
too long.
Stop the ice maker and restart it
after the ice melts. Select ice cubes
of a smaller size.
The water temperature in
the inner tank is too low.
Change the water.
The recommended water
temperature is 40℉ - 90℉
The ice-making cycle is
normal but no ice cube is
formed.
The room temperature or
the water temperature in
the inner tank is too high.
The room temperature should be
50℉ - 105℉ and the water
temperature should be 40℉ - 90℉
The refrigerant in the
cooling system leaks.
Verify it by a qualified technician.
The pipe in the cooling
system is blocked.
Verify it by a qualified technician.
USING YOUR ICE MAKER

10
RELAY
T1
MCU
MOTOR
VALVE
COMP
AC-L
AC-N
DC WATER
PUMP
+PUMP-
+FAN-
3
Overload
Protector
C
COMP
S
M
2
1
Start Lelay
N
L
POWER
SUPPLY
G
Solenoid Valve
Motor For Ice
shovel
SM
WATER
POWER
Ice Full
Add Water
ON/OFF
OPERATION PCB
DC FAN
MOTOR
COND TEMP SENSOR
ELECTRICAL DIAGRAM
MICRO SWITCH
MICRO SWITCH
INFRARED
SENSOR
DETECTOR
WATER LEVEL
DETECTING
MAIN CONTROL PCB
Model
Model
HZB-1
HZB-1
2/H
2/H
Protection
Protection
Type
Type
I
I
Power
Power
115
115
V/
V/
6
6
0Hz
0Hz
Ice
Ice
Making
Making
Current
Current
1.
1.
5
5
A
A
Ice
Ice
Collecting
Collecting
Current
Current
1.8
1.8
A
A
Refrigerant
Refrigerant
R
R
600
600
a
a
0.74Oz
0.74Oz
/
/
21
21
g
g
Design
Design
Pressure
Pressure
High
High
Side
Side
290Psig
290Psig
Low
Low
Side
Side
88Psig
88Psig
Vesicant
Vesicant
C
C
5
5
H
H
10
10
Net
Net
Weight
Weight
6
6
.2Kg
.2Kg
Dimension
Dimension
(
(
W
W
*
*
D
D
*
*
H
H
)
)
222
222
x
x
294
294
x
x
290
290
mm
mm
Enclosure
Enclosure
Plastic
Plastic
TECHNINCAL PARAMETERS & CIRCUIT DIAGRAM
11
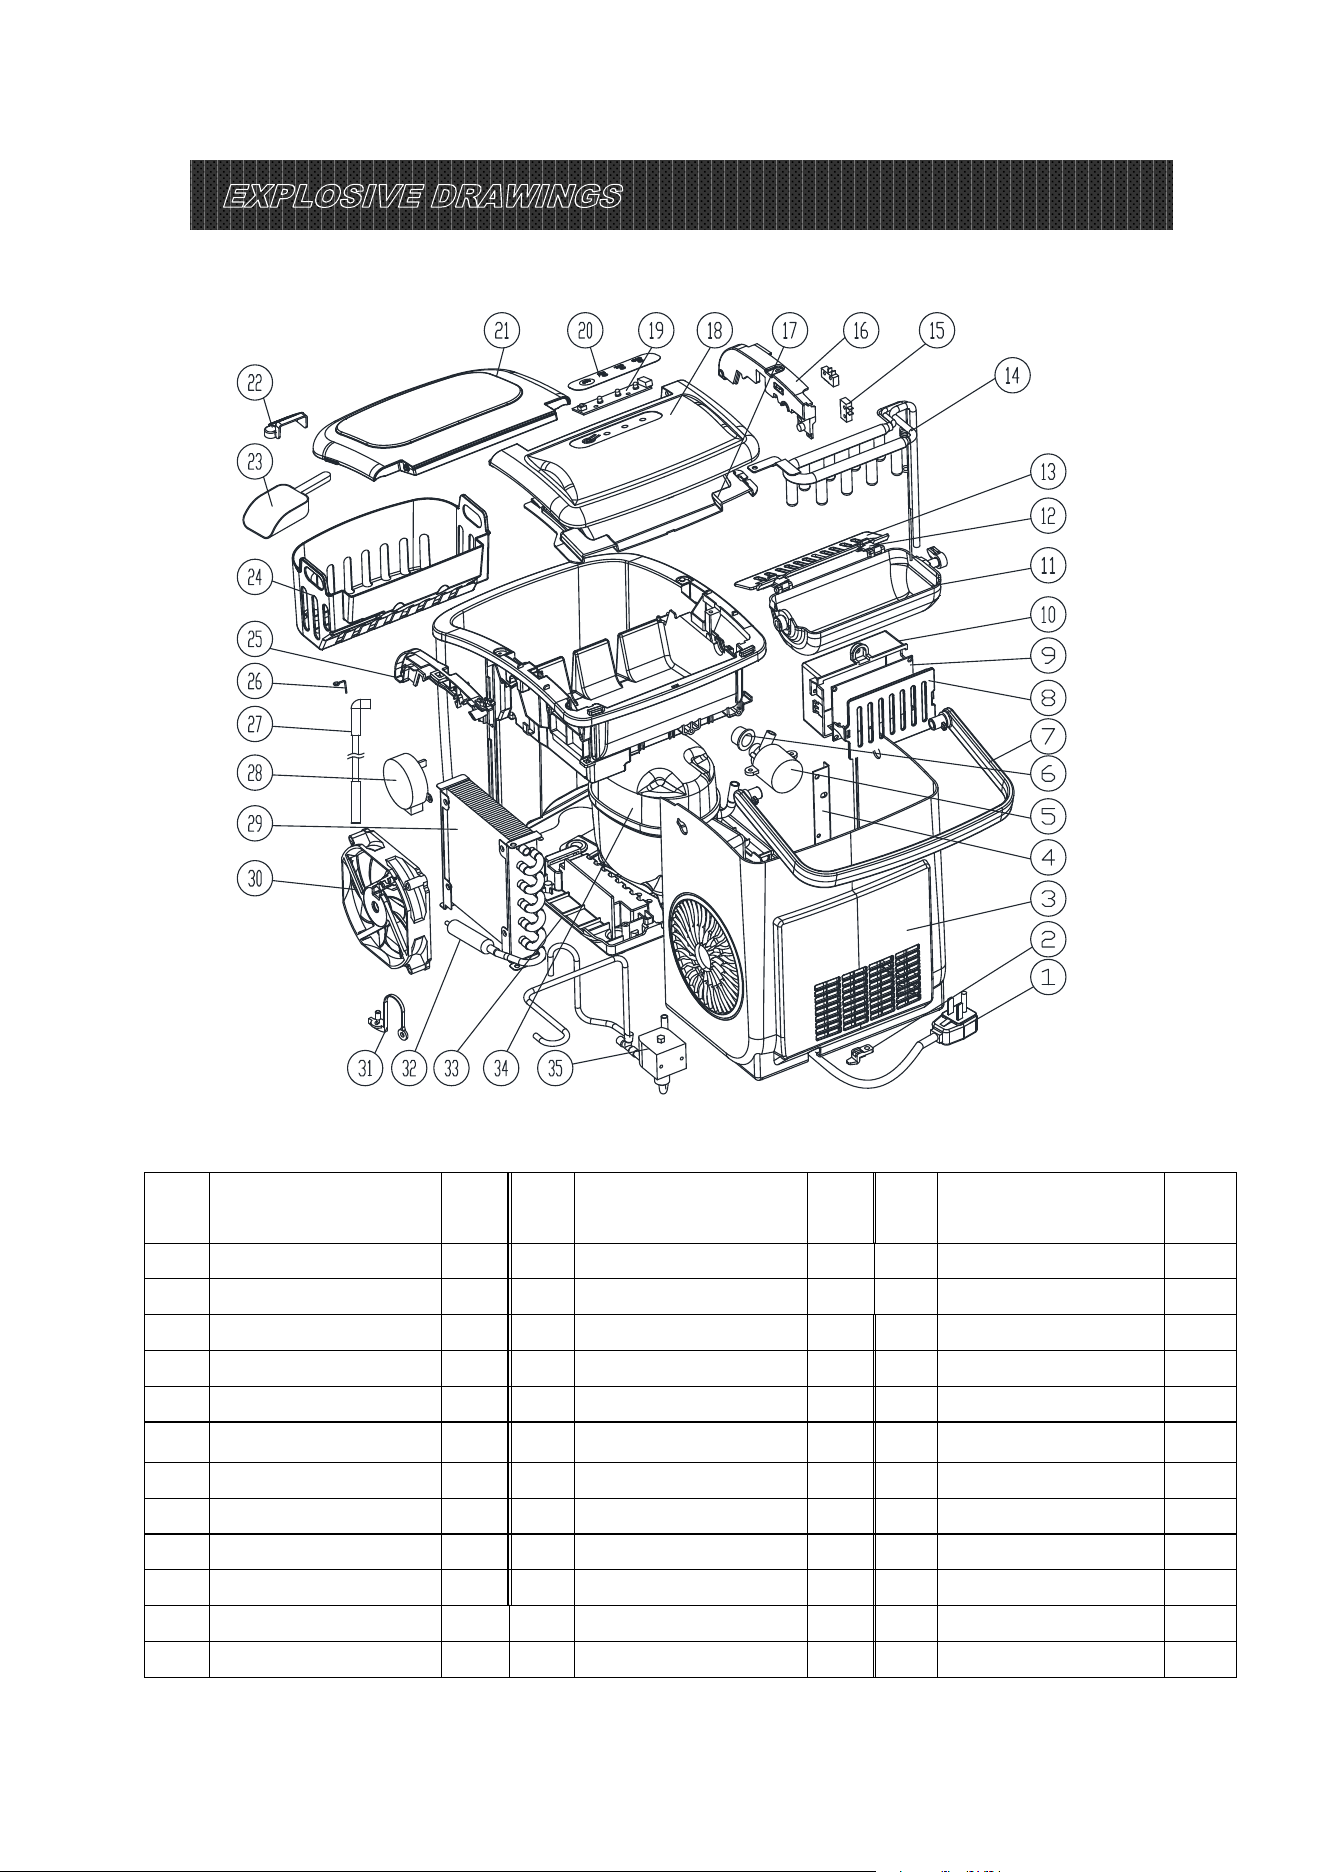
EXPLOSIVE DRAWINGS
S/N Part description
Qty/
Per
S/N Part description
Qty
/Per
S/N Part description
Qty/
Per
1 Power cord 1 13 Ice shove l 1 25
Inner tank bracket, RH
1
2 Plastic clip 1 14 Evaporator 1 26 Stainless wire 1
3 Back panel 1 15 Micro switc h 2 27 Water supply pipe 1
4 Plate back s uppor t 1 16
Inner tank bracket, LH
1 28 Synchronous motor 1
5 DC water pump 1 17 Back bottom panel 1 29 Condenser 1
6 Silicon pump sealing 1 18 Back top panel
1
30 DC fan motor 1
7
Handle
1 19 Displaying PCB 1 31 Nylon plug drain 1
8 Con
trol box cover 1 20 Touch pad 1 32 Copper tube filter 1
9 Main PCB 1 21 Front top panel 1 33 Plastic bottom 1
10 Control box 1 22 Water filter 1 34 Compressor 1
11 Ice making box 1 23 Ice scoop 1 35 Magnetism valve 1
12 Ice scoop link 2 24 Ice basket 1 36
Internal wire
1


Thank you for purchasing this product! If you have any questions about
the product, such as missing parts, dam aged products, product
assembling, and operation, please conta ct us via Amazon Message or
customer service number: 213-4467172 or 661-435882 6
IMPORTANT
Please call our customer service department for any consulting:
213-4467172
661-4358826
(8:30am - 5:30pm P.S.T.)
DATED PROOF OF PURCHASE IS REQUIRED FOR WARRANTY
SERVICE.
AVIS
Veuillez appeler le service à la clientèle pour toutes qu estions au:
213-4467172
661-4358826
(8:30am - 5:30pm P.S.T.)
PREUVE D’ACHAT O R IG INALE REQUISE POUR SERVICE DE
GARANTIE.
IMPORTANTE
Sólo hay que llamar nuestro departamento de servicio
al cliente en caso de tener preguntas o i
nquietudes:
213-4467172
661-4358826
(8:30am - 5:30pm P.S.T.)
SE REQUIERE PRUEBA DE COMPRA CON FECH A PARA SERVICIO
BAJO GARANTÍA.
Address : 9733 Topanga Ca nyon Blvd. APT310, Chatsworth, CA 91311
Phone: 213-4467172 or 661-4358826
V1